Articles
How To Make Homemade Candles Without Wax
Modified: October 18, 2024
Learn how to make homemade candles without wax with our informative articles on candle making techniques, ingredients, and tips. Create beautiful and unique candles from easily available materials.
(Many of the links in this article redirect to a specific reviewed product. Your purchase of these products through affiliate links helps to generate commission for Storables.com, at no extra cost. Learn more)
Introduction
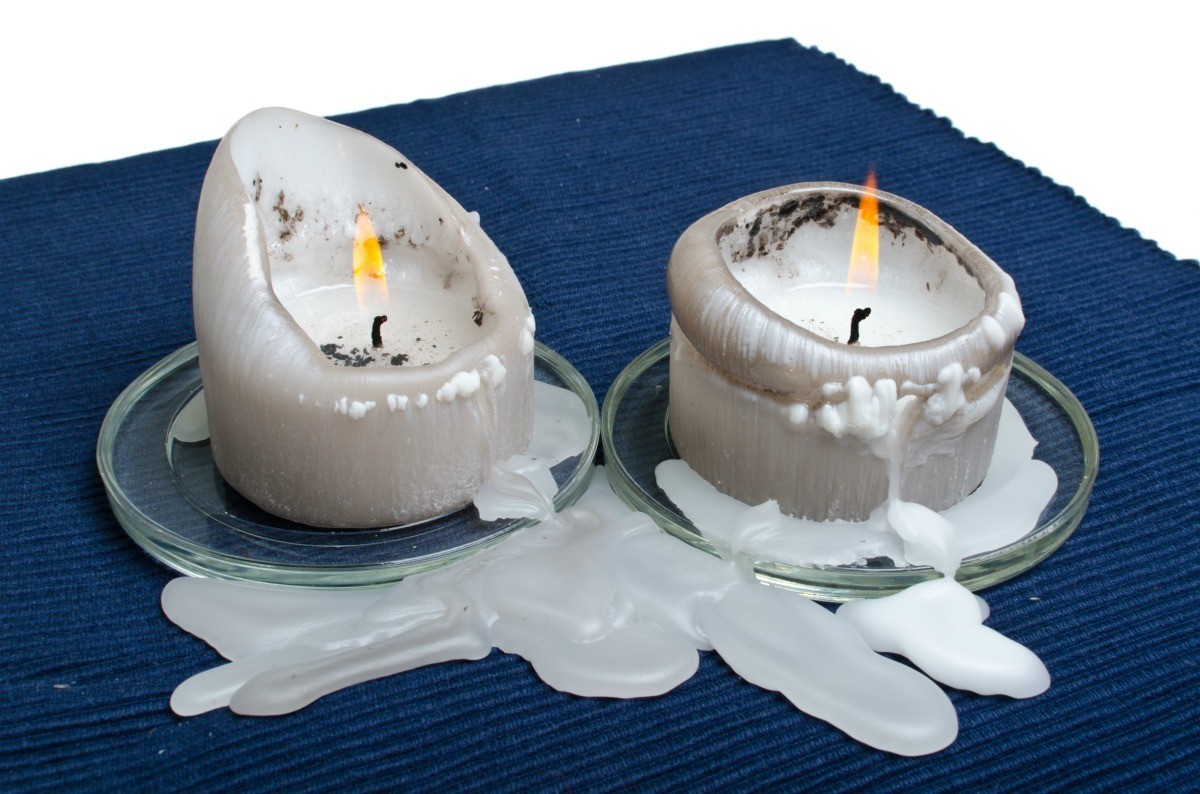
Are you looking for a creative and cost-effective way to add ambience to your home? Look no further than homemade candles! Making candles at home is a rewarding and fulfilling hobby that allows you to create unique and personalized scents, colors, and designs.
When most people think of making candles, they often envision using traditional wax as the main ingredient. However, did you know that it’s also possible to make homemade candles without wax? That’s right! In this article, we will explore an alternative method for crafting your own candles using readily available materials.
Not only are homemade candles without wax a great option for those with allergies or sensitivities to traditional wax, but they also offer a variety of creative possibilities. So, gather your materials, set aside some time, and let’s get started on this exciting candle-making journey!
Key Takeaways:
- Create unique and personalized candles using alternative bases like soy wax, beeswax, or coconut oil. Customize scents, colors, and decorations for a rewarding and fulfilling candle-making experience.
- Enjoy the cozy ambiance and soothing scents of your personalized homemade candles. Experiment with different bases, scents, and decorations to add warmth and ambience to your living space.
Read more: How To Make Wax For Candles At Home
Materials Needed
Before you begin making homemade candles without wax, it’s important to gather all the necessary materials. Here’s a list of what you’ll need:
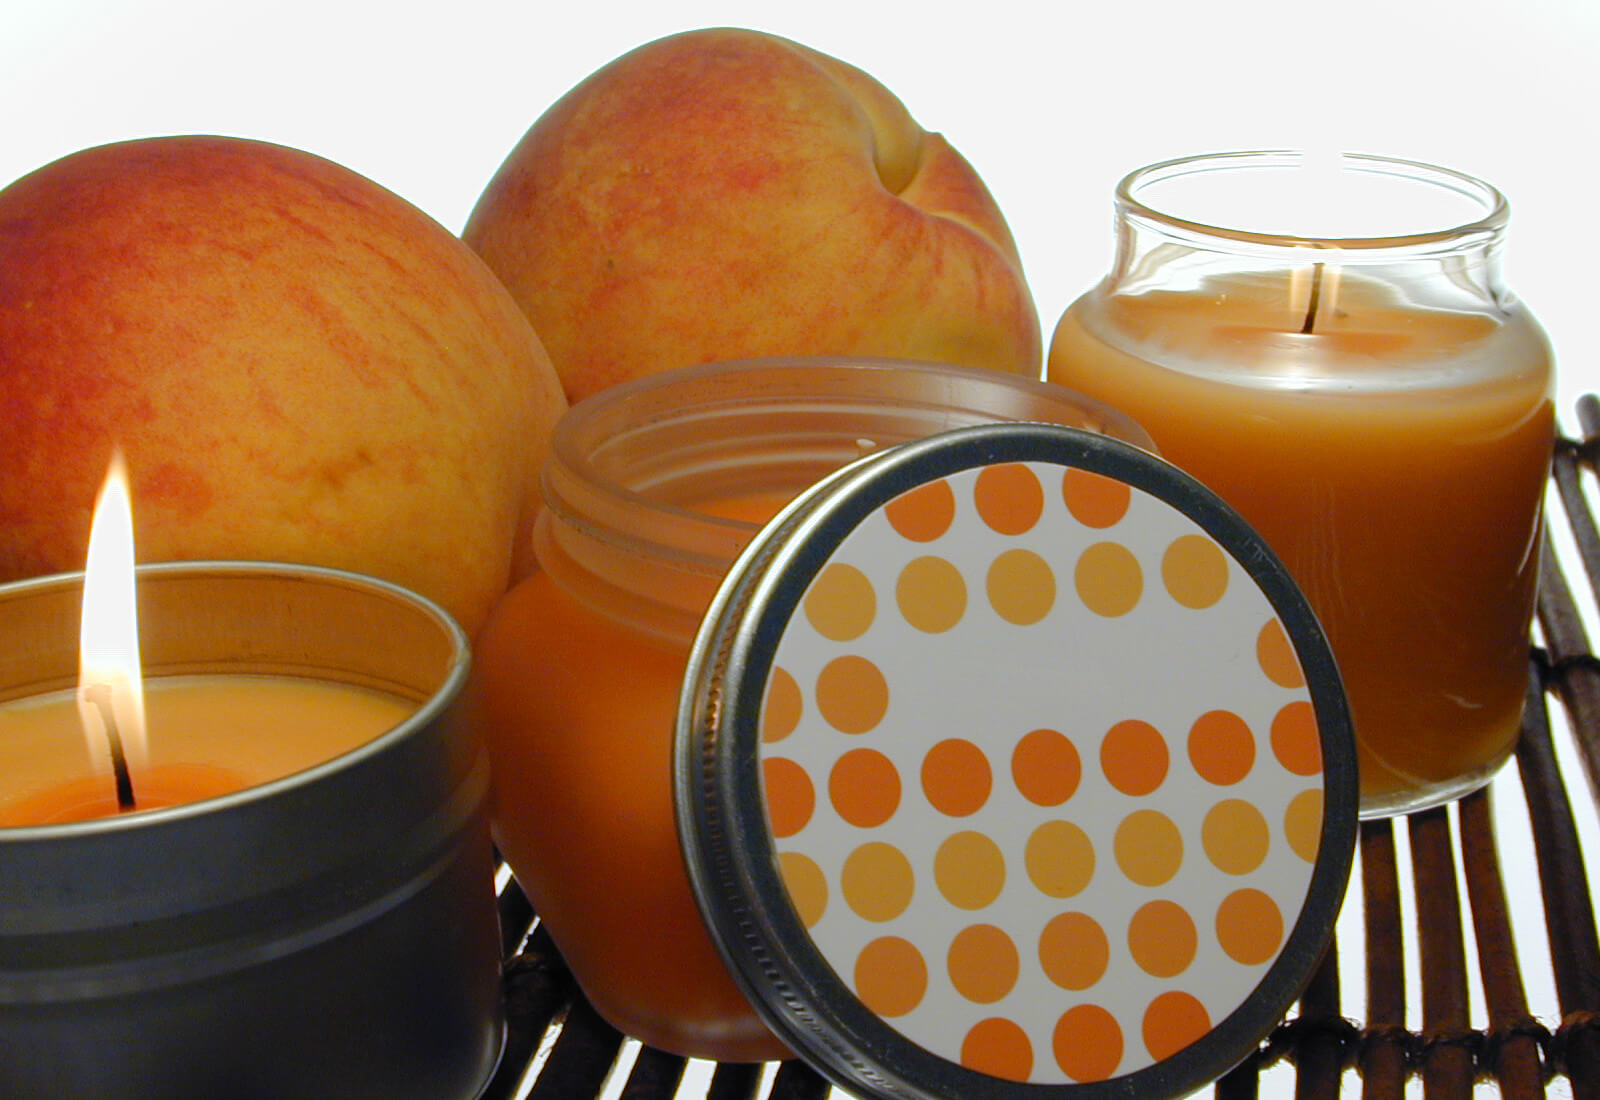
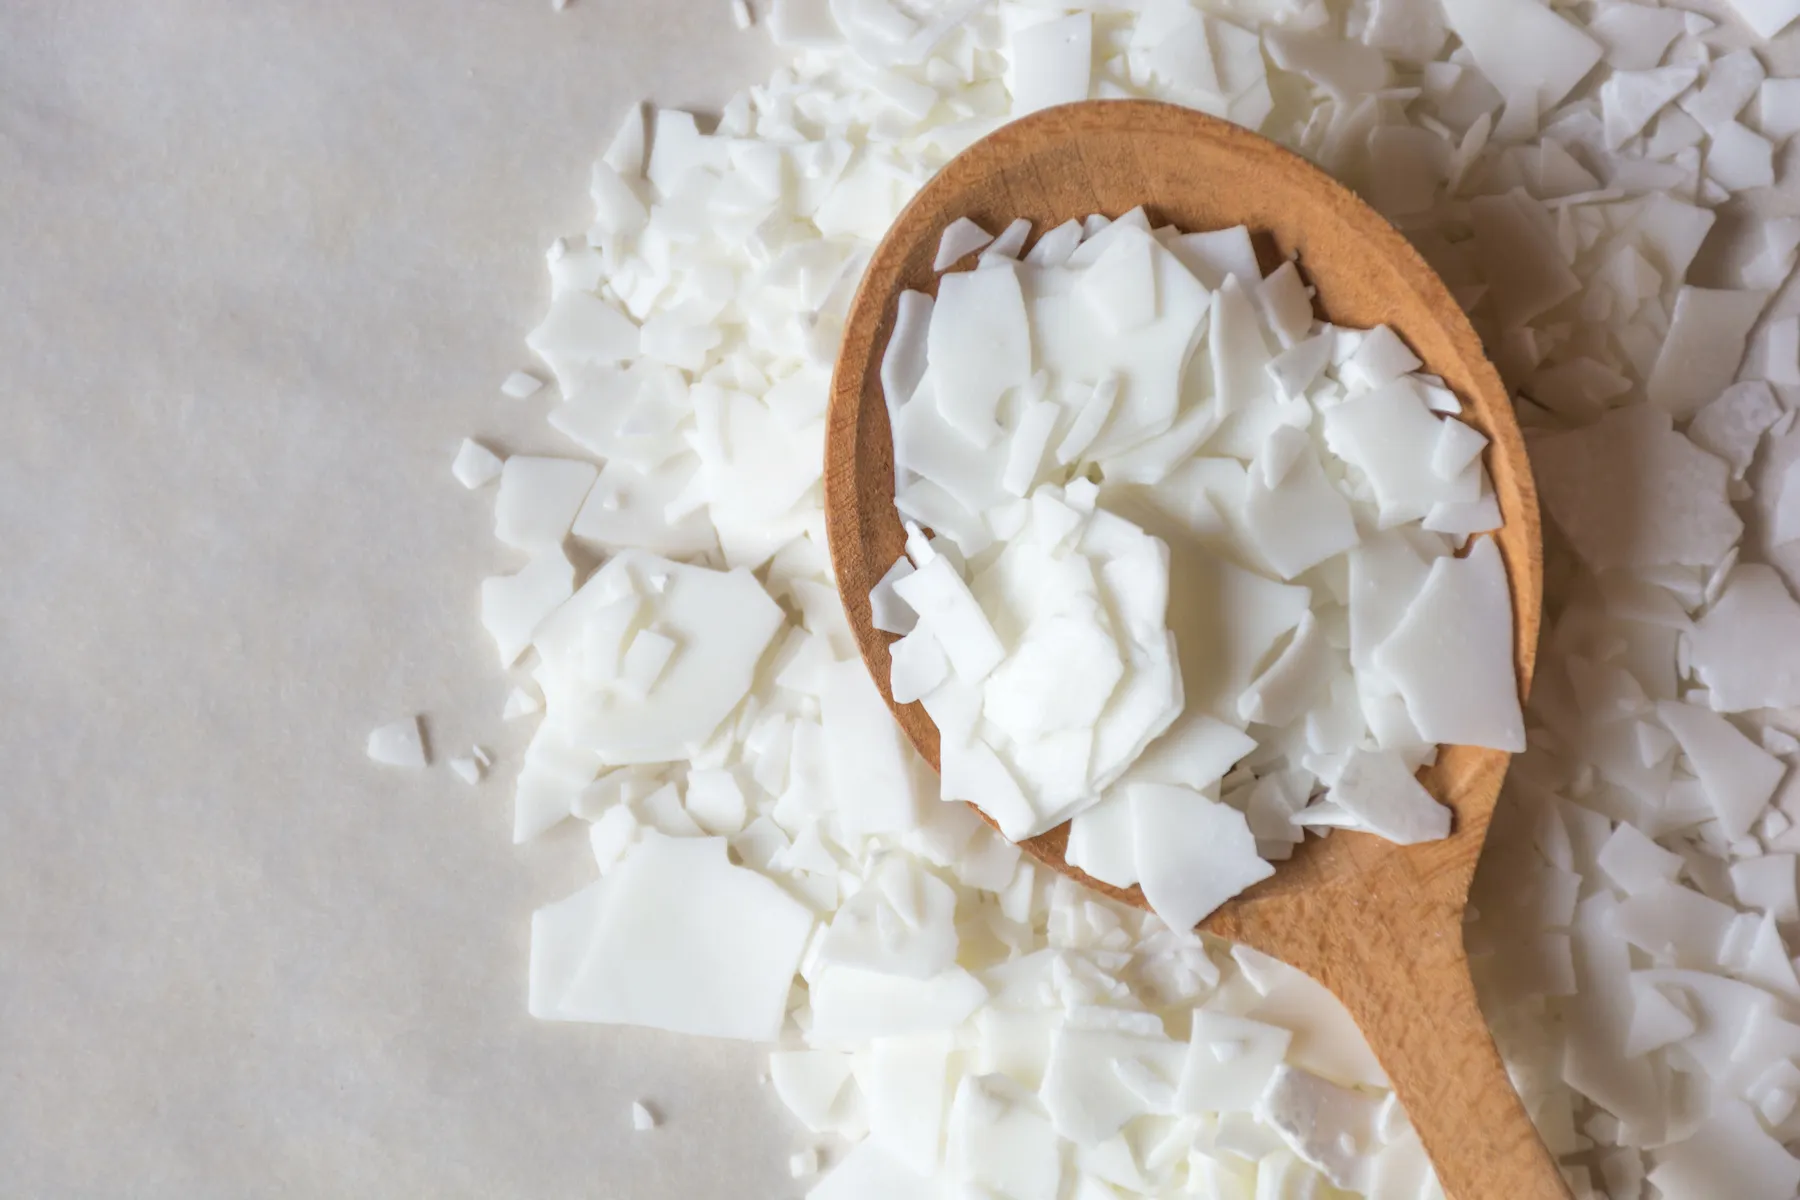
1. Candle Base: Instead of using wax, you’ll need to choose a suitable alternative as the base for your homemade candles. Some popular options include soy wax flakes, beeswax pellets, or coconut oil.
2. Fragrance Oils or Essential Oils: To add a delightful scent to your candles, you’ll need fragrance oils or essential oils. Choose scents that you enjoy, such as lavender, vanilla, or citrus.
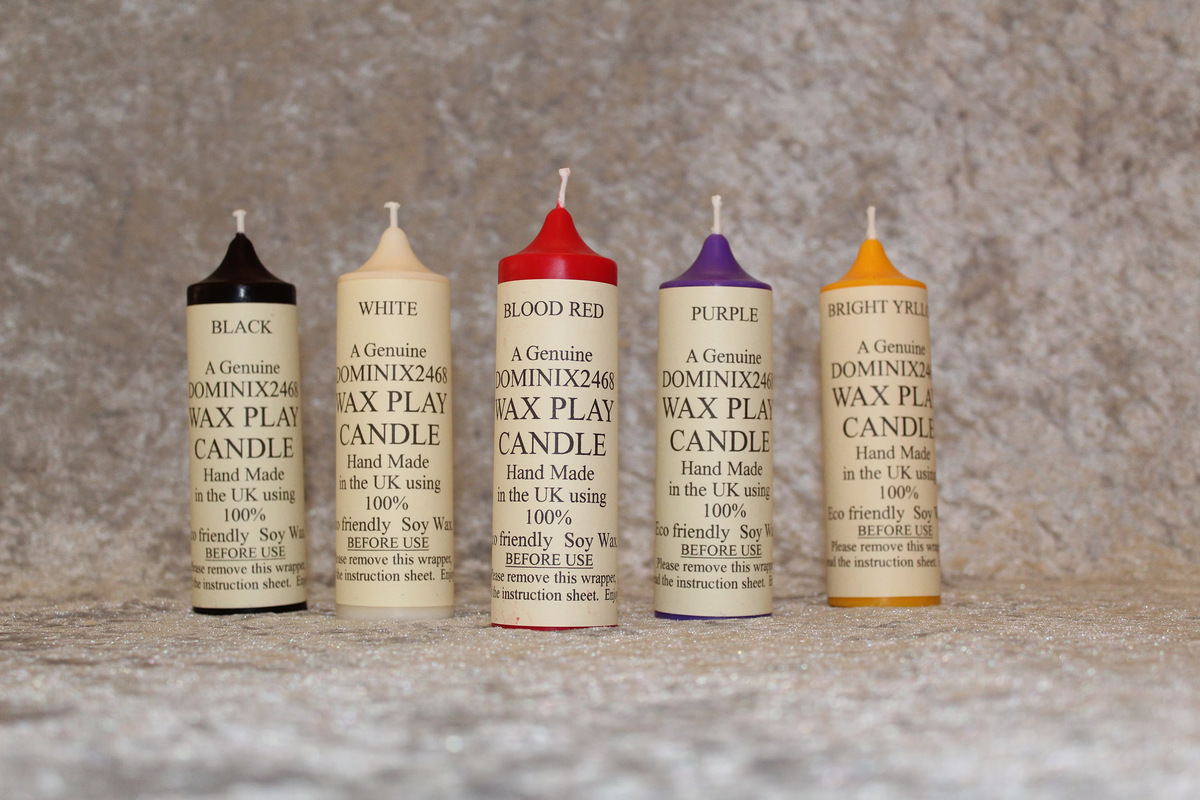
3. Coloring Agents: If you want to add a pop of color to your candles, you’ll need coloring agents such as liquid candle dyes or natural colorants like dried herbs or spices.
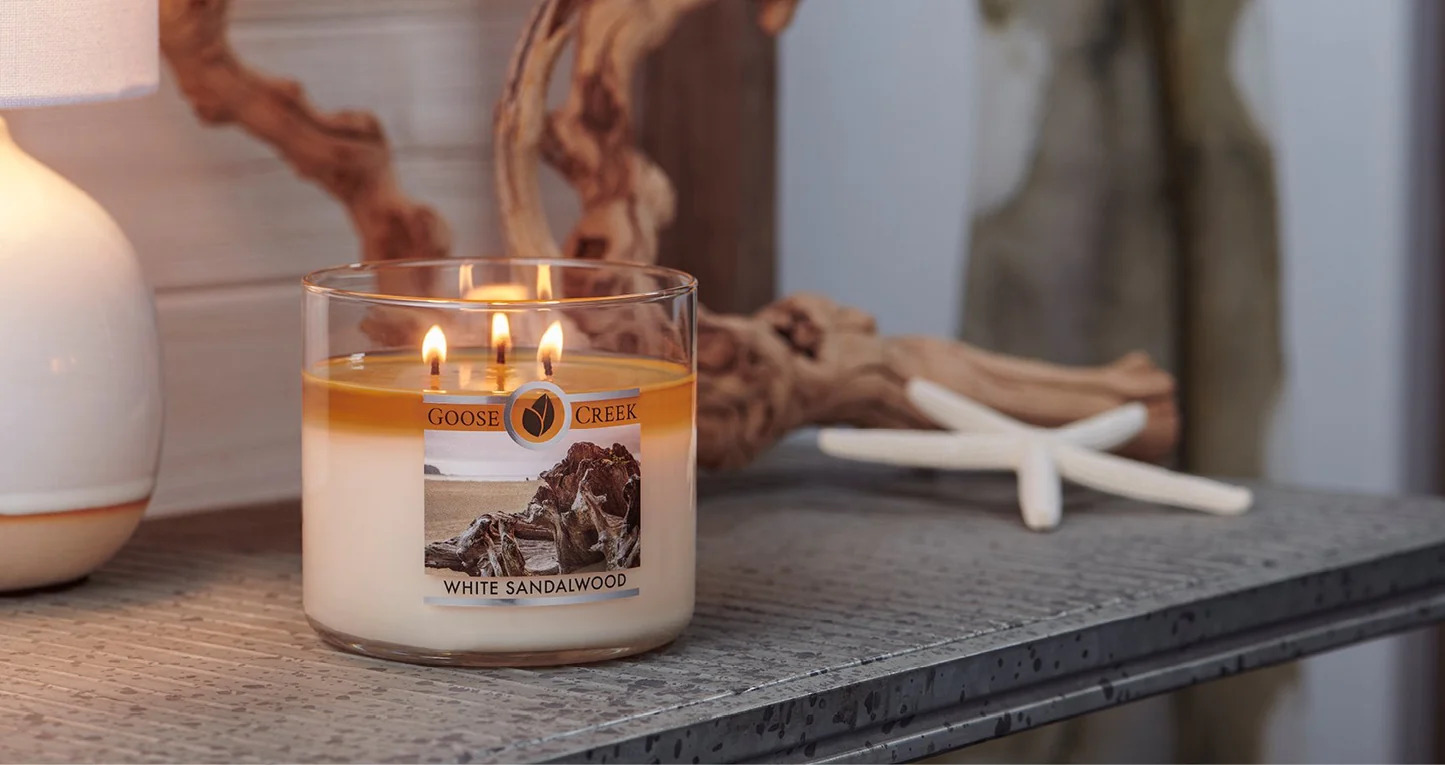
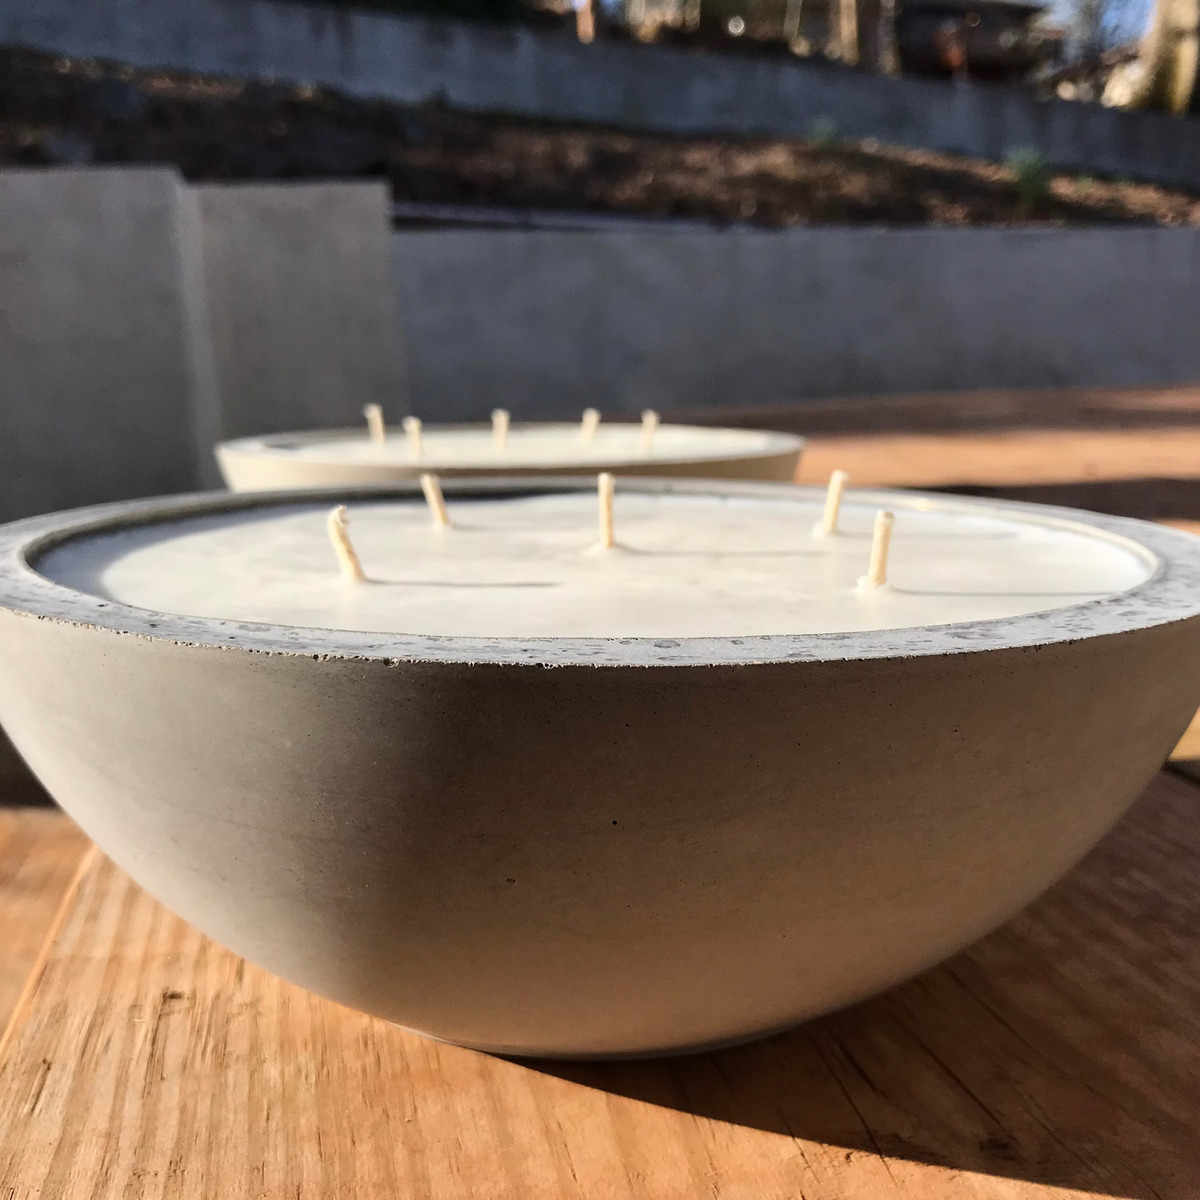
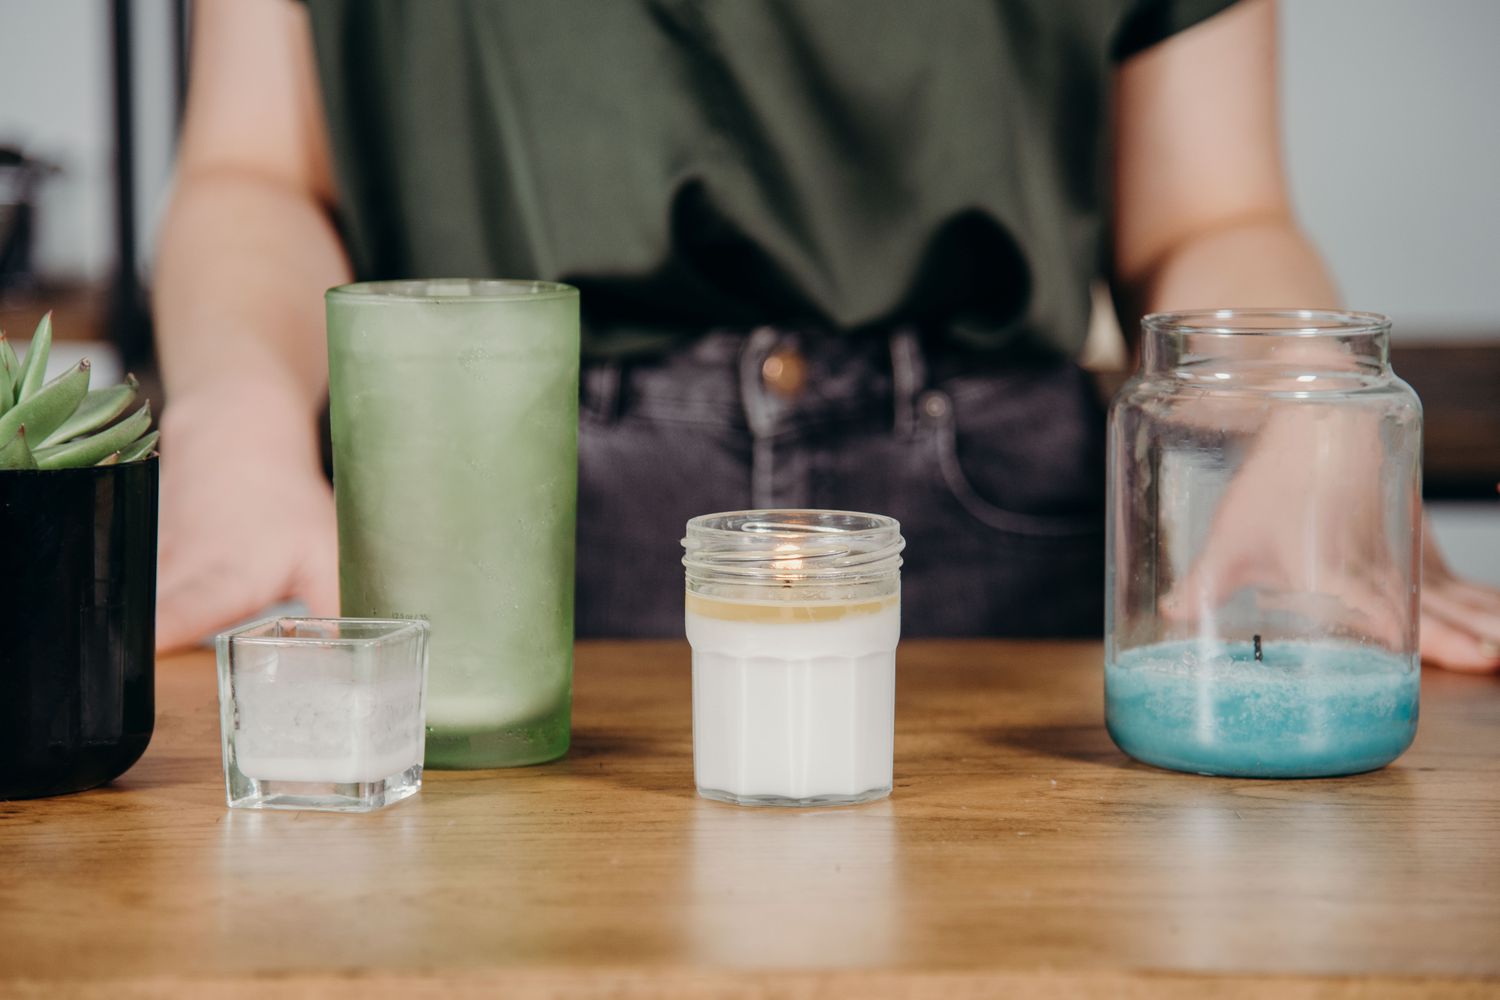
4. Candle Containers: Choose containers that are suitable for holding melted candle base, such as glass jars, tins, or ceramic bowls. Make sure they are heat-resistant and have a wide enough opening for the wick.
5. Wick: You’ll need candle wicks long enough to fit your chosen containers. Look for wicks that are specifically designed for the type of base you’re using.
6. Wick Stickers or Glue Dots: These will help you secure the wick to the bottom of the candle container.
7. Wick Holders: These small metal or wooden pieces will keep the wick centered while the candle sets.
8. Heat-resistant Utensils: You’ll need a double boiler or a heat-resistant container and a stirrer for melting the candle base.
9. Thermometer: To ensure the right temperature for adding fragrance and pouring the candle base, a thermometer is essential.
10. Optional Extras: You can add your personal touch to your homemade candles by including dried flowers, gemstones, or decorative elements like ribbons or charms.
Now that you have all the materials ready, it’s time to get started on your homemade candles without wax!
Step 1: Choosing the Candle Base
The first step in making homemade candles without wax is selecting a suitable candle base. While traditional candles use wax, we will explore alternative options that are just as effective. Here are a few popular choices:
1. Soy Wax Flakes: Soy wax is derived from soybean oil and offers a clean and eco-friendly option for candle making. It has a low melting point and provides a smooth and creamy texture to your candles.
2. Beeswax Pellets: Beeswax is a natural and sustainable alternative that gives off a lovely honey-like scent. It has a higher melting point compared to soy wax and adds a beautiful natural color to your candles.
3. Coconut Oil: If you’re looking for a vegan-friendly option, coconut oil is an excellent choice. It has a high melt point, resulting in candles that are solid at room temperature.
When selecting your candle base, consider factors such as melting point, scent, and texture. Experiment with different options to find the one that suits your preferences and needs best.
To ensure a successful candle-making process, it’s essential to purchase high-quality candle base materials from reputable suppliers. This will ensure that your homemade candles burn evenly and have a pleasing aesthetic.
Once you’ve chosen your candle base, you’re ready to move on to the next step: preparing the candle base for melting and pouring. Exciting times lie ahead as you embark on the journey of creating your own unique and personalized candles!
Step 2: Preparing the Candle Base
Now that you’ve chosen your candle base, it’s time to prepare it for melting and pouring. This step is crucial to ensure a smooth and seamless candle-making process. Follow these steps to properly prepare your candle base:
1. Measure the Candle Base: Start by measuring out the desired amount of candle base according to your chosen candle container’s size. This will ensure that you have enough melted base to fill the container without any leftovers.
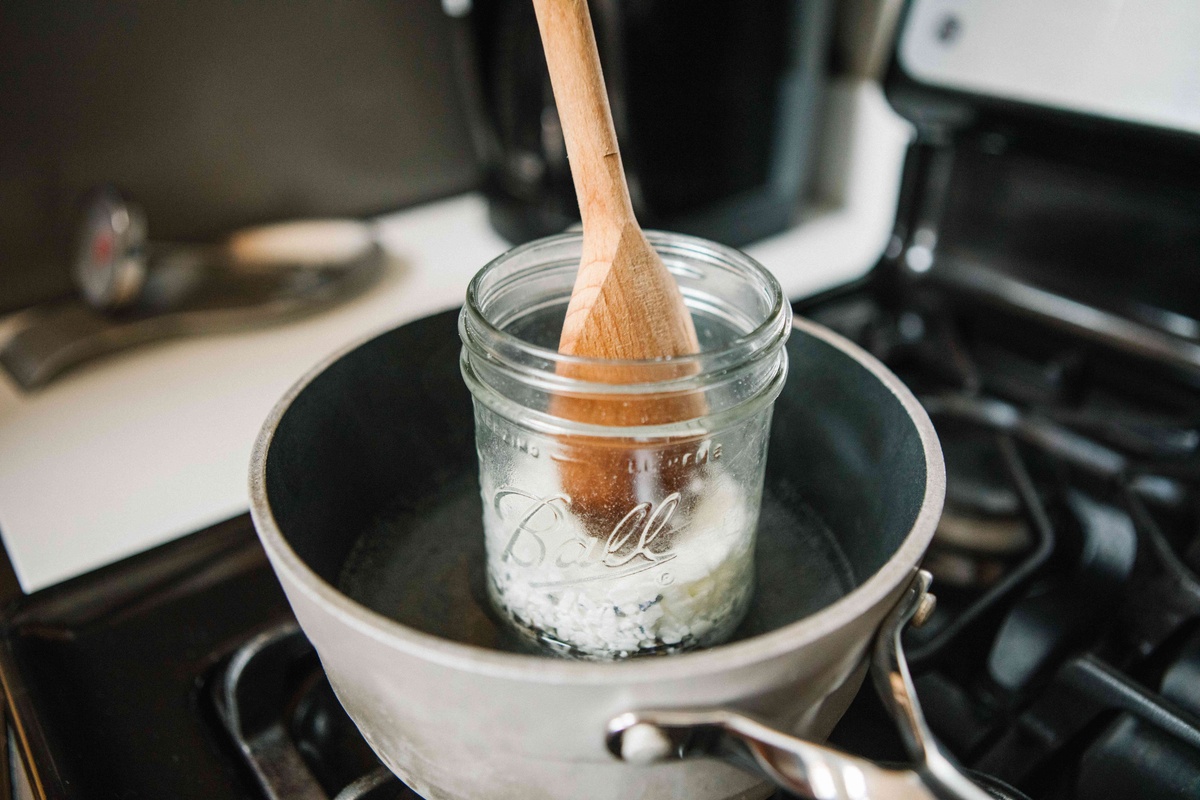
2. Double Boiler Method: If you’re using soy wax flakes or beeswax pellets, it’s best to melt them using the double boiler method. Fill a large saucepan with water and place a smaller heat-resistant container on top. Add the measured candle base to the smaller container.
3. Heat the Candle Base: Place the double boiler on the stove over low to medium heat. Allow the water to simmer gently, melting the candle base slowly and evenly. Stir occasionally with a heat-resistant utensil to help melt the base faster.
4. Coconut Oil Method: If you’re using coconut oil as your candle base, you can simply measure out the desired amount and melt it directly using a heat-resistant container. Place the container in the microwave or heat it on the stove, stirring occasionally until the coconut oil is fully melted.
5. Temperature Check: It’s important to monitor the temperature of the melted candle base. Use a thermometer to ensure it reaches the recommended temperature for adding fragrances and pouring. The ideal temperature will vary depending on the type of candle base you’re using, so be sure to check the specific guidelines for your chosen base.
6. Remove from Heat: Once the candle base has reached the desired temperature, remove it from the heat source. Stir it gently to ensure any remaining solid particles are fully melted.
Now that your candle base is prepared and melted, you’re ready to move on to the next step of adding fragrance and color to create beautifully scented and visually appealing homemade candles!
Step 3: Adding Fragrance and Color
After preparing the candle base, it’s time to infuse it with delightful fragrance and vibrant color. This step allows you to unleash your creativity and personalize your homemade candles. Follow these steps to add fragrance and color to your candles:
1. Fragrance Oils or Essential Oils: If you desire scented candles, carefully measure out the desired amount of fragrance oil or essential oil. The recommended scent to wax ratio is typically around 1 ounce of fragrance oil per pound of melted candle base. Adjust the ratio according to your preference for a stronger or lighter scent.
2. Coloring Agents: To add color to your candles, choose the appropriate coloring agent according to your base. Liquid candle dyes are commonly used for soy wax and beeswax, while natural colorants like dried herbs or spices work well with coconut oil. Start with a small amount of coloring agent and gradually add more until you achieve the desired color intensity.
3. Mix Well: Add the fragrance oil or essential oil to the melted candle base and stir gently to ensure it is evenly distributed. If adding coloring agents, carefully incorporate them into the mixture and continue stirring until you achieve a uniform color.
4. Test and Adjust: At this point, it’s a good idea to conduct a quick test by pouring a small amount of the scented and colored wax into a spare container. Let it cool and observe the scent and color once it has solidified. If you’re satisfied with the results, proceed to the next step. If not, you can adjust the fragrance or color by adding more or less to the mixture.
Remember, fragrance oils and essential oils can be quite potent, so it’s essential to follow the recommended guidelines and not overpower the candle base with too much scent. Similarly, with colorants, start with small amounts and gradually add more until you achieve your desired hue.
With fragrance and color added, your homemade candle base is now beautifully scented and visually appealing. The next step involves inserting the wick and setting the candle, bringing you one step closer to enjoying the warm glow and wonderful aroma of your homemade creation!
You can make homemade candles without wax by using soy wax, beeswax, or coconut oil as a natural alternative. These options are eco-friendly and produce clean-burning candles.
Read more: How To Melt Wax To Make Candles
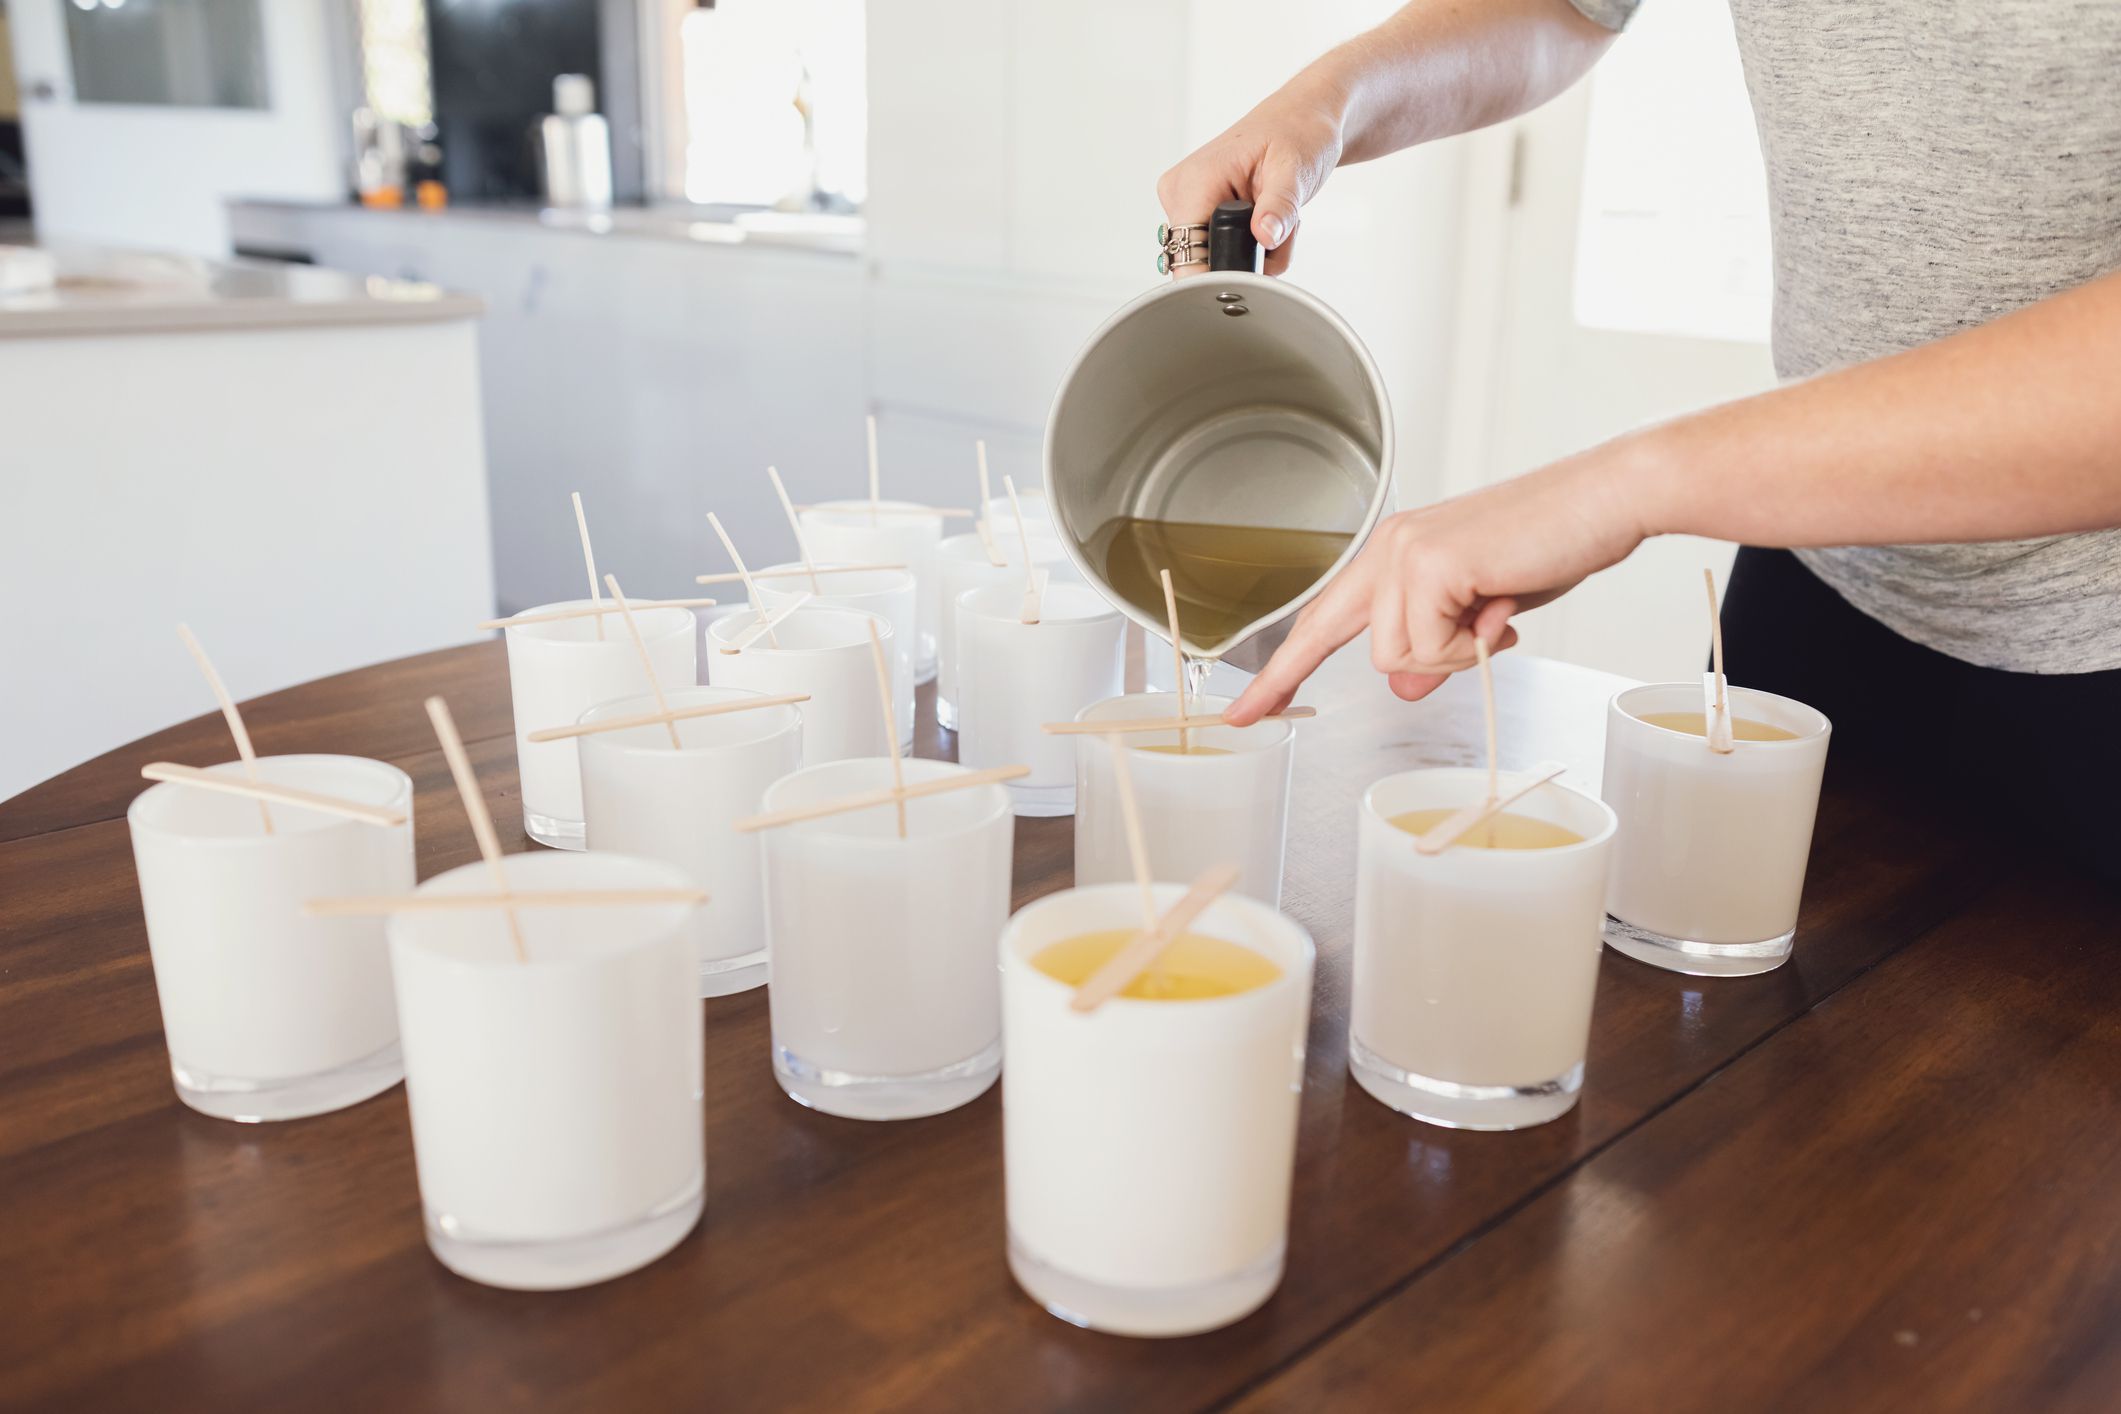
Step 4: Inserting the Wick
With the scented and colored wax ready, it’s time to insert the wick into your homemade candle. The wick is what allows the candle to burn, providing a steady and controlled flame. Follow these steps to properly insert the wick:
1. Choose the Right Length: Measure and cut the wick to a length that is slightly taller than the height of your candle container. This ensures that the wick extends above the wax, making it easier to light.
2. Attach the Wick to the Container: Use a wick sticker or a small glue dot to secure the metal tab at the end of the wick to the bottom center of the candle container. Press firmly to ensure it is securely in place.
3. Stabilize the Wick: To keep the wick centered and in place as the candle sets, use a wick holder. Simply place the wick holder on top of the container and position the wick through the center hole. The wick holder will keep the wick straight and centered as the wax solidifies.
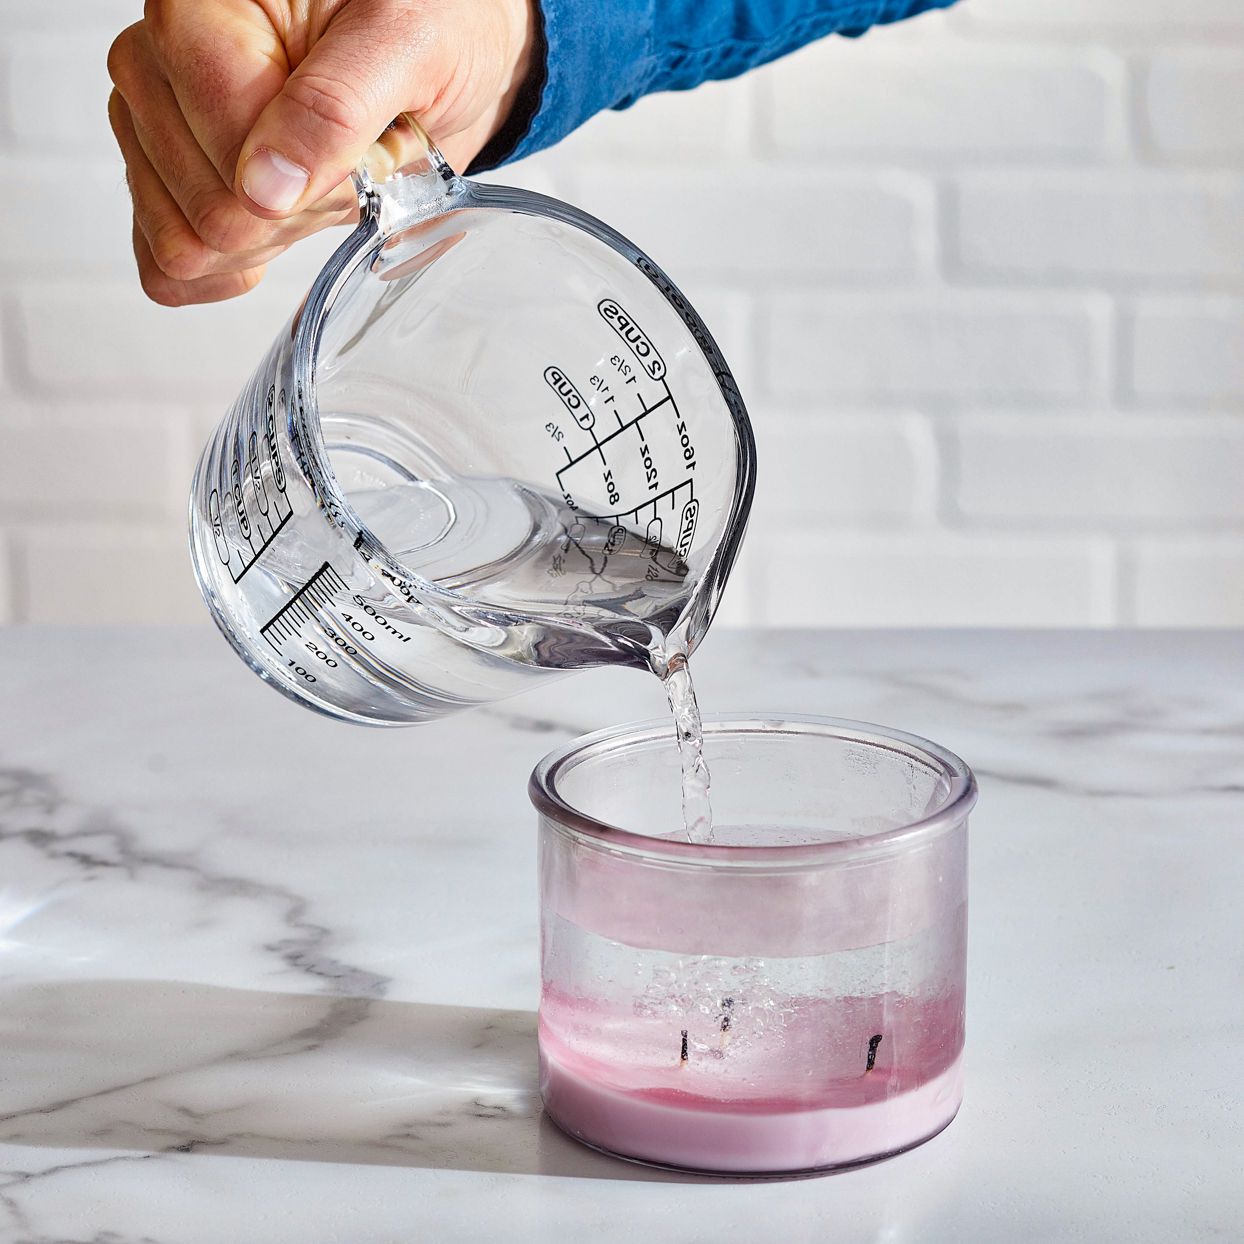
4. Pour the Wax: Carefully pour the scented and colored wax into the container, ensuring that the wick remains centered and upright. Fill the container to the desired level, leaving a small space at the top to avoid overspill when the candle is lit.
5. Allow the Candle to Set: Allow the candle to cool and solidify completely before moving it. This process can take several hours, so be patient and resist the temptation to disturb the candle. As it sets, the wick and wax will bond together, ensuring a stable and long-lasting candle.
It’s important to take your time when inserting the wick to ensure that it is securely attached and properly centered. A well-positioned wick will lead to an even burn and a pleasing candle experience.
With the wick inserted and the candle set, it’s time to move on to the next step: trimming the wick to ensure optimal performance and safety of your homemade candle.
Step 5: Allowing the Candle to Set
After pouring the scented and colored wax into the container and inserting the wick, it’s crucial to allow the candle to set and solidify completely. This step ensures that the candle retains its shape and stability. Follow these guidelines to properly let your homemade candle set:
1. Find a Safe Location: Choose a safe and undisturbed location where the candle can remain untouched while it sets. Ensure that the surface is level and heat-resistant to prevent any accidents or spills.
2. Patience is Key: It’s important to exercise patience during this step. Depending on the size of the candle and the type of candle base used, the setting process can take anywhere from a few hours to overnight. Be sure to check the specific guidelines for the type of base you’re using.
3. Avoid Disturbances: Once you’ve positioned the candle in the designated location, resist the temptation to touch or move it. Even slight movements can cause the wax to become uneven or create air bubbles in the candle, compromising its appearance and burn quality.
4. Maintain Optimal Temperature: During the setting process, it’s important to keep the candle away from drafts or extreme temperature changes. This can lead to uneven cooling and potentially cause cracks or imperfections in the finished candle.
5. Assess Readiness: To determine if the candle has fully set, gently touch the surface of the wax. It should feel firm and cool to the touch. If there is any sign of softness or indentation, allow the candle to set for additional time until it reaches the desired consistency.
By allowing your homemade candle to set undisturbed, you’re ensuring that it solidifies properly and maintains its intended shape and appearance. Once the candle is fully set, you can move on to the next step: trimming the wick for optimal burning and safety.
Step 6: Trimming the Wick
Once your homemade candle has fully set and solidified, it’s important to trim the wick before lighting it. Trimming the wick helps promote an even burn and prevents excessive smoke and soot. Follow these steps to properly trim the wick:
1. Prepare the Tools: Gather a pair of sharp scissors or wick trimmers specifically designed for candle wicks. These tools will make it easier to achieve a clean and precise cut.
2. Check the Wick Length: Carefully examine the length of the wick protruding from the candle’s surface. Ideally, it should be around ¼ inch (6mm) in length. Trim any excess wick that is longer than this recommended length.
3. Hold the Candle Securely: Firmly grasp the base of the candle to provide stability while trimming. This will help prevent accidental movements or shifts that can affect the shape of the candle or disturb the wax.
4. Make the Cut: Position the scissors or wick trimmers at a 45-degree angle and trim the wick just above the surface of the wax. Be careful not to cut the wick too close to the wax, as this may cause difficulties in relighting the candle later on.
5. Dispose of Trimmed Wick: After trimming the wick, remove the cut pieces from the candle to prevent them from falling into the wax and potentially causing problems during burning.
6. Store the Trimmed Wick: If the trimmed wick is still in good condition, you can save it for future use or as a spare wick for other candle-making projects.
Remember to trim the wick before each subsequent use of the candle. Trimming the wick regularly ensures that the flame remains steady and reduces the risk of the candle smoking or producing excessive soot.
With the wick properly trimmed, your homemade candle is now ready to be lit and enjoyed. The final step is to add personal touches and decorations to your candle to make it truly special and unique.
Step 7: Decorating and Personalizing the Candle
With your homemade candle completed and trimmed, it’s time to add the finishing touches by decorating and personalizing it. This step allows you to unleash your creativity and make your candle truly unique. Here are some ideas to inspire you:
1. Ribbon or Twine: Wrap a decorative ribbon or twine around the base of the candle for an elegant touch. Choose a color that complements the scent or matches the theme of your home décor.
2. Dried Flowers or Herbs: Add a natural element by attaching dried flowers or herbs to the outside of the candle container. Press them gently into the wax or use a small dab of clear adhesive to hold them in place.
3. Gemstones or Crystals: Create a sense of tranquility and positive energy by placing small gemstones or crystals around the base of the candle. Choose stones that align with your intentions, such as amethyst for relaxation or rose quartz for love.
4. Custom Labels or Stickers: Design and print personalized labels or stickers to attach to the candle container. Include the scent name, your name, or a special message to add a professional touch.
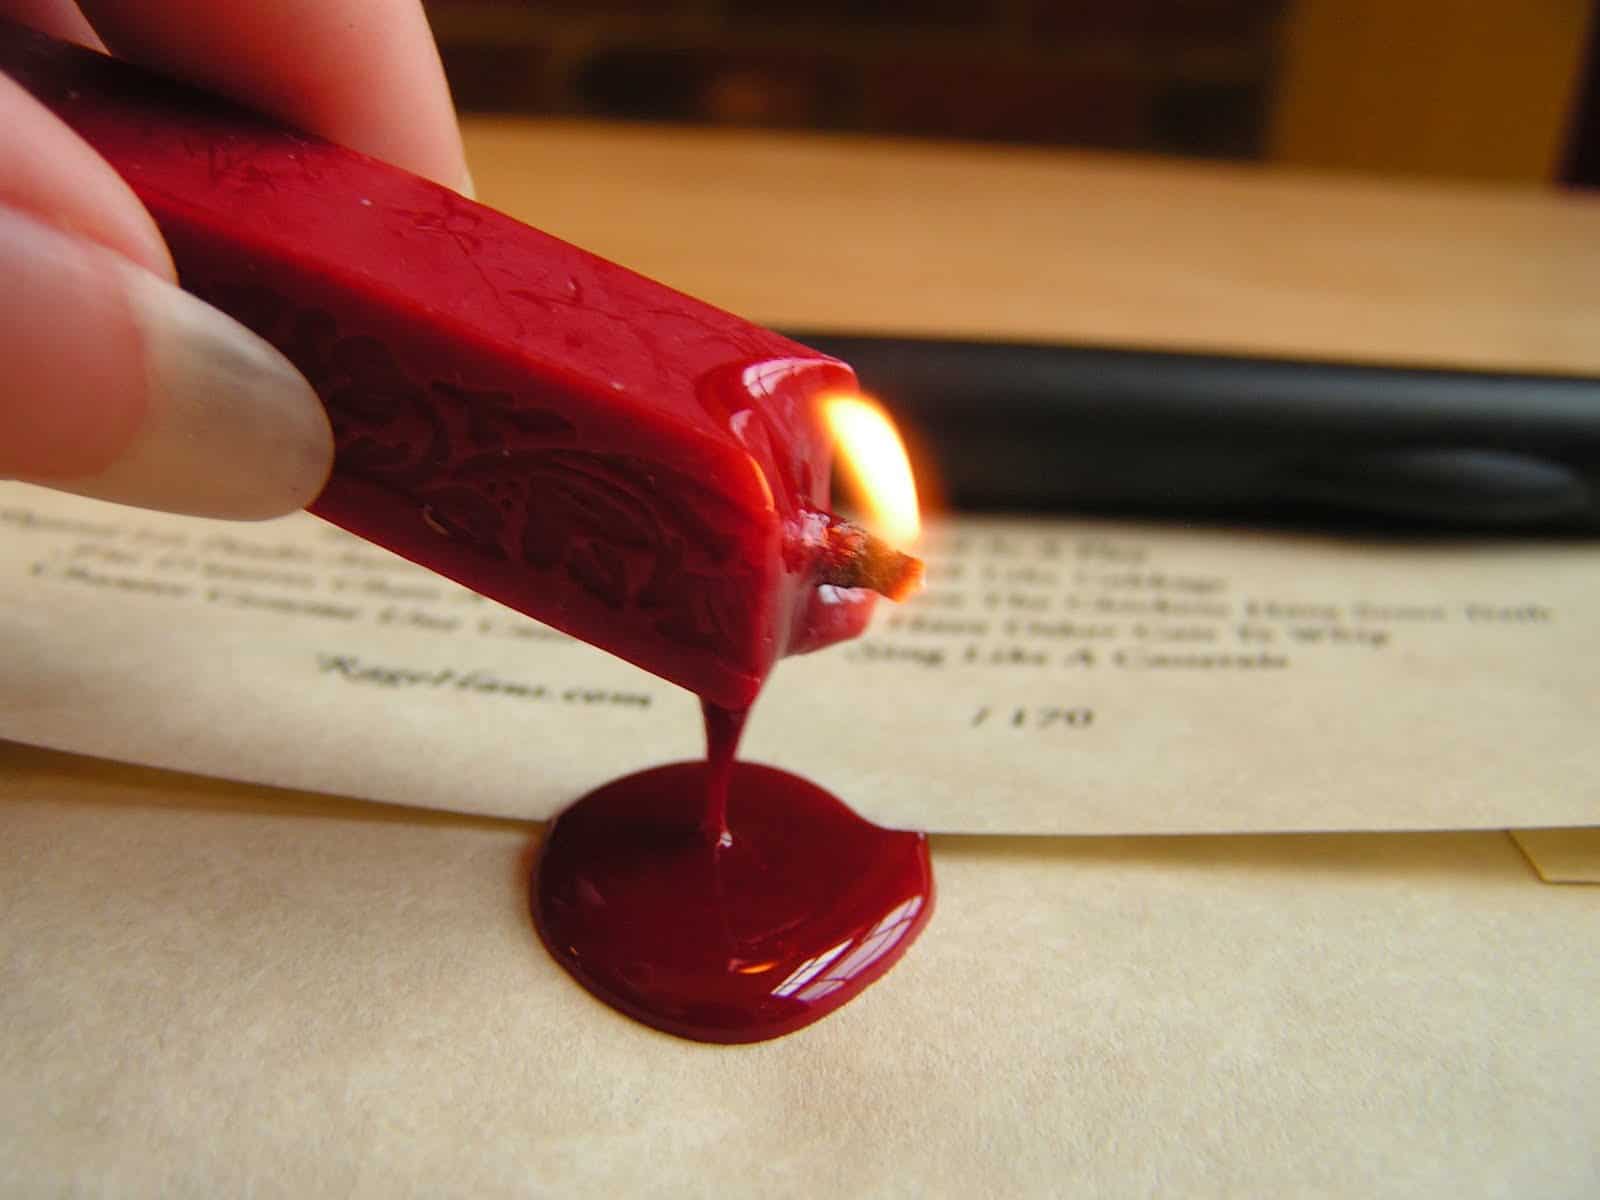
5. Wax Seals: Elevate the elegance of your candle by adding a wax seal to the lid or side of the container. Select a seal stamp design that resonates with your style and press it onto a melted wax seal to create a beautiful and unique embellishment.
6. Decorative Charms or Beads: Attach small charms or beads to the wick or the wax for a whimsical touch. Choose designs that reflect your personal interests or the occasion for which the candle is intended.
7. Custom Candle Holders: If you’re using a transparent candle container, consider placing it inside a custom-made candle holder. Use materials like wood, ceramic, or glass to create a unique display piece that enhances the aesthetic of your candle.
The possibilities for decorating and personalizing your homemade candle are endless. Let your imagination run wild and create a candle that reflects your personal style, intentions, and the atmosphere you want to create in your space.
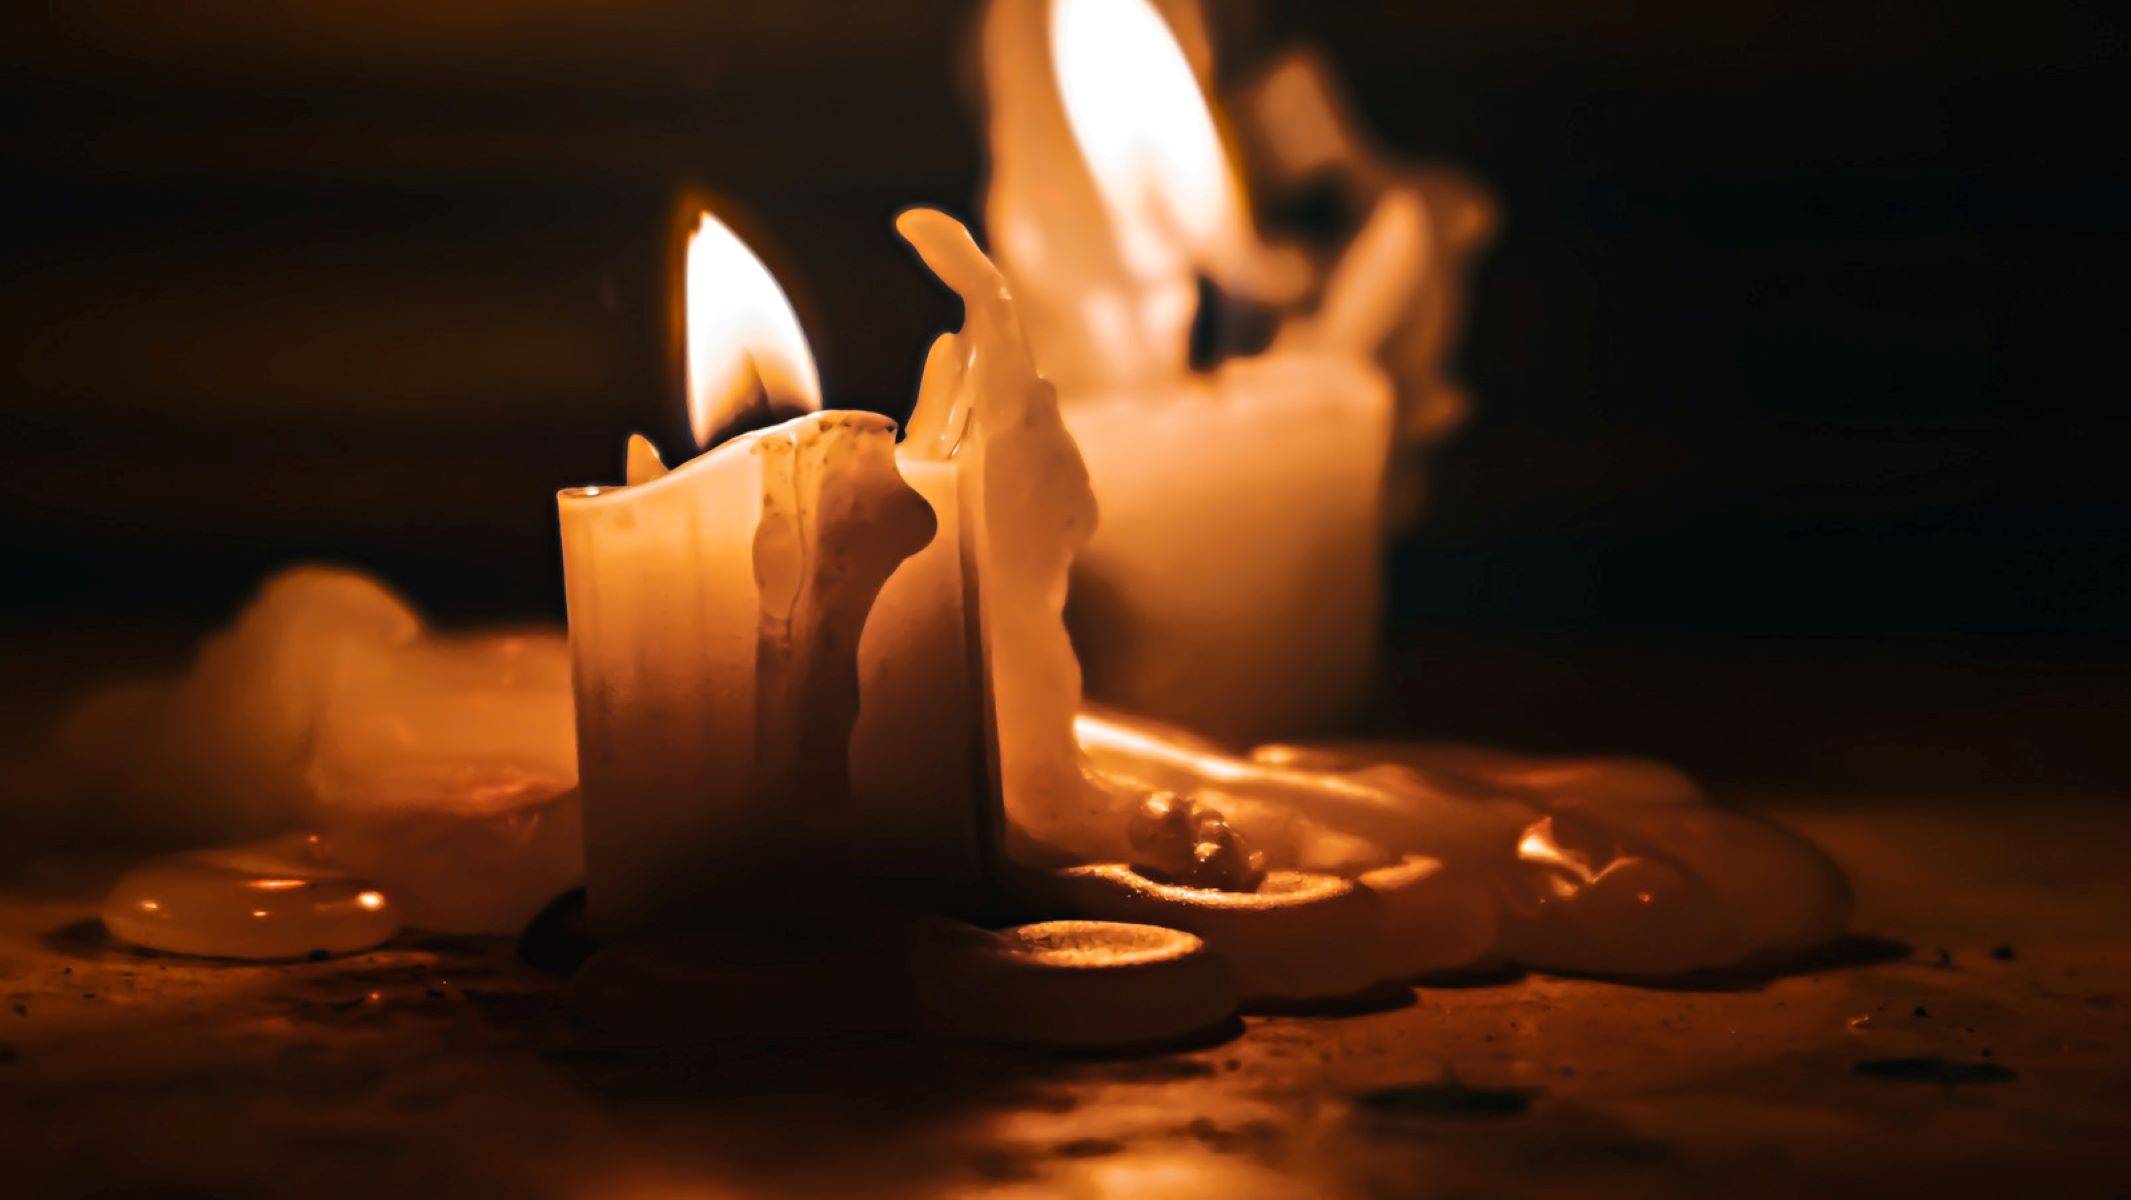
Now your homemade candle is ready to take center stage, infusing your home with beautiful fragrance, gentle illumination, and your own creative flair. Enjoy the cozy ambiance and soothing scents that your personalized candle provides.
Read more: How To Make Homemade Citronella Candles
Conclusion
Congratulations! You have successfully learned how to make homemade candles without wax. By following the steps outlined in this article, you were able to create unique and personalized candles using alternative candle base materials. Not only did this allow for customization of scents and colors, but it also opened up a world of creativity when it came to decorating and personalizing your candles.
Making candles at home is not only a fun and fulfilling hobby but also a cost-effective way to add warmth and ambience to your living space. Whether you prefer the eco-friendly option of soy wax flakes, the natural beauty of beeswax pellets, or the vegan-friendly choice of coconut oil, there are endless possibilities to explore.
By selecting your desired base, preparing it for melting, adding fragrance and color, inserting the wick, allowing the candle to set, trimming the wick, and finally decorating and personalizing the candle, you have created a unique and meaningful candle that is truly your own.
Imagine the joy of lighting your homemade candle, experiencing the wonderful fragrance you chose, and basking in the gentle glow it emits. Not only will your space be filled with a delightful aroma, but it will also exude a sense of warmth and comfort that only a homemade candle can provide.
So, gather your materials, let your creativity flow, and embark on this exciting candle-making journey. Experiment with different scents, colors, and decorations to create candles that reflect your personal style and bring joy to your surroundings.
Remember, candle-making is an art that can be continuously perfected. As you gain experience and explore new techniques, you may discover even more innovative ways to enhance your homemade candles.
Enjoy the process, have fun, and don’t forget to share your creations with loved ones or even consider gifting them to spread the joy of homemade candles.
Now, it’s time to sit back, relax, and bask in the cozy and calming glow of your homemade candles without wax. Happy candle-making!
Frequently Asked Questions about How To Make Homemade Candles Without Wax
Was this page helpful?
At Storables.com, we guarantee accurate and reliable information. Our content, validated by Expert Board Contributors, is crafted following stringent Editorial Policies. We're committed to providing you with well-researched, expert-backed insights for all your informational needs.
0 thoughts on “How To Make Homemade Candles Without Wax”