
Articles
How To Melt Wax To Make Candles
Modified: January 4, 2024
Learn the art of making candles with our step-by-step articles on how to melt wax. Get started on your candle-making journey today!
(Many of the links in this article redirect to a specific reviewed product. Your purchase of these products through affiliate links helps to generate commission for Storables.com, at no extra cost. Learn more)
Introduction
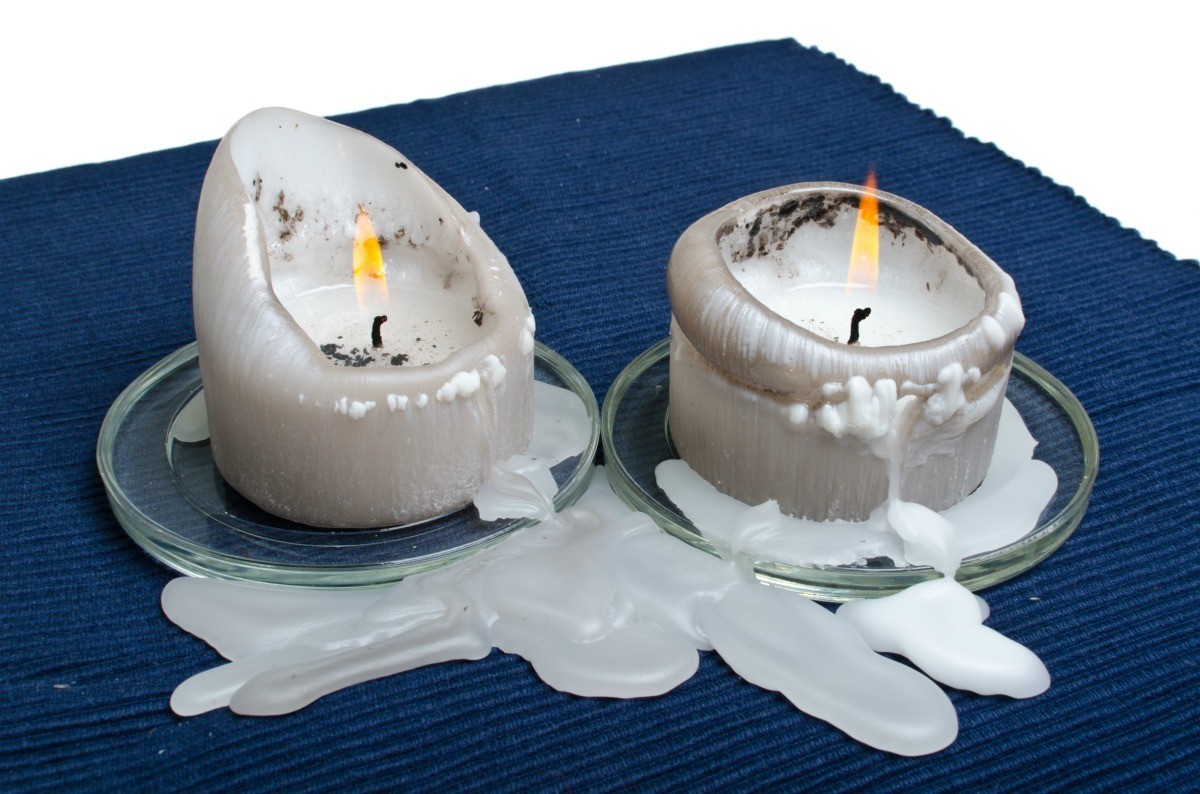
Creating your own candles can be a rewarding and enjoyable craft project. Not only can you customize the fragrance and color to suit your preferences, but you can also save money by making them yourself. One crucial step in candle making is melting the wax, as this process determines the quality and consistency of the final product.
In this article, we will guide you through the process of melting wax to make candles. Whether you are a beginner or an experienced candle maker, these steps will ensure that you create beautiful, long-lasting candles. Before we begin, it is important to note that safety should always be your top priority. So, let’s dive into the details and learn how to safely melt wax for candle making.
Key Takeaways:
- Safety is paramount in candle making. Prioritize proper ventilation, protective gear, and a dedicated melting pot to prevent accidents and ensure a safe and enjoyable crafting experience.
- Personalization is key. From selecting the right wax to adding fragrances and colors, to decorating and packaging, each step allows for creativity and the expression of individual style in candle making.
Read more: What Temperature To Melt Soy Wax For Candles
Safety Precautions
When working with wax and heat, it’s essential to prioritize safety. By following these precautions, you can prevent accidents and create a safe environment for making candles:
- Work in a well-ventilated area: Ensure that there is proper airflow in your workspace to avoid inhaling fumes from the melting wax.
- Wear protective gear: Put on heat-resistant gloves and long sleeves to protect your hands and arms from potential burns.
- Use a dedicated melting pot: It’s best to use a separate pot or dedicated melting container for melting wax rather than repurposing kitchenware.
- Avoid distractions: When working with heat, focus solely on the task at hand to minimize the chances of accidents or burns.
- Keep flammable items away: Ensure that there are no combustible materials, such as paper or cloth, in close proximity to the heat source.
- Don’t leave unattended: Never leave the melting wax unattended. Always stay near the heat source to monitor the process.
- Use a heat-resistant surface: Place your melting pot on a heat-resistant surface like a silicone mat or a trivet to protect your workspace.
- Keep a fire extinguisher on hand: Have a fire extinguisher nearby, just in case of any fire accidents.
- Be cautious of hot wax: Molten wax can cause severe burns. Handle the pot and utensils with care, using heat-resistant tools like silicone spatulas.
- Clean up spills immediately: If any wax spills occur, clean them up promptly to prevent slipping hazards. Use caution as the spilled wax may still be hot.
- Practice electrical safety: If you’re using an electric wax melter or hot plate, ensure that the cords are in good condition and not tangled or frayed.
By taking these safety precautions, you can enjoy the candle-making process with peace of mind, knowing that you are prioritizing the well-being of yourself and those around you.
Materials Needed
Before you begin melting wax for candle making, gather the following materials:
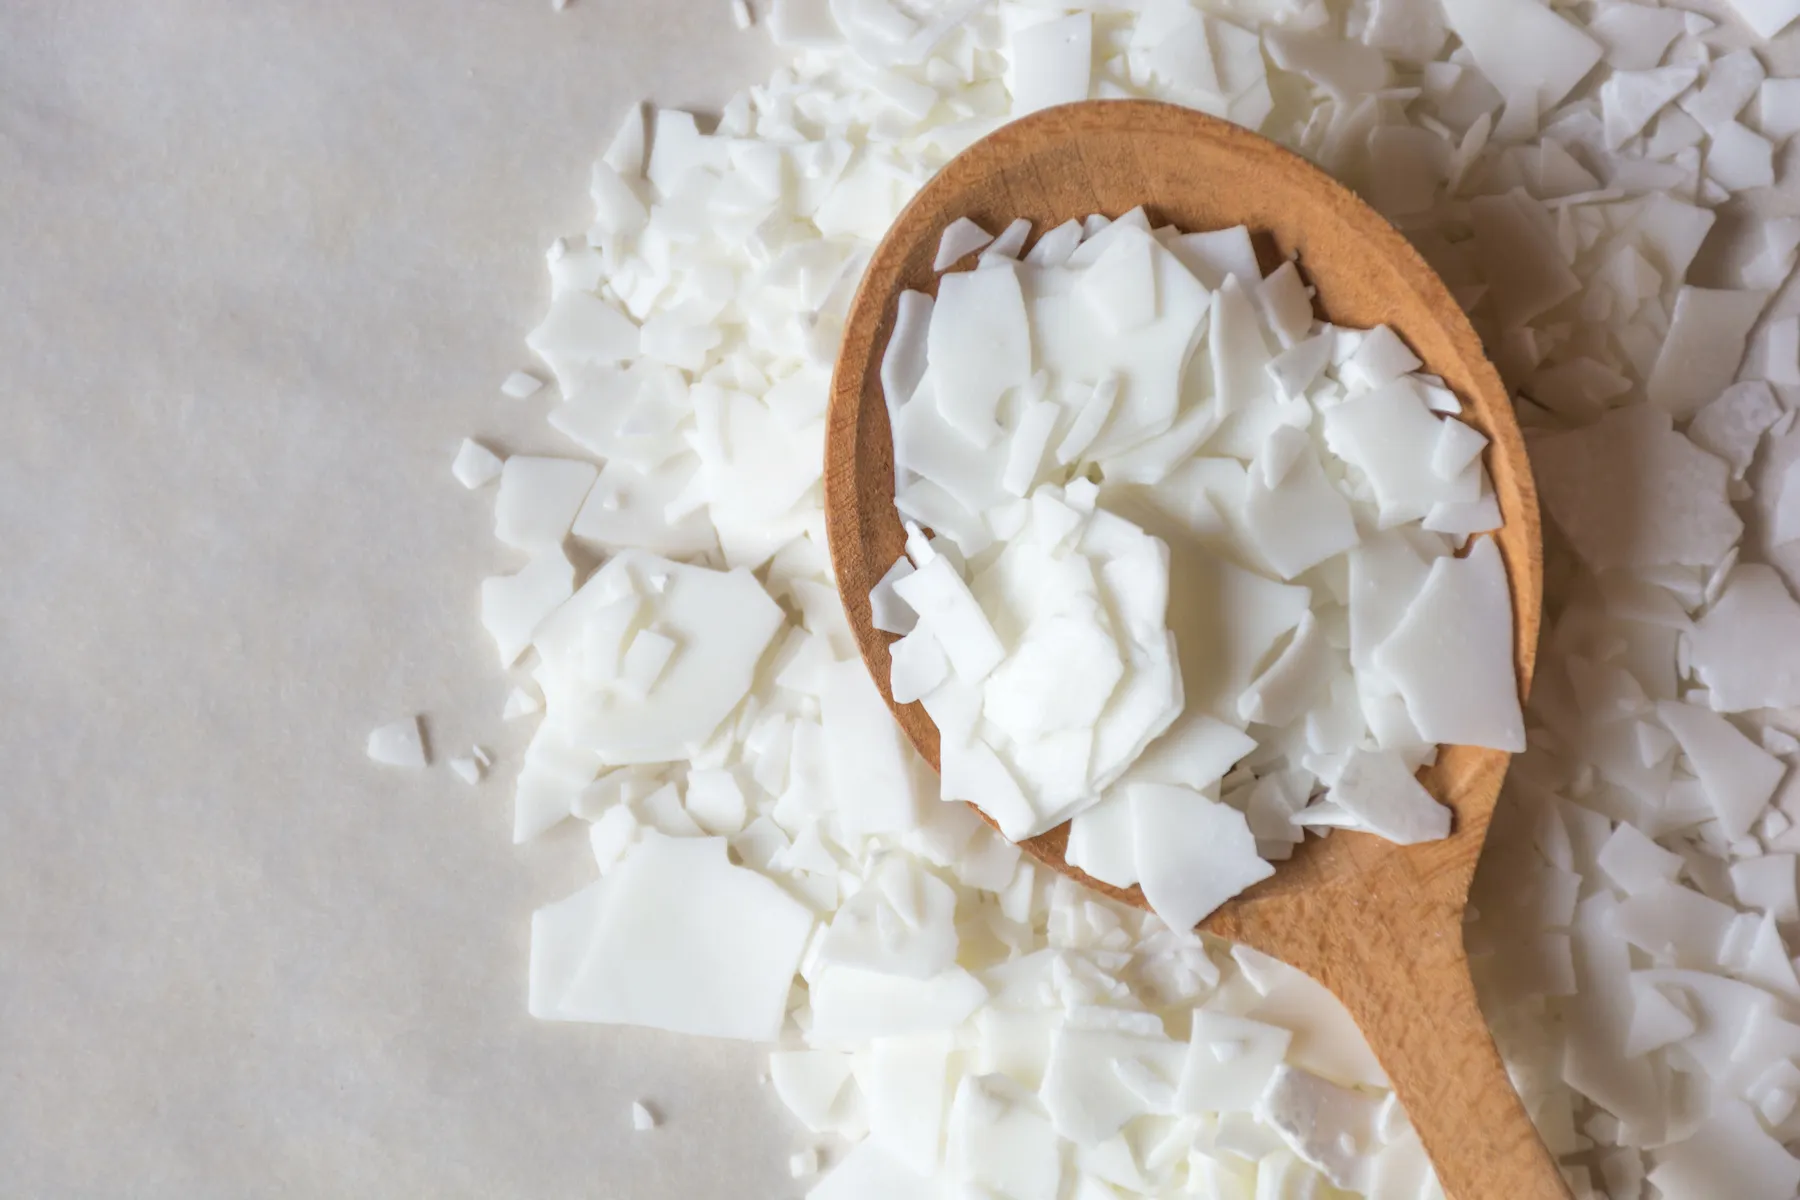
- Wax: Choose a wax type suitable for candle making. Popular options include soy wax, beeswax, and paraffin wax. Decide on the quantity based on the number of candles you plan to make.
- Melting pot: Use a heat-resistant container or a double boiler specifically designed for melting wax. Avoid using pots or pans from your kitchen as they may become difficult to clean.
- Thermometer: A candy or candle thermometer is necessary to monitor the temperature of the melting wax. This ensures that the wax reaches the optimal temperature for pouring into molds.
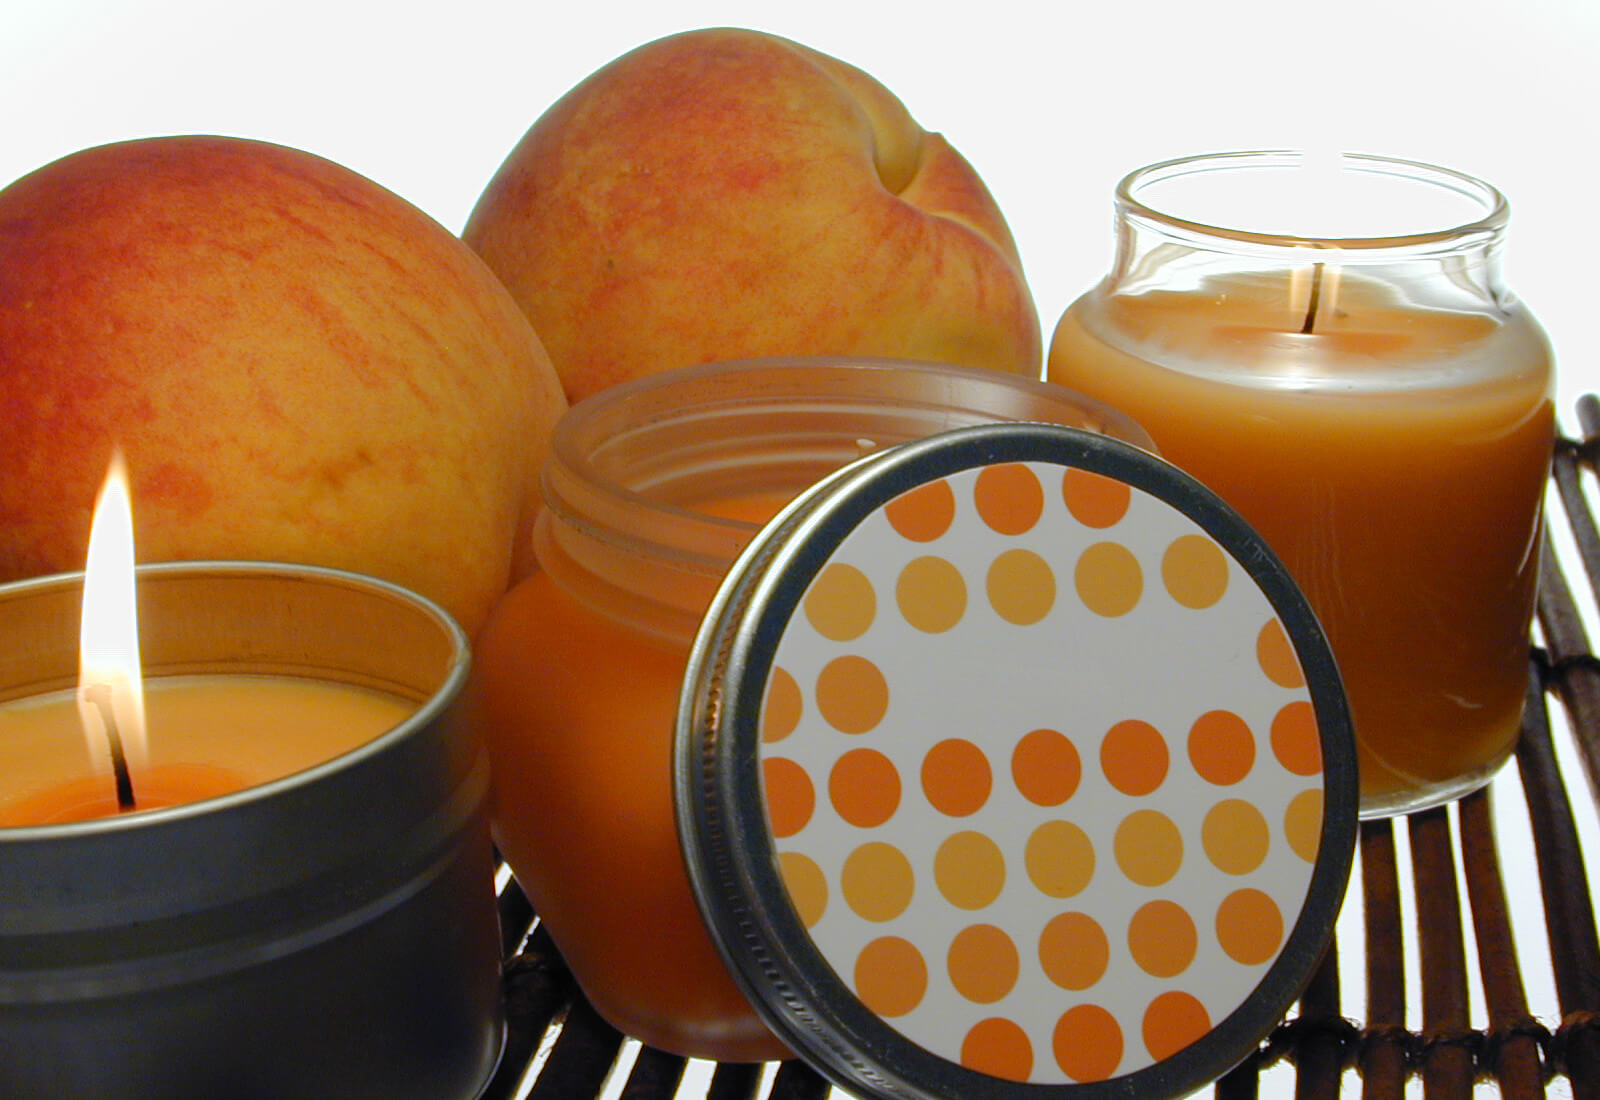
- Fragrance oils: If you want scented candles, gather your preferred fragrance oils. Choose scents that complement your personal taste or the intended occasion.
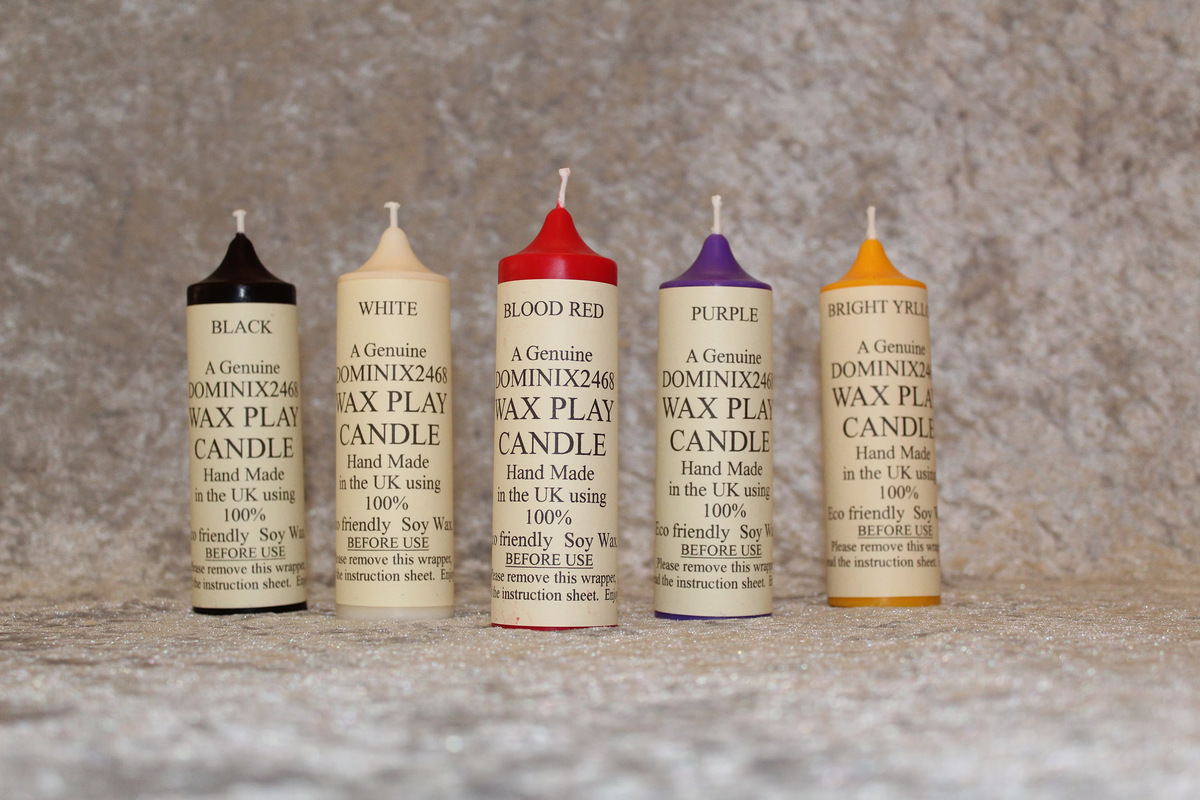
- Candle dyes or color blocks: For colored candles, select candle dyes or color blocks in various shades. These will add vibrancy and depth to your candles.
- Candle wicks: Purchase pre-tabbed candle wicks or rolls of wick material along with metal sustainers. The size of the wick depends on the diameter of the candle you plan to make.
- Stirring utensil: Use a heat-resistant spoon or spatula dedicated to candle making. Avoid wooden utensils as they can absorb the fragrance and color of the wax.
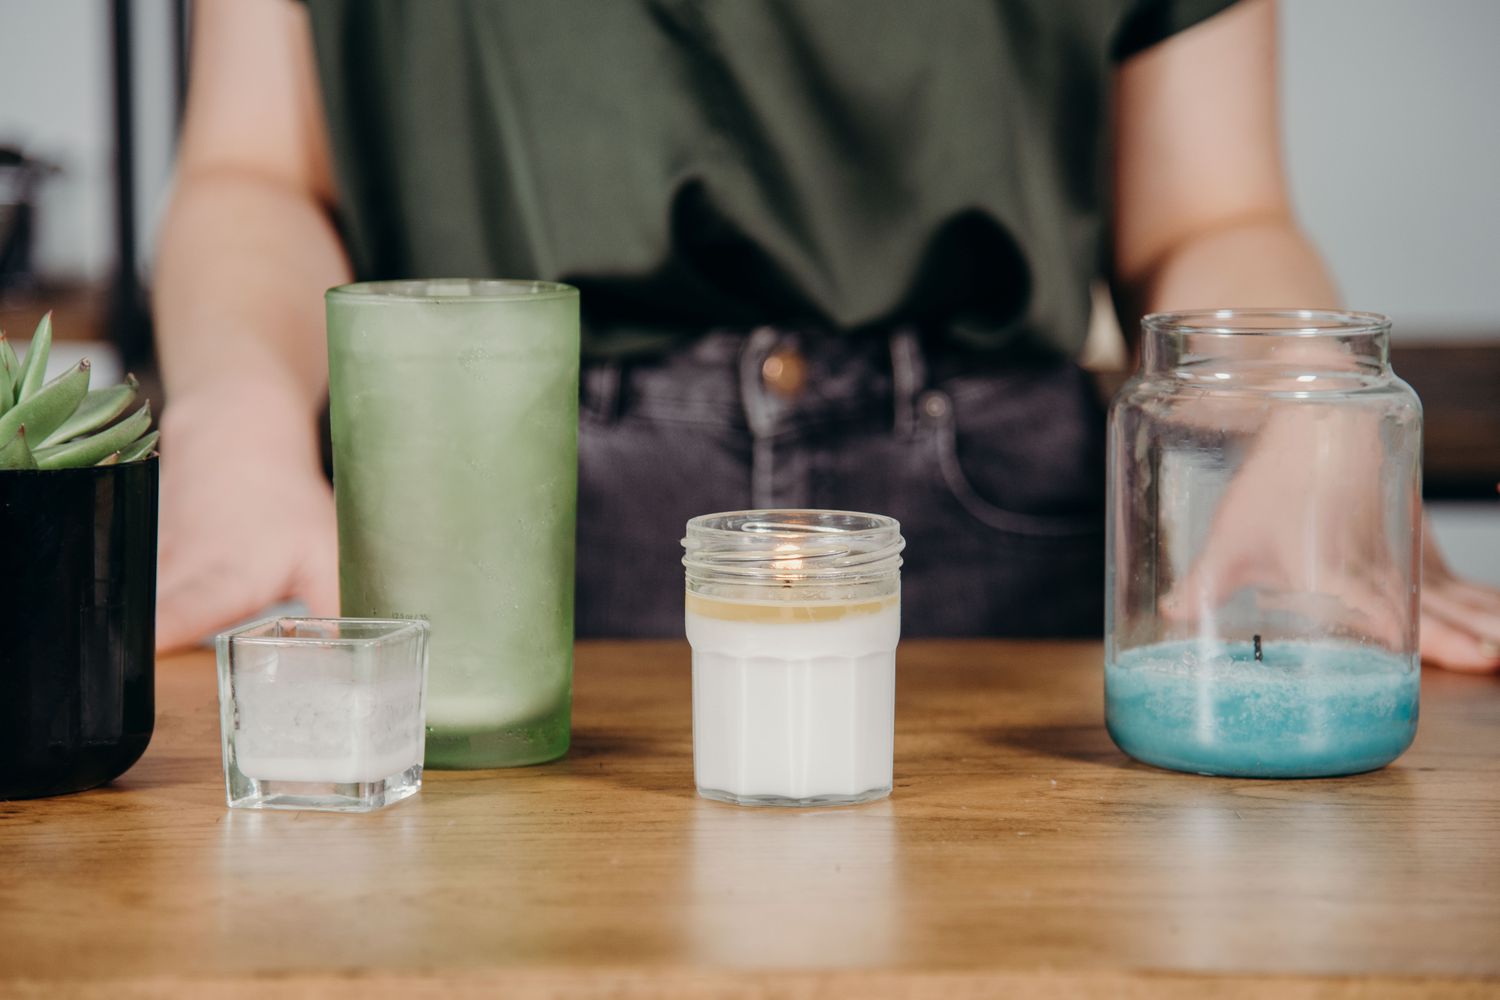
- Candle molds: Choose molds that suit your desired candle shape and size. Silicone molds are popular due to their flexibility and ease of use.
- Release spray or oil: To make unmolding easier, apply a release spray or coating of vegetable oil to the inside of your candle molds.
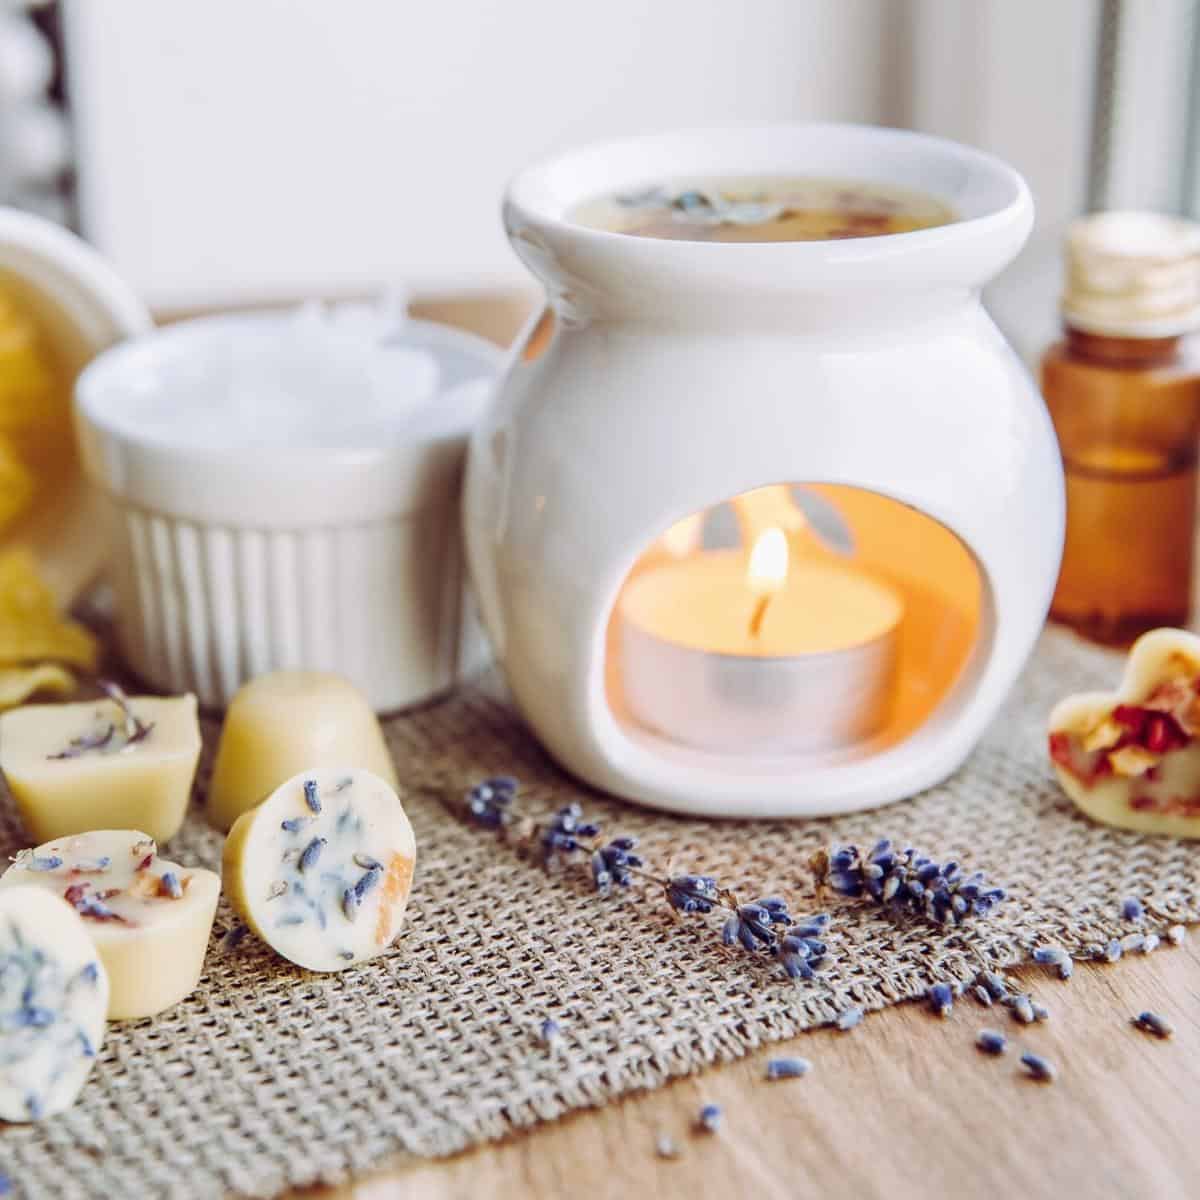
- Optional: Additional decorative elements such as dried flowers, glitter, or herbs to personalize your candles.
- Protective gear: Remember to wear heat-resistant gloves, long sleeves, and safety goggles to protect yourself from any potential splashes or spills.
Once you have gathered all the necessary materials, you are ready to proceed with melting the wax and creating your own beautiful candles.
Step 1: Selecting the Wax
The first step in melting wax for candle making is choosing the right type of wax for your project. There are several options available, each with its own characteristics and benefits:
- Soy Wax: Soy wax is made from soybean oil and is known for its clean and natural burning properties. It is a popular choice among environmentally conscious candle makers.
- Beeswax: Beeswax is a natural wax produced by bees. It has a delightful honey-like scent and burns longer than other types of wax. Beeswax candles also emit a warm and cozy ambiance.
- Paraffin Wax: Paraffin wax is derived from petroleum and is widely used in the candle-making industry. It is affordable, readily available, and produces a strong scent throw.
- Blend Wax: Blend wax combines different types of wax to achieve desired qualities. It may contain a mixture of soy wax, beeswax, or other additives to enhance fragrance, burn time, or aesthetics.
Consider your preferences and the specific requirements of your candle project when choosing the wax. It’s also important to note that different waxes have specific melting points, so follow the manufacturer’s guidelines for the optimal melting temperature.
For beginners, soy wax is often a good choice as it is easy to work with and produces excellent results. It has a lower melting point, which makes it quicker to melt and pour into molds.
Once you have made your wax selection, ensure that you have enough wax for the number of candles you plan to make. It’s better to have a little extra rather than running out midway through the process.
Now that you have selected the perfect wax for your candles, it’s time to move on to the next step: preparing the work area.
Step 2: Preparing the Work Area
Before melting wax for candle making, it’s crucial to prepare your work area properly. This will ensure a smooth and organized process. Follow these steps to set up your workspace:
- Clean and well-ventilated space: Start by cleaning your work surface to remove any dust or debris. Ensure that the area is well-ventilated to allow for proper airflow during the candle-making process.
- Protective covering: Place a heat-resistant mat or a layer of aluminum foil on your work surface. This will protect the surface from any spilled wax or accidental heat damage.
- Heat source: Set up your heat source, whether it’s a hot plate or an electric wax melter, in a safe and stable location. Make sure there is enough space around the heat source to work comfortably.
- Organize materials: Arrange all your candle-making materials within easy reach. This includes the melting pot, thermometer, fragrance oils, colorants, wicks, molds, and any additional decorative elements.
- Place towels or rags: Keep a few clean towels or rags nearby to wipe up any spills or to handle hot utensils or containers.
- Protective gear: Put on your heat-resistant gloves, long sleeves, and safety goggles to protect yourself from potential splashes or contact with hot wax.
By taking the time to set up your workspace properly, you can work efficiently and minimize the risk of accidents. Having all your materials within reach and maintaining a clean and organized work area will make the candle-making process more enjoyable.
Now that your workspace is ready, it’s time to move on to the next step: melting the wax.
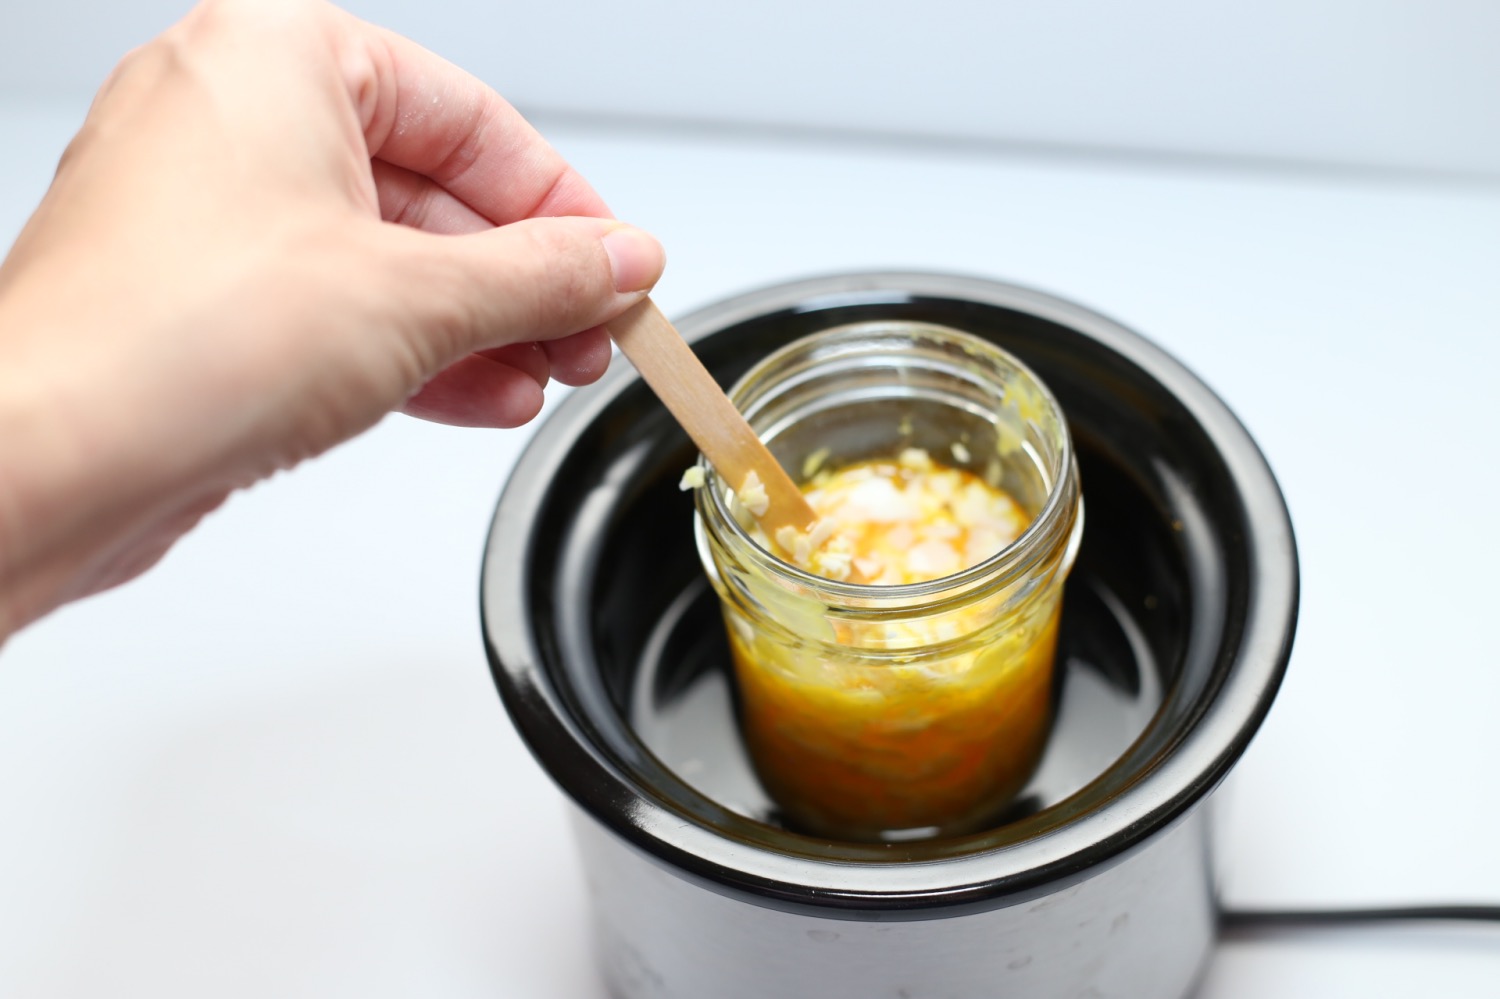
Step 3: Melting the Wax
Now that your work area is prepared, it’s time to start melting the wax for your candles. Follow these steps to ensure a successful melting process:
- Measure the wax: Begin by measuring the amount of wax you need for your candles based on the instructions or recipe you are following.
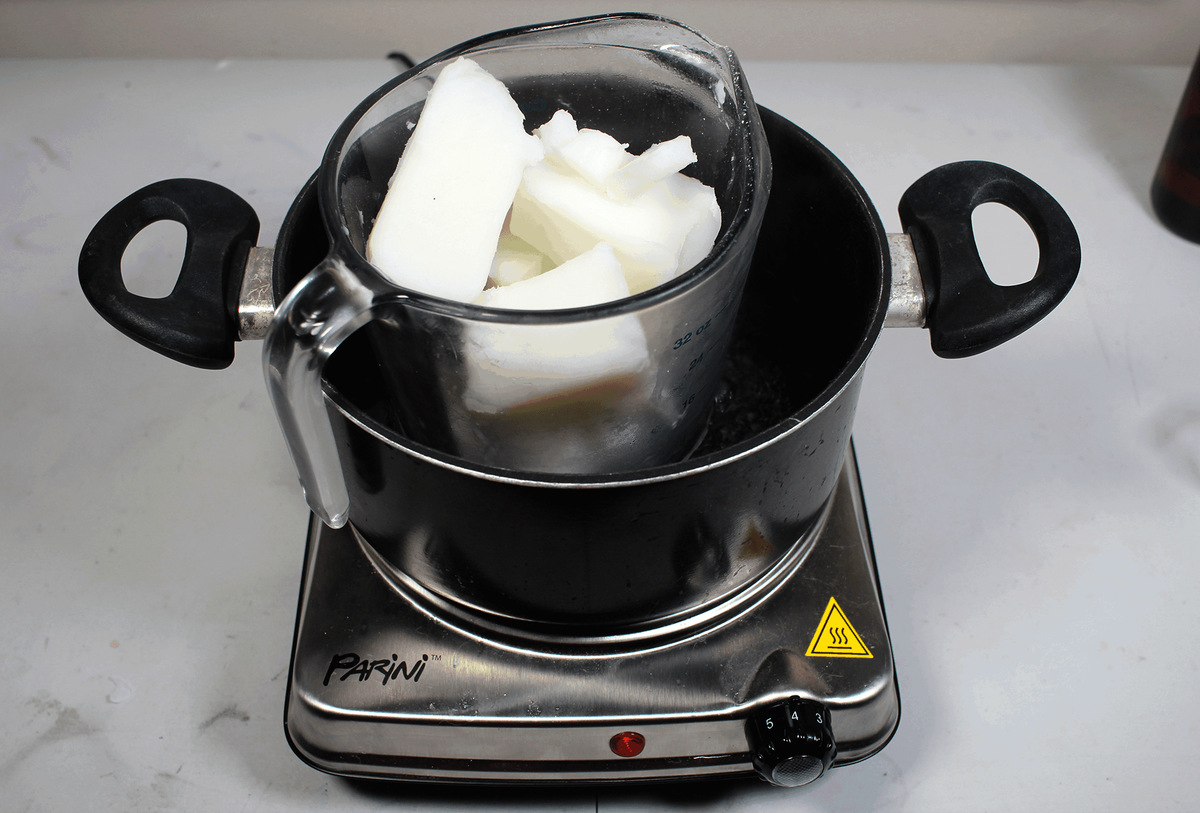
- Prep the melting pot: Use a clean and dry melting pot specifically designed for candle making. If you are using a double boiler, fill the bottom pot with water and place the clean empty melting pot on top.
- Add the wax: Add the measured wax into the melting pot. The amount of wax required may vary depending on the size and number of candles you are making.
- Heat the wax: Place the melting pot on the heat source and turn it on to low or medium heat. Slow and gentle heating will help prevent the wax from scorching or burning.
- Stir occasionally: As the wax begins to melt, use a heat-resistant utensil to stir it gently. This will help distribute heat evenly and prevent any clumps or hot spots.
- Monitor the temperature: Attach a candy or candle thermometer to the side of the melting pot, ensuring that the tip is immersed in the liquid wax. Monitor the temperature as the wax melts.
- Heat to the desired temperature: Different types of wax have different optimal pouring temperatures. Refer to the manufacturer’s guidelines for the recommended temperature. Typically, the range is between 160°F (71°C) and 185°F (85°C).
- Remove from heat: Once the wax has reached the desired temperature, remove the melting pot from the heat source. It’s important to avoid overheating, as this can affect the fragrance and color of the wax.
Remember to exercise caution when handling the hot melting pot and utensils. As the wax cools, it will solidify again, so work quickly but carefully during the pouring process.
Now that your wax is melted, it’s time to move on to the next step: adding fragrances and colors (optional).
Step 4: Adding Fragrances and Colors (Optional)
Adding fragrances and colors to your melted wax can enhance the overall sensory experience of your homemade candles. Follow these steps to infuse your candles with delightful scents and vibrant hues:
- Choose your fragrance: Select the desired fragrance oil or essential oil that complements your candle theme or personal preference. Be sure to use oils specifically designed for candle making.
- Measure the fragrance: Follow the recommended usage rate provided by the manufacturer. Typically, it is around 5-10% of the total wax weight, but check the specific guidelines for your chosen fragrance.
- Add the fragrance: Pour the measured fragrance oil into the melted wax and stir gently to distribute it evenly. Ensure that the fragrance is thoroughly mixed to prevent any uneven scent distribution in the finished candles.
- Choose your color: If you want to add color to your candles, select candle dyes or color blocks in the desired shades. Follow the instructions provided by the manufacturer for the appropriate usage amount.
- Melt the color: If you are using candle dyes or color blocks, add a small piece to the melted wax and stir until it dissolves completely. Continue adding more if a stronger color is desired, but be cautious not to add too much, as it may affect the quality of the candle.
- Mix the color: Stir the color thoroughly to ensure an even distribution throughout the melted wax. Keep stirring until the desired color is achieved.
Remember that adding fragrances and colors is entirely optional. If you prefer unscented or colorless candles, you can skip this step and proceed with pouring the wax into molds.
By adding fragrances and colors to your melted wax, you can create beautifully scented and visually appealing candles that will elevate any space with their aroma and aesthetic.
Now that your fragrances and colors are added, it’s time to move on to the next step: preparing the candle molds.
Use a double boiler to melt the wax, placing the wax in the top pot and water in the bottom pot. Heat gently and stir occasionally to ensure even melting.
Step 5: Preparing the Candle Molds
Properly preparing your candle molds is essential to ensure that your candles come out smoothly and retain their desired shape. Follow these steps to prepare the candle molds:
- Clean the molds: Ensure that your candle molds are clean and free from any dust, debris, or residue from previous use. This will help in achieving a clean and professional finish on your candles.
- Apply a release agent: To make unmolding easier, apply a release spray or coating of vegetable oil to the inside of your candle molds. This will prevent the wax from sticking to the mold’s surface and aid in its removal later.
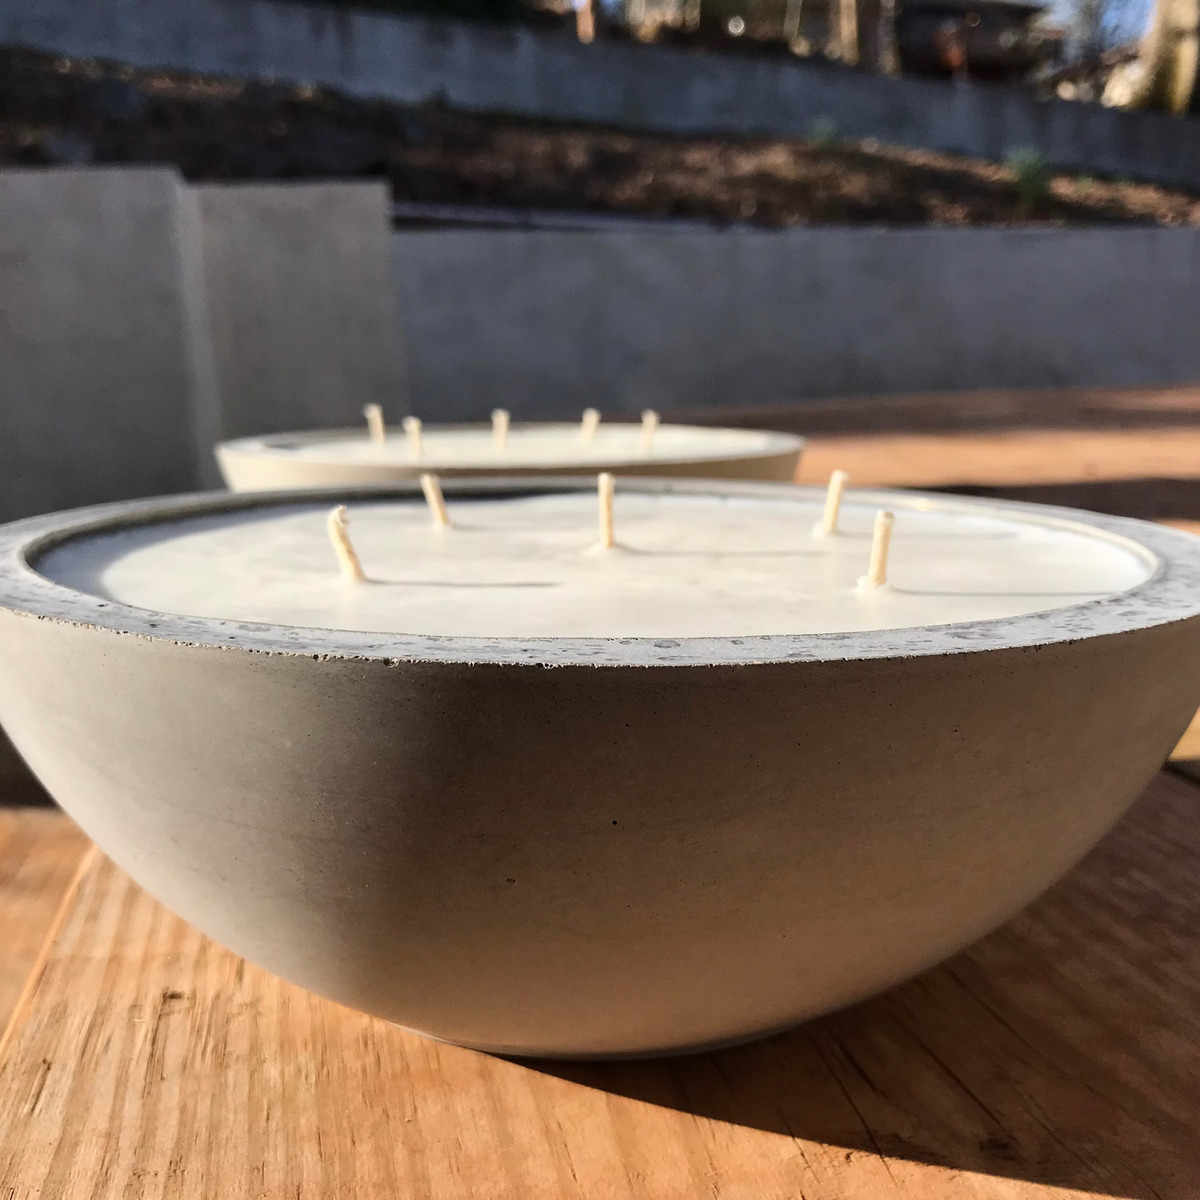
- Secure the wicks: Place a metal sustainer at the bottom center of each mold, and thread the appropriate-sized pre-tabbed wick through it. Ensure that the wick is centered and held securely in place.
- Stabilize the wicks: To keep the wicks in place during the pouring process, you can use wick holders or simply wrap the excess wick around a pencil or skewer and balance it on top of the mold.
Preparing the candle molds before pouring the wax will make the subsequent steps much easier and ensure the candles maintain their intended shape.
Now that your molds are prepared, it’s time to move on to the next step: pouring the wax into the molds.
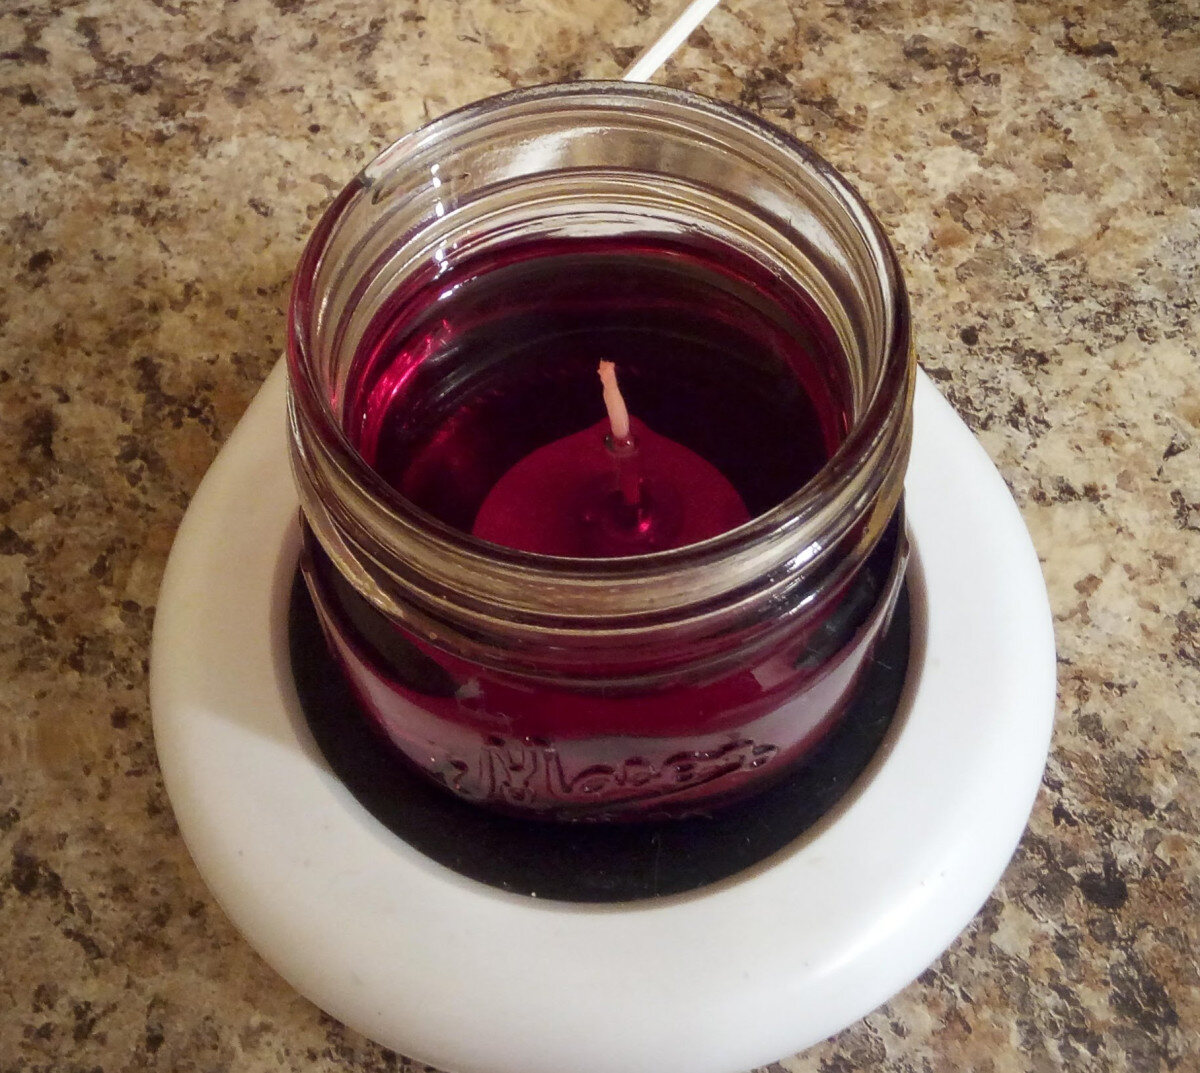
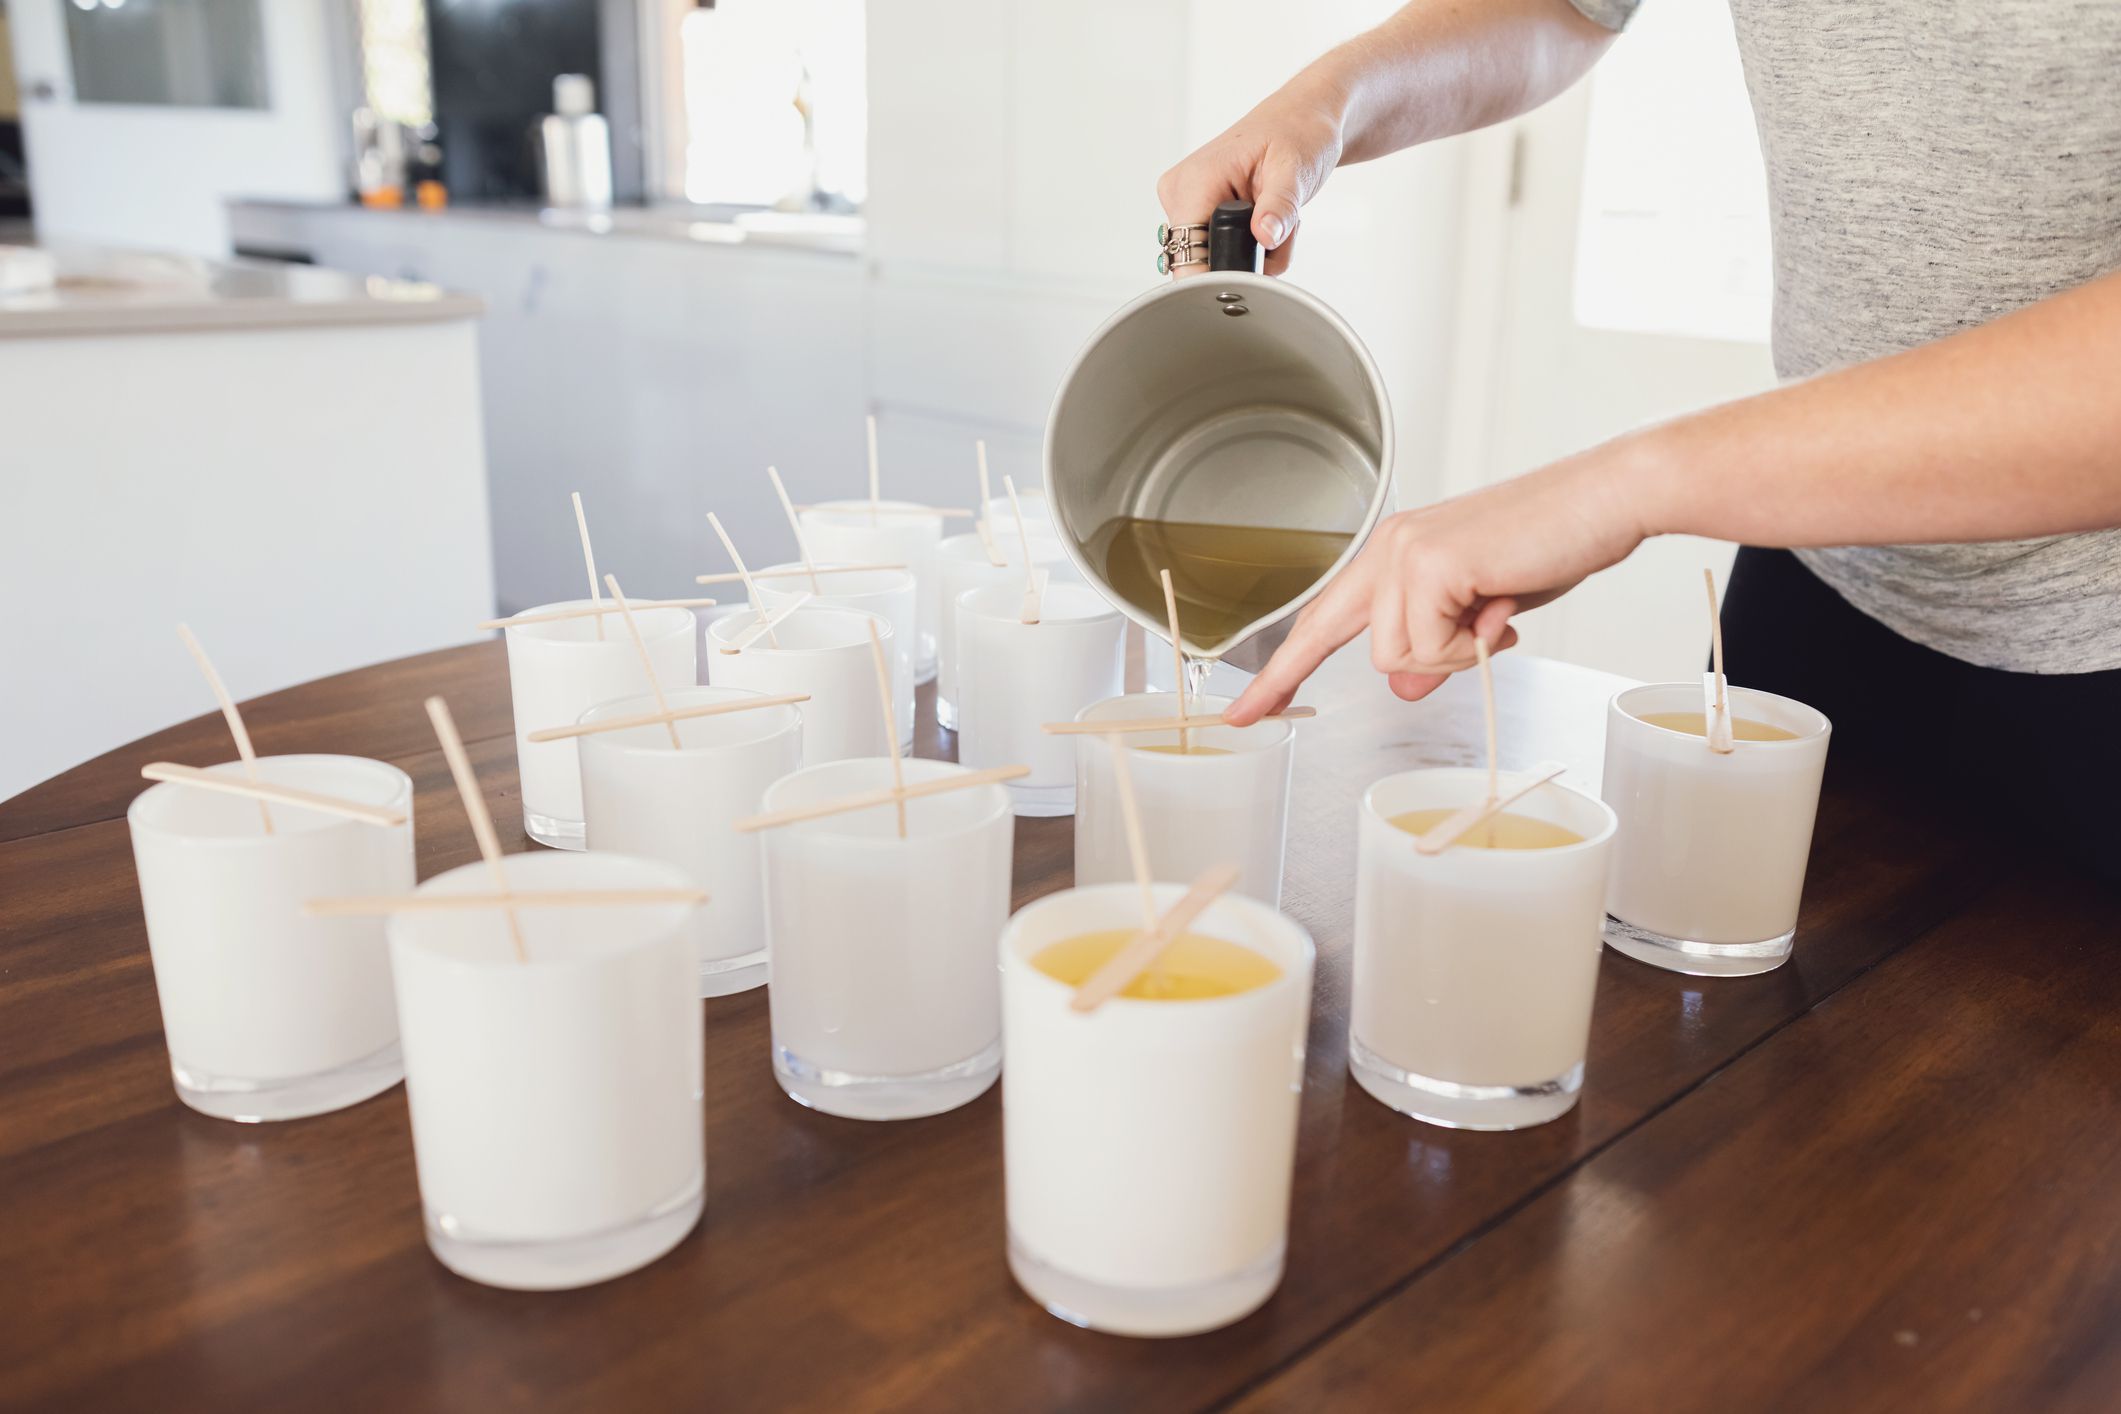
Step 6: Pouring the Wax into Molds
Now that you have prepared your candle molds, it’s time to pour the melted wax into them. Follow these steps to ensure a successful pouring process:
- Position the molds: Place the prepared candle molds on a stable surface, ensuring they are level and won’t be disturbed during the pouring process.
- Slow and steady pour: Slowly pour the melted wax into the molds, starting from the center and working your way towards the edges. Pouring slowly helps to minimize air bubbles and ensures even distribution of wax.
- Leave space: Leave a small gap of about 1/4 inch (0.6 cm) at the top of each mold to allow room for any potential shrinkage during the cooling process.
- Tap out air bubbles: After pouring the wax into the molds, gently tap the molds on your work surface to release any trapped air bubbles. This will help achieve a smooth and even surface on your finished candles.
- Monitor the cooling process: Allow the wax to cool and solidify completely in the molds. This may take several hours, depending on the size and type of the candles.
- Do not move or disturb the molds: It is important to avoid moving or disturbing the molds while the wax is solidifying. This can cause uneven surfaces or misshapen candles.
Remember to work carefully and cautiously when pouring the wax to minimize spills and accidents. If any excess wax spills outside the molds, clean it up promptly to ensure a neat and professional finish.
Now that you have poured the wax into the molds, it’s time to move on to the next step: cooling and removing the candles.
Read more: How To Make Wax For Candles At Home
Step 7: Cooling and Removing the Candles
Once you have poured the melted wax into the molds, it’s time to let them cool and solidify before removing the candles. Follow these steps to ensure proper cooling and successful candle removal:
- Allow ample cooling time: Let the candles cool and solidify completely in the molds. This may take several hours, depending on the size and type of the candles. Be patient and avoid rushing the process to prevent any damage or distortion to the candles.
- Check for firmness: Before attempting to remove the candles from the molds, check if they feel firm and no longer warm to the touch. This ensures that the wax has thoroughly solidified.
- Unmold the candles: To remove the candles from the molds, gently flex or bend the mold, or use a flat-tipped tool to loosen the edges. Slowly and carefully push the bottom of the mold to release the candle. If the candle doesn’t pop out easily, place the mold in the freezer for a few minutes to help loosen it.
- Inspect for any imperfections: Once the candles are removed from the molds, inspect them for any imperfections such as air bubbles, rough edges, or uneven surfaces. You can use a heat gun or a lighter to smooth out any minor imperfections if desired.
- Trim the wicks: Use scissors or a wick trimmer to trim the wicks to a desired length, typically around 1/4 inch (0.6 cm). This will ensure a clean and even burn when you light the candles.
Take your time during the cooling and candle removal process to ensure that the candles come out in their intended shape and form. The cooling time will vary depending on the size and type of candles you are making, so allow sufficient time for them to solidify completely.
Congratulations! You have successfully cooled and removed the candles from the molds. Now it’s time to move on to the next step: trimming the wicks.
Step 8: Trimming the Wicks
After removing the candles from the molds, it’s important to trim the wicks to ensure a safe and clean burn. Follow these steps to trim the wicks of your homemade candles:
- Inspect the wicks: Examine the wicks to ensure they are straight and centered in each candle. Make any necessary adjustments to align them properly.
- Measure the wick length: Use a ruler or a wick trimmer to measure and determine the desired length of the wicks. Typically, a length of around 1/4 inch (0.6 cm) is recommended.
- Trim the wicks: Using sharp scissors or a wick trimmer, cut the wicks to the desired length. Make a clean, straight cut across the wick, being careful not to leave any jagged edges.
- Dispose of trimmed wick: Discard the trimmed wick pieces in a safe manner. Place them in a trash bin or container away from flammable materials.
Trimming the wicks is important for several reasons. It helps to prevent excessive flickering, smoking, and sooting during the candle burning process. It also ensures a neater appearance and reduces the risk of the wick becoming too long and causing a fire hazard.
Now that you have trimmed the wicks, your candles are almost ready for use. The final step is to decorate and package them, adding your personal touch to the finished product.
Step 9: Decorating and Packaging the Candles
The final step in creating your homemade candles is to add decorative touches and package them beautifully. Follow these steps to enhance the appearance of your candles:
- Decorate with ribbon or twine: Tie a decorative ribbon or twine around the base of each candle to add a touch of elegance. Choose colors that complement the color scheme or theme of your candles.
- Add embellishments: Consider adding embellishments such as dried flowers, charms, or beads to the ribbon or directly onto the candle surface. Be creative and showcase your personal style.
- Label the candles: Create labels or tags that provide information about the candle, including its fragrance, burn time, and any safety instructions. Apply the labels to the base or packaging of each candle.
- Wrap in tissue paper or gift wrap: Protect the candles and give them a polished finish by wrapping them in tissue paper or placing them in a decorative gift box or bag. This not only adds a touch of luxury but also makes them ready for gifting.
- Personalize with a handwritten note: Include a handwritten note or message with each candle to add a personal touch. This simple gesture can make the recipient feel special and appreciated.
- Store in a cool, dry place: After decorating and packaging, store the candles in a cool, dry area away from direct sunlight or heat sources. This will help maintain their quality and prolong their shelf life.
By taking the time to decorate and package your candles thoughtfully, you can create a beautiful and professional presentation. Whether you plan to give them as gifts or use them to decorate your own space, these finishing touches add an extra level of charm and personalization.
Congratulations! You have successfully completed all the steps for melting wax to make candles. Now, sit back, relax, and enjoy the warm glow and delightful fragrance of your homemade creations.
Conclusion
Congratulations on learning the art of melting wax to make your own candles! By following the steps outlined in this guide, you have gained the knowledge and skills necessary to create beautiful and unique candles right at home.
Through careful selection of wax, preparation of the work area, and proper melting techniques, you can ensure the quality and consistency of your candles. Adding fragrances and colors allows you to customize the sensory experience, while trimming the wicks and decorating the candles adds a personal touch.
It is important to always prioritize safety during the candle-making process. By following the recommended safety precautions and working with care, you can prevent accidents and create a safe environment for your craft.
Remember that practice makes perfect. As you continue to experiment with different wax types, fragrances, and color combinations, you will refine your skills and develop your own unique candle-making style.
Whether you are making candles for personal enjoyment, as gifts for loved ones, or to start a small business, the satisfaction of creating something with your own hands is truly rewarding. The process of melting wax and crafting candles can be a relaxing and fulfilling hobby that allows you to express your creativity.
Now, armed with the knowledge and techniques provided in this guide, you are ready to embark on your candle-making journey. So gather your materials, prepare your work area, and let your imagination guide you as you create beautiful candles that bring warmth, ambiance, and joy into your life and the lives of others.
Happy candle making!
Frequently Asked Questions about How To Melt Wax To Make Candles
Was this page helpful?
At Storables.com, we guarantee accurate and reliable information. Our content, validated by Expert Board Contributors, is crafted following stringent Editorial Policies. We're committed to providing you with well-researched, expert-backed insights for all your informational needs.
0 thoughts on “How To Melt Wax To Make Candles”