Articles
How To Make Soy Wax Scented Candles
Modified: February 25, 2024
Discover step-by-step articles on creating exquisite soy wax scented candles. Learn expert techniques, tips, and tricks for a fragrant and eco-friendly home décor.
(Many of the links in this article redirect to a specific reviewed product. Your purchase of these products through affiliate links helps to generate commission for Storables.com, at no extra cost. Learn more)
Introduction
Welcome to the world of soy wax scented candles! Creating your own homemade candles is not only a fun and fulfilling DIY project, but it also allows you to customize the scent and style to your personal preference. Soy wax candles have gained popularity due to their natural ingredients, clean burn, and ability to hold fragrances exceptionally well. Whether you’re new to candle making or an experienced crafter, this comprehensive guide will walk you through the process of making soy wax scented candles from start to finish.
Before we dive into the nitty-gritty details, let’s discuss why soy wax is an excellent choice for candle making. Made from the oil of soybeans, soy wax is a renewable and sustainable resource. It burns cleaner and slower than traditional paraffin wax, which is derived from petroleum. Soy wax also emits less soot and has a lower melting point, making it safer to handle. Additionally, soy wax has a natural creamy appearance and can hold a higher amount of fragrance, resulting in a more potent and longer-lasting scent.
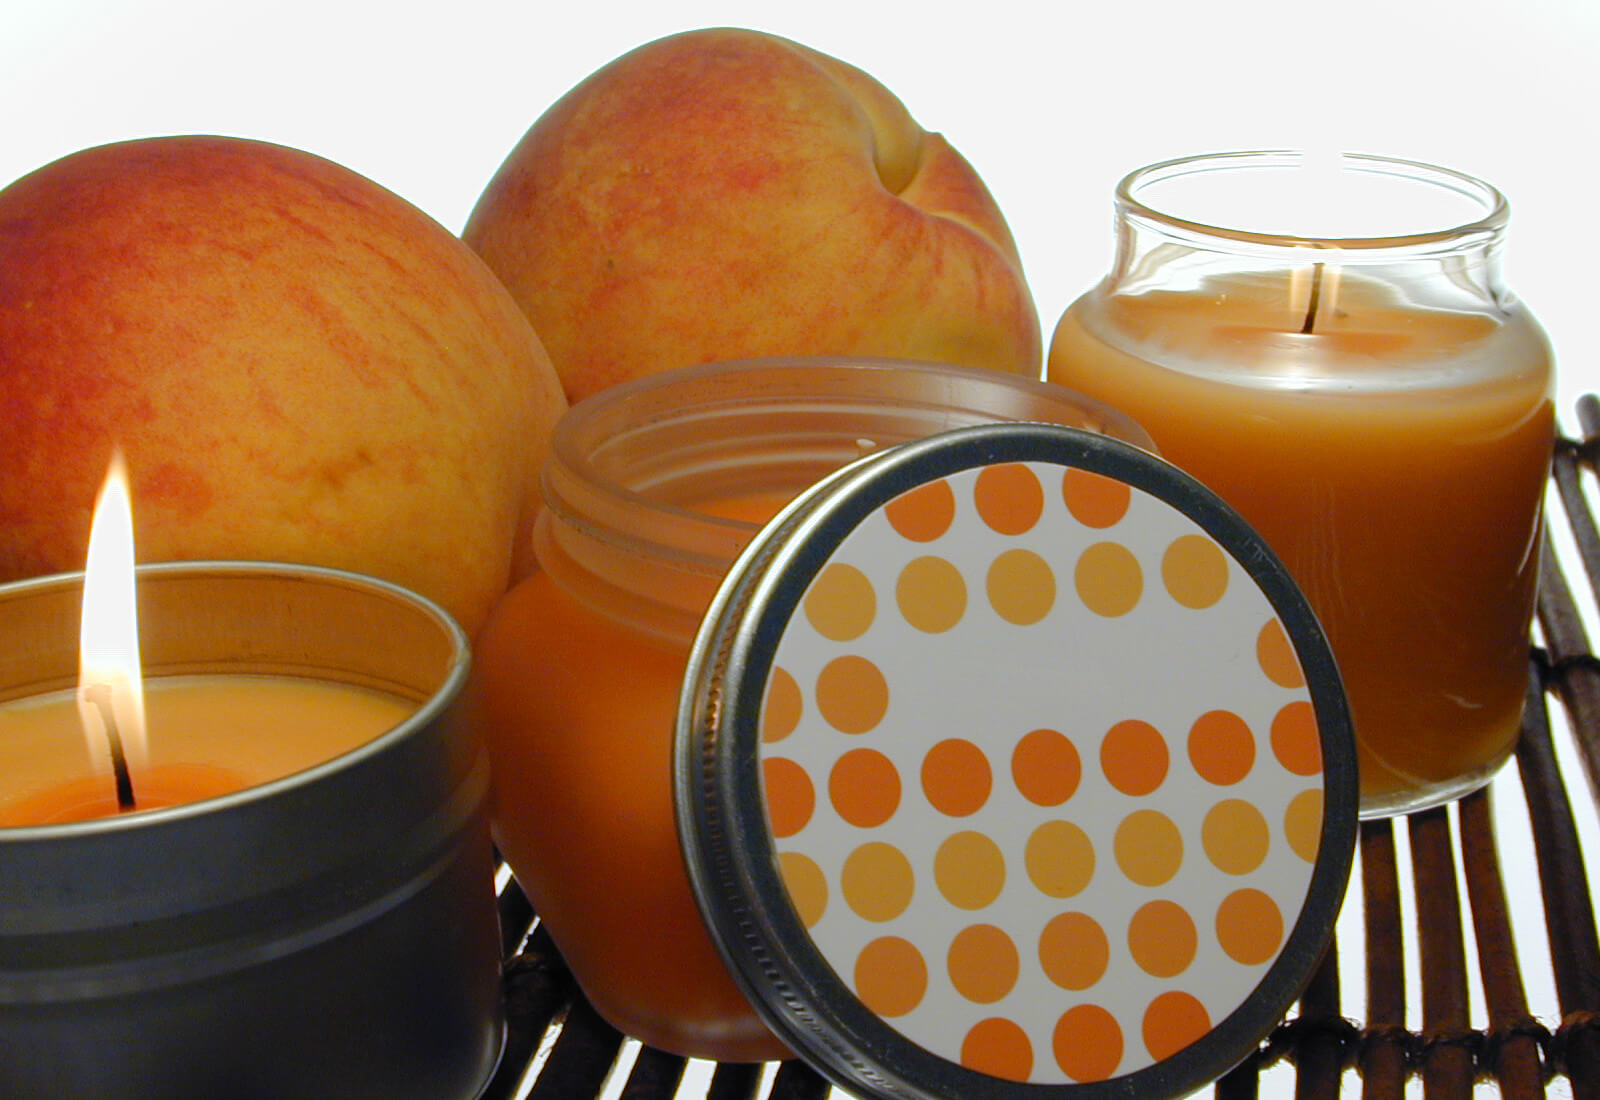
Now that you know why soy wax is a fantastic option for scented candles, let’s explore the exciting world of fragrance selection. The fragrance you choose is essential because it sets the mood and atmosphere of your space. Whether you prefer floral, fruity, or woody scents, there is a wide array of fragrance oils available for candle making. Keep in mind that some fragrances may be more suitable for certain occasions or seasons, so feel free to experiment and discover your favorite combinations.
Now that we have covered the basics, let’s gather all the materials you will need to create your own soy wax scented candles. Having everything prepared ahead of time will ensure a smooth and enjoyable candle making experience. We will discuss the specific materials required in the next section, so get ready to gather your supplies and let your creativity shine!
Key Takeaways:
- Embrace the therapeutic and fulfilling journey of creating your own soy wax scented candles, from selecting fragrances to pouring wax. Enjoy the magic and tranquility they bring to your space.
- Customize your homemade soy wax scented candles to suit your preferences and create a unique sensory experience. Share the joy of crafting and gifting these delightful creations to loved ones.
Read more: What Temperature To Melt Soy Wax For Candles
Choosing the Right Soy Wax
When it comes to making soy wax scented candles, selecting the right type of soy wax is crucial. With various options available in the market, it’s essential to understand their characteristics and choose the one that suits your needs and preferences.
One of the key factors to consider while choosing soy wax is its melting point. The melting point determines the temperature at which the wax will transform into a liquid state. Lower melting point waxes, such as container blend soy wax, typically melt around 120 to 125 degrees Fahrenheit (49 to 52 degrees Celsius). They are specifically formulated for container candles and have excellent fragrance retention. On the other hand, pillar blend soy waxes have a higher melting point, around 135 to 140 degrees Fahrenheit (57 to 60 degrees Celsius), making them suitable for creating pillar or votive candles.
Another important factor is the type of additives present in the soy wax. Some soy waxes contain additives like stearic acid, which helps with the wax’s hardness and enhances the overall performance. If you’re looking for a pure soy wax, without any additives, be sure to check the product description or label to ensure it meets your requirements.
Additionally, it’s worth considering whether you prefer a natural or a blended soy wax. Natural soy wax is made from 100% soybean oil and is known for its clean-burning characteristics. Blended soy waxes, on the other hand, may contain a mixture of soy and other natural or synthetic waxes. Blended waxes can offer benefits like increased fragrance throw and better stability, but it’s important to choose a blend that aligns with your values and desired candle characteristics.
Lastly, consider the quantity of wax you need. Bulk purchasing of soy wax is often more economical, especially for those planning to make candles in large quantities. However, if you’re just starting or prefer making small batches, buying smaller quantities might be a better option to avoid wastage and ensure freshness.
Remember, there is no one-size-fits-all answer when it comes to choosing the right soy wax. It ultimately depends on your candle making goals and preferences. Take the time to research and read reviews to find the soy wax that aligns with your needs, and get ready to unleash your creativity in the next steps of making your own soy wax scented candles!
Selecting the Perfect Fragrance
Choosing the right fragrance for your soy wax scented candles is a delightful and personal part of the candle making process. The fragrance you select will not only fill your space with a pleasant aroma but also evoke different emotions and create a specific atmosphere. Here are some tips to help you in the process of selecting the perfect fragrance:
1. Consider the Purpose: Think about the purpose or occasion for which you are creating the candles. Are you looking to create a relaxing and calming ambiance for a spa-like experience? Or do you want a refreshing scent to invigorate your senses? Different fragrances can evoke different moods, so consider the intended use of the candle before making a decision.
2. Familiarize Yourself with Fragrance Types: Fragrances can be categorized into various types such as floral, fruity, woody, herbal, and spicy. Understanding these categories can help you narrow down your options and choose fragrances that you find most appealing. You can also experiment with blending different fragrance types to create unique and personalized scents.
3. Research Fragrance Notes: Fragrances are composed of different notes that unfold over time. Top notes are the initial burst of fragrance when the candle is lit, while middle and base notes gradually become more apparent as the candle burns. Researching fragrance notes can give you a better understanding of how a fragrance will smell and develop. It can also help you create well-balanced and harmonious scent combinations.
4. Test and Experiment: Before committing to a large batch of candles, it’s recommended to test the fragrances in small quantities. Many suppliers offer sample sizes or fragrance oils specifically designed for testing. This allows you to evaluate how the fragrance performs in your chosen wax and the strength of the scent throw. It’s important to note that the fragrance may vary slightly once blended with the wax, so testing is essential to ensure you achieve the desired results.
5. Consider Seasonality and Trends: Consider the season or current trends when selecting a fragrance for your candles. Fresh and floral scents are often popular during spring and summer, while warm and cozy scents are favored during fall and winter. Paying attention to seasonal and trending scents can help your candles appeal to a wider audience and make them suitable as gifts for different occasions.
Remember, selecting the perfect fragrance for your soy wax scented candles is a personal process that allows you to express your creativity and create a unique sensory experience. Trust your instincts, have fun experimenting, and let your nose lead the way to delightful and captivating scents!
Gathering the Materials
Before you embark on the journey of making your own soy wax scented candles, it’s important to gather all the necessary materials. Having everything prepared ahead of time will ensure a smooth and enjoyable candle making experience. Here are the essential materials you’ll need:
1. Soy Wax: Choose the right type of soy wax based on your candle making goals and preferences. Opt for a high-quality soy wax that is specifically formulated for candle making. Consider the quantity you need based on the number of candles you plan to make.
2. Fragrance Oils: Select your preferred fragrance oils to add the desired scent to your candles. Choose from a wide range of options available, keeping in mind the mood and atmosphere you want to create with your scented candles.
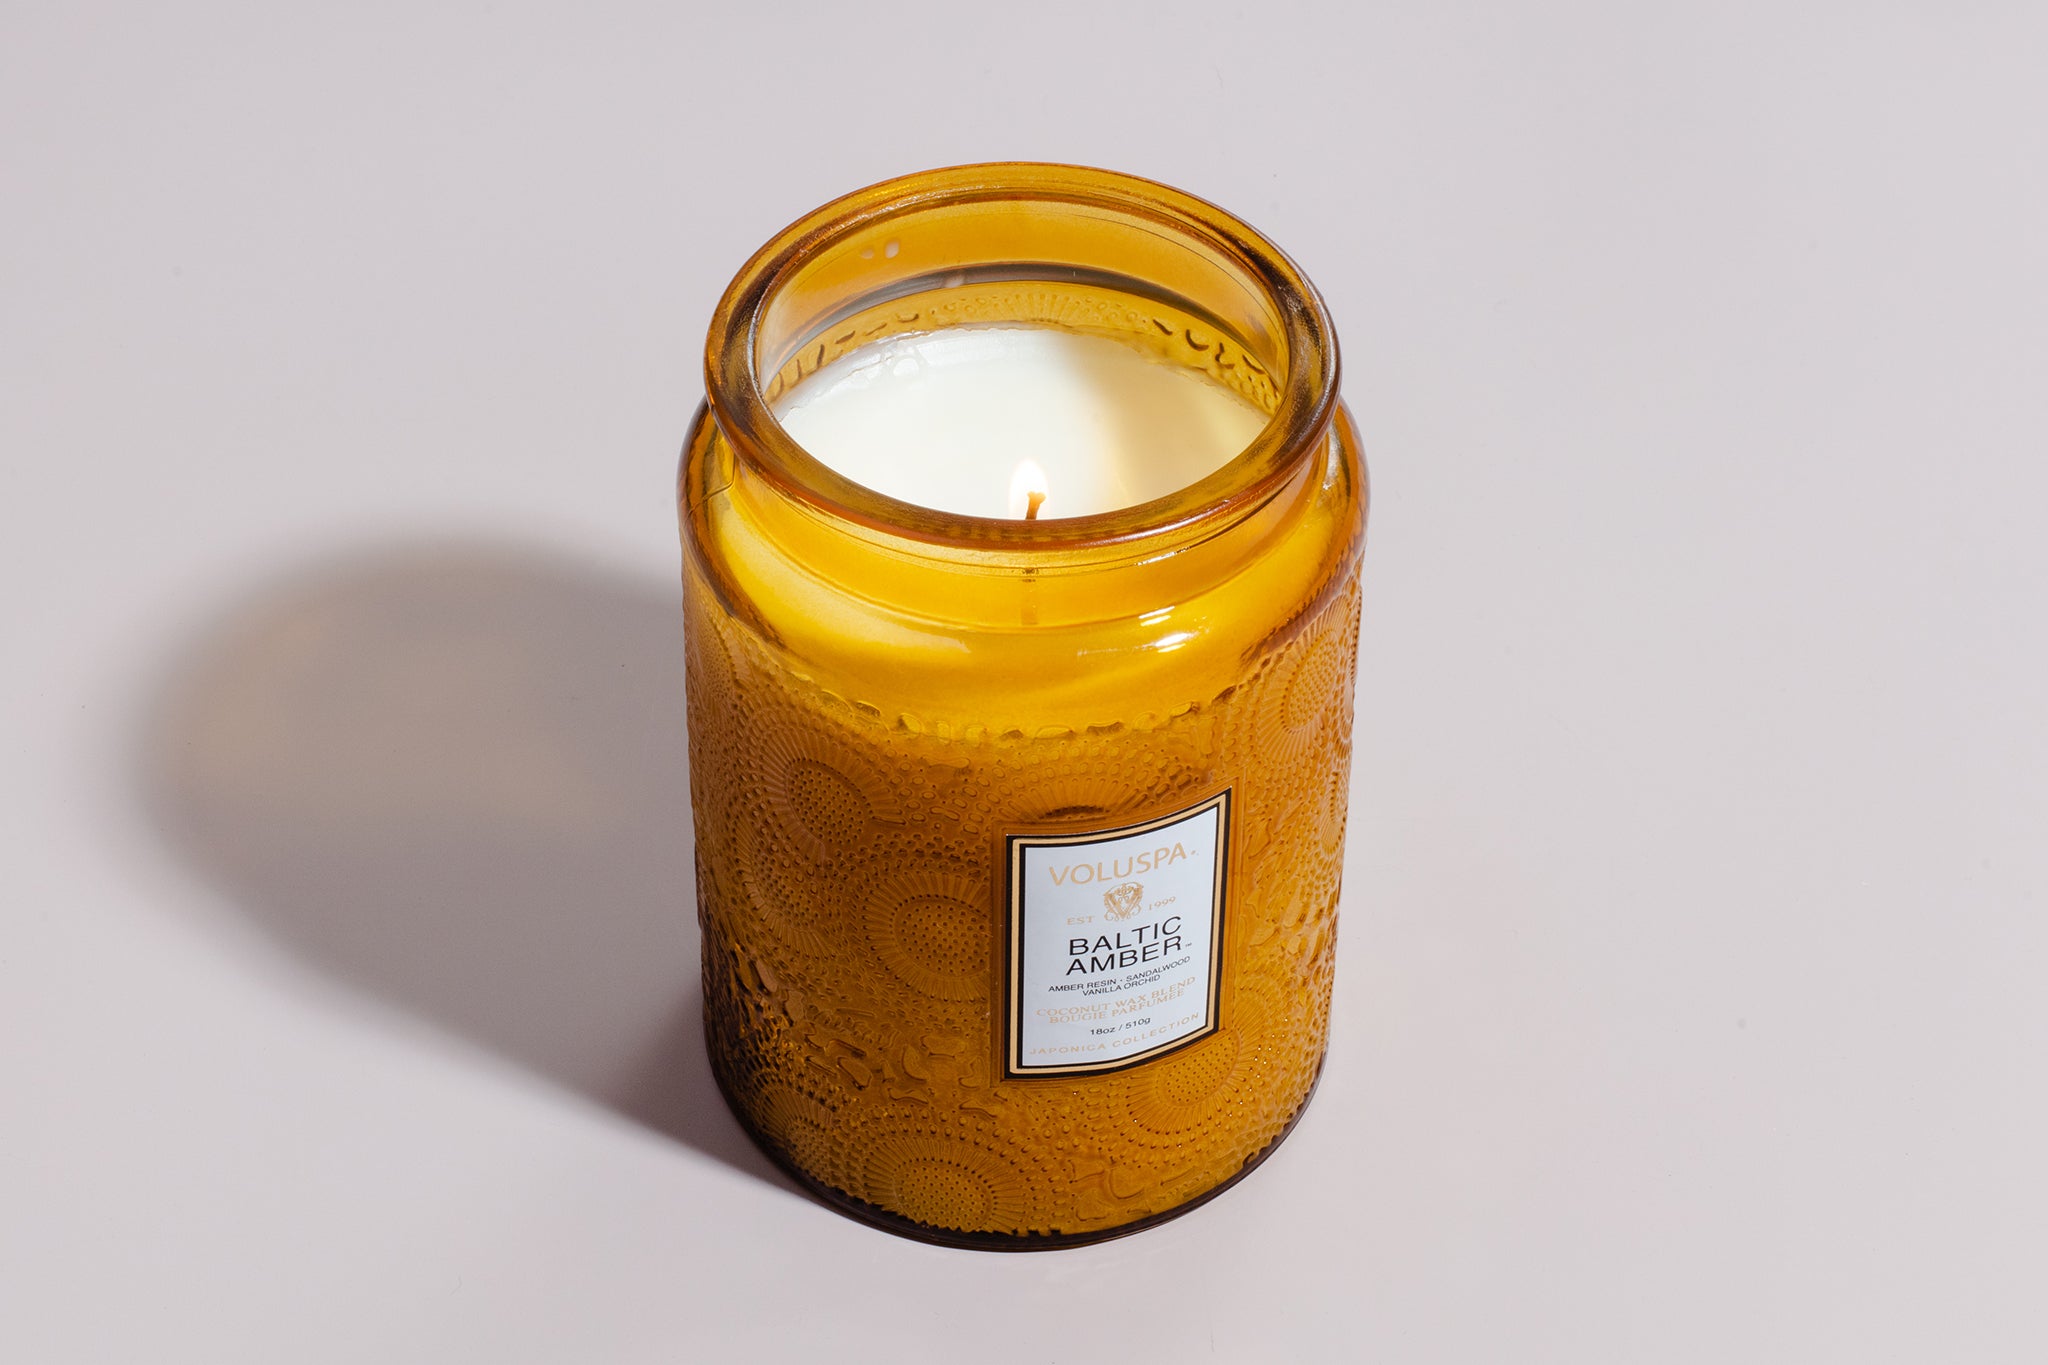
3. Containers: Decide on the type and size of containers you want to use for your candles. Glass jars, tins, and ceramic containers are popular choices. Ensure that the containers are heat-resistant and suitable for candle making.
4. Wicks: Choose wicks specifically designed for soy wax candles. The size of the wick depends on the diameter of your container and the type of soy wax you’re using. Wicks come in various sizes and materials, such as cotton or wood, so do some research to determine the best option for your candles.
5. Double Boiler or Wax Melter: A double boiler or a dedicated wax melter is essential for melting the soy wax. This equipment allows for even heating and prevents scorching or burning the wax. If you don’t have a dedicated wax melter, a heat-resistant glass bowl or container placed in a pot of water can also work as a makeshift double boiler.
6. Thermometer: A candle-making thermometer is crucial for monitoring the temperature of the soy wax. This ensures that the wax is heated to the appropriate temperature for melting and adding fragrance oils.
7. Heat-Resistant Utensils: Use heat-resistant utensils, such as a stirrer or a spatula, to handle and stir the melted wax and fragrance oils. Avoid using plastic utensils as they may melt in contact with hot wax.
8. Labels and Decorations: If you plan to give your candles as gifts or sell them, consider adding labels and decorations to your containers. This adds a personal touch and makes your candles visually appealing. You can use stickers, ribbons, or custom labels to add unique branding.
9. Safety Equipment: Don’t forget to prioritize safety in your candle-making process. Have some protective gear on hand, such as heat-resistant gloves and safety glasses, to protect yourself from hot wax and potential splashes.
10. Workstation Setup: Set up a dedicated workstation for candle making. Cover the area with newspapers or a protective mat to catch any spills or drips. Make sure you have enough space to work comfortably and access all your materials easily.
By gathering these materials and setting up your workstation, you’ll be well-prepared to dive into the exciting process of making your own soy wax scented candles. It’s time to let your creativity shine and create beautiful, aromatic candles that will bring warmth and ambiance to any space.
Preparing the Workstation
Preparing your workstation is an important step in the candle-making process. A well-organized and clean workspace ensures efficiency, safety, and a smooth workflow. Here are some tips to help you prepare your workstation for making soy wax scented candles:
1. Clean and Clear the Area: Before you start, clear the area of any clutter or unnecessary items. This will provide you with ample space to work and minimize the risk of accidents or spills. It’s also important to clean the workstation to remove any dust or debris that could contaminate your candles.
2. Set Up a Heat-Resistant Surface: Place a heat-resistant mat, like a silicone baking mat or a tile, on your workspace. This will protect your surfaces from accidental spills and provide insulation against the heat of the candles and work equipment.
3. Arrange Your Materials: Organize all your candle-making materials in a logical order. This will help you access everything easily and maintain a smooth workflow. Place your soy wax, fragrance oils, wicks, thermometer, and utensils within arm’s reach so you never have to leave your workstation while making candles.
4. Prepare the Double Boiler or Wax Melter: If you’re using a double boiler or a wax melter for melting your soy wax, make sure it is set up and ready to go. Fill the bottom pot or reservoir with water and assemble the equipment according to the manufacturer’s instructions. Heat it up to a medium-low temperature to start the melting process.
5. Clean and Prep Containers: If you’re using glass jars or containers for your candles, clean them thoroughly and ensure they are free from any dirt, dust, or residue. Remove any labels or stickers by soaking them in warm soapy water. Dry the containers completely before pouring in the melted wax.
6. Prepare Your Work Tools: Have your utensils, such as a stirrer or spatula, within easy reach. Ensure they are clean and free from any contaminants. If you’re using a thermometer, make sure it is calibrated and ready to monitor the temperature of the wax.
7. Plan for Ventilation: Candle making can produce certain odors and potentially release fumes, especially when heating the wax. Ensure that your workspace has proper ventilation to allow for the dispersal of any fumes. Open windows or use fans to maintain fresh air circulation.
8. Protect Yourself: Prioritize safety by wearing heat-resistant gloves and safety glasses when handling hot wax. These safety measures will protect your hands and eyes from burns and splashes. Additionally, tie back long hair and avoid wearing loose clothing that can easily catch fire.
By following these steps and preparing your workstation diligently, you’ll create a safe and efficient space for making your soy wax scented candles. A well-prepared setup allows you to focus on the creative process and ensures the best possible outcome for your homemade candles.
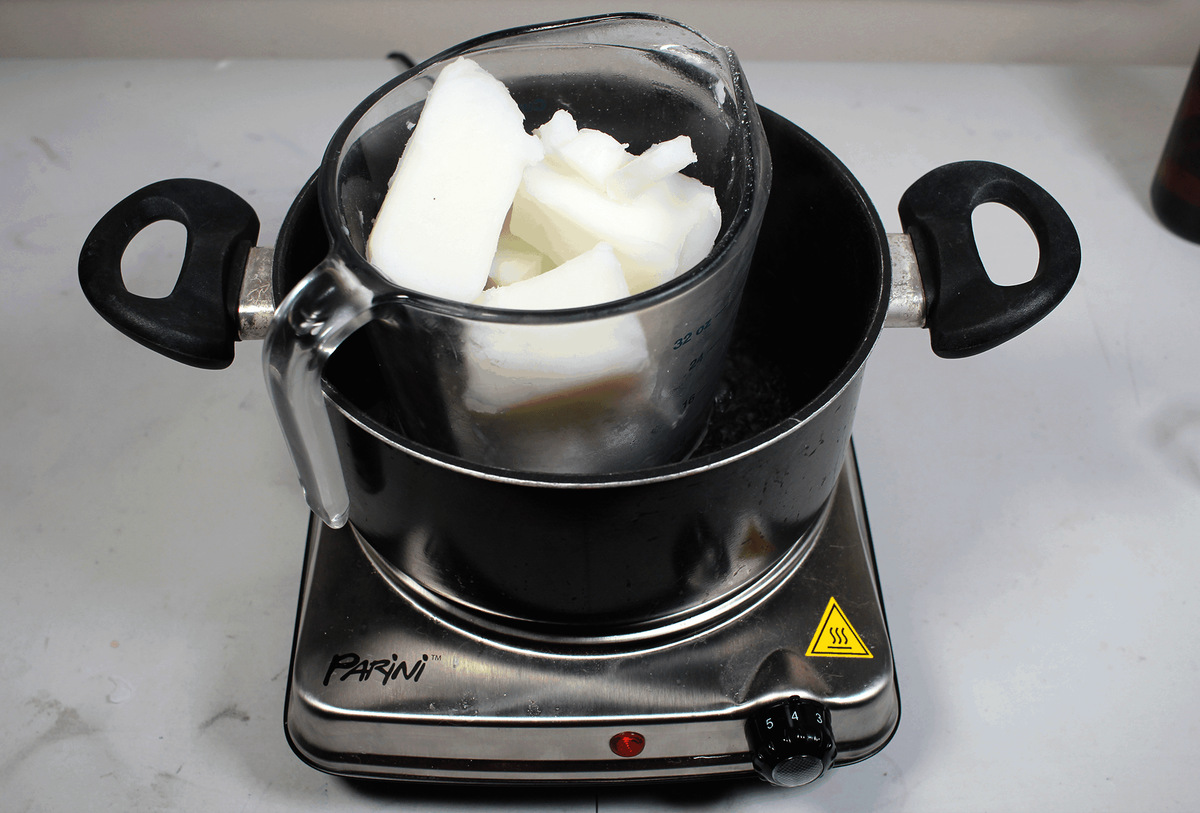
Melting the Soy Wax
Now that your workstation is ready, it’s time to start melting the soy wax. Melting the wax properly is essential for achieving smooth and even candles. Follow these steps to melt the soy wax effectively:
1. Measure the Wax: Determine the amount of wax you’ll need based on the size and number of candles you’re making. Use a kitchen scale to measure the wax accurately. It’s recommended to slightly overestimate the amount to account for any losses during the pouring process.
2. Use a Double Boiler or Wax Melter: Place the measured soy wax into the top pot of a double boiler or the wax melter. If you don’t have a dedicated wax melter, you can create a makeshift double boiler by placing a heat-resistant glass bowl or container in a pot of water. Fill the bottom pot or pot with enough water to create steam when heated.
3. Heat the Wax: Place the double boiler or pot on the heat source and turn it on to a medium heat. Allow the wax to melt slowly and avoid high heat, which can scorch or overheat the wax. Stir occasionally to promote even melting and prevent any clumping or sticking to the bottom.
4. Monitor the Temperature: As the wax melts, monitor the temperature using a thermometer. Different soy waxes have different melting points, typically ranging between 120 to 140 degrees Fahrenheit (49 to 60 degrees Celsius). It’s important to maintain the temperature within this range to prevent overheating or damage to the wax.
5. Remove from Heat Source: Once the wax is completely melted and reaches the desired temperature, remove the double boiler or wax melter from the heat source. Be careful when handling the hot wax and ensure you have heat-resistant gloves on to protect your hands.
6. Let the Wax Cool Slightly: Allow the melted wax to cool slightly for a few minutes. This helps prevent the fragrance oils from evaporating too quickly when added to the hot wax, ensuring a stronger and longer-lasting scent in your finished candles.
7. Prepare Your Fragrance Oils: While the wax is cooling, prepare your chosen fragrance oils. Measure the desired amount of fragrance oil using a dropper or pipette. The recommended fragrance load is typically around 6-10% of the total wax weight. Adjust the amount based on the specific fragrance and your preference for the scent strength.
8. Add the Fragrance Oils: Once the wax has cooled slightly, gradually add the measured fragrance oils into the melted wax. Stir gently and thoroughly to ensure the fragrance is evenly distributed throughout the wax. Take your time during this step to ensure a well-blended scent.
With the soy wax melted and the fragrance oils added, you have successfully completed the process of melting the soy wax for your scented candles. The aromatic journey continues as we move on to the next step of pouring the wax into containers and creating beautiful homemade candles.
Adding the Fragrance
With the melted soy wax prepared, it’s time to add the fragrance oils to create beautifully scented candles. Adding the fragrance requires careful consideration and proper technique to ensure a harmonious blend and optimal scent throw. Follow these steps to add the fragrance to your melted wax:
1. Stir the Wax: Before adding the fragrance, give the melted wax a gentle stir to ensure it is well-mixed and uniform in temperature. This helps to distribute the heat evenly and makes it easier to incorporate the fragrance oils.
2. Measure the Fragrance Oils: Use a dropper or pipette to accurately measure the desired amount of fragrance oil for your candles. The recommended fragrance load is typically around 6-10% of the total wax weight, but you can adjust this based on the specific fragrance and your desired scent strength.
3. Add the Fragrance Gradually: Start by adding a small amount of fragrance oil to the melted wax and stir gently. Gradually increase the amount, one teaspoon at a time, and stir thoroughly after each addition. This gradual approach allows you to control the strength of the scent and avoid over-fragrancing the wax, which can lead to a weak scent throw or issues with the candle’s performance.
4. Stir Thoroughly: After each addition of fragrance oil, be sure to stir the wax thoroughly to ensure the fragrance is evenly distributed. Stir gently but consistently to avoid creating air bubbles, as these can affect the appearance and burn of the candle. Take your time during this step to achieve a well-blended scent.
5. Test the Scent Strength: To gauge the strength of the scent, you can perform a “sniff test” by taking a small amount of the scented wax on a spoon or small dish and letting it cool for a moment. This will give you an idea of how the candle will smell when burned. If you find the scent too weak, you can add a small amount of additional fragrance oil and test again until you’re satisfied.
6. Avoid Over-Fragrancing: It’s important not to exceed the recommended fragrance load for your wax. Over-fragrancing can lead to issues such as poor burning performance, excessive soot, or a weak scent throw. It’s always better to start with less and gradually increase the amount if needed, rather than adding too much from the beginning.
Remember, the fragrance you choose will play a significant role in the overall experience of your candles. Take your time, experiment with different scent combinations, and trust your sense of smell to create captivating and enticing fragrances for your homemade soy wax scented candles.
When making soy wax scented candles, ensure to use fragrance oils specifically designed for candle making to achieve the best scent throw and performance.
Pouring the Wax into Containers
Now that the fragrance has been added to the melted wax, it’s time to pour the scented wax into your chosen containers. This step is crucial for achieving even candles with a professional finish. Follow these steps to pour the wax into the containers:
1. Prepare the Containers: Ensure that your chosen containers are clean, dry, and properly prepared. Place them on a heat-resistant surface or a tray to catch any potential spills or drips. If needed, you can use a hot glue gun or a wick sticker to secure the wick at the bottom of the container.
2. Hold the Wick Steadily: Keep the wick centered and straight in the container, using a wick holder or a similar tool. This will ensure that the wick remains in place as you pour in the melted wax and prevents it from shifting or leaning to one side.
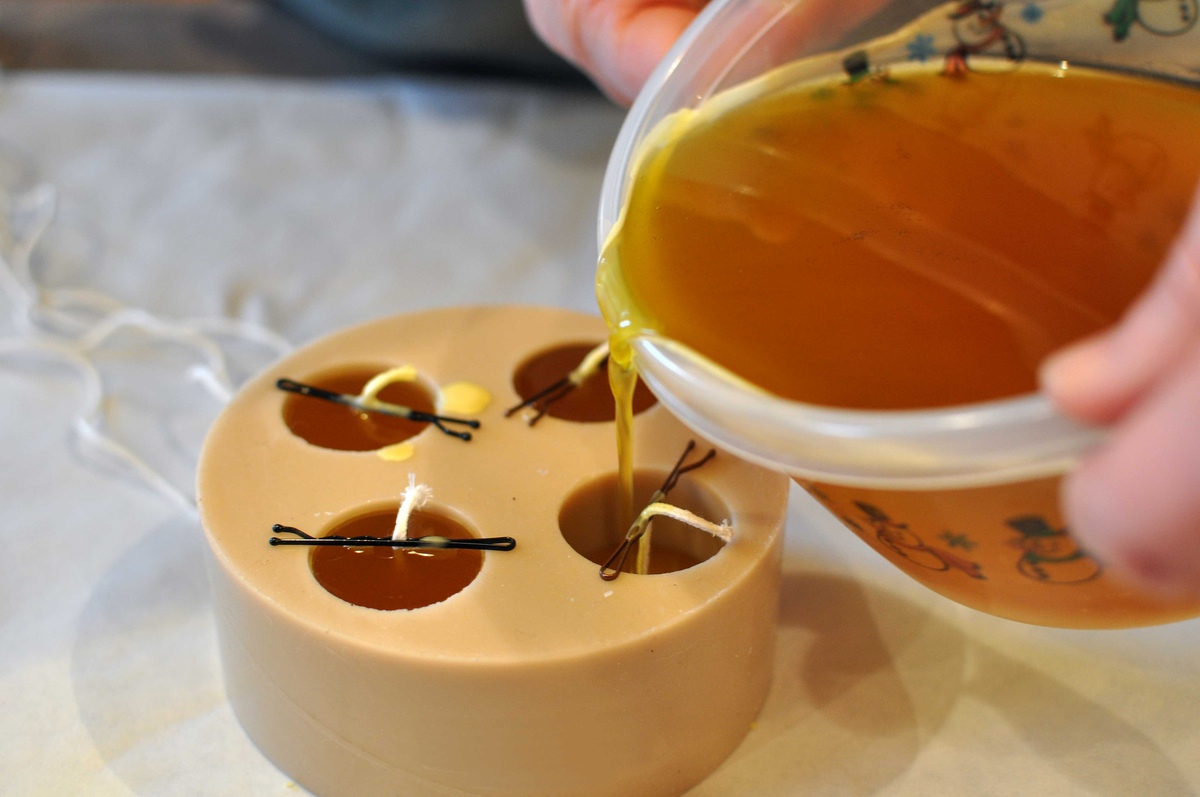
3. Pour Slowly and Carefully: Slowly pour the scented wax into the container, starting from the center and moving outward. Pouring slowly ensures that the wax fills the container evenly and minimizes the formation of air bubbles. Take your time and pour in a controlled manner to avoid spills or overfilling the container.
4. Fill to the Desired Level: Fill the container, leaving a small space (around ½ inch to 1 inch) at the top. This space allows for the wax to expand slightly as it cools and helps create a clean and professional look for your candles. If you have leftover wax, you can keep it in a separate container for future use.
5. Avoid Disturbing the Wax: Once you have poured the wax into the containers, avoid moving or disturbing them to prevent any disruption in the cooling process. This will ensure that the top surface of the candles remains smooth and free from imperfections.
6. Allow the Wax to Cool: Let the candles cool and solidify completely before moving or handling them. This typically takes a few hours, but the exact time may vary based on the size of the container and the ambient temperature. Avoid touching or disturbing the candles during this time to prevent any dents or marks on the surface.
7. Trim the Wicks: Once the candles have cooled and solidified, trim the wicks to about ¼ inch using sharp scissors or wick trimmers. This length is ideal for a clean and efficient burn. Remove any excess wick and discard it properly.
By following these steps, you’ll be able to pour the scented wax into the containers with precision and create beautiful, professional-looking soy wax scented candles. Now, as the candles cool and the fragrance fills the air, it’s time to enjoy the fruits of your labor and bask in the warm glow of your homemade creations!
Adding Wicks
Adding wicks to your soy wax scented candles is a crucial step to ensure a proper and consistent burn. A well-placed and secured wick allows the candle to burn evenly and efficiently. Here’s a step-by-step guide on how to add wicks to your candles:
1. Select the Right Wicks: Choose wicks that are suitable for the size and type of container you’re using. Consider the diameter of the container and the type of wax you’re using to determine the appropriate wick size. Wicks come in various thicknesses and materials, so choose the one that is recommended for soy wax candles.
2. Prepare the Wick: Measure the wick by holding it up against the container, starting from the bottom and leaving a few inches extra at the top. Cut the wick, leaving enough length to anchor it at the bottom and still extend above the wax surface when the candle is completed. You can use a wick holder or a similar tool to keep the wick centered and straight during the pouring process.
3. Attach the Wick to the Container: You have a couple of options for attaching the wick to the container. One method is to place a small amount of hot glue at the bottom of the container and press the metal tab of the wick firmly into the glue. Another option is to use a wick sticker, which is a double-sided adhesive disc specifically designed for attaching wicks. Simply stick one side of the wick sticker to the metal tab of the wick and the other side to the bottom of the container.
4. Anchor the Wick in Place: To ensure that the wick stays in place while pouring the melted wax, you can use a wick bar or a pencil. Rest the bar or pencil across the top of the container and gently wrap the excess length of the wick around it. This will keep the wick centered and taut as you pour the wax into the container.
5. Check Wick Position: Once the wick is attached and anchored, double-check its position within the container. Ensure that it is centered and straight, with the metal tab or base of the wick at the bottom. This is essential for the candle to burn evenly and avoid tunneling.
6. Pour the Wax: Proceed with pouring the scented wax into the container, as explained in the previous step. Take care not to disturb or displace the wick while pouring. The wax will solidify around the wick, securing it in place.
7. Final Adjustments: After pouring the wax, you can make some final adjustments to the wick if necessary. Ensure that it remains centered and straight as the wax sets. If you notice any deviations or crookedness, gently reposition the wick using a wick centering tool or your fingers. Do this while the wax is still soft and pliable.
8. Let the Candles Cool: Allow the candles to cool and solidify completely before moving or handling them. Follow the recommended cooling time mentioned in the previous steps. Avoid touching or disturbing the candles during this time to prevent any misalignment or displacement of the wick.
By following these steps, you’ll successfully add the wicks to your soy wax scented candles, ensuring a balanced and efficient burn. With the wicks securely in place, your candles are one step closer to being fully completed and ready to enlighten your space with their beautiful glow and aromatic fragrance.
Read more: How To Make Scents For Candles
Allowing the Candles to Cool
Once you have poured the melted wax into the containers and added the wicks, it’s crucial to allow the candles to cool and solidify completely. Allowing the candles to cool properly ensures that they harden evenly, set correctly, and maintain their shape for optimal burn performance. Follow these steps to ensure a successful cooling process:
1. Patience is Key: Cooling the candles is a process that requires patience. It’s important not to rush this step as premature handling or moving of the candles can lead to surface imperfections or misshapen candles. The temperature and cooling time can vary based on factors such as the size of the container, ambient temperature, and specific soy wax used.
2. Avoid Moving or Disturbing the Candles: Once the candles are poured and the wicks are in place, it’s best to leave them undisturbed. Moving or jostling the candles during the cooling process can cause uneven cooling and misshaped bottoms. It’s tempting to check on them frequently, but it’s best to resist the urge and let them cool naturally.
3. Determine the Cooling Time: The cooling time can vary depending on several factors, including the room temperature and the size of the candles. As a general guideline, soy wax candles typically take about 2-4 hours to cool completely. However, larger candles or candles made with specific soy wax blends may require additional cooling time. It’s best to consult the specific recommendations from your soy wax manufacturer for ideal cooling times.
4. Observe the Candles: While the candles cool, observe their behavior and appearance. As the candles solidify, you may notice some shrinkage or sinkholes forming in the center. This is normal and can be easily fixed during the subsequent steps of candle making. It’s also common to see some cracking or frosting on the surface of soy wax candles, which is a natural characteristic of soy wax and doesn’t affect the performance of the candles.
5. Perform a Touch Test: To check if the candles have cooled completely, gently touch the surface of the wax. If it feels firm and no longer warm to the touch, the candles are likely ready for the next steps. However, ensure that the wax is solid throughout, especially at the base, before proceeding.
6. Pat Down Any Sinkholes: If you notice any sinkholes or depressions forming in the center of the cooled candles, you can fill them in with additional melted wax. Simply melt a small amount of soy wax and carefully pour it into the depression, leveling it with the surface of the candle. Allow it to cool and solidify before moving on.
7. Confirm Proper Wick Position: Before moving or handling the cooled candles, double-check the positioning and stability of the wicks. Ensure that they are centered and straight, and that they haven’t shifted or leaned during the cooling process. Make any necessary adjustments using a wick centering tool or your fingers.
By allowing the candles to cool and solidify completely, you ensure that they maintain their shape, appearance, and optimal burn performance. Take the time to let them cool naturally and resist the temptation to handle or move them prematurely. Once they have cooled completely, you can proceed to the next step of trimming the wicks and preparing the candles for enjoyment.
Trimming the Wicks
Trimming the wicks of your soy wax scented candles is an essential step for achieving a clean, even burn and maximizing the lifespan of your candles. Trimming the wicks helps prevent excessive soot, mushrooming, and uneven burning. Here are the steps to effectively trim the wicks:
1. Wait for the Candles to Cool: Before trimming the wicks, ensure that the candles have cooled and solidified completely. It’s important to trim the wicks when the wax is firm to avoid any damage or breakage.
2. Prepare Your Tools: Get a pair of sharp scissors or wick trimmers specifically designed for candle trimming. These tools will give you a clean and precise cut.
3. Examine the Wick Length: Observe the length of the wick protruding from the wax surface. Ideally, the wick should be trimmed to approximately ¼ inch or 6 mm. This length ensures a controlled flame and minimizes smoke, soot, and carbon buildup.
4. Trim the Wick: Hold the scissors or wick trimmers at a slight angle and carefully trim the wick to the desired length. Try to make a clean, straight cut without leaving any jagged edges or debris. It’s important to avoid cutting the wick too short, as this can make it challenging to relight the candle.
5. Remove Trimmed Wick: After trimming, gently tap the trimmed wick to remove any loose debris or soot from the surface of the candle. This helps maintain a clean burn and prevents any potential buildup or accidental ignition of trimmed wick remnants.
6. Discard the Trimmed Wick: Dispose of the trimmed wick in a safe and appropriate manner. You can simply collect the trimmings and discard them in a waste bin or dispose of them according to local regulations. Avoid leaving loose wick trimmings in or around the candle, as they can become potential fire hazards.
7. Repeat for Each Candle: Trim the wicks of each candle individually, following the same process. Be mindful of maintaining the recommended wick length consistently across all your candles for consistent burning and performance.
8. Regular Maintenance: Trim the wicks before each subsequent burn to ensure an optimal burning experience and extend the life of your candles. Regular maintenance helps prevent excessive soot, flickering, and blackening of the container.
By trimming the wicks of your soy wax scented candles, you promote a clean, controlled burn and enhance the overall enjoyment and longevity of your candles. Take the time to trim the wicks properly before each use, and you’ll be rewarded with a beautiful and aromatic candle experience.
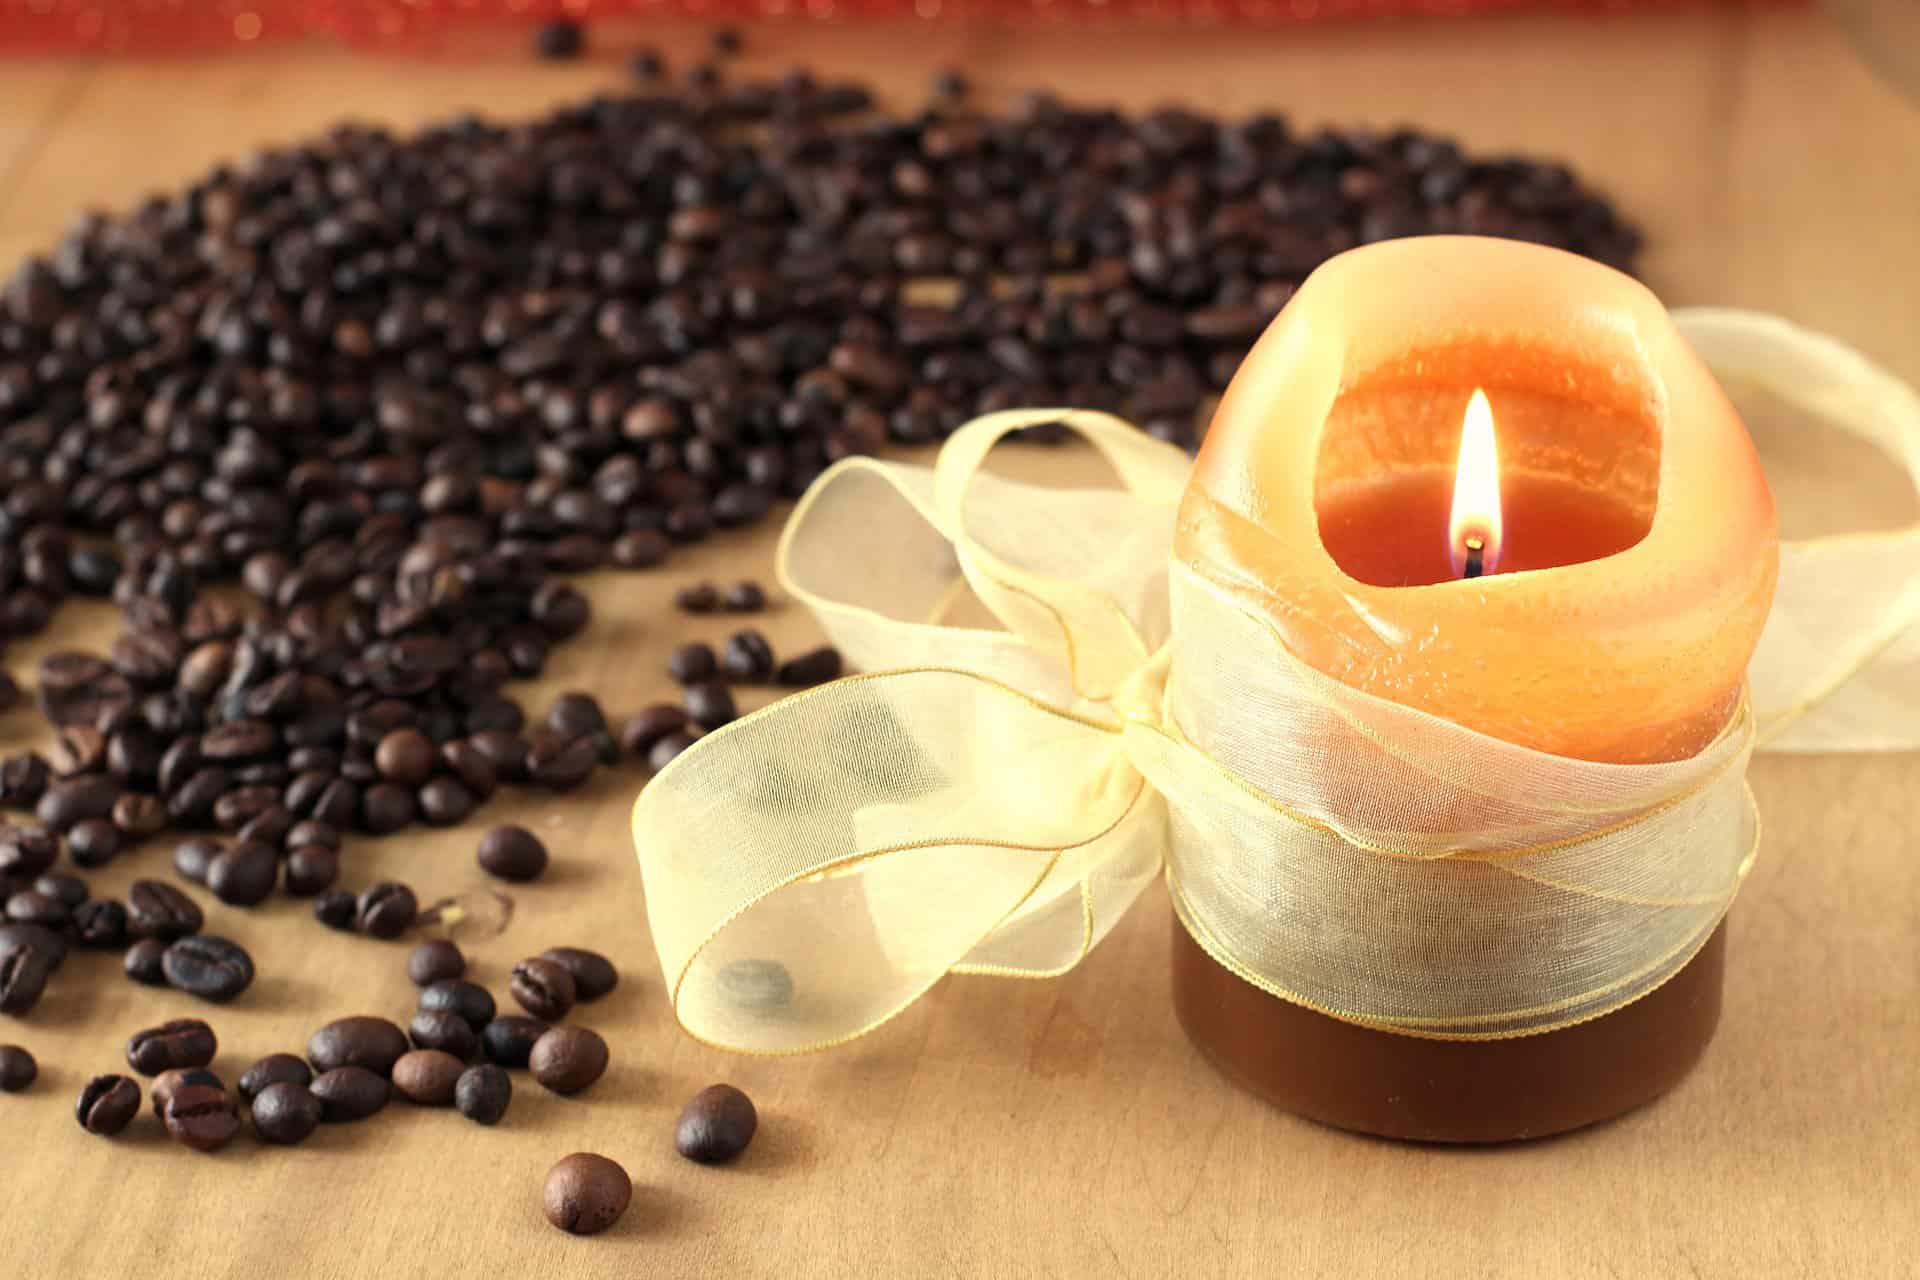
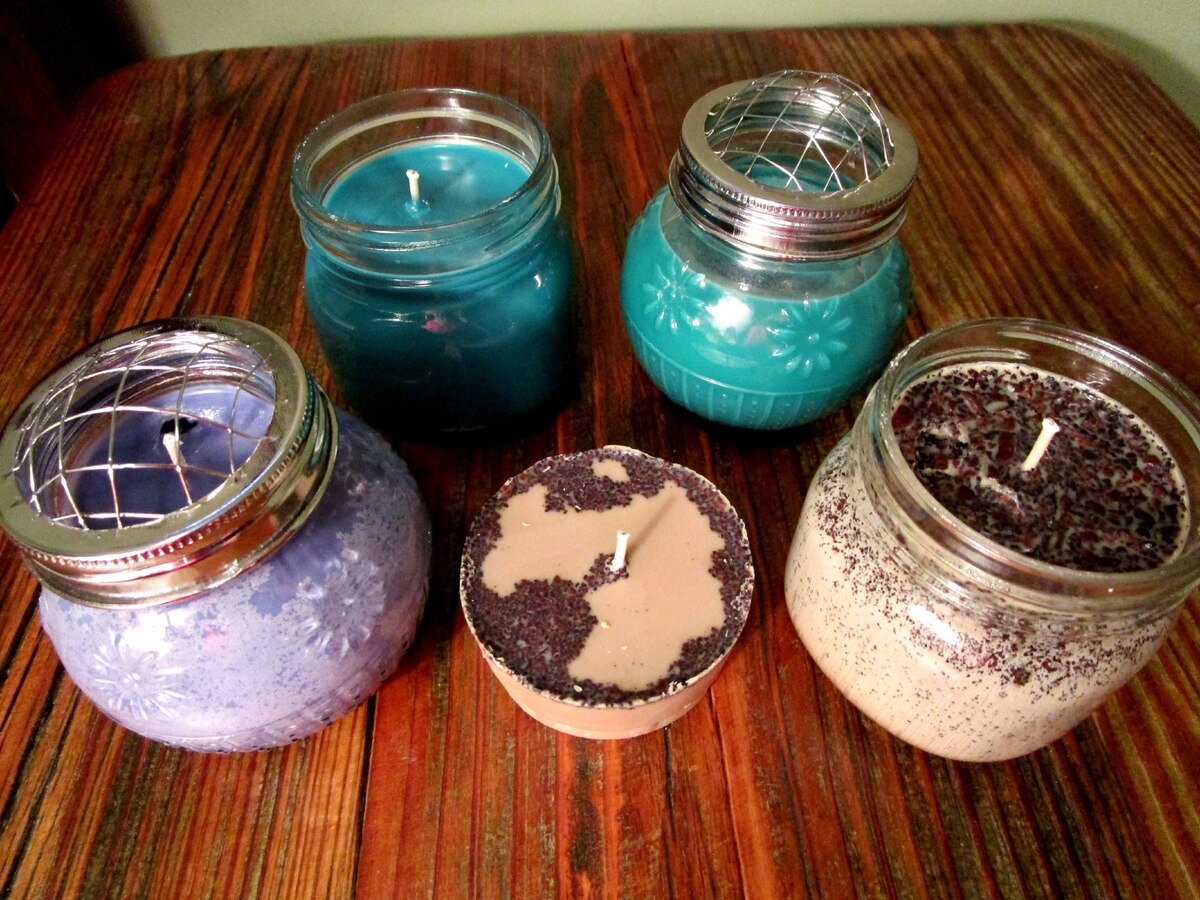
Enjoying Your Homemade Soy Wax Scented Candles
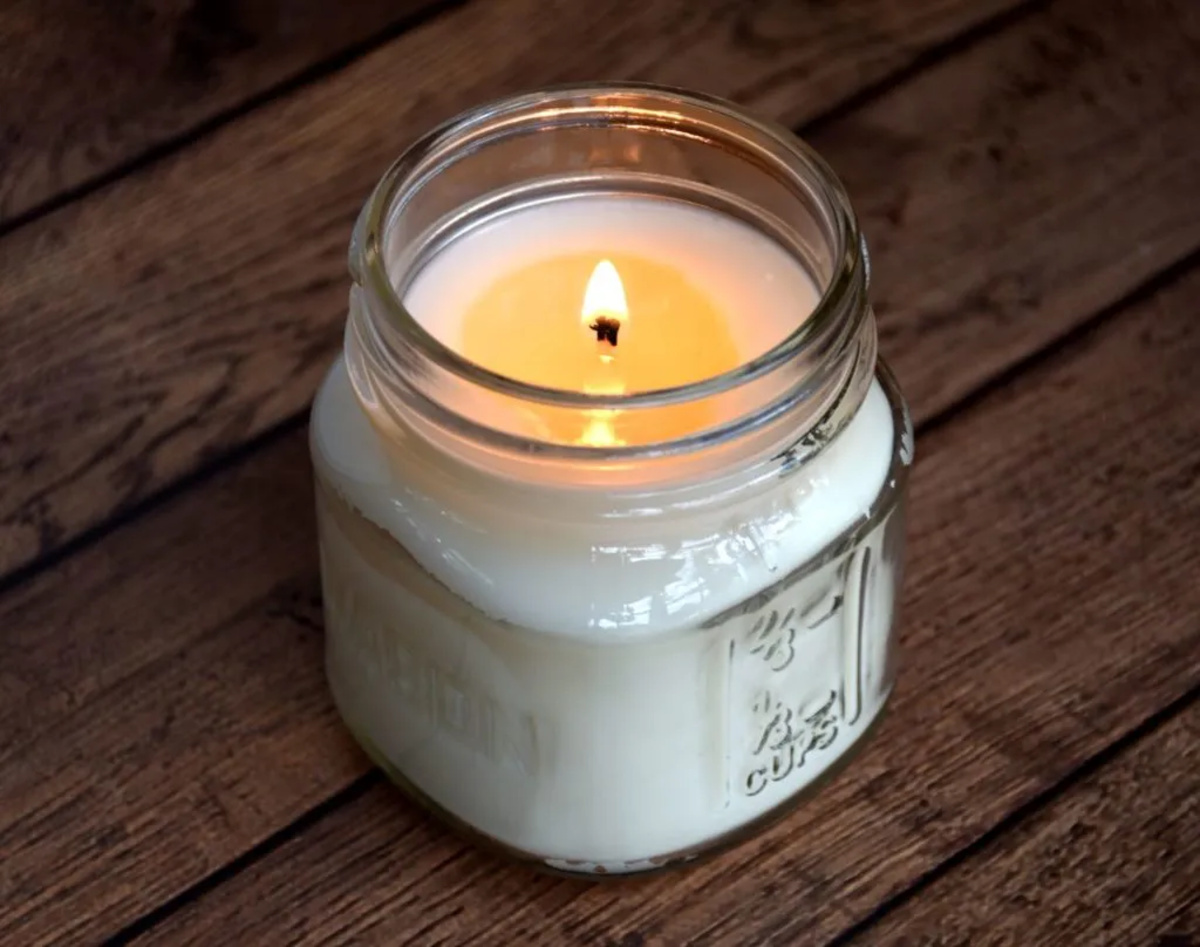
Congratulations! You have successfully created your own homemade soy wax scented candles. Now it’s time to sit back, relax, and bask in the gentle glow and enchanting fragrance of your creations. Here’s how you can fully enjoy your homemade soy wax scented candles:
1. Find the Perfect Spot: Choose a space in your home where you want to enjoy the soothing ambiance and delightful fragrance of your candles. Whether it’s your living room, bedroom, bathroom, or any other area, make sure it’s a safe and suitable location for candle burning.
2. Set the Mood: Dim the lights, play some soft music, and create a cozy atmosphere to complement the warm glow of your candles. This helps enhance the overall sensory experience and encourages relaxation and tranquility.
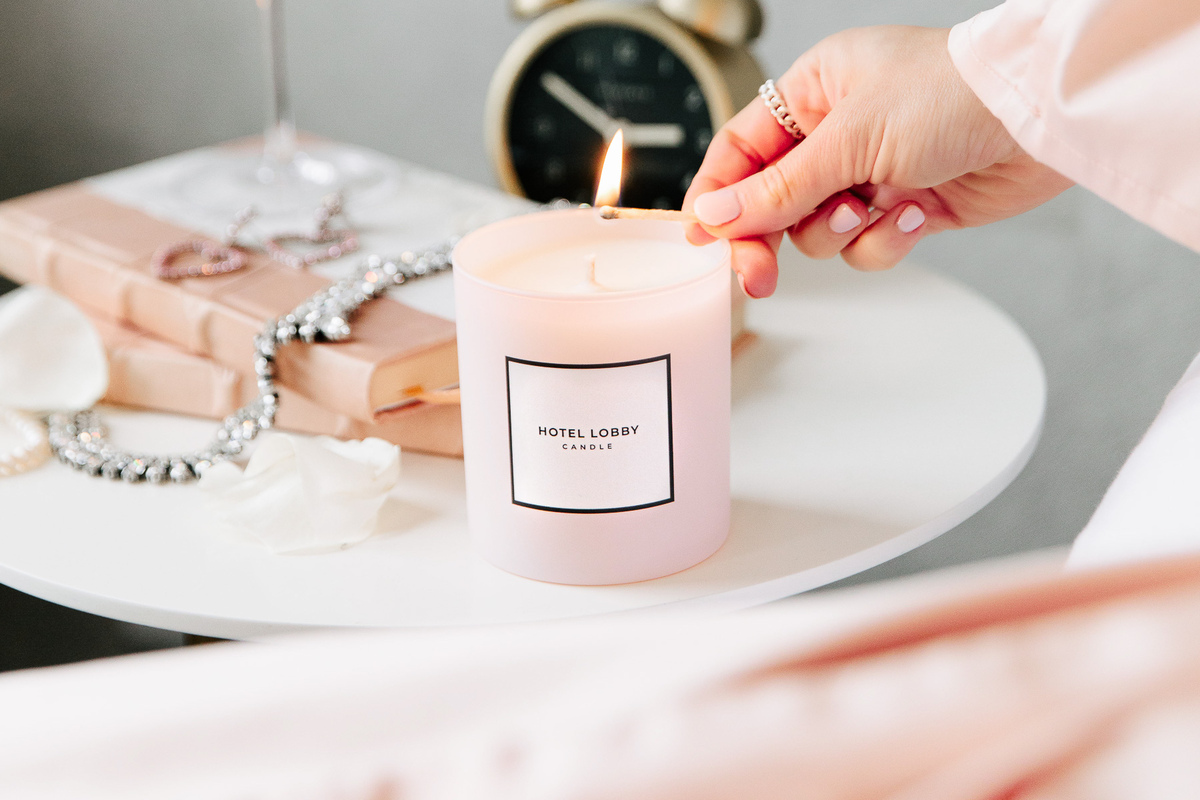
3. Safely Light the Candles: Before lighting your candles, ensure there are no flammable objects nearby and that the candles are placed on a stable, heat-resistant surface. Use a lighter or a long-reach candle lighter to safely ignite the wicks. Avoid using matches, as they can be less precise and may create excessive smoke.
4. Enjoy the Fragrance: As the candles burn, the fragrant aroma will fill the air, creating a pleasant and inviting ambiance. Take a moment to inhale and appreciate the scents you carefully selected. Allow the fragrance to envelop your space and evoke a sense of relaxation and well-being.
5. Burn Candles Safely: Always remember to follow proper candle safety guidelines. Never leave burning candles unattended and keep them away from children, pets, and flammable materials. Trim the wicks before each use and ensure the candles are positioned securely. It’s also vital to extinguish the candles before leaving the room or going to sleep.
6. Practice Candle Care: To prolong the life of your handmade candles, practice good candle care. Trim the wicks before each use, and let the wax pool reach the edges of the container during each burn to prevent tunneling. This ensures an even burn and maximizes the burn time of your candles.
7. Experiment with Fragrances: Don’t be afraid to mix and match different fragrances to create your own unique scent combinations. Try blending fragrances from different categories (such as floral and citrus) or layering scents to create depth and complexity. Have fun experimenting and discovering your favorite aroma blends.
8. Share the Joy: Your homemade soy wax scented candles make wonderful gifts for friends and loved ones. Consider sharing the joy by gifting them to others for special occasions or simply as a token of appreciation. Handmade candles carry a personal touch and show your thoughtfulness in creating something unique.
9. Reap the Therapeutic Benefits: Beyond their aesthetic appeal and enchanting scents, soy wax scented candles can offer therapeutic benefits. They can help create a calming and stress-relieving environment, promote relaxation and mindfulness, and enhance your overall well-being. Take some time for yourself, unwind, and let the gentle flicker of your candles soothe your senses.
10. Enjoy the Journey: Making soy wax scented candles is not just about the end result, but also the journey itself. Embrace the creativity, inspiration, and relaxation that come with the process of crafting your own candles. Enjoy the therapeutic and fulfilling experience of creating something beautiful with your own hands.
So, sit back, immerse yourself in the soft glow and enticing fragrances of your homemade soy wax scented candles, and let your senses be transported to a world of comfort and tranquility. Enjoy the magic that comes with the warm illumination and captivating aromas, and embrace the joy of your candle-making endeavors.
Conclusion
Creating your own homemade soy wax scented candles is a rewarding and fulfilling endeavor. From selecting the right soy wax and fragrances to pouring the wax and adding the wicks, every step of the process contributes to the creation of beautiful, aromatic candles that bring warmth and ambience to any space.
Soy wax has gained popularity for its natural ingredients, clean burn, and ability to hold fragrances exceptionally well. Choosing the right soy wax and fragrance oils allows you to customize your candles to suit your personal preferences and create a unique sensory experience.
Gathering the materials and preparing your workstation sets the stage for a smooth and enjoyable candle-making process. Melting the soy wax and adding the fragrance oils require patience and attention to detail to ensure a well-blended and fragrant outcome.
Pouring the melted wax into containers and adding the wicks contribute to the professional appearance and functionality of your candles. Allowing the candles to cool and solidify completely, and trimming the wicks to the appropriate length, are essential steps for achieving an even burn and optimal performance.
Finally, it’s time to revel in the joy of enjoying your homemade soy wax scented candles. Set the mood, light the candles, and allow the enchanting fragrance to create a soothing atmosphere. Embrace the therapeutic benefits, experiment with fragrances, and share the joy with loved ones.
Through the journey of making soy wax scented candles, you have tapped into your creativity and created something truly special. So, take a moment to appreciate the beauty and craftsmanship of your handmade candles, and let them illuminate your surroundings with their captivating glow and delightful aromas.
Enjoy the magic and tranquility that comes with candlelight, and may your homemade soy wax scented candles bring warmth, comfort, and joy to your life and the lives of those around you.
Frequently Asked Questions about How To Make Soy Wax Scented Candles
Was this page helpful?
At Storables.com, we guarantee accurate and reliable information. Our content, validated by Expert Board Contributors, is crafted following stringent Editorial Policies. We're committed to providing you with well-researched, expert-backed insights for all your informational needs.


0 thoughts on “How To Make Soy Wax Scented Candles”