Articles
How To Make Paraffin Wax Candles
Modified: December 7, 2023
Learn how to make paraffin wax candles with our informative articles. Get step-by-step instructions, tips, and tricks for creating beautiful and fragrant homemade candles.
(Many of the links in this article redirect to a specific reviewed product. Your purchase of these products through affiliate links helps to generate commission for Storables.com, at no extra cost. Learn more)
Introduction
Creating your own paraffin wax candles can be a delightful and rewarding experience. Not only is it a great way to express your creativity, but it also allows you to customize the scent, color, and design of your candles. Whether you want to create a calming ambiance for your home or give personalized gifts to your loved ones, making paraffin wax candles is a craft that you can easily master.
In this article, we will guide you through the step-by-step process of making paraffin wax candles. We will cover everything from preparing the wax to adding fragrance and coloring, as well as tips for preparing the wicks and containers. By the end of this article, you will have all the knowledge you need to create beautiful and aromatic paraffin wax candles that will brighten any space.
Before we dive into the details, let’s take a moment to understand what paraffin wax is. Paraffin wax is a type of petroleum-based wax that is commonly used for candle making. It has a low melting point and excellent scent-holding capabilities, making it an ideal choice for creating fragrant candles. Paraffin wax is also known for its smooth and glossy finish, allowing you to achieve a professional look.
Now that we have a basic understanding of paraffin wax, let’s gather the materials needed for our candle making adventure.
Key Takeaways:
- Creating paraffin wax candles is a delightful and customizable craft that allows you to express your creativity. From preparing the wax to adding fragrance and color, each step contributes to the art of candle making.
- Decorating and packaging your handcrafted paraffin wax candles adds a personal touch, making them perfect for gifting or display. Embrace the joy of sharing your creations and bask in the soothing ambiance they bring.
Read more: How To Make Wax For Candles At Home
Materials Needed
Before you begin making paraffin wax candles, it’s important to gather all the necessary materials. Here’s a list of items you will need:
- Paraffin wax: You can find paraffin wax at craft stores or order it online. Make sure to choose a high-quality wax suitable for candle making.
- Candle wicks: Select wicks that are appropriate for the size of your containers. There are various types of wicks available, such as cotton or pre-tabbed wicks.
- Fragrance oils (optional): If you want scented candles, choose fragrance oils that are specifically made for candle making. There are numerous scents available, from calming lavender to refreshing citrus.
- Candle dye (optional): To add color to your candles, you can use candle dye chips or liquid dye. Make sure to choose dyes that are safe for candle making and mix well with the wax.
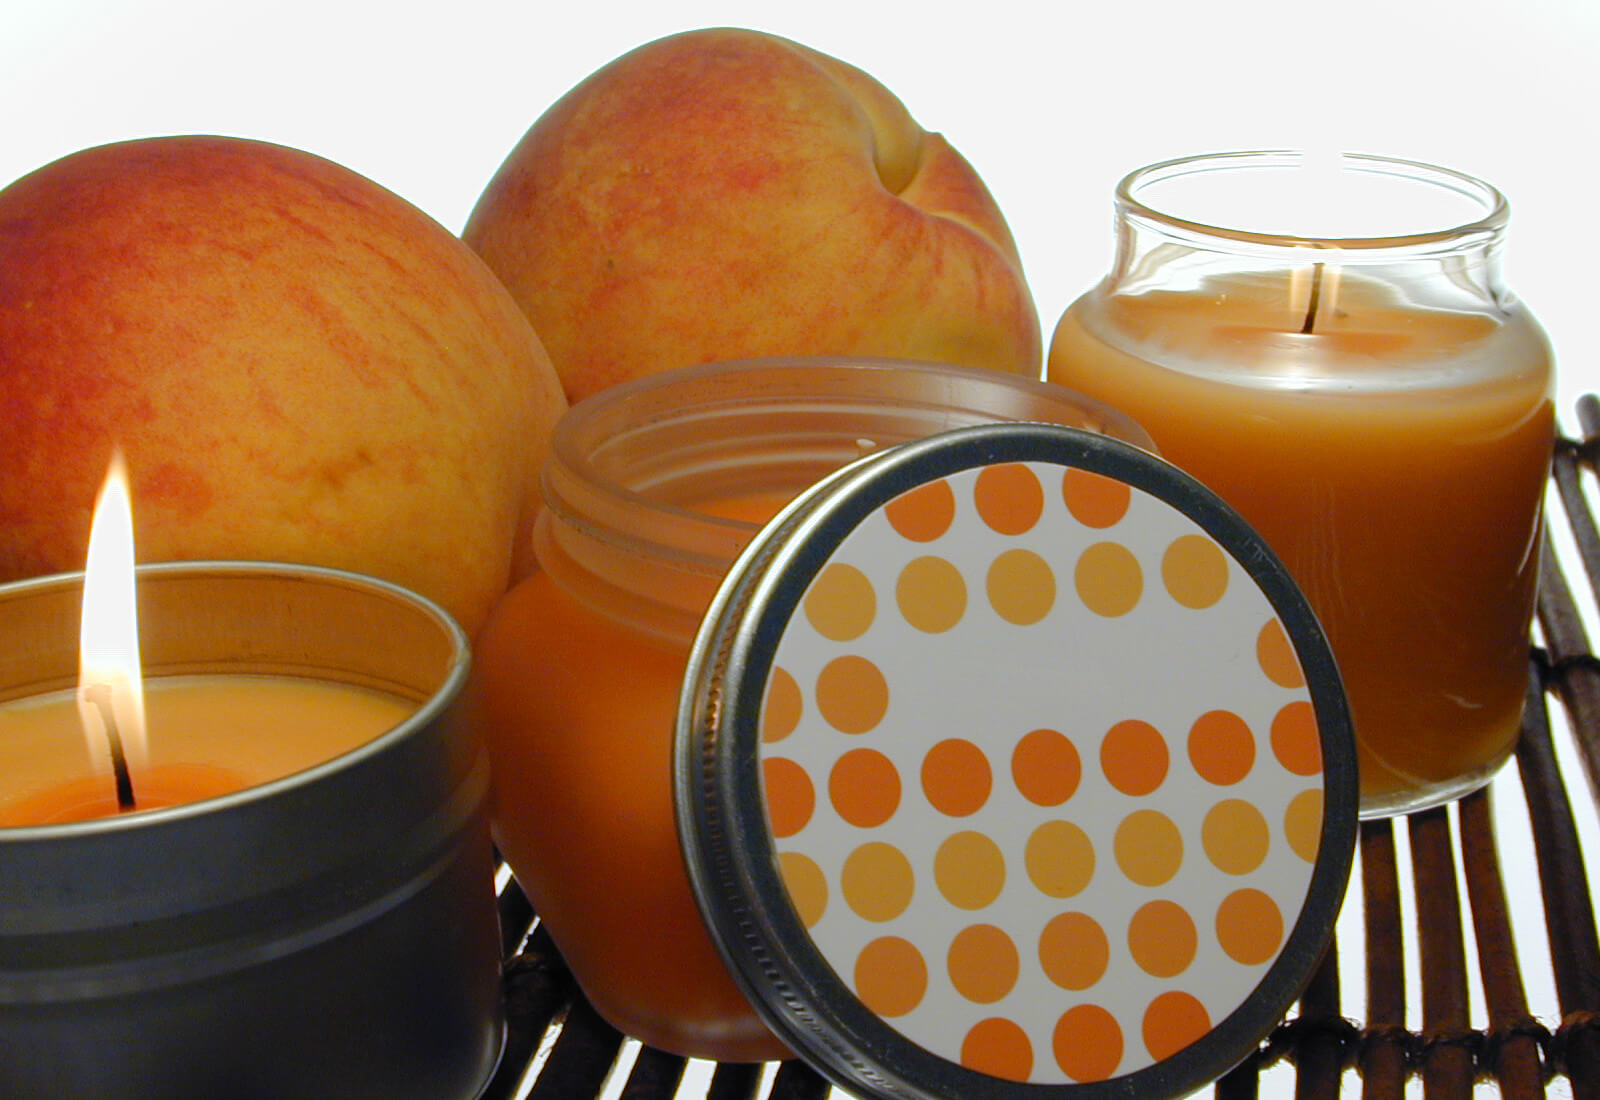
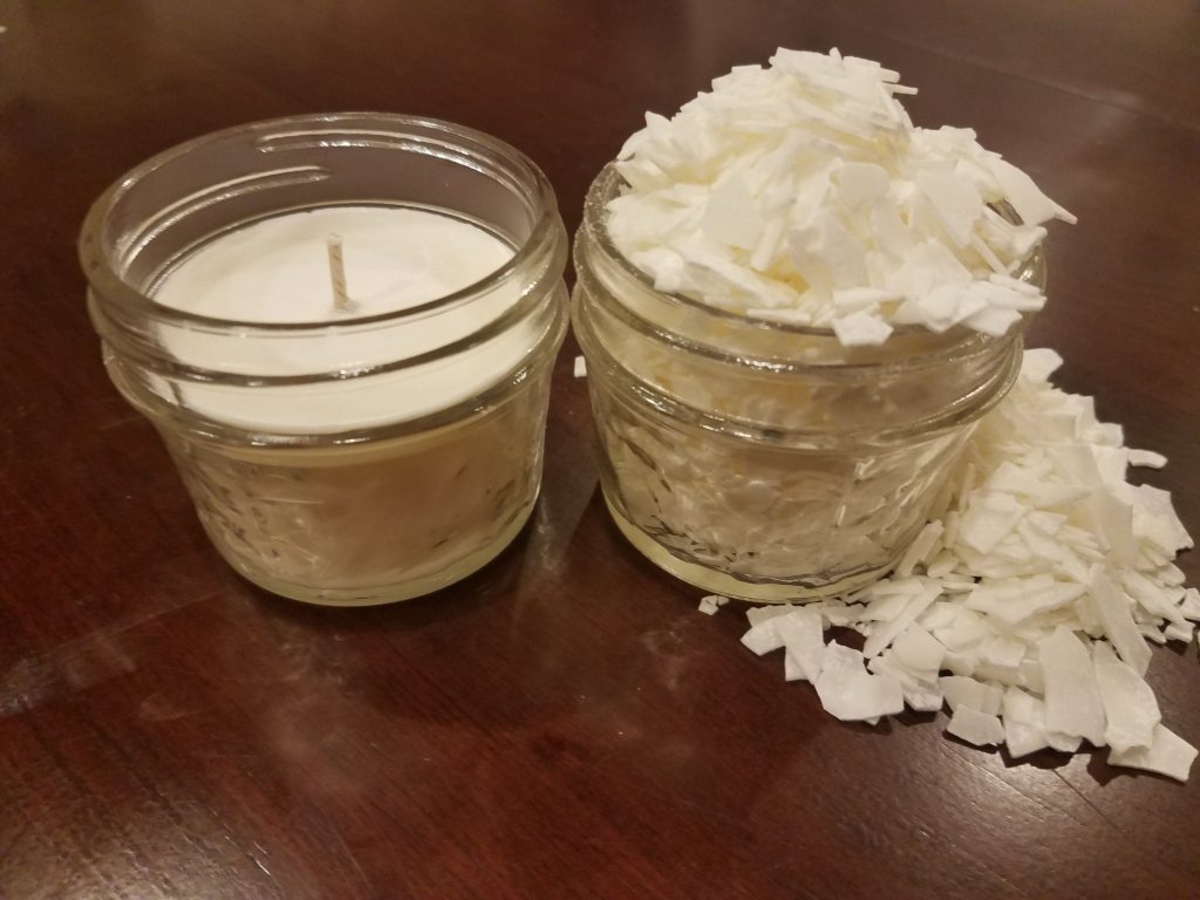
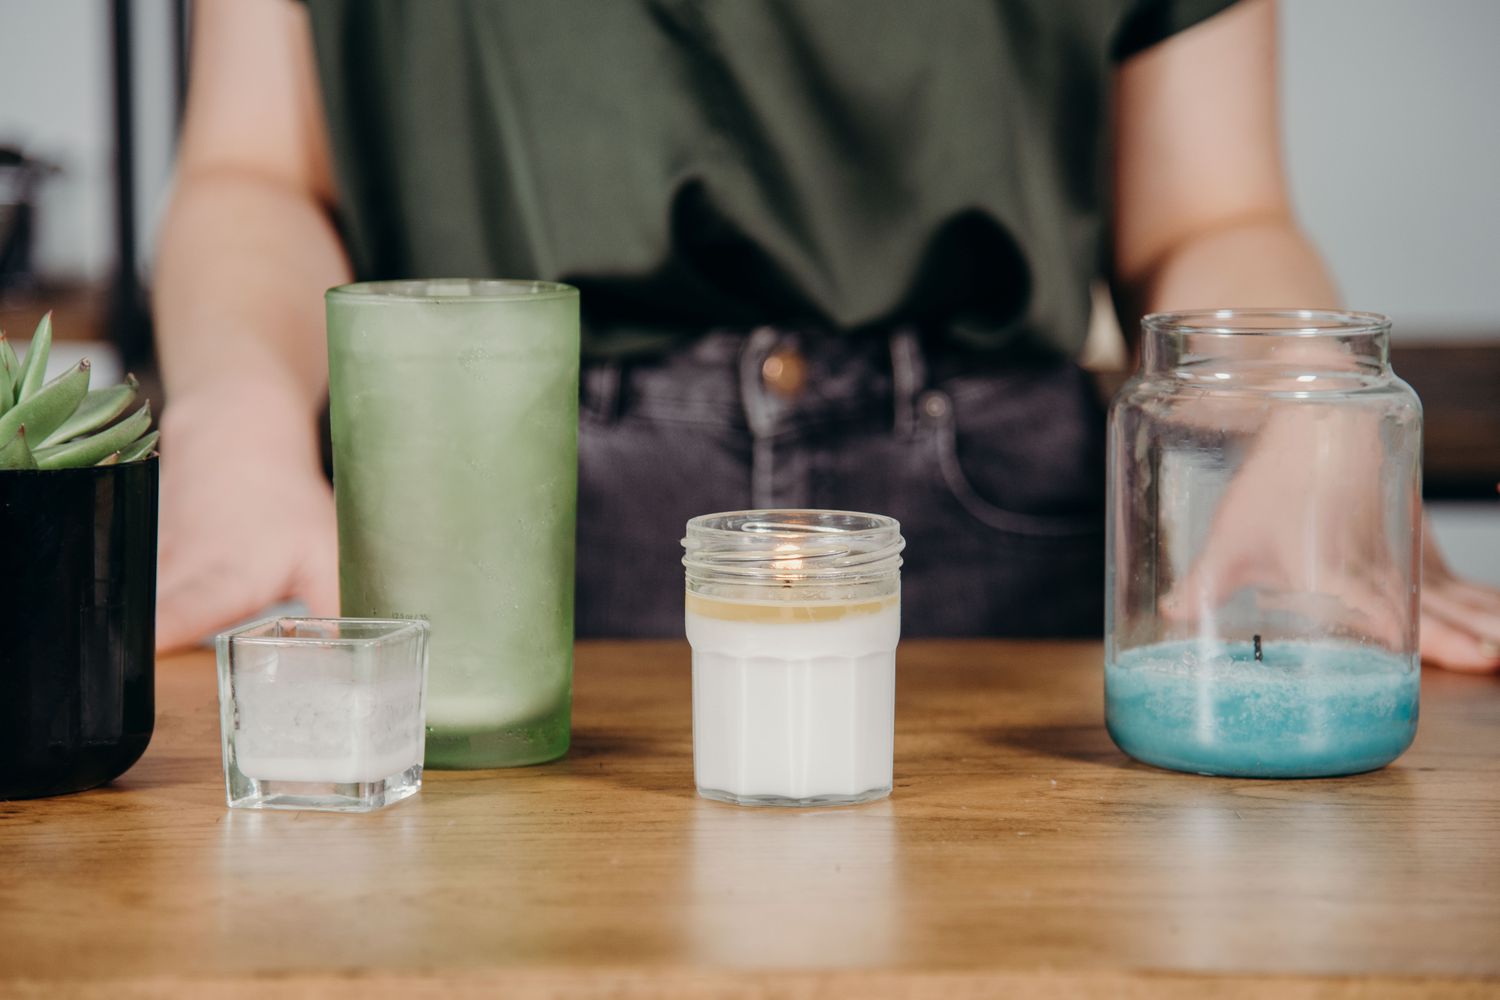
- Heat-resistant containers: Select containers that are suitable for holding hot wax. Glass jars, metal tins, or ceramic containers are popular choices for candle making.
- Double boiler or melting pot: A double boiler is used to melt the wax safely. If you don’t have a double boiler, you can create one by placing a heat-resistant container inside a larger pot filled with water.
- Thermometer: A thermometer is essential for monitoring the temperature of the wax. This ensures that the wax is heated to the correct melting point.
- Stirring utensil: A heat-resistant spoon or spatula is needed to stir the wax and mix in the fragrance or dye.
- Wick stickers or glue: These are used to secure the wicks to the bottom of the containers.
- Wick centering device (optional): A wick centering device helps keep the wick centered as the wax cools and solidifies.
- Scissors: You’ll need a pair of scissors to trim the wicks after the candles have set.
- Labels, ribbons, or other materials for decoration and packaging.
Now that you have all the necessary materials, let’s move on to the first step: preparing the wax.
Step 1: Preparing the Wax
The first step in making paraffin wax candles is to prepare the wax for melting. Follow these steps to ensure proper preparation:
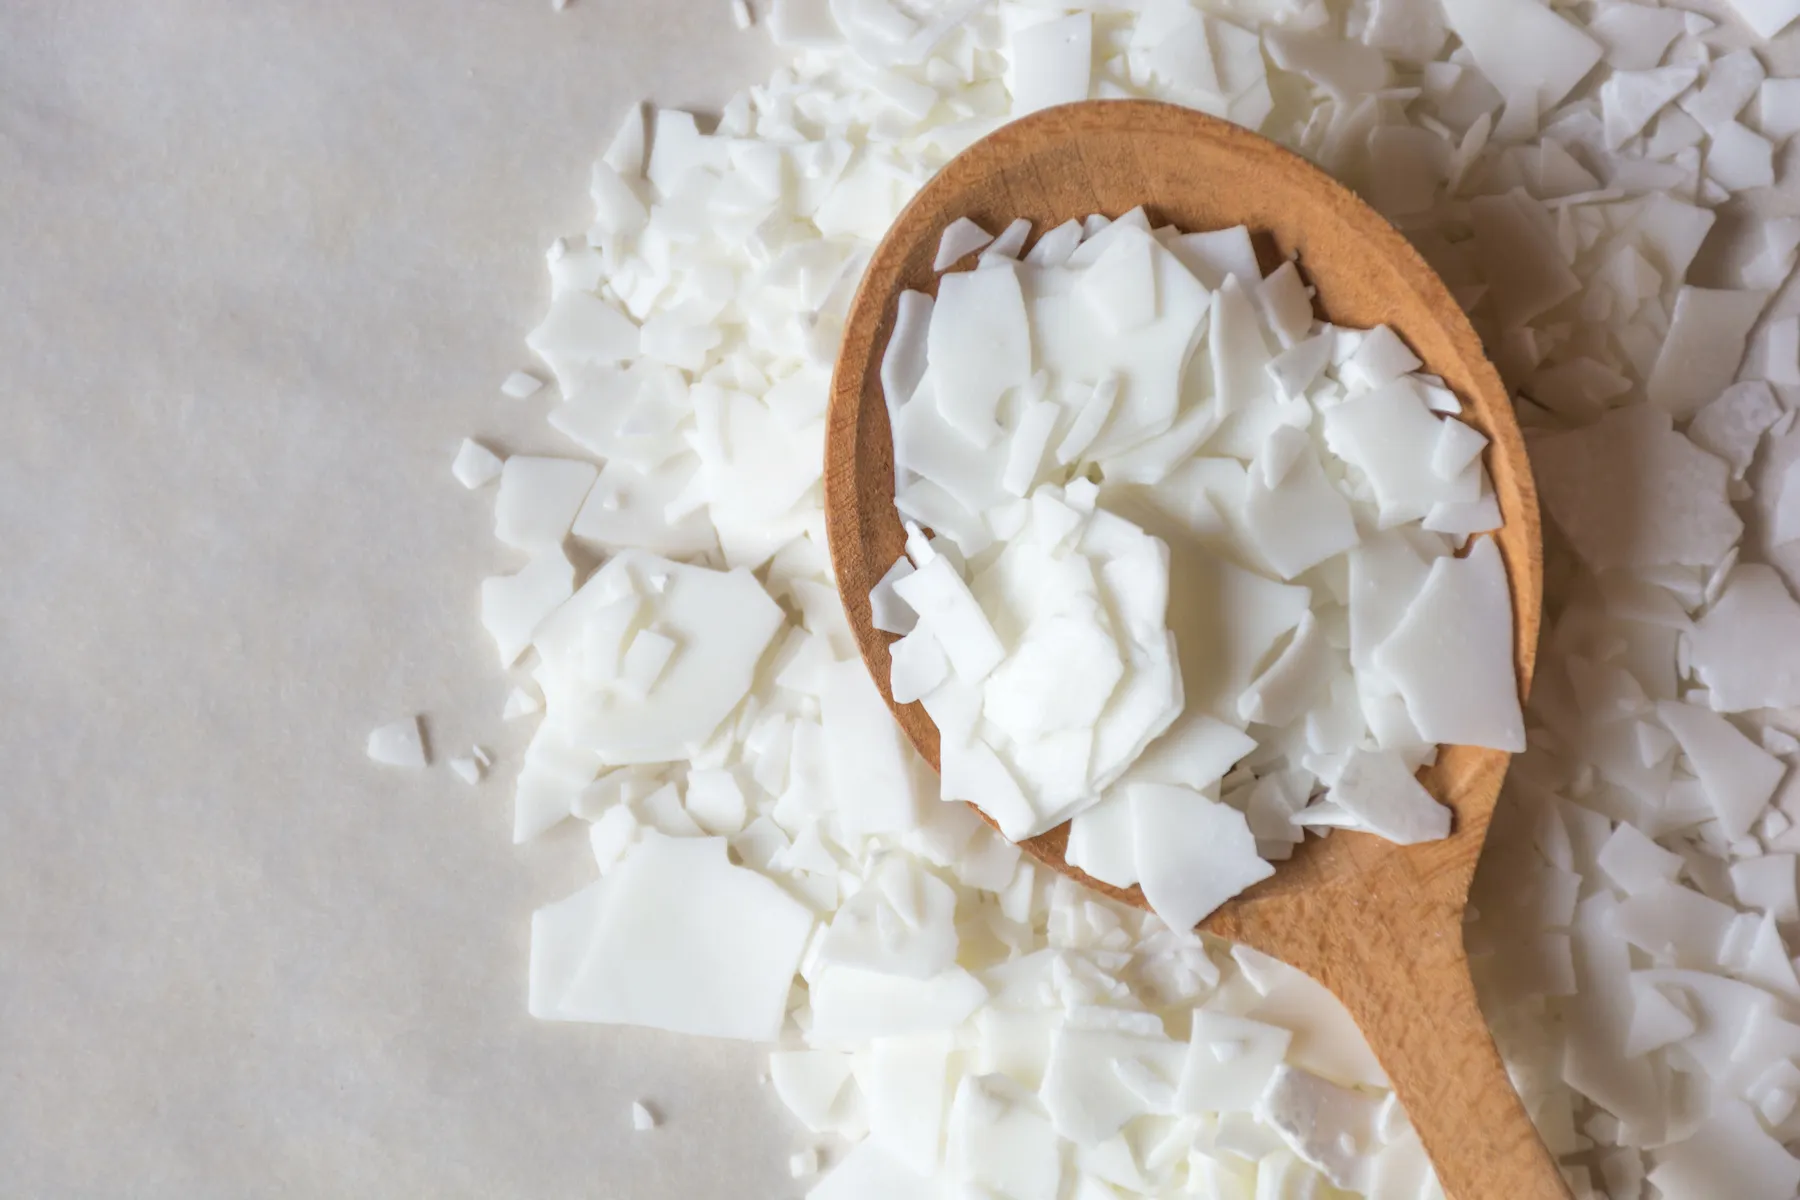
- Measure the amount of wax you’ll need: Determine the amount of wax required based on the size of your containers. A general rule of thumb is to double the volume of your container to determine the amount of melted wax needed.
- Chop or grate the wax: To facilitate melting, chop the wax into small chunks or use a grater to create smaller shavings. This will help the wax melt more evenly and quickly.
- Set up a double boiler: Fill a pot with water and bring it to a simmer. Place a heat-resistant container on top of the pot. Make sure the bottom of the container does not touch the water. This indirect heat will melt the wax safely.
- Add the wax to the double boiler: Place the chopped or grated wax into the heat-resistant container. Stir occasionally as the wax melts to ensure even heating.
- Monitor the temperature: Use a thermometer to keep an eye on the wax temperature. The melting point of paraffin wax is typically between 120°F and 150°F (49°C and 66°C). Avoid overheating the wax, as it may affect the quality and appearance of the finished candles.
- Remove the container from heat: Once the wax has completely melted, carefully remove the container from the heat source. Be cautious, as the container will be hot.
Now that the wax is melted and ready, it’s time to add fragrance (optional) and color (optional) to your candles. Proceed to the next steps to learn how to customize the scent and appearance of your paraffin wax candles.
Step 2: Adding Fragrance (Optional)
Adding fragrance to your paraffin wax candles can elevate the ambiance and create a pleasant aromatic experience. Follow these steps to infuse your candles with delightful scents:
- Select a fragrance oil: Choose a fragrance oil that is specifically designed for candle making. There are countless options available, ranging from floral and fruity scents to cozy and comforting aromas. Make sure to read the instructions and guidelines provided by the manufacturer for the appropriate usage ratio.
- Determine the desired scent strength: Consider the size of your candles and how strong you want the fragrance to be. A general guideline is to use approximately 1 ounce (30 mL) of fragrance oil per pound (450 grams) of wax. This can be adjusted to your personal preference.
- Add the fragrance oil to the melted wax: Once the wax has reached the desired temperature (around 180°F or 82°C), carefully pour the fragrance oil into the wax. Stir gently but thoroughly to ensure the fragrance is evenly distributed throughout the wax.
- Continue stirring for a few minutes: Stir the wax and fragrance oil mixture for a few minutes to allow them to blend well. This will help maximize the scent throw when the candles are burned.
Remember, it’s important to follow the instructions provided by the fragrance oil manufacturer for the specific scent you are using. Different fragrance oils may have varying guidelines regarding usage ratios and temperatures.
Now that your wax is properly scented, let’s move on to the next step: adding color to your paraffin wax candles.
Step 3: Coloring the Wax (Optional)
If you want to add a pop of color to your paraffin wax candles, you can use candle dyes to create vibrant and visually appealing creations. Here’s how you can color your candles:
- Select the desired candle dye: Choose candle dyes that are specifically made for candle making. They come in various forms, such as dye chips or liquid dyes. Ensure that the dyes are safe to use with paraffin wax and mix well with the melted wax.
- Determine the amount of dye needed: The amount of dye required will depend on the desired color intensity and the amount of wax you are using. Start with a small amount and gradually increase until you achieve the desired hue. It’s advisable to use a small portion of the melted wax to test the color before adding it to the entire batch.
- Add the dye to the melted wax: Once the wax has reached the appropriate temperature and consistency, add the dye. Stir gently but thoroughly to distribute the color evenly throughout the wax. Be careful not to overmix, as this can create air bubbles or affect the wax’s texture.
- Adjust the color if necessary: If the color is too light, add a bit more dye. If it’s too dark, you can dilute it by adding additional melted, unscented wax. Continuously stir and test the color until you achieve the desired shade.
Remember, a little goes a long way when it comes to candle dyes. Add the dye gradually and adjust as needed to attain the desired color. It’s always better to start with a lighter shade and gradually build up to a darker color.
With the fragrance and color added to the melted wax, you’re now ready to move on to the next step: preparing the wicks and containers for pouring the wax.
Read more: How To Melt Wax To Make Candles
Step 4: Preparing the Wicks and Containers
Before pouring the melted wax into the containers, it’s important to properly prepare the wicks and containers. Follow these steps to ensure a secure and efficient candle-making process:
- Trim the wicks: Cut the wicks to the desired length, leaving a bit of excess at the top. A general rule of thumb is to trim the wicks to around 1/4 inch (6 mm) above the top of the container. This ensures a clean burn and prevents excessive smoking.
- Secure the wicks to the containers: There are a couple of methods you can use to secure the wicks. One option is to use wick stickers, which adhere the wick to the bottom of the container. Another option is to use a small amount of hot glue to attach the wick to a wick tab, which can rest on the container’s bottom. Ensure that the wick is centered and straight in the container.
- Use wick centering devices (optional): If you’re using wider containers or experiencing difficulty keeping the wicks centered, you can use wick centering devices. These are small metal or plastic clips that hold the wick in place and ensure it remains centered as the wax cools and solidifies.
- Prepare the containers: Make sure the containers you’re using are clean and dry. Ensure that there are no cracks, as this can cause leaks when pouring the wax. If desired, you can also preheat the containers by placing them briefly in a warm oven.
By properly preparing the wicks and containers, you ensure that the candles burn evenly and the wicks stay in place throughout the burning process. Now that everything is ready, it’s time to move on to the exciting step of pouring the wax into the containers.
When making paraffin wax candles, ensure that the wax is melted to the correct temperature to avoid discoloration and ensure a smooth finish.
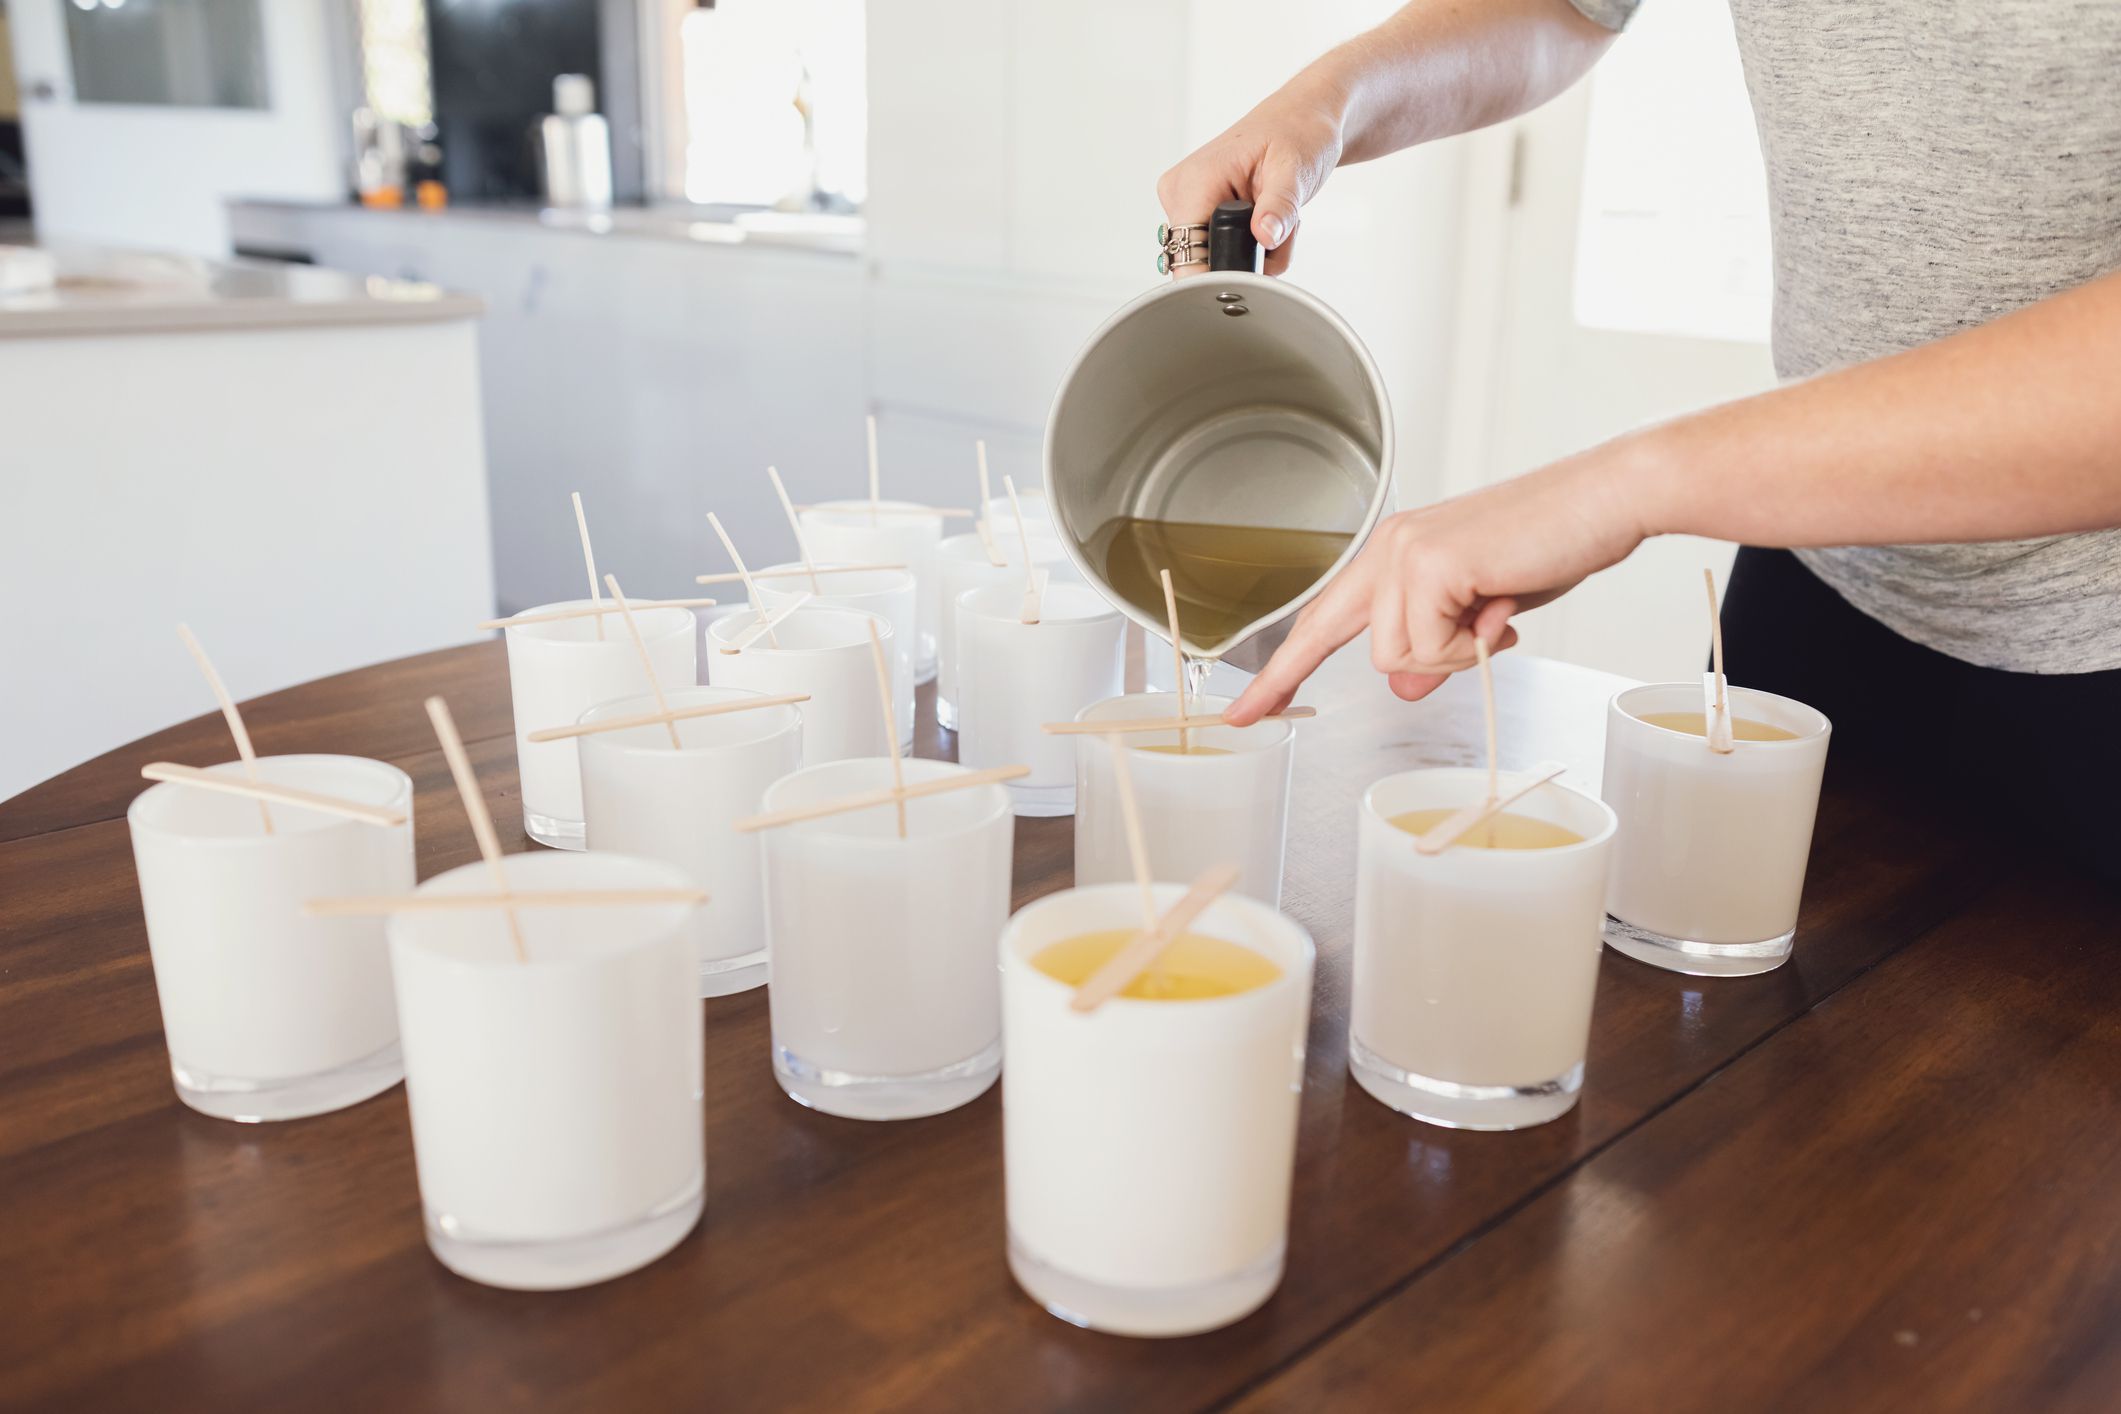
Step 5: Pouring the Wax
With the wicks and containers prepared, it’s time to pour the melted wax into the containers. Follow these steps to ensure a smooth and successful pouring process:
- Check the temperature of the wax: Before pouring, ensure that the melted wax has cooled to the appropriate temperature, typically around 140°F to 160°F (60°C to 71°C). The exact temperature may vary depending on the specific instructions provided by the wax manufacturer.
- Pour slowly and carefully: Pour the melted wax into the containers slowly and steadily, avoiding any splashing or spills. Fill the containers up to about 1/2 inch (1.3 cm) below the rim to allow space for the top layer and prevent overflow.
- Take breaks and release air bubbles: As you pour the wax, take short breaks and gently tap the containers on a solid surface to release any air bubbles that may have formed. This will help create a smooth and even finish.
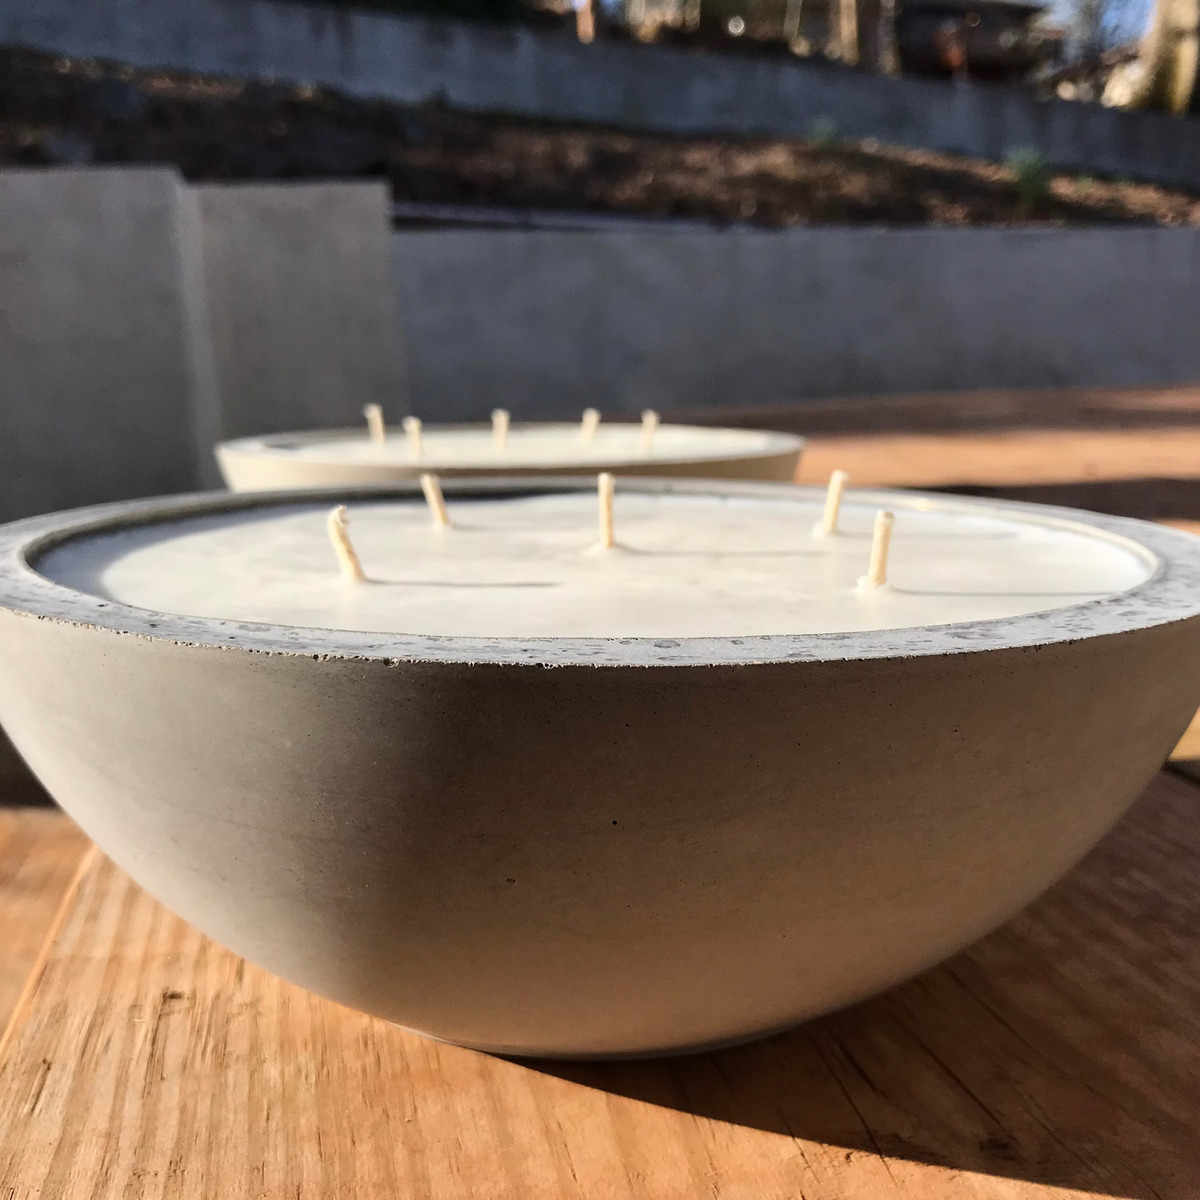
- Allow the wax to cool and solidify: Let the candles sit undisturbed for several hours, or as instructed by the wax manufacturer, to allow the wax to cool and solidify completely. This process typically takes a few hours, but it may vary depending on the size of the candles and the environmental conditions.
During the cooling process, the wax will shrink slightly, creating a small depression around the wick. Don’t worry; this is normal. If needed, you can top off the candles with more melted wax that matches the color and scent of the initial pour.
With the wax poured and the candles cooling, it’s important to resist the temptation to touch or move them until they are completely solidified. Now let’s move on to the next step, which involves trimming the wicks.
Step 6: Allowing the Candles to Cool and Set
After pouring the melted wax into the containers, it’s crucial to allow the candles to cool and set properly. This step ensures that the candles solidify completely and achieve their optimal burning performance. Follow these steps to ensure a successful cooling and setting process:
- Find a cool and undisturbed area: Place the containers in a cool, draft-free location where they won’t be bumped or moved during the cooling process. It’s important to avoid any sudden temperature changes or disturbances, as this can affect the candles’ quality and appearance.
- Patience is key: Allow the candles to cool and set undisturbed for at least 24 hours, or as indicated by the wax manufacturer. The exact time may vary depending on the size of the candles and the environmental conditions. Avoid touching or moving the candles during this time to ensure a smooth and consistent finish.
- Observe the appearance: As the candles cool and set, they will go through different stages of transformation. Initially, the surface may appear slightly uneven or have a frosted appearance. Don’t worry, this is normal. Over time, the surface will become smoother and regain its glossy finish.
- Ensure complete solidification: Before proceeding to the next step, ensure that the candles have completely solidified. You can gently touch the surface or gently tap the sides of the containers to check for any soft or wobbly spots. If the wax feels firm and stable, then the candles are ready for the next step.
Patience is a vital aspect of candle making. Allowing the candles to cool and set properly ensures that they burn evenly and provide optimal performance when lit. Once the candles have completely cooled and solidified, it’s time to move on to the next step: trimming the wicks.
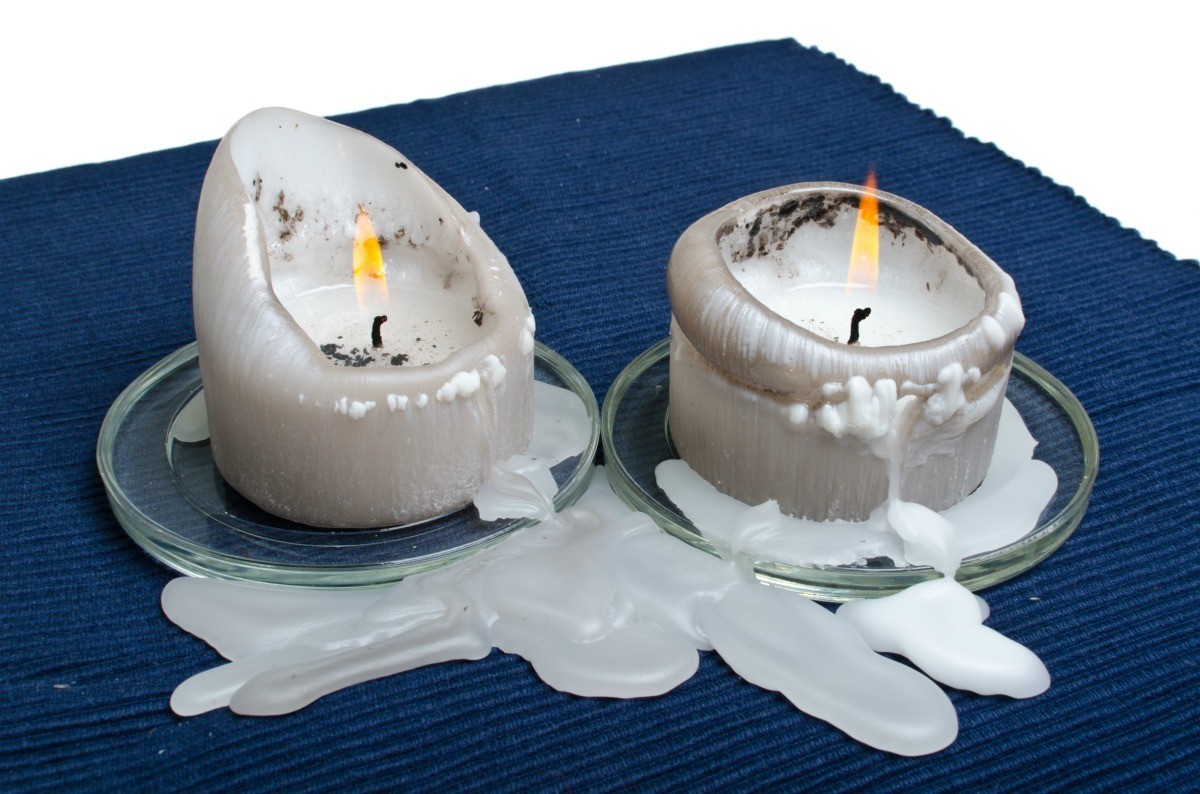
Step 7: Trimming the Wicks
After the candles have cooled and set, it’s important to trim the wicks before lighting them. Trimming the wicks helps promote a clean and efficient burn and prevents excess smoke and soot. Follow these steps to trim the wicks effectively:
- Gently remove any debris: Before trimming the wicks, use a soft cloth or tissue to remove any dust or debris that may have settled on the surface of the candles.
- Inspect the wick length: Assess the length of the wicks and determine the ideal length for trimming. A general rule of thumb is to leave about 1/4 inch (6 mm) of wick above the surface of the melted wax. This ensures a controlled flame and minimizes the risk of the wick becoming too long or producing excess smoke.
- Trim the wicks: Using a pair of scissors, carefully trim the wicks to the desired length. Make sure to cut them evenly and avoid accidentally dropping any wick trimmings into the candle wax.
- Dispose of the wick trimmings: After trimming the wicks, dispose of the excess wick in a safe manner. You can discard them in a trash bin or wrap them in tissue before disposing of them to prevent any mess.
Trimming the wicks is a simple yet essential step in maintaining the optimal performance and longevity of your candles. By following these steps, you ensure that your candles burn cleanly and evenly, providing you with a delightful experience.
Now that you’ve trimmed the wicks, it’s time to move on to the final step: decorating and packaging your beautiful paraffin wax candles.
Read more: How To Make Soy Wax Scented Candles
Step 8: Decorating and Packaging the Candles
Once you have created your gorgeous paraffin wax candles, the final step is to decorate and package them. Decorating and packaging your candles adds a personal touch and makes them ready for gifting or display. Follow these steps to beautifully decorate and package your candles:
- Clean the containers: Wipe the containers clean with a soft cloth or tissue to remove any residue or fingerprints. This will ensure that the candles look pristine and professional.
- Add decorative elements: Get creative and embellish your candles with decorative elements, such as ribbon, twine, or lace. You can tie them around the container or create bows to enhance the visual appeal.
- Attach labels or tags: Create or print labels or tags with the fragrance name, candle size, or any other information you want to include. Attach them to the containers using adhesive or tie them with a string.
- Create packaging: If you plan to gift your candles, consider creating packaging that adds an extra special touch. You can use gift boxes, organza bags, or even create custom-made packaging with your personal touch.
- Add finishing touches: Consider adding a personalized note, a small trinket, or a decorative charm to make the candles even more special. These small touches go a long way in making your candles stand out.
Remember, the packaging and decoration should align with the theme or style of your candles. Whether you prefer a minimalist look or something more colorful and vibrant, choose elements that enhance the overall aesthetic appeal.
With the candles beautifully decorated and packaged, they are now ready to be enjoyed or gifted to others. Take pride in your creations and bask in the joy of sharing your handcrafted paraffin wax candles with your loved ones.
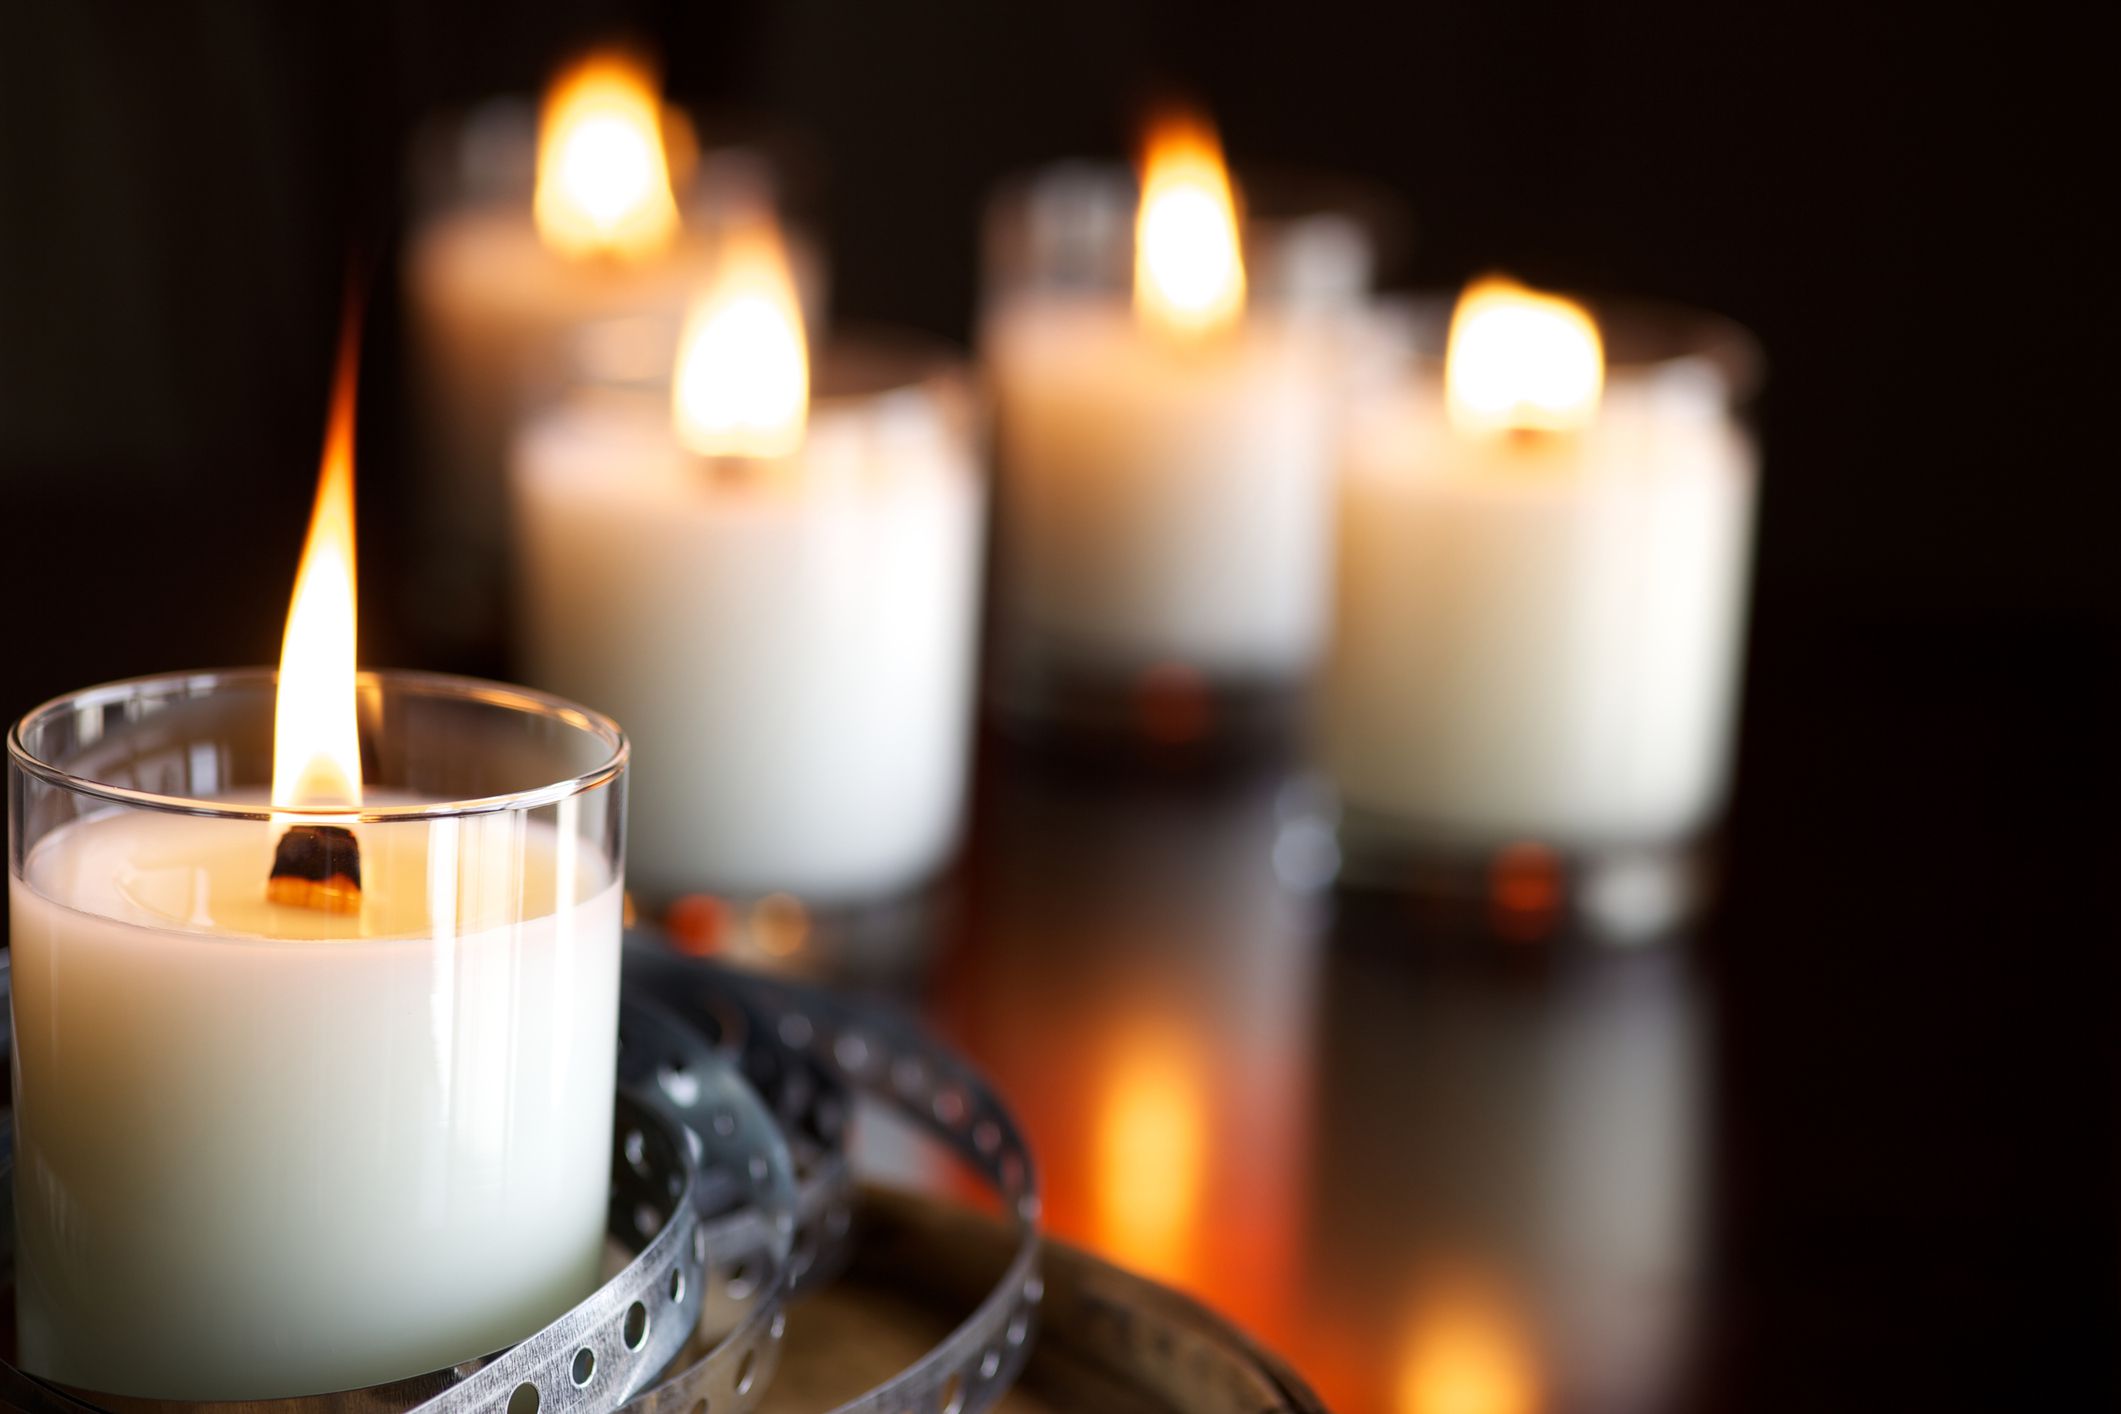
Congratulations! You have successfully completed all the steps to make paraffin wax candles from start to finish. Enjoy the soothing ambiance and delightful fragrances that these candles will bring to your space or to those who receive them as gifts.
Happy candle making!
Conclusion
Congratulations on mastering the art of making paraffin wax candles! By following the step-by-step process in this guide, you have learned how to create beautiful, aromatic, and customizable candles that bring warmth and ambiance to any space. From preparing the wax to adding fragrance, coloring, and pouring the wax into containers, each step plays a crucial role in achieving professional-quality candles.
Remember, creativity knows no bounds when it comes to candle making. Feel free to experiment with different fragrances, colors, container shapes, and decorative elements to create unique and personalized candles that reflect your style and preferences.
When giving your candles as gifts, the extra effort you put into decorating and packaging will make them even more special. Pay attention to the details, from adding ribbons and labels to creating custom-made packaging. These finishing touches will leave a lasting impression on your recipients.
Properly caring for your candles will extend their life and ensure a consistent burn. Always trim the wicks before each use to prevent excessive smoke and maintain a clean flame. Also, remember to burn the candles for an appropriate amount of time to avoid tunneling and maximize their burn time.
Now that you have the knowledge and skills, the possibilities are endless. You can continue to explore different scent combinations, experiment with unique container options, or even try your hand at creating themed candle collections. The key is to enjoy the process and have fun while creating your own little pieces of serenity.
So gather your materials, ignite your creativity, and embark on your candle making journey. Create candles that not only provide beauty and fragrance but also evoke emotions and create unforgettable moments. With each candle you make, you add a touch of warmth and comfort to the world around you.
Happy candle making and may your paraffin wax candles continue to enlighten your life and those around you!
Frequently Asked Questions about How To Make Paraffin Wax Candles
Was this page helpful?
At Storables.com, we guarantee accurate and reliable information. Our content, validated by Expert Board Contributors, is crafted following stringent Editorial Policies. We're committed to providing you with well-researched, expert-backed insights for all your informational needs.