Articles
How To Make Wooden Shutter Blinds
Modified: December 7, 2023
Learn how to make stunning wooden shutter blinds with our step-by-step articles. Transform your windows into a stylish focal point effortlessly!
(Many of the links in this article redirect to a specific reviewed product. Your purchase of these products through affiliate links helps to generate commission for Storables.com, at no extra cost. Learn more)
Introduction
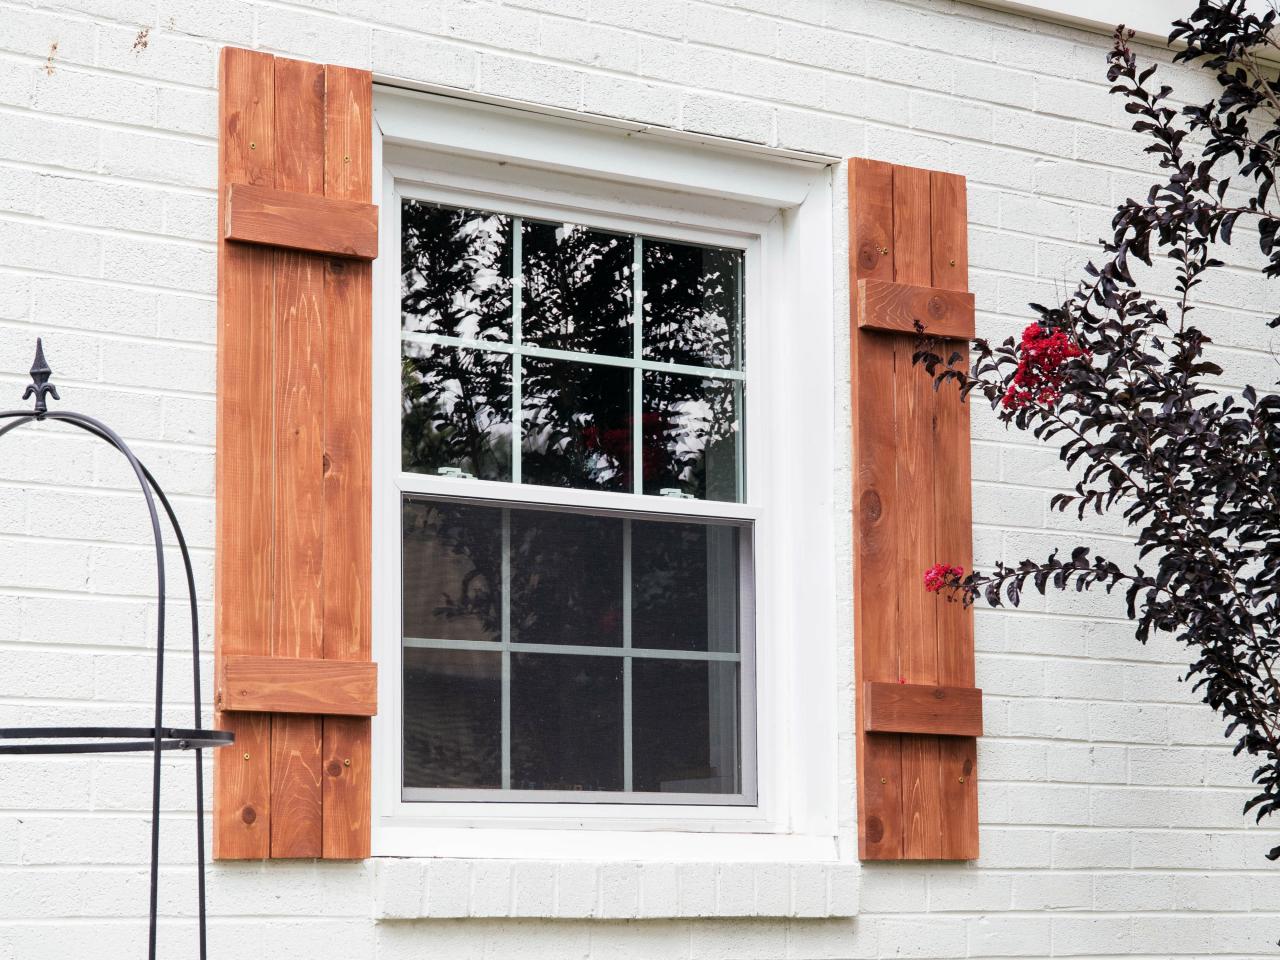
Welcome to the world of wooden shutter blinds! If you’ve been searching for a stylish and functional window treatment option, look no further. Wooden shutter blinds offer a timeless appeal that can elevate the aesthetic of any room in your home. Not only do they provide privacy and light control, but they also add a touch of warmth and elegance to your space.
In this article, we will guide you through the process of making your own wooden shutter blinds. With a bit of creativity, patience, and basic woodworking skills, you can create custom window coverings that perfectly fit your style and requirements.
Before you start, gather the necessary materials and tools. You’ll need a tape measure, pencil, circular saw or miter saw, sandpaper, wood glue, screws, hinges, and a finishing stain or paint of your choice. Make sure to choose a high-quality wood that is durable and resistant to warping, such as cedar or basswood.
Now let’s dive into the steps of crafting your own wooden shutter blinds and add a stunning element to your home decor.
Key Takeaways:
- Create custom wooden shutter blinds using high-quality wood, basic tools, and step-by-step guidance. Elevate your home decor with personalized window treatments that offer privacy, light control, and timeless elegance.
- Embrace the satisfaction of crafting your own wooden shutter blinds, adding a unique touch to your home. Enjoy the functional and aesthetic benefits while maintaining and showcasing your DIY creation.
Read more: How To Clean Shutter Blinds
Materials Needed
Before you get started, ensure you have the following materials and tools on hand:
- Wood: Choose a high-quality wood, such as cedar or basswood, that is suitable for making shutter blinds. Calculate the amount of wood required based on the size and number of windows you plan to cover.
- Tape Measure: An essential tool for accurately measuring your windows.
- Pencil: To mark the measurements and make precise cuts.
- Circular Saw or Miter Saw: Either of these saws will be used to cut the wooden slats to the desired length.
- Sandpaper: Use sandpaper to smooth the surface of the slats and remove any rough edges.
- Wood Glue: This will be used to secure the joints of the frame and attach the slats.
- Screws: Choose screws that are appropriate for the thickness of your wood. These will be used to reinforce the joints of the frame.
- Hinges: Select hinges that are sturdy enough to support the weight of the shutter blinds. The number of hinges needed will depend on the size of your blinds.
- Finishing Stain or Paint: Choose a stain or paint that matches your desired aesthetic. This will be used to protect and enhance the appearance of the wood.
By gathering these materials and tools in advance, you’ll have everything you need to complete the project smoothly and efficiently.
Step 1: Measuring the Window
Before you start building your wooden shutter blinds, it’s crucial to accurately measure the windows you plan to cover. This ensures that your blinds will fit perfectly and provide effective light control and privacy.
Follow these steps to measure your window:
- Start by measuring the width of the window opening. Use a tape measure to measure from the inside edges of the window frame. Take note of the measurement in inches or centimeters.
- Next, measure the height of the window opening. Again, measure from the inside edges of the window frame and record the measurement.
- If you have multiple windows to cover, repeat these measurements for each one.
It’s worth noting that when constructing shutter blinds, the overall size of the blinds will be slightly larger than the window opening to allow for proper installation and movement. Typically, you’ll want to add a few inches to both the width and height measurements to account for the frame and hinges.
Once you have measured your windows and obtained the necessary dimensions, you can move on to the next step of selecting the wood for your shutter blinds.
Step 2: Choosing the Wood
When it comes to crafting wooden shutter blinds, choosing the right type of wood is essential. The wood you select should be durable, resistant to warping, and visually appealing.
Two popular choices for shutter blinds are cedar and basswood. Both woods are known for their stability and ability to withstand changes in humidity, making them ideal for window treatments. Here are some factors to consider when choosing your wood:
- Durability: Look for wood that is sturdy and long-lasting. Cedar and basswood are both known for their durability, ensuring that your shutter blinds will withstand daily use.
- Resistance to Warping: Windows are often exposed to sunlight and temperature changes, which can cause wood to warp. Selecting a wood species that is naturally resistant to warping, like cedar or basswood, will minimize this risk.
- Visual Appeal: Consider the natural grain and color of the wood. Cedar has a distinctive reddish hue and a beautiful grain pattern, while basswood is paler with a fine and even texture. Choose the wood that best complements your interior decor.
- Availability: Check the availability of the wood species in your area. It’s important to choose a wood that is readily accessible to ensure an uninterrupted building process.
Remember, the wood you choose will ultimately determine the overall appearance and longevity of your shutter blinds. Take your time to research and make an informed decision based on your preferences and the specific requirements of your project.
Once you’ve selected the perfect wood, you can proceed to the next step of cutting the wooden slats.
Step 3: Cutting the Wooden Slats
Now that you have your chosen wood, it’s time to cut the wooden slats that will form the louvers of your wooden shutter blinds. The length and width of the slats will depend on your window measurements and personal preference.
Follow these steps to cut the wooden slats:
- Start by setting up your circular saw or miter saw. Ensure that the blade is sharp and properly adjusted.
- Measure and mark the desired length of each slat on the wood. Remember to account for any additional length required to fit within the frame of the blinds.
- Carefully position the wood on your saw, lining up the marked cutting line with the saw blade.
- Hold the wood securely with one hand and use the other hand to operate the saw. Make a smooth and steady cut along the marked line.
- Continue this process for each slat, ensuring consistent and accurate cuts.
Once all the slats are cut, use sandpaper to smooth the edges and remove any splinters. This will help create a clean and polished finish.
Remember to wear protective goggles and gloves while operating power tools and handling wood to ensure your safety.
With the wooden slats cut to size, you’re ready to move on to the next step: sanding the slats to create a smooth surface.
Read more: How To Fix Shutter Blinds
Step 4: Sanding the Slats
Sanding the wooden slats is an important step in the process of making wooden shutter blinds. This step helps to create a smooth surface, remove any rough edges or imperfections, and prepare the slats for finishing.
Follow these steps to sand the slats:
- Start by setting up a workspace with a flat surface, such as a workbench or table, where you can place the wooden slats.
- Using a medium-grit sandpaper (around 120-grit), gently sand the surfaces, edges, and ends of each slat. Sand in the direction of the grain to avoid damaging the wood.
- As you sand, periodically check the slats for smoothness. Run your hand over the surface to feel for any rough spots or imperfections.
- If necessary, switch to a finer-grit sandpaper (around 220-grit) to achieve an even smoother finish. This finer grit sandpaper will help to create a more polished look.
- Be sure to wear a dust mask during the sanding process to protect yourself from inhaling wood dust.
- After sanding, use a damp cloth or tack cloth to remove any remaining dust or debris from the slats.
Properly sanding the slats will not only improve the appearance of your wooden shutter blinds but also provide a better surface for applying the finishing stain or paint.
With the slats smoothly sanded, you’re now ready to move on to the next step: assembling the frame of your wooden shutter blinds.
When measuring for wooden shutter blinds, be sure to account for any obstructions such as window handles or locks. This will ensure a proper fit.
Step 5: Assembling the Frame
Now that you have cut and sanded the wooden slats, it’s time to assemble the frame for your wooden shutter blinds. The frame holds the slats in place and provides support and stability to the blinds.
Follow these steps to assemble the frame:
- Start by measuring and marking the dimensions for the frame. The dimensions should match the width and height of your window, accounting for any additional space needed for hinges and movement.
- Cut the frame pieces from the same wood used for the slats. You will need four pieces: two vertical side pieces and two horizontal top and bottom pieces.
- Apply wood glue to the ends of the frame pieces to join them together. Make sure the corners are square and align the pieces carefully.
- Secure the frame by driving screws into the joints. The size and number of screws will depend on the thickness of the wood and the overall size of your blinds.
- Ensure that the frame is sturdy and even. Use a level to check for any unevenness and make adjustments as needed.
Remember to allow the glue to dry completely before moving on to the next step. This will ensure a strong and durable frame for your wooden shutter blinds.
With the frame assembled, you’re ready to move on to the next step: attaching the wooden slats to create the louvered structure of the blinds.
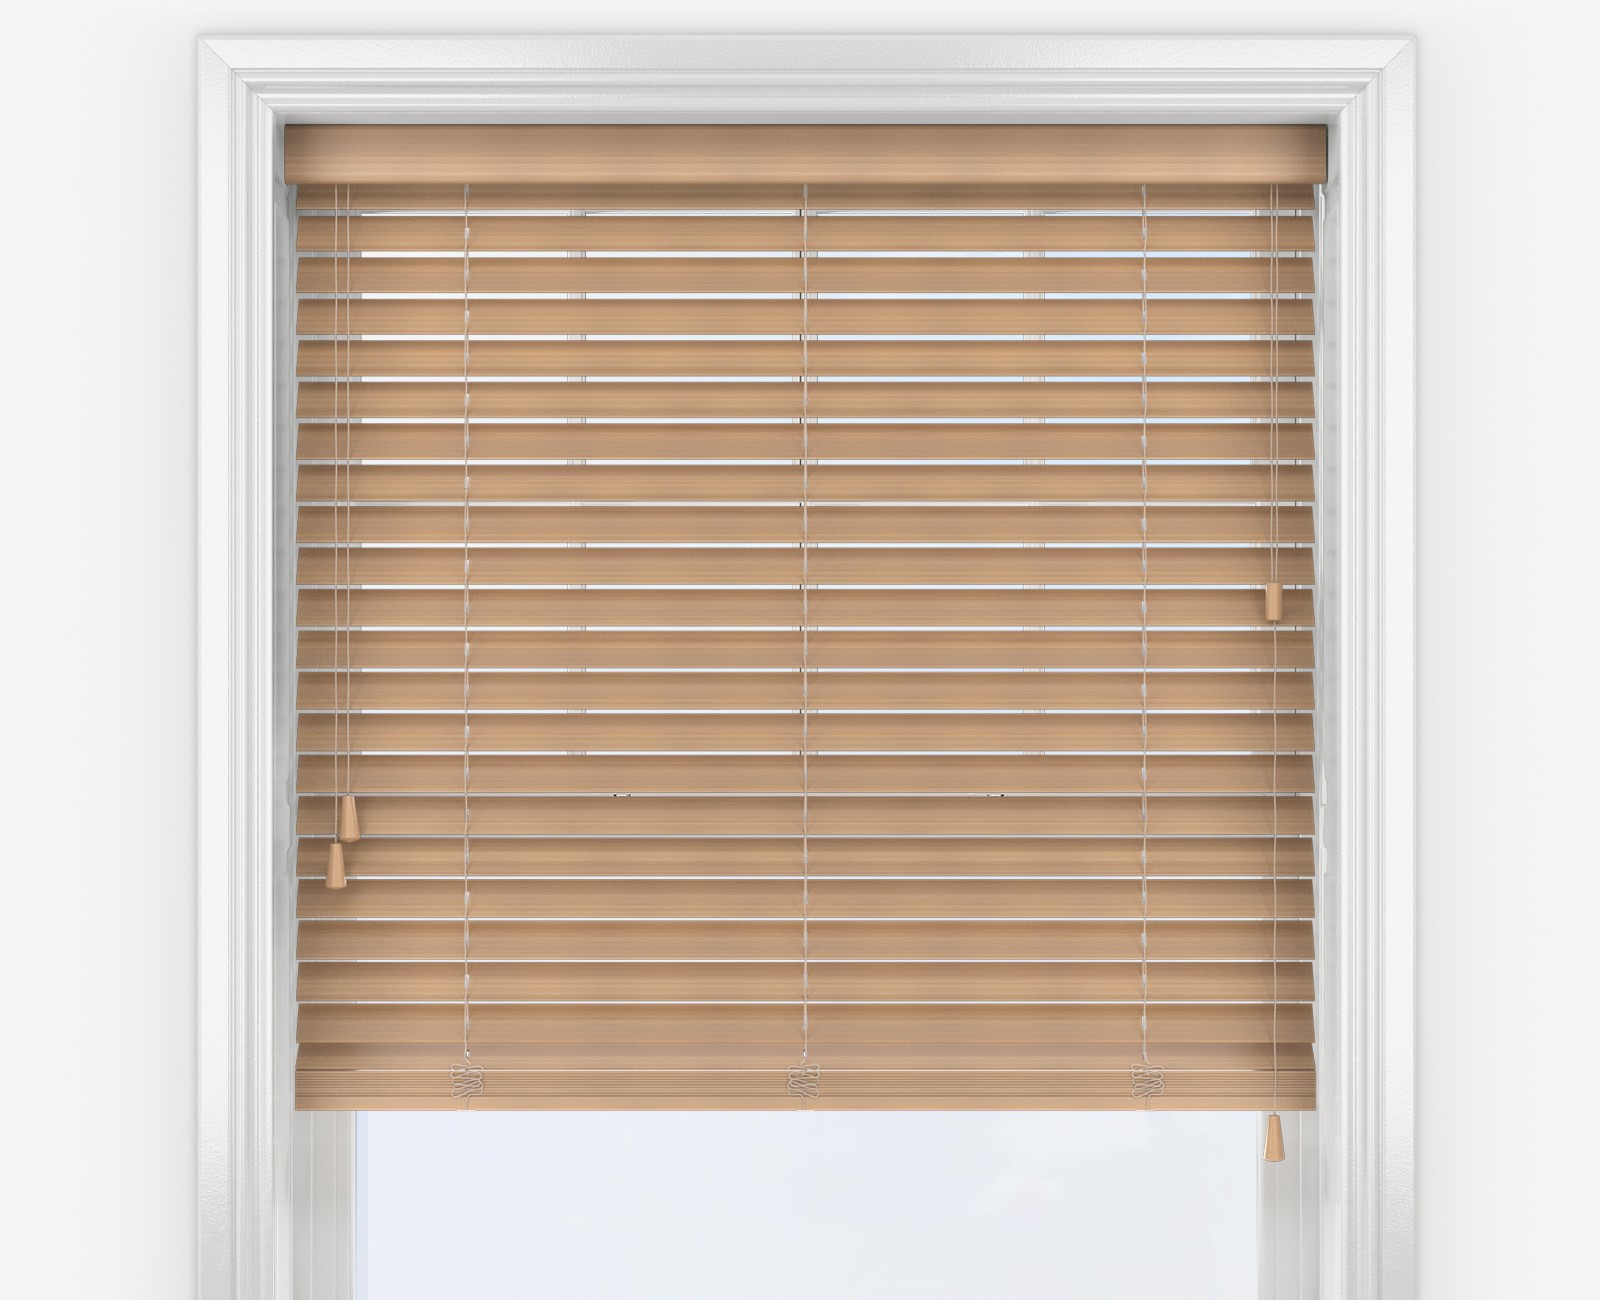
Step 6: Attaching the Slats
Now that you have your frame ready, it’s time to attach the wooden slats to create the louvered structure of your wooden shutter blinds. The slats will allow you to control the amount of light and privacy in your space.
Follow these steps to attach the slats:
- Start by placing the frame on a flat surface, ensuring it is stable and secure.
- Apply a thin layer of wood glue to the edge of one slat. Align the slat with the top and bottom of the frame, ensuring it is centered.
- Press the slat firmly against the frame and use a level to ensure it is straight. You can also use clamps to hold the slat in place while the glue sets.
- Repeat this process with the remaining slats, spacing them evenly across the frame. You can adjust the spacing between the slats based on your preference and the desired amount of light control.
- Allow the wood glue to dry completely according to the manufacturer’s instructions. This will ensure a strong bond and secure attachment of the slats to the frame.
Once the wood glue has dried, check that all the slats are securely attached and aligned. Make any necessary adjustments before proceeding to the next step.
With the slats securely attached, you’re now ready to move on to the next step: adding hinges to allow for opening and closing of the shutter blinds.
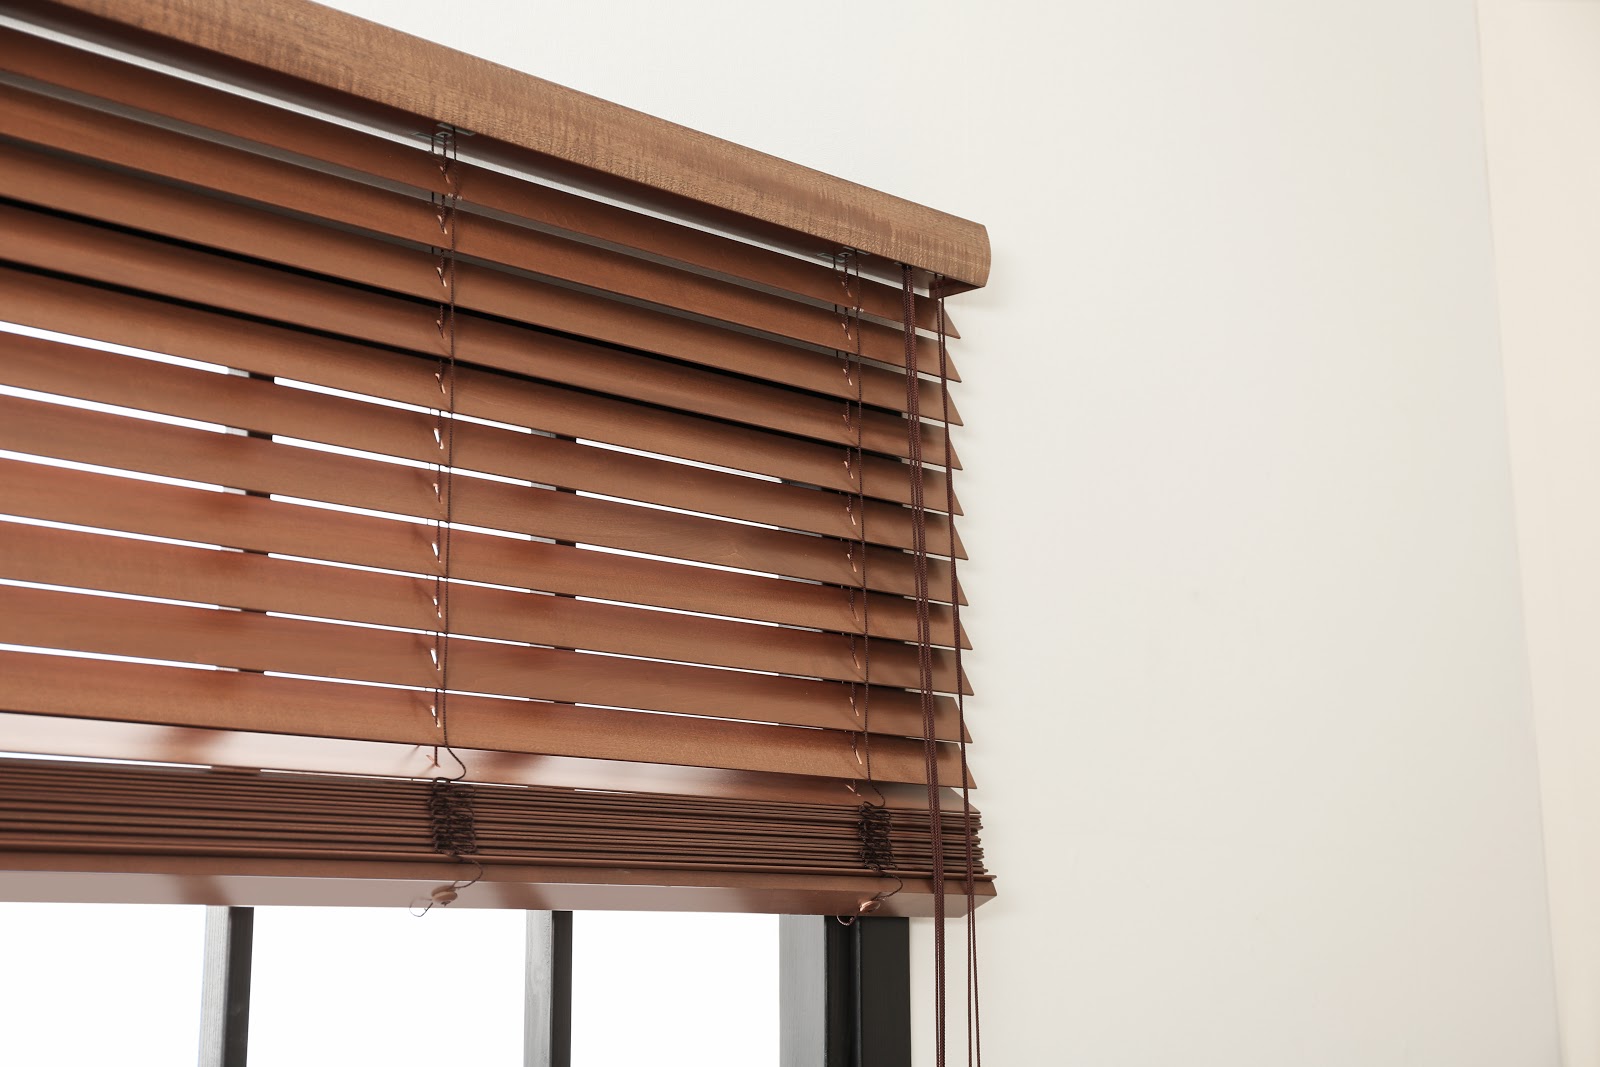
Step 7: Adding Hinges
Adding hinges to your wooden shutter blinds is an important step as it allows you to open and close the blinds for easy adjustment of light and privacy. Hinges provide the flexibility and functionality that make shutter blinds a versatile window treatment option.
Follow these steps to add hinges to your wooden shutter blinds:
- Start by positioning the frame of the blinds in an upright position, ensuring it is stable and secure.
- Measure and mark the desired placement for the hinges on both the frame and the window frame. It’s recommended to use at least three hinges evenly spaced along the height of the blinds.
- Using a drill or screwdriver, attach one side of each hinge to the frame of the blinds, aligning them with the marked positions.
- Attach the other side of each hinge to the window frame, ensuring they are aligned with their corresponding counterparts on the blinds.
- Check the movement of the blinds by gently opening and closing them to ensure that the hinges are properly installed and allow for smooth operation.
- Make any necessary adjustments to the hinges or alignment of the blinds to ensure proper functionality.
It’s important to choose high-quality hinges that can support the weight of the blinds and withstand frequent use. Additionally, consider the aesthetic of the hinges and select a finish that complements the overall style of your wooden shutter blinds.
With the hinges in place, you’re ready to move on to the final step: adding finishing touches to complete your wooden shutter blinds.
Read more: How Much Do Wooden Blinds Cost
Step 8: Finishing Touches
Congratulations! You’re in the final stretch of creating your own wooden shutter blinds. This step involves adding the finishing touches to enhance the appearance and durability of your blinds.
Follow these steps to complete the finishing touches:
- Start by smoothing any rough surfaces or edges on the wooden slats or frame using sandpaper. This will ensure a polished and refined look.
- Wipe away any dust or debris from the blinds using a damp cloth or tack cloth.
- If you prefer a natural wood look, you can apply a clear varnish or sealant to protect the wood and enhance its natural beauty. Choose a product designed for interior wood surfaces and follow the instructions for application.
- If you prefer to add a splash of color or a different finish, consider applying a coat of paint or stain that complements your interior decor. Ensure that the paint or stain is suitable for use on wooden surfaces and apply it evenly using a brush or roller.
- Allow the paint or stain to dry completely according to the manufacturer’s instructions.
- Inspect the blinds for any touch-ups or areas that may need additional coats of paint or stain. Apply another layer if necessary to achieve the desired look.
- Once the paint or stain has dried, you can reattach the blinds to the window frame using the hinges.
With the finishing touches complete, step back and admire your handcrafted wooden shutter blinds. You have successfully created a beautiful and functional window treatment that adds charm and character to your space.
Remember, proper care and maintenance will help ensure the longevity of your wooden shutter blinds. Periodically clean the blinds with a soft cloth or duster to remove dust and dirt buildup. If necessary, you can also use a mild wood cleaner to refresh the appearance of the blinds.
Enjoy the benefits of your DIY wooden shutter blinds, whether it’s controlling the light and privacy in your home or simply reveling in the satisfaction of creating something with your own hands.
Thank you for following along with this tutorial, and we hope you enjoy the fruits of your labor!
Conclusion
Congratulations on completing your journey to create your own wooden shutter blinds! By following these step-by-step instructions, you have successfully crafted a stylish, functional, and personalized window treatment solution for your home.
Throughout this process, you have learned how to measure your windows accurately, select the right type of wood, cut and sand the slats, assemble the frame, attach the slats, add hinges for mobility, and apply the finishing touches. Each step has brought you closer to achieving the perfect wooden shutter blinds that suit your style and requirements.
Not only do wooden shutter blinds offer excellent light control and privacy, but they also add a touch of elegance and warmth to any room. With their timeless appeal and handmade charm, they are sure to become a beautiful focal point in your home decor.
As you admire your completed project, take a moment to appreciate the craftsmanship and effort you have put into creating something truly unique. Allow your wooden shutter blinds to bring a sense of pride and accomplishment whenever you see them adorning your windows.
Remember, these blinds are not just functional, but they also have the potential to become a conversation piece. You can share the story of how you handcrafted your own window coverings, showcasing your creativity and skill.
Now that you have transformed ordinary materials into a stunning piece of decor, continue to care for and maintain your wooden shutter blinds. Regular cleaning, occasional touch-ups, and proper upkeep will help ensure their longevity and keep them looking their best for years to come.
Thank you for joining us on this journey of creating wooden shutter blinds. We hope you have found this guide helpful and inspiring. Enjoy your new window treatments and the cozy ambiance they bring to your home!
Frequently Asked Questions about How To Make Wooden Shutter Blinds
Was this page helpful?
At Storables.com, we guarantee accurate and reliable information. Our content, validated by Expert Board Contributors, is crafted following stringent Editorial Policies. We're committed to providing you with well-researched, expert-backed insights for all your informational needs.