Articles
How To Make Wood Blinds
Modified: January 9, 2024
Learn how to make your own wood blinds with our informative articles. Step-by-step instructions and helpful tips for DIY blinds.
(Many of the links in this article redirect to a specific reviewed product. Your purchase of these products through affiliate links helps to generate commission for Storables.com, at no extra cost. Learn more)
Introduction
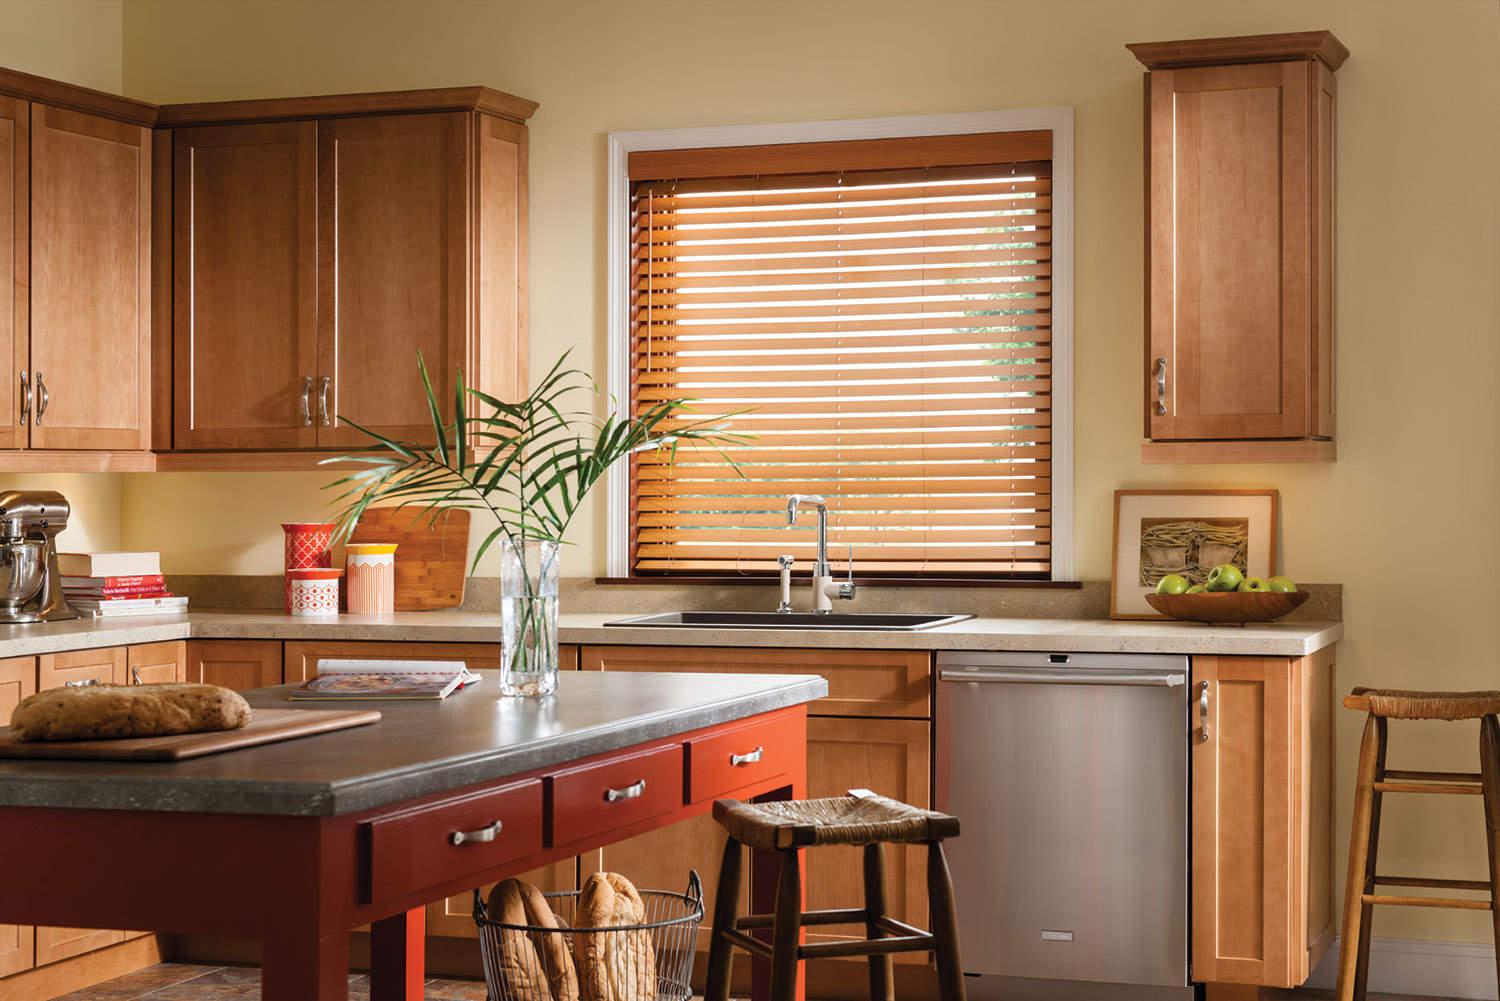
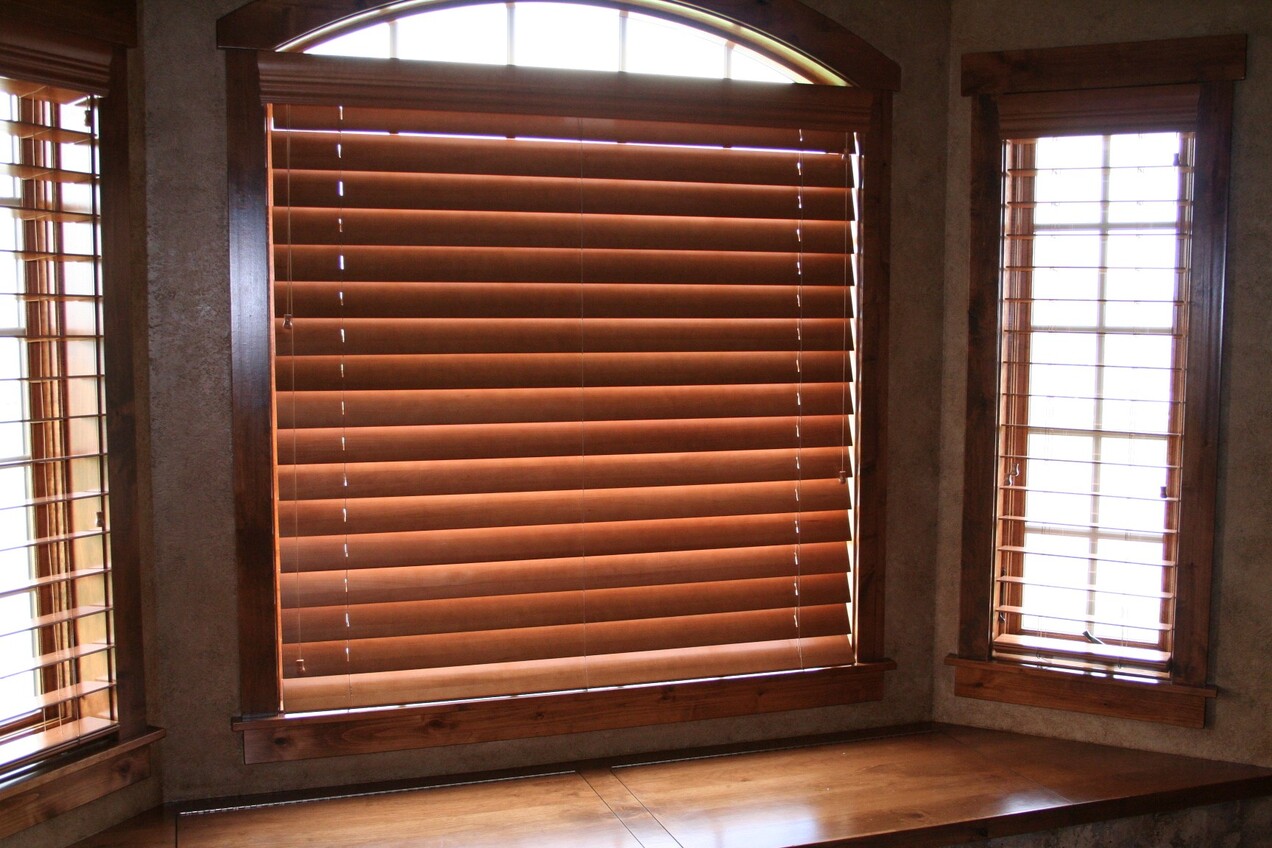
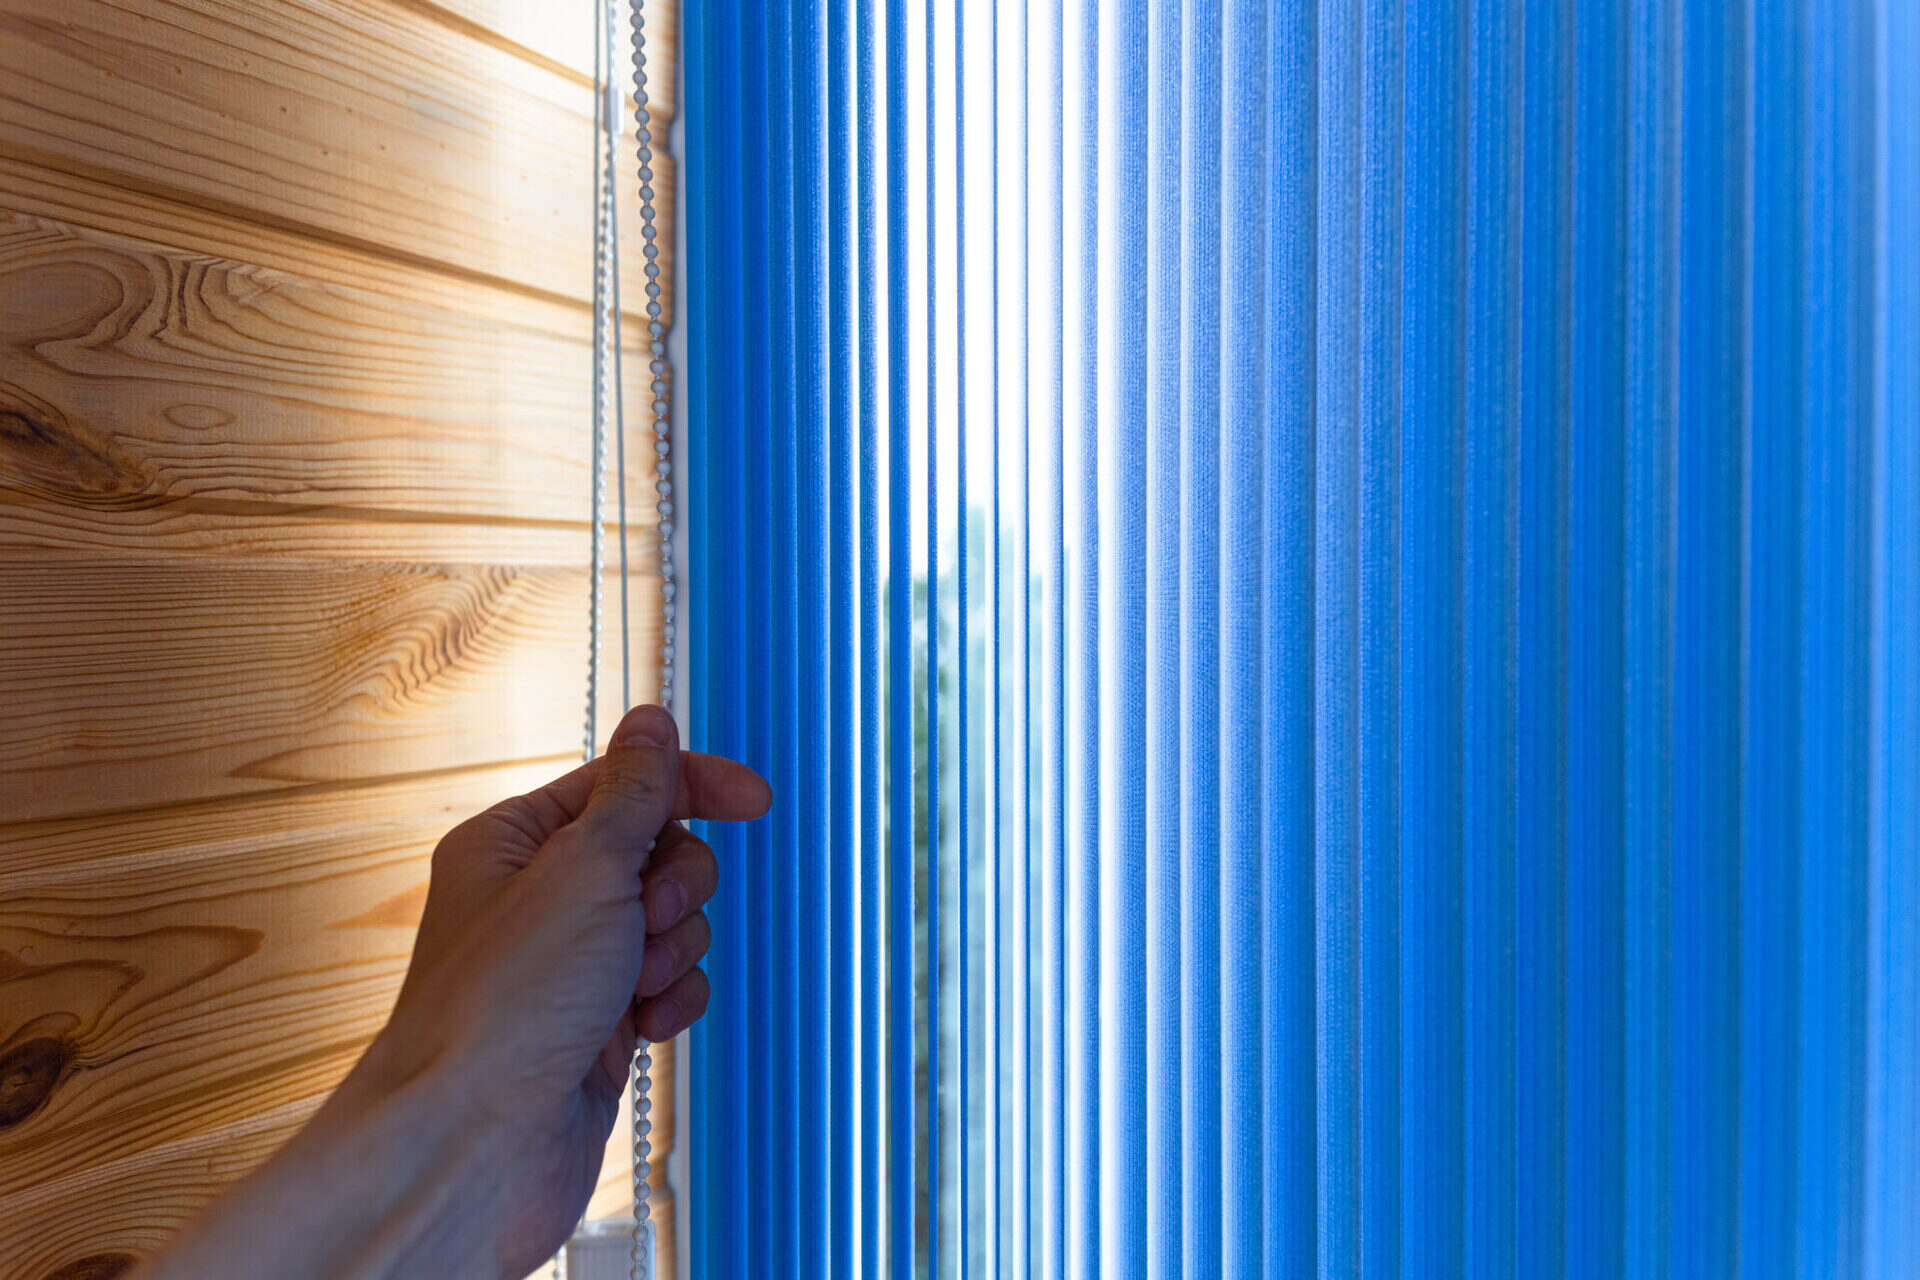
Wood blinds are a beautiful and classic window treatment option that can add warmth and elegance to any room. With their natural beauty and versatility, wood blinds have become a popular choice for homeowners looking to enhance their windows.
In this article, we will guide you through the process of making your own wood blinds. Whether you’re a seasoned DIY enthusiast or a beginner looking for a new project, creating your own wood blinds can be a rewarding and cost-effective endeavor.
Not only will you have the satisfaction of customizing your blinds to match your personal style and preferences, but you’ll also have the opportunity to save money compared to purchasing pre-made blinds from a store.
Before we dive into the steps of making wood blinds, let’s first take a look at the materials you’ll need for this project.
Key Takeaways:
- Making your own wood blinds allows for customization, cost savings, and a sense of accomplishment. Enjoy the benefits of personalized window treatments that add elegance and warmth to your space.
- Crafting wood blinds is a rewarding DIY project suitable for beginners and experienced enthusiasts. Embrace the opportunity to create stunning window treatments that reflect your creativity and craftsmanship.
Read more: How To Paint Wood Blinds
Materials Needed
Before you start making your own wood blinds, gather the following materials:
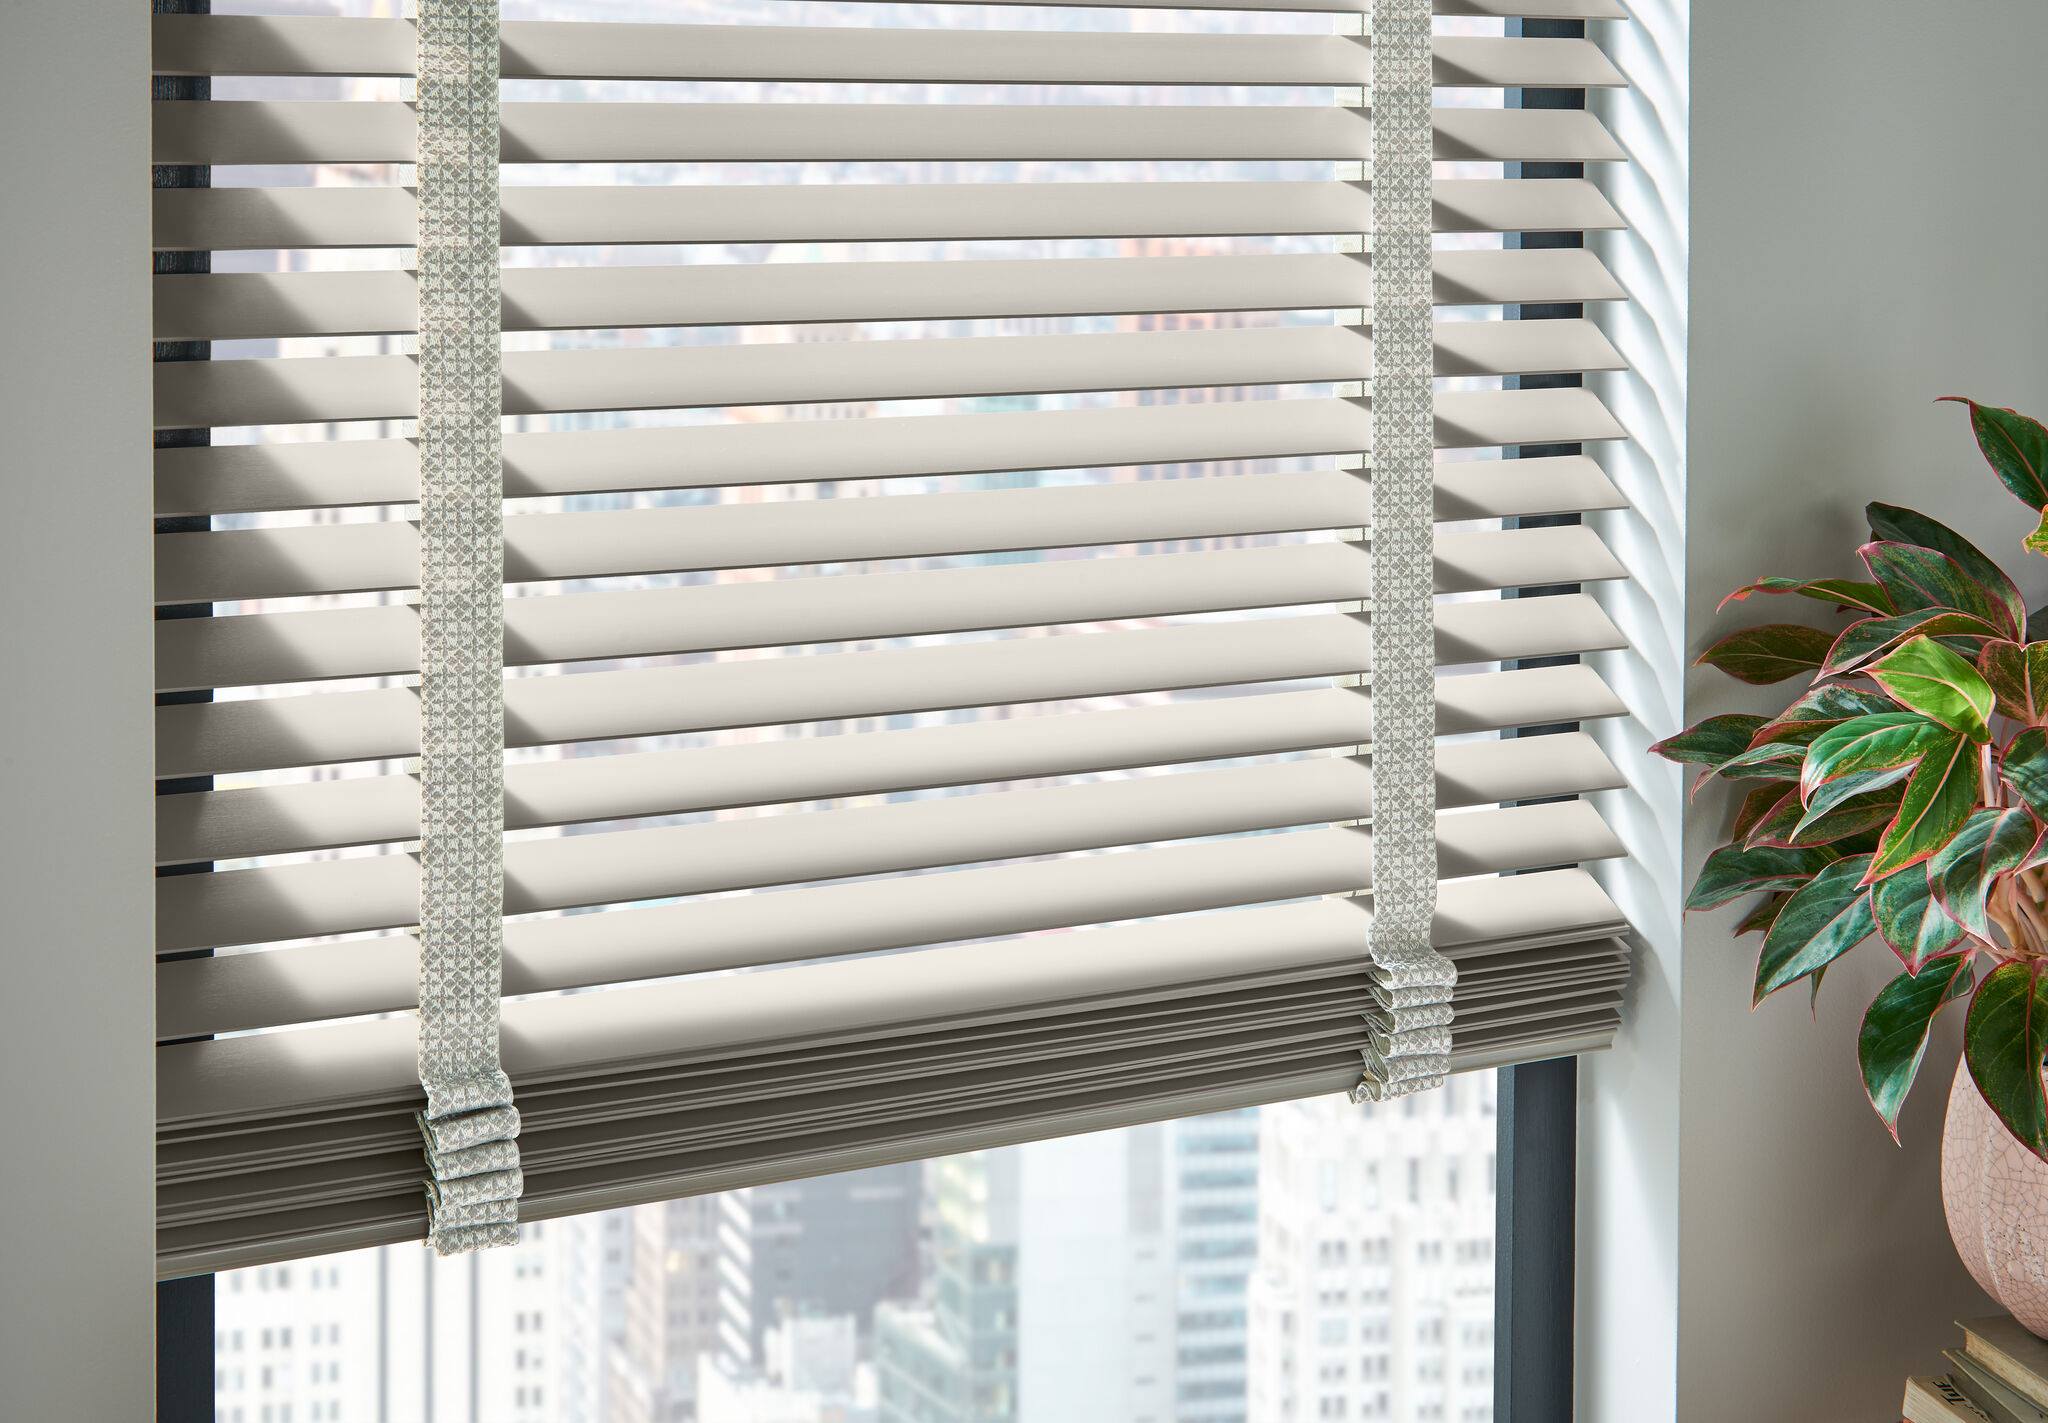
- Wood slats: Choose high-quality, durable wood that is suitable for blinds. The number of slats needed will depend on the width of your window and how many slats you want in each blind.
- Cord or string: This will be used to raise and lower the blinds. Opt for a sturdy and durable cord that can handle the weight of the blinds.
- Tape measure: To accurately measure the dimensions of your window and wood slats.
- Saw: A saw will be necessary for cutting the wood slats to the desired length.
- Sandpaper: Use sandpaper to smooth the edges of the wood slats and create a polished finish.
- Stain or paint: If you choose to stain or paint your wood blinds, make sure to have the necessary materials on hand.
- Drill or screwdriver: You’ll need a drill or screwdriver to attach the blinds to the window frame.
- Mounting brackets: These brackets will secure the blinds to the window frame.
- Tape or pencil: To mark the measurements on the wood slats.
Once you have gathered all the materials, you can proceed to the next step: measuring the window.
Step 1: Measuring the Window
Accurate measurements are crucial for ensuring that your wood blinds fit properly inside your window frame. Follow these steps to measure your window:
- Start by measuring the width of your window. Use a tape measure to measure from the inside of the window frame on the left side to the inside of the frame on the right side. Write down this measurement.
- Next, measure the height of your window. Again, measure from the inside of the window frame, this time from the top to the bottom. Note down this measurement.
- If you plan to install the blinds inside the window frame, subtract about 1/4 inch from each side measurement to allow for proper installation and movement of the blinds. If you prefer to mount the blinds outside the window frame, add an extra 2-3 inches to the width and height measurements.
- Double-check your measurements to ensure accuracy. If possible, measure the width and height in multiple places to account for any irregularities in your window frame.
Once you have measured your window accurately, you can proceed to the next step: cutting the wood slats.
Step 2: Cutting the Wood
Now that you have the measurements for your window, it’s time to cut the wood slats accordingly. Follow these steps:
- Take your wood slats and use a tape measure to mark the length needed for each slat. Remember to consider the extra length needed if you plan to mount the blinds outside the window frame.
- Using a saw, carefully cut the wood slats to the measured length. Take your time and ensure that the cuts are straight and clean.
- Once all the slats are cut, use sandpaper to smooth the edges and surfaces of the wood. This will create a polished and professional finish.
- Inspect each slat for any rough or uneven areas and sand them until they are smooth to touch.
After cutting and sanding the wood slats, you’re ready to move on to the next step: staining or painting the wood.
Step 3: Sanding the Wood
Before you finalize the look of your wood blinds, it’s important to sand the wood to achieve a smooth and polished finish. Follow these steps to sand the wood:
- Start by securing the wood slats in a stable position, such as placing them on a workbench or clamping them down.
- Use a coarse-grit sandpaper (around 80-100 grit) to sand the surface of each slat. Sand in the direction of the wood grain to avoid creating scratches or damages to the surface.
- Continue sanding each slat, gradually moving to a finer-grit sandpaper (around 120-180 grit) as you progress. This will help to smooth out any rough areas and achieve a polished finish.
- Pay extra attention to the edges of the slats, as well as any corners or beveled sections. Ensure they are sanded evenly to create a seamless look.
- After sanding, wipe away any dust or debris using a clean, dry cloth. This will prepare the wood for staining or painting.
Once you have finished sanding the wood slats, you can proceed to the next step: staining or painting the wood.
When cutting wood for blinds, use a sharp saw to ensure clean and precise cuts. This will help in creating a professional-looking finished product.
Read more: What Is Faux Wood Blinds?
Step 4: Staining or Painting the Wood
Now that your wood slats are sanded and smooth, it’s time to add the finishing touch by staining or painting the wood. This step will not only enhance the appearance of the blinds but also protect the wood from wear and tear. Follow these steps to stain or paint the wood:
- If you choose to stain the wood, start by applying a wood conditioner to the slats. This helps the wood absorb the stain more evenly and prevents blotchiness.
- Once the wood conditioner has dried, apply a thin layer of wood stain using a brush or a clean cloth. Make sure to follow the manufacturer’s instructions regarding application and drying times.
- If you prefer to paint the wood, start by applying a primer to create a smooth surface and improve paint adhesion. Allow the primer to dry completely before moving on to the next step.
- Choose your desired color of paint and apply it to the wood slats evenly. You may need to apply multiple coats, allowing each coat to dry before applying the next.
- After staining or painting, let the wood dry completely according to the recommended drying time.
- If desired, you can add a protective finish, such as a clear coat or varnish, to provide additional durability and shine to the wood.
Once the stain or paint has dried and any protective finish has been applied, you can move on to the next step: assembling the blinds.
Step 5: Assembling the Blinds
With your wood slats stained or painted and fully dried, it’s time to assemble the blinds. Follow these steps to put the blinds together:
- Lay out the wood slats on a flat surface in the order you want them to appear on your blinds. This will help you visualize the final look and ensure that the slats are arranged correctly.
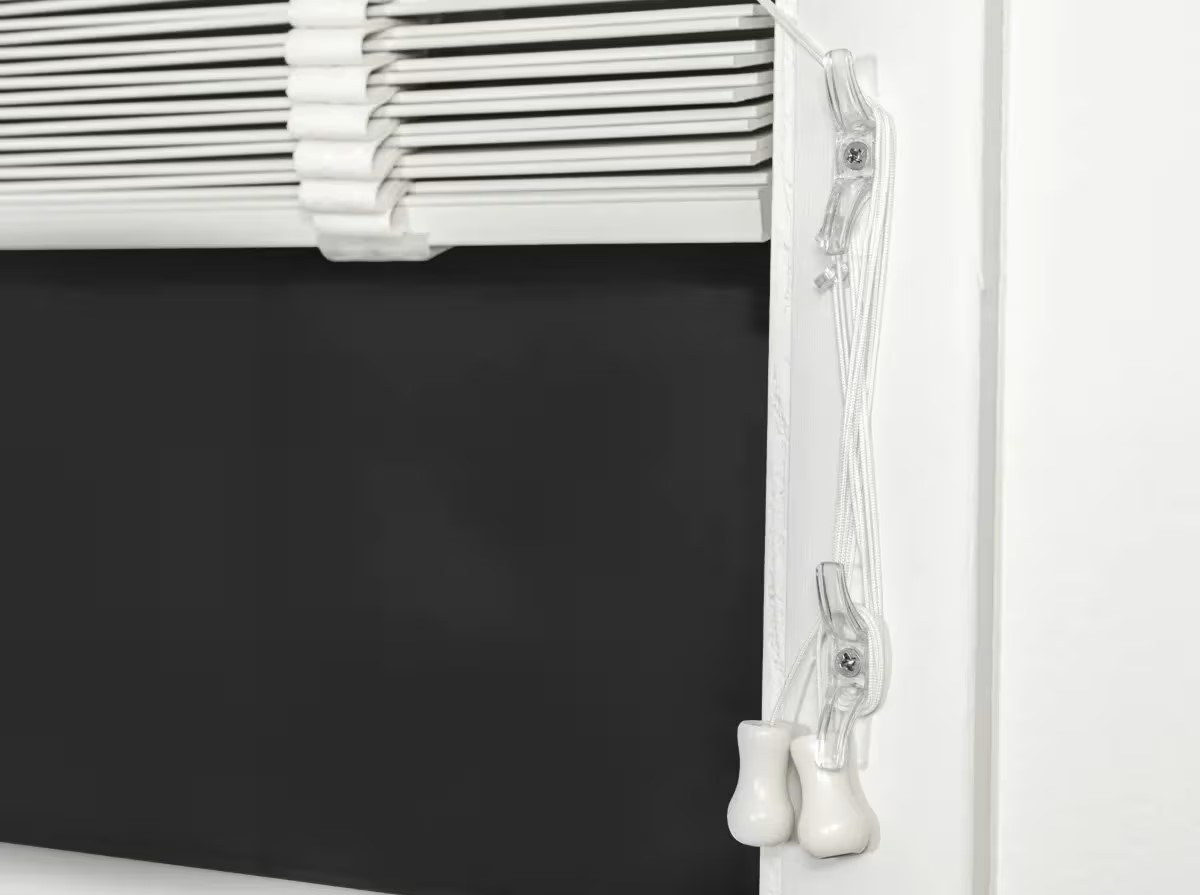
- Take a cord or string and cut it to the desired length, allowing extra length for the blinds to fully open and close. The length will depend on your window size and personal preference.
- Attach the cord or string to the bottom of the lowest wood slat using a knot or a small hook. Ensure that it is securely attached.
- Thread the cord or string through the holes or notches on each wood slat, making sure they are evenly spaced.
- Once the cord or string has been threaded through all the slats, tie a knot at the top to secure it. Leave enough slack in the cord for the blinds to raise and lower.
- Test the operation of the blinds by gently pulling the cord or string to raise and lower them. Make any necessary adjustments to the cord length or positioning of the slats for smooth movement.
Congratulations! You have successfully assembled your own wood blinds. Now, let’s move on to the next step: installing the blinds.
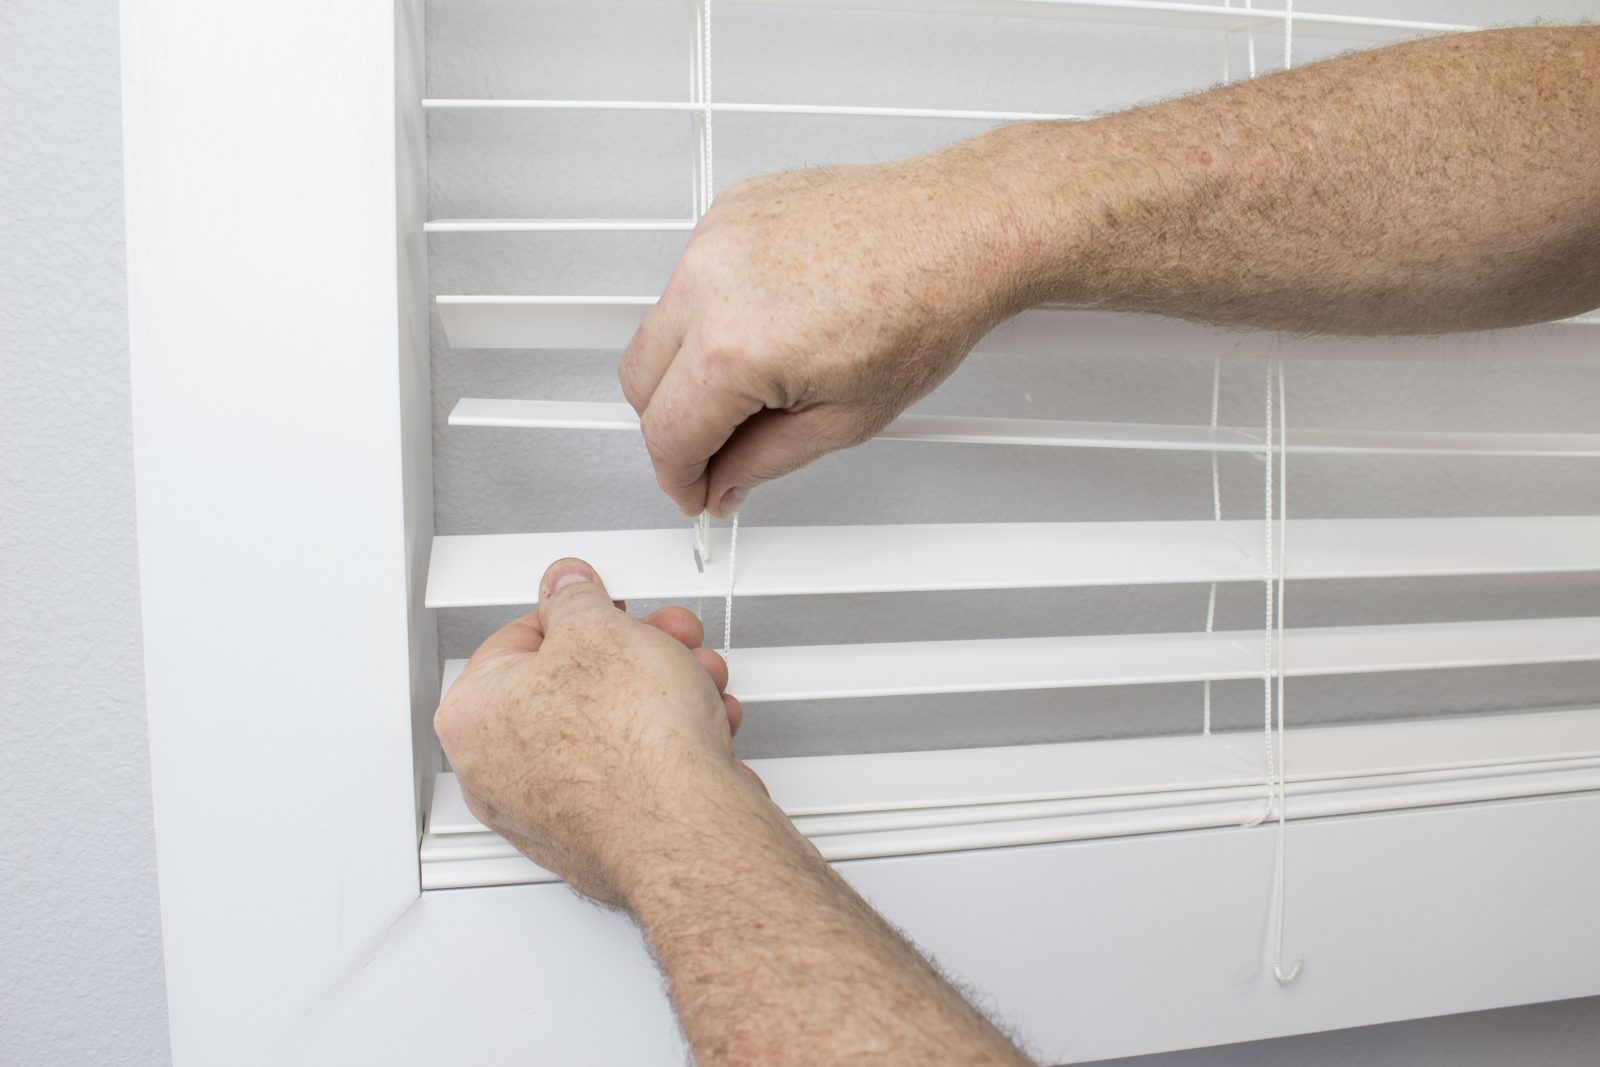
Step 6: Installing the Blinds
Now that your wood blinds are assembled, it’s time to install them in your window. Follow these steps to properly install the blinds:
- Start by gathering the necessary tools for the installation, including a drill or screwdriver, mounting brackets, and screws.
- Hold one of the mounting brackets against the top of the window frame, ensuring it is level. Mark the screw holes with a pencil or use tape to indicate their position.
- Drill pilot holes at the marked positions to make it easier to insert the screws. This will prevent the wood from splitting and ensure a more secure installation.
- Attach the mounting bracket to the window frame using the appropriate screws. Repeat this process for the remaining mounting brackets, evenly spacing them across the top of the window frame.
- Once all the mounting brackets are installed, carefully lift the blinds and position them onto the brackets. Ensure that the cord or string is facing towards the room when the blinds are in a closed position.
- Confirm that the blinds are securely in place on the mounting brackets and adjust as needed for proper alignment.
Now that your wood blinds are installed, it’s time to move on to the final step: adjusting and testing the blinds.
Step 7: Adjusting and Testing the Blinds
After installing your wood blinds, it’s important to make some final adjustments and conduct thorough testing to ensure they function properly. Follow these steps:
- Start by testing the blinds’ operation. Gently pull the cord or string to raise and lower the blinds. Check for any obstructions or friction that could impede the movement and make necessary adjustments.
- If the blinds are not level, you can adjust them by loosening the screws on the mounting brackets and repositioning the blinds until they are perfectly level. Once aligned, tighten the screws securely.
- Check for any gaps between the blinds and the window frame. If needed, adjust the blinds’ position or add additional padding or weatherstripping to ensure a proper fit.
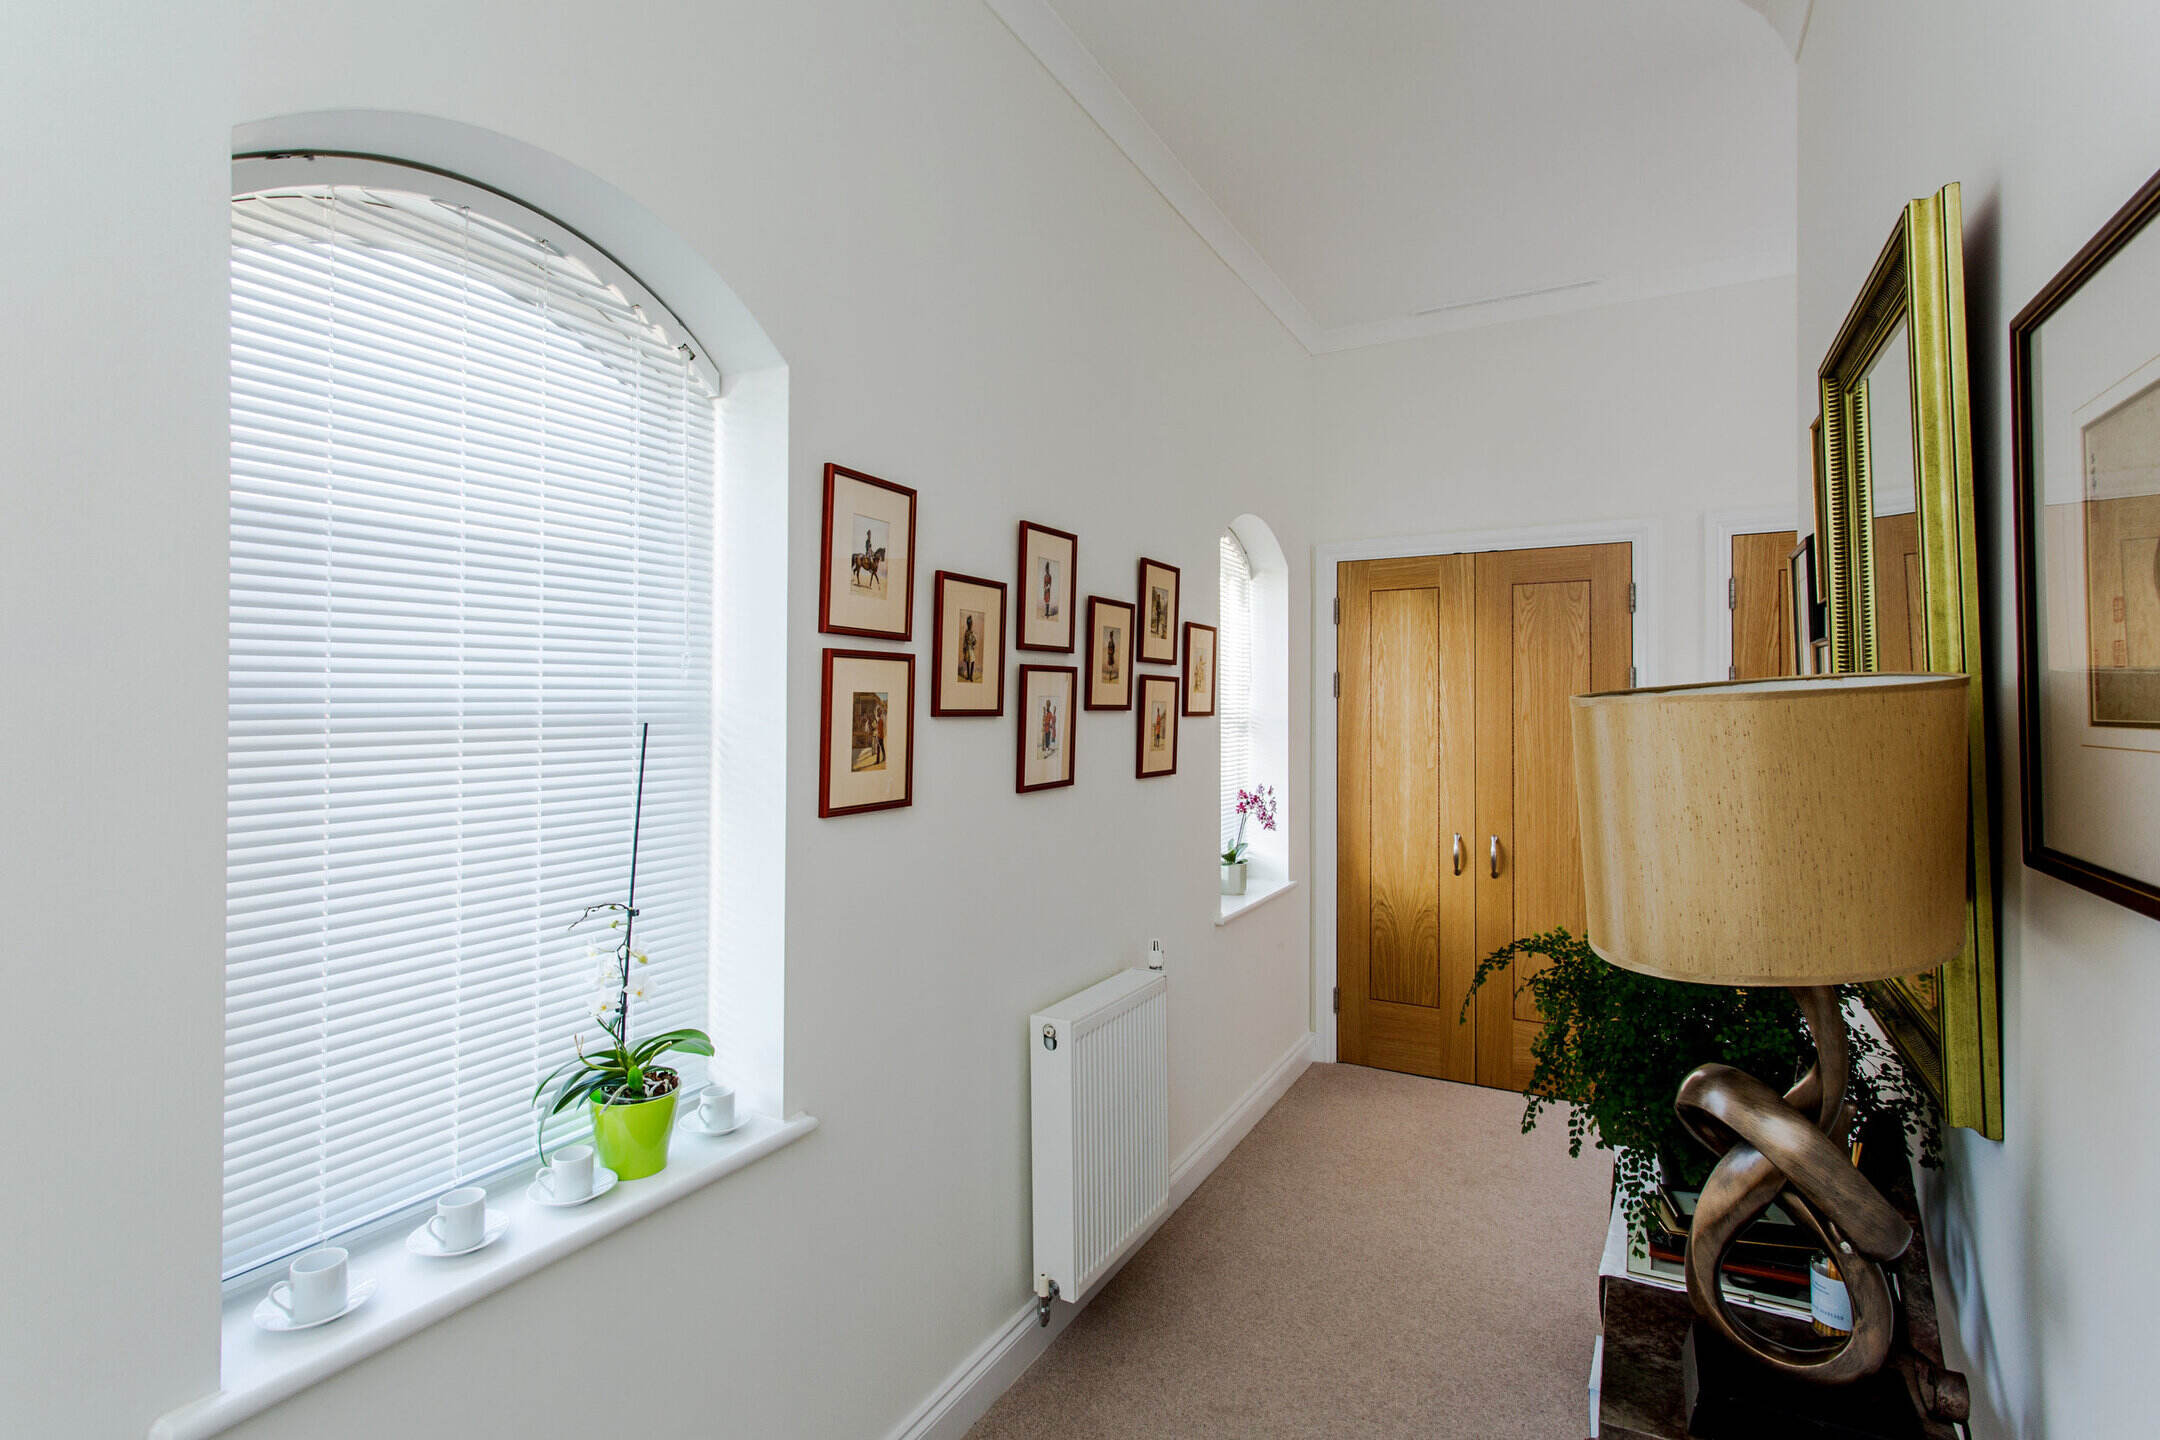
- Take a moment to enjoy the aesthetics of your newly installed wood blinds. Admire their beauty and the way they enhance the ambiance of the room.
- Consider adding any finishing touches, such as decorative valances or window treatments, to further enhance the appearance of the blinds and complement your interior design.
Congratulations! You have successfully made and installed your own wood blinds. Enjoy the benefits of your customized window treatments, which will provide privacy, light control, and aesthetic appeal to your space.
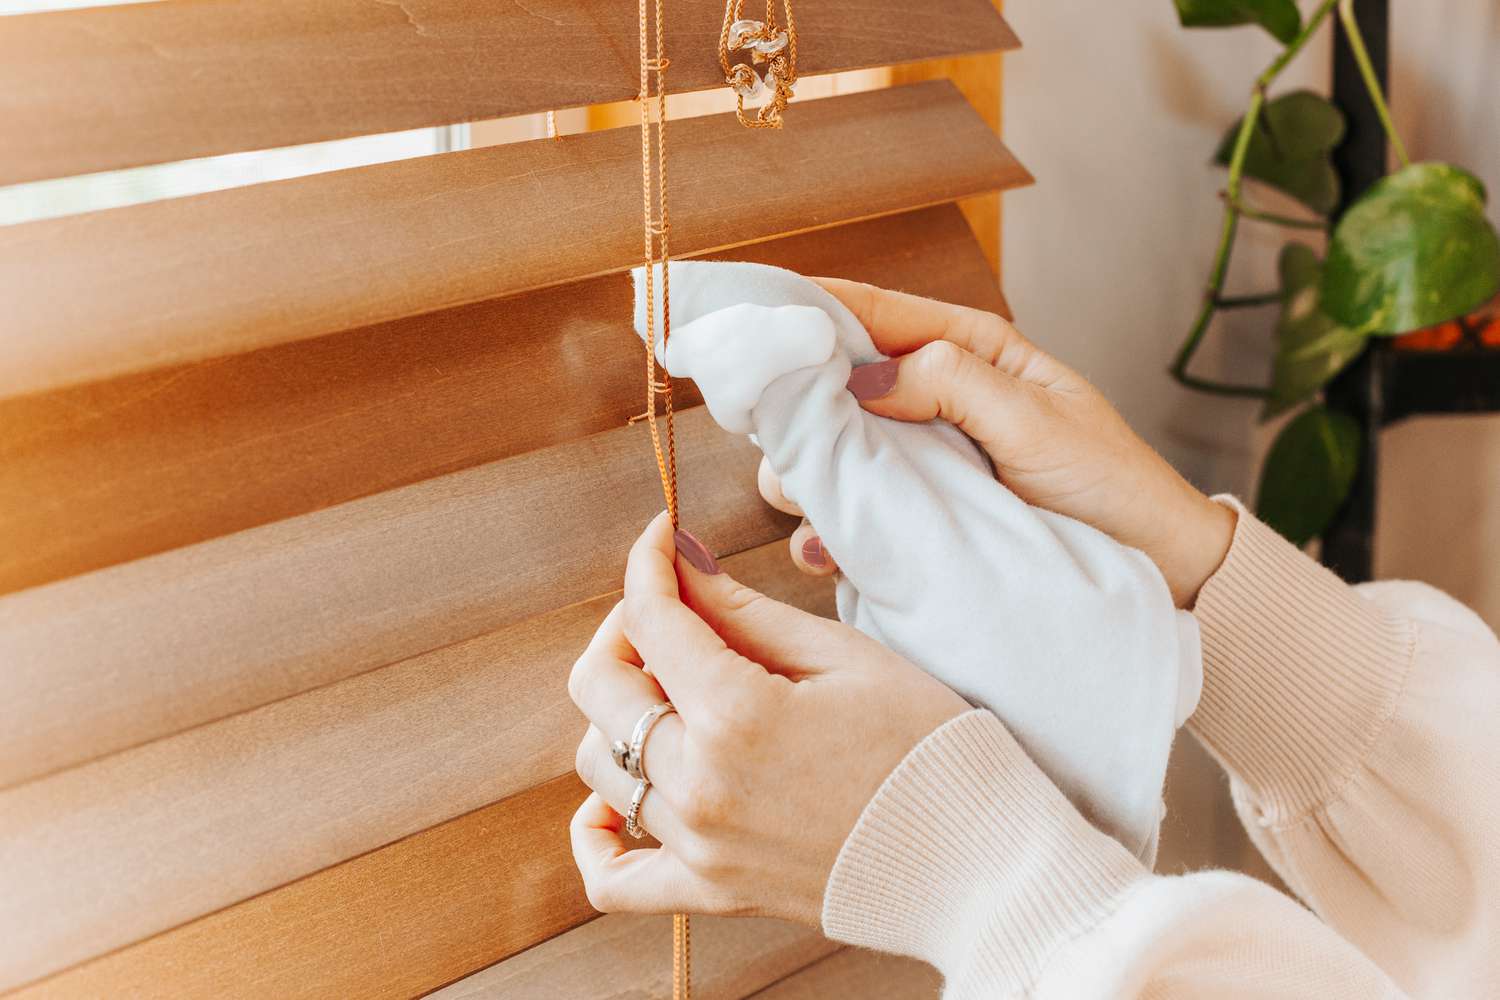
Remember to clean and maintain your wood blinds regularly to keep them in optimal condition. This may involve dusting them regularly or using appropriate cleaning products to remove dirt and debris. With proper care, your wood blinds will continue to enhance your windows for years to come.
Thank you for following this guide on how to make wood blinds. We hope you found it informative and helpful in your DIY project. Happy crafting!
Read more: How To Clean Levolor Wood Blinds
Conclusion
Making your own wood blinds can be a rewarding and fulfilling project that allows you to customize your window treatments to match your personal style and preferences. By following the steps outlined in this guide, you learned how to measure your window, cut and sand the wood slats, stain or paint the wood, assemble the blinds, install them, and make any necessary adjustments.
Creating your own wood blinds offers numerous benefits beyond just cost savings. You have the opportunity to choose high-quality materials, customize the design, and enjoy the sense of accomplishment that comes with a DIY project. Additionally, wood blinds add a touch of elegance and warmth to any room, transforming the look and feel of your space.
Remember to take your time with each step, pay attention to detail, and ensure that you follow proper safety measures. By doing so, you can create stunning wood blinds that not only enhance your windows but also reflect your creativity and craftsmanship.
Whether you’re a beginner or an experienced DIY enthusiast, the process of making wood blinds is within reach. So why wait? Start gathering your materials, measure your windows, and get ready to embark on a rewarding and satisfying journey of crafting your own wood blinds.
Thank you for reading this comprehensive guide on how to make wood blinds. We hope it has inspired you to take on this exciting project and enjoy the beauty and functionality of your homemade window treatments.
Frequently Asked Questions about How To Make Wood Blinds
Was this page helpful?
At Storables.com, we guarantee accurate and reliable information. Our content, validated by Expert Board Contributors, is crafted following stringent Editorial Policies. We're committed to providing you with well-researched, expert-backed insights for all your informational needs.