Articles
How To Put Up Roller Blinds
Modified: October 18, 2024
Learn how to easily install roller blinds with our comprehensive articles. Find step-by-step guides and tips for a successful blind installation.
(Many of the links in this article redirect to a specific reviewed product. Your purchase of these products through affiliate links helps to generate commission for Storables.com, at no extra cost. Learn more)
Introduction
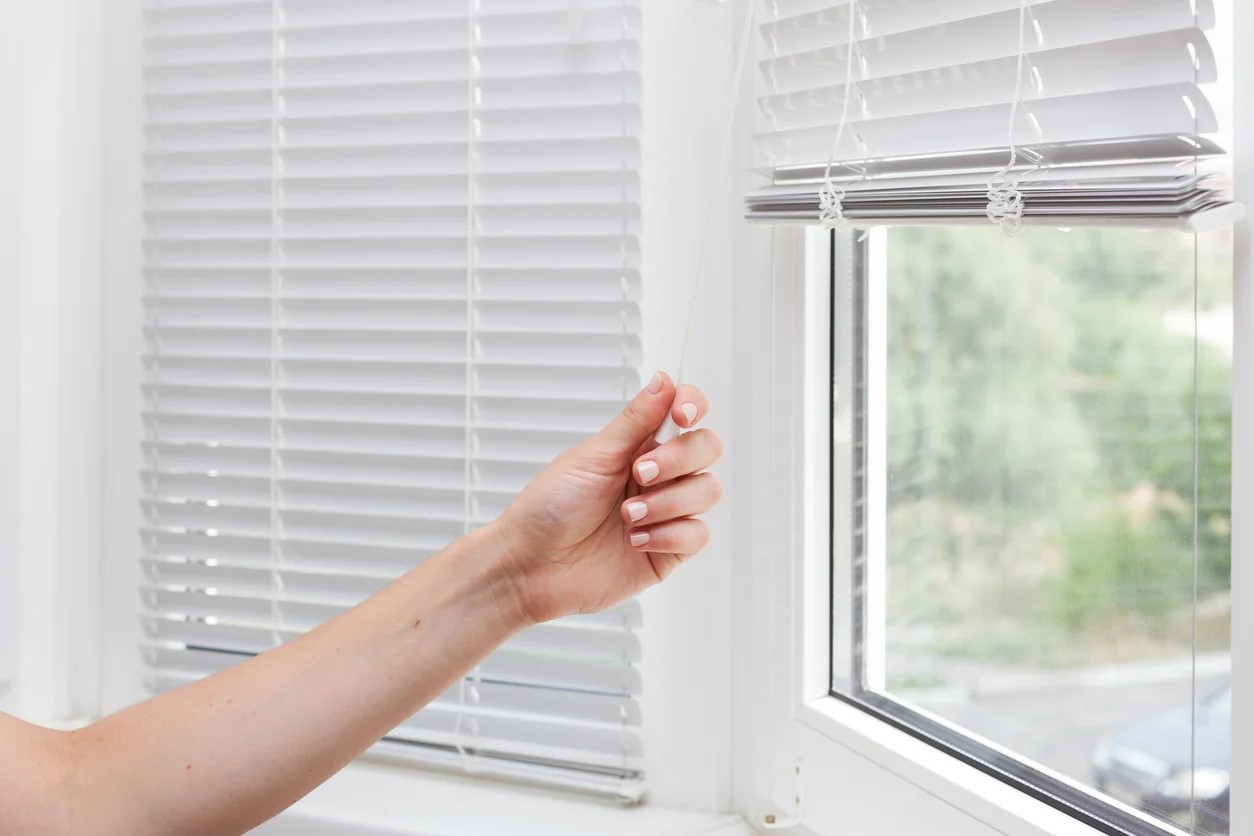
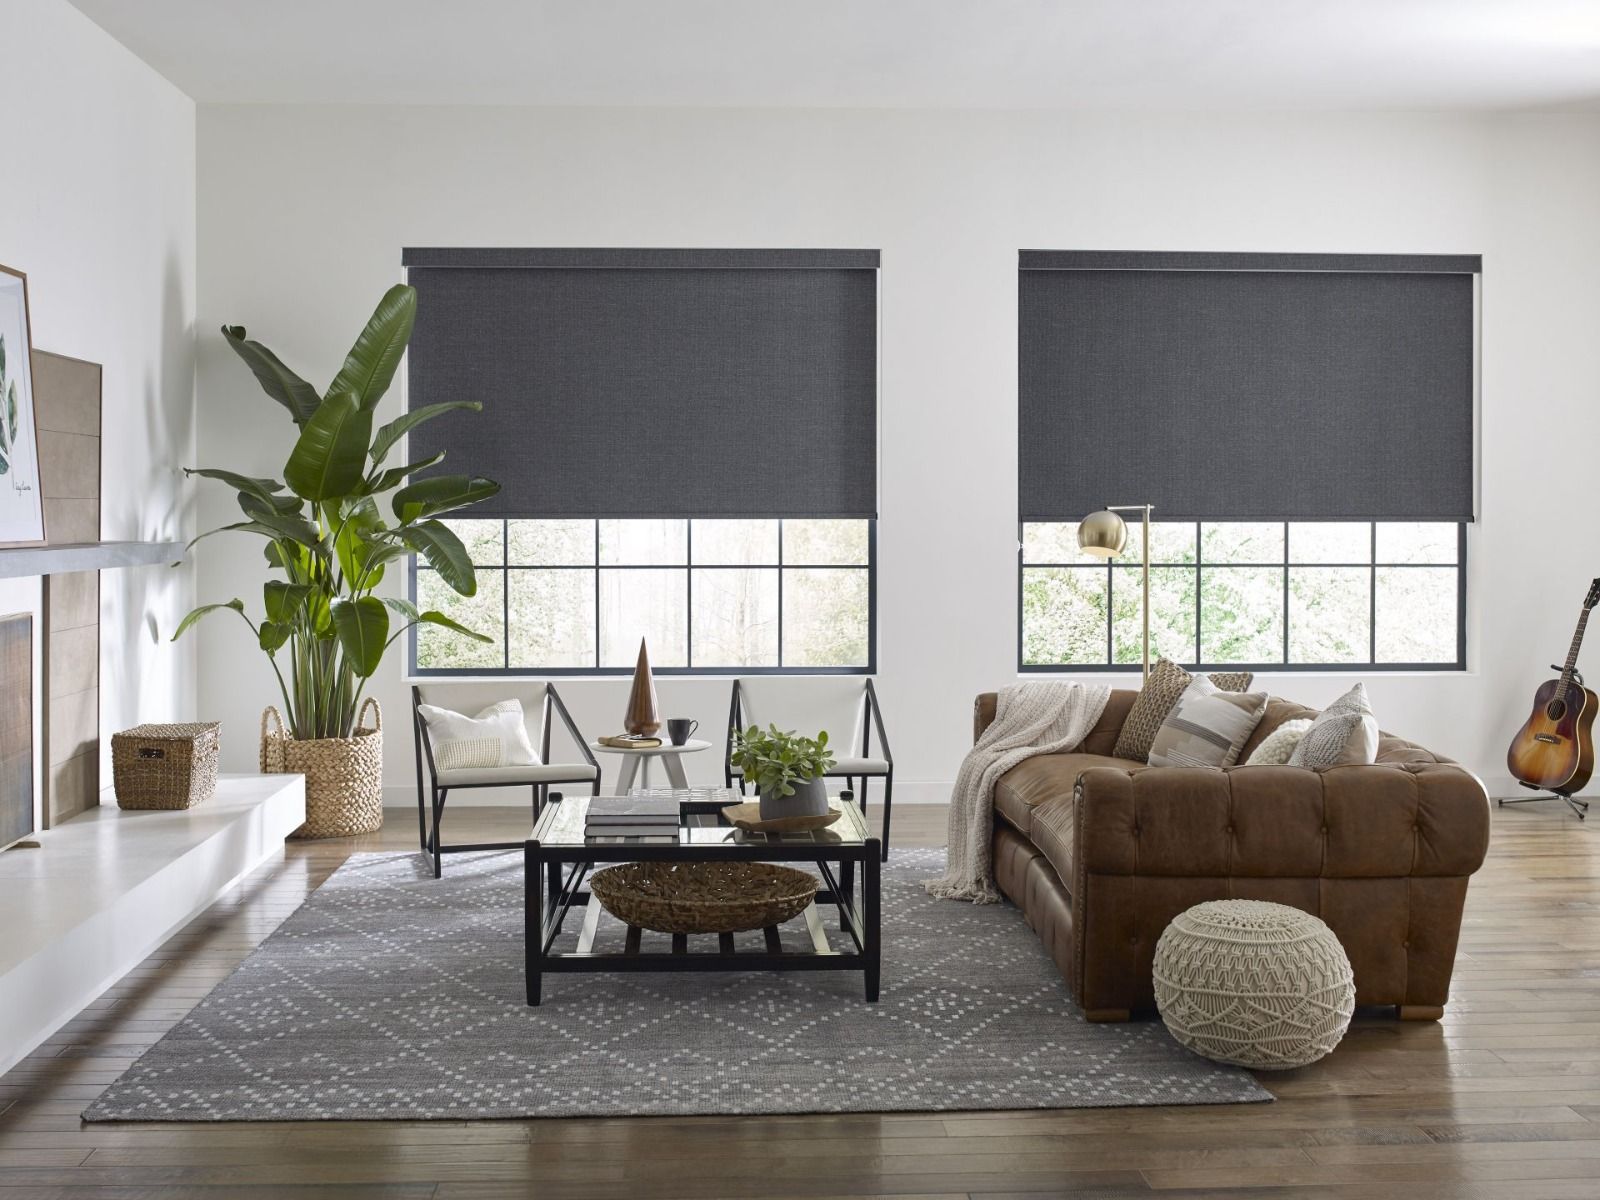
Roller blinds are a popular and versatile window treatment option that can add style and functionality to any space. Whether you’re looking to enhance privacy, control natural light, or simply update the look of your windows, roller blinds can be a perfect choice.
In this article, we will guide you through the process of how to put up roller blinds. With a few simple steps and some basic tools, you’ll be able to install roller blinds yourself and transform your windows in no time.
Before we get started, it’s important to note that the specific instructions may vary depending on the type of roller blinds you have and the design of your windows. Always consult the manufacturer’s instructions for your specific blinds, as they may provide additional guidance or precautions.
Now, let’s dive into the step-by-step process of installing roller blinds.
Key Takeaways:
- Transform your windows with roller blinds by following simple steps for installation. Achieve privacy, light control, and style with this versatile window treatment.
- Save time and money by measuring accurately, selecting the right blinds, and installing them yourself. Enjoy the benefits of roller blinds in your space.
Read more: How To Put Up Blinds With Brackets
Step 1: Measure the Window
The first step in installing roller blinds is to accurately measure the window where you plan to hang them. Proper measurements are crucial to ensure a seamless fit and optimal functionality.
Here’s how to measure your window for roller blinds:
- Measure the width: Use a metal tape measure to measure the width of your window from one side to the other. Take the measurement at the top, middle, and bottom of the window, and use the smallest measurement as your width.
- Measure the height: Measure the height of your window from the top to the bottom. Again, take measurements at multiple points and use the longest measurement as your height.
- Add allowances: Depending on your preference, you may want to add allowances to the measurements to ensure full coverage and privacy. Typically, adding an extra 3-4 inches to the width and height of the window is recommended.
Once you have measured the window, you will have the dimensions you need to select the appropriate size of roller blinds. Keep in mind that roller blinds are typically available in standard widths, so choose one that is closest to your measured width. If your window is wider than the widest available size, you may need to consider using multiple blinds.
It’s important to double-check your measurements before proceeding to ensure a proper fit for your roller blinds. Remember, accurate measurements are key to achieving a polished and professional look.
Step 2: Select the Roller Blinds
Once you have measured your window, it’s time to choose the roller blinds that will complement your space and meet your needs.
Consider the following factors when selecting roller blinds:
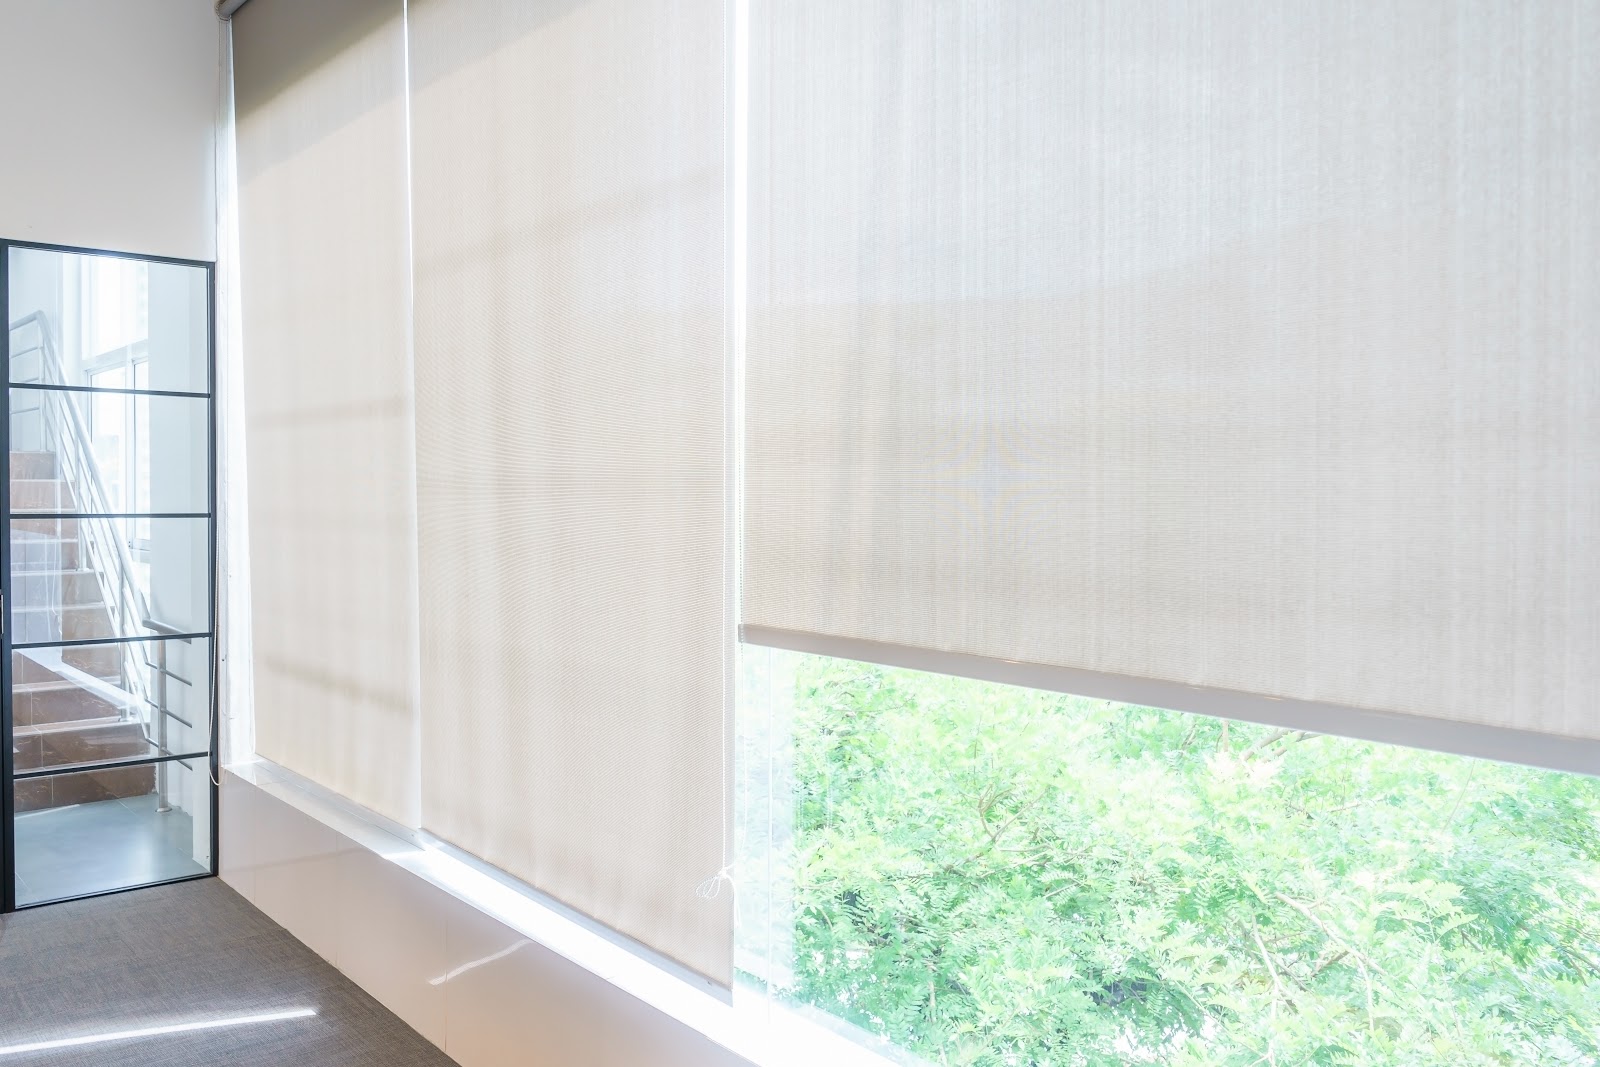
- Material: Roller blinds come in a variety of materials, including fabric, vinyl, and sunscreen. Each material has its own advantages and aesthetic appeal. Choose a material that suits your style and the specific requirements of the room.
- Color and Pattern: Roller blinds are available in an array of colors and patterns, allowing you to add a decorative touch to your windows. Consider the existing color scheme and decor of the room, and select a color or pattern that enhances the overall aesthetic.
- Opacity: Roller blinds can range from sheer to opaque, offering varying levels of privacy and light control. Think about the level of privacy you desire in the room and select blinds that provide the appropriate opacity.
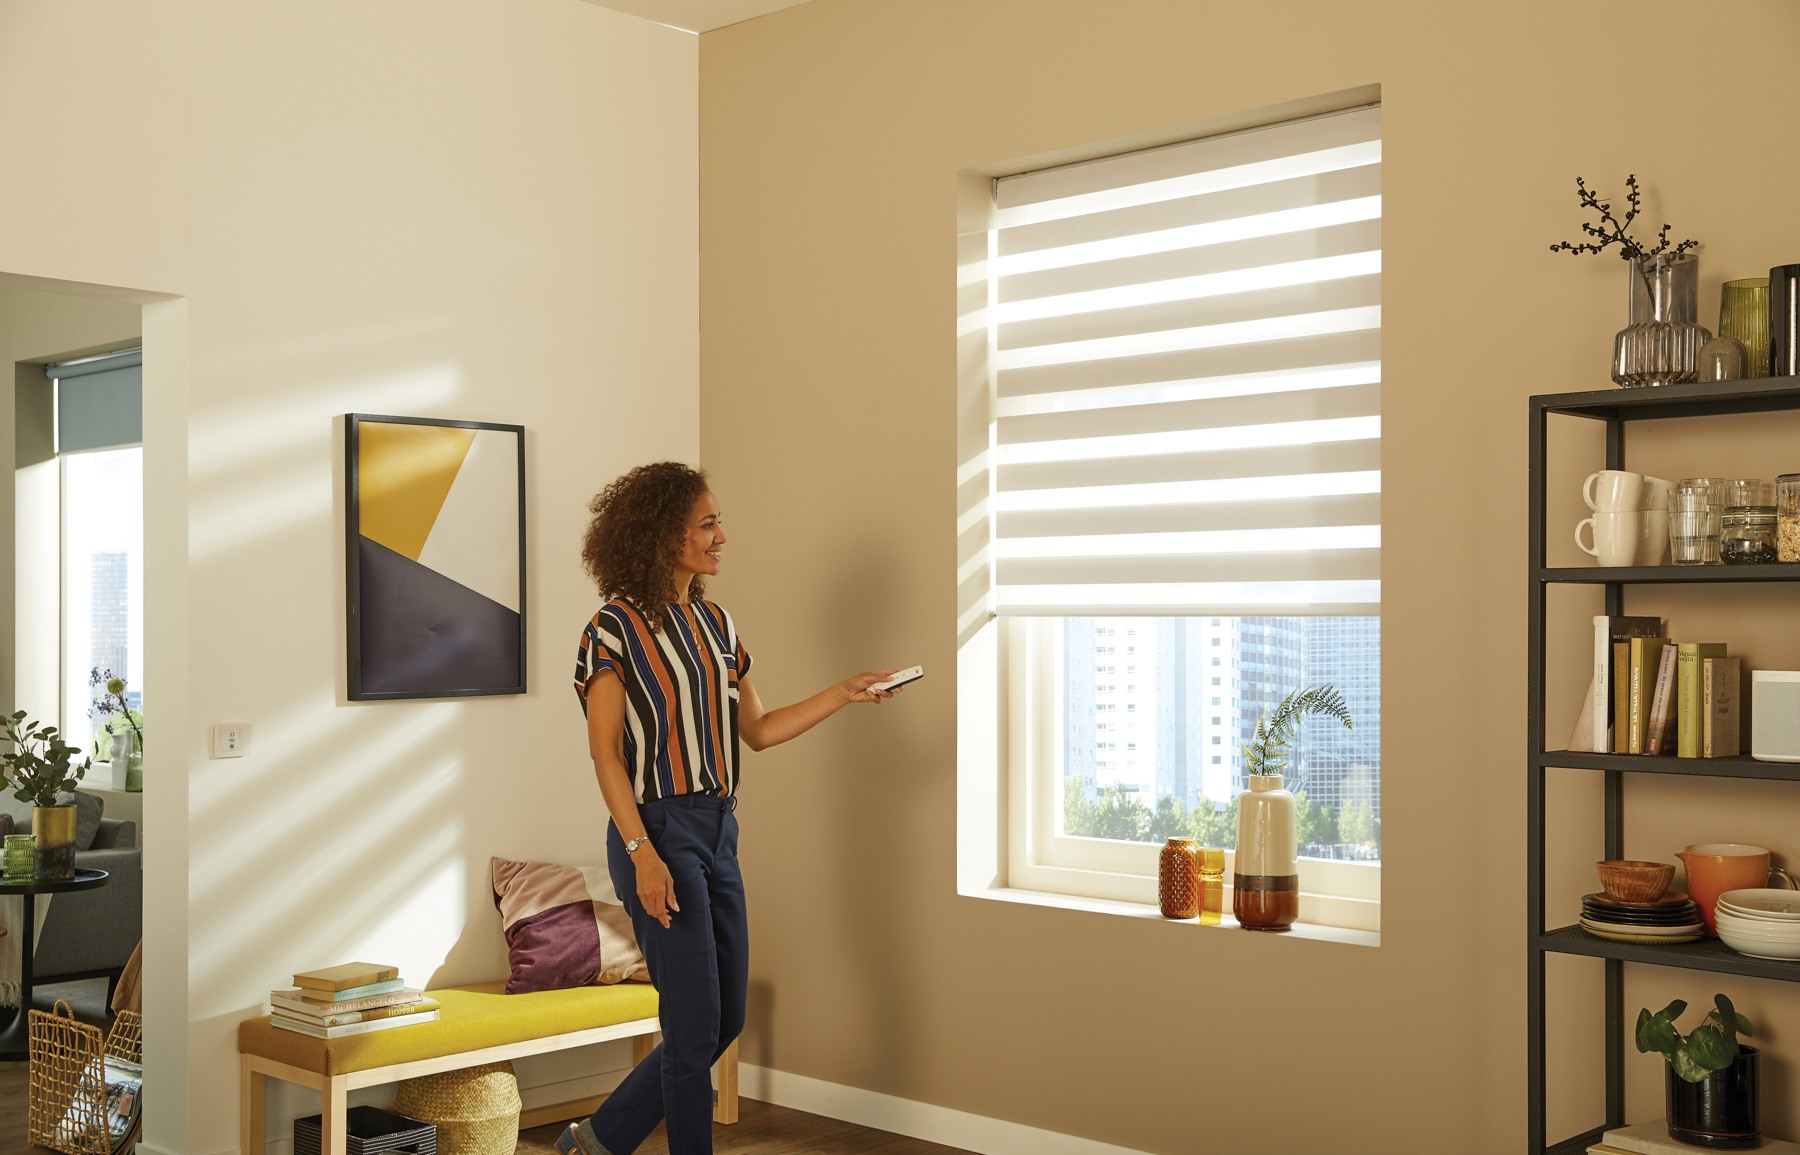
- Operation System: Roller blinds can be operated manually or with the help of a motorized system. Decide whether you prefer the convenience of motorized blinds or are comfortable with manual operation.
When choosing the right size of roller blinds, refer back to the measurements you took in Step 1. Ensure the width of the blinds matches the width of your window, or select multiple blinds if needed for wider windows.
Take your time to explore different options and consider the overall look and functionality you want to achieve with your roller blinds. Once you have chosen the perfect blinds, you’re ready to move on to the installation process.
Step 3: Gather Tools and Materials
Before you begin installing your roller blinds, it’s important to gather all the necessary tools and materials. Having everything at hand will make the installation process smoother and more efficient.
Here is a list of tools and materials you will need:
- Roller blinds: Make sure you have the appropriate size and type of roller blinds for your window.
- Mounting brackets: These brackets are used to secure the roller blinds to the wall or window frame. They typically come with the blinds or can be purchased separately.
- Screws: Depending on the type of mounting brackets and the material of your wall or window frame, you may need screws to secure the brackets in place.
- Drill: If you are using screws to install the mounting brackets, a drill will be necessary to create pilot holes and screw them into place.
- Screwdriver: A screwdriver will be needed to tighten the screws and secure the mounting brackets.
- Tape measure: You will need a tape measure to double-check your window measurements and ensure the proper placement of the brackets.
- Pencil: Use a pencil to mark the positions of the mounting brackets on the wall or window frame.
- Level: A level will help you ensure that your roller blinds hang straight and level.
Having these tools and materials ready before you start the installation will save you time and prevent any unnecessary interruptions.
Once you have gathered everything you need, you’re ready to move on to the next step of the installation process.
Step 4: Install the Mounting Brackets
With your tools and materials ready, it’s time to install the mounting brackets for your roller blinds. The brackets are essential for securely attaching the blinds to the wall or window frame.
- Position the brackets: Using your tape measure and pencil, mark the positions where you will attach the brackets. The exact placement will depend on the type and size of your roller blinds, as well as your personal preference. Generally, the brackets should be positioned evenly and centered above the window frame.
- Create pilot holes: If necessary, use a drill to create pilot holes at the marked positions. Pilot holes serve as a guide for the screws and help prevent the wall or frame from splitting when the screws are inserted.
- Attach the brackets: Place the brackets on the wall or window frame and align them with the pilot holes. Using a screwdriver, tightly screw the brackets into place. Ensure that the brackets are level and securely attached.
- Repeat the process: If your roller blinds require multiple brackets, repeat the above steps to install the remaining brackets. Make sure to maintain the proper spacing between the brackets for even support.
Once all the mounting brackets are installed, take a moment to check that they are level and properly secured. The brackets should be able to support the weight of the roller blinds without any wobbling or instability.
With the mounting brackets in place, you’re ready to move on to the next step of attaching the roller blinds to the brackets.
When measuring for roller blinds, always measure the width at the top, middle, and bottom of the window to account for any variations in the window frame. This will ensure a perfect fit.
Read more: What Are Roller Blinds
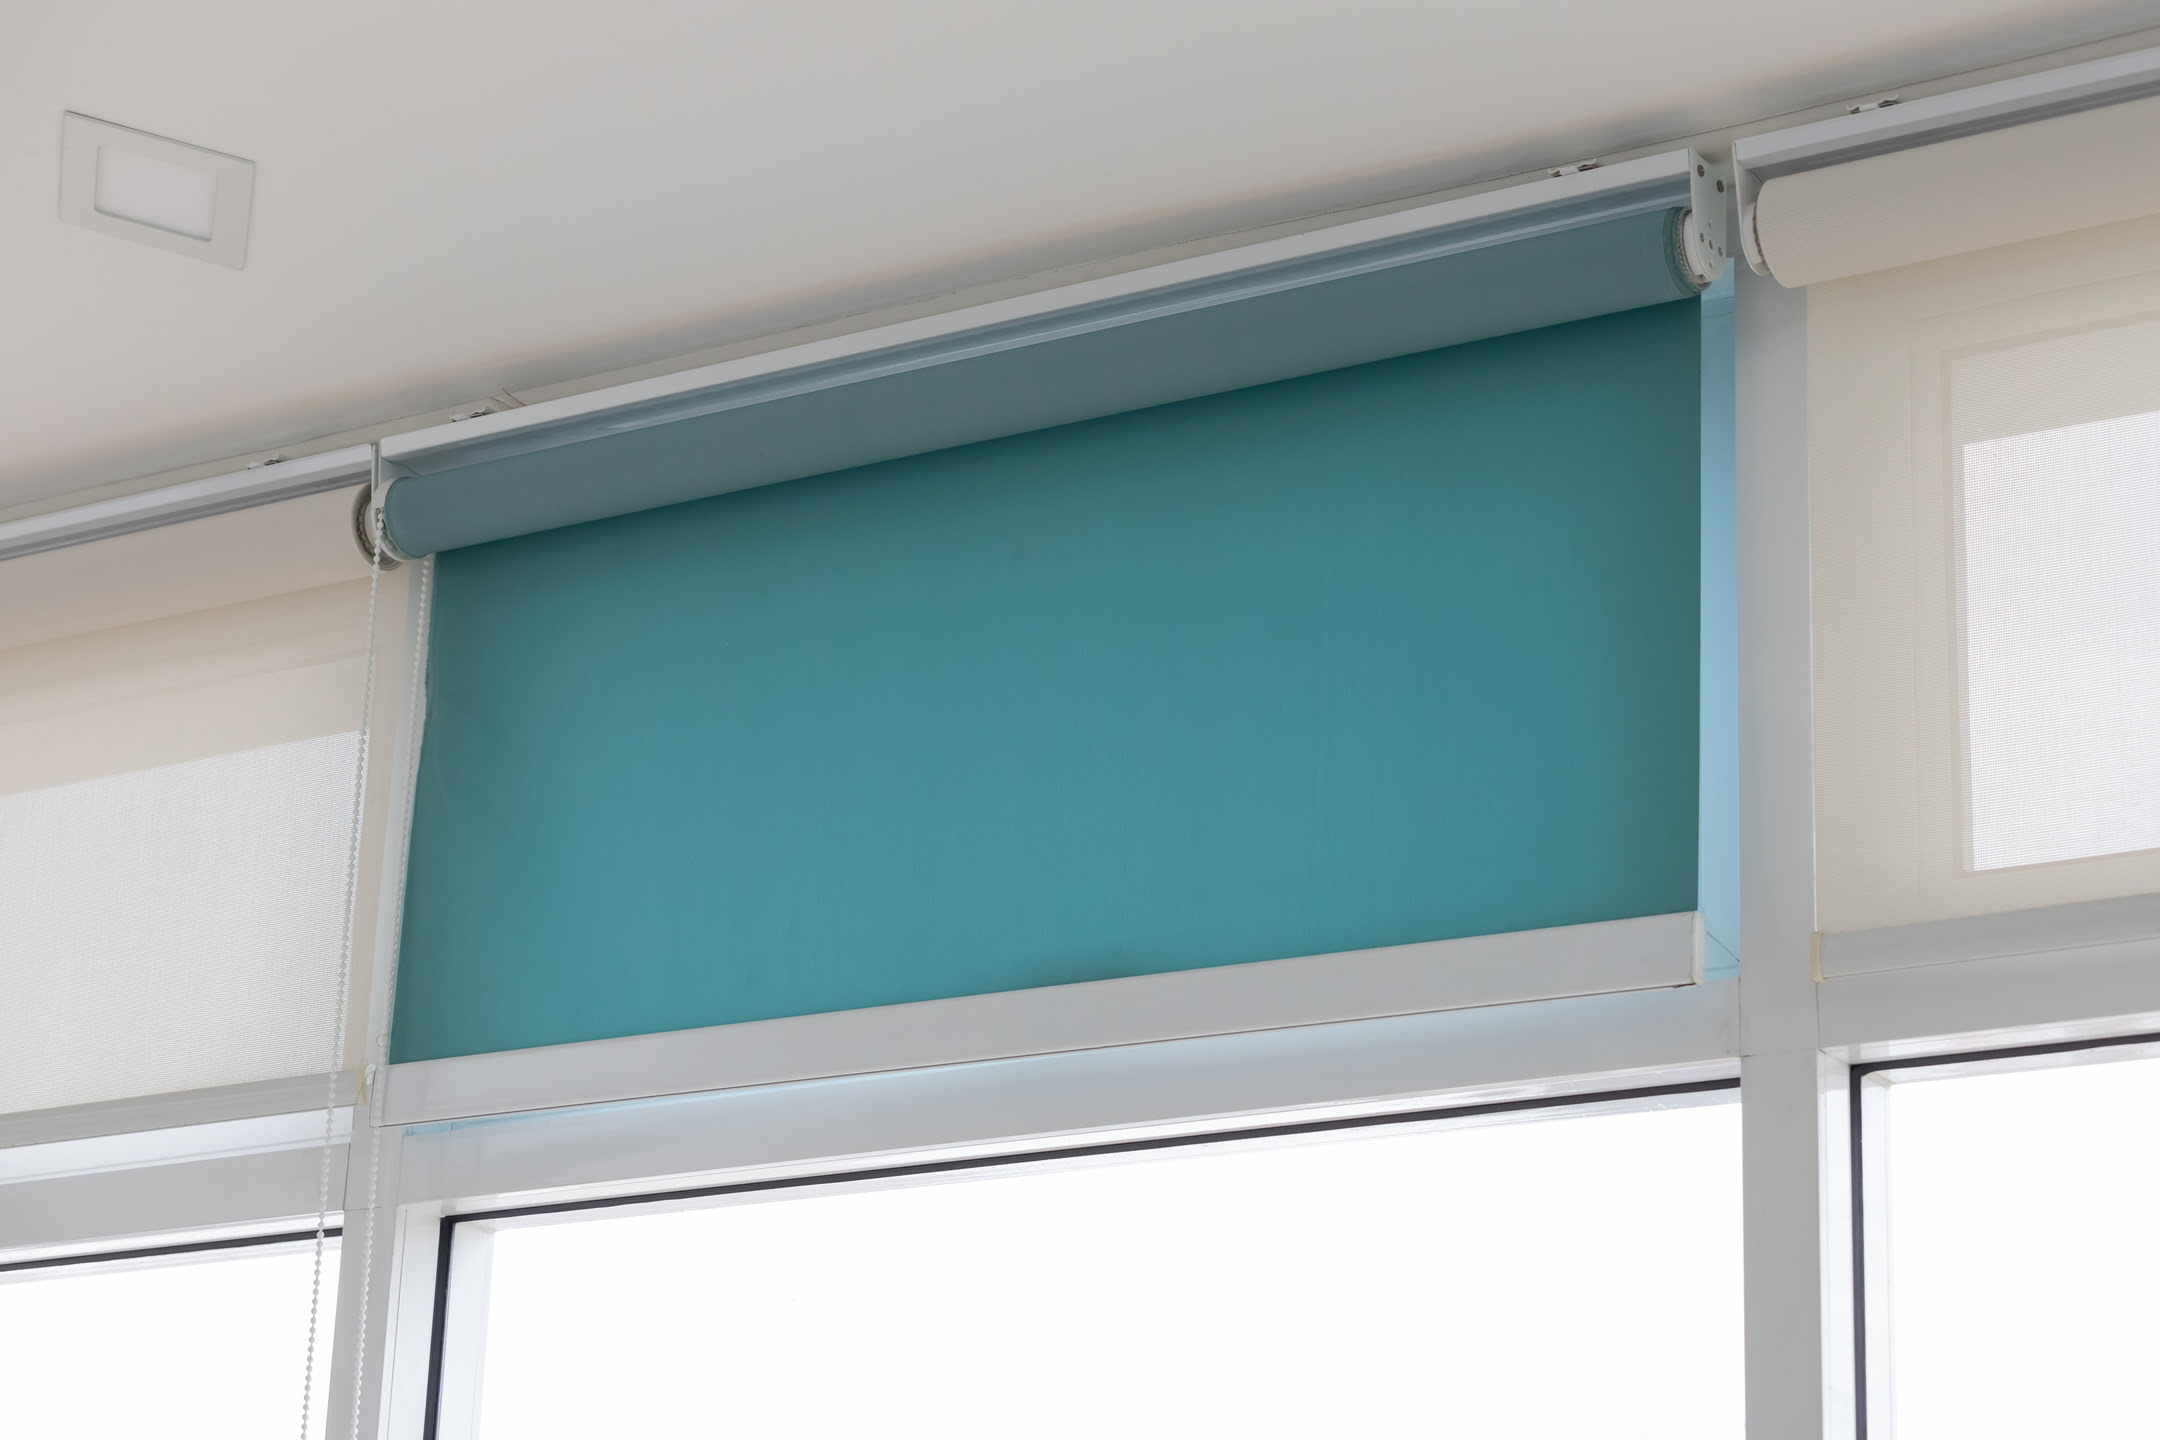
Step 5: Attach the Roller Blind to the Brackets
Now that the mounting brackets are securely in place, it’s time to attach the roller blind to the brackets.
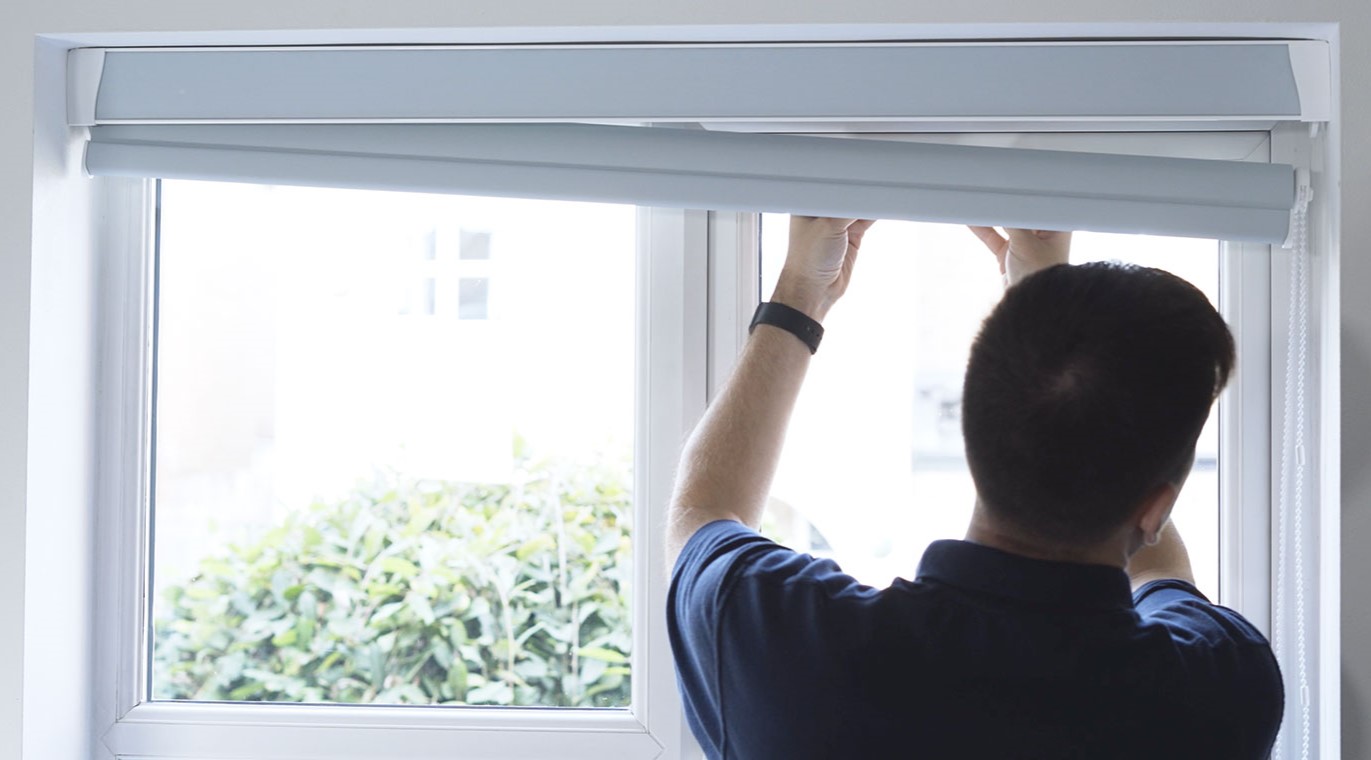
- Position the roller blind: Hold the roller blind above the brackets, aligning it with the brackets and making sure the fabric or material is facing the desired side of the window. Position the roller blind so that it is centered and level.
- Insert the roller into the brackets: Depending on the design of your roller blinds, there may be different mechanisms for attaching the roller to the brackets. Typically, there will be small openings or slots in the brackets where the roller can be inserted. Slide the roller into the brackets, ensuring it is properly aligned.
- Secure the roller blind: Once the roller is inserted into the brackets, you may need to engage a locking mechanism or tighten screws to secure the roller blind in place. Refer to the manufacturer’s instructions for specific details on how to secure your roller blinds.
- Test the roller blind: Gently pull down on the roller blind to test its functionality. It should smoothly roll down and retract back up without any issues. If the roller blind doesn’t operate correctly, double-check that it is properly aligned and securely attached to the brackets.
Take a moment to ensure that the roller blind is hanging straight and level. Adjust the position or alignment if necessary.
Once you have successfully attached the roller blind to the brackets, you can move on to the next step of adjusting the tension of the blind.
Step 6: Adjust the Tension
After attaching the roller blind to the brackets, it’s important to adjust the tension to ensure smooth and controlled operation of the blind.
- Locate the tension adjustment mechanism: Depending on the type of roller blinds you have, the tension adjustment mechanism may be located at the end of the roller or within the bracket itself. Refer to the manufacturer’s instructions to locate the specific mechanism for your blinds.
- Adjust the tension: Use a screwdriver or the provided tool to adjust the tension of the roller blind. Turning the adjustment mechanism clockwise typically tightens the tension, while turning it counterclockwise loosens the tension. Gradually make small adjustments until you achieve the desired tension.
- Test the roller blind: After making adjustments to the tension, test the roller blind by pulling it down and releasing it. The blind should smoothly roll up and down without any resistance or slipping. If the blind rolls up too quickly or unrolls too slowly, further adjust the tension until it operates smoothly.
Proper tension adjustment is crucial for the reliable and effortless operation of roller blinds. Be patient and take the time to find the optimal tension setting for your blinds.
Once you are satisfied with the tension, move on to the next step of testing the roller blinds to ensure they function properly.
Step 7: Test the Roller Blinds
Before the final adjustments, it’s important to test the roller blinds to ensure they are functioning correctly and meeting your expectations.
- Lower the blinds: Gently pull down on the roller blinds to lower them to their desired position. The blinds should unroll smoothly and evenly.
- Check for smooth operation: Observe how the blinds roll up and down. They should move without any resistance or excessive effort on your part. If you notice any irregularities or difficulties, go back and double-check the tension adjustment.
- Assess light control and privacy: Take note of the amount of light that comes through the blinds when they are fully closed. Ensure that the blinds provide the desired level of privacy and light control for your space.
- Inspect for proper alignment: Look at the blinds from different angles to ensure they are hanging straight and level. Adjust the blinds or brackets if necessary to achieve a balanced appearance.
Testing the roller blinds allows you to identify any issues or adjustments that need to be made before completing the installation. Pay close attention to the details to ensure a satisfactory outcome.
If everything looks and operates as expected during the testing phase, proceed to the final step of making any necessary adjustments.
Step 8: Final Adjustments
In this final step, you will make any necessary adjustments to ensure that your roller blinds are perfectly in place and meet your desired specifications.
- Check for evenness: Step back and take a careful look at the roller blinds from a distance. Make sure they are hanging evenly and are level with the floor. If you notice any discrepancies, adjust the position of the brackets or the tension of the blinds until they are properly aligned.
- Trim the excess fabric (if applicable): If your roller blinds have excess fabric that is hanging below the desired length, you may want to trim it. Use sharp scissors or a fabric cutter to carefully cut the fabric to your preferred length. Be cautious not to cut too much and end up with blinds that are too short.
- Secure loose cords or chains: If your roller blinds have cords or chains for operation, check that they are properly secured and not tangled or hanging loosely. Make any necessary adjustments to ensure they are neat and out of reach of children or pets.
- Inspect the overall appearance: Take a few moments to carefully inspect the roller blinds and their surroundings. Check for any visible gaps, unsightly cords, or other issues that may detract from the overall aesthetic. Make any final adjustments or tuck away any loose ends to achieve a clean and polished look.
By completing these final adjustments, you can ensure that your roller blinds are not only functional but also visually appealing.
Congratulations, you have successfully installed your roller blinds! Your window now has a stylish and practical window treatment that enhances privacy, controls light, and adds a touch of elegance to your space.
Remember to periodically clean and maintain your roller blinds to keep them in optimal condition. Follow any specific care instructions provided by the manufacturer to ensure their longevity and performance.
Enjoy the benefits of your roller blinds and the transformed look they bring to your windows!
Read more: How To Measure For Roller Blinds
Conclusion
Installing roller blinds is a rewarding and relatively straightforward process that can greatly enhance the functionality and aesthetics of your windows. By following the step-by-step instructions outlined in this article, you can successfully put up roller blinds on your own, saving both time and money.
Remember to start by accurately measuring your window and selecting the appropriate size and style of roller blinds. Gather the necessary tools and materials before proceeding to install the mounting brackets securely. Attach the roller blind to the brackets, making sure it is level and aligned properly. Adjust the tension for smooth and controlled operation. Test the roller blinds for function and make any necessary adjustments for evenness and privacy control.
Finally, take a moment to appreciate the final result and make any last-minute tweaks to ensure the blinds look and perform their best. Enjoy the benefits of your newly installed roller blinds, such as increased privacy, light control, and an enhanced aesthetic appeal. Regularly clean and maintain your roller blinds to keep them in excellent condition for years to come.
With a little effort and attention to detail, you can transform your windows and create a more comfortable and stylish living space with roller blinds. So go ahead, take the plunge, and enjoy the many advantages of this versatile window treatment!
Frequently Asked Questions about How To Put Up Roller Blinds
Was this page helpful?
At Storables.com, we guarantee accurate and reliable information. Our content, validated by Expert Board Contributors, is crafted following stringent Editorial Policies. We're committed to providing you with well-researched, expert-backed insights for all your informational needs.