Articles
How To Make Snow Cones In A Blender
Modified: February 27, 2024
Learn how to make refreshing snow cones in a blender with our helpful articles. Get easy step-by-step instructions and enjoy homemade icy treats.
(Many of the links in this article redirect to a specific reviewed product. Your purchase of these products through affiliate links helps to generate commission for Storables.com, at no extra cost. Learn more)
Ingredients Needed
When it comes to making delicious snow cones in a blender, you’ll need a few key ingredients to get started. Here’s what you’ll need:
- Ice cubes
- Simple syrup
- Flavorings or syrups
- Optional toppings such as whipped cream or sprinkles
The beauty of making snow cones in a blender is that you can customize them to suit your taste preferences. Whether you prefer classic flavors like cherry or blue raspberry, or want to get creative with unique combinations, the choice is yours. With these ingredients in hand, you’ll be well on your way to creating refreshing and flavorful snow cones in no time.
Key Takeaways:
- Create customizable and refreshing snow cones in a blender using simple ingredients like ice, simple syrup, and flavorings. Experiment with unique combinations and toppings for a delightful treat any time of the year.
- Master the art of making the best snow cones by using freshly crushed ice, quality syrups, and creative toppings. Embrace the joy of homemade snow cones and savor every icy, flavorful bite.
Step 1: Prepare the Ice
The first step in making snow cones in a blender is to prepare the ice. You’ll want to start with a good amount of ice cubes to ensure a nice and fluffy texture for your snow cones. Here’s how to prepare the ice:
- Fill a large zip-top bag with ice cubes.
- Seal the bag tightly, making sure there are no gaps or openings.
- Place the bag on a hard surface, such as a countertop or cutting board.
- Using a rolling pin or mallet, gently crush the ice cubes until they are broken into small, uniform pieces.
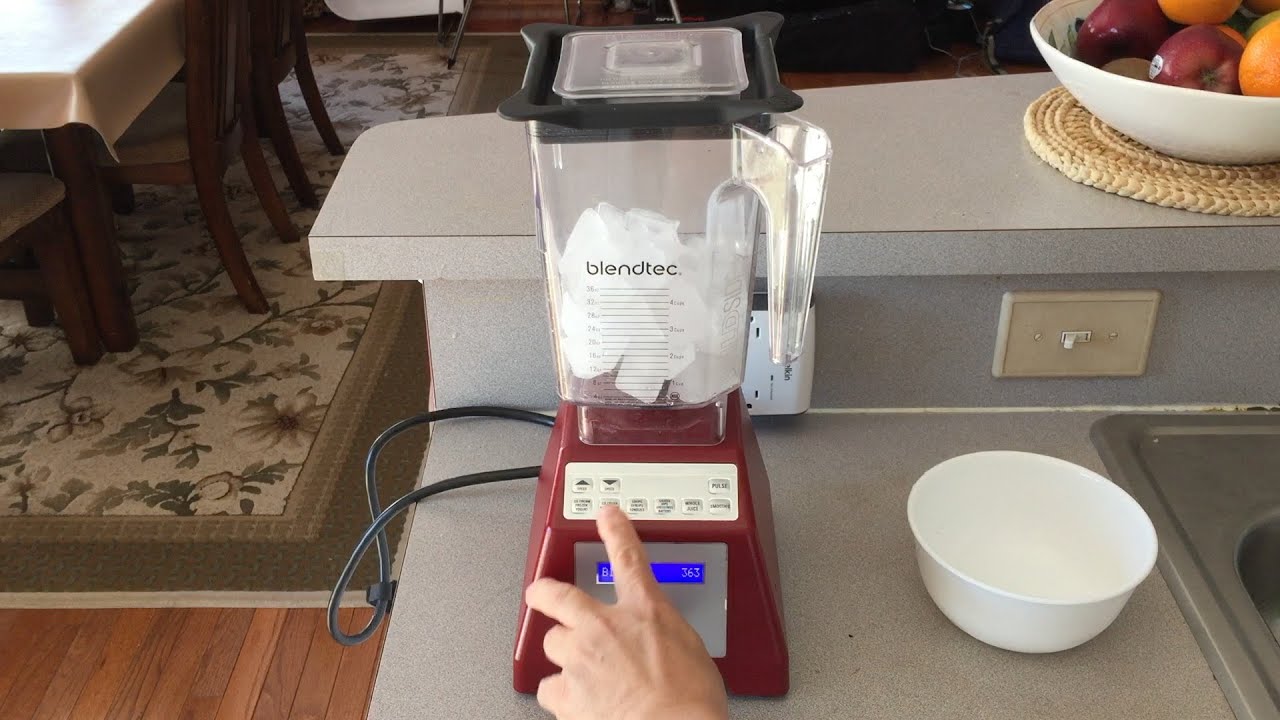
Alternatively, if you have a blender with a strong motor, you can also crush the ice directly in the blender. Simply add the ice cubes to the blender and pulse until you achieve the desired consistency. However, be sure to check the manufacturer’s instructions to make sure your blender is capable of handling ice.
Once you have prepared the ice, you’re ready to move on to the next step: making the simple syrup.
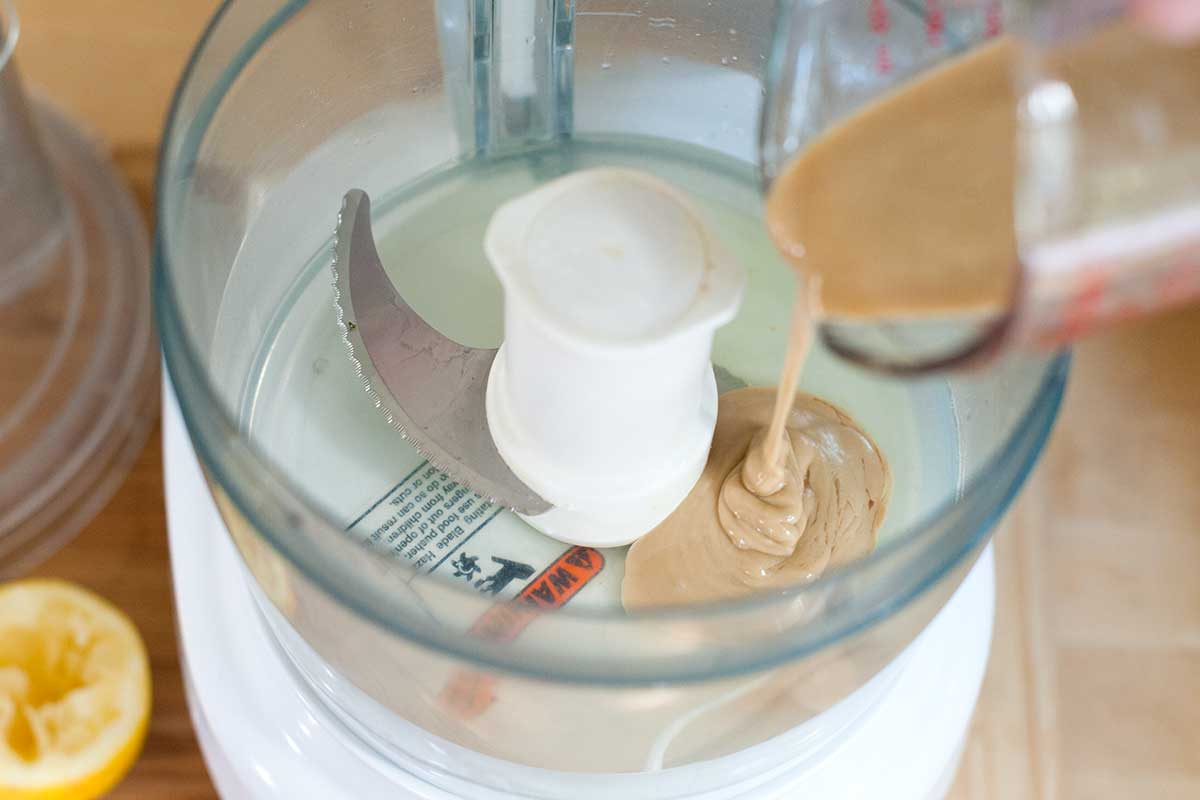
Step 2: Make the Simple Syrup
Next up in our journey to make delicious snow cones in a blender is making the simple syrup. This sweet syrup will provide the base flavor for your snow cones. Here’s how to make it:
- In a small saucepan, combine equal parts water and sugar. For example, you can start with 1 cup of water and 1 cup of sugar.
- Place the saucepan over medium heat and stir until the sugar has completely dissolved.
- Continue heating the mixture until it comes to a gentle boil.
- Once it reaches a boil, remove the saucepan from the heat and let the simple syrup cool completely.
- You can store the simple syrup in an airtight container in the refrigerator for up to a month.
Keep in mind that this is just a basic recipe for simple syrup. If you want to add extra flavor to your syrup, you can infuse it with ingredients like vanilla extract, fruit extracts, or even herbs and spices. Get creative and experiment with different flavors to make your snow cones truly unique!
Now that you’ve made the simple syrup, it’s time to move on to the next step: blending the ice.
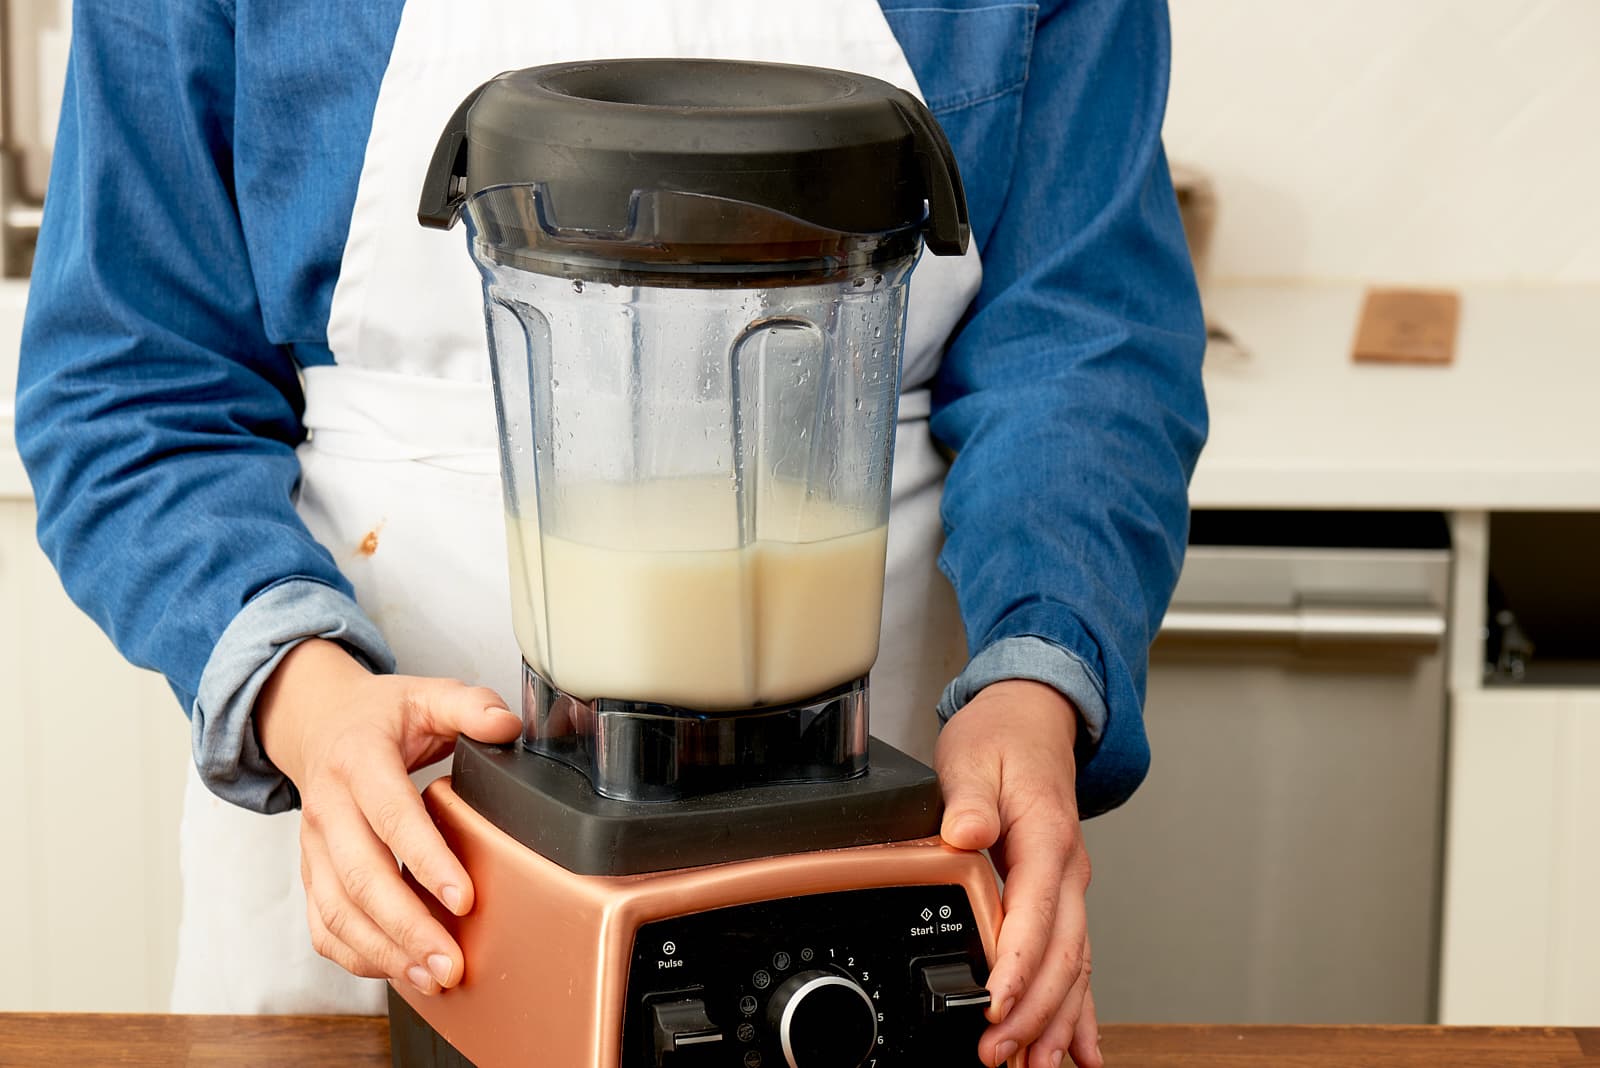
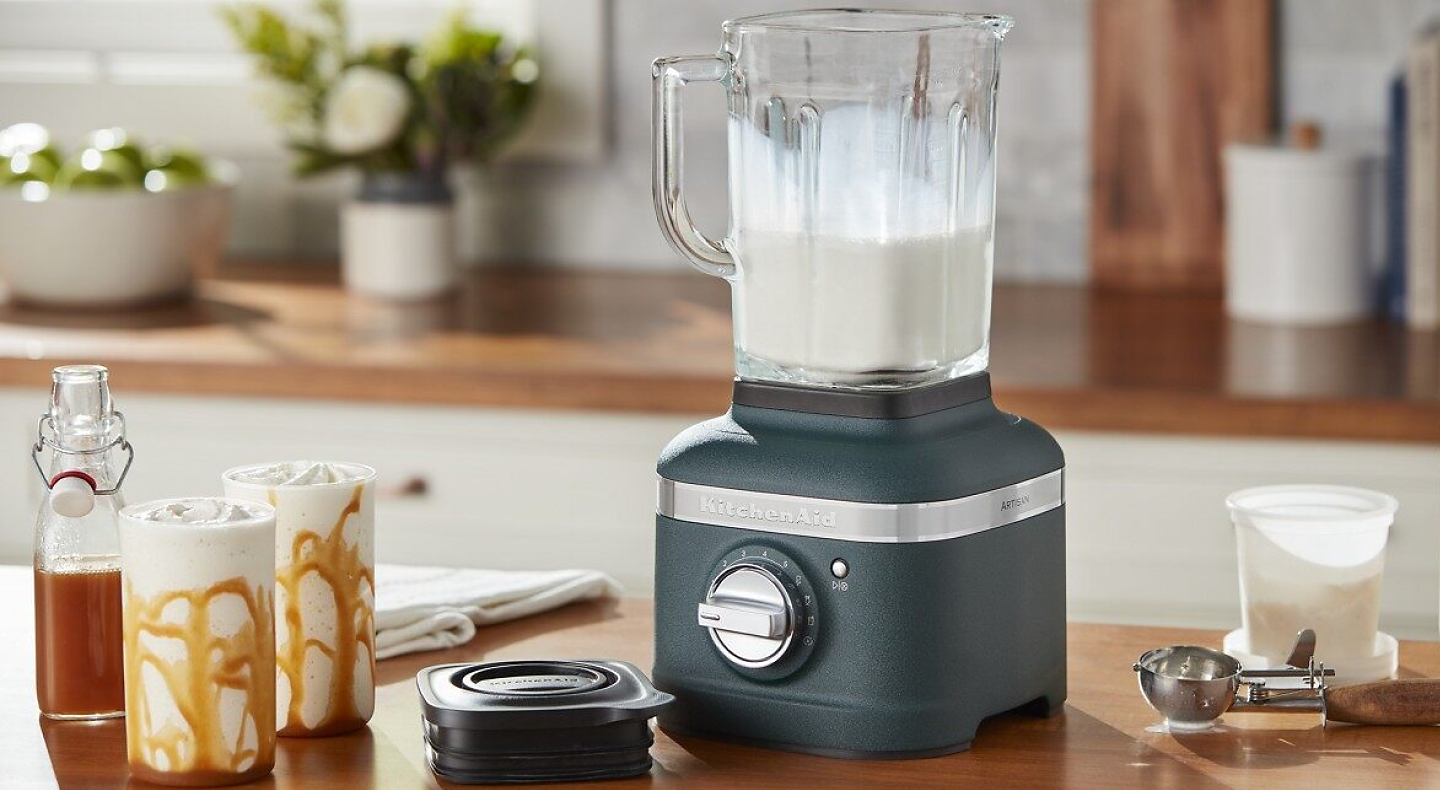
Step 3: Blend the Ice
With the ice crushed and the simple syrup prepared, it’s time to bring everything together by blending the ice in your trusty blender. Follow these steps to achieve that perfect snow cone texture:
- Add a portion of the crushed ice to your blender. You don’t want to overload the blender, so start with a smaller amount and blend in batches if necessary.
- Secure the lid of the blender to prevent any mishaps.
- Pulse the blender a few times to start breaking down the ice.
- Once the ice is slightly crushed, blend on high speed for about 10-15 seconds. The goal is to achieve a consistency similar to snow.
- Pause and scrape down the sides of the blender, ensuring that all the ice is evenly blended.
- If needed, continue blending and scraping until the desired texture is reached.
It’s important to note that over-blending can result in the ice melting and turning into a slushy mixture. Therefore, pay close attention to the consistency and stop blending when you have fluffy snow-like ice.
Now that your ice is perfectly blended, it’s time for the fun part: adding flavors to your snow cones!
Add a little bit of corn syrup to the ice in the blender to help the syrup stick to the ice and prevent it from sinking to the bottom.
Step 4: Add Flavors
Now that you have your soft and fluffy snow cone ice, it’s time to add your favorite flavors! This is where you can get creative and customize your snow cones to your liking. Here’s how to add flavors:
- Start by drizzling a small amount of the prepared simple syrup over the top of the snow cone ice. Begin with just a little and taste as you go to adjust the sweetness level.
- If you want to create a multi-flavored snow cone, divide the shaved ice into separate portions and drizzle each portion with a different syrup or flavoring.
- You can use traditional snow cone syrups that are readily available in stores, or experiment with natural extracts, fruit juices, or even homemade fruit purees.
- For a burst of tanginess, squeeze some fresh lemon or lime juice over the top of your snow cone.
- Feel free to mix and match flavors to create unique and tantalizing combinations.
- For an extra special touch, you can also add optional toppings such as whipped cream, sprinkles, or fruit pieces.
Remember to taste your snow cone as you add flavors to ensure the perfect balance of sweetness and taste. Once you’ve added your desired flavors and toppings, your snow cone is almost ready to be enjoyed!
The final step awaits: serving and indulging in your refreshing snow cones!
Read more: How To Plant Pine Cone Seeds
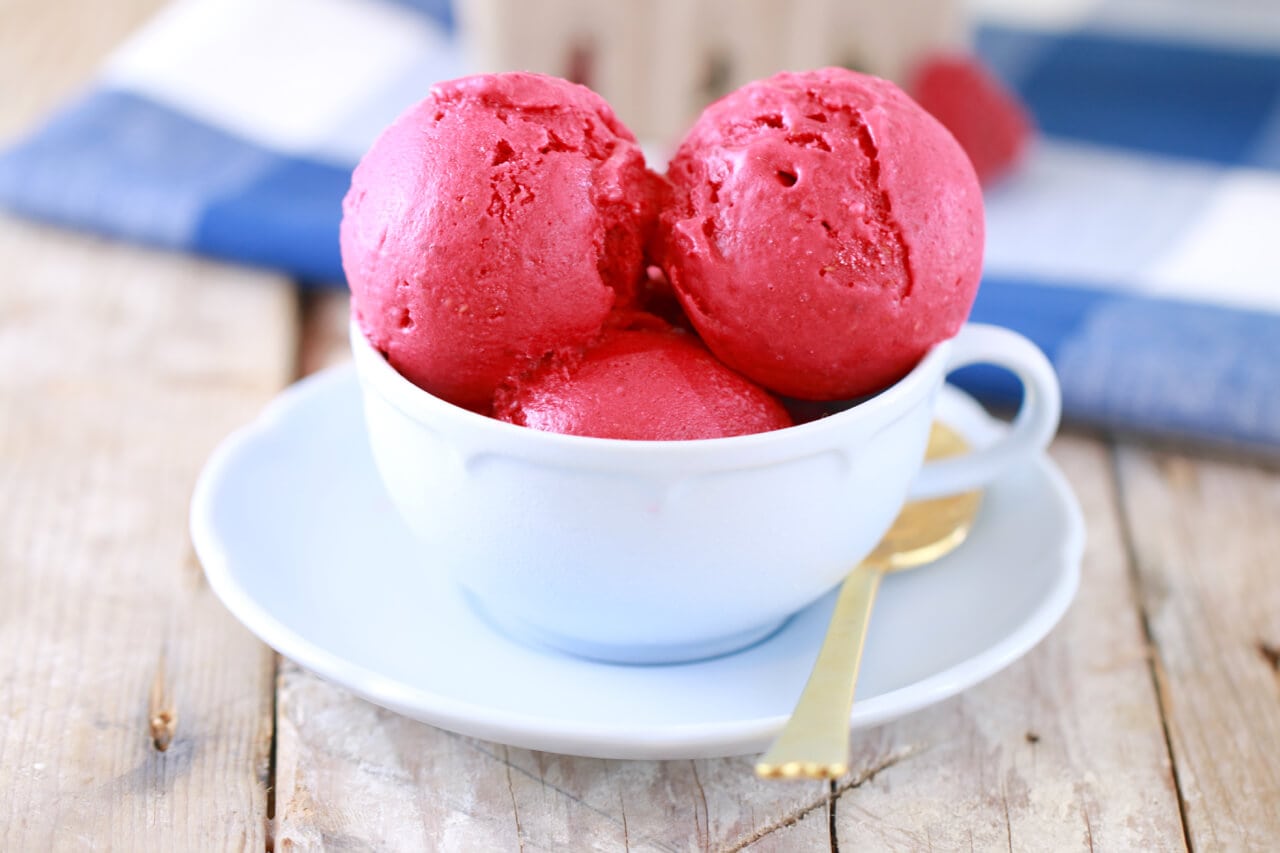
Step 5: Serve and Enjoy!
Congratulations! You’ve reached the final step in making snow cones in a blender. Now it’s time to serve and enjoy your delicious creations. Follow these steps to complete the process:
- Transfer the flavored snow cone ice from the blender to individual serving cups or bowls.
- If desired, add a final drizzle of simple syrup or any additional flavors over the top.
- Garnish with optional toppings, such as whipped cream, sprinkles, or fruit pieces.
- Insert a spoon or straw into the snow cone to make it easier to eat.
- Serve the snow cones immediately to enjoy them at their freshest and coldest.
- Sit back, relax, and savor every refreshing bite of your homemade snow cones.
Remember to enjoy the coolness and the burst of flavors that each snow cone brings. Whether you’re enjoying them on a hot summer day or as a special treat any time of the year, these icy delights are sure to bring a smile to your face.
Now that you know how to make snow cones in a blender, feel free to get creative and experiment with different flavors, syrups, and toppings. The possibilities are endless!
So gather your friends and family, whip up some snow cones, and create unforgettable memories together. Enjoy your homemade snow cones and embrace the sweet bliss of this classic treat!
Tips for Making the Best Snow Cones
Now that you’ve mastered the art of making snow cones in a blender, here are some tips to take your creations to the next level:
- Use freshly crushed ice for the fluffiest and most refreshing snow cones. Ice that has been sitting for too long may lose its texture and melt too quickly.
- Experiment with different flavor combinations to discover unique and delicious snow cone creations. Mix and match syrups or try making your own fruit purees for a natural and flavorful twist.
- Invest in quality syrups and flavorings for the best taste experience. Look for syrups that are made with real fruit juices and natural ingredients.
- Don’t be afraid to get creative with your toppings. From colorful sprinkles to crushed candies, let your imagination run wild to add a fun and tasty element to your snow cones.
- Consider using alternative sweeteners, such as honey or agave syrup, for a healthier option. Just be sure to adjust the quantities accordingly, as these sweeteners are typically sweeter than sugar.
- If you don’t have a blender, you can still enjoy homemade snow cones. Simply use a sturdy plastic bag and a rolling pin to crush the ice into small pieces.
- For a fun twist, try making snow cones in different shapes and sizes. Use molds or cups to create snow cone popsicles or mini snow cone bites.
- To keep your snow cones from melting too quickly, store your serving cups or bowls in the freezer before filling them with ice.
- If you’re hosting a snow cone party, set up a DIY toppings bar with a variety of syrups, fruits, and toppings. This will allow your guests to customize their snow cones and create their own unique combinations.
- Finally, don’t forget to have fun! Making snow cones is a delightful and whimsical activity that brings joy to people of all ages. Enjoy the process and savor every icy, flavorful bite.
By following these tips, you’ll be able to create the best snow cones that will impress your friends and family. So go ahead, get creative, and enjoy the sweet bliss of homemade snow cones!
Conclusion
Making snow cones in a blender is a fun and refreshing way to beat the summer heat or indulge in a sweet treat any time of the year. With just a few simple ingredients and a blender, you can create delicious and customizable snow cones that are sure to delight your taste buds.
From preparing the ice to blending it to the perfect consistency, and adding your favorite flavors and toppings, each step in the process brings you closer to a mouthwatering snow cone experience. Whether you prefer classic flavors like cherry or blue raspberry, or want to get creative with unique combinations, the possibilities are endless.
As you embark on your snow cone-making journey, remember these tips for the best results. Use freshly crushed ice for the fluffiest texture, experiment with different flavors and toppings to create your own signature snow cone, and don’t forget to have fun along the way.
Making snow cones in a blender allows you to unleash your creativity and enjoy a treat that brings back memories of carefree summers and childhood joy. So gather your loved ones, embrace the sweet bliss of homemade snow cones, and create lasting memories together.
Now that you know how to make snow cones in a blender, it’s time to put your newfound skills to the test. So grab your blender, gather your ingredients, and let the cool and refreshing world of snow cones unfold before your eyes. Enjoy the icy goodness, the burst of flavors, and the sheer delight that comes with each bite. Cheers to the joy of homemade snow cones!
Frequently Asked Questions about How To Make Snow Cones In A Blender
Was this page helpful?
At Storables.com, we guarantee accurate and reliable information. Our content, validated by Expert Board Contributors, is crafted following stringent Editorial Policies. We're committed to providing you with well-researched, expert-backed insights for all your informational needs.


0 thoughts on “How To Make Snow Cones In A Blender”