Articles
How To Make Table Lamps From Vases
Modified: October 19, 2024
Learn how to create beautiful table lamps using vases with these informative articles. Transform your space with stunning DIY lighting projects.
(Many of the links in this article redirect to a specific reviewed product. Your purchase of these products through affiliate links helps to generate commission for Storables.com, at no extra cost. Learn more)
Introduction
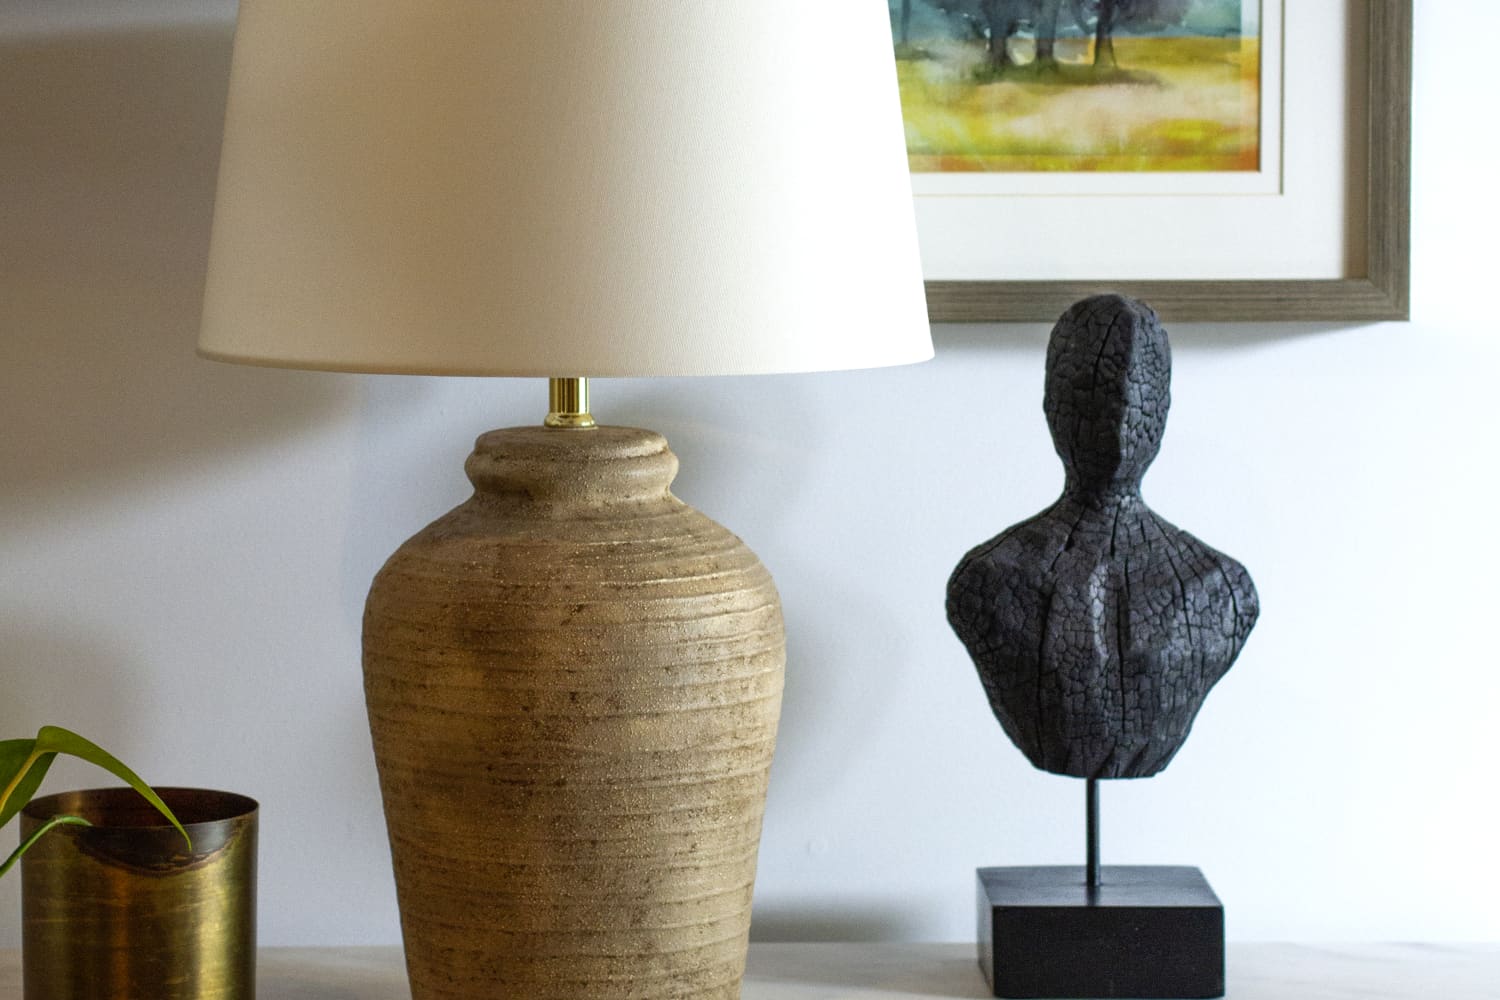
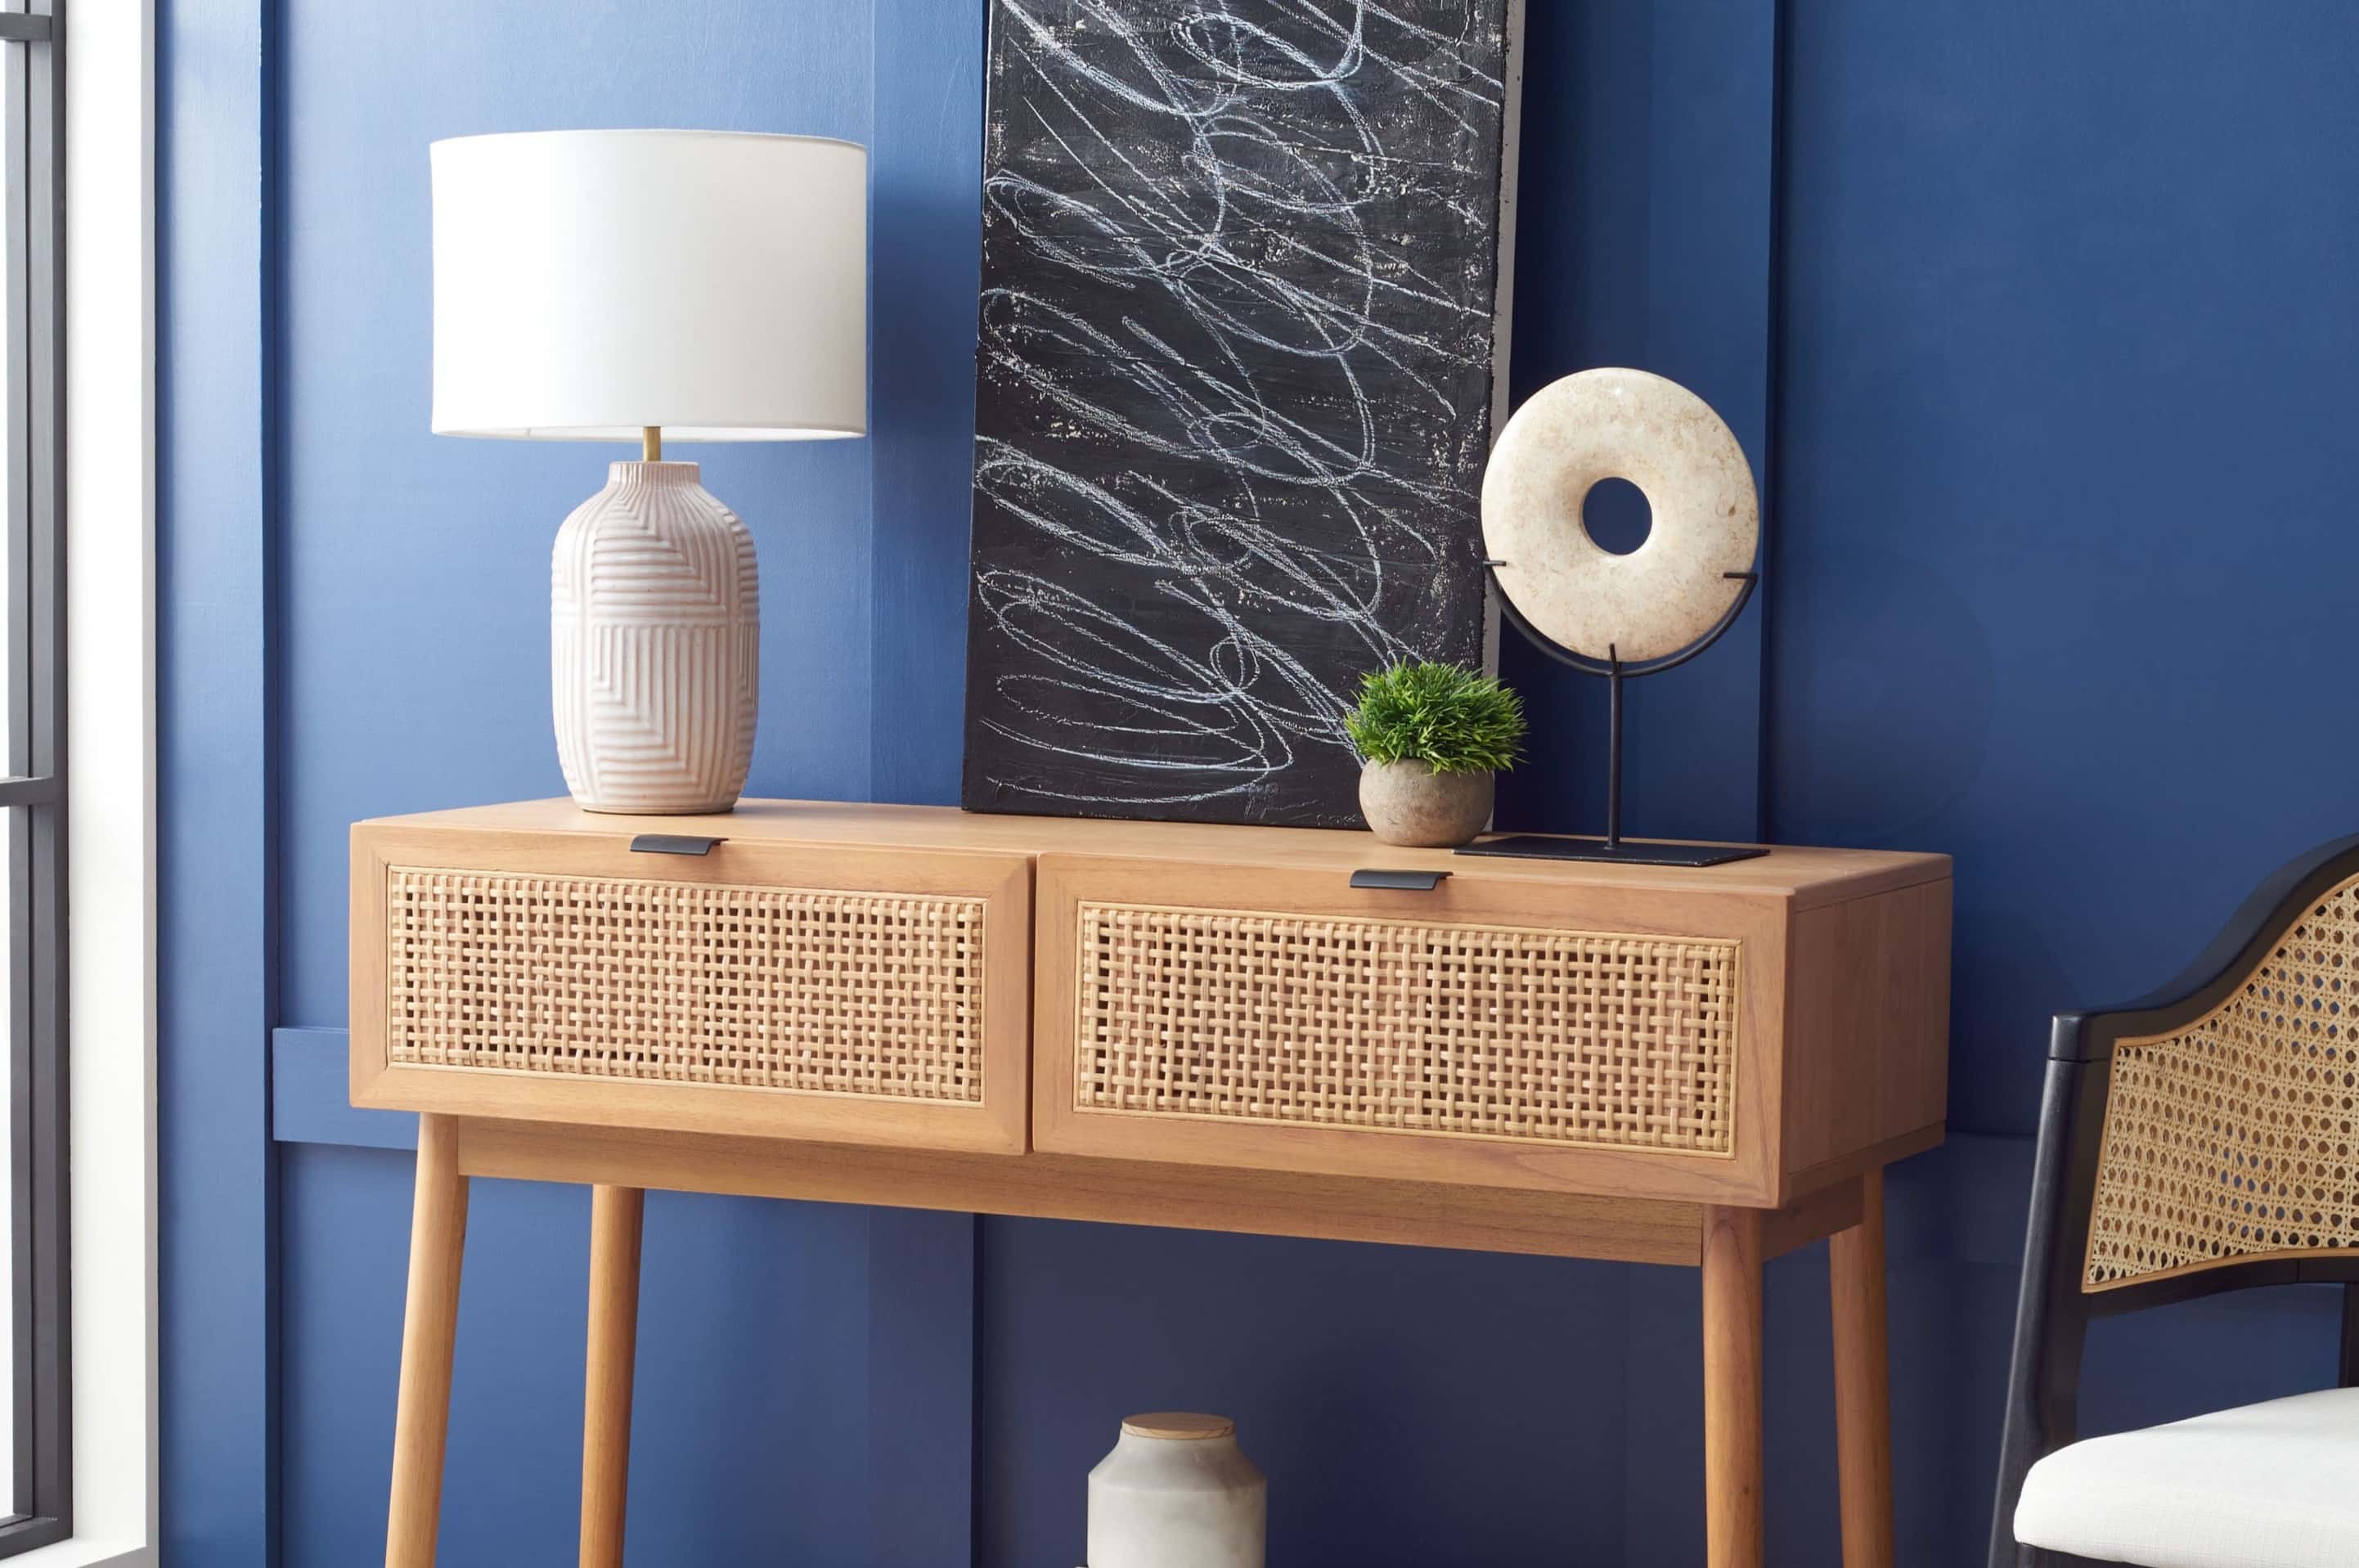
Table lamps are not only functional lighting fixtures, but they can also serve as decorative pieces to add style and ambiance to any room. If you’re looking for a unique and creative way to personalize your table lamps, why not consider making them from vases?
Transforming vases into table lamps is a fun and rewarding project that allows you to showcase your creativity while adding a touch of elegance to your home décor. In this article, we will guide you through the step-by-step process of making table lamps from vases, providing you with all the necessary instructions and tips to ensure a successful project.
But before we dive into the crafting process, let’s take a moment to gather all the materials needed for this project. Having everything ready beforehand will make the process smoother and more efficient.
Key Takeaways:
- Transform a simple vase into a personalized table lamp by following a step-by-step process, allowing you to showcase your creativity and add a unique touch to your home decor.
- Enjoy the rewarding DIY project of making table lamps from vases, creating functional and beautiful lighting fixtures that reflect your personal style and enhance the ambiance of any room.
Read more: How To Make A Vase Into A Lamp
Materials Needed
Before you embark on the journey of creating your own table lamp from a vase, make sure you have the following materials ready:
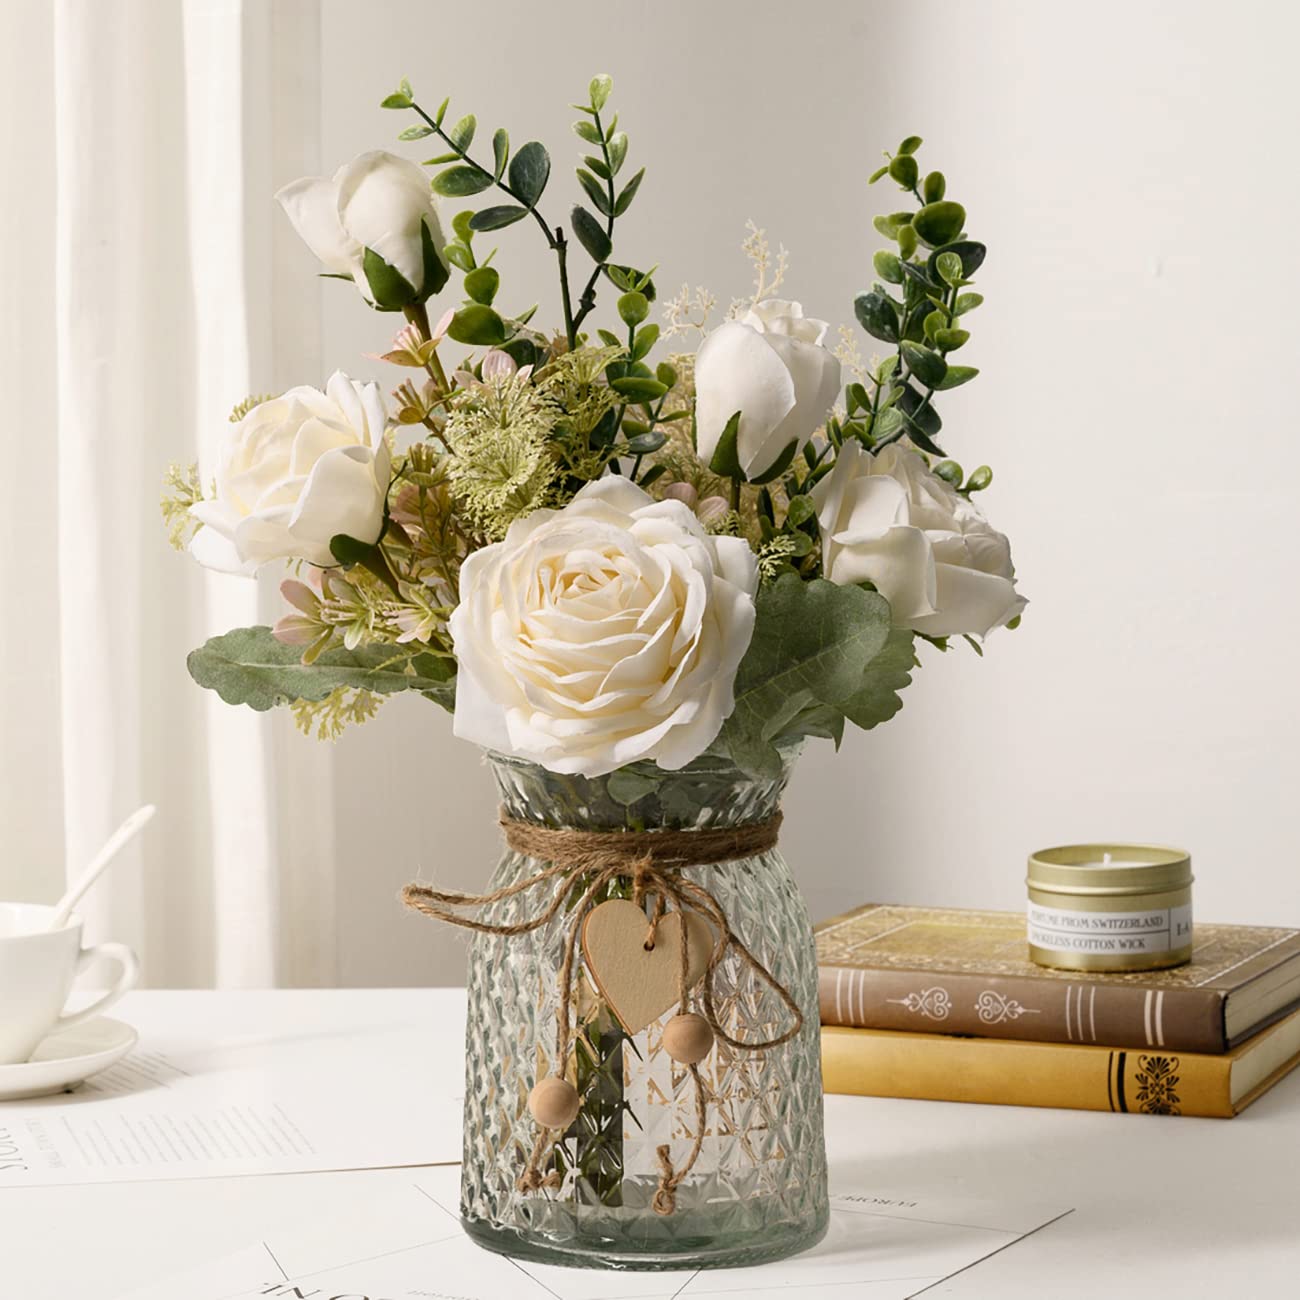
- A vase: Choose a vase that suits your personal style and complements the overall aesthetic of the room. It can be a glass, ceramic, or even a metal vase.
- A lamp kit: Purchase a lamp kit from your local hardware or craft store. The kit should include a socket, cord, plug, and harp.
- A lampshade: Find a lampshade that fits the size and style of your vase. Lampshades come in various shapes, sizes, and materials, so choose one that complements the overall look you’re aiming for.
- A drill with a glass or tile bit: You’ll need a drill to create a hole in the bottom of your vase for the lamp cord.
- A wire cutter and stripper: These tools will be necessary for working with the lamp cord and attaching it to the socket.
- A screwdriver: You’ll need a screwdriver to attach the socket and secure the lampshade.
- Electrical tape: This will be used to secure and insulate the wires.
- A lamp finial: While not necessary for the functionality of the lamp, a decorative finial can add a finishing touch to your creation.
Once you have gathered all the materials, you’re ready to begin the process of transforming your vase into a beautiful table lamp.
Step 1: Choosing the Right Vase
The first step in making a table lamp from a vase is to choose the right vase. When selecting a vase, consider the following factors:
1. Size: Choose a vase that is proportionate to the space where you plan to place the lamp. It shouldn’t be too large or too small for the area.
2. Shape: Vases come in various shapes, such as cylinder, bottle, or urn. Consider the style and aesthetic of the room where the lamp will be placed. Choose a vase shape that complements the overall design.
3. Material: Vases can be made of glass, ceramic, metal, or even plastic. Consider the durability and appearance of the material. Glass vases can provide a transparent and elegant look, while ceramic or metal vases can add a touch of rustic charm.
4. Stability: Make sure the vase is stable and can stand securely without wobbling. This is important to ensure the safety of the lamp.
5. Design: Consider the overall design of the vase. Look for interesting patterns, textures, or colors that can enhance the visual appeal of the lamp.
Remember, the vase will be the main body of the lamp, so choose one that you truly love and reflects your personal style. Once you’ve selected the perfect vase, it’s time to move on to the next step: preparing the vase for the lamp conversion process.
Step 2: Preparing the Vase
Now that you have chosen the perfect vase for your table lamp, it’s time to prepare it for the conversion process. Follow these steps to ensure your vase is ready:
1. Clean the vase: Before starting any modifications, clean the vase thoroughly to remove any dust, dirt, or residue. Use warm soapy water and a soft cloth to gently clean both the inside and outside of the vase. Rinse it well and let it dry completely.
2. Disassemble the vase if necessary: If your vase has any removable parts such as a top or decorative elements, carefully remove them. This will make the drilling and wiring process easier and more convenient.
3. Mark the drilling spot: Flip the vase upside down and decide where you want to drill the hole for the lamp cord. Ideally, choose a spot near the base of the vase for stability. Use a marker or tape to mark the exact spot where you will be drilling.
4. Put on safety gear: Before drilling, it’s important to ensure your safety. Put on safety glasses to protect your eyes from any flying debris, and wear gloves to protect your hands.
5. Drill the hole: Take your drill with a glass or tile bit and position it over the marked spot. Start drilling slowly and gently, applying even pressure. It’s crucial to use the correct drill bit specifically designed for drilling through glass or ceramic. This will prevent the vase from cracking or shattering. Remember to periodically stop and apply a small amount of water to cool down the bit and prevent overheating. Continue drilling until the hole is large enough to fit the lamp cord.
6. Smooth the edges: After drilling the hole, use sandpaper or a file to smooth out any rough edges around the drilled area. This will prevent the lamp cord from getting damaged or frayed.
Once you have successfully prepared the vase, you are now ready to move on to the next step: drilling a hole for the lamp cord.
Step 3: Drilling a Hole for the Lamp Cord
With your vase cleaned and prepared, it’s time to drill a hole for the lamp cord. Follow these steps carefully to ensure a successful drilling process:
1. Secure the vase: Place the vase in a stable position, ensuring that it is well supported. You can use a clamp or have someone hold it for you to prevent any movement during the drilling process.
2. Gather your tools: Make sure you have your drill with the appropriate glass or tile bit, safety glasses, gloves, and a small container of water nearby.
3. Mark the drilling spot: Decide where you want to drill the hole for the lamp cord. Remember to consider the positioning of the hole in relation to the size and shape of the vase. Mark the spot using a marker or tape.
4. Start drilling: Position the drill bit over the marked spot and start drilling slowly. Apply gentle pressure and keep the drill bit perpendicular to the surface of the vase. Use a low speed setting to prevent the glass or ceramic from cracking. Let the drill bit do the work, and avoid forcing it through the material.
5. Use water for cooling: As you drill, periodically dip the tip of the drill bit into the container of water to keep it cool. This will prevent overheating and potential damage to the vase.
6. Take breaks: Drilling through hard materials can be time-consuming and tiring. Take breaks as needed to rest and avoid overheating the drill. This will also give you an opportunity to check your progress and adjust your drilling technique if necessary.
7. Check the hole size: After drilling for a while, stop and check the size of the hole. Ensure that it is large enough to accommodate the lamp cord and socket. If needed, continue drilling until the hole reaches the desired size.
8. Clean up: Once you have drilled the hole, clean up any debris or dust around the drilled area. You can use a damp cloth to wipe down the vase and remove any residual marks or dirt.
Congratulations! You have successfully drilled a hole for the lamp cord. Now, proceed to the next step: inserting the lamp kit into the vase.
When making table lamps from vases, ensure the vase is stable and heavy enough to support the lamp components. Consider using a lamp kit for easy assembly.
Read more: How To Make Vases
Step 4: Inserting the Lamp Kit
Now that you have drilled a hole for the lamp cord, it’s time to insert the lamp kit into the vase. Follow these steps to properly insert the lamp kit:
1. Gather your lamp kit: Make sure you have your lamp cord, socket, plug, harp, and any other components that come with your lamp kit.
2. Separate the lamp cord: Starting at the plug end, separate the two wires of the lamp cord, exposing a few inches of each wire.
3. Thread the lamp cord through the hole: Insert the separated lamp cord through the hole you drilled in the vase. Push it through gently, ensuring that it passes all the way through and comes out from the inside of the vase.
4. Position the socket: Take the socket from your lamp kit and position it on the outside of the vase, with the top part of the socket facing upwards. Push it against the vase firmly to secure it in place.
5. Feed the wires through the socket: Take the exposed ends of the lamp cord wires and feed each wire through the corresponding holes in the socket. Make sure the wires are properly aligned with the designated terminals inside the socket.
6. Secure the socket: Once the wires are inserted into the socket, use a screwdriver to tighten the screws on the socket terminals, securing the wires in place. Double-check that the wires are securely fastened and not loose.
7. Attach the plug: Follow the instructions provided with your lamp kit to correctly attach the plug to the lamp cord. This may involve stripping the insulation from the ends of the wires and connecting them to the appropriate terminals on the plug.
8. Test the lamp: Before proceeding further, plug in the lamp and test it to ensure it is working properly. If the lamp doesn’t turn on, double-check the wiring connections and make corrections if necessary.
Congratulations! You have successfully inserted the lamp kit into the vase, and your table lamp is starting to take shape. Now, let’s move on to the next step: wiring the lamp.
Step 5: Wiring the Lamp
With the lamp kit inserted into the vase, it’s time to wire your lamp. Follow these steps to ensure a safe and functional wiring process:
1. Turn off the power: Before you begin wiring the lamp, make sure to turn off the power at the electrical source to avoid any electrical accidents.
2. Strip the wire ends: Use a wire cutter/stripper to strip approximately half an inch of insulation from the ends of the lamp cord wires. This will expose the conductive copper wires inside.
3. Identify the connections: The lamp socket should have two terminals, one for the hot wire (typically gold or brass-colored) and one for the neutral wire (typically silver-colored). Identify these terminals on the socket.
4. Connect the wires: Connect the hot wire (usually black or red) to the socket’s hot terminal, and the neutral wire (usually white) to the socket’s neutral terminal. Wrap the exposed end of each wire clockwise around its corresponding terminal and tighten the screw to secure the connection. Ensure that there is no exposed wire outside the terminal and that the connection is tight.
5. Insulate the connections: After making the electrical connections, it’s important to insulate them to ensure safety. Use electrical tape to wrap around the terminal screws and the exposed wire ends, covering them completely. This will prevent any accidental contact and protect against electrical shocks.
6. Reassemble the socket: If you had to disassemble the socket during the wiring process, reassemble it according to the manufacturer’s instructions. Make sure all the parts fit securely together.
7. Test the lamp: Once you have completed the wiring, plug in the lamp and test it to ensure that the bulb socket is functioning. Use a low-wattage bulb for testing to avoid any potential heat buildup or electrical issues.
By following these wiring steps carefully, you can ensure that your lamp is properly wired and ready for use. Now, let’s move on to the next step: installing the lampshade.
Step 6: Installing the Lampshade
With the wiring complete, it’s time to move on to installing the lampshade, which will add the finishing touch to your table lamp. Follow these steps to properly install the lampshade:
1. Choose the right size lampshade: Make sure you have selected a lampshade that is proportionate to the size of your vase and suits your desired aesthetic. The lampshade should fit securely on the harp and cover the bulb properly.
2. Attach the harp: The harp is the metal frame that holds the lampshade in place. Insert the harp’s base into the socket’s saddle, ensuring it is firmly seated. Latch the harp’s arms onto the socket, securing it in position.
3. Position the lampshade: Place the lampshade onto the harp, allowing it to rest on the saddle. Ensure that the lampshade is centered and straight, and that it covers the bulb completely.
4. Secure the lampshade: If your lampshade has a mounting bracket or finial, use them to secure the lampshade in place. A mounting bracket can be attached to the top of the harp, while a finial can be screwed onto the top of the harp, holding the lampshade securely.
5. Adjust the positioning: Once the lampshade is secured, adjust its positioning if necessary. Ensure that it is level and sits at a comfortable height to provide optimal lighting and visual appeal.
6. Test the lamp: Once the lampshade is installed, plug in the lamp and turn it on to ensure that the light shines through the lampshade effectively. Make sure the lampshade does not obstruct the light or create any safety hazards.
By following these steps, you can successfully install the lampshade and complete the transformation of your vase into a functional and stylish table lamp. Now, onto the final step: testing and final touches.
Step 7: Testing and Final Touches
After all the hard work and creative effort, it’s time to test your newly created table lamp and add some final touches to ensure it looks its best. Follow these steps to complete the process:
1. Plug in the lamp: Once everything is securely in place, plug in the lamp and turn on the power. Test the lamp to ensure that it illuminates properly and functions as expected. Check for any flickering, buzzing, or other signs of electrical issues.
2. Adjust the cord length: If the lamp cord is too long and creates excess slack, you can adjust its length to make it neater and more visually appealing. Carefully fold any excess cord, securing it with twist ties or cord clips. Avoid twisting or knotting the cord to prevent any damage.
3. Add a decorative touch: Consider adding a decorative finial to the top of the lampshade. A finial can add style and personality to your table lamp, acting as a beautiful finishing touch. Choose a finial that complements the overall design of the lamp and enhances its visual appeal.
4. Clean the lamp: Give your table lamp a final cleaning to remove any fingerprints, dust, or smudges. Use a soft cloth or a duster to gently wipe down the lamp base and lampshade, ensuring it looks clean and presentable.
5. Arrange the lamp in its designated location: Find the perfect spot for your newly created table lamp. Place it on a side table, nightstand, or any other surface where it can shine and enhance the ambiance of the room. Arrange any other decor or lighting elements around the lamp to create a cohesive and inviting space.
6. Enjoy your masterpiece: Sit back, relax, and bask in the warm glow of your handmade table lamp. Admire the beauty and uniqueness of your creation, knowing that you have successfully transformed a simple vase into a functional and personalized lighting fixture.
Congratulations! You have completed the process of making a table lamp from a vase. Now, sit back and enjoy the warm ambiance and personal touch that your one-of-a-kind lamp brings to your home.
Read more: How To Make A Handbag From A Placemat
Conclusion
Making table lamps from vases is a creative and rewarding DIY project that allows you to showcase your personal style and add a unique touch to your home decor. By following the step-by-step process outlined in this article, you can transform a simple vase into a functional and beautiful lighting fixture.
Starting from choosing the right vase, drilling a hole for the lamp cord, and inserting the lamp kit, to wiring the lamp, installing the lampshade, and adding final touches, each step contributes to the overall transformation process. Throughout the journey, it is important to prioritize safety and follow instructions carefully to ensure a successful outcome.
By making your own table lamp, you have the opportunity to customize it to suit your individual aesthetic preferences and create a piece that truly reflects your personal style. Whether you opt for a sleek and modern design or a vintage-inspired look, the possibilities are endless.
Not only do homemade table lamps add a personalized touch to your home, but they also serve as conversation pieces and focal points in any room. With their unique combination of functionality and aesthetic appeal, they can enhance the ambiance and create a warm and inviting atmosphere.
So, unleash your creativity and explore the world of DIY table lamps. With a little bit of time, effort, and craftsmanship, you can turn an ordinary vase into a stunning and functional lighting masterpiece.
Remember, as you embark on your lamp-making journey, be sure to adapt and experiment with different materials, designs, and styles to truly make it your own. Enjoy the process and let your imagination sparkle!
Frequently Asked Questions about How To Make Table Lamps From Vases
Was this page helpful?
At Storables.com, we guarantee accurate and reliable information. Our content, validated by Expert Board Contributors, is crafted following stringent Editorial Policies. We're committed to providing you with well-researched, expert-backed insights for all your informational needs.


0 thoughts on “How To Make Table Lamps From Vases”