Home>Furniture & Design>Interior Design Trends>How To Clean Glass Jars
Interior Design Trends
How To Clean Glass Jars
Published: February 8, 2024
Discover the latest interior design trends for cleaning glass jars and keeping them looking fresh and stylish. Learn effective techniques for maintaining the aesthetic appeal of your glass jars.
(Many of the links in this article redirect to a specific reviewed product. Your purchase of these products through affiliate links helps to generate commission for Storables.com, at no extra cost. Learn more)
Introduction
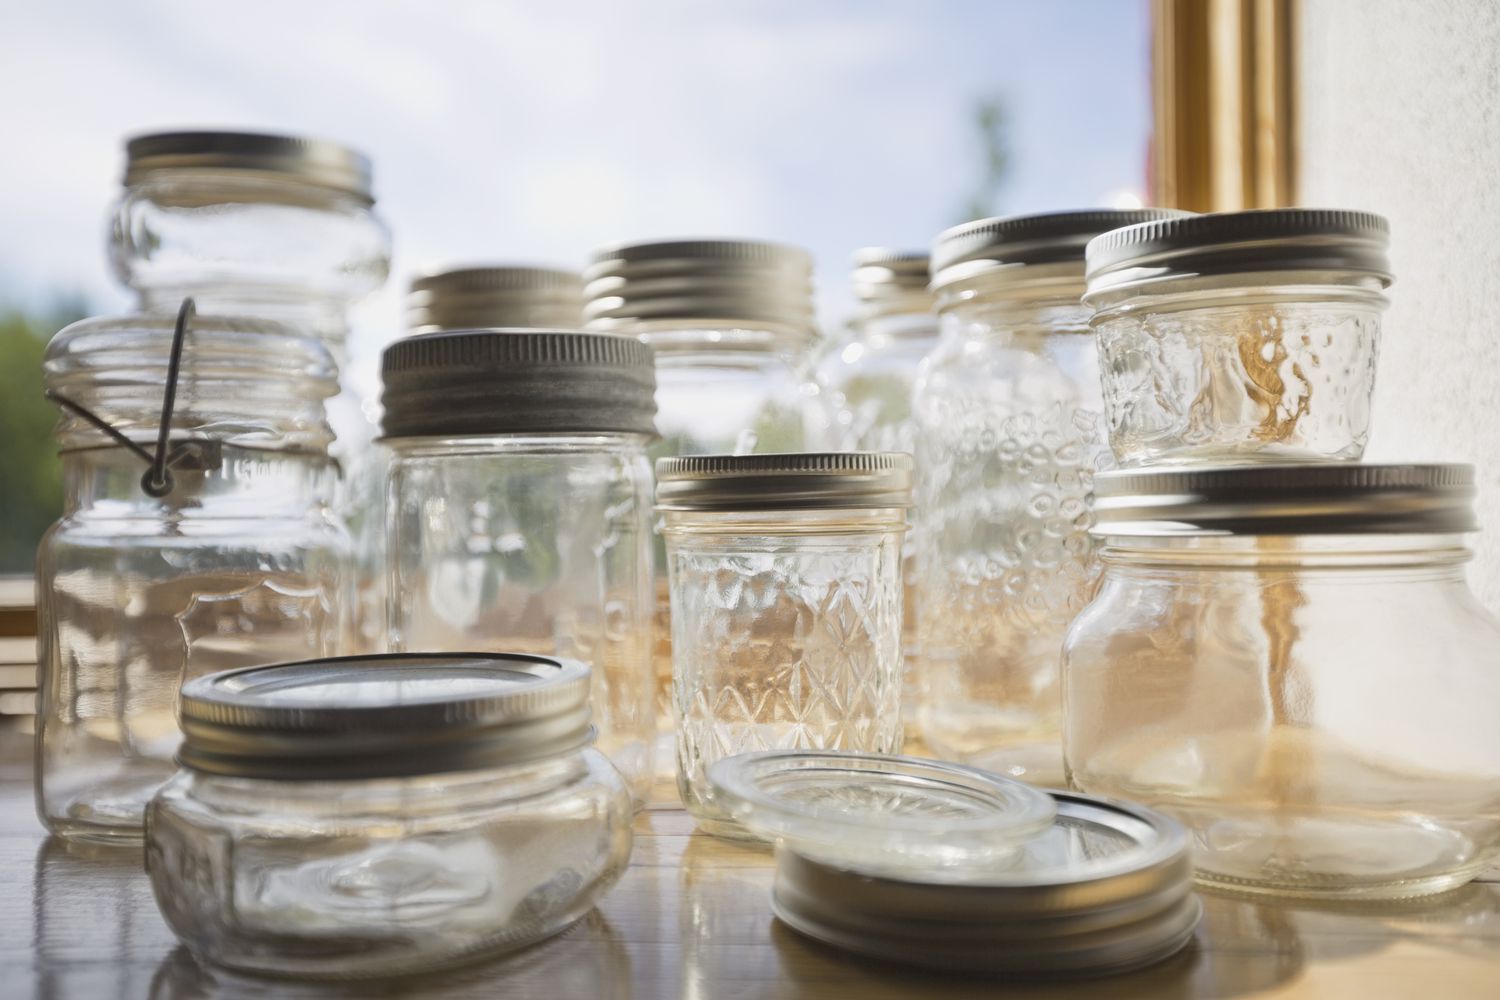
Cleaning glass jars may seem like a mundane task, but it's an essential part of reusing and repurposing these versatile containers. Whether you want to upcycle glass jars for storing homemade preserves, creating charming DIY crafts, or simply giving them a new lease on life, a thorough cleaning is the first step. Over time, glass jars can accumulate stubborn residue from labels, sticky substances, and food remnants, making them appear unsightly and unhygienic. However, with the right techniques and a bit of effort, you can restore these glass vessels to their pristine state.
In this comprehensive guide, we will walk you through the step-by-step process of cleaning glass jars effectively. From removing stubborn labels to eliminating lingering odors, we'll cover everything you need to know to revitalize your glass jars. By following these simple yet effective methods, you can ensure that your glass jars are not only clean but also safe for reuse. So, roll up your sleeves and get ready to transform your glass jars into sparkling, like-new containers that are ready for a variety of uses.
Key Takeaways:
- Revive glass jars by soaking in warm, soapy water, scrubbing with baking soda, and drying thoroughly. Transform them into sparkling, like-new containers ready for reuse in just a few simple steps!
- Embrace the art of upcycling and mindful consumption by removing labels, soaking, scrubbing, and drying glass jars. Elevate ordinary containers into elegant, functional elements for your daily life!
Read more: How To Store Glass Jars
Materials Needed
To embark on the journey of reviving your glass jars, you'll need a few essential materials to ensure a thorough and effective cleaning process. Here's a list of items that will come in handy:
-
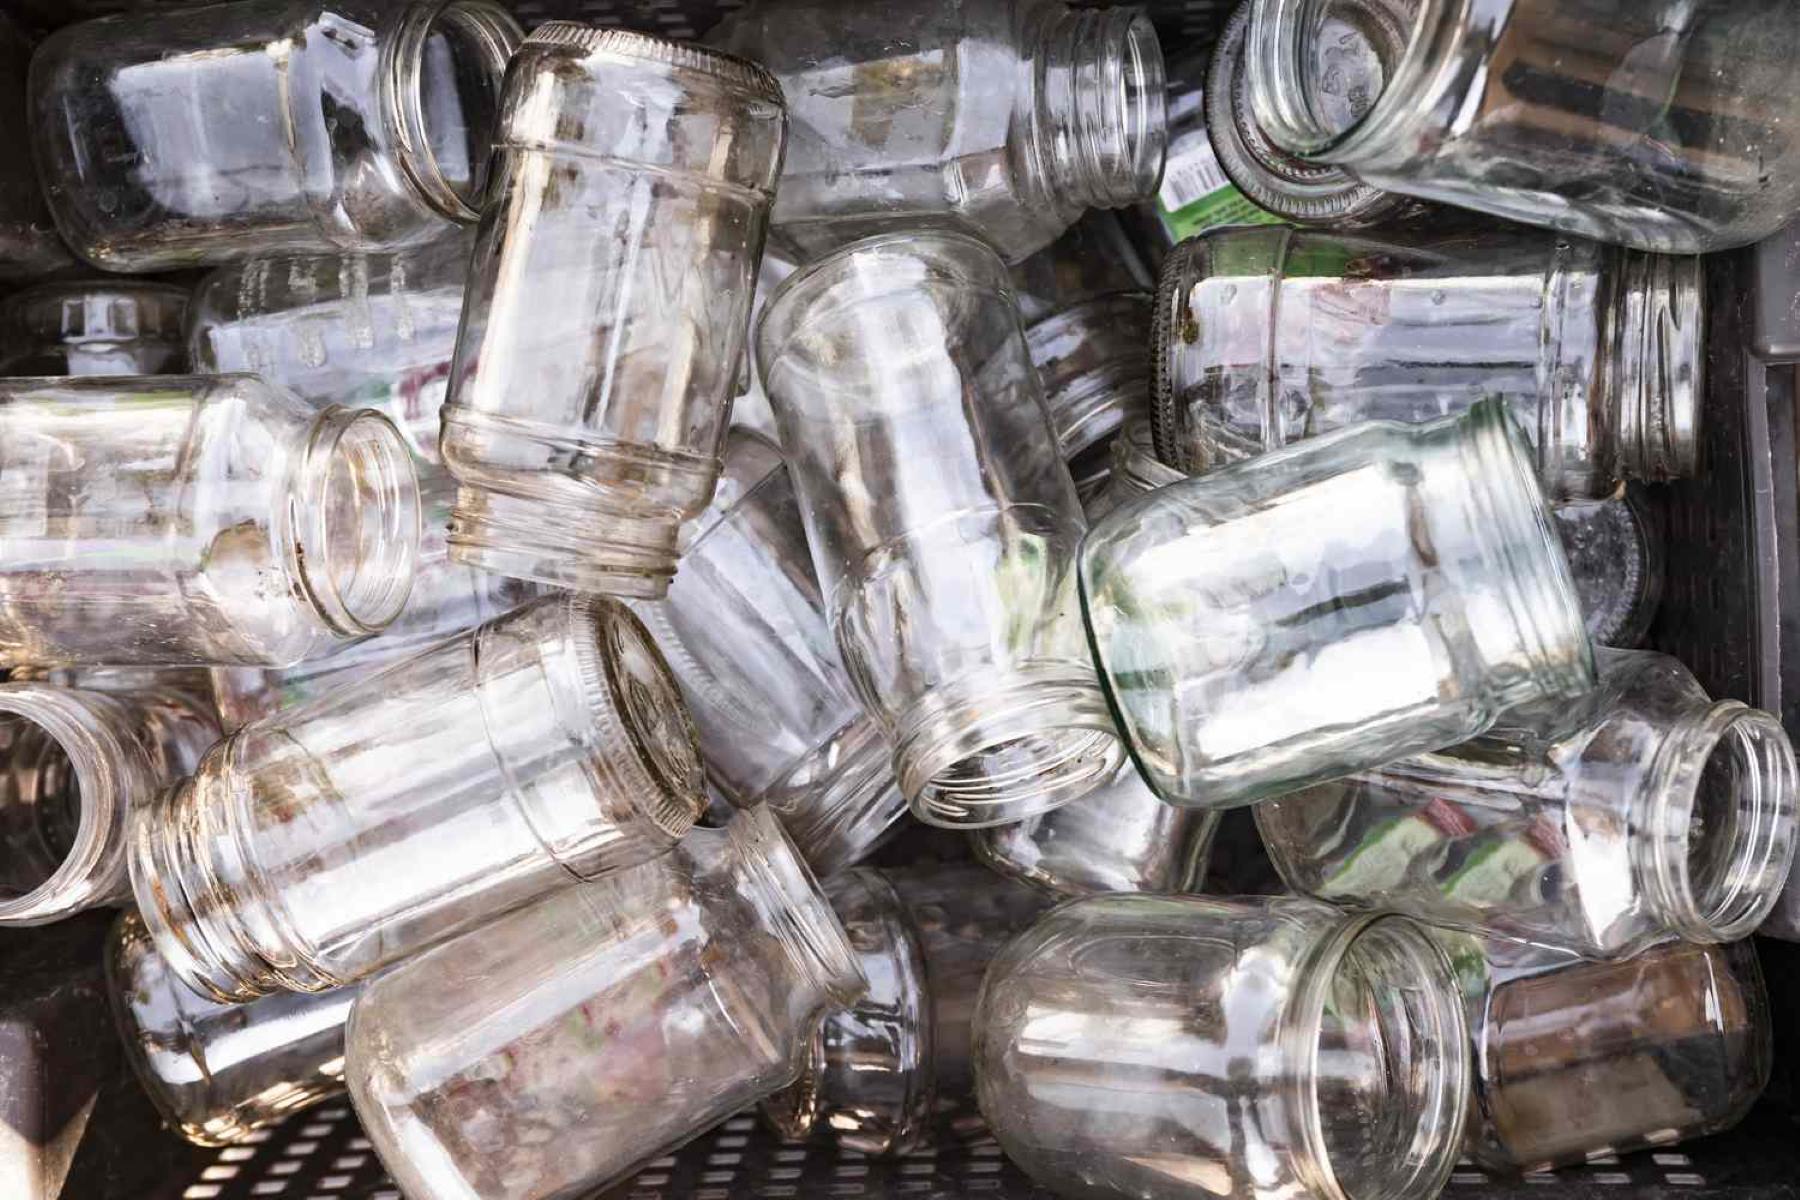
Glass Jars: Gather the glass jars that require cleaning. Whether they previously held jams, sauces, or pickles, make sure they are empty and free of any food remnants.
-
Warm Water: Prepare a basin or sink filled with warm water. The temperature of the water plays a crucial role in loosening labels and sticky residues, making them easier to remove.
-
Dish Soap: Choose a mild dish soap that is gentle on the skin but tough on grime. This will be used to create a soapy solution for soaking and scrubbing the glass jars.
-
Vinegar: White vinegar is a versatile cleaning agent that can effectively dissolve adhesive residues and eliminate odors. It's a natural and eco-friendly alternative to harsh chemical cleaners.
-
Baking Soda: This kitchen staple is renowned for its abrasive yet non-abrasive nature, making it ideal for scrubbing away tough stains and odors from glass surfaces.
-
Sponge or Soft Cloth: Select a non-abrasive sponge or soft cloth to avoid scratching the glass while cleaning. These tools will be used for gentle scrubbing and wiping.
-
Rubbing Alcohol: This multipurpose solvent is excellent for removing stubborn residues and sanitizing the glass jars, ensuring they are safe for reuse.
-
Label Remover (Optional): If you have a commercial label remover or adhesive solvent, it can expedite the process of removing stubborn labels and sticky residues from the glass jars.
By gathering these materials, you'll be well-equipped to tackle the task of cleaning and rejuvenating your glass jars. With the right tools at your disposal, you can proceed with confidence, knowing that you have everything you need to achieve sparkling results.
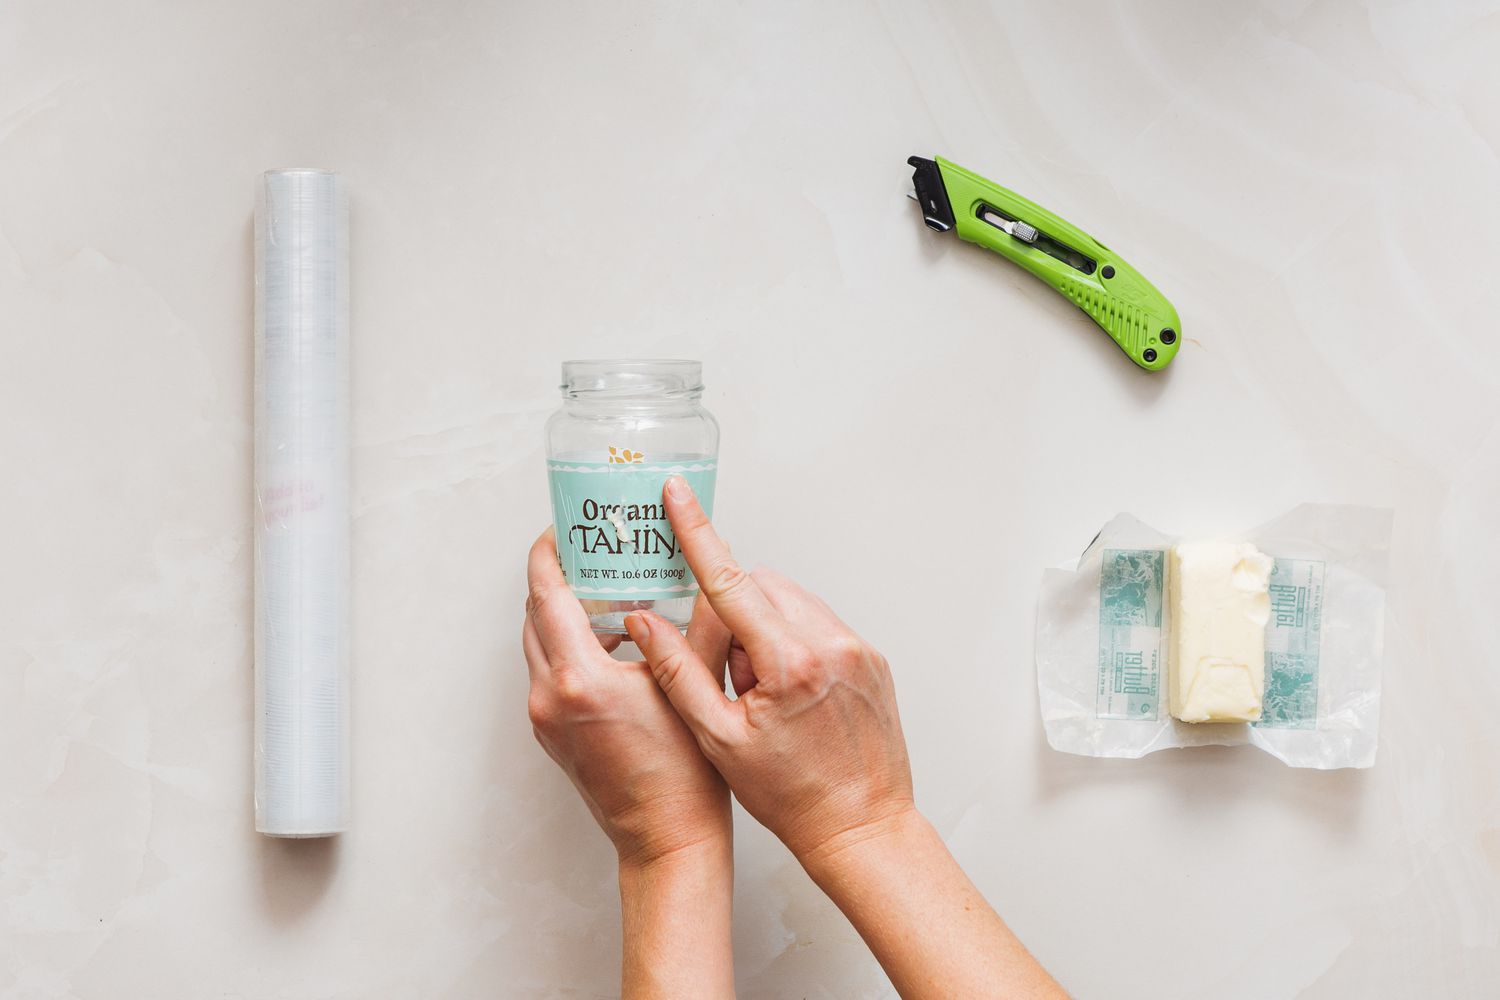
Step 1: Removing Labels
The first step in the glass jar cleaning process is tackling the often stubborn and unsightly labels that cling to the surface. These labels can be remnants of food packaging, price stickers, or adhesive tags, and removing them effectively is crucial for achieving a pristine appearance. Here's a detailed guide on how to remove labels from glass jars with ease:
-
Soak in Warm, Soapy Water: Begin by filling a basin or sink with warm water and adding a generous amount of mild dish soap. Submerge the glass jars in this soapy solution, ensuring that the labels are fully immersed. The warm water and soap work together to loosen the adhesive, making it easier to peel off the labels.
-
Allow for Soaking Time: Patience is key during this step. Let the glass jars soak for at least 30 minutes, allowing the warm, soapy water to penetrate the labels and soften the adhesive. For particularly stubborn labels, an extended soaking period may be necessary.
-
Peel Off the Labels: After the soaking period, carefully remove the glass jars from the soapy water. Gently attempt to peel off the labels by starting at one corner and slowly lifting them away from the glass surface. If the labels resist, avoid using excessive force, as this can damage the glass. Instead, return the jars to the soapy water for further soaking.
-
Utilize a Label Remover (Optional): For persistent labels that refuse to budge, consider using a commercial label remover or adhesive solvent. Apply the label remover according to the product's instructions, allowing it to penetrate the adhesive and facilitate easier label removal.
-
Scrub Away Residue: Once the labels are removed, there may be residual adhesive left on the glass jars. To tackle this, create a paste using baking soda and a small amount of water. Gently rub this paste onto the adhesive residue using a soft cloth or sponge, employing circular motions to lift off the sticky remnants.
-
Rinse and Dry Thoroughly: After successfully removing the labels and any remaining adhesive, rinse the glass jars with clean water to wash away the soapy residue and baking soda paste. Ensure that the jars are dried completely before proceeding to the next cleaning steps.
By following these steps, you can effectively remove labels from glass jars, preparing them for the subsequent cleaning processes. With patience and the right techniques, you can transform your glass jars from cluttered with labels to sleek and label-free, setting the stage for a thorough cleaning and revitalization.
Step 2: Soaking
After successfully removing the labels and adhesive residues from the glass jars, the next crucial step in the cleaning process involves soaking the jars to eliminate any lingering odors, stubborn stains, and residual food particles. This soaking stage is essential for ensuring that the glass jars are thoroughly sanitized and free from any remnants that may compromise their future use. Here's a detailed exploration of the soaking process and its significance in the glass jar cleaning journey.
Importance of Soaking
Soaking the glass jars serves multiple purposes, making it a pivotal step in the overall cleaning process. Firstly, it helps to loosen and dislodge any remaining food particles or dried-on substances that may have accumulated in the jars over time. This is particularly important for jars that previously contained items such as sauces, condiments, or preserves, as these can leave behind stubborn residues that are challenging to remove through regular washing alone. Additionally, soaking the jars in warm, soapy water acts as a natural deodorizer, effectively neutralizing any lingering odors and ensuring that the jars are fresh and ready for reuse.
Read more: How To Repurpose Glass Jars
Method for Soaking
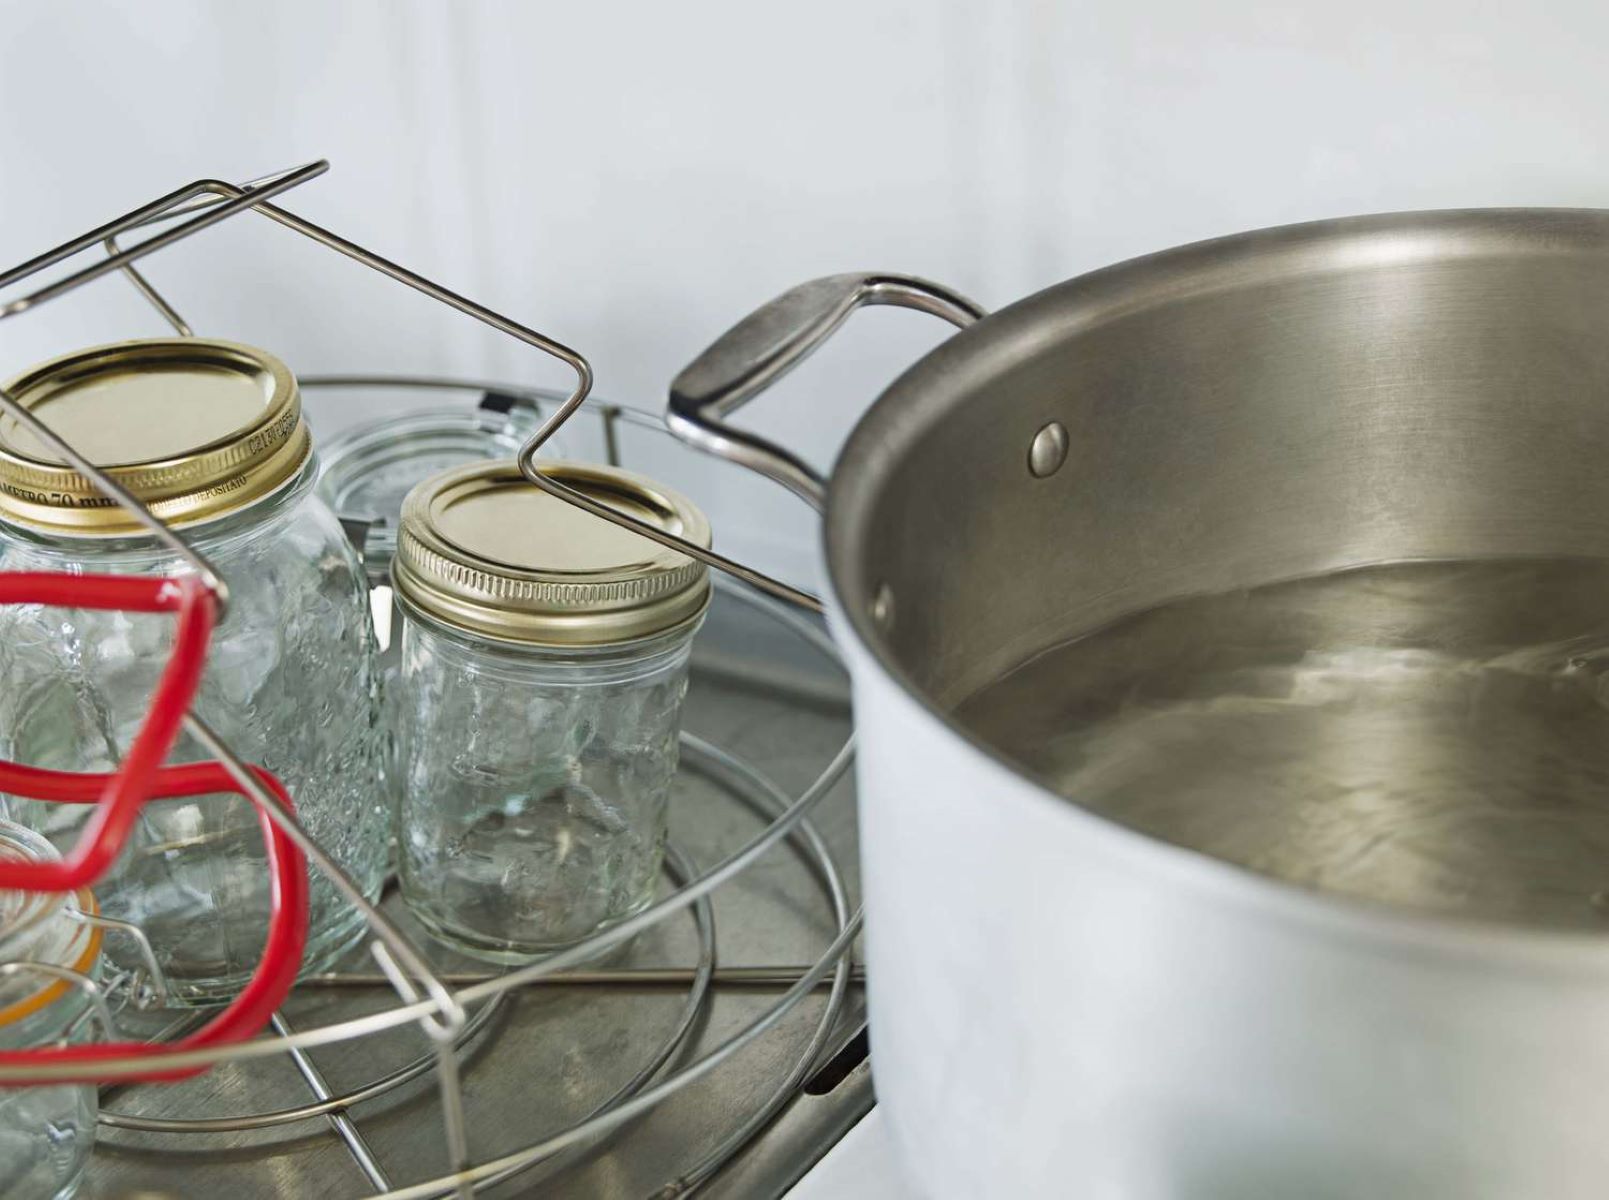
To commence the soaking process, prepare a basin or sink filled with warm water. The water should be comfortably warm to the touch, as this temperature is optimal for loosening residues and facilitating thorough cleaning. Add a small amount of mild dish soap to the water, creating a gentle yet effective cleaning solution. Submerge the glass jars in this soapy water, ensuring that they are fully immersed and allowing the water to penetrate the interiors of the jars.
Duration of Soaking
The duration of the soaking period can vary depending on the condition of the glass jars and the nature of the residues they harbor. As a general guideline, allow the jars to soak for at least 1 to 2 hours, ensuring that the warm, soapy water has ample time to work its magic. For jars with particularly stubborn residues or persistent odors, an extended soaking period of up to 4 hours can be beneficial. This extended duration allows the water and soap to effectively break down and dislodge any remaining substances, ensuring a thorough cleaning outcome.
Additional Considerations
During the soaking process, periodically agitate the jars by gently swirling the water around them. This agitation helps to dislodge any trapped particles and ensures that the cleaning solution reaches all areas inside the jars. Additionally, if the glass jars have narrow openings or intricate designs that may trap residues, use a soft-bristled bottle brush to gently scrub the interiors while they are submerged. This extra step can further enhance the effectiveness of the soaking process, ensuring that the jars are impeccably clean inside and out.
By meticulously following the soaking process, you can effectively prepare the glass jars for the subsequent cleaning stages, ensuring that they are free from odors, stains, and residues. This meticulous approach sets the stage for transforming the glass jars into pristine, like-new containers that are ready for a myriad of uses.
Step 3: Scrubbing
Once the glass jars have undergone the soaking process to eliminate lingering odors and dislodge stubborn residues, the next pivotal step is scrubbing. This step is essential for thoroughly cleansing the exterior and interior surfaces of the jars, ensuring that they are free from any remaining stains, greasy films, or dried-on particles. By employing the right techniques and tools, you can achieve sparkling, pristine glass jars that are ready for a variety of uses.
Read more: How To Decorate Glass Jars
Method for Scrubbing
To commence the scrubbing process, prepare a gentle yet effective cleaning solution using warm water and a small amount of mild dish soap. This solution will serve as the primary agent for scrubbing the glass jars, offering a balance of cleansing power and gentleness to protect the glass surfaces. Dip a non-abrasive sponge or soft cloth into the soapy solution, ensuring that it is adequately saturated without excess dripping.
Gently scrub the exterior and interior surfaces of the glass jars, employing circular motions to dislodge any remaining residues and stains. Pay particular attention to areas that may have accumulated dried-on substances or greasy films, ensuring thorough coverage of the entire glass surface. For stubborn stains or residues, sprinkle a small amount of baking soda onto the sponge or cloth, using its mild abrasive properties to aid in the scrubbing process without causing damage to the glass.
Addressing Narrow Openings and Designs
If the glass jars feature narrow openings or intricate designs that may trap residues, utilize a soft-bristled bottle brush to access these hard-to-reach areas. The gentle yet effective bristles of the brush can navigate the contours of the jars, ensuring that no crevice is overlooked during the scrubbing process. This meticulous approach guarantees that the entire surface of the glass jars receives the attention it needs to be thoroughly cleansed.
Rinsing and Inspection
After completing the scrubbing process, rinse the glass jars thoroughly with clean water to wash away the soapy residue and any loosened particles. Inspect the jars carefully to ensure that they are free from stains, residues, and odors. If any stubborn spots persist, repeat the scrubbing process as needed until the glass jars are impeccably clean and devoid of any blemishes.
By meticulously executing the scrubbing process, you can elevate the cleanliness of the glass jars, ensuring that they are pristine and ready for a myriad of uses. This meticulous approach sets the stage for transforming the glass jars into sparkling, like-new containers that are a testament to your dedication to cleanliness and quality.
Step 4: Rinsing and Drying
After the thorough scrubbing process, the final step in the glass jar cleaning journey involves rinsing and drying the jars to ensure that they are impeccably clean and ready for reuse. This pivotal stage not only removes any residual cleaning agents but also guarantees that the glass jars are free from moisture, preventing the development of unsightly water spots and ensuring their pristine appearance.
Read more: How To Sterilize Glass Jars
Rinsing Process
Commence the rinsing process by thoroughly rinsing the glass jars with clean, running water. This step is crucial for washing away any remaining traces of the soapy cleaning solution, ensuring that the jars are free from any potential residue. Pay careful attention to the interior and exterior surfaces, ensuring that all areas are rinsed comprehensively to guarantee a pristine outcome.
Periodically inspect the glass jars during the rinsing process to ensure that no soapy residue or particles remain. If necessary, gently rub the surfaces with your fingers to dislodge any lingering residue, allowing the water to carry it away. This meticulous approach ensures that the jars are thoroughly rinsed, setting the stage for the subsequent drying process.
Drying Method
Once the glass jars have been thoroughly rinsed, it's time to proceed with the drying process. Begin by using a clean, lint-free cloth to carefully dry the exterior and interior surfaces of the jars. Ensure that the cloth is absorbent and free from any lint or debris that may transfer onto the glass surfaces.
To address the interior of the jars, consider using a specialized bottle drying rack or a clean, dry kitchen towel. Invert the jars and place them on the rack or towel, allowing any residual water to drain out and the interiors to air dry thoroughly. This step is essential for preventing the accumulation of moisture, which can lead to the development of water spots and compromise the cleanliness of the glass jars.
Final Inspection
After completing the drying process, conduct a final inspection of the glass jars to ensure that they are impeccably clean and free from any moisture. Check for any remaining water spots or streaks, addressing them promptly with a dry cloth if necessary. Additionally, inspect the interiors of the jars to confirm that they are completely dry and ready for use.
By meticulously executing the rinsing and drying process, you can ensure that the glass jars are pristine, dry, and free from any residual cleaning agents. This meticulous approach sets the stage for transforming the glass jars into sparkling, like-new containers that are ready to be filled with culinary creations, homemade crafts, or any other purpose you envision.
Conclusion
In conclusion, the process of cleaning glass jars is not merely a chore but a transformative journey that breathes new life into these versatile containers. By following the step-by-step guide outlined in this comprehensive resource, you have embarked on a mission to revitalize your glass jars, ensuring that they are not only clean but also primed for a myriad of uses.
From the initial task of removing stubborn labels to the meticulous soaking, scrubbing, and drying processes, each step has been carefully designed to elevate the cleanliness and usability of the glass jars. By employing simple yet effective techniques and utilizing readily available materials, you have demonstrated a commitment to sustainability, resourcefulness, and the art of upcycling.
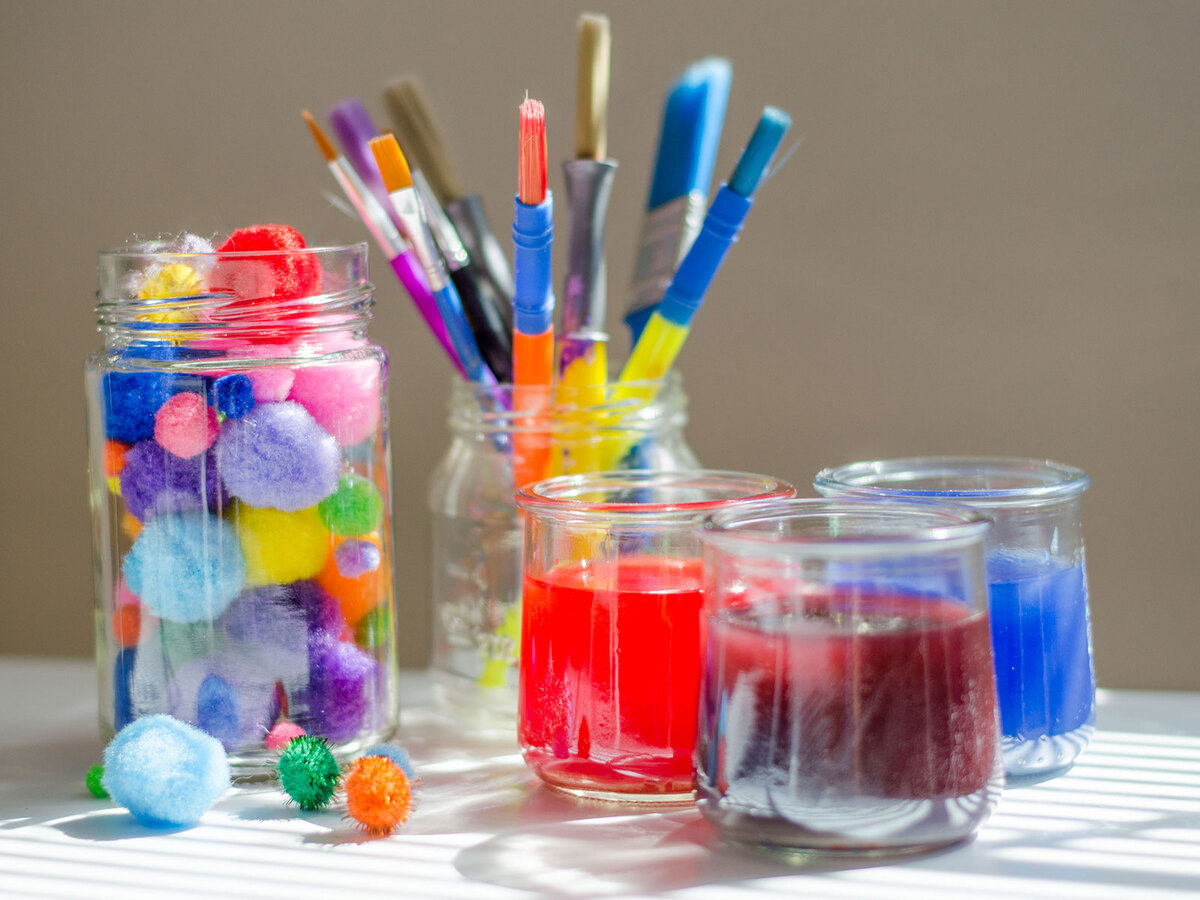
As you stand at the culmination of this cleaning journey, you are now the proud custodian of sparkling, like-new glass jars that are free from odors, stains, and residues. These rejuvenated containers are ready to embark on a new chapter, whether it involves storing homemade preserves, organizing crafting supplies, or serving as charming vessels for DIY projects.
Beyond the practical aspect, the act of cleaning and revitalizing glass jars carries a deeper significance. It embodies the spirit of mindful consumption, encouraging the reuse and repurposing of everyday items. It reflects a dedication to cleanliness and hygiene, ensuring that the containers we use are safe and sanitary. Moreover, it celebrates the art of transformation, as ordinary glass jars are elevated to become elegant, functional elements of our daily lives.
As you integrate these pristine glass jars into your home, kitchen, or creative endeavors, remember the journey that has led to their rejuvenation. Embrace the satisfaction of knowing that you have not only cleaned glass jars but also breathed new life into them, infusing them with potential and purpose.
So, as you gaze upon your gleaming glass jars, adorned with their newfound cleanliness and radiance, take pride in the transformative power of a thorough cleaning process. Let these revitalized containers serve as a testament to your dedication to cleanliness, sustainability, and the art of repurposing. With each future use, may they remind you of the journey that has transformed them from mundane vessels to shining beacons of resourcefulness and creativity.
Frequently Asked Questions about How To Clean Glass Jars
Was this page helpful?
At Storables.com, we guarantee accurate and reliable information. Our content, validated by Expert Board Contributors, is crafted following stringent Editorial Policies. We're committed to providing you with well-researched, expert-backed insights for all your informational needs.
0 thoughts on “How To Clean Glass Jars”