Home>Articles>How To Make Non Dairy Yogurt In Your Electric Pressure Cooker
Articles
How To Make Non Dairy Yogurt In Your Electric Pressure Cooker
Modified: December 6, 2023
Learn how to make delicious non-dairy yogurt at home using your electric pressure cooker with this step-by-step guide. Get expert advice and tips on making the perfect dairy-free yogurt.
(Many of the links in this article redirect to a specific reviewed product. Your purchase of these products through affiliate links helps to generate commission for Storables.com, at no extra cost. Learn more)
Introduction
Welcome to the world of non-dairy yogurt made right in the comfort of your own home using your electric pressure cooker! Whether you have dietary restrictions, are looking to try something new, or simply love the idea of making your own homemade yogurt, this article will guide you through the process step by step.
Non-dairy yogurts have gained popularity in recent years due to their ability to accommodate various dietary needs and preferences. They are perfect for individuals who are lactose intolerant, vegan, or looking to reduce their dairy intake. Making non-dairy yogurt at home allows you to control the ingredients, flavors, and consistency, giving you the ultimate flexibility in creating a yogurt that suits your taste.
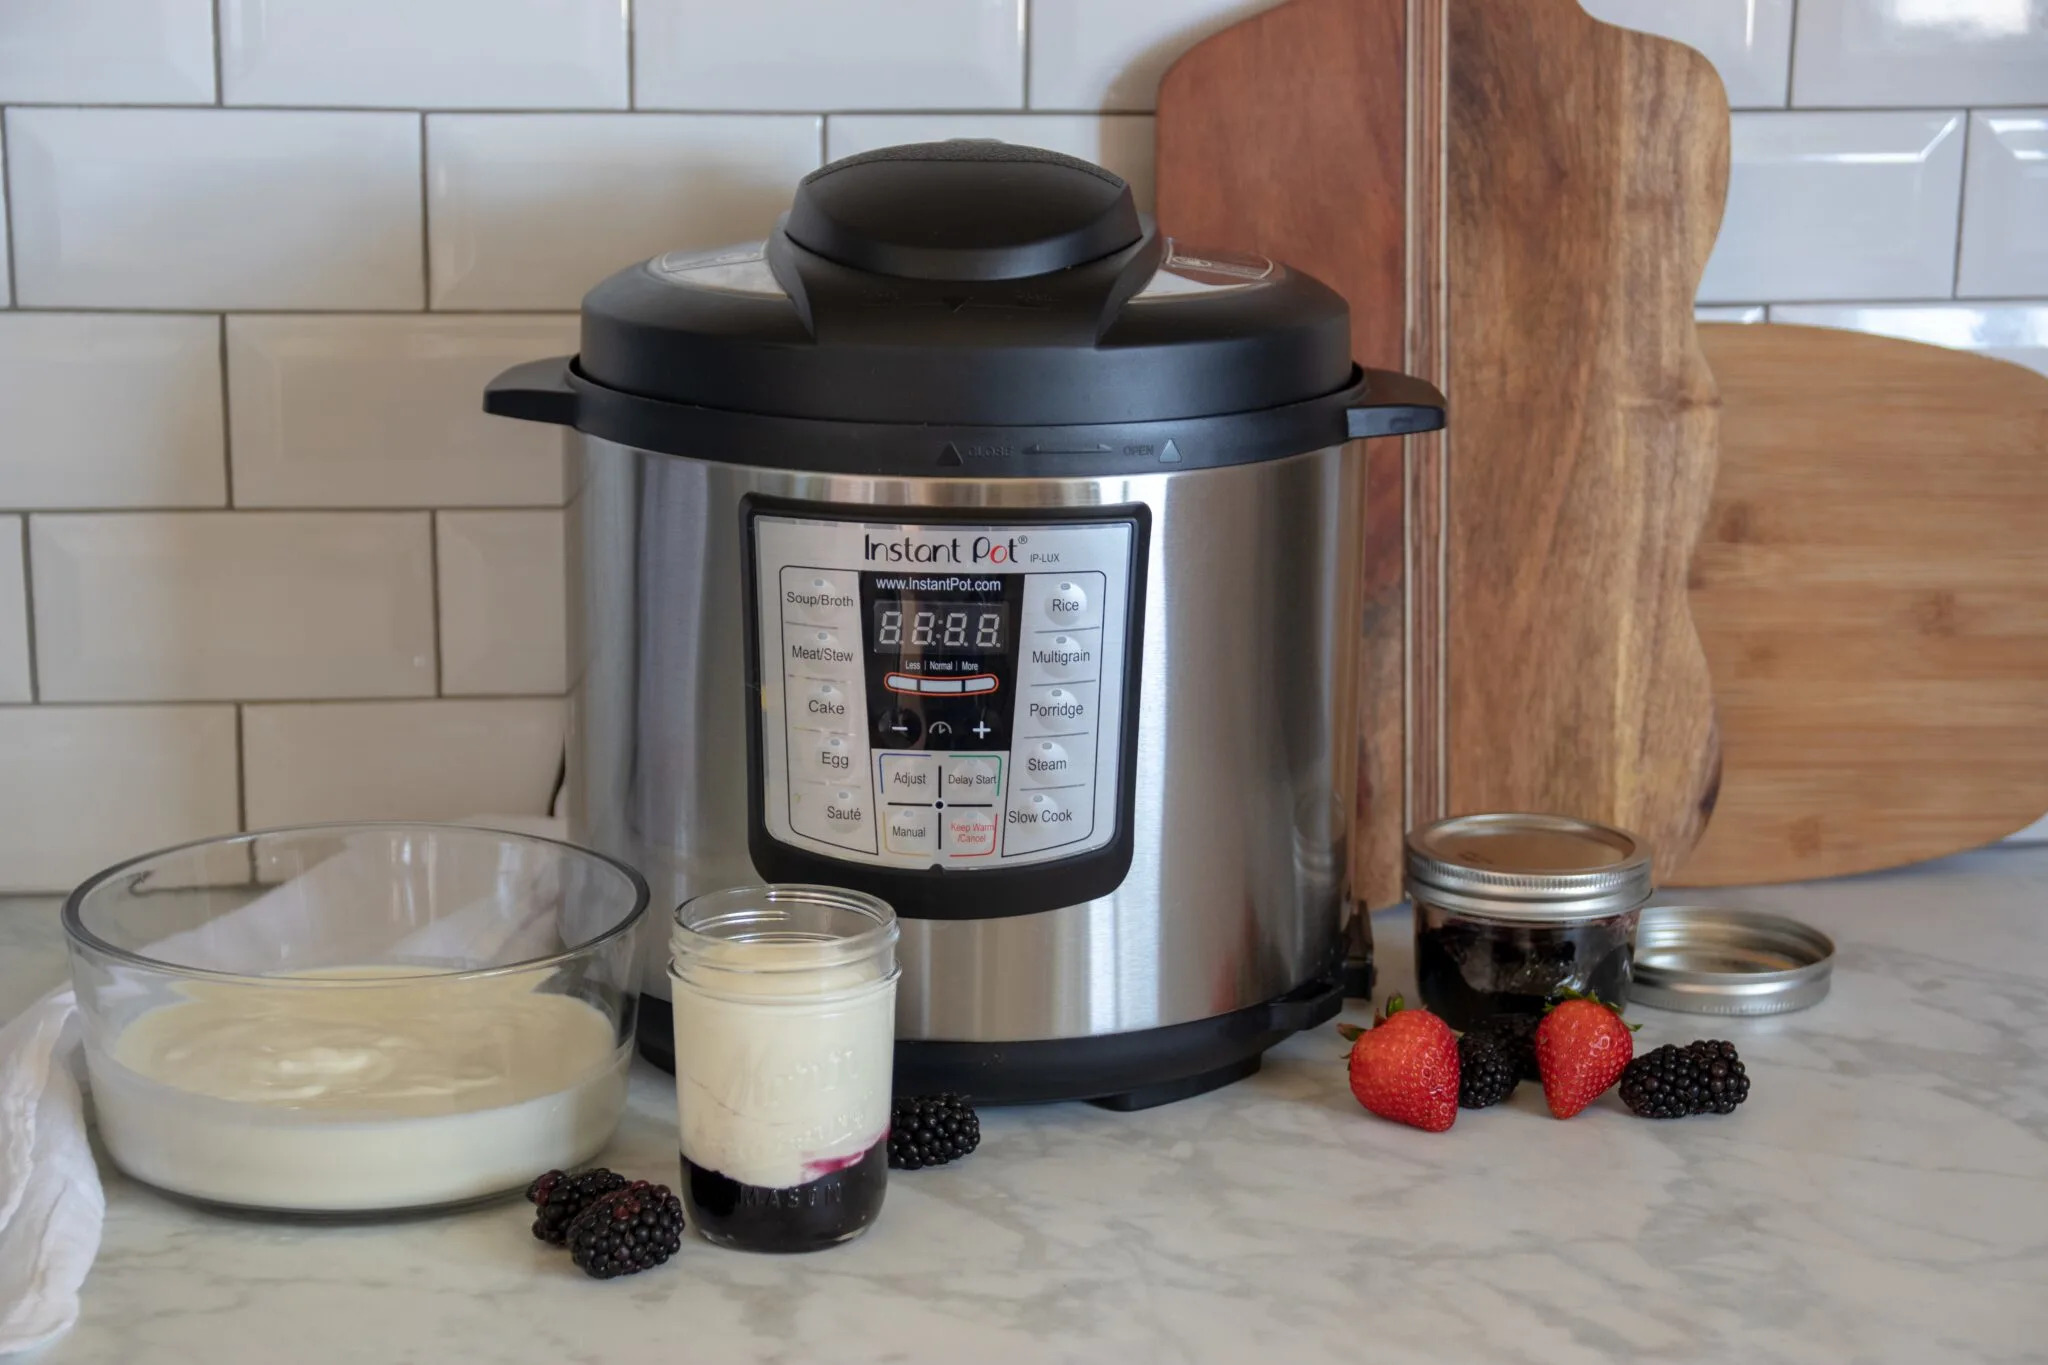
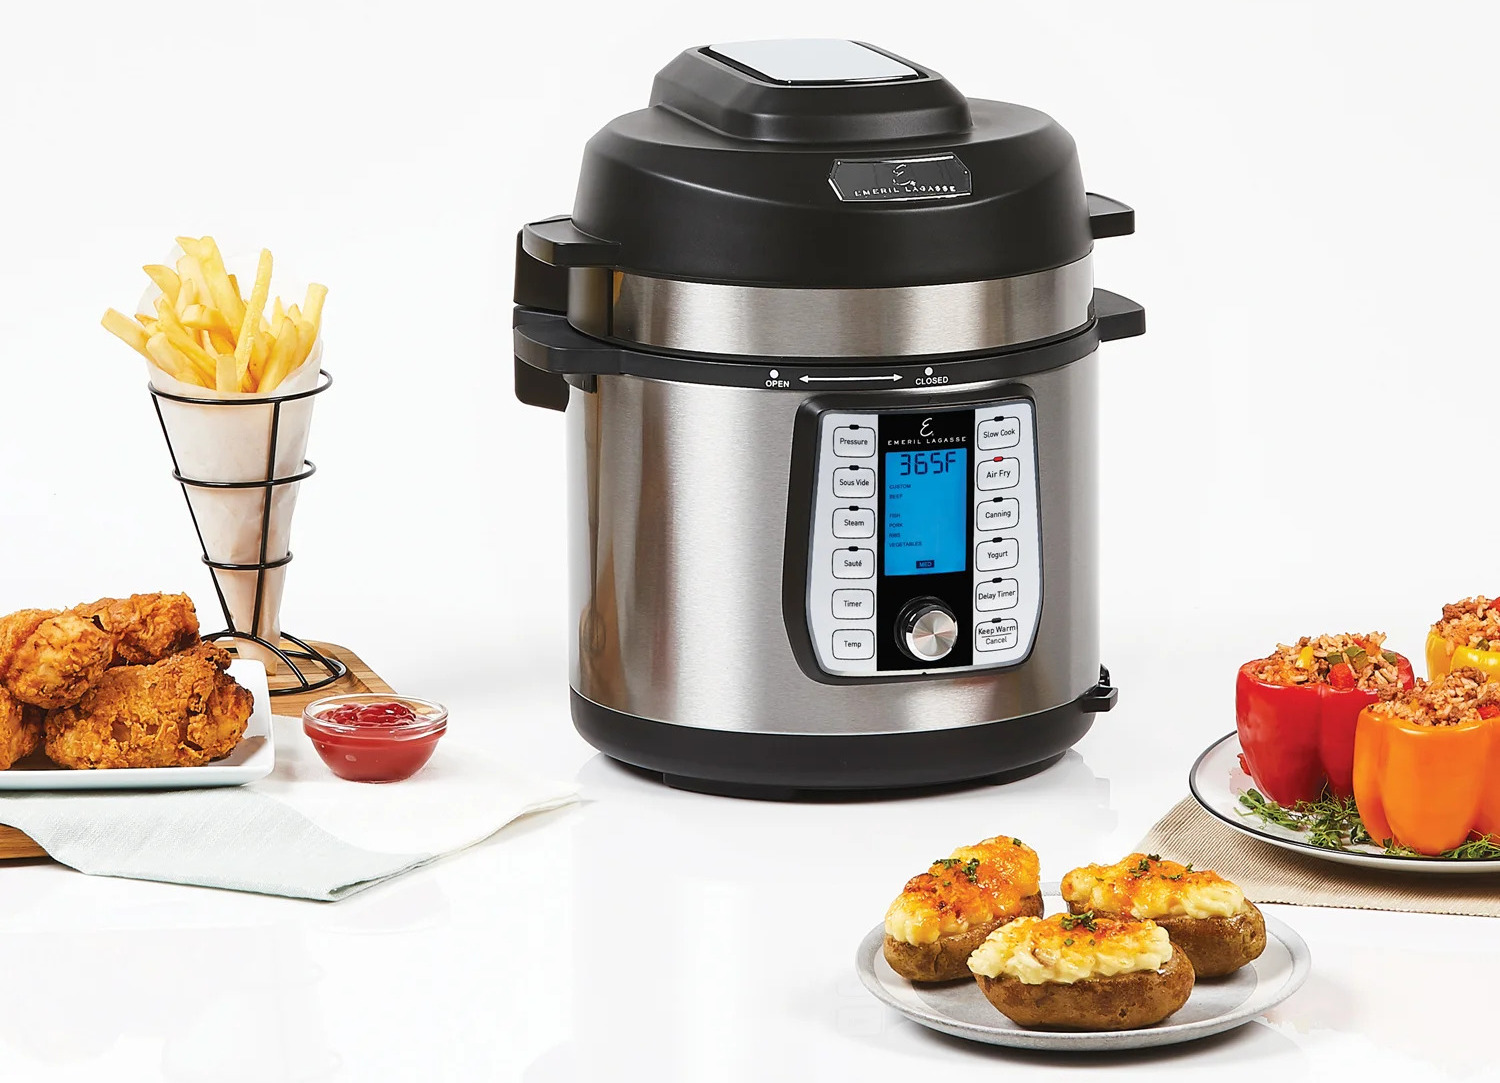
To embark on this yogurt-making adventure, you’ll need a few essential pieces of equipment. First and foremost, an electric pressure cooker, such as an Instant Pot, will be the star of the show. This versatile kitchen appliance will make the yogurt-making process incredibly convenient and efficient. Additionally, you’ll need a high-powered blender or food processor, a kitchen thermometer, and some glass or ceramic jars for storing the yogurt.
Next, let’s dive into the ingredients. The base for non-dairy yogurt typically consists of a milk alternative, such as almond milk, coconut milk, or soy milk. You’ll also need a yogurt starter culture, which can be purchased online or at health food stores. This culture contains live bacteria that will ferment the milk and create the creamy, tangy flavor that we associate with yogurt. Lastly, you can add sweeteners, flavorings, or fruit to customize your yogurt and make it uniquely yours.
Now that we have all the necessary equipment and ingredients, it’s time to start making our non-dairy yogurt. The process consists of several steps, starting with preparing the yogurt base. We’ll then move on to pressure cooking the yogurt, cooling and setting it, and finally, straining and flavoring if desired. Let’s break down each step in detail and get ready to enjoy some delicious homemade non-dairy yogurt!
Key Takeaways:
- Create your own creamy non-dairy yogurt at home using an electric pressure cooker. Experiment with flavors, textures, and toppings to customize your yogurt and enjoy a healthy, satisfying treat tailored to your taste preferences.
- Master the art of making non-dairy yogurt in your electric pressure cooker. From preparing the yogurt base to straining and flavoring, follow the step-by-step process to achieve a thick, creamy, and tangy homemade delight.
Equipment Needed
Before we jump into making non-dairy yogurt in your electric pressure cooker, let’s make sure we have all the necessary equipment on hand. Here’s what you’ll need:
- Electric pressure cooker: An electric pressure cooker, like an Instant Pot, is a must-have for this recipe. It will serve as the main tool for cooking and fermenting the yogurt.
- High-powered blender or food processor: You’ll need a blender or food processor to blend the ingredients and ensure a smooth consistency for the yogurt base.
- Kitchen thermometer: A kitchen thermometer will help you monitor the temperature of the yogurt during the fermentation process, ensuring optimal results.
- Glass or ceramic jars: You’ll need jars with lids to store the finished yogurt. Glass or ceramic jars are preferred as they won’t react with the yogurt or absorb any odors.
- Spatula or spoon: A spatula or spoon will come in handy for mixing the ingredients and scraping down the sides of the blender or food processor.
- Labels or markers: If you plan on making different flavors or variations of yogurt, labeling the jars with the date and type of yogurt will help you keep track.
Having these essential tools and utensils ready will ensure a smooth and successful yogurt-making process. Once you have everything gathered, it’s time to move on to the next step: gathering the ingredients for the non-dairy yogurt base.
Ingredients
Now that you have all your equipment ready, let’s gather the ingredients needed to make delicious non-dairy yogurt in your electric pressure cooker. Here’s what you’ll need:
- Milk alternative: Choose your preferred milk alternative, such as almond milk, coconut milk, or soy milk. Make sure it’s unsweetened and free from any additives or flavors.
- Yogurt starter culture: This is a crucial ingredient as it contains the live bacteria necessary for the fermentation process. You can find yogurt starter cultures specifically designed for non-dairy yogurts online or at health food stores.
- Sweetener (optional): If you prefer your yogurt to be slightly sweetened, you can add a sweetener of your choice, such as maple syrup, agave nectar, or stevia. Adjust the amount based on your taste preferences.
- Flavorings (optional): Get creative and customize your yogurt by adding flavorings like vanilla extract, cocoa powder, or fruit extracts. This will give your yogurt a unique and delicious taste.
- Fresh fruit or toppings (optional): Once your yogurt is ready, you can amplify the flavor by adding fresh fruit, granola, nuts, or any other toppings of your choice.
Remember to choose high-quality ingredients for the best results. It’s important to use unsweetened milk alternatives to have control over the sweetness of your yogurt. Additionally, selecting a yogurt starter culture that is specifically designed for non-dairy yogurts will ensure a successful fermentation process.
With all the ingredients gathered, you’re now ready to embark on the process of making your own non-dairy yogurt in your electric pressure cooker. Let’s move on to the step-by-step instructions to create a creamy and flavorful yogurt base.
Step 1: Preparing the Yogurt Base
The first step in making non-dairy yogurt in your electric pressure cooker is to prepare the yogurt base. This involves blending the milk alternative with the yogurt starter culture and any optional sweeteners or flavorings. Follow these steps:
- Measure the milk alternative: Start by measuring the desired amount of milk alternative according to the instructions of your electric pressure cooker. Ensure that the inner pot of the pressure cooker is clean and dry.
- Heat the milk alternative: Pour the milk alternative into the inner pot of the electric pressure cooker and set it to the sauté mode. Heat the milk alternative until it reaches a temperature of around 110°F (43°C). Use a kitchen thermometer to monitor the temperature and avoid overheating.
- Add the yogurt starter culture: Once the milk alternative has reached the desired temperature, turn off the sauté mode. Sprinkle the yogurt starter culture over the milk alternative and use a spoon or spatula to gently stir it in. Ensure that the starter culture is well incorporated into the milk alternative.
- Incorporate optional sweeteners or flavorings: If you prefer your yogurt sweetened or flavored, now is the time to add the optional sweeteners or flavorings. This can include ingredients like maple syrup, vanilla extract, or fruit extracts. Adjust the amount based on your taste preferences.
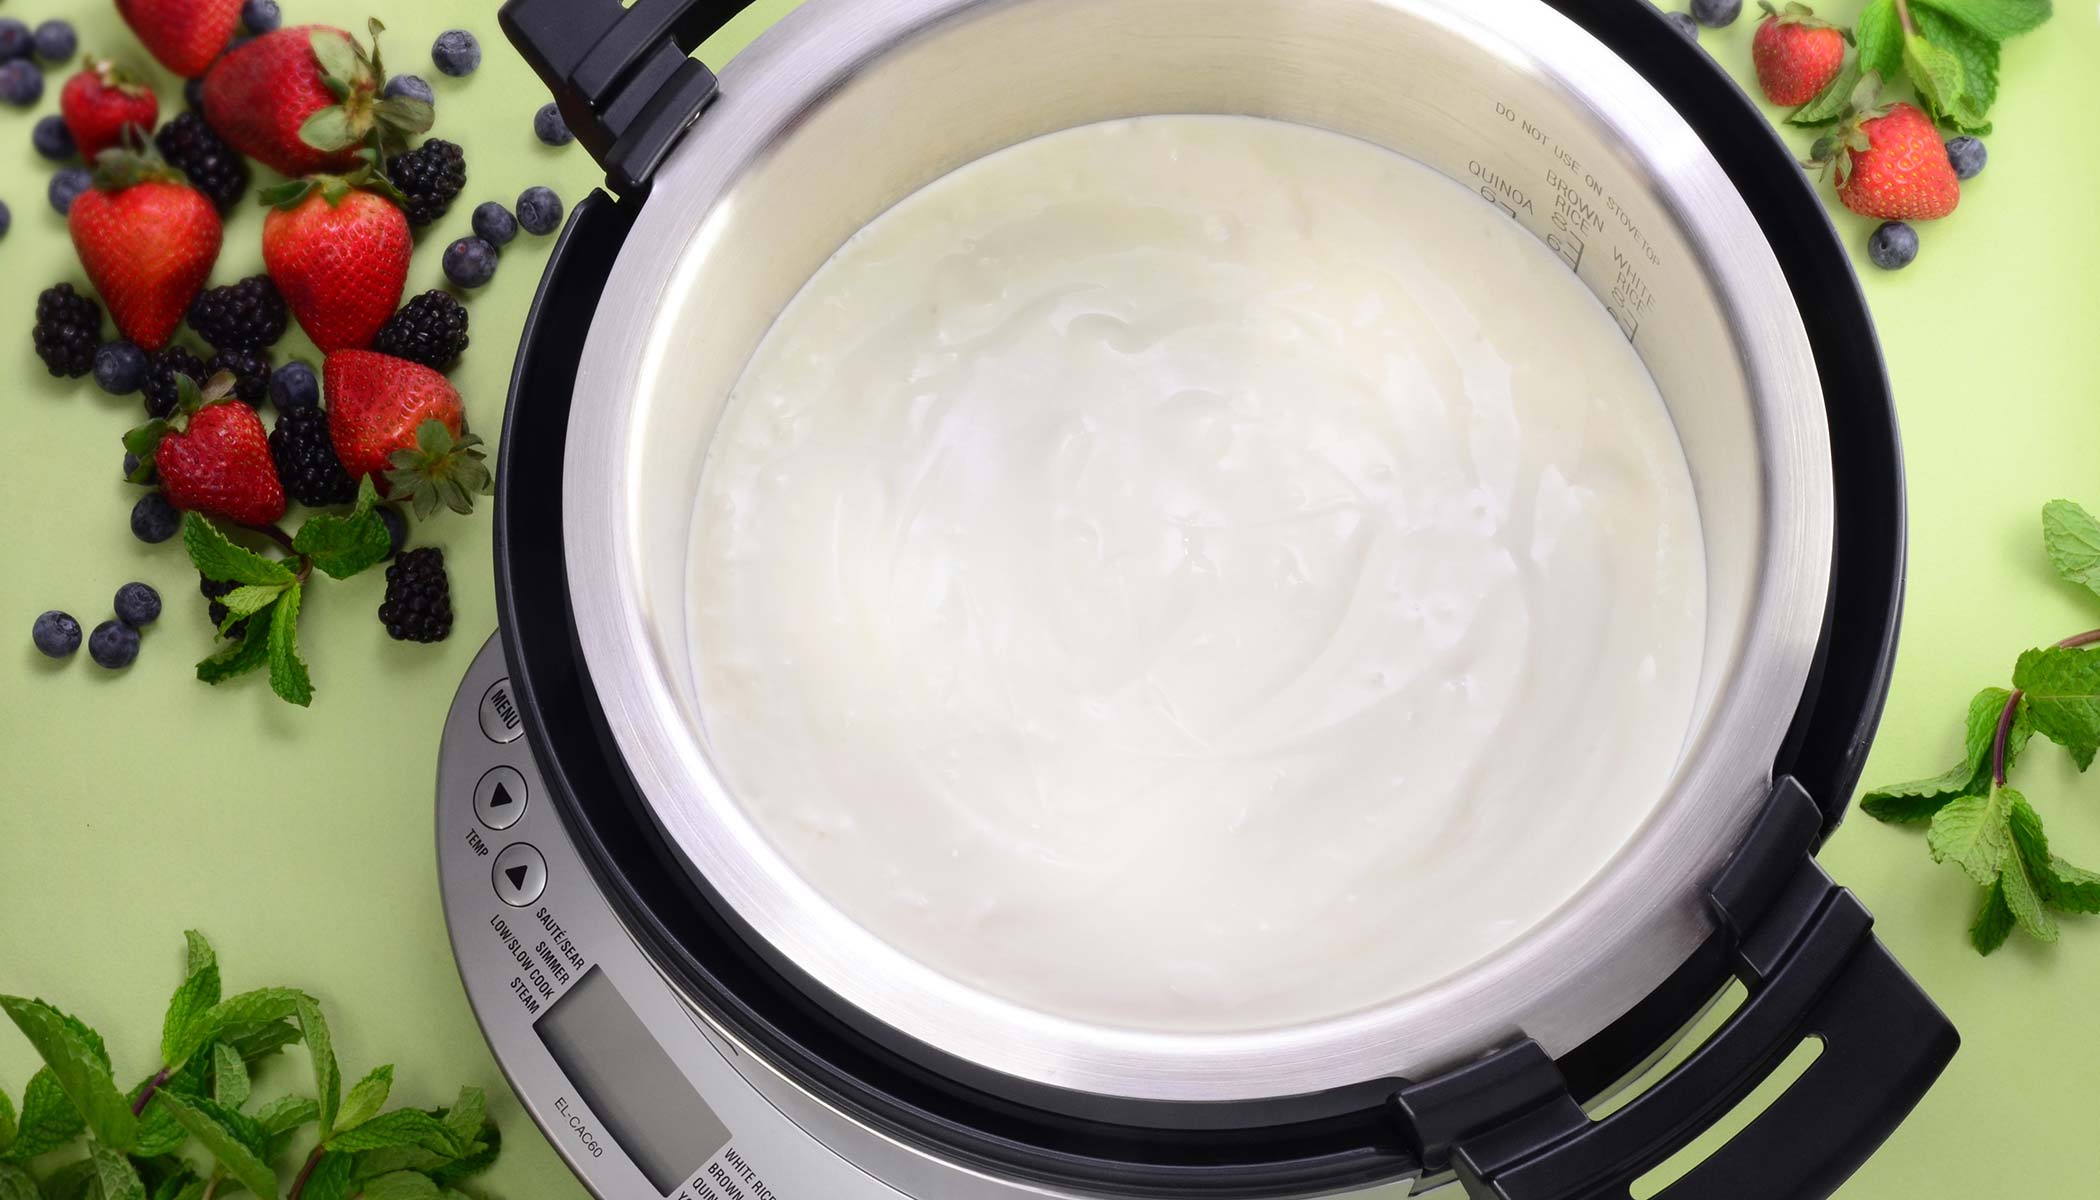
- Blend the mixture: Transfer the milk alternative and starter culture mixture to a high-powered blender or food processor. Blend on high speed for about 1-2 minutes until the mixture is smooth and well combined.
Once you have blended the yogurt base, it’s time to move on to the next step: pressure cooking the yogurt in your electric pressure cooker. The pressure cooking process will help ferment and thicken the yogurt, resulting in a creamy and tangy treat. Let’s explore the next step in detail.
Step 2: Pressure Cooking the Yogurt
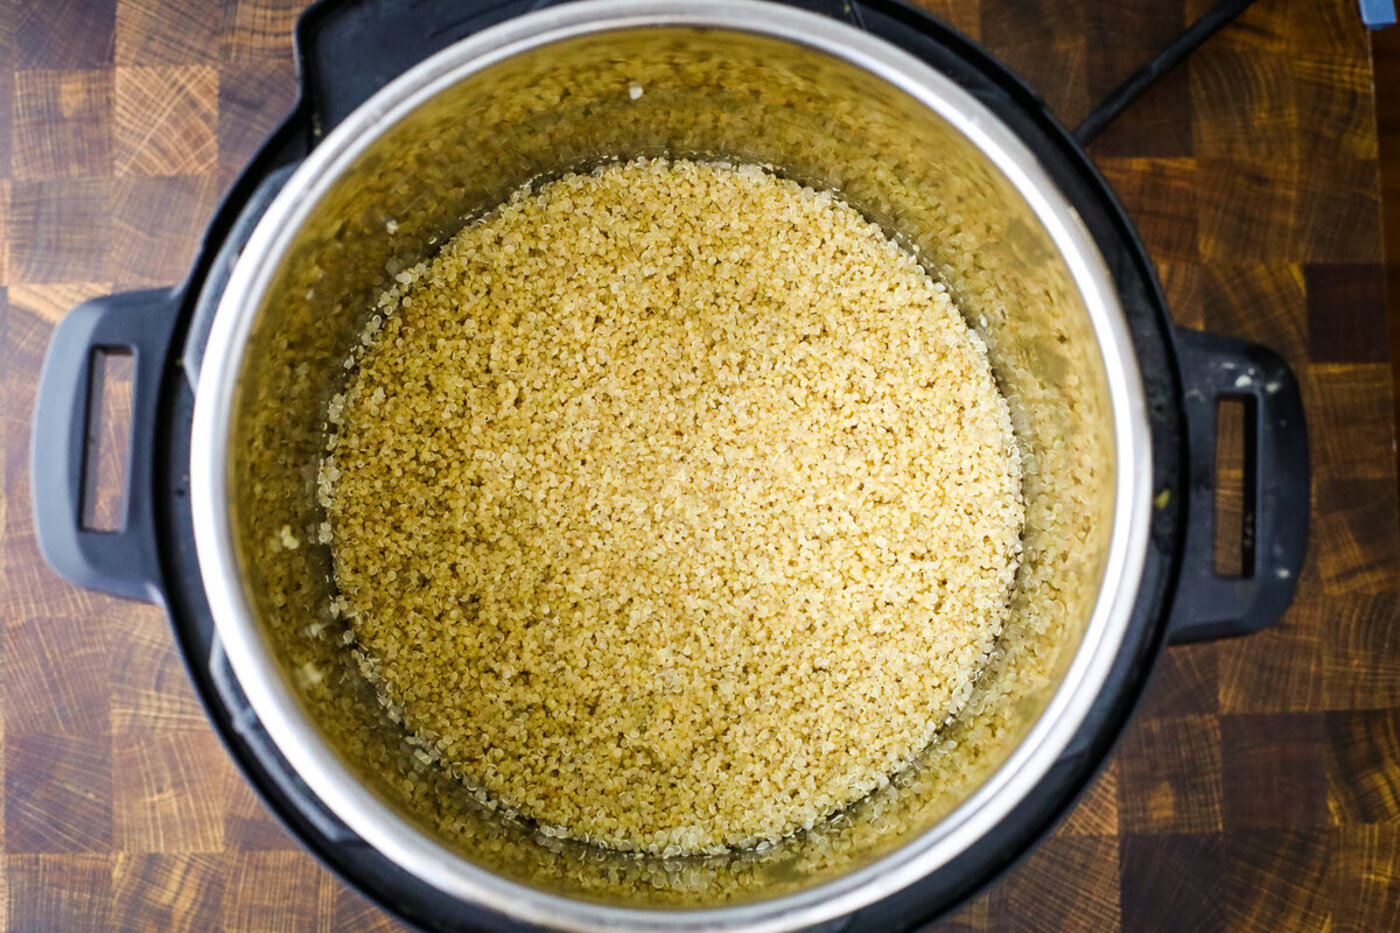
Now that you have prepared the yogurt base, it’s time to move on to the next crucial step: pressure cooking the yogurt in your electric pressure cooker. This step will initiate the fermentation process and transform the yogurt base into thick and creamy non-dairy yogurt. Follow these steps:
- Transfer the yogurt base: Pour the blended yogurt base from the blender or food processor back into the inner pot of your electric pressure cooker. Make sure the pot is still clean and dry.
- Seal the pressure cooker: Place the lid on the electric pressure cooker and ensure that it is securely sealed. Set the venting knob to the sealed position.
- Select the yogurt setting: Look for the yogurt setting on your electric pressure cooker and select it. The specific instructions may vary depending on the brand and model you have, so consult the manual if needed.
- Set the fermentation time: Adjust the time for fermentation, usually between 8 to 12 hours. The longer the fermentation time, the tangier the yogurt will be.
- Allow natural pressure release: Once the fermentation time is complete, allow the pressure cooker to naturally release the pressure. This can take anywhere from 10 to 20 minutes.
- Check the consistency: After the pressure has been released, open the lid and check the consistency of the yogurt. It should be thick and have a creamy texture. If it is still too thin, you can repeat the pressure cooking process for a shorter duration.
Pressure cooking is a crucial step in the yogurt-making process as it creates the ideal environment for fermentation to take place. The warm and controlled temperature inside the electric pressure cooker allows the live bacteria in the yogurt starter culture to thrive and multiply, resulting in the tangy and creamy yogurt we all love.
Once the pressure cooking step is complete, we’re almost there! The next step is all about cooling and setting the yogurt to achieve the perfect consistency. Let’s proceed to the next step together.
To make non-dairy yogurt in your electric pressure cooker, use a high-quality non-dairy milk such as almond, coconut, or soy, and a yogurt starter culture. Follow the specific instructions for your pressure cooker model to ensure proper fermentation.
Read more: How To Make Yogurt Slow Cooker
Step 3: Cooling and Setting the Yogurt
After pressure cooking the yogurt, it’s time to move on to the next step: cooling and setting the yogurt. This step is crucial to achieve the desired thickness and texture of your non-dairy yogurt. Follow these steps:
- Cool down the yogurt: Carefully remove the inner pot from the electric pressure cooker and allow it to cool down to room temperature. This can take anywhere from 1 to 2 hours.
- Cover and refrigerate: Once the yogurt has cooled down, cover the inner pot with a lid or plastic wrap and place it in the refrigerator. Let it refrigerate for at least 4 to 6 hours, or overnight if possible. This will help the yogurt set and become thicker.
- Check the consistency: After the refrigeration period, remove the inner pot from the refrigerator and check the consistency of the yogurt. It should be thick and have a creamy texture. If it’s still too thin for your liking, you can strain it in the next step to achieve a thicker consistency.
Cooling and setting the yogurt allows the live bacteria in the yogurt starter culture to continue fermenting slowly, resulting in a thick and creamy texture. The refrigeration process also helps to stabilize the yogurt and improve its taste. Once your yogurt has reached the desired consistency, you have the option to strain it in the next step to achieve an even thicker and smoother texture.
Now that we have successfully cooled and set the yogurt, it’s time to move on to the next step: straining. This step is optional but can take your yogurt to the next level in terms of texture and creaminess. Let’s dive into the details of straining in the next step.
Step 4: Straining (Optional)
For those who prefer an even thicker and creamier non-dairy yogurt, the optional step of straining can be done after the cooling and setting process. Straining helps remove excess liquid and create a Greek-style yogurt consistency. Follow these steps to strain your yogurt:
- Prepare a strainer or colander: Place a fine-mesh strainer or colander over a bowl or another container that is slightly larger than the strainer.
- Line the strainer: Line the strainer with a layer of cheesecloth or a clean kitchen towel. This will prevent the yogurt from sticking to the strainer and allow the liquid to drain away.
- Pour the yogurt into the strainer: Gently pour the cooled and set yogurt into the lined strainer. Make sure the strainer is securely placed over the bowl to catch the liquid.
- Let it strain: Allow the yogurt to strain in the refrigerator for about 2 to 4 hours, or longer if you prefer an even thicker consistency. The longer you strain, the thicker the yogurt will become.
- Collect the whey (optional): As the yogurt strains, you’ll notice a yellowish liquid called whey that collects in the bowl. You can save this liquid and use it in smoothies, baking, or other recipes that call for liquid. It is rich in nutrients and can add a tangy flavor to dishes.
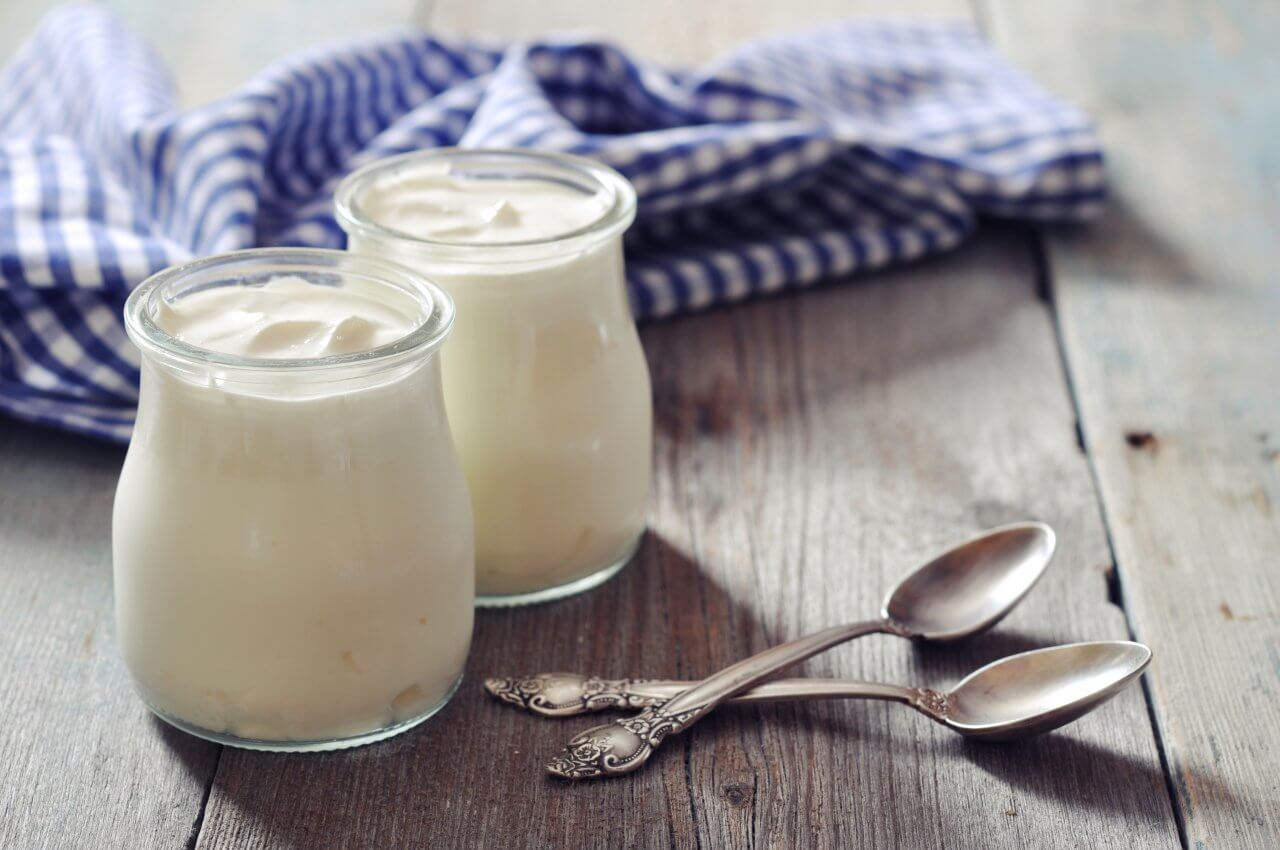
- Transfer the strained yogurt: Once the desired consistency is achieved, transfer the strained yogurt to a clean container and store it in the refrigerator.
Straining the yogurt removes excess liquid, resulting in a thicker and creamier consistency similar to Greek-style yogurt. The strained yogurt can be enjoyed on its own, mixed with fresh fruit, or used as a creamy base in various recipes.
If you prefer a tangier or thicker consistency, you can strain the yogurt for a longer duration or repeat the straining process. Now that you’ve mastered the art of straining, the next step is all about adding flavor to your yogurt (if desired). Let’s explore the options in the next step.
Step 5: Flavoring the Yogurt (Optional)
Now that you have your beautifully strained non-dairy yogurt, it’s time to infuse it with delightful flavors. This step is completely optional but adds a whole new dimension to your homemade yogurt. Follow these steps to flavor your yogurt:
- Select your flavorings: Decide on the flavor you want to add to your yogurt. You can choose from a wide range of options, such as vanilla, cocoa powder, fruit extracts, or even spices like cinnamon or cardamom.
- Measure the flavorings: Depending on your taste preferences, measure out the desired amount of your chosen flavorings. Start with a small amount and add more gradually until you achieve the desired flavor intensity.
- Add the flavorings to the yogurt: Pour the strained yogurt into a clean bowl and add in your chosen flavorings. Stir the yogurt gently to evenly distribute the flavorings throughout.
- Taste and adjust: Take a spoonful and taste the yogurt to ensure that the flavorings are to your liking. If you want a stronger flavor, add more flavorings accordingly.
- Store the flavored yogurt: Transfer the flavored yogurt back into a clean container and refrigerate it for another hour or two to allow the flavors to infuse further.
By adding flavor to your non-dairy yogurt, you can enjoy a variety of taste profiles and satisfy your personal preferences. Experiment with different combinations and get creative with your flavor choices. From fruity and refreshing to indulgent and decadent, the possibilities are endless.
Now that you’ve flavored your yogurt, the final step involves storing it properly for later use and ensuring its freshness. Let’s explore the last step of storing and enjoying your homemade non-dairy yogurt.
Step 6: Storing and Enjoying
Congratulations! You have successfully made your own delicious non-dairy yogurt in your electric pressure cooker. Now, it’s time to store and enjoy your homemade creation. Follow these steps to properly store and savor your yogurt:
- Transfer the yogurt to storage containers: Use clean glass or ceramic jars with secure lids to store your yogurt. Transfer the yogurt from the bowl or container into these jars, leaving some space at the top for expansion.
- Label the jars (optional): If you made different flavors or variations, label the jars with the date and type of yogurt. This will help you keep track of freshness and avoid any confusion.
- Refrigerate the yogurt: Place the sealed jars of yogurt in the refrigerator and let them chill for at least 4 hours or overnight. This will help the flavors meld together and the yogurt to further thicken.
- Serve and enjoy: Once the yogurt has chilled, it’s ready to be enjoyed! Serve it plain, or customize it with your favorite toppings, such as fresh fruit, granola, nuts, or a drizzle of honey. It’s the perfect healthy and satisfying treat for any time of the day.
- Storage: Your homemade non-dairy yogurt will typically stay fresh in the refrigerator for up to one week. Make sure to keep the yogurt properly sealed in its containers to maintain its quality.
Feel free to get creative with your yogurt by incorporating it into your favorite recipes or using it as a base for smoothies, dressings, or desserts. The versatility of homemade non-dairy yogurt allows you to explore endless culinary possibilities.
Now that you know how to store and enjoy your homemade non-dairy yogurt, it’s time to indulge in this creamy, tangy delight. Enjoy the fruits of your labor and share the joy of homemade yogurt with family and friends.
Remember, practice makes perfect, so don’t be afraid to experiment and tweak the recipe to suit your taste preferences. Enjoy the satisfaction and deliciousness of creating your own non-dairy yogurt from scratch, right in your own kitchen!
Frequently Asked Questions about How To Make Non Dairy Yogurt In Your Electric Pressure Cooker
Was this page helpful?
At Storables.com, we guarantee accurate and reliable information. Our content, validated by Expert Board Contributors, is crafted following stringent Editorial Policies. We're committed to providing you with well-researched, expert-backed insights for all your informational needs.


0 thoughts on “How To Make Non Dairy Yogurt In Your Electric Pressure Cooker”