Home>Articles>How To Manufacture Duct Connectors With Hand Tools

Articles
How To Manufacture Duct Connectors With Hand Tools
Modified: December 7, 2023
Learn how to manufacture duct connectors using simple hand tools with our informative articles. Discover expert tips and techniques for seamless, efficient production.
(Many of the links in this article redirect to a specific reviewed product. Your purchase of these products through affiliate links helps to generate commission for Storables.com, at no extra cost. Learn more)
Introduction
Manufacturing duct connectors with hand tools may seem like a daunting task, but with the right tools and techniques, it can be a straightforward process. Duct connectors play a crucial role in joining ductwork together, ensuring airtight connections for efficient airflow in heating, ventilation, and air conditioning (HVAC) systems.
While machine manufacturing is commonly used for producing duct connectors, hand tools offer a cost-effective and accessible alternative. This article will guide you through the step-by-step process of manufacturing duct connectors using hand tools, allowing you to save money and have more control over the production process.
Before diving into the details, let’s take a look at some of the tools and materials you will need for this project.
Key Takeaways:
- Save money and have more control over your HVAC system by manufacturing duct connectors with hand tools. Follow the step-by-step process to create high-quality, airtight connectors for efficient airflow.
- Prioritize safety, precision, and attention to detail when manufacturing duct connectors with hand tools. Enjoy the benefits of customization, cost savings, and optimal HVAC system performance.
Tools and Materials Needed
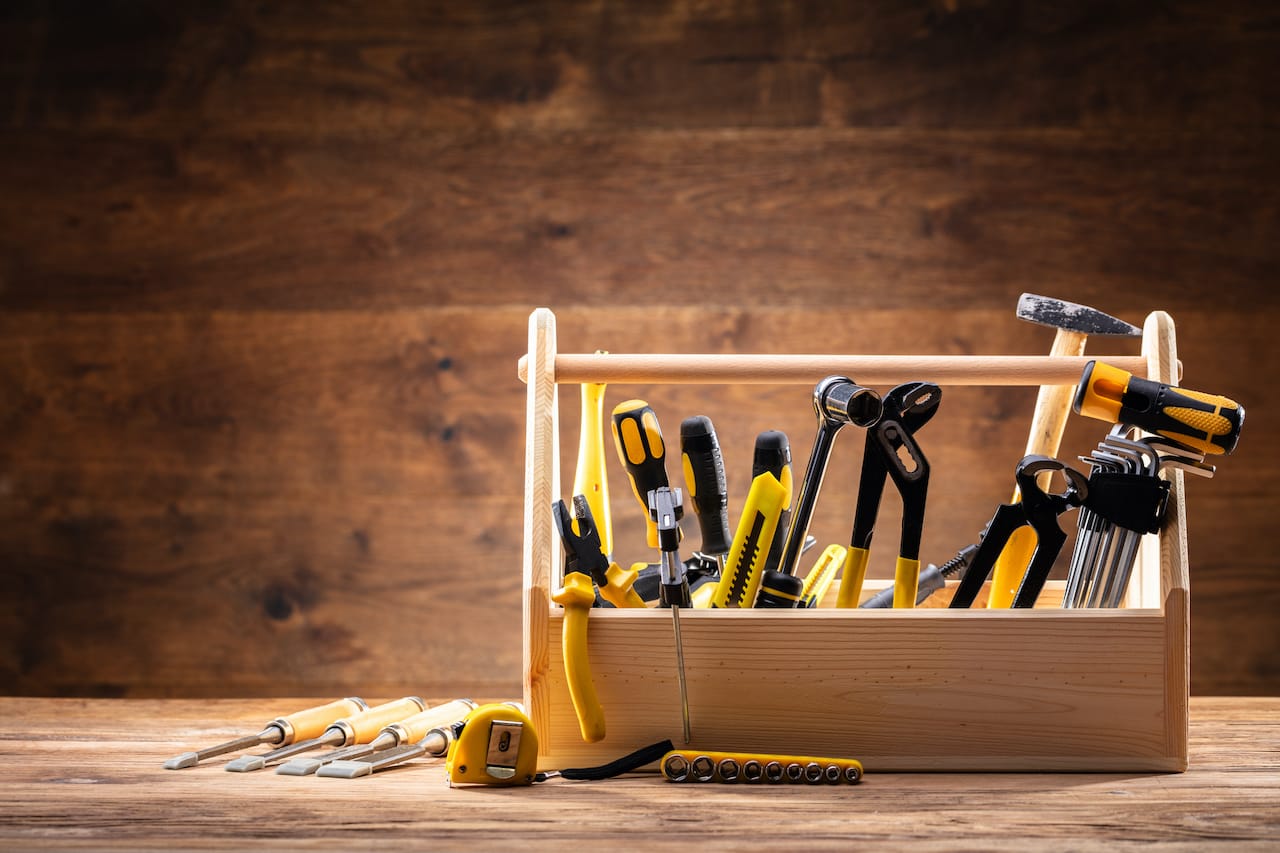
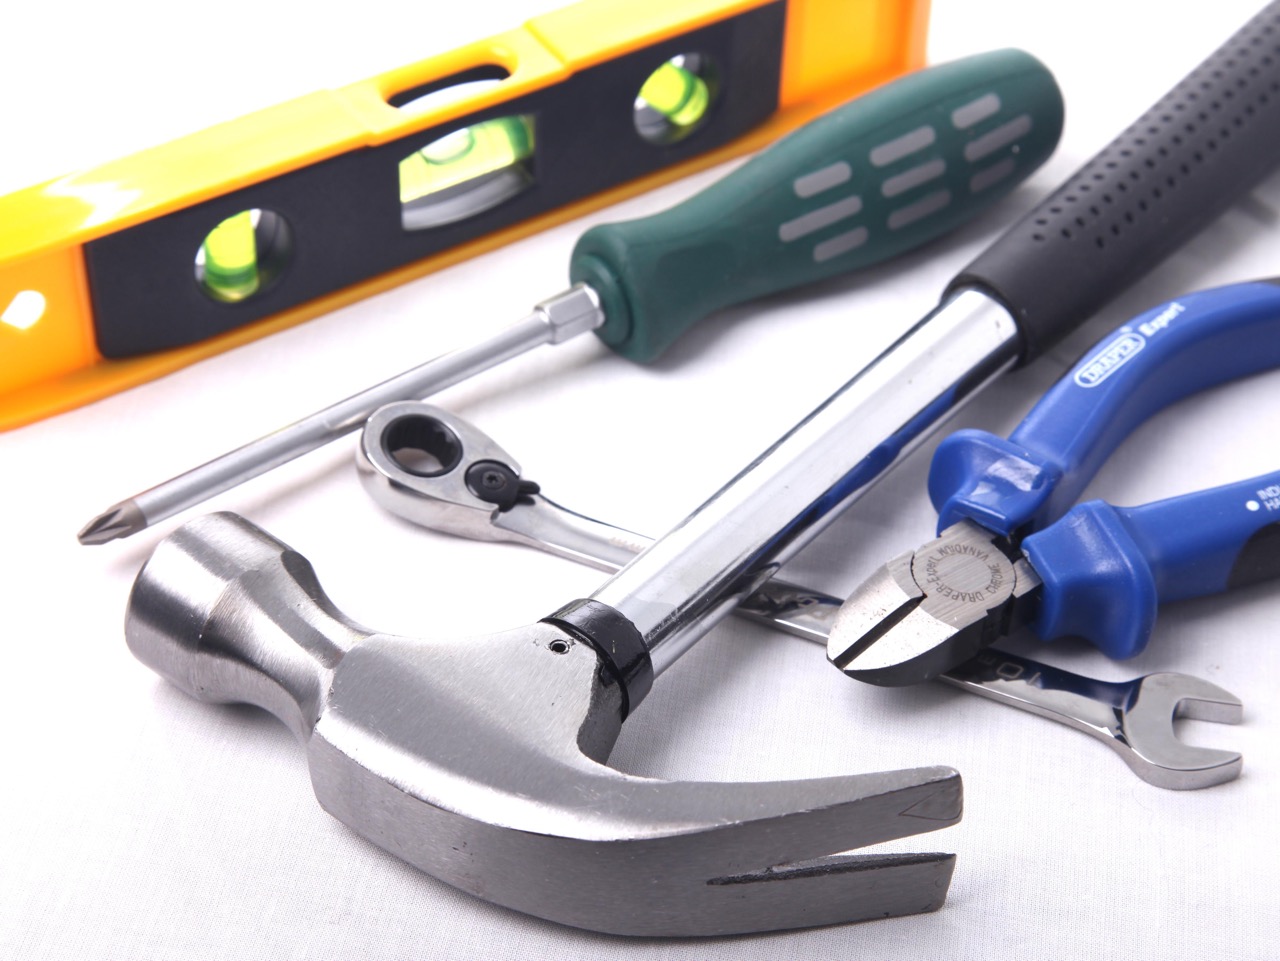
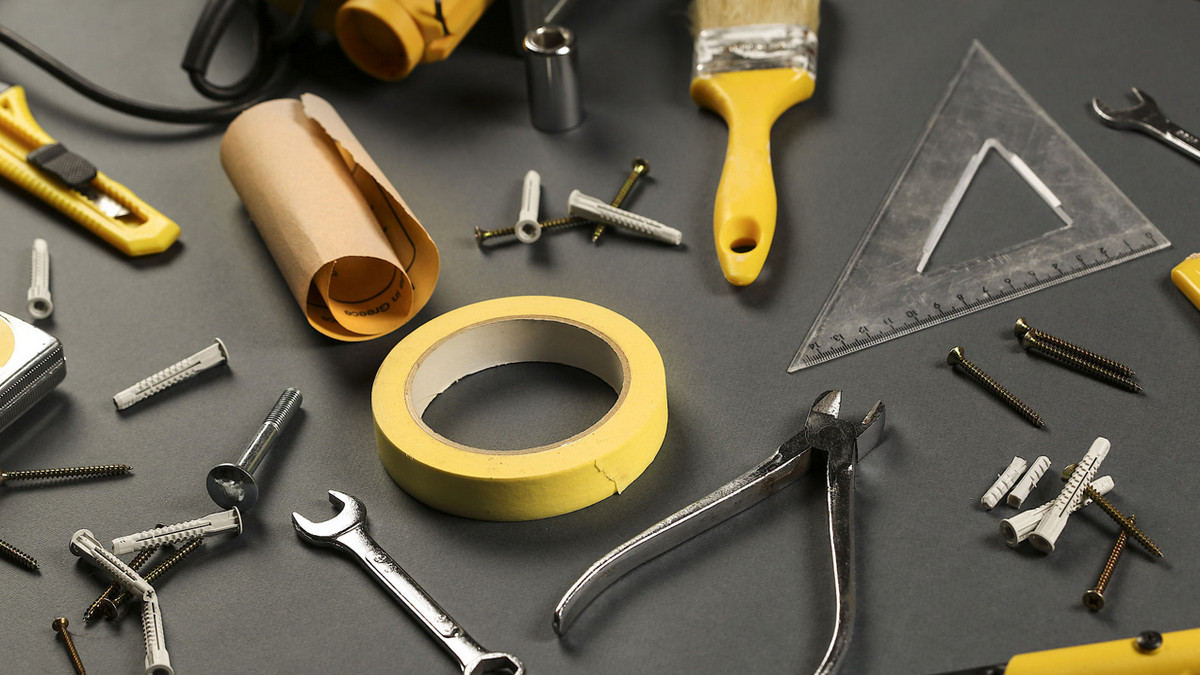
To manufacture duct connectors with hand tools, you will need the following tools and materials:
1. Tin snips: Tin snips with straight and right-cutting edges are essential for cutting the metal sheets accurately.
2. Sheet Metal: You will need sheet metal in the desired thickness for the connectors. Galvanized steel is commonly used for its durability and resistance to corrosion.
3. Measuring Tape: Accurate measurements are crucial for ensuring proper fit and alignment. A measuring tape will help you take precise measurements for cutting the sheet metal.
4. Pencil or Marker: Use a pencil or marker to mark the measurements on the sheet metal before cutting.
5. Drill: A power drill with a suitable drill bit is necessary for creating holes in the connectors for fastening them together.
6. Debur Tool: A debur tool will help you remove any burrs or sharp edges on the cut metal pieces for a smoother finish.
7. Rivet Gun: A rivet gun is used to secure the connectors together by fastening rivets through the drilled holes.
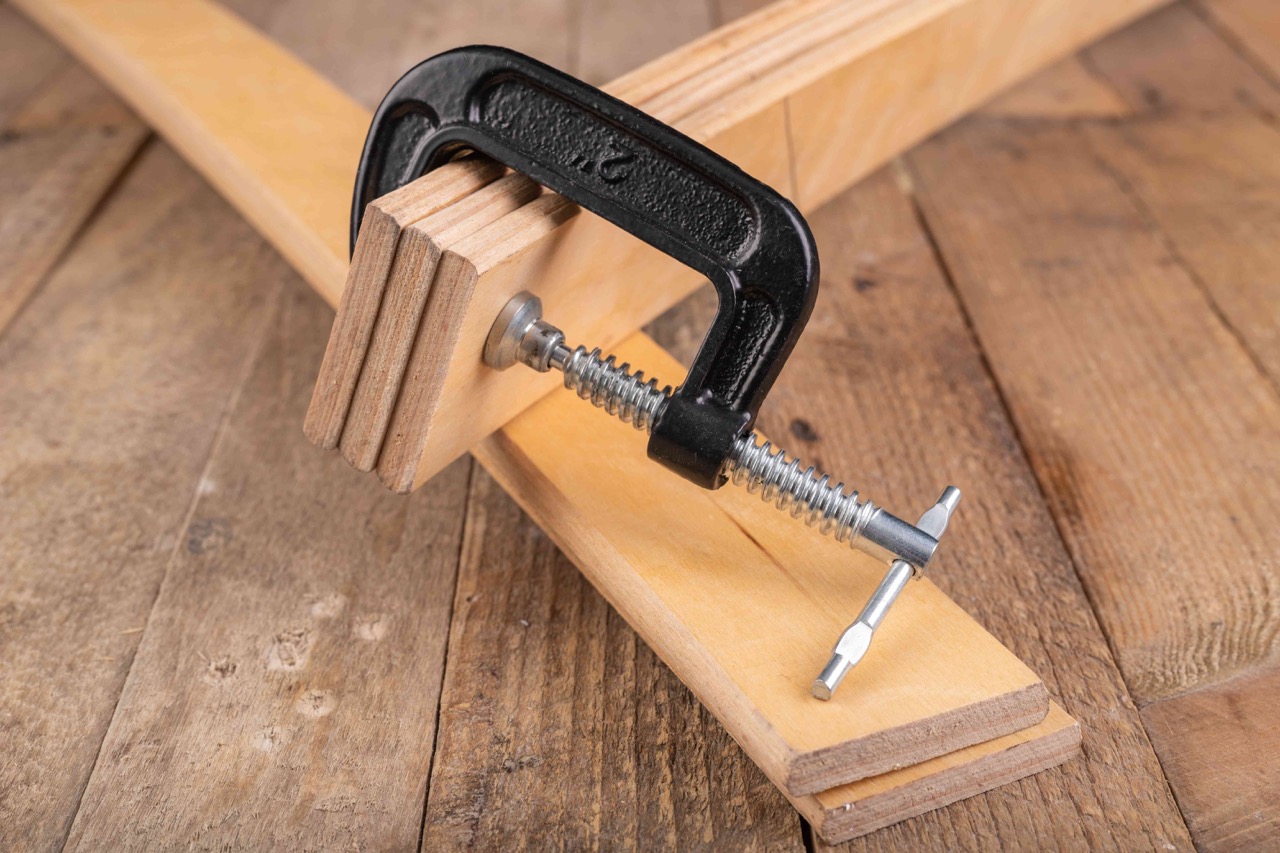
8. Clamps: Clamps hold the metal sheets in place while cutting, shaping, and drilling.
9. Safety Equipment: It is crucial to prioritize safety when working with hand tools. Wear gloves, safety glasses, and ear protection to protect yourself from any potential hazards.
10. Workbench: A sturdy workbench provides a stable surface for performing the various tasks involved in manufacturing duct connectors.
Make sure to gather all the necessary tools and materials before starting the manufacturing process. Having everything within reach will make the process more efficient and allow you to focus on creating high-quality connectors.
Step 1: Cutting the Metal
The first step in manufacturing duct connectors is cutting the sheet metal to the desired size. Follow these steps:
1. Measure and Mark: Measure the length and width of the desired connector on the sheet metal using a measuring tape. Use a pencil or marker to mark the measurements clearly on the metal.
2. Secure the Metal: Place the sheet metal on a stable workbench and use clamps to secure it in place. This will prevent the metal from shifting while cutting.
3. Cut Along the Markings: Using tin snips, start cutting along the marked lines. Snip small sections at a time to maintain control and accuracy. For straight cuts, use the straight-cutting edge of the tin snips. For curved cuts, rotate the metal as needed.
4. Double-Check the Dimensions: Once the metal is cut, double-check the dimensions to ensure it matches the desired size. Make any necessary adjustments if needed.
5. Remove Sharp Edges: After cutting, use a debur tool to remove any burrs or sharp edges along the cut edges of the metal. This will ensure a smoother finish and prevent any injuries during the assembly process.
By following these steps, you can effectively cut the sheet metal to the desired dimensions for your duct connectors. Proceed to the next step to shape the connectors.
Step 2: Shaping the Connectors
Once the sheet metal is cut, the next step is to shape it into the desired form for the connectors. Follow these steps to shape the connectors:
1. Determine the Shape: Decide on the shape of the connectors based on your design requirements and the specific needs of your HVAC system. Common shapes include rectangular, circular, or oval connectors.
2. Use a Template: If you have a pre-made template, place it on the cut metal piece and trace around it with a pencil or marker. This will ensure consistent and accurate shapes for each connector.
3. Shape the Metal: Using your tin snips or a combination of snips and pliers, carefully cut along the marked lines to shape the metal into the desired form. Take your time to ensure smooth and precise cuts, especially for curved or intricate shapes.
4. Test Fit: After shaping the connector, perform a test fit by placing it against the adjoining ductwork. Verify that the shape and size of the connector align with the other components for a proper fit. Make any necessary adjustments at this stage.
5. Repeat the Process: Repeat the shaping process for each connector you need. Ensure that all connectors are consistent in shape and size to maintain uniformity in the ductwork system.
By following these steps, you can shape the sheet metal into the desired form for your duct connectors. Proceed to the next step to learn how to drill holes for connecting the pieces together.
Step 3: Drilling Holes
Drilling holes in the duct connectors is essential for fastening them together securely. Follow these steps to drill holes in the connectors:
1. Determine Hole Placement: Decide on the location and spacing of the holes based on your design requirements. Typically, holes are drilled along the edges of the connectors, allowing for easy alignment and attachment.
2. Mark the Hole Locations: Use a pencil or marker to mark the positions of the holes on the connectors. Make sure the markings are clear and visible.
3. Secure the Connector: Place the connector on a stable work surface and use clamps to secure it in place. This will prevent the metal from moving during the drilling process.
4. Choose the Right Drill Bit: Select a suitable drill bit size for the desired holes. The size of the drill bit should match the diameter of the rivets or fasteners you plan to use for securing the connectors.
5. Drill the Holes: Carefully align the drill bit with the marked hole locations on the connector. Start drilling slowly and steadily, applying firm but controlled pressure. Take caution to avoid exerting excessive force, as this can distort or damage the metal.
6. Clean Up the Holes: After drilling the holes, use a debur tool or sandpaper to remove any sharp edges or burrs around the holes. This will ensure a smooth and clean finish.
7. Repeat the Process: Repeat the drilling process for all the connectors, ensuring consistent hole placement and size for each piece.
By following these steps, you can successfully drill holes in the duct connectors, making them ready for assembly. Proceed to the next step to learn how to connect the pieces together securely.
When manufacturing duct connectors with hand tools, make sure to measure and mark the metal accurately before cutting and bending to ensure a precise fit and proper airflow in the duct system.
Step 4: Connecting the Pieces
Connecting the duct connectors is crucial to creating a secure and airtight joint. Follow these steps to connect the pieces together:
1. Align the Connectors: Position the connectors in the desired configuration, ensuring that the holes line up for easy attachment.
2. Insert Rivets or Fasteners: Insert the rivets or fasteners through the drilled holes to connect the connectors. Align the holes on both connectors, and then insert the rivet from one side. Use a rivet gun to secure the rivet firmly in place. Repeat this process for each hole.
Note: If you are using fasteners instead of rivets, follow the manufacturer’s instructions for installation.
3. Verify Alignment: Check the alignment of the connectors to ensure they are properly joined. Make any necessary adjustments if needed for a snug and secure fit.
4. Repeat for Additional Connectors: If you have more connectors to attach, repeat the alignment and attachment process for each one. Take your time to ensure each connection is secure and properly aligned.
5. Double-Check the Connections: Once all the connectors are attached, double-check the connections to ensure they are tight and secure. Gently tug on the connectors to ensure they are firmly in place.
By following these steps, you can successfully connect the duct connectors, creating a sturdy and airtight joint. Proceed to the next step to learn how to secure the connectors for added durability.
Step 5: Securing the Connectors
Securing the duct connectors is important to enhance their durability and prevent any potential disconnection or movement. Follow these steps to secure the connectors:
1. Seal the Joints: Apply foil tape or duct sealant around the joints where the connectors meet the ductwork. This will create a seal and prevent any air leakage.
2. Reinforce with Screws: For added stability, you can use self-tapping sheet metal screws to reinforce the connections. Place the screws through the connectors and into the adjacent ductwork. Make sure to tighten them securely but avoid over-tightening, as it can damage the metal.
3. Use Duct Clamps: Another option for securing the connectors is to use duct clamps. These clamps wrap around the connectors and provide a tighter grip. Adjust the clamps to ensure a snug fit, but be careful not to overtighten, as it may deform the connectors.
4. Check for Tightness: After securing the connectors, check for any looseness or movement. Ensure that all connections are tight and secure.
5. Inspect for Air Leakage: Once the connectors are properly secured, inspect the joints and connections for any signs of air leakage. Run your hand along the joints and feel for any drafts. If you detect any leaks, apply additional sealant or tape to seal them.
Remember, a secure and airtight connection is essential for the efficiency and performance of your HVAC system. By following these steps, you can ensure that the connectors are properly secured and provide optimal airflow.
Step 6: Finishing Touches
After securing the connectors, there are a few finishing touches that you can add to improve the overall appearance and functionality. Follow these steps for the final touches:
1. Smooth the Edges: Use a debur tool or sandpaper to smooth any rough edges or sharp corners on the connectors. This will give them a polished and professional look while preventing any potential injuries during installation or maintenance.
2. Paint or Coat the Connectors: If desired, you can apply paint or a protective coating to the connectors to enhance their appearance and durability. Choose a paint or coating that is suitable for metal surfaces and provides resistance to corrosion.
3. Insulate the Connectors: Insulating the duct connectors can help improve energy efficiency and reduce condensation. Use insulation materials designed for HVAC systems and apply them around the connectors to prevent heat loss or gain.
4. Label the Connectors: Consider labeling the connectors with identification tags or markers. This will make it easier to identify specific connections and troubleshoot any issues in the future.
5. Perform a Final Inspection: Before installing the duct connectors in your HVAC system, perform a final inspection. Ensure that all connections are secure, joints are properly sealed, and any finishing touches are complete.
By carrying out these finishing touches, you can improve the aesthetics and functionality of your duct connectors. These final steps will provide a professional and long-lasting result.
Conclusion
Manufacturing duct connectors with hand tools is a practical and cost-effective alternative to machine manufacturing. By following the step-by-step process outlined in this article, you can create high-quality connectors that provide secure and airtight connections for your HVAC system.
From cutting the metal to shaping the connectors, drilling holes, connecting the pieces, securing the connectors, and adding the finishing touches, each step contributes to the overall functionality and appearance of the duct connectors.
While the process may require some time and effort, it offers several benefits. Manufacturing your own duct connectors allows for greater control over the production process, customization to specific design requirements, and potential cost savings.
However, it is important to ensure that the connectors are manufactured in compliance with industry standards and relevant building codes. Proper measurement, alignment, and attachment techniques should be followed to guarantee the safety and efficiency of the HVAC system.
Remember to prioritize safety throughout the entire manufacturing process. Wear appropriate protective gear, secure the metal while cutting, and handle tools with care to prevent accidents and injuries.
By manufacturing your own duct connectors, you can achieve optimal airflow, energy efficiency, and overall performance in your HVAC system. Whether you are a DIY enthusiast or a professional HVAC technician, this guide provides the essential steps to successfully manufacture duct connectors with hand tools.
Take the time to plan, measure accurately, and execute each step with precision. The end result will be high-quality duct connectors that ensure efficient airflow, airtight joints, and reliable performance for your HVAC system.
Frequently Asked Questions about How To Manufacture Duct Connectors With Hand Tools
Was this page helpful?
At Storables.com, we guarantee accurate and reliable information. Our content, validated by Expert Board Contributors, is crafted following stringent Editorial Policies. We're committed to providing you with well-researched, expert-backed insights for all your informational needs.

0 thoughts on “How To Manufacture Duct Connectors With Hand Tools”