Articles
How To Move A Stackable Washer Dryer
Modified: August 30, 2024
Learn how to move a stackable washer dryer with these helpful articles. Find step-by-step guides and tips to ensure a smooth relocation process.
(Many of the links in this article redirect to a specific reviewed product. Your purchase of these products through affiliate links helps to generate commission for Storables.com, at no extra cost. Learn more)
Introduction
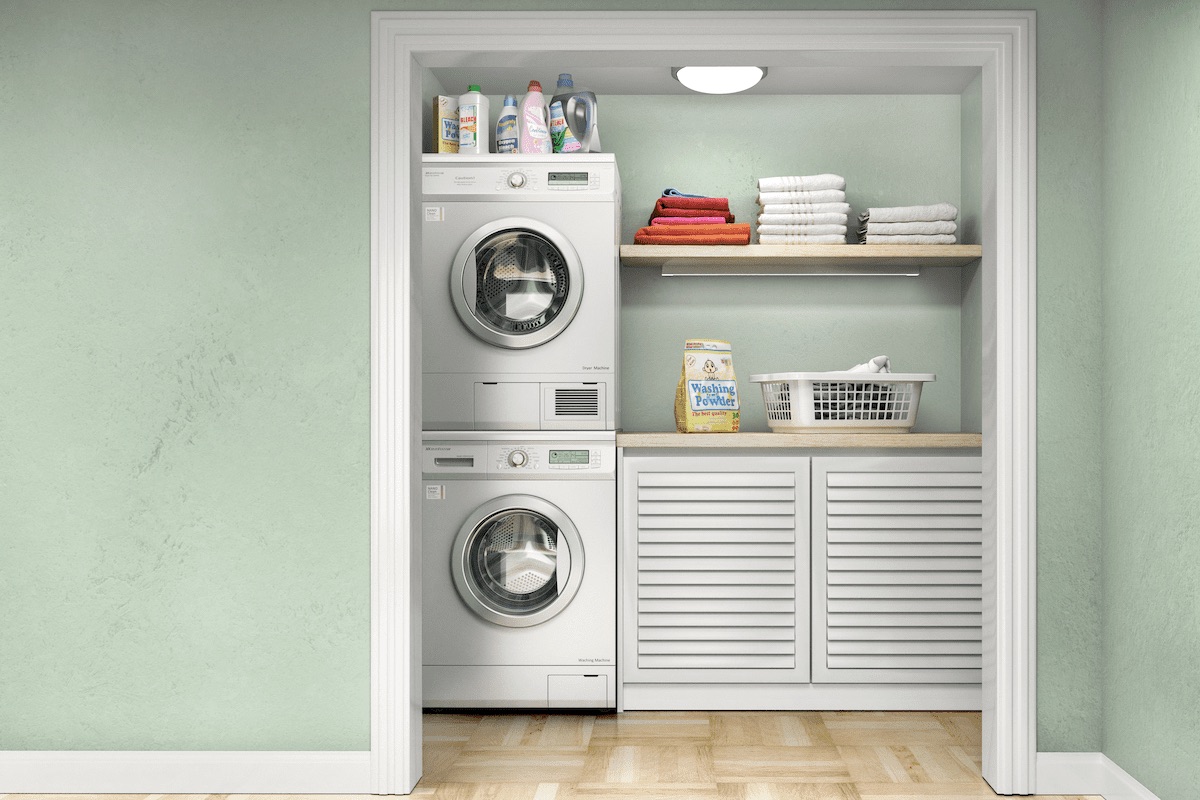
Moving a stackable washer dryer can be a challenging task, but with the right tools and techniques, it can be done safely and efficiently. Whether you’re relocating to a new home or simply rearranging your laundry area, this step-by-step guide will walk you through the process of moving a stackable washer dryer.
By following these instructions, you’ll be able to safely disconnect, transport, and reconnect your washer dryer unit, ensuring that it functions properly in its new location. So let’s dive in and learn how to move a stackable washer dryer without any hassle.
Key Takeaways:
- Moving a stackable washer dryer requires proper tools and preparation, including disconnecting power and water, removing attachments, and securing the units for safe transportation.
- After safely moving the stackable washer dryer, ensure a proper fit in the new location, reconnect the units, and test for proper functioning to avoid any issues.
Read more: How To Move Washer
Step 1: Gather necessary tools and supplies
Before you start moving your stackable washer dryer, it’s important to gather all the necessary tools and supplies. This will ensure that you have everything you need to safely and effectively complete the task. Here are some essential items you’ll need:
- Adjustable wrench
- Screwdriver (Phillips and flathead)
- Appliance dolly or hand truck
- Furniture sliders
- Packing supplies (such as moving blankets or bubble wrap)
- Sturdy straps or ropes
Having these tools and supplies on hand will make the process of moving your stackable washer dryer much smoother. The adjustable wrench will come in handy for disconnecting any water supply hoses, while the screwdriver will be necessary for removing any screws or attachments.
An appliance dolly or hand truck will assist you in safely transporting the washer dryer unit. Furniture sliders can be used to glide the unit across the floor without causing damage. And packing supplies, such as moving blankets or bubble wrap, will protect the unit from scratches or dents during the move.
Lastly, sturdy straps or ropes are essential for securing the stacked units to the dolly or hand truck, ensuring that they stay in place during transportation. Now that you have all the necessary tools and supplies, you’re ready to move on to the next step.
Step 2: Disconnect the washer and dryer
Before you can move a stackable washer dryer, you need to disconnect both the washer and dryer from their power sources and any water supply. Follow these steps to safely disconnect your stackable washer dryer:
- Unplug the power cords: Start by unplugging both the washer and dryer from their respective electrical outlets. This will prevent any accidents or electrical shocks during the moving process.
- Turn off the water supply: Locate the water shut-off valves behind the washer. Turn them clockwise to shut off the water supply to both the washer and dryer. If there are separate shut-off valves for each unit, make sure to turn them both off.
- Disconnect the water hoses: Using an adjustable wrench, loosen the connections between the water hoses and the back of the washer. Have a towel or bucket ready to catch any remaining water that may come out.
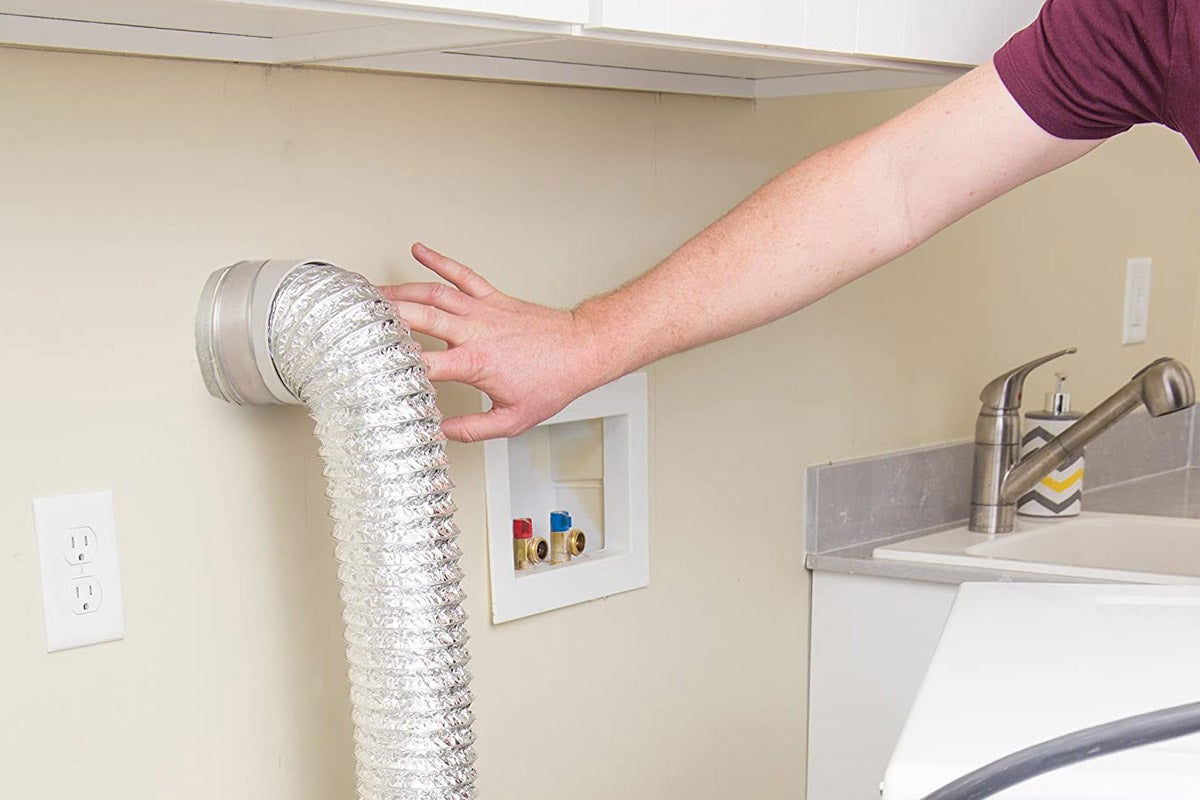
- Remove the dryer vent hose: If your dryer is vented, disconnect the vent hose from the back of the dryer. This may require loosening a clamp or removing screws, depending on the type of venting system.
- Secure any loose cords: Use zip ties or twist ties to secure any loose cords or wires. This will prevent them from getting tangled or damaged during the move.
Once you have completed these steps, the washer and dryer should be fully disconnected from their power sources and water supply. Take a moment to double-check all the connections and make sure everything is properly disconnected before proceeding to the next step.
Step 3: Remove any attachments or accessories
Before moving a stackable washer dryer, it’s important to remove any attachments or accessories that may be attached to the units. This will not only help reduce the overall weight but also prevent any damage during the moving process. Follow these steps to remove any attachments or accessories:
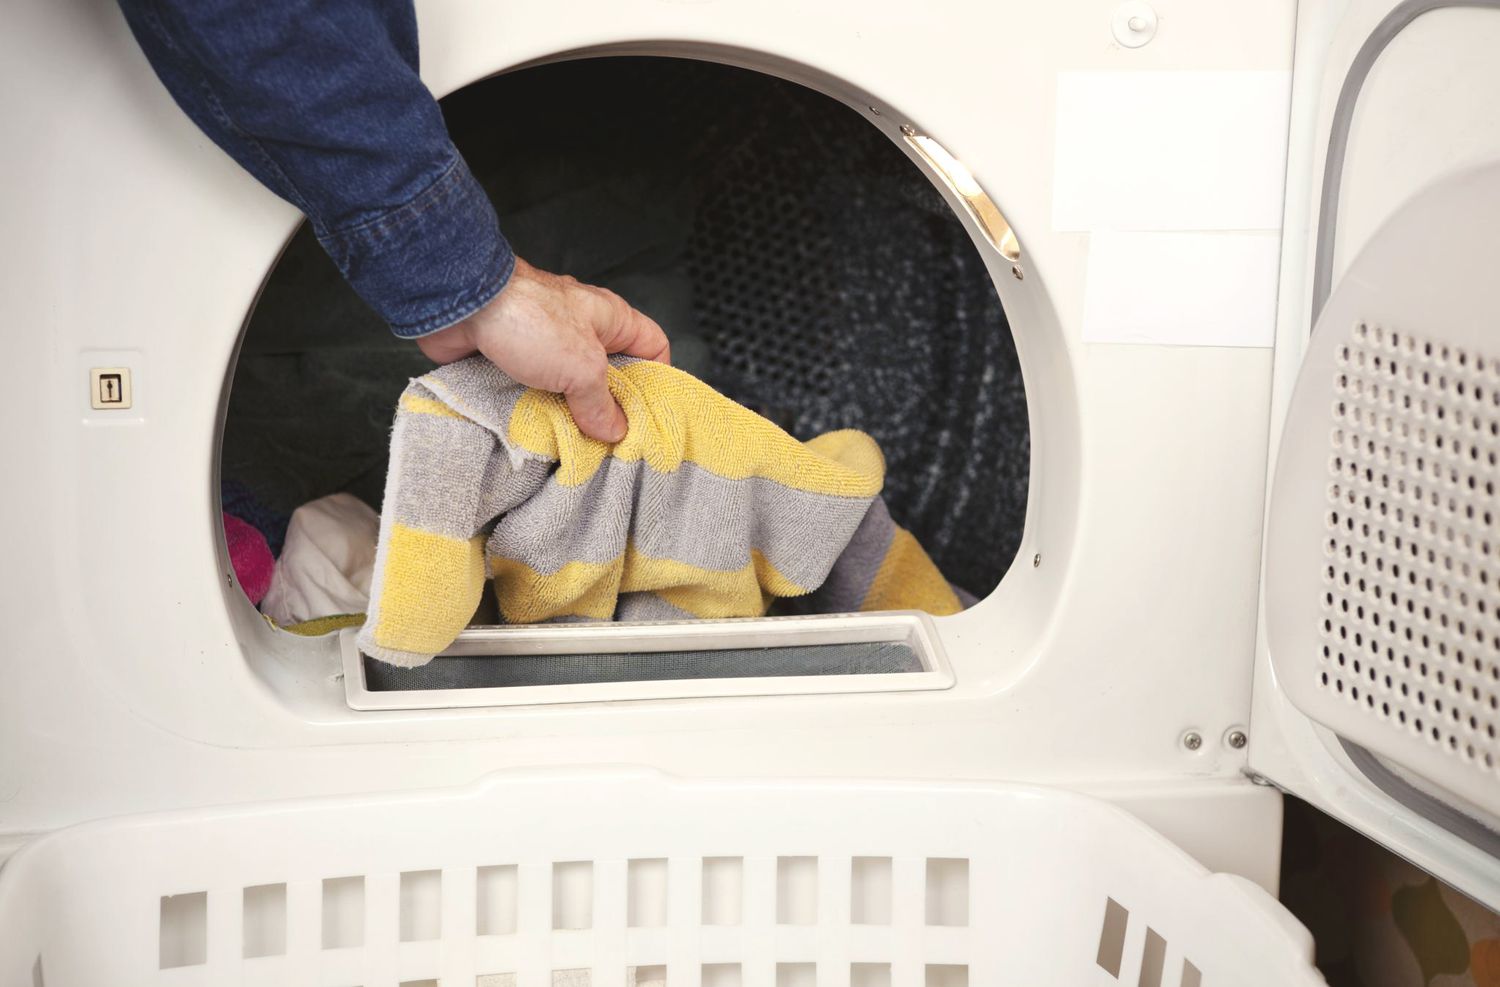
- Lint trap: If your dryer has a lint trap, remove it by pulling it out from the top or front of the unit. Empty the lint trap and clean it to ensure optimum performance.
- Detergent dispenser: For the washer, check if there is a detergent dispenser. Some stackable washer dryers have detachable detergent dispensers. If yours does, remove it and empty any remaining detergent.
- Racks: If your dryer has removable drying racks, take them out and set them aside. These racks are designed for delicate items and should not be transported inside the dryer.
- Optional extras: Check for any optional extras that may be present, such as shoe drying racks or ventless drying kits. Remove these extras and pack them separately to prevent damage during the move.
Removing these attachments or accessories will not only make the units lighter and easier to move but also prevent any potential damage. Keep all the removed items together and pack them separately to ensure they are not misplaced during the move.
Once you have removed all the attachments and accessories, you can proceed to the next step of preparing the stacking kit if needed.
Step 4: Prepare the stacking kit
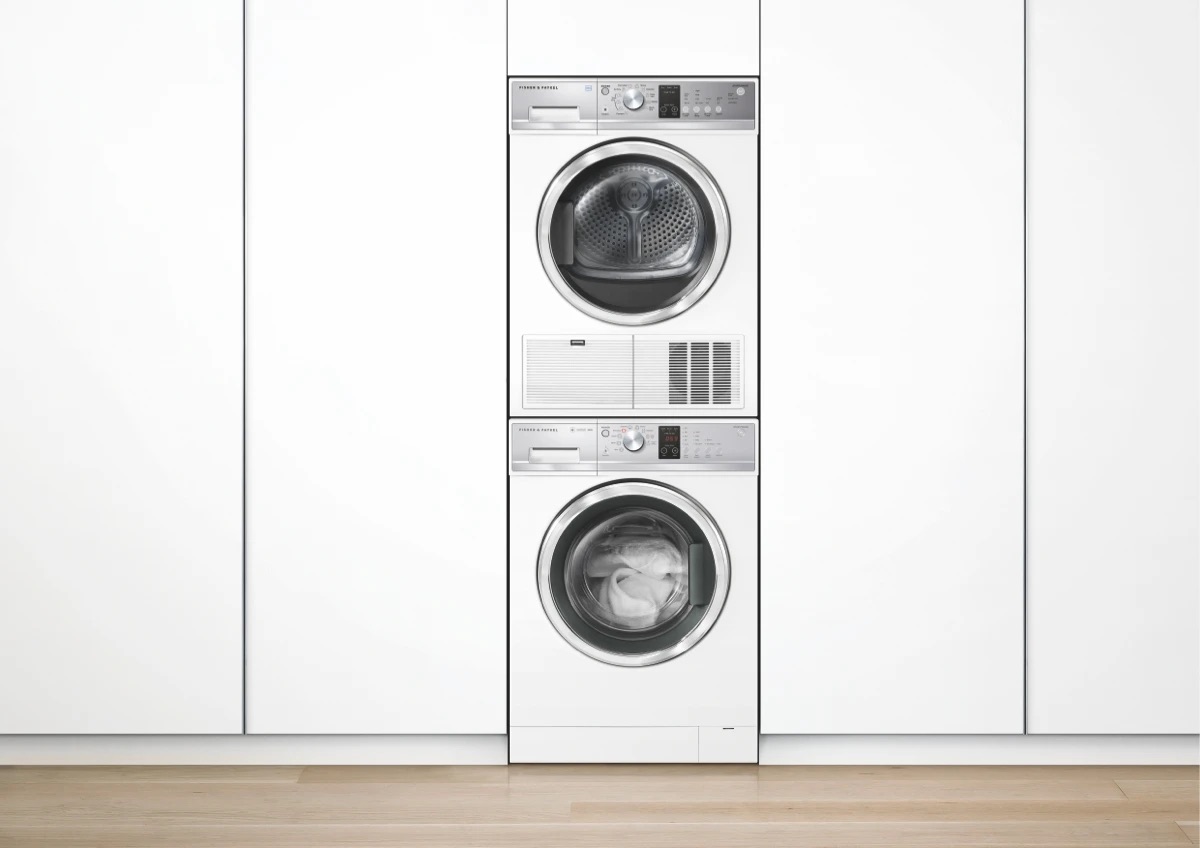
If your stackable washer dryer is currently stacked using a stacking kit, you’ll need to prepare it for the move. The stacking kit helps secure the units together during transportation, preventing them from shifting or falling. Follow these steps to prepare the stacking kit:
- Inspect the stacking kit: Check the condition of the stacking kit to ensure it is intact and in good shape. Look for any loose or damaged parts that may need to be replaced.
- Secure the dryer to the washer: If the dryer is not already secured to the washer using the stacking kit, follow the manufacturer’s instructions to properly install it. This usually involves attaching brackets or straps to the back of the units.
- Tighten the fasteners: Double-check that all the fasteners, such as screws or bolts, are tightened securely. This will ensure that the stacked units remain stable during the move.
- Wrap the stacking kit: Use moving blankets or bubble wrap to protect the stacking kit from any scratches or damage during transportation.
By preparing the stacking kit properly, you can ensure the stability and safety of your stackable washer dryer during the move. Take the time to inspect and secure the kit before proceeding to the next step.
It’s important to note that not all stackable washer dryers require a stacking kit. Some models may already have built-in mechanisms to prevent the units from separating. If this is the case for your washer dryer, you can skip this step and move on to the next.
When moving a stackable washer dryer, make sure to secure the drum and any loose parts to prevent damage during transportation. Also, disconnect and properly cap off the water and gas lines to avoid leaks.
Read more: How To Clean A Washer And Dryer
Step 5: Safely lift and move the stacked washer dryer
Now that you have everything prepared, it’s time to safely lift and move the stacked washer dryer to its new location. Follow these steps to ensure a smooth and secure transfer:
- Clear the path: Before attempting to lift the stacked units, make sure the path is clear of any obstacles or tripping hazards. This will ensure a safer and smoother movement.
- Use proper lifting techniques: Bend at the knees and use your leg muscles to lift the stacked washer dryer. Avoid putting excessive strain on your back by keeping your back straight and using proper lifting form.
- Enlist a partner: Moving a stackable washer dryer on your own can be challenging and unsafe. It’s best to have a friend or family member assist you in lifting and moving the units.
- Secure the units to a dolly: Strap or secure the stacked units to an appliance dolly or hand truck. This will provide additional stability and make it easier to maneuver through doorways and hallways.
- Slide the units carefully: Use furniture sliders or blankets underneath the dolly to slide the stacked units smoothly across the floor. Avoid lifting or dragging the units to prevent damage to the flooring.
- Be cautious with stairs: If you need to navigate stairs, take extra precautions. Go slowly, and have your partner assist in guiding and supporting the stacked units as you descend or ascend.
Remember, safety should be your top priority when lifting and moving heavy objects like a stacked washer dryer. Take breaks if needed, and don’t rush the process. By following these steps and using proper lifting techniques, you can successfully move the stacked units without risking any injuries.
Step 6: Fit the stacked units into the desired location
Once you have safely transported the stacked washer dryer to its new location, it’s time to fit it into place. Follow these steps to ensure a proper fit:
- Measure the space: Take measurements of the new location to ensure that it can accommodate the stacked washer dryer. Consider factors such as height, width, and depth to ensure a proper fit.
- Clear the area: Remove any obstacles or items that may hinder the installation process. Clean the area if needed to ensure a clean and stable surface for the stacked units.
- Maneuver the units into place: Use your partner’s assistance to carefully maneuver the stacked washer dryer into the desired location. Take note of any tight corners or narrow doorways that may require additional care.
- Place the units level: Use a bubble level to ensure that the stacked units are level and even. Adjust the position as needed to achieve a balanced and stable installation.
- Check for proper ventilation: If your dryer is vented, ensure that there is proper ventilation in the new location. Make sure the vent hose can be properly attached to prevent any airflow restrictions.
By following these steps, you can ensure that the stacked washer dryer fits properly into the new location. It’s essential to take the time to measure, clear the area, and position the units correctly to avoid any future issues.
Once the units are in place, you can move on to the next step of reconnecting the washer and dryer.
Step 7: Reconnect the washer and dryer
Now that the stacked washer dryer is in its new location, it’s time to reconnect the units and prepare them for use. Follow these steps to properly reconnect the washer and dryer:
- Position the units: Ensure that the washer and dryer are positioned correctly and aligned properly. This will make it easier to reconnect the necessary components.
- Reattach the vent hose: If your dryer is vented, reattach the vent hose to the back of the dryer. Make sure it is securely connected with the appropriate clamps or screws.
- Connect the water hoses: Using an adjustable wrench, reattach the water hoses to the back of the washer. Ensure that the connections are tight and secure to prevent any leaks.
- Plug in the power cords: Restore power by plugging both the washer and dryer into their respective electrical outlets. Make sure the outlets are functioning properly.
- Turn on the water supply: Open the water shut-off valves to restore the water supply to the washer. Check for any leaks and ensure that the water is flowing correctly.
It’s important to double-check all the connections and ensure that they are secure before proceeding. This will help prevent any potential issues, such as leaks or electrical problems, once the units are in use.
Once you have reconnected the washer and dryer, you can move on to the final step of testing the units to ensure that they are functioning properly.
Step 8: Test the washer and dryer to ensure proper functioning
After reconnecting the washer and dryer, it’s crucial to test both units to ensure they are functioning properly in their new location. Follow these steps to test your stackable washer dryer:
- Run a test cycle: Start by running a test cycle on the washer to make sure it fills, agitates, and drains as expected. Check for any unusual noises or leaks during the cycle.
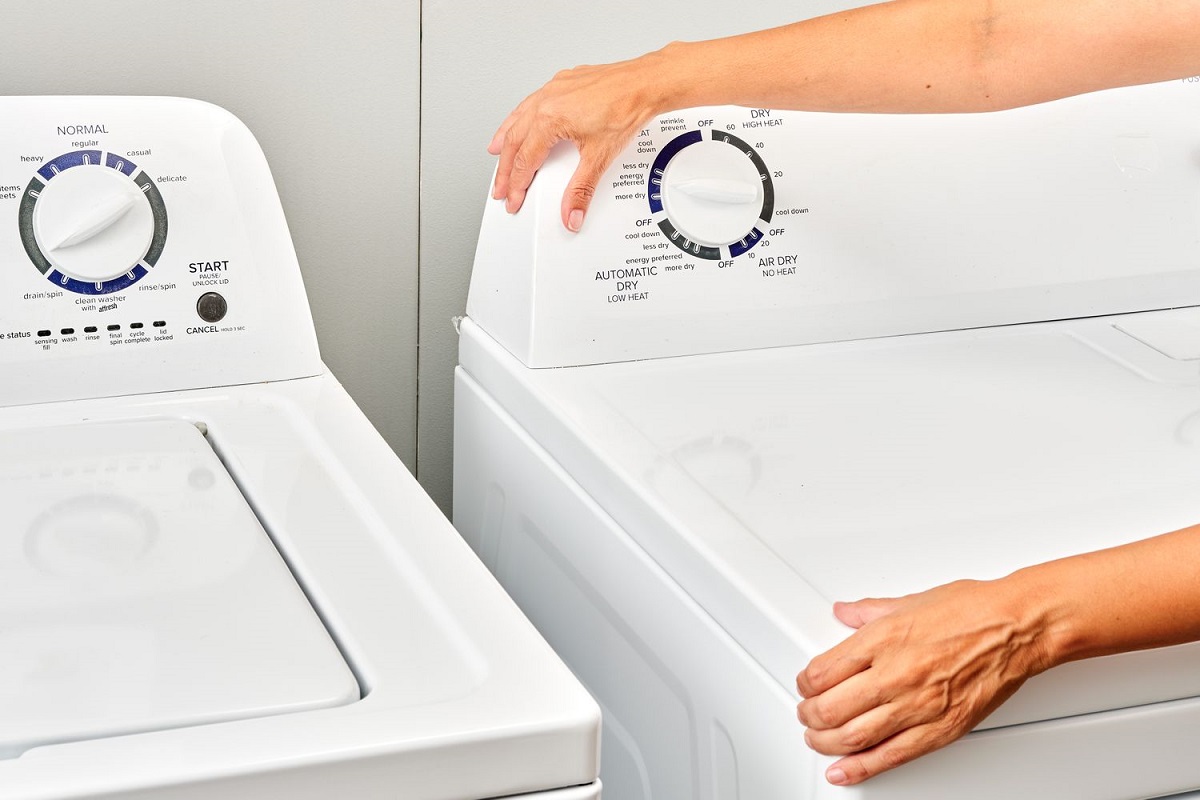
- Check the dryer settings: Adjust the dryer settings and run a short drying cycle to test the heat and airflow. Ensure that the dryer is heating up properly and that the clothes are drying efficiently.
- Inspect for any issues: Take a close look at both the washer and dryer for any signs of malfunction or damage. Look for any leaks, strange noises, or error codes that may indicate a problem.
- Read the user manual: Refer to the user manual for any specific instructions on testing and troubleshooting for your particular stackable washer dryer model.
By running these tests and inspecting for any issues, you can identify and address any potential problems early on. It’s essential to ensure that both units are working optimally to avoid any inconvenience or costly repairs down the line.
If you notice any issues or concerns during the testing process, consult the user manual or contact the manufacturer for further guidance. They will be able to provide specific troubleshooting advice or recommend professional assistance if needed.
Once you have confirmed that both the washer and dryer are functioning properly, congratulations! You have successfully moved your stackable washer dryer to a new location.
Read more: How To Clean Washer And Dryer
Conclusion
Moving a stackable washer dryer may seem like a daunting task, but with the right knowledge and preparation, it can be done efficiently and safely. By following the step-by-step guide outlined in this article, you can successfully move your stackable washer dryer to a new location or rearrange your laundry area.
From gathering the necessary tools and supplies to safely lifting and moving the units, each step plays a crucial role in ensuring a smooth and successful moving process. By taking the time to disconnect the washer and dryer, remove any attachments or accessories, and prepare the stacking kit if applicable, you can properly secure the units for transportation.
Once in their new location, fitting the stacked units into place and reconnecting the washer and dryer will ensure proper functionality. Finally, testing both units to ensure they are working correctly and addressing any issues that may arise will provide peace of mind that your stackable washer dryer is ready for use.
Remember to always prioritize safety throughout the process, asking for assistance when needed, and following proper lifting techniques to avoid any injuries. Additionally, make sure to refer to your user manual for any specific instructions or troubleshooting tips for your particular stackable washer dryer model.
Moving a stackable washer dryer can be a task that requires careful planning and execution. With the information provided in this article, you are now equipped with the knowledge and confidence to move your stackable washer dryer efficiently and safely.
So go ahead and put these steps into action, and enjoy your newly arranged laundry area or new home with your stackable washer dryer in its perfect location!
Now that you've mastered moving your stackable washer dryer, why stop there? If you're considering an upgrade or simply curious about what's hot on the market, don't miss our feature on the latest innovations in stackable washer dryers for the upcoming year. You'll find handy reviews and insights that could transform your laundry routine. Ready to see what's next in home appliance trends? Check out our detailed guide!
Frequently Asked Questions about How To Move A Stackable Washer Dryer
Was this page helpful?
At Storables.com, we guarantee accurate and reliable information. Our content, validated by Expert Board Contributors, is crafted following stringent Editorial Policies. We're committed to providing you with well-researched, expert-backed insights for all your informational needs.


0 thoughts on “How To Move A Stackable Washer Dryer”