
Articles
How To Move A Stacked Washer And Dryer
Modified: February 20, 2024
Learn the best techniques and tips for safely moving a stacked washer and dryer in this comprehensive article. Find step-by-step instructions and expert advice to make your move a breeze.
(Many of the links in this article redirect to a specific reviewed product. Your purchase of these products through affiliate links helps to generate commission for Storables.com, at no extra cost. Learn more)
Introduction
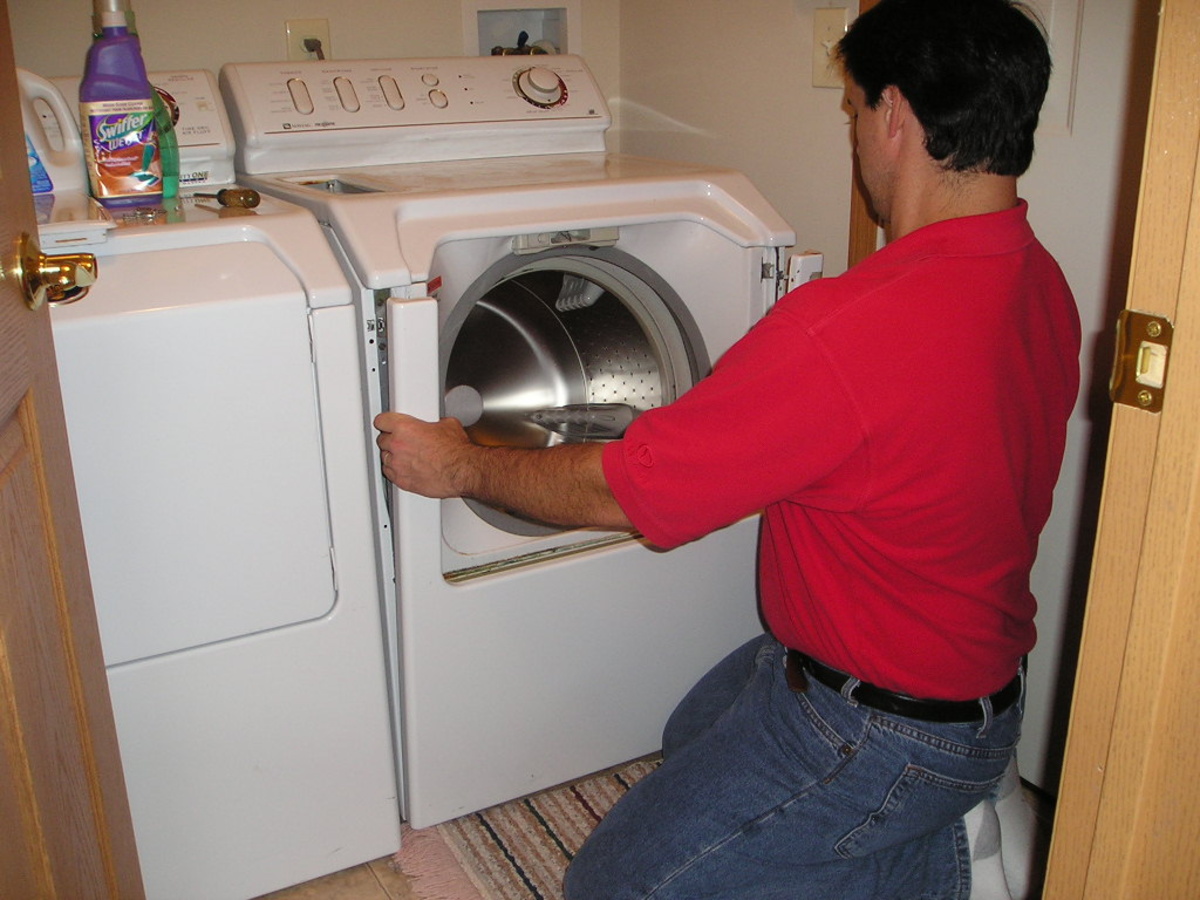
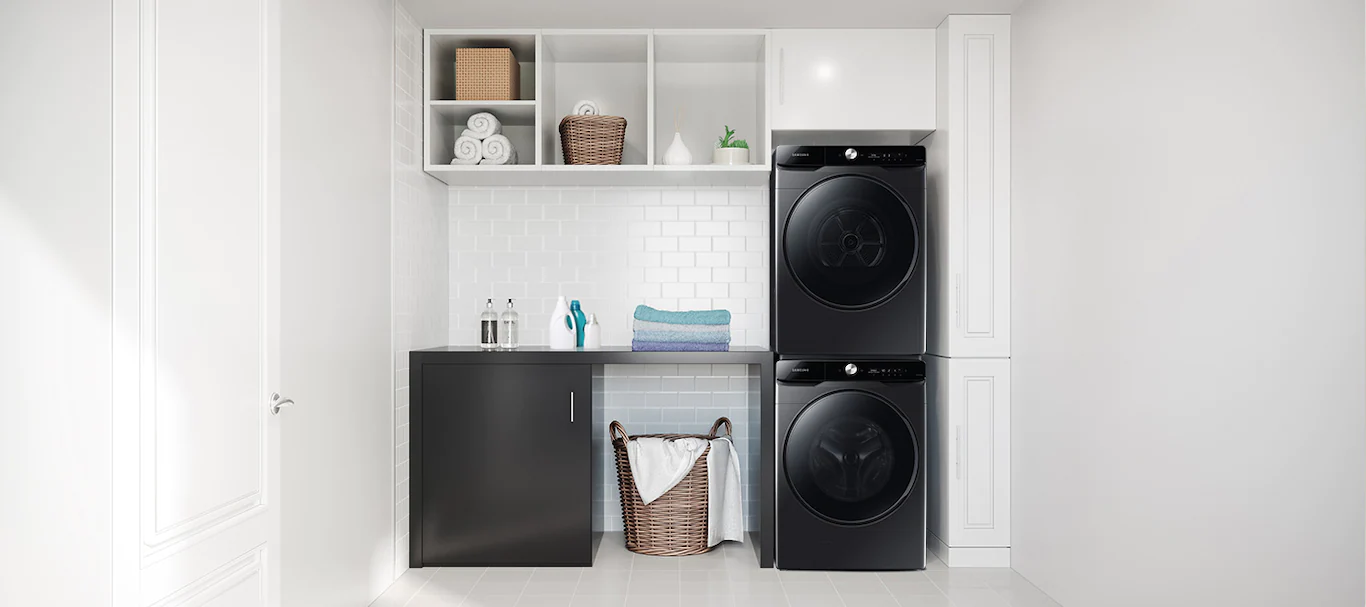
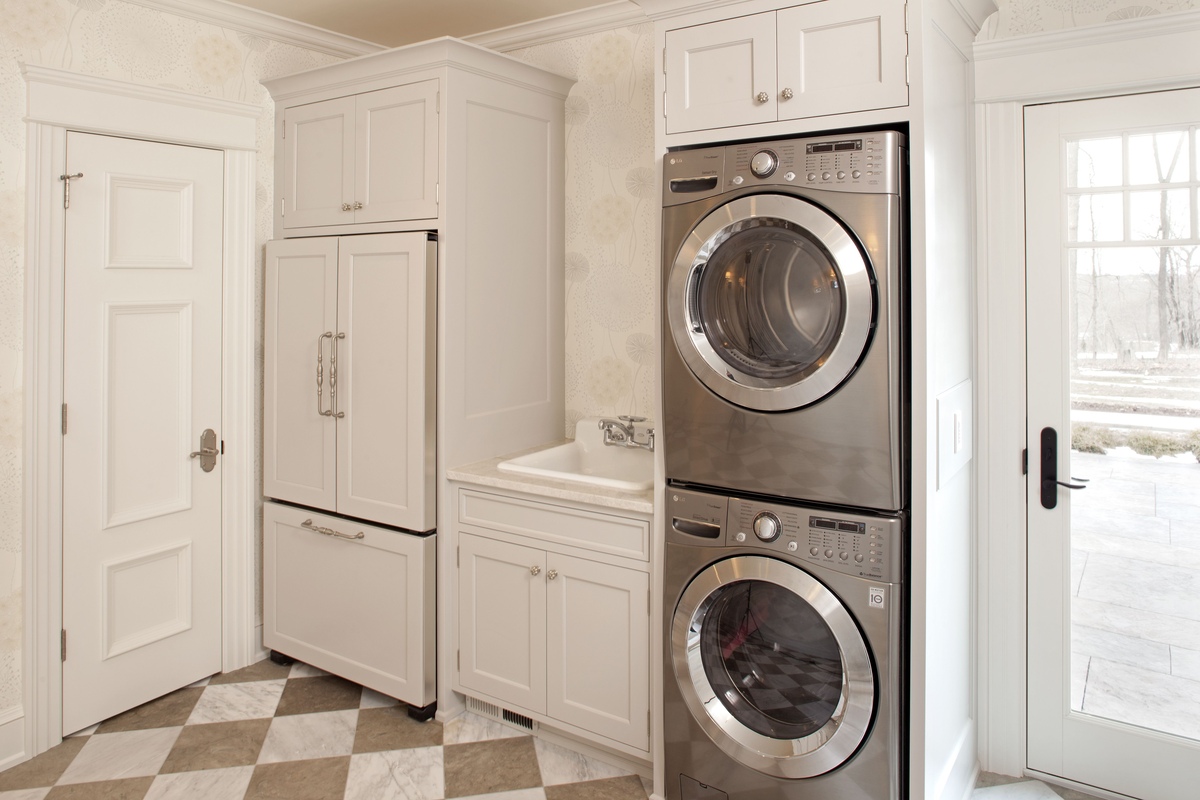
Whether you’re moving to a new home or simply rearranging your laundry room, knowing how to move a stacked washer and dryer is essential. Stacked units are a popular choice for conserving space, as they combine the convenience of a washing machine and dryer in one vertical unit. However, their size and weight can make the moving process challenging.
In this article, we will guide you through the steps to safely and efficiently move a stacked washer and dryer. By following these instructions, you can ensure that your appliances are relocated without any damage. So, grab your toolkit and let’s get started!
Key Takeaways:
- Ensure you have the necessary tools and supplies, disconnect power and utilities, secure loose parts, and empty the appliances before moving your stacked washer and dryer for a smooth and successful relocation.
- Take your time, prioritize safety, and follow the step-by-step guide to unstack, prepare the new location, and reconnect power and utilities to safely and efficiently move your stacked washer and dryer.
Read more: How To Move A Stacked Washer Dryer
Step 1: Gather necessary tools and supplies
Before you begin the process of moving your stacked washer and dryer, it’s essential to gather all the necessary tools and supplies. Having everything prepared in advance will save you time and ensure a smooth moving experience. Here is a list of items you will need:
- Tape measure
- Adjustable wrench
- Screwdriver (both Phillips and flathead)
- Appliance dolly or hand truck with straps
- Furniture sliders
- Protective blankets or moving pads
- Plastic zip ties or bungee cords
- Moving straps or ropes
Make sure you have these tools on hand before you begin the moving process. It’s also a good idea to have a helper for lifting and maneuvering the appliances during the move.
Once you have all the necessary tools and supplies, you can proceed to the next step in the process.
Step 2: Disconnect the power and utilities
Before moving your stacked washer and dryer, it’s crucial to disconnect the power and utilities to prevent any accidents or damage. Here’s a step-by-step guide on how to do it:
- Unplug the power cord: Start by unplugging the power cord from the electrical outlet. Make sure to do this for both the washer and dryer units.
- Turn off the water supply: Locate the water valves behind the washer. Turn them clockwise to shut off the water supply. Once closed, disconnect the water hoses from the back of the units. Be prepared for any water that may drain from the hoses.
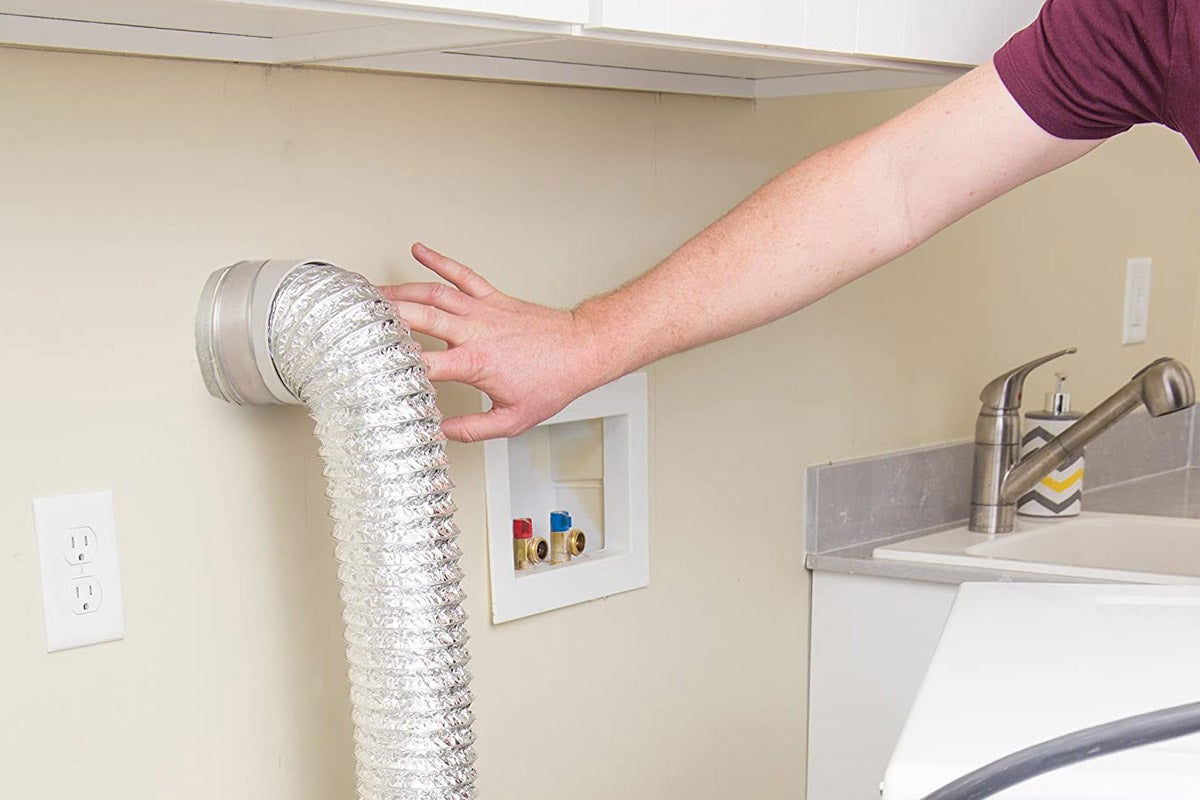
- Detach the dryer vent: If your dryer is vented, disconnect the vent hose from the back. This hose is usually secured with clamps. Use a screwdriver or pliers to loosen and remove the clamps, allowing you to disconnect the hose.
- Disconnect the washer hoses: For the washer, you’ll need to disconnect the hot and cold water hoses. Use an adjustable wrench to loosen and remove the hose connections from the washer. Place a towel or bucket underneath to catch any remaining water that may drain out.
Once you have disconnected all the power and utilities, it’s important to secure any loose cords or hoses. You can use zip ties or bungee cords to tie them together and prevent any tripping hazards during the move.
With the power and utilities disconnected and secured, you’re now ready to move on to the next step in the process.
Step 3: Secure any loose parts or accessories
Before moving your stacked washer and dryer, it’s important to secure any loose parts or accessories to prevent them from getting damaged or lost during transportation. Here are a few key steps to follow:
- Remove removable parts: Take a look at your washer and dryer and identify any removable parts or accessories. This could include lint traps, detergent compartments, or dryer racks. Remove these items and set them aside in a safe place, such as a ziplock bag or a small box.
- Tie up loose cords: Bundle up any power cords, hoses, or vent hoses and secure them with zip ties or twist ties. Keeping these cords neat and organized not only prevents them from getting tangled or damaged but also makes it easier to move the appliances.
- Secure drum or tub: For front-loading washers, you may need to secure the drum or tub. Most models have a shipping rod or bracket that needs to be inserted to keep the drum in place during transportation. Refer to your washer’s manual to find the appropriate securing method.
- Duct tape any loose panels: If there are any loose panels or doors on your washer and dryer, use duct tape to secure them in place. This will prevent them from swinging open during transit and potentially causing damage.
By taking these steps to secure any loose parts or accessories, you can ensure that they are protected and ready to be safely moved to the new location.
With everything secured, you’re now ready to move on to the next step in the process.
Step 4: Empty the washer and dryer
Before moving your stacked washer and dryer, it’s important to empty them of any contents. This not only helps lighten the load for moving but also prevents any damage or spills during transportation. Here’s what you need to do:
- Remove clothing and other items: Start by taking out all the clothes, towels, or other items from the washer and dryer. Check all the pockets to make sure nothing is left behind.
- Clean out the washer drum: If there is any water left in the washer drum, run a drain and spin cycle to remove it completely. Once the drum is empty, wipe it down with a clean, dry cloth to ensure there is no moisture remaining.
- Clean out the dryer lint trap: Remove the lint trap from the dryer and clean out any accumulated lint. A clogged lint trap can reduce the efficiency of your dryer and potentially pose a fire hazard.
- Empty detergent or fabric softener containers: If there are any detergent or fabric softener containers attached to your washer or dryer, remove them and empty them out. This will prevent any spills or leaks during transport.
By emptying the washer and dryer, you eliminate the risk of damaging items inside and ensure a clean start in your new location. Plus, it makes the appliances lighter and easier to lift and maneuver.
With the washer and dryer emptied, you’re now ready to move on to the next step in the process.
Read more: How To Stack Washer And Dryer
Step 5: Unstack the washer and dryer
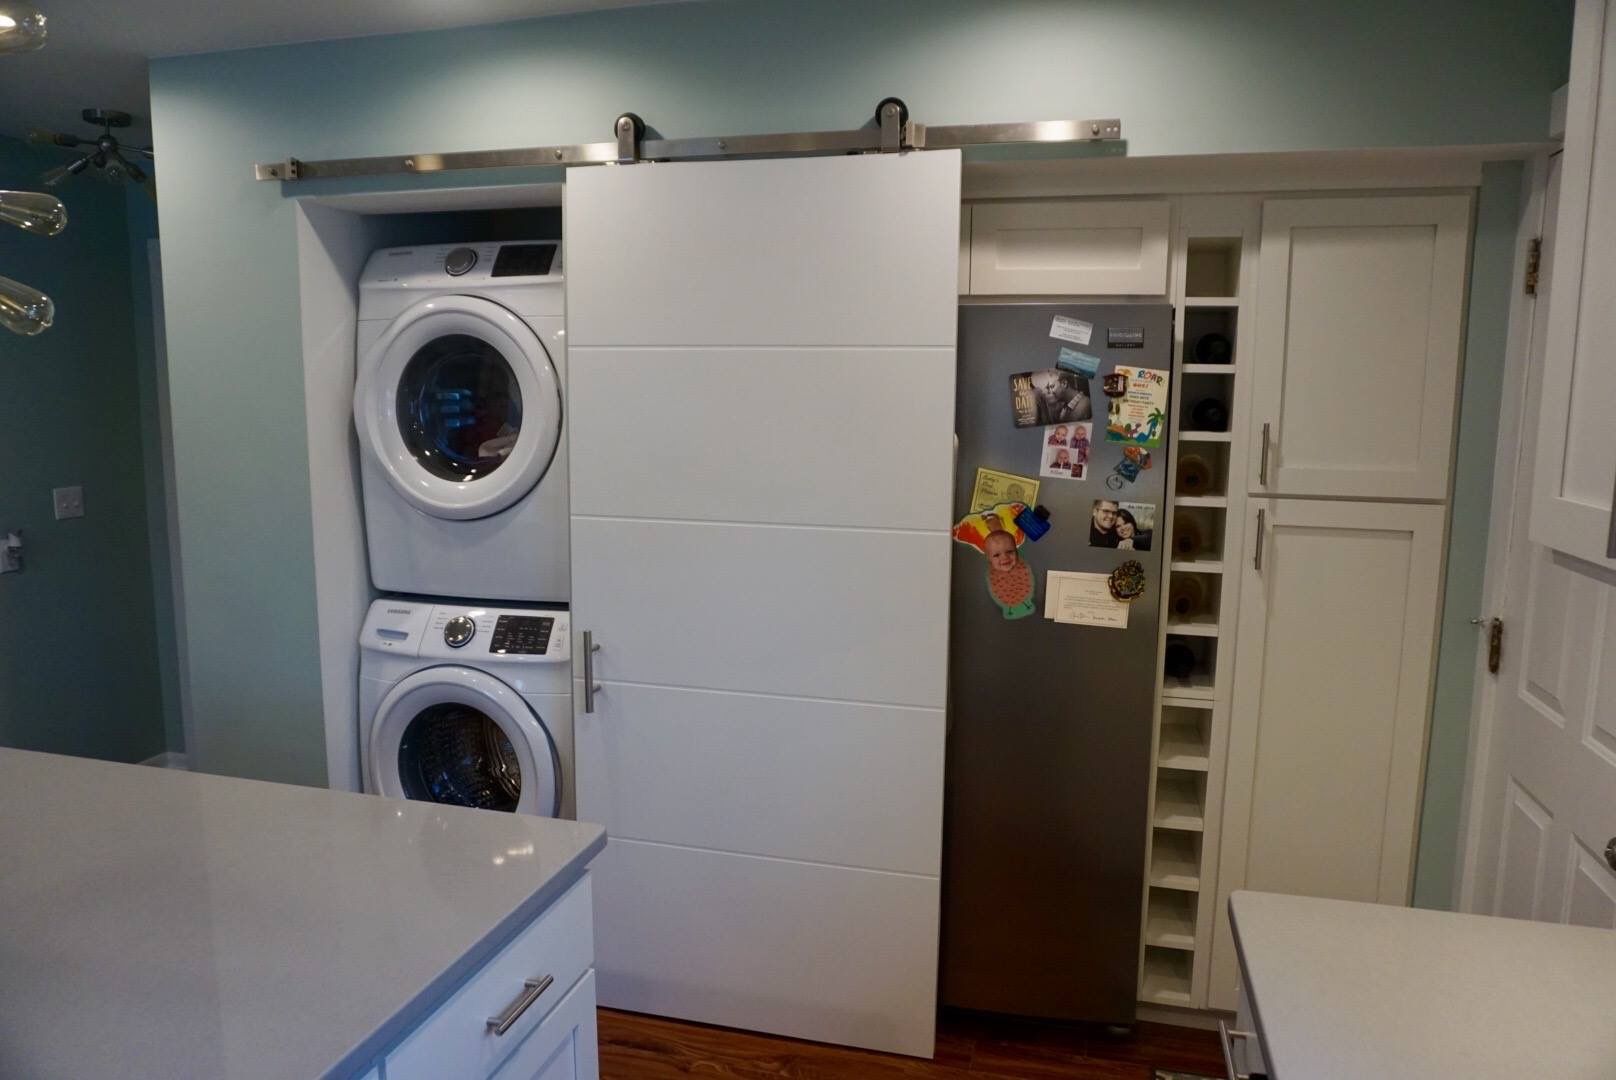
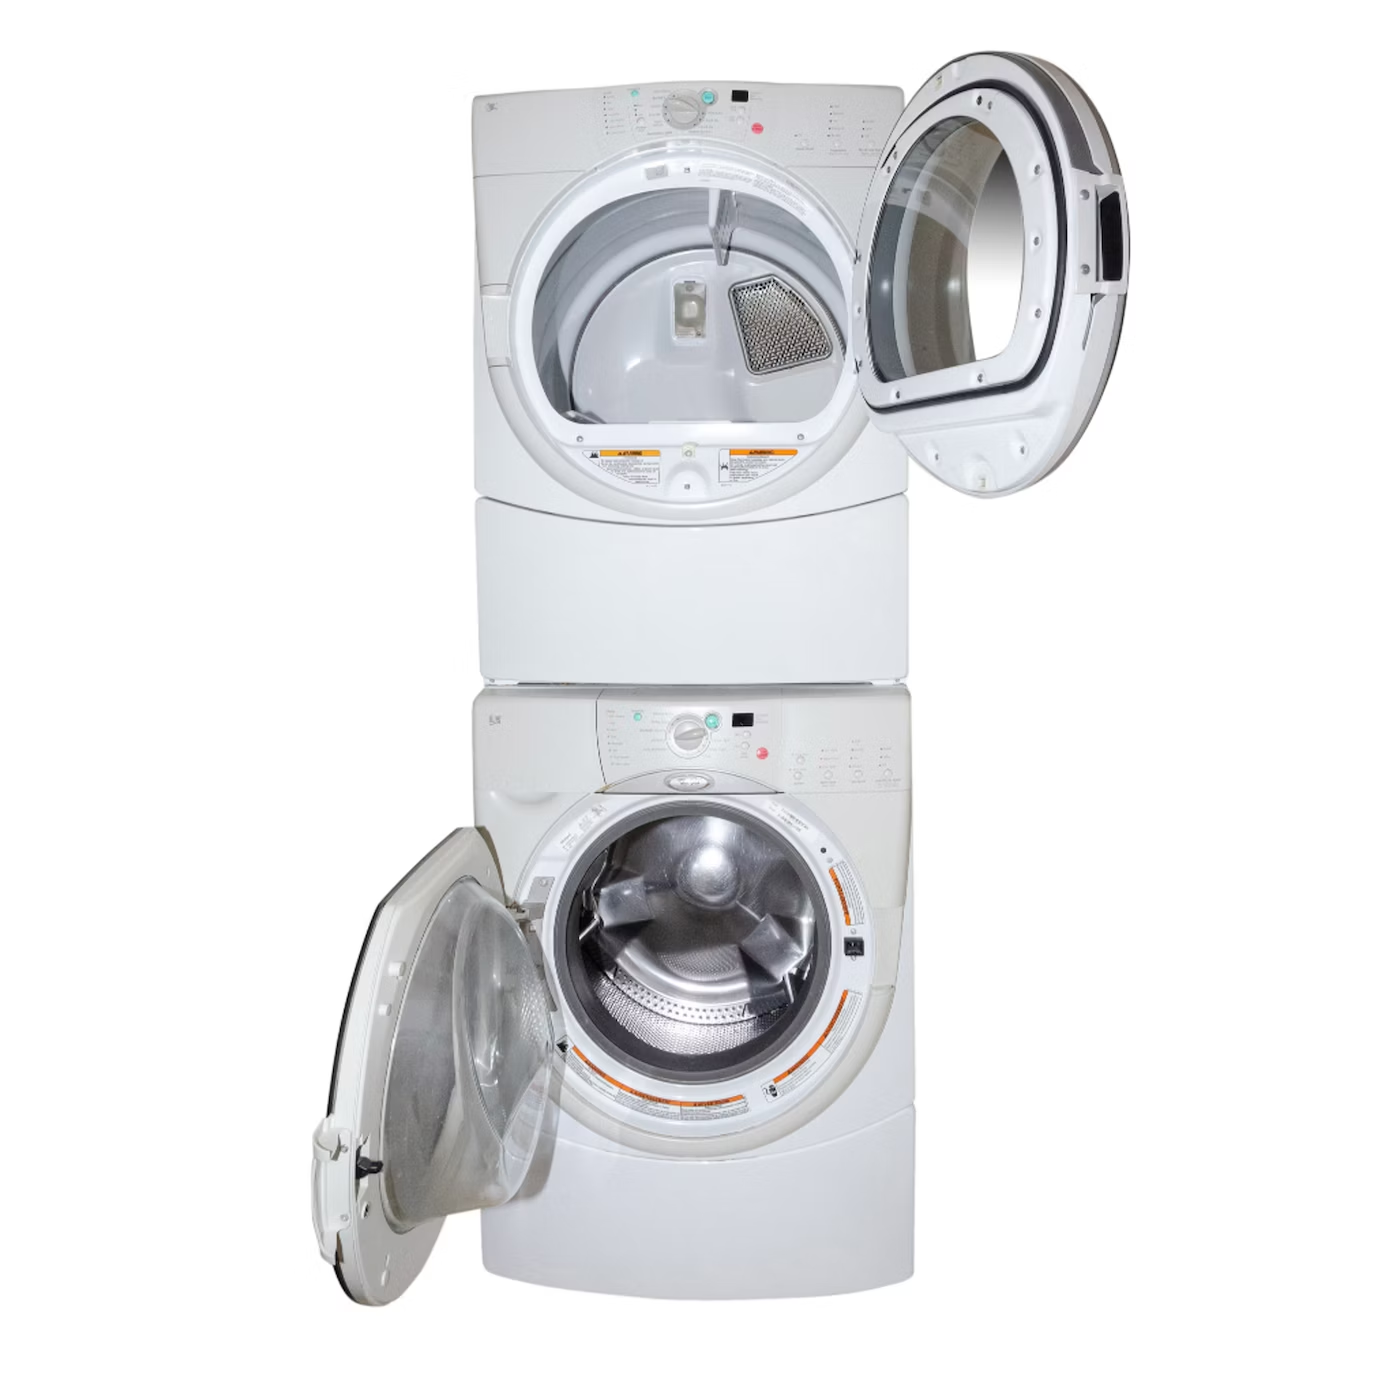
If you have a stacked washer and dryer unit, you’ll need to unstack them before moving. This step requires caution and proper technique to ensure a safe and successful separation. Here’s how to unstack your washer and dryer:
- Disconnect any interlocking mechanisms: Check if your stacked washer and dryer have any interlocking mechanisms that keep them securely stacked. These may include brackets, clips, or screws. Use the appropriate tools, such as a screwdriver or wrench, to remove these connections and separate the units.
- Support the units during separation: It’s important to have a helper during the unstacking process. As you begin to separate the units, make sure your helper supports the weight of the top appliance. This will prevent it from tipping over or causing any injuries.
- Slowly and carefully lift the top unit: With your helper’s assistance, gently lift the top unit of the stacked washer and dryer. Lift it straight up, making sure to keep it steady and balanced. Avoid any sudden movements that may cause the unit to sway or slip out of control.
- Place the top unit safely: Once the top unit is lifted, carefully set it down on the floor or a stable surface nearby. Make sure to choose a safe location away from foot traffic or potential hazards.
- Adjust the remaining appliance: The bottom appliance may need some readjustment after unstacking. Take a moment to center it and ensure it is stable and level. This will ensure safe operation and prevent any damage during transportation.
By following these steps, you can successfully unstack your washer and dryer without any accidents or damage. Remember to prioritize safety and take your time during this process.
With the washer and dryer unstacked, you’re now ready to move on to the next step in the process.
Before moving a stacked washer and dryer, make sure to disconnect all the power and water connections. Use a moving dolly to carefully transport the unit, and secure it with straps to prevent tipping.
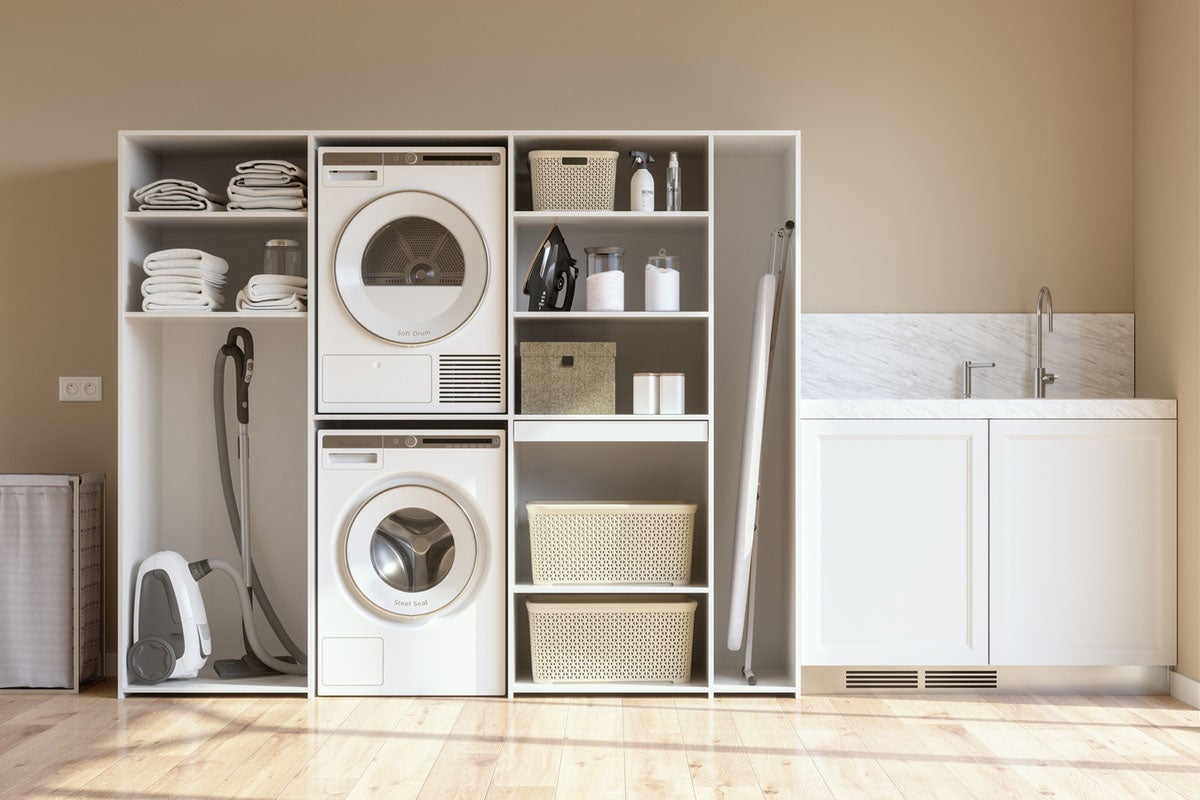
Step 6: Prepare the new location
Before you can move your stacked washer and dryer to their new location, it’s important to prepare the area to ensure a smooth installation. Here are the key steps to follow:
- Measure the space: Start by measuring the dimensions of the new location where you plan to install the washer and dryer. Ensure that there is enough space for both appliances and that they will fit comfortably without any obstructions.
- Clean the area: Take some time to clean the area where the washer and dryer will be placed. Remove any dust, dirt, or debris to create a clean and favorable environment for your appliances.
- Check the utilities: Ensure that the necessary utilities, such as electrical outlets and water connections, are available in the new location. Check that the outlets are in proper working condition and that the water connections are easily accessible.
- Install any necessary accessories: If your new location requires any additional accessories, such as a vent hose for the dryer or a drain hose for the washer, make sure to install them prior to moving the appliances. Follow the manufacturer’s instructions for proper installation.
- Level the floor: Check the levelness of the floor in the new location. Use a level tool to ensure that the floor is even. If it’s not level, you may need to make adjustments, such as using shims, to create a stable and balanced surface.
By properly preparing the new location, you can ensure a seamless transition for your stacked washer and dryer. This preparation will help facilitate a smooth installation process and minimize any potential issues or complications.
With the new location prepared, you’re now ready to move on to the next step in the process.
Step 7: Move the washer and dryer to the new location
Now that you have prepared the new location for your stacked washer and dryer, it’s time to move the appliances safely and securely. Follow these steps to ensure a smooth and successful transfer:
- Position the appliance dolly: Place the appliance dolly or hand truck near the washer and dryer. Ensure that the dolly is stable and secure before proceeding.
- Slide the appliances onto the dolly: With the help of your assistant, carefully slide the washer and dryer onto the dolly. Tilt the appliances slightly, placing one end on the dolly and then carefully lowering the other end onto it.
- Secure the appliances to the dolly: Use straps or ropes to secure the washer and dryer to the dolly. Make sure they are tightly fastened to prevent any movement or shifting during transportation.
- Maneuver the dolly: Slowly and steadily push the dolly, ensuring that the appliances remain balanced and stable. Take extra caution when navigating obstacles or stairs. If you are moving the appliances over a long distance, consider taking breaks to prevent strain.
- Unload the appliances at the new location: Once you have reached the new location, carefully unload the washer and dryer from the dolly. Use the same technique as before, tilting one end off the dolly and gently lowering the other end.
- Move the appliances into position: With the washer and dryer safely on the ground, carefully move them into their designated positions in the new location. Take your time to align them properly and ensure they are level.
By following these steps, you can safely move your stacked washer and dryer to the new location without any damage or accidents. Remember to prioritize safety and take your time during the moving process.
With the washer and dryer successfully moved to the new location, you’re now ready to move on to the next step in the process.
Step 8: Reconnect the power and utilities
Now that you have successfully moved your stacked washer and dryer to the new location, it’s time to reconnect the power and utilities to get them up and running again. Follow these steps to ensure a proper and safe reconnection:
- Position the appliances: Make sure the washer and dryer are positioned correctly in their designated spots. Ensure that they are level and stable before proceeding with the reconnection process.
- Plug in the power cords: Reconnect the power cords of both the washer and dryer to the appropriate electrical outlets. Make sure the outlets are in proper working condition and that the cords are securely plugged in.
- Reconnect the water supply: If you disconnected the water hoses during the moving process, reconnect them to the washer. Ensure that the hot and cold water hoses are correctly attached and tightly fastened.
- Attach the vent hose (for dryer): If your dryer is vented, reconnect the vent hose to the back of the dryer. Ensure that the hose is securely attached and properly aligned with the vent opening.
- Turn on the water supply: Open the water valves behind the washer to restore the water supply. Check for any leaks or drips and tighten the connections if necessary.
Once you have completed these steps, your stacked washer and dryer should be ready to use in their new location. Before running any cycles or drying any clothes, double-check that all the connections are secure and there are no signs of leaks or malfunctions.
By following these steps, you can ensure a smooth and successful reconnection of power and utilities for your stacked washer and dryer.
With the power and utilities reconnected, you’re now ready to move on to the final step in the process.
Read more: How To Move A Washer And Dryer
Step 9: Level and secure the washer and dryer
After re-connecting the power and utilities to your stacked washer and dryer, the final step is to level and secure the appliances. This ensures proper functionality, prevents unnecessary vibrations, and reduces the risk of damage. Follow these steps to complete the process:
- Use a level tool: Place a level tool on top of the washer and dryer to check if they are balanced. Adjust the positioning of the appliances, using shims if necessary, to achieve a level surface. This helps to prevent the appliances from rocking or vibrating during operation.
- Secure the appliances: Once the appliances are level, secure them in place to prevent movement or shifting. You can use furniture straps, brackets, or anti-tip devices to anchor the appliances to the wall or floor. Follow the manufacturer’s instructions for proper installation of these safety devices.
- Test for stability: Give the appliances a gentle push to ensure they are stable and securely anchored. If there is any wobbling or movement, double-check the levelness and the security of the stabilization devices.
By properly leveling and securing the washer and dryer, you minimize the risk of accidents, improve their performance, and prolong their lifespan. It is an important step to promote safe and efficient operation.
With the washer and dryer now level and securely positioned in their new location, your moving process is complete! Take a moment to double-check all the connections, ensure the appliances are properly secured, and congratulate yourself on a job well done.
Following these steps and taking the necessary precautions will ensure a successful and stress-free relocation of your stacked washer and dryer. Now, you can enjoy the convenience of clean clothes in your new laundry room!
Remember that if you encounter any difficulties or are unsure about any step, it’s always best to consult the manufacturer’s instructions or seek the assistance of a professional to ensure the safety and proper functioning of your appliances.
Conclusion
Moving a stacked washer and dryer can seem like a daunting task, but with the right preparation and careful execution, it can be a smooth and successful process. By following the steps outlined in this guide, you can ensure the safe and efficient relocation of your appliances.
Starting with gathering the necessary tools and supplies, you can be well-equipped for the move. Disconnecting the power and utilities is crucial to ensure safety during the process. Securing any loose parts and accessories prevents damage and loss. Emptying the washer and dryer of contents avoids spills and lightens the load.
Unstacking the appliances requires caution and the help of a partner. Preparing the new location by measuring the space and cleaning the area ensures a smooth installation. Moving the appliances to the new location using an appliance dolly or hand truck requires care and attention.
Reconnecting the power and utilities is the next step, followed by leveling and securing the appliances for stability and optimal performance. Throughout the entire process, prioritize safety and take your time to avoid any accidents or damage.
By following these steps and utilizing the tips provided, you can successfully move your stacked washer and dryer to a new location. Remember to consult the manufacturer’s instructions for your specific appliances and seek assistance if needed.
Now that your stacked washer and dryer is in its new home, you can enjoy the convenience of clean and fresh laundry without the stress of the moving process. Take a moment to appreciate your accomplishment and settle into your new laundry room.
Happy washing and drying!
Frequently Asked Questions about How To Move A Stacked Washer And Dryer
Was this page helpful?
At Storables.com, we guarantee accurate and reliable information. Our content, validated by Expert Board Contributors, is crafted following stringent Editorial Policies. We're committed to providing you with well-researched, expert-backed insights for all your informational needs.


0 thoughts on “How To Move A Stacked Washer And Dryer”