Articles
How To Fix Dryer
Modified: August 28, 2024
Discover expert articles on how to fix your dryer and get it back up and running efficiently. Explore step-by-step guides and troubleshooting tips.
(Many of the links in this article redirect to a specific reviewed product. Your purchase of these products through affiliate links helps to generate commission for Storables.com, at no extra cost. Learn more)
Introduction
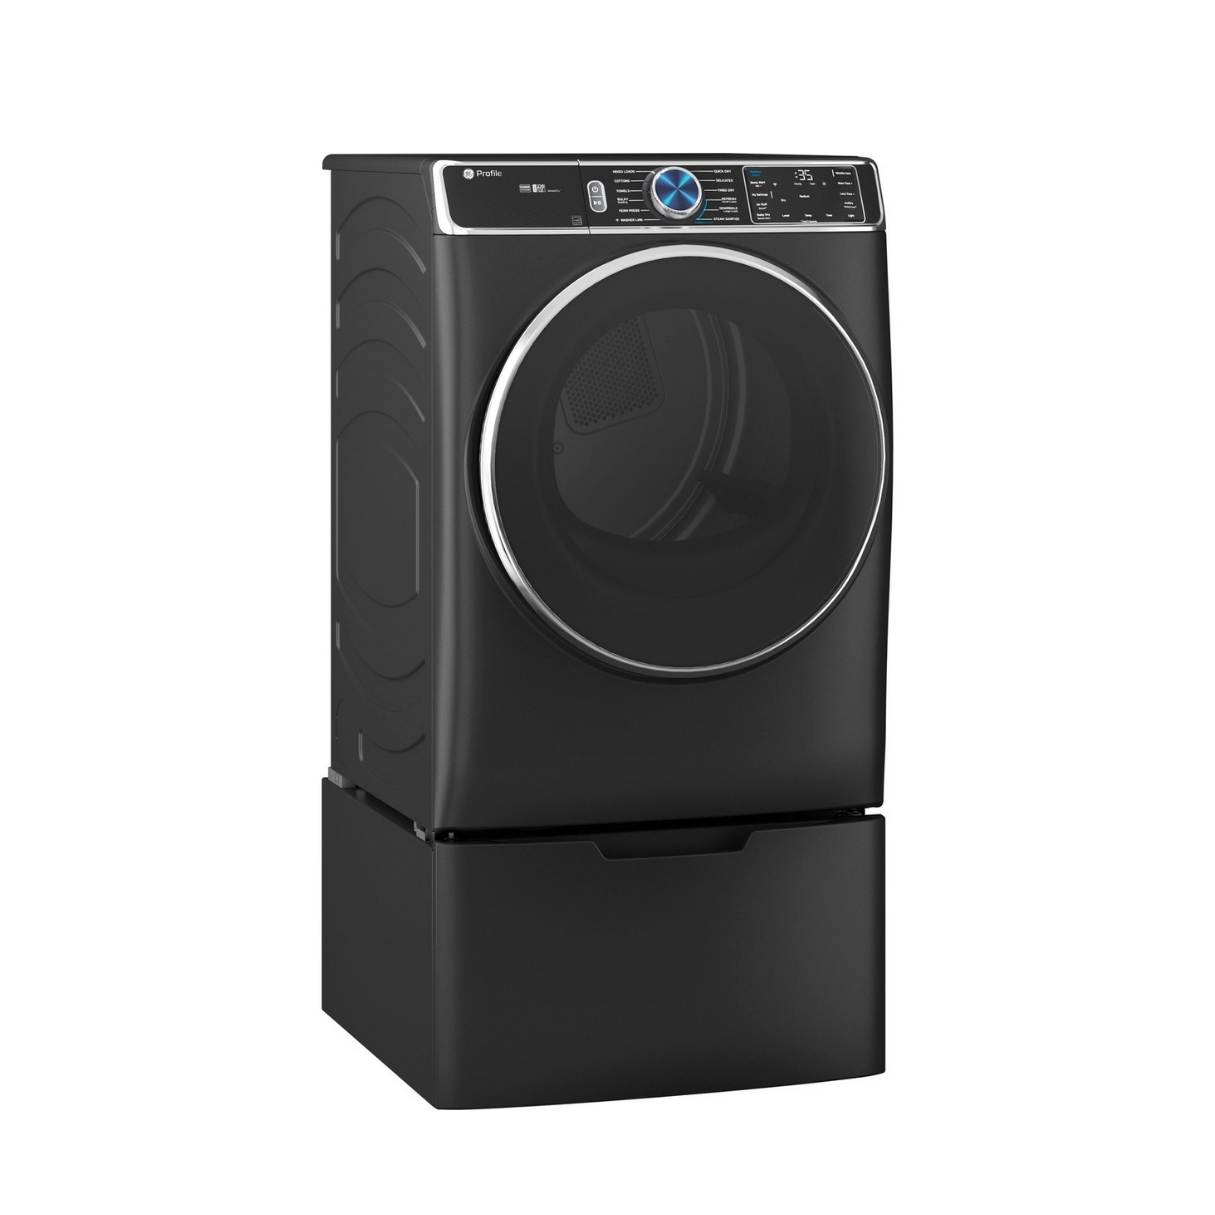
Having a dryer is a convenient and efficient way to dry your clothes, but what happens when your dryer stops doing its job and leaves your clothes feeling damp? This can be frustrating, especially when you rely on your dryer to quickly and effectively dry your laundry. The good news is that there are several common causes of dryer dryness that you can troubleshoot and fix yourself.
In this article, we will explore the most common issues that can cause a dryer to not dry clothes properly. We will provide step-by-step instructions on how to identify the problem and offer solutions to resolve it. By following these troubleshooting tips, you can get your dryer back in proper working order and have your clothes dried to perfection in no time.
Before we dive into the troubleshooting process, it’s important to note that safety should always be your top priority. Make sure to unplug your dryer before attempting any repairs or inspections, and if you are unsure or uncomfortable with any of the steps, it is best to consult a professional technician.
Now, let’s explore the common causes of dryer dryness and how to fix them.
Key Takeaways:
- Regularly cleaning the lint trap and vent is crucial for maintaining proper airflow and optimal drying performance. It is recommended to clean the lint trap after every load and thoroughly clean the vent system at least once a year.
- If you encounter complex repairs, safety concerns, warranty protection, time constraints, or repeated issues, it is advisable to contact a professional technician. They have the expertise to handle intricate repairs and ensure the safety and longevity of your appliance.
Read more: How To Fix A Whirlpool Dryer
Common Causes of Dryer Dryness
When your dryer isn’t drying your clothes properly, there can be several factors at play. Understanding these common causes can help you diagnose and fix the issue. Here are some of the most common reasons for dryer dryness:
- Clogged lint trap: Over time, the lint trap in your dryer can become clogged with lint, reducing airflow and preventing proper drying. Regularly cleaning the lint trap is essential for optimal dryer performance.
- Blocked vent: A blocked or restricted vent can also prevent adequate airflow and hinder the drying process. Check the vent outside your home to make sure it is clear of any debris or obstructions.
- Malfunctioning thermostat: The thermostat in your dryer controls the temperature during the drying cycle. If it is faulty or not calibrated correctly, it may not heat the air properly, leading to inadequate drying.
- Faulty heating element: The heating element is responsible for generating the heat that dries your clothes. If it is malfunctioning or damaged, it may not produce enough heat to effectively dry your laundry.
- Defective dryer belt: The dryer belt helps rotate the drum, allowing the clothes to tumble and dry evenly. If the belt is worn out or broken, it can result in poor drying performance.
These are just a few examples of the common causes of dryer dryness. By understanding these issues, you can start troubleshooting and fixing the problem yourself. In the following sections, we will guide you through the steps to diagnose and resolve these issues, step by step.
Check the Power Supply
One of the first things to check when your dryer is not drying properly is the power supply. Ensure that the dryer is correctly plugged into a functioning electrical outlet. Check if there are any tripped circuit breakers or blown fuses in your home’s electrical panel that may be affecting the power supply to the dryer. Reset any tripped breakers or replace blown fuses if necessary.
If the power supply seems to be working fine, move on to inspecting the dryer’s power cord. Check for any visible signs of damage such as frayed wires or loose connections. A damaged power cord can prevent the dryer from receiving adequate power, resulting in ineffective drying. If you notice any issues with the power cord, it may need to be replaced by a professional.
In some cases, the issue may lie with the dryer’s power outlet rather than the power supply itself. Test the outlet by plugging in another device and see if it is functioning properly. If the outlet is not working, you may need to contact an electrician to repair or replace it.
Additionally, it’s worth mentioning that some dryers require a certain voltage to operate efficiently. Ensure that your dryer is receiving the correct voltage as specified in the manufacturer’s instructions. If the voltage is incorrect, it can impact the dryer’s performance and drying capability.
By checking the power supply and addressing any issues related to it, you can eliminate power-related problems as the cause of your dryer’s poor drying performance.
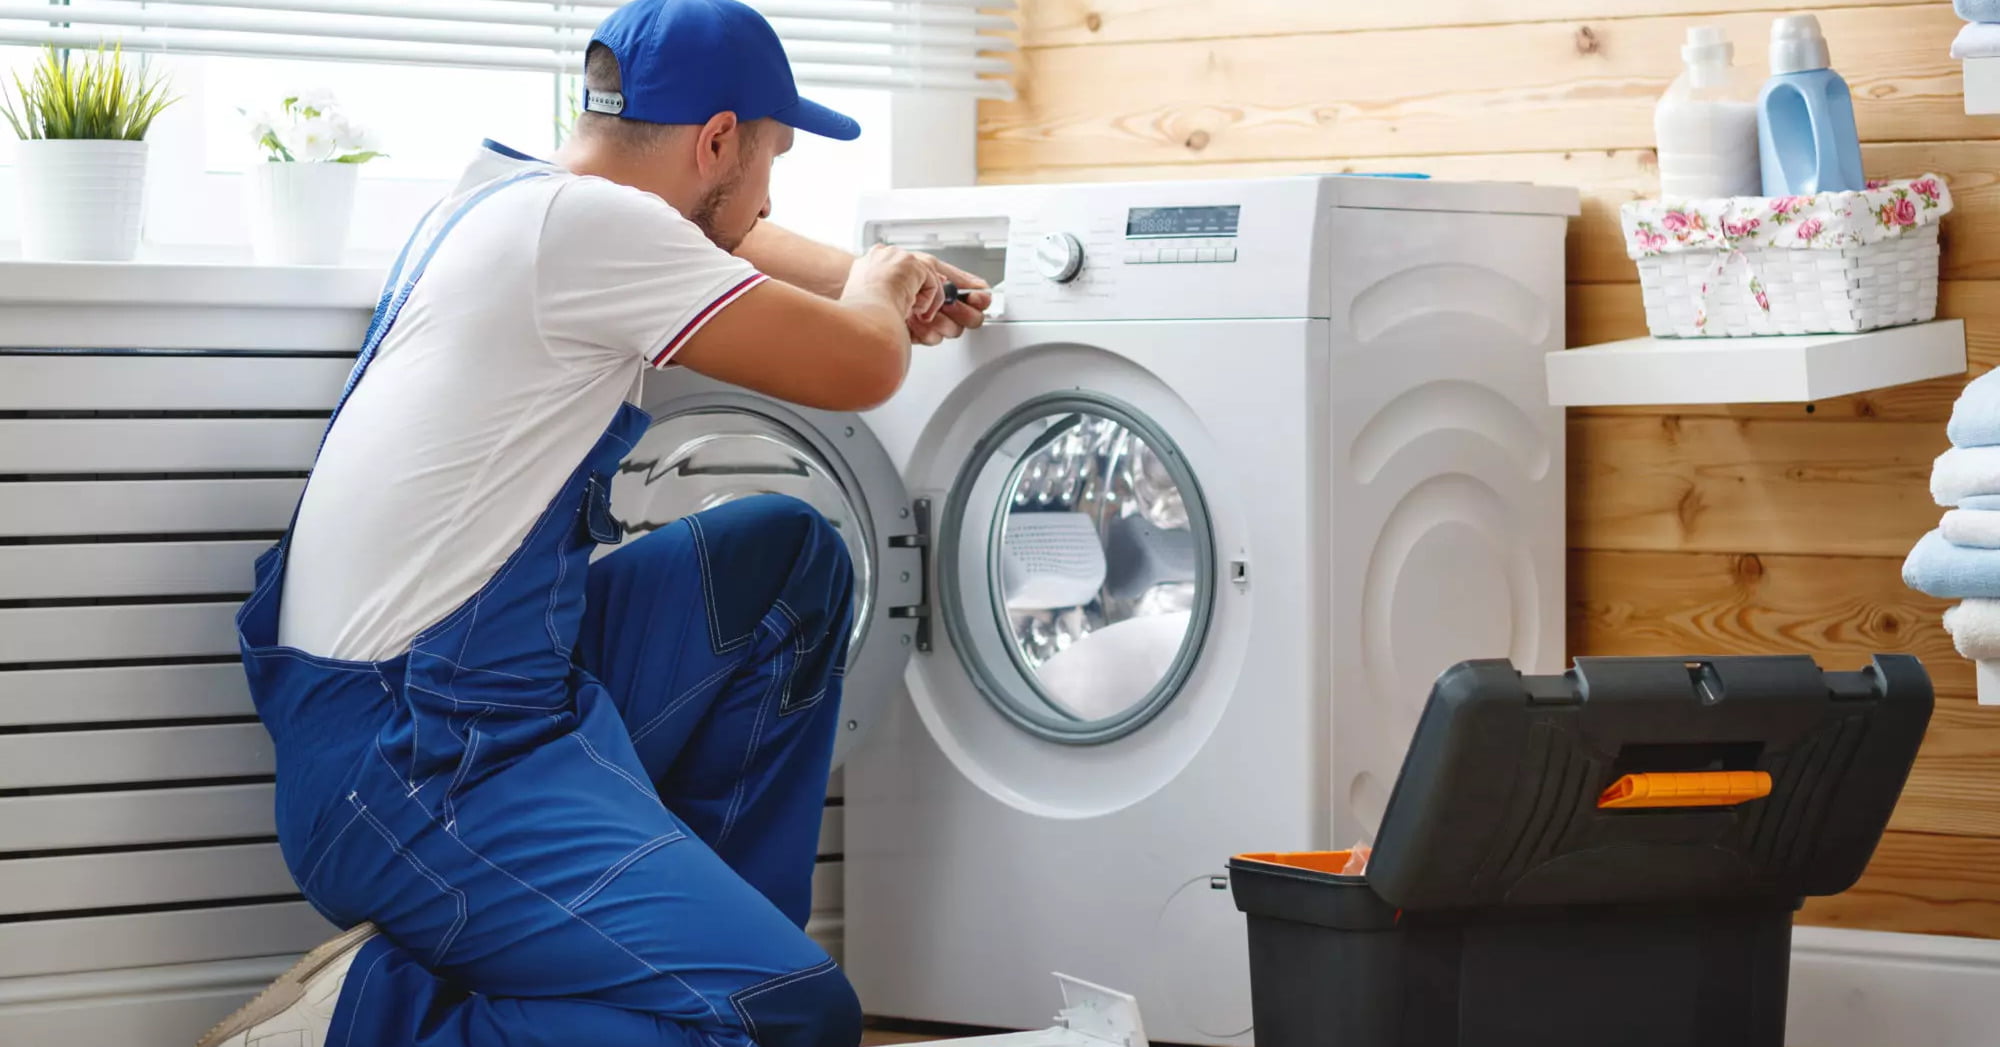
Inspect the Heating Element
When your dryer is not drying clothes properly, a malfunctioning heating element may be the culprit. The heating element is responsible for generating and distributing heat throughout the dryer, ensuring that your clothes dry thoroughly. Here’s how you can inspect the heating element:
- Unplug the dryer: Before you begin inspecting the heating element, make sure to turn off the dryer and unplug it from the power source. This is crucial for your safety.
- Locate the heating element: The heating element is typically found at the rear of the dryer or inside the dryer cabinet. Refer to your dryer’s user manual or do some research online to identify the location of the heating element in your specific dryer model.
- Inspect for visible damage: Carefully examine the heating element for any signs of damage, such as visible cracks, breaks, or burn marks. If you notice any damage, it is likely that the heating element needs to be replaced.
- Check for continuity: Using a multimeter set to the continuity or resistance mode, you can test the heating element for continuity. Disconnect the wires connected to the heating element and touch the multimeter probes to the terminals of the heating element. If the multimeter shows a reading of infinite resistance, it indicates a faulty heating element that needs to be replaced.
- Consult a professional: If you are unsure about inspecting or replacing the heating element yourself, it is recommended to consult a professional technician. They have the expertise and experience to safely handle and replace faulty heating elements.
If you determine that the heating element is indeed damaged or malfunctioning, it is important to replace it with a compatible and high-quality replacement part. Consult the manufacturer’s instructions or seek guidance from a professional to ensure you select the correct heating element for your dryer model.
Inspecting the heating element is an essential step in troubleshooting dryer dryness. By identifying and addressing any issues with the heating element, you can restore the proper drying function of your dryer.
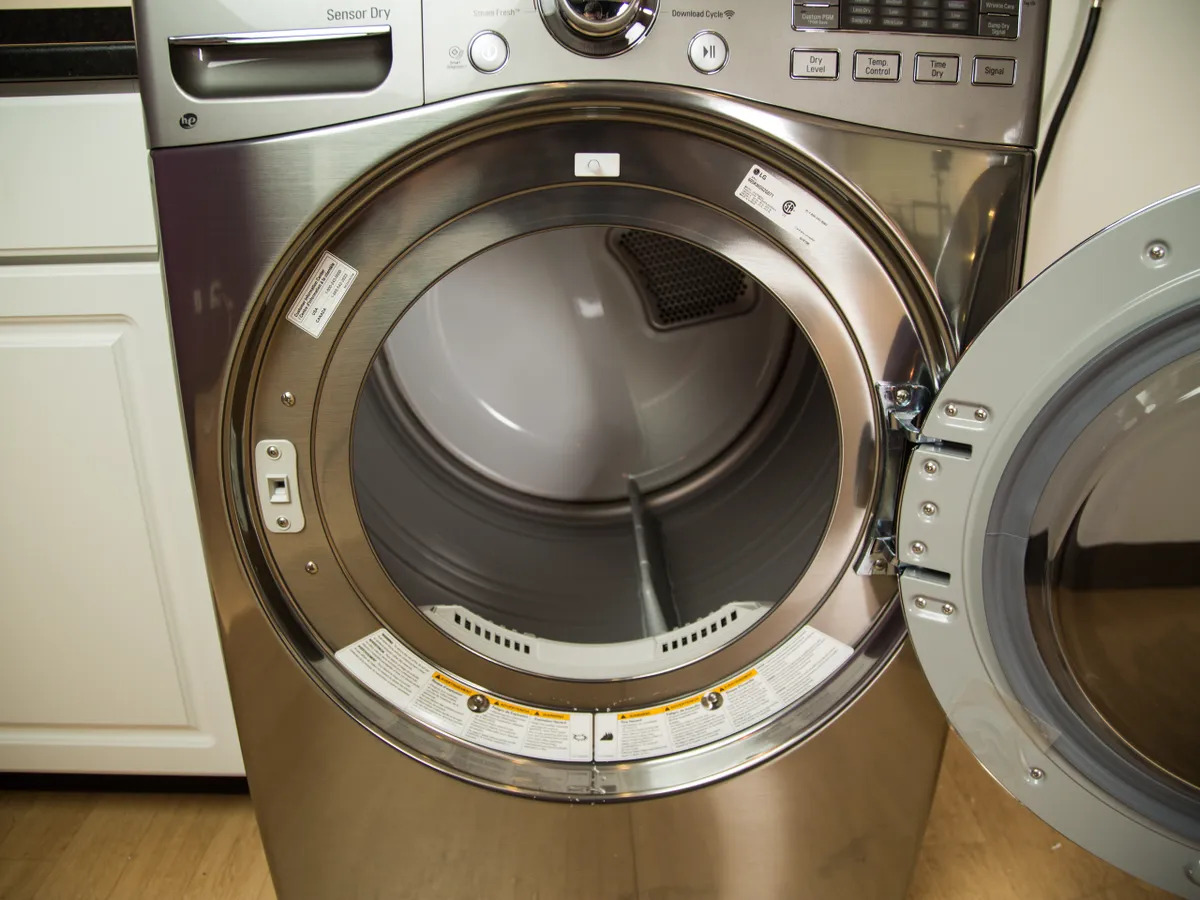
Clean the Lint Trap and Vent
A clogged lint trap and vent can significantly reduce the efficiency of your dryer and result in inadequate drying. Lint, fibers, and debris can accumulate over time, obstructing the airflow and causing the dryer to take longer to dry clothes. Here’s how you can clean the lint trap and vent:
- Remove the lint trap: Locate the lint trap, which is usually located inside the dryer door or on top of the dryer’s control panel. Gently pull out the lint trap and remove any visible lint by hand.
- Clean the lint trap: Rinse the lint trap with warm water and use a soft-bristle brush to scrub away any residue or buildup. Make sure to remove all the lint and debris, and thoroughly dry the lint trap before inserting it back into the dryer.
- Check the vent hose: Locate the vent hose that connects the dryer to the exterior vent. Inspect the hose for any kinks, twists, or damage that could restrict the airflow. Straighten out any bends in the hose and ensure it is securely connected to both the dryer and the external vent.
- Clean the vent hood: Go outside and locate the vent hood, which is where the vent hose connects to the exterior of your home. Remove any debris, such as leaves or lint, that may be blocking the vent hood. Use a brush or vacuum to clean the area around the vent hood and ensure proper airflow.
- Vacuum the vent system: Disconnect the vent hose from the back of the dryer and use a vacuum with a long attachment to clean the inside of the vent hose. Remove any lint or debris that may have accumulated inside the hose. You can also use a dryer vent cleaning kit for a more thorough cleaning.
Regularly cleaning the lint trap and vent is crucial for maintaining proper airflow and optimal drying performance. It is recommended to clean the lint trap after every load and thoroughly clean the vent system at least once a year.
By keeping the lint trap and vent clean, you can prevent clogs and ensure that your dryer has adequate airflow, resulting in faster and more effective drying of your clothes.
Clean the lint trap after every use to improve airflow and prevent overheating. Also, check the vent hose for any blockages or kinks to ensure proper ventilation.
Read more: How To Fix Dryer Heating Element
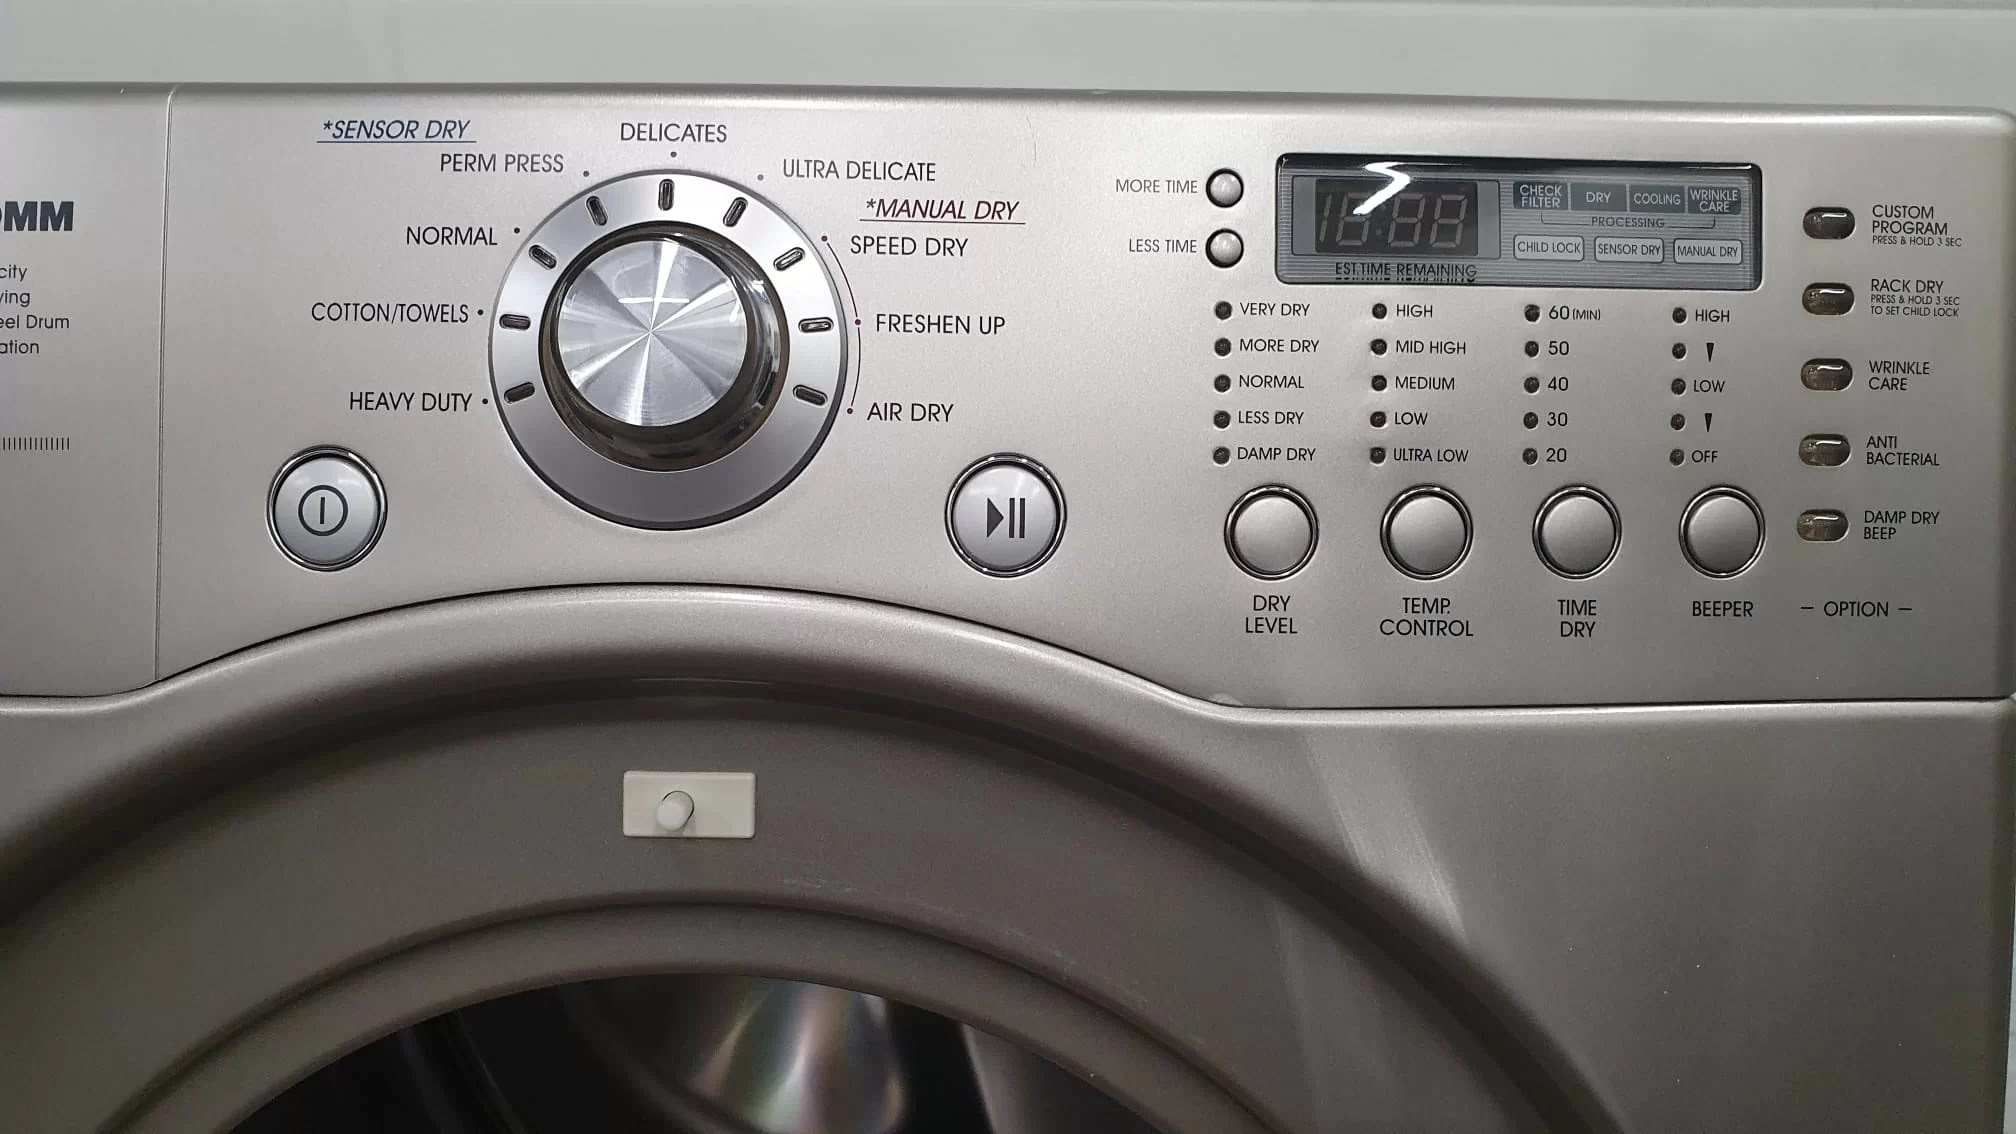
Examine the Thermostat
The thermostat in your dryer plays a vital role in maintaining the correct temperature during the drying cycle. If the thermostat is malfunctioning or not calibrated properly, it can affect the dryer’s ability to dry clothes effectively. Here’s how you can examine the thermostat:
- Turn off the power: Before you begin inspecting the thermostat, ensure that the dryer is turned off and unplugged from the power source. Safety should always be a priority.
- Locate the thermostat: The thermostat is typically located on or near the heating element housing. Refer to your dryer’s user manual or search online to identify the exact location of the thermostat in your specific dryer model.
- Check for continuity: Using a multimeter set to the continuity or resistance mode, you can test the thermostat for continuity. Disconnect the wires attached to the thermostat and touch the multimeter probes to the terminals of the thermostat. If the multimeter shows a reading of infinite resistance or no continuity, it indicates a faulty thermostat that needs to be replaced.
- Calibration check (optional): If your multimeter supports temperature measurements, you can also check the calibration of the thermostat by heating it with a hairdryer. Compare the temperature reading on the multimeter with the temperature setting indicated on the thermostat. If there is a significant difference, it may indicate the need for recalibration or replacement.
- Consult a professional: If you are uncertain about examining or replacing the thermostat yourself, it is best to seek assistance from a professional technician. They can accurately diagnose the issue and provide the necessary repairs or replacements.
If you find that the thermostat is faulty or not functioning correctly, it is crucial to replace it with a compatible and high-quality replacement part. Consult the manufacturer’s instructions or seek professional guidance to ensure you select the correct thermostat for your specific dryer model.
Examining the thermostat is an essential step in troubleshooting dryer dryness. By identifying and addressing any issues with the thermostat, you can restore proper temperature regulation and improve the drying performance of your dryer.
Replace the Dryer Belt
If your dryer is not tumbling or agitating properly, a worn-out or broken dryer belt may be to blame. The dryer belt is responsible for rotating the drum, allowing the clothes to tumble and dry evenly. Here’s how you can replace the dryer belt:
- Disconnect the power: Before you start any repairs, ensure that the dryer is turned off and unplugged from the power source to prevent any accidents.
- Access the dryer belt: Depending on your dryer model, you may need to remove the top panel or front panel to access the dryer belt. Consult your dryer’s user manual or search online for specific instructions for your particular dryer model.
- Release tension on the belt: Once you have accessed the dryer belt, release the tension by pulling the tensioner pulley or loosening the belt tensioner assembly. This will relieve the tension on the belt, allowing you to remove it with ease.
- Remove the old belt: Carefully slide the old belt off the drum and motor pulley. Take note of the path the belt follows around the pulleys to ensure proper installation of the new belt.
- Install the new belt: Place the new dryer belt around the drum, making sure it is aligned with the belt track marks left by the previous belt. Then, route the belt around the motor pulley and tensioner pulley according to the designated path.
- Apply tension: Once the new belt is installed, apply tension by pulling the tensioner pulley or tightening the belt tensioner assembly. This will ensure that the belt is securely in place and properly tensioned.
- Test the dryer: Before reassembling the dryer, give it a quick test run to ensure that the new belt is functioning correctly and the drum is rotating as expected.
- Reassemble the dryer: Once you are satisfied with the new belt’s performance, reassemble the dryer by attaching the panels that were removed earlier. Make sure to follow the proper steps and secure all screws and clips.
Replacing the dryer belt can be a challenging task, especially if you are unfamiliar with the inner workings of your specific dryer model. If you are unsure or uncomfortable with this repair, it is best to seek assistance from a professional technician. They have the expertise and knowledge to safely and efficiently replace the dryer belt for you.
By replacing the dryer belt, you can restore proper functioning to your dryer and ensure that your clothes tumble and dry evenly.
Ensure Proper Ventilation
Proper ventilation is crucial for the effective operation of your dryer. A well-ventilated system allows moist air to escape from the dryer, preventing it from being trapped and hindering the drying process. Here’s how you can ensure proper ventilation for your dryer:
- Check the vent hose: Inspect the vent hose that connects your dryer to the exterior vent. Look for any kinks, tears, or damage that could obstruct the airflow. Replace the vent hose if necessary to ensure a smooth and unobstructed path for the air to vent outside.
- Verify the vent length: Ensure that the vent hose is not excessively long. Long vent hoses can restrict airflow and cause excessive lint buildup. Shorten the length of the vent hose if needed, but make sure to follow the manufacturer’s guidelines regarding permissible vent length for your specific dryer model.
- Keep the vent clean: Regularly clean the vent hose and the external vent opening to remove lint and debris. Use a vent cleaning brush or vacuum attachment to thoroughly clean the inside of the vent hose. This will prevent clogs and maintain proper airflow.
- Monitor the vent cap: Check the vent cap on the exterior of your home to ensure it opens and closes freely. The vent cap should open when the dryer is running and close when it is not in use. A malfunctioning vent cap can allow pests, debris, or inclement weather to enter the vent system.
- Consider professional vent cleaning: In addition to regular DIY cleaning, it is recommended to have your dryer vent professionally cleaned at least once a year, especially if you notice reduced performance or excessive drying times. Professional cleaners have specialized equipment to remove stubborn lint buildup and ensure optimal airflow.
Proper ventilation not only improves the performance and efficiency of your dryer but also reduces the risk of lint buildup, which can be a fire hazard. By taking the necessary steps to ensure proper ventilation, you can enhance the drying efficiency and safety of your dryer.
Contact a Professional Technician if Necessary
While many dryer issues can be resolved through DIY troubleshooting and repairs, there may be instances where it is best to seek the expertise of a professional technician. Here’s when you should consider contacting a professional:
- Complex repairs: If you encounter complex or advanced repair tasks during the troubleshooting process, it is advisable to consult a professional technician. They have the knowledge, tools, and experience to handle intricate repairs safely and effectively.
- Safety concerns: If you come across any safety concerns during the troubleshooting or repair process, such as exposed wires or gas leaks, it is crucial to seek professional help immediately. Safety should always be a priority, and a professional technician can address the issue in a safe and timely manner.
- Warranty protection: If your dryer is still under warranty, attempting DIY repairs could void the warranty. It is recommended to contact the manufacturer or a certified service provider to ensure that any repairs are covered and carried out according to the warranty terms.
- Time constraints: If you are unable to dedicate the time needed for troubleshooting and repairs, consulting a professional technician can save you valuable time and ensure a quick resolution to your dryer problems.
- Repeated issues: If you have repeatedly encountered the same issue despite attempting DIY repairs, it may indicate a more complex underlying problem. A professional technician can thoroughly diagnose the issue and provide a long-term solution.
Professional technicians have the training and experience to handle various dryer issues and ensure proper repairs. They can quickly identify the root cause of the problem, provide accurate diagnoses, and implement effective solutions. Additionally, they can offer maintenance tips to optimize the performance and longevity of your dryer.
When in doubt or if you encounter any of the above situations, it is always best to contact a professional technician. They can deliver the expertise and peace of mind you need to resolve your dryer issues efficiently and effectively.
Read more: Who Fix Washer And Dryers
Conclusion
Having a properly functioning dryer is essential for efficient laundry drying. If you find that your dryer is not drying clothes effectively, there are several common causes that you can troubleshoot and fix yourself. By following the steps outlined in this article, you can identify and resolve issues such as clogged lint traps, blocked vents, faulty thermostats, worn-out belts, and improper ventilation.
Always prioritize safety when working on your dryer by unplugging it and following proper guidelines. If you are unsure or uncomfortable with any repair tasks, it is best to consult a professional technician who can provide expert assistance and ensure the job is done correctly.
Remember, regular maintenance is key to keeping your dryer in optimal condition. Clean the lint trap after each load, inspect and clean the vent system regularly, and schedule professional dryer vent cleaning at least once a year. This will not only improve drying performance but also prevent potential fire hazards.
By troubleshooting and addressing these common issues, you can restore your dryer’s functionality and enjoy properly dried clothes. However, if problems persist or if you encounter more complex issues, do not hesitate to seek professional help. A professional technician can provide the expertise and specialized skills needed to resolve complex dryer problems and ensure the safety and longevity of your appliance.
With the right knowledge and proactive measures, you can keep your dryer running smoothly, saving time and energy while enjoying fresh, dry clothes whenever you need them.
Frequently Asked Questions about How To Fix Dryer
Was this page helpful?
At Storables.com, we guarantee accurate and reliable information. Our content, validated by Expert Board Contributors, is crafted following stringent Editorial Policies. We're committed to providing you with well-researched, expert-backed insights for all your informational needs.

0 thoughts on “How To Fix Dryer”