Articles
How To Install Soap Dispenser On Wall
Modified: August 27, 2024
Learn how to easily install a soap dispenser on the wall with our step-by-step articles. Upgrade your bathroom with this convenient accessory today.
(Many of the links in this article redirect to a specific reviewed product. Your purchase of these products through affiliate links helps to generate commission for Storables.com, at no extra cost. Learn more)
Introduction
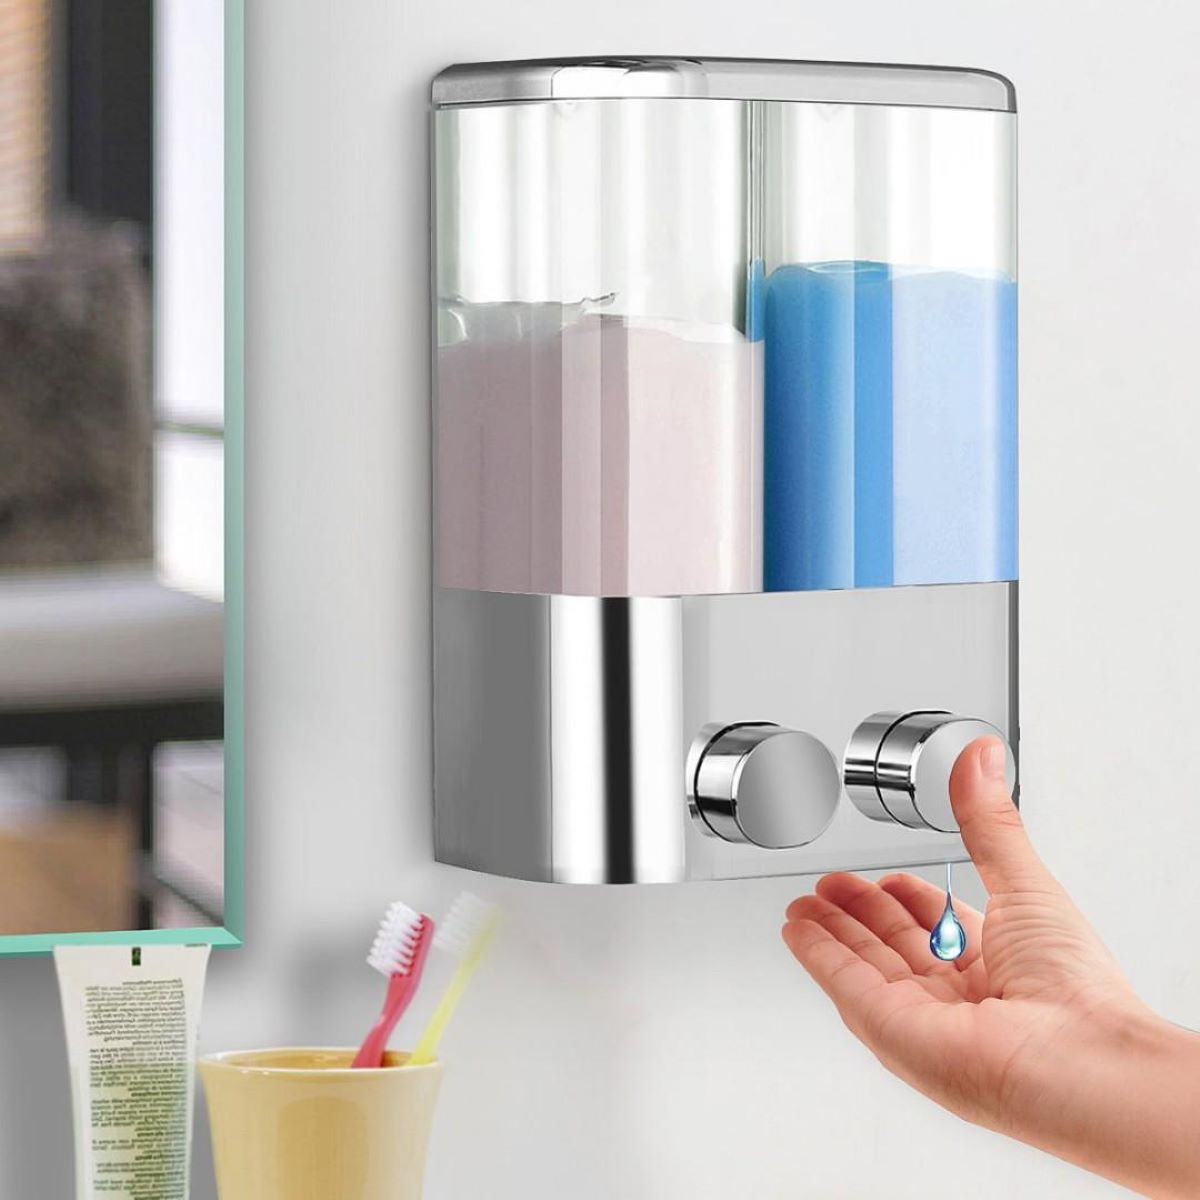
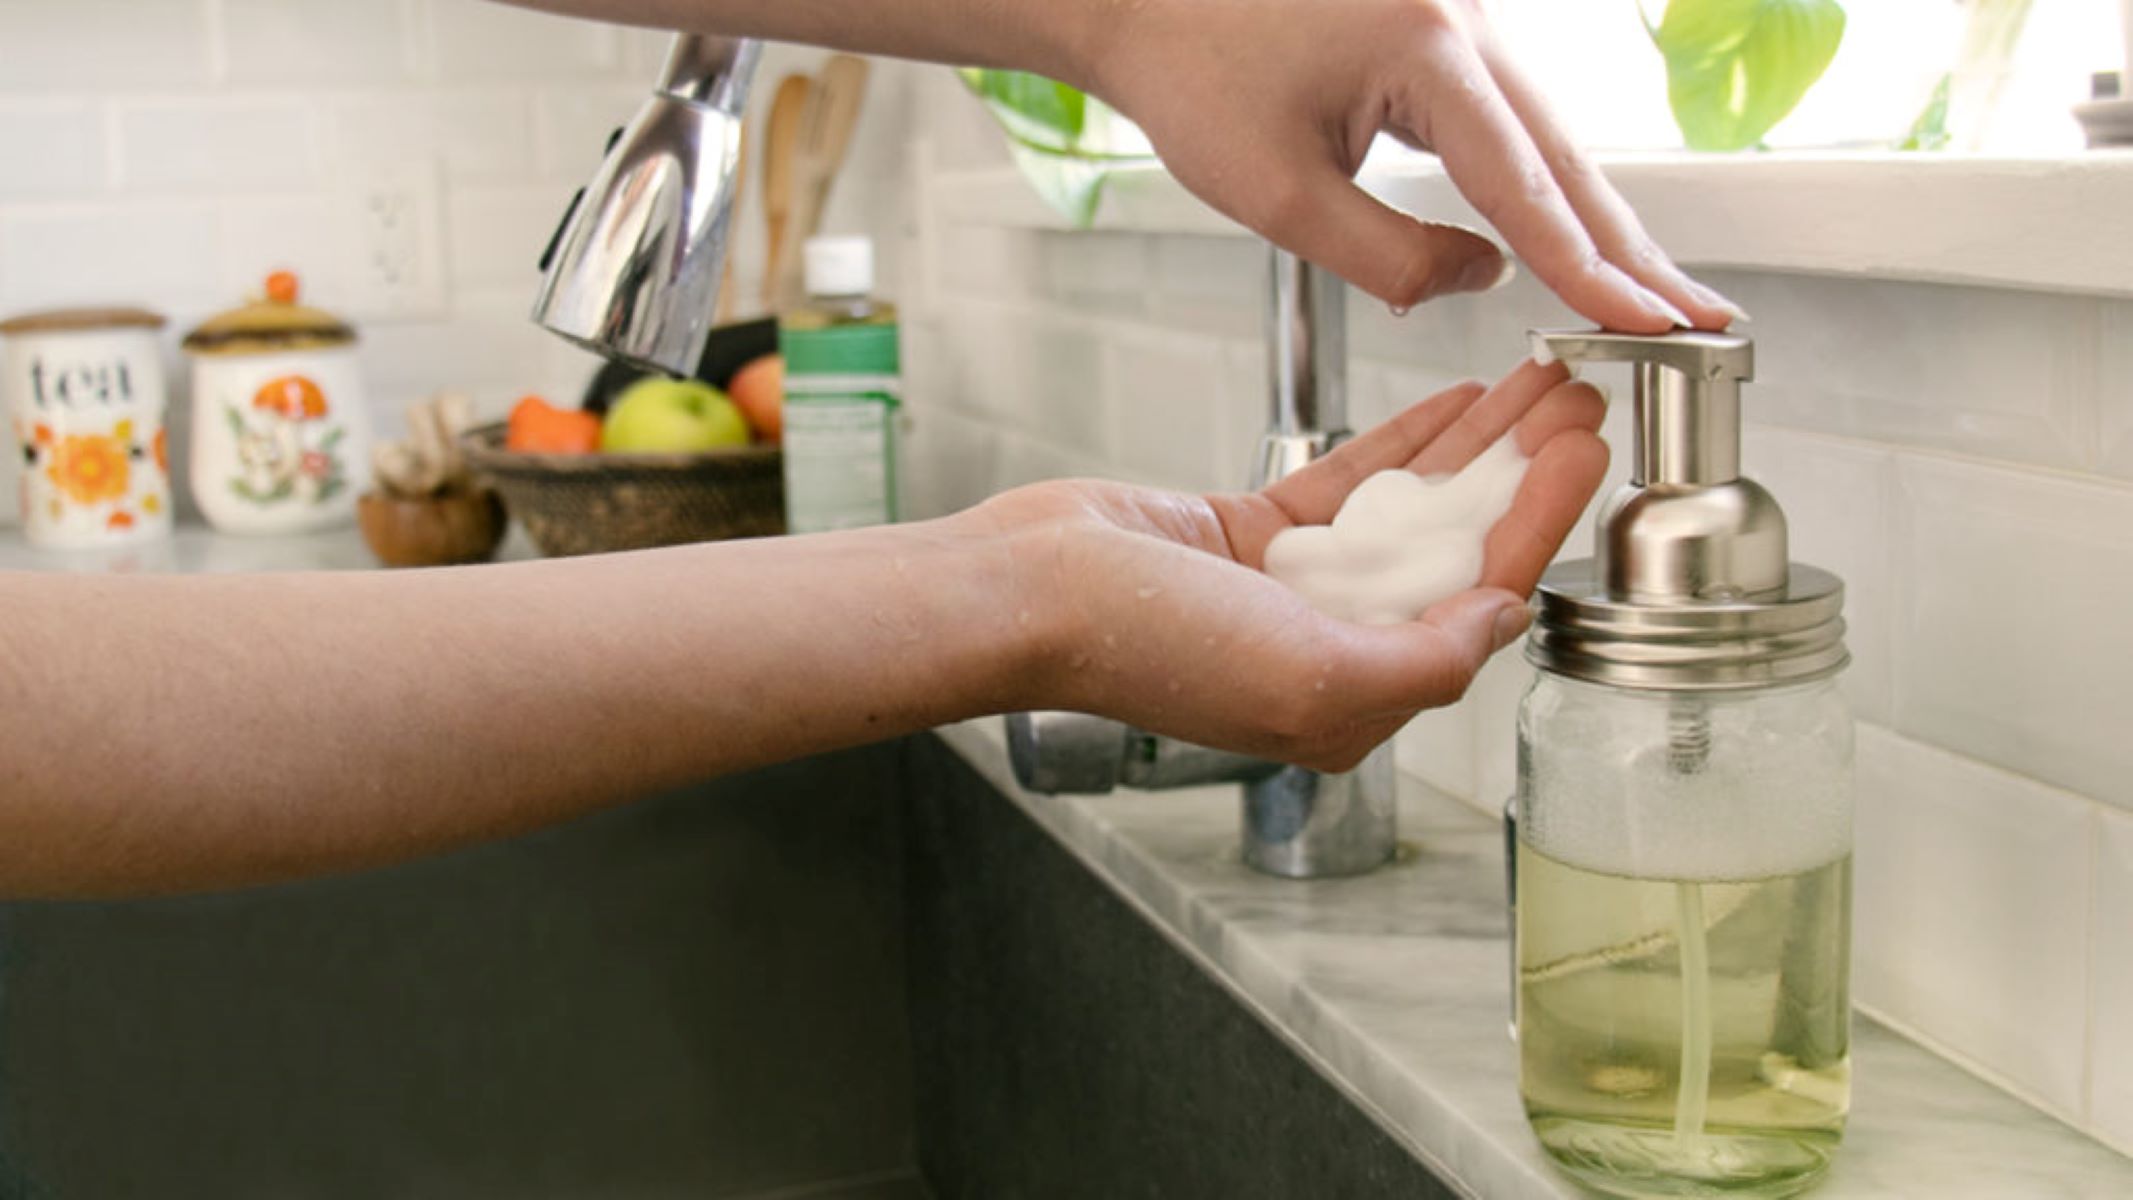
Installing a soap dispenser on the wall is a convenient and hygienic way to keep your hands clean. Whether you want to add one in your bathroom, kitchen, or any other space, this step-by-step guide will walk you through the process of installing a soap dispenser on the wall.
Having a soap dispenser mounted on the wall not only saves space but also adds a touch of modernity to the area. It eliminates the need for countertop or sink space and ensures that soap is always within reach. Plus, it promotes proper hand hygiene by preventing the spread of germs.
In this article, we will discuss the materials needed and the steps involved in installing a soap dispenser on the wall. By following these instructions, even beginners can successfully complete the installation process.
Before we dive into the installation, let’s gather the materials you will need for this project.
Key Takeaways:
- Installing a soap dispenser on the wall is a practical and stylish solution that saves space, promotes hygiene, and adds a modern touch to any space. Follow the step-by-step guide for a successful installation.
- By properly preparing the wall, positioning the mounting bracket, and testing the dispenser, you can enjoy the convenience of having soap readily available for effective and hygienic handwashing.
Read more: How To Open A Soap Dispenser On The Wall
Materials Needed
Before you get started, make sure you have the following materials on hand:
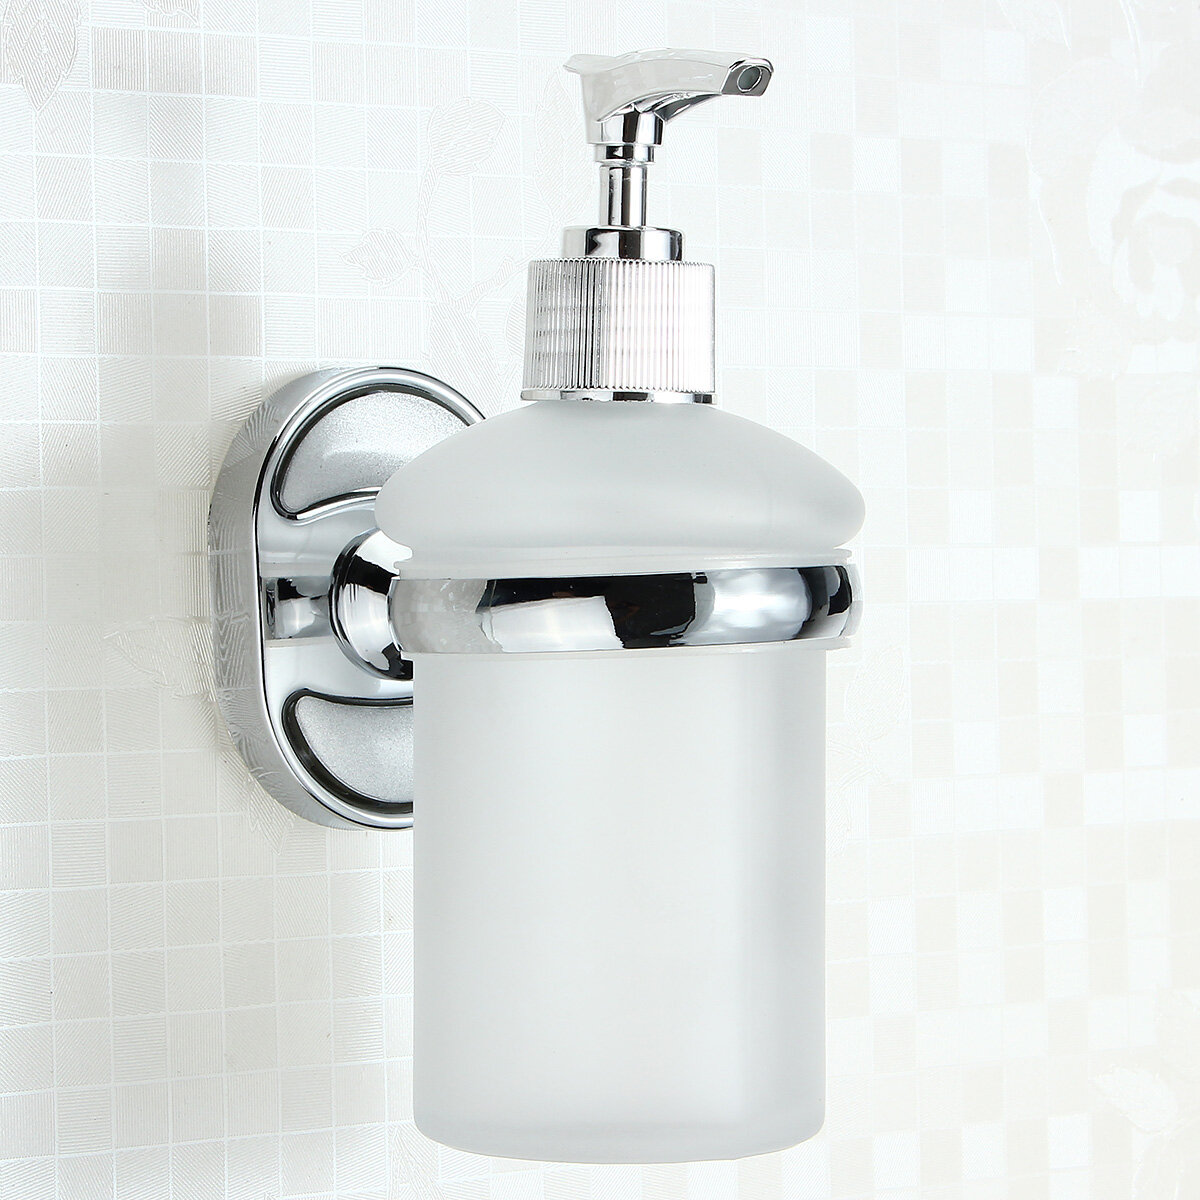
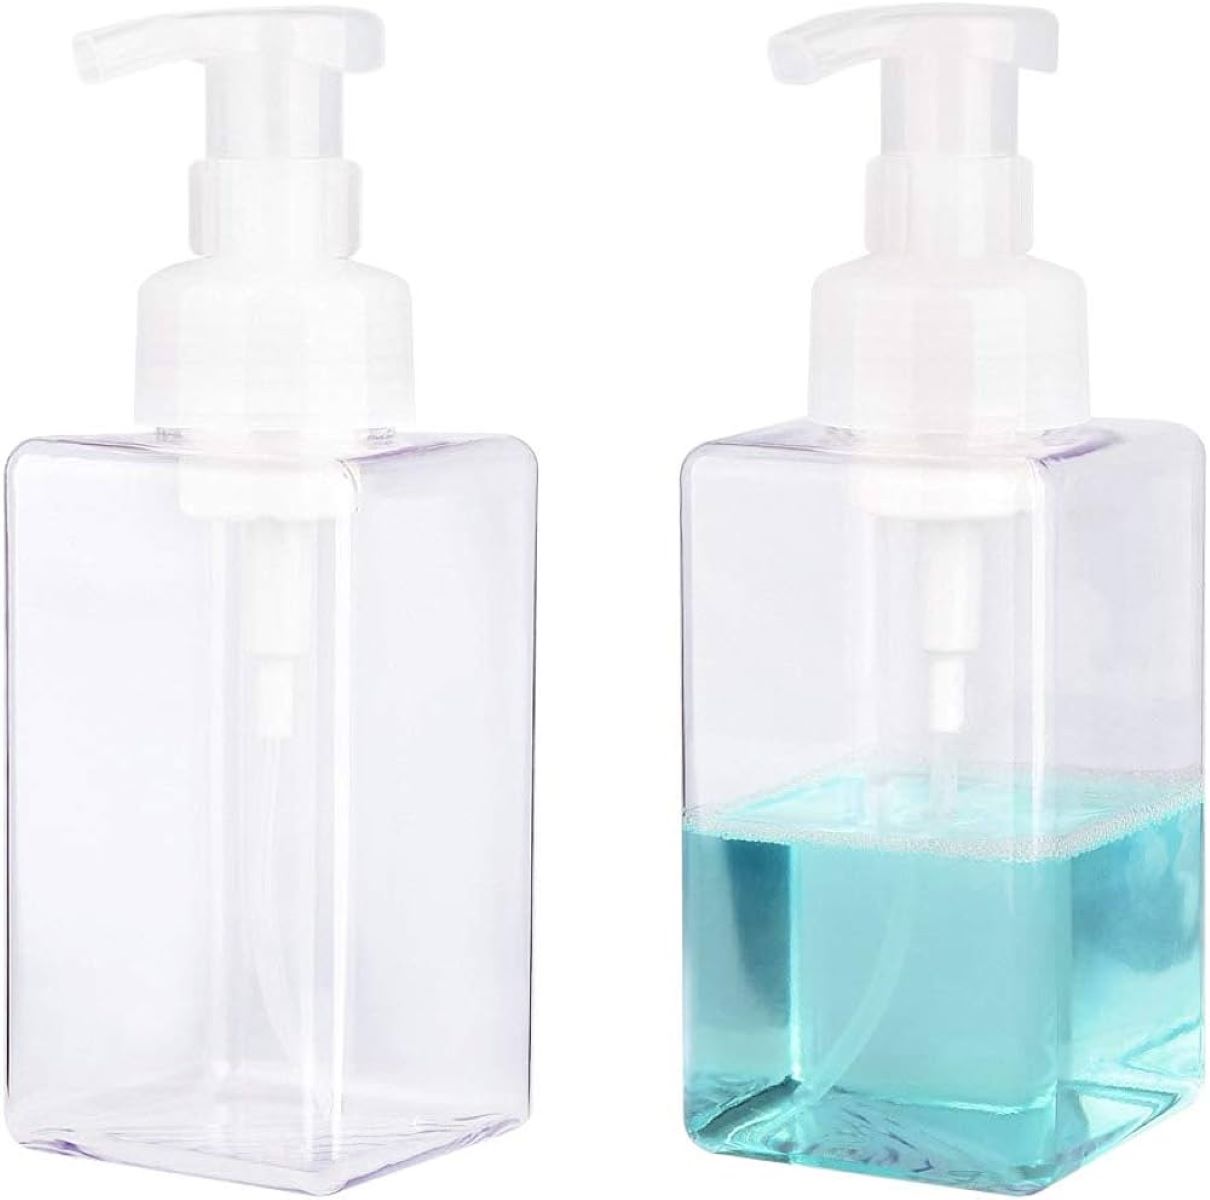
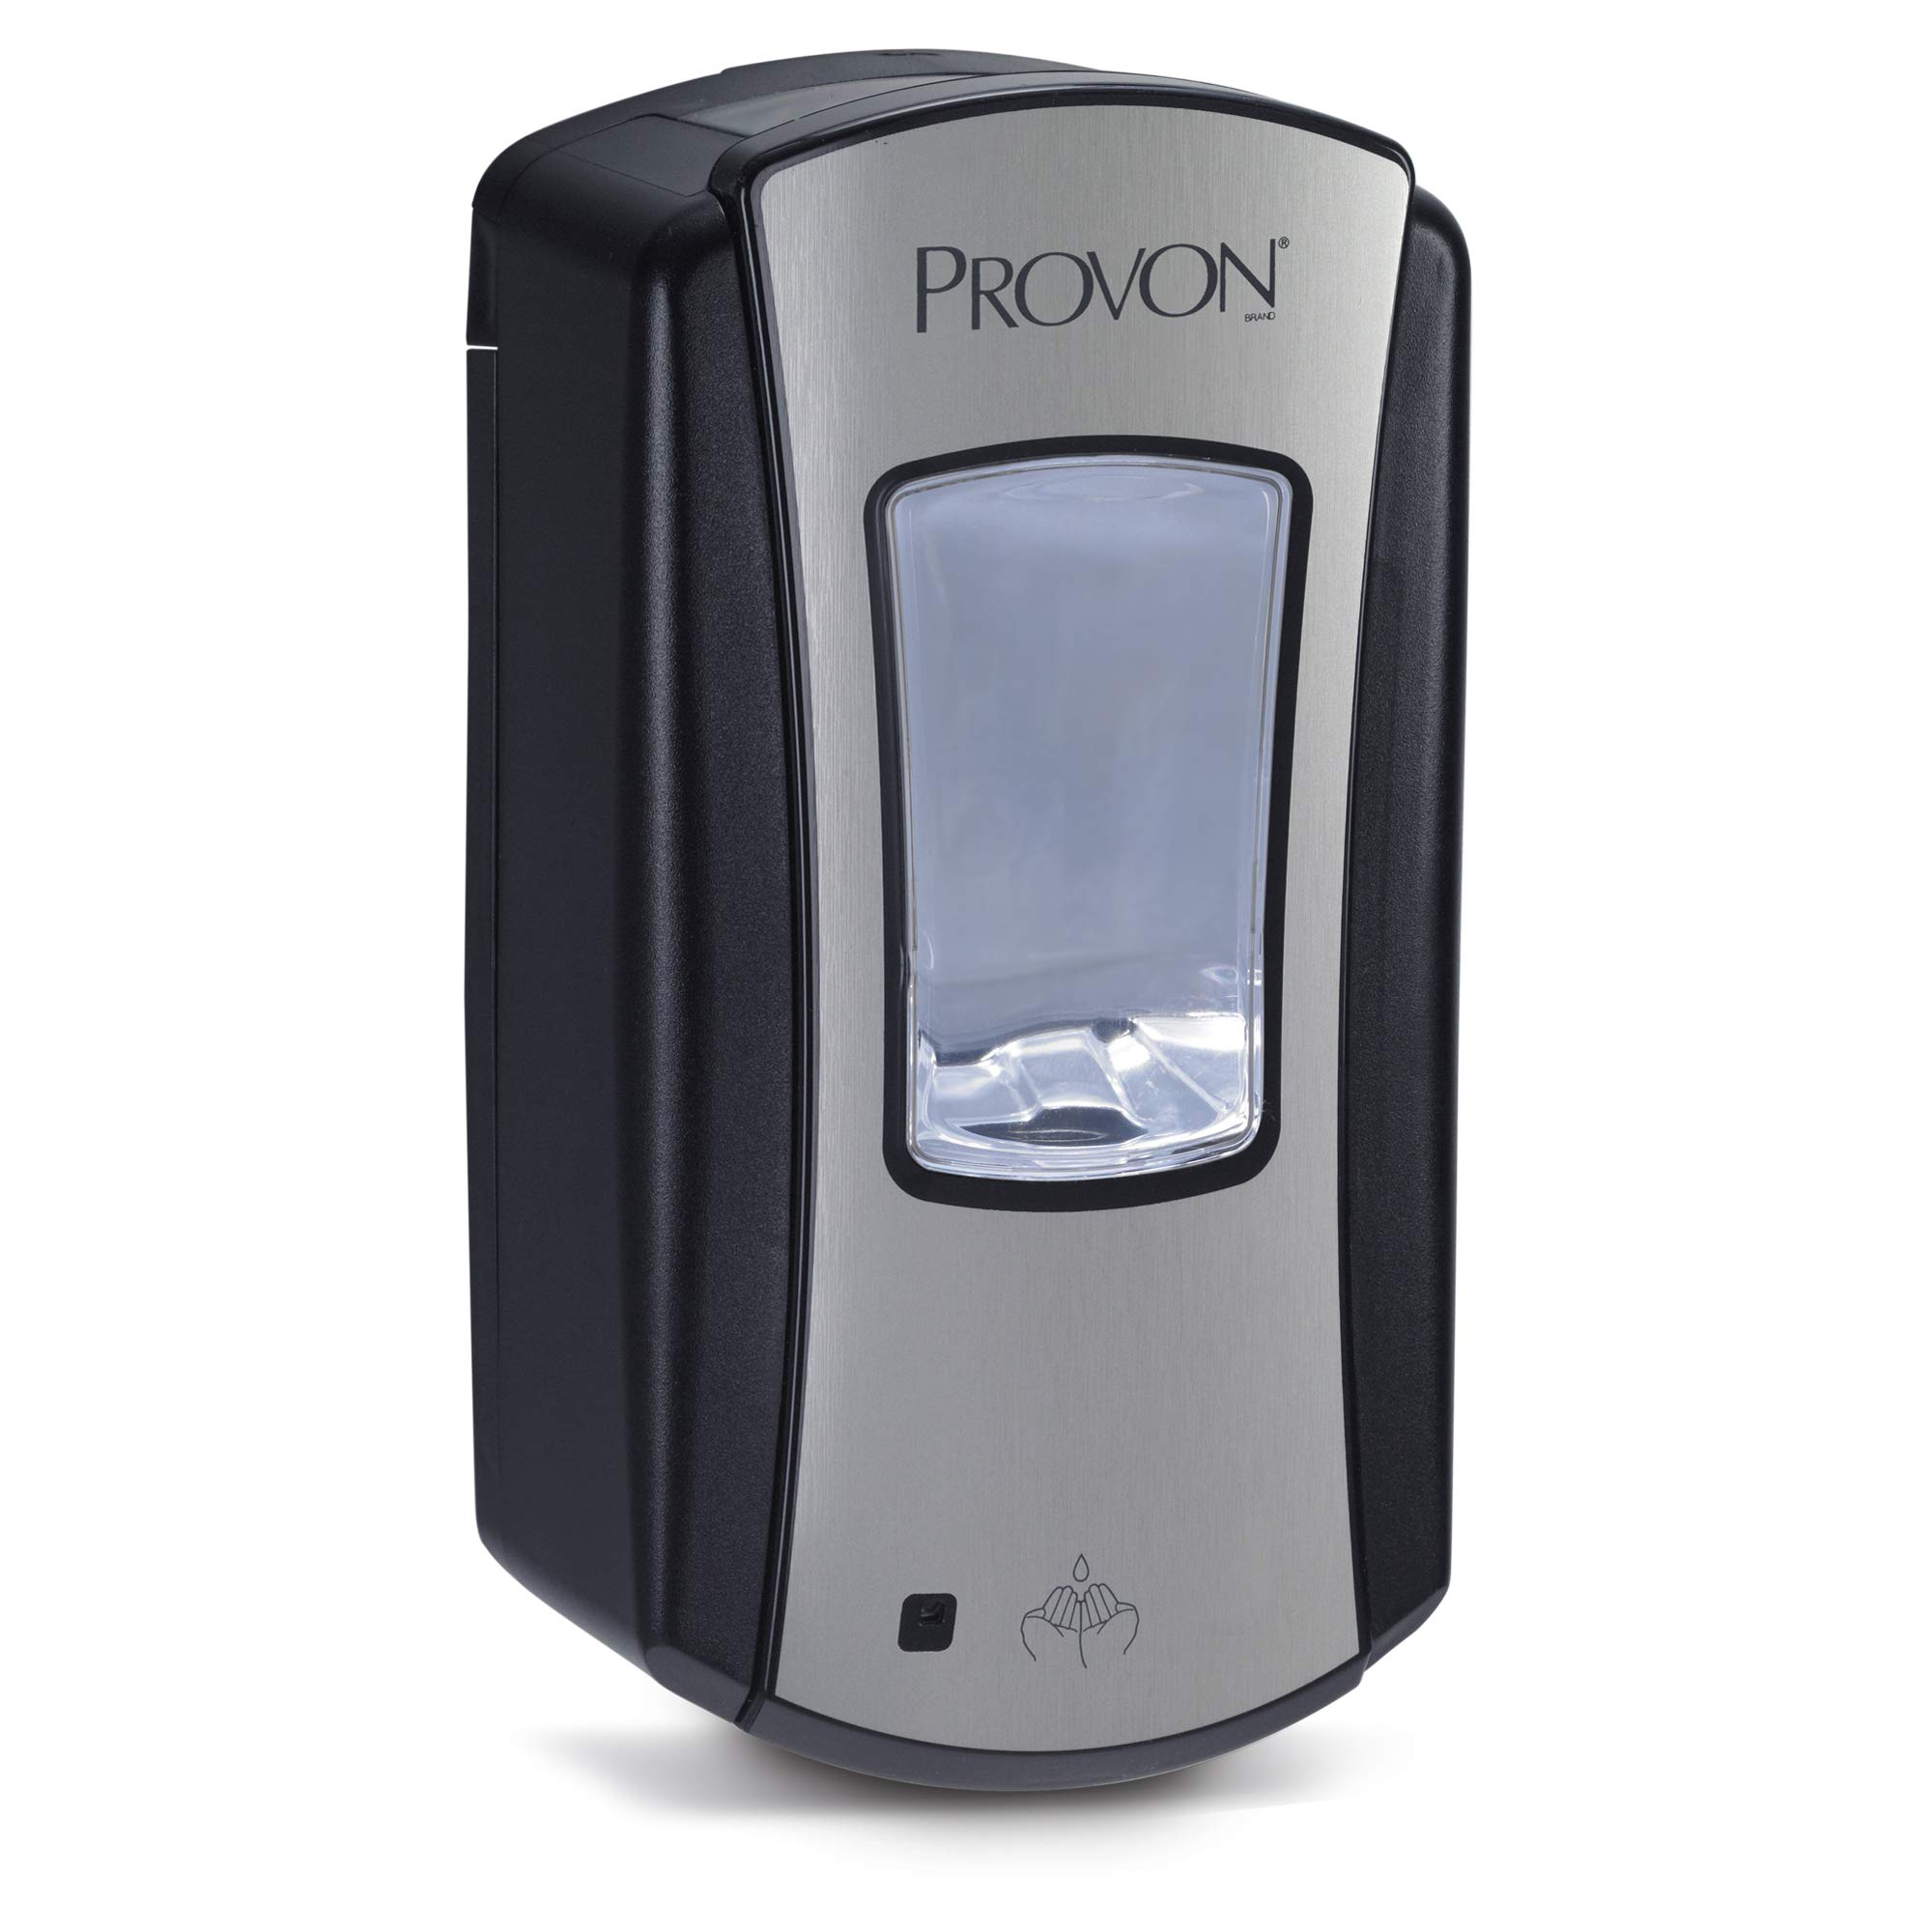
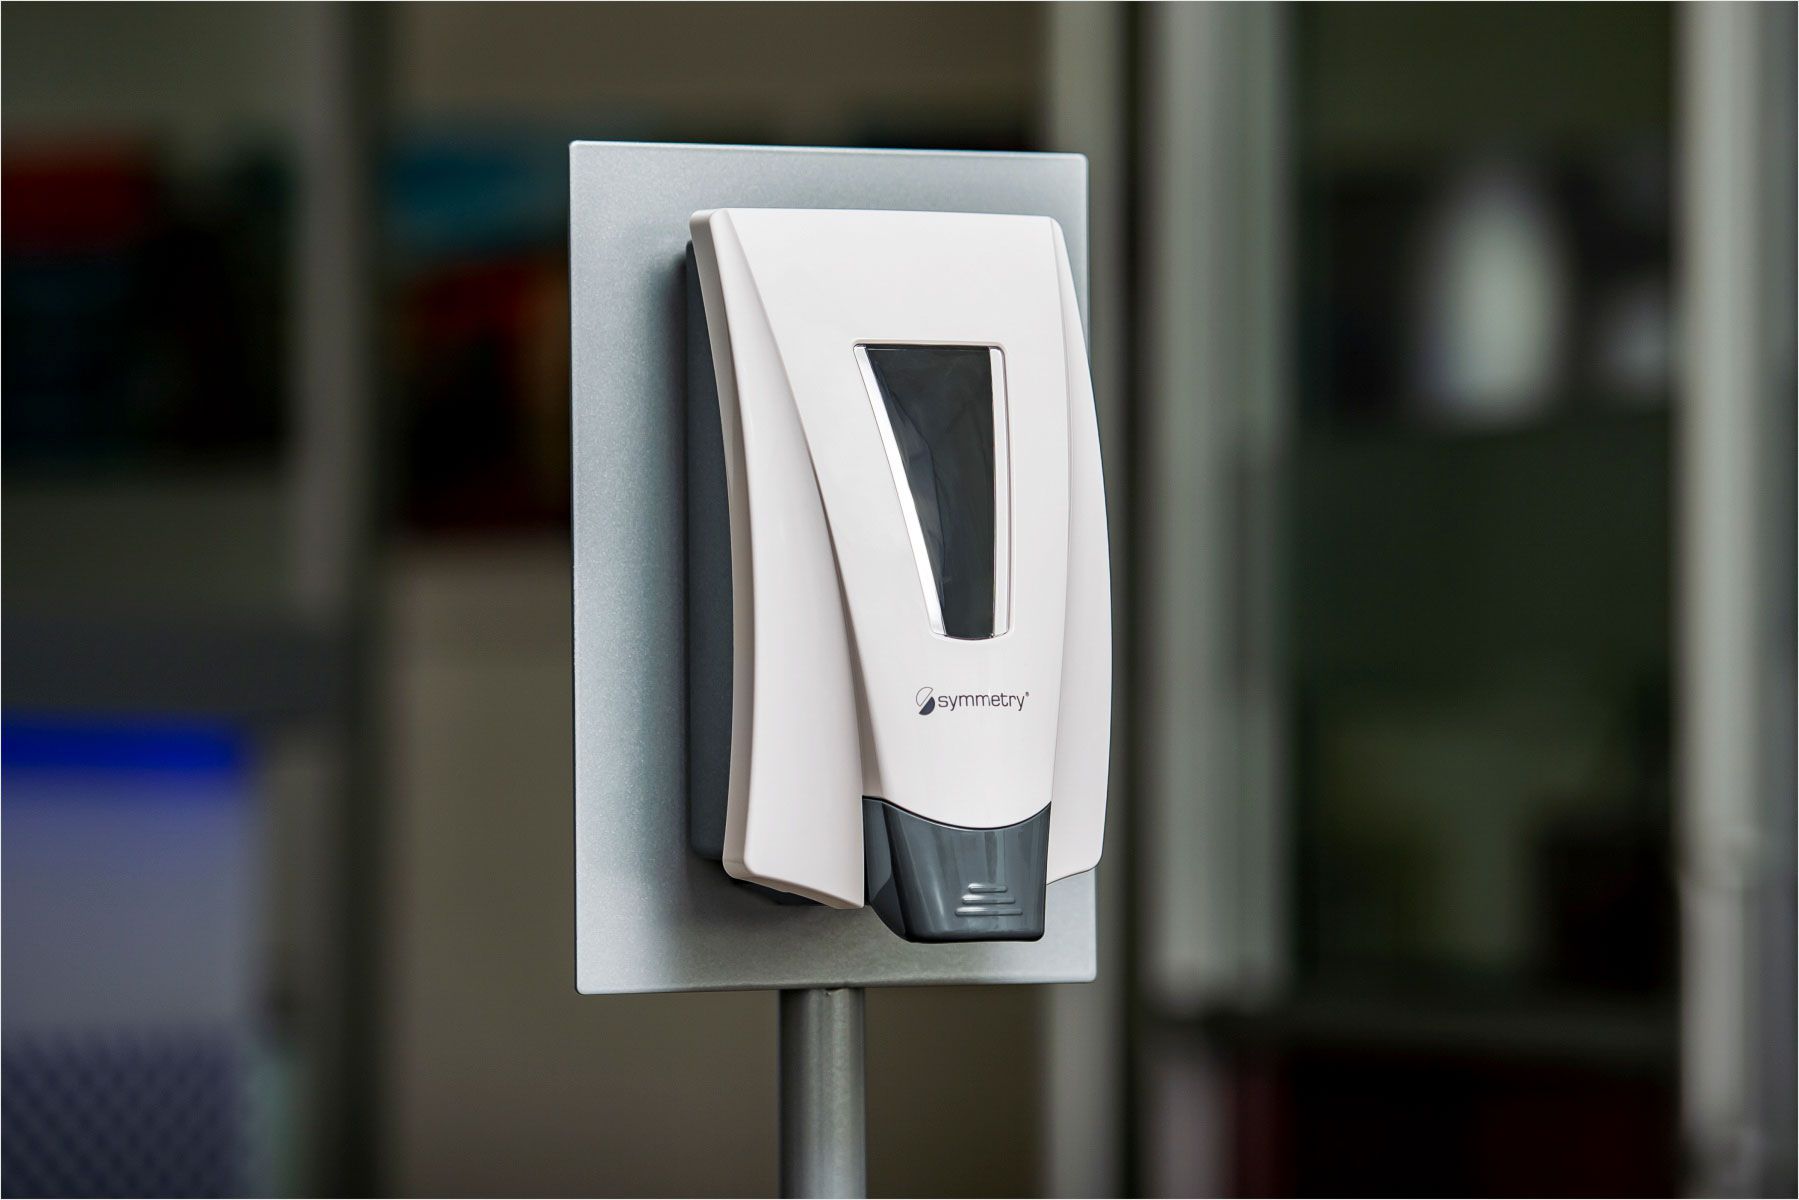
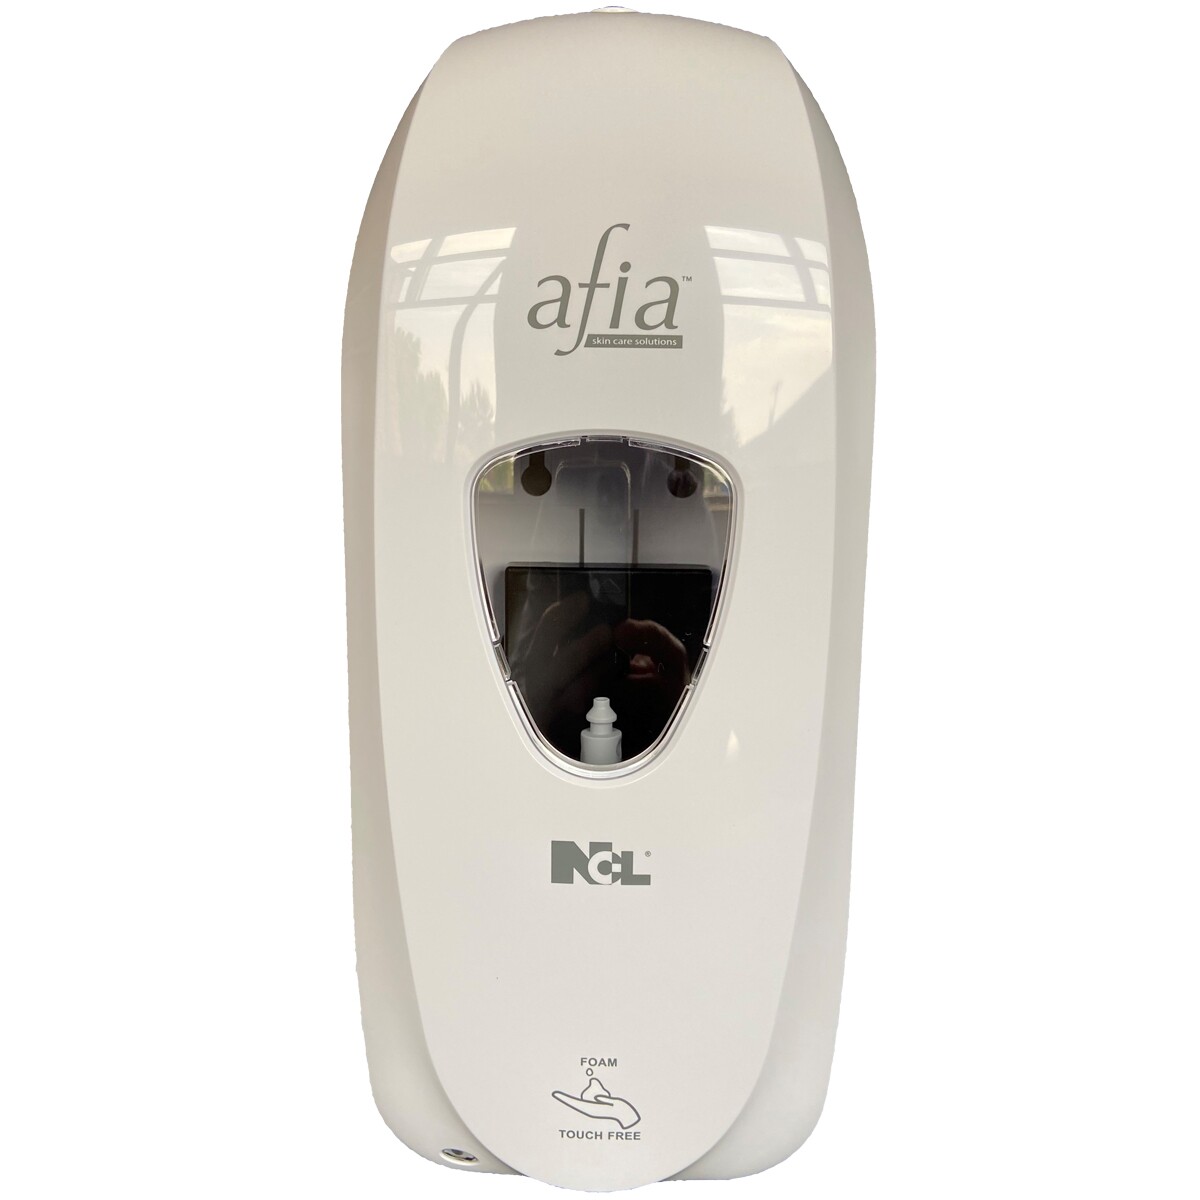
1. Soap Dispenser: Purchase a wall-mounted soap dispenser that suits your style and preferences. Choose one that matches the decor of your space and is designed for wall installation.
2. Mounting Bracket: Most soap dispensers come with a mounting bracket. Ensure that the bracket is compatible with the dispenser you have selected. If not included, you may need to purchase a separate mounting bracket.
3. Screws: Depending on the type of wall and mounting bracket, you may need screws to secure the bracket to the wall. Choose screws that are appropriate for the wall material (e.g., drywall, tile, or concrete) and the weight of the dispenser.
4. Wall Anchors (if necessary): If you are installing the soap dispenser on drywall or a hollow wall, you may need wall anchors. Wall anchors provide extra support and prevent the screws from pulling out of the wall. Choose anchors that are suitable for the weight of the dispenser.
5. Drill: You will need a drill to create holes in the wall for the mounting bracket. Make sure you have the appropriate drill bit size for the screws or wall anchors you are using.
6. Screwdriver or Drill Driver: A screwdriver or drill driver is needed to tighten the screws and secure the mounting bracket to the wall.
7. Level: Use a level to ensure that the dispenser is mounted straight. This will ensure a professional and visually appealing installation.
8. Pencil or Marker: Use a pencil or marker to mark the location of the mounting holes on the wall.
9. Towel or Cloth: Keep a towel or cloth nearby to clean up any dust or debris during the installation process.
By gathering these materials before you begin, you will have everything you need to install your soap dispenser on the wall efficiently and effectively. Let’s move on to the step-by-step process.
Step 1: Identify the Location
The first step in installing a soap dispenser on the wall is to identify the ideal location for it. Consider the following factors when choosing a location:
1. Accessibility: Select a location that is easily accessible and within reach. Ideally, it should be at a comfortable height for people of different heights to use.
2. Convenience: Choose a spot that is convenient for handwashing. In bathrooms, the soap dispenser is usually placed near the sink. In kitchens, it can be positioned near the kitchen sink or countertop.
3. Clearance: Ensure that there is enough clearance around the dispenser so that it can be easily operated and refilled. Leave some space above and around the dispenser to allow for easy access.
4. Aesthetics: Consider the overall aesthetics of the space. The soap dispenser should blend in with the surrounding décor and not be an eyesore.
5. Plumbing Access: If you are installing the dispenser in a bathroom or kitchen with existing plumbing, make sure there is access to the water supply for future maintenance or repairs.
Once you have identified the location, hold the soap dispenser against the wall in that spot to get an idea of how it will look. Make any necessary adjustments until you are satisfied with the placement. Use a pencil or marker to mark the top and bottom of the mounting bracket on the wall.
In the next step, we will prepare the wall for installation.
Step 2: Prepare the Wall
Before installing the soap dispenser on the wall, it’s important to prepare the wall surface to ensure a secure and long-lasting installation. Follow these steps to prepare the wall:
1. Clean the Wall: Start by cleaning the wall surface where the soap dispenser will be installed. Remove any dirt, dust, or grease using a mild detergent and water solution. This will ensure that the mounting bracket adheres properly to the wall.
2. Remove Obstructions: Check for any obstructions on the wall, such as electrical outlets, pipes, or switches. Make sure that the chosen location for the dispenser does not interfere with these elements. If there are any obstacles, choose an alternate location or consult a professional to ensure a safe installation.
3. Check for Studs: If you’re mounting the dispenser on a drywall or plaster wall, it’s important to locate the studs behind the wall. Use a stud finder to identify the position of the studs. Mounting the soap dispenser on a stud will provide additional support and ensure a secure installation. Mark the location of the studs on the wall using the pencil or marker.
4. Patch and Repair: If there are any holes or cracks on the wall, patch them using spackling compound or drywall mud. Allow the patch to dry completely, then sand it smooth with fine-grit sandpaper. This step ensures that the wall surface is even and ready for the mounting bracket.
5. Prime and Paint (optional): If desired, prime and paint the wall to match the surrounding decor. This step is optional but can enhance the overall appearance of the installation.
By properly preparing the wall, you will ensure a clean and stable surface for the soap dispenser installation. In the next step, we will position the soap dispenser mounting bracket on the wall.
Step 3: Position the Soap Dispenser Mounting Bracket
Now that the wall is prepared, it’s time to position the soap dispenser mounting bracket. The mounting bracket serves as the anchor for the soap dispenser, ensuring its stability and support on the wall. Here’s how to position the mounting bracket:
1. Hold the Mounting Bracket: Take the soap dispenser mounting bracket and hold it against the wall. Align the top and bottom of the bracket with the marks you made in Step 1. Make sure the bracket is level using a spirit level. Adjust the position as needed.
2. Mark the Screw Holes: Once the bracket is in the desired position, use a pencil or marker to mark the screw holes on the wall. Remove the bracket and set it aside.
3. Measure and Adjust (if necessary): Measure the distance between the screw hole marks horizontally to ensure they are evenly spaced. Adjust the marks if needed to achieve proper alignment. Double-check the levelness of the marks.
4. Consider the Studs: If possible, position the mounting bracket so that at least one set of screw holes aligns with a stud. This will provide additional stability and strength to the installation. If no studs align with the desired location, proceed to step 5 for instructions on using wall anchors.
By following these steps, you will position the soap dispenser mounting bracket accurately on the wall. In the next step, we will drill holes for the screws or wall anchors.
Step 4: Mark and Drill Holes
With the soap dispenser mounting bracket properly positioned on the wall, it’s time to mark and drill holes for the screws or wall anchors. Follow these steps to ensure accurate hole placement:
1. Transfer the Markings: Using a pencil or marker, transfer the screw hole markings from the mounting bracket onto the wall. Make sure the marks are clear and visible.
2. Choose the Drill Bit: Select a drill bit that matches the size of the screws or wall anchors you will be using. Refer to the instructions provided with the soap dispenser or mounting bracket for the recommended drill bit size.
3. Set Up the Drill: Insert the chosen drill bit into a drill and secure it tightly. If using a power drill, make sure it is set to the correct drilling speed.
4. Drill the Holes: Place the drill bit on one of the marked locations and drill straight into the wall. Apply gentle pressure and slowly drill the hole to the desired depth. Repeat this process for each marked hole.
5. Remove the Dust: After drilling each hole, use a brush or cloth to remove any dust or debris from the holes. This will ensure a clean and secure fit for the screws or wall anchors.
Remember to take precautions when drilling, such as wearing safety goggles and ensuring the drill is held firmly and securely. Double-check the hole placement and alignment before proceeding to the next step.
In the next step, we will move on to installing wall anchors (if necessary) for added support.
When installing a soap dispenser on the wall, make sure to use a level to ensure it is straight. Use a stud finder to locate a stud for secure mounting. Use the appropriate hardware for the wall type (e.g. drywall anchors for drywall).
Step 5: Install Wall Anchors (if necessary)
If you are installing the soap dispenser on a wall that is made of drywall or any other hollow material, using wall anchors is essential to provide extra support and prevent the screws from pulling out. Follow these steps to install wall anchors:
1. Select the Right Wall Anchors: Choose wall anchors that are suitable for the weight of the soap dispenser. Look for anchors that are designed for the specific wall material and weight requirements mentioned in the product instructions.
2. Insert the Anchors: Take the wall anchors and insert them into the drilled holes one by one. Make sure they sit flush against the wall surface.
3. Tap the Anchors: Gently tap the wall anchors into place using a hammer. Be careful not to apply excessive force, as this can damage the wall or cause the anchors to become loose.
4. Test the Anchors: Give the installed wall anchors a gentle pull to ensure they are securely in place. If any anchors feel loose or wobbly, remove them and try a different size or type of anchor.
Wall anchors provide additional stability and support to the soap dispenser, ensuring that it stays securely attached to the wall. Once the anchors are properly installed, you are ready to move on to the next step and attach the mounting bracket to the wall.
Step 6: Attach the Mounting Bracket to the Wall
With the holes drilled and wall anchors (if necessary) in place, it’s time to attach the soap dispenser mounting bracket to the wall. Follow these steps to securely fasten the bracket:
1. Position the Bracket: Hold the mounting bracket against the wall, aligning the screw holes with the drilled holes or wall anchors. Make sure the bracket is level and sits flush against the wall.
2. Insert the Screws: Insert the screws through the holes in the mounting bracket and into the drilled holes or wall anchors. Use a screwdriver or drill driver to tighten the screws. Start with one screw and partially tighten it, then move on to the next screw, alternating between them until all screws are secure.
3. Check for Stability: Once all the screws are tightened, gently tug on the mounting bracket to ensure it is securely attached to the wall. It should feel stable and not wobble or move.
4. Verify the Bracket Levelness: Use a level to double-check the vertical and horizontal alignment of the mounting bracket. If needed, make any minor adjustments by loosening the screws and repositioning the bracket.
By following these steps, you will ensure that the mounting bracket is securely attached to the wall, providing a stable foundation for the soap dispenser. In the next step, we will connect the soap dispenser to the mounting bracket.
Step 7: Connect the Soap Dispenser to the Bracket
Now that the mounting bracket is securely attached to the wall, it’s time to connect the soap dispenser to the bracket. Follow these steps to complete the installation:
1. Attach the Soap Dispenser: Take the soap dispenser and locate the corresponding connector on the back. Align the connector with the bracket on the wall, ensuring a snug fit.
2. Insert and Lock: Once aligned, insert the soap dispenser onto the bracket and lock it into place. Follow the specific instructions provided with your soap dispenser model to properly secure it onto the bracket.
3. Test the Connection: Gently tug on the soap dispenser to ensure that it is securely attached to the bracket and doesn’t move or come loose. It should feel stable and firmly locked into place.
4. Check for Proper Functionality: Before moving on, test the soap dispenser to ensure it is dispensing soap properly. Follow the instructions provided with your soap dispenser model to activate the dispensing mechanism. Adjust any settings or configurations as needed.
Once you have successfully connected the soap dispenser to the mounting bracket and verified its functionality, you are nearing the completion of the installation process. In the final step, we will test the dispenser and conclude the installation.
Read more: How To Change Soap In Gojo Soap Dispenser
Step 8: Test the Dispenser
Now that the soap dispenser is securely installed, it’s time to give it a test run. Follow these steps to ensure that the dispenser functions properly:
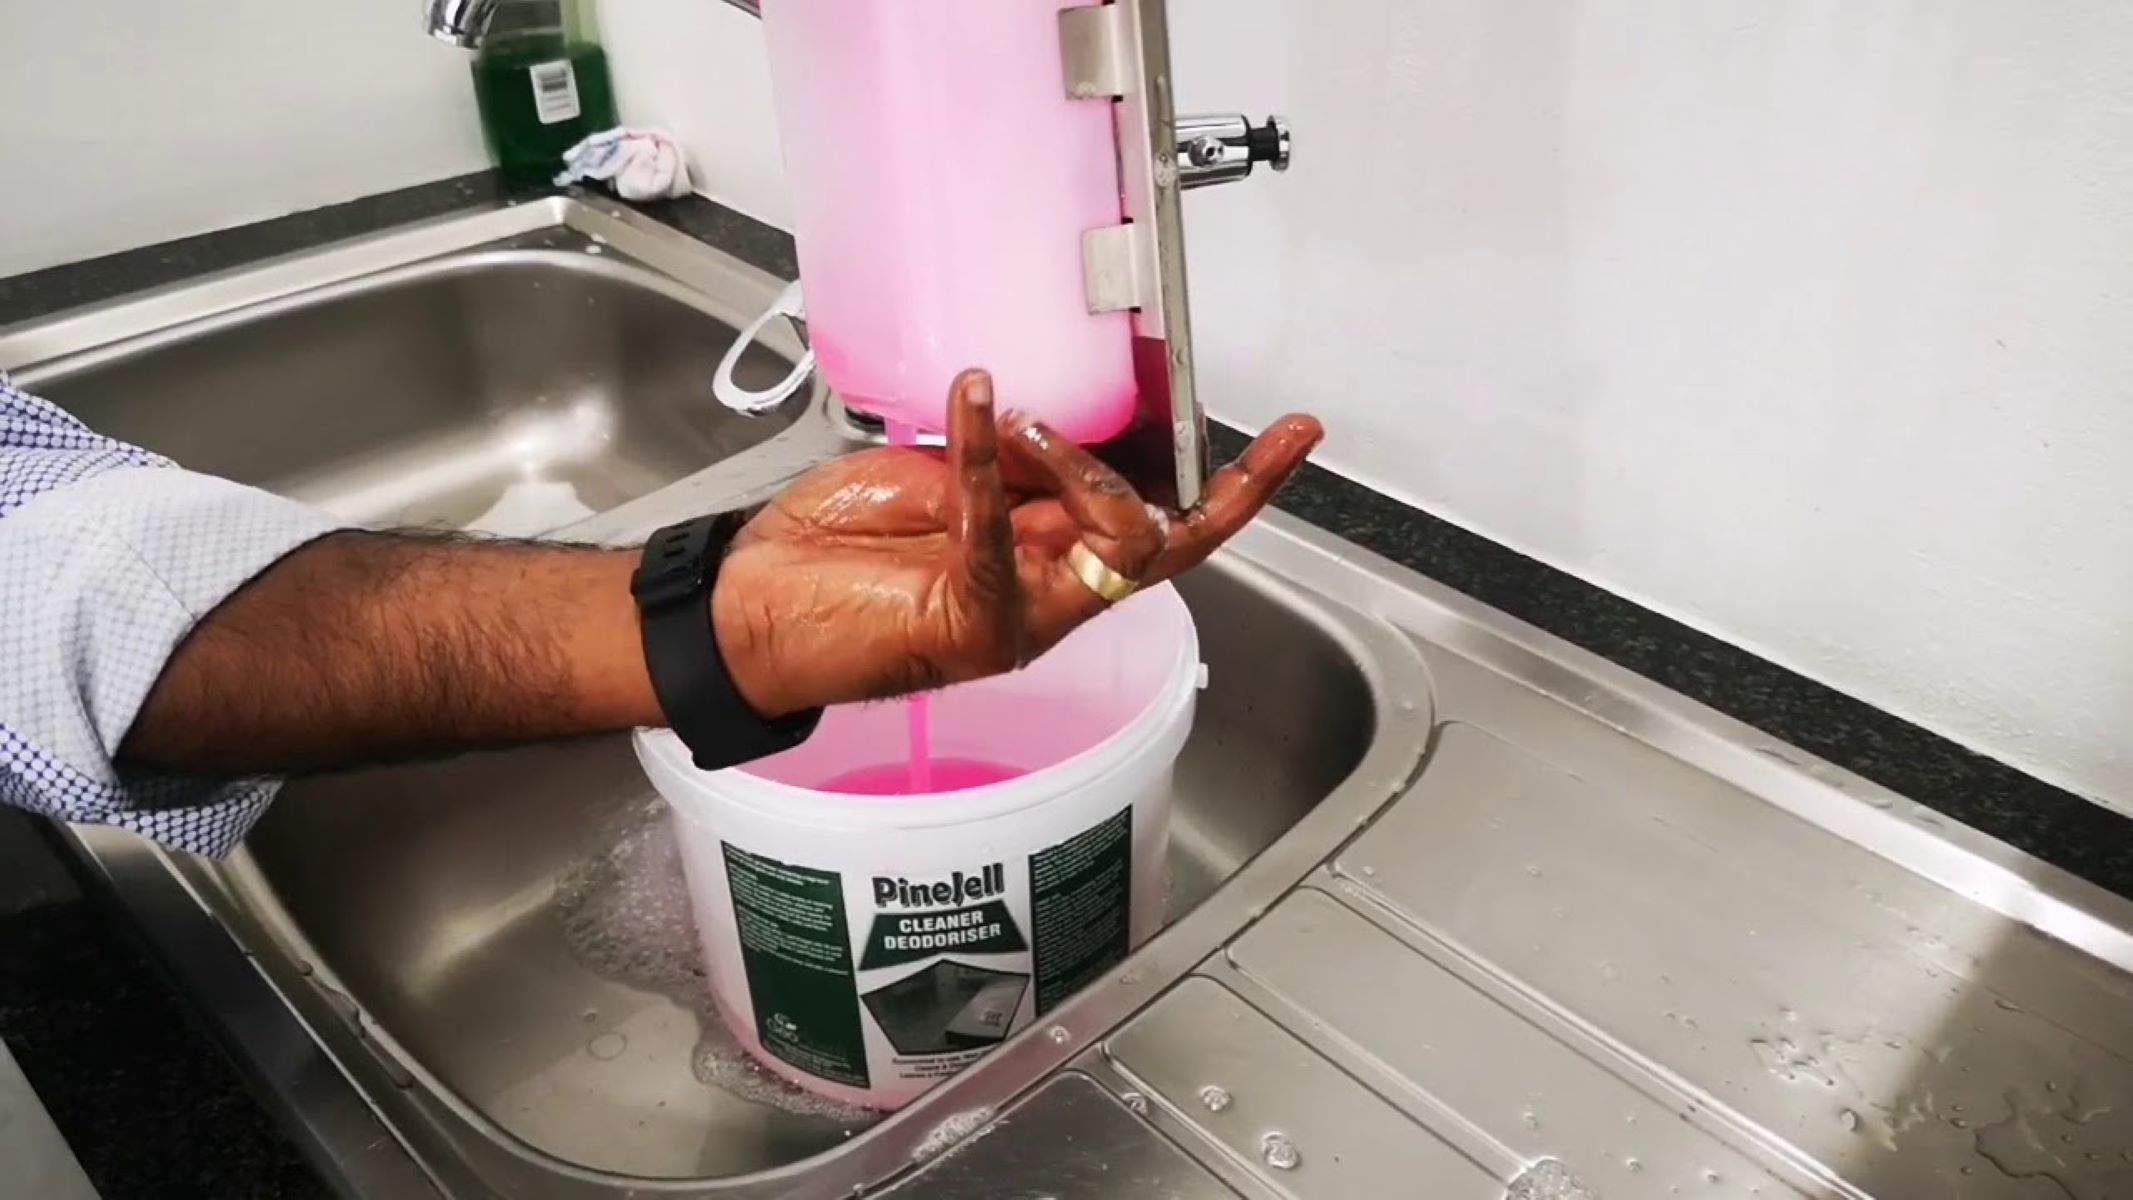
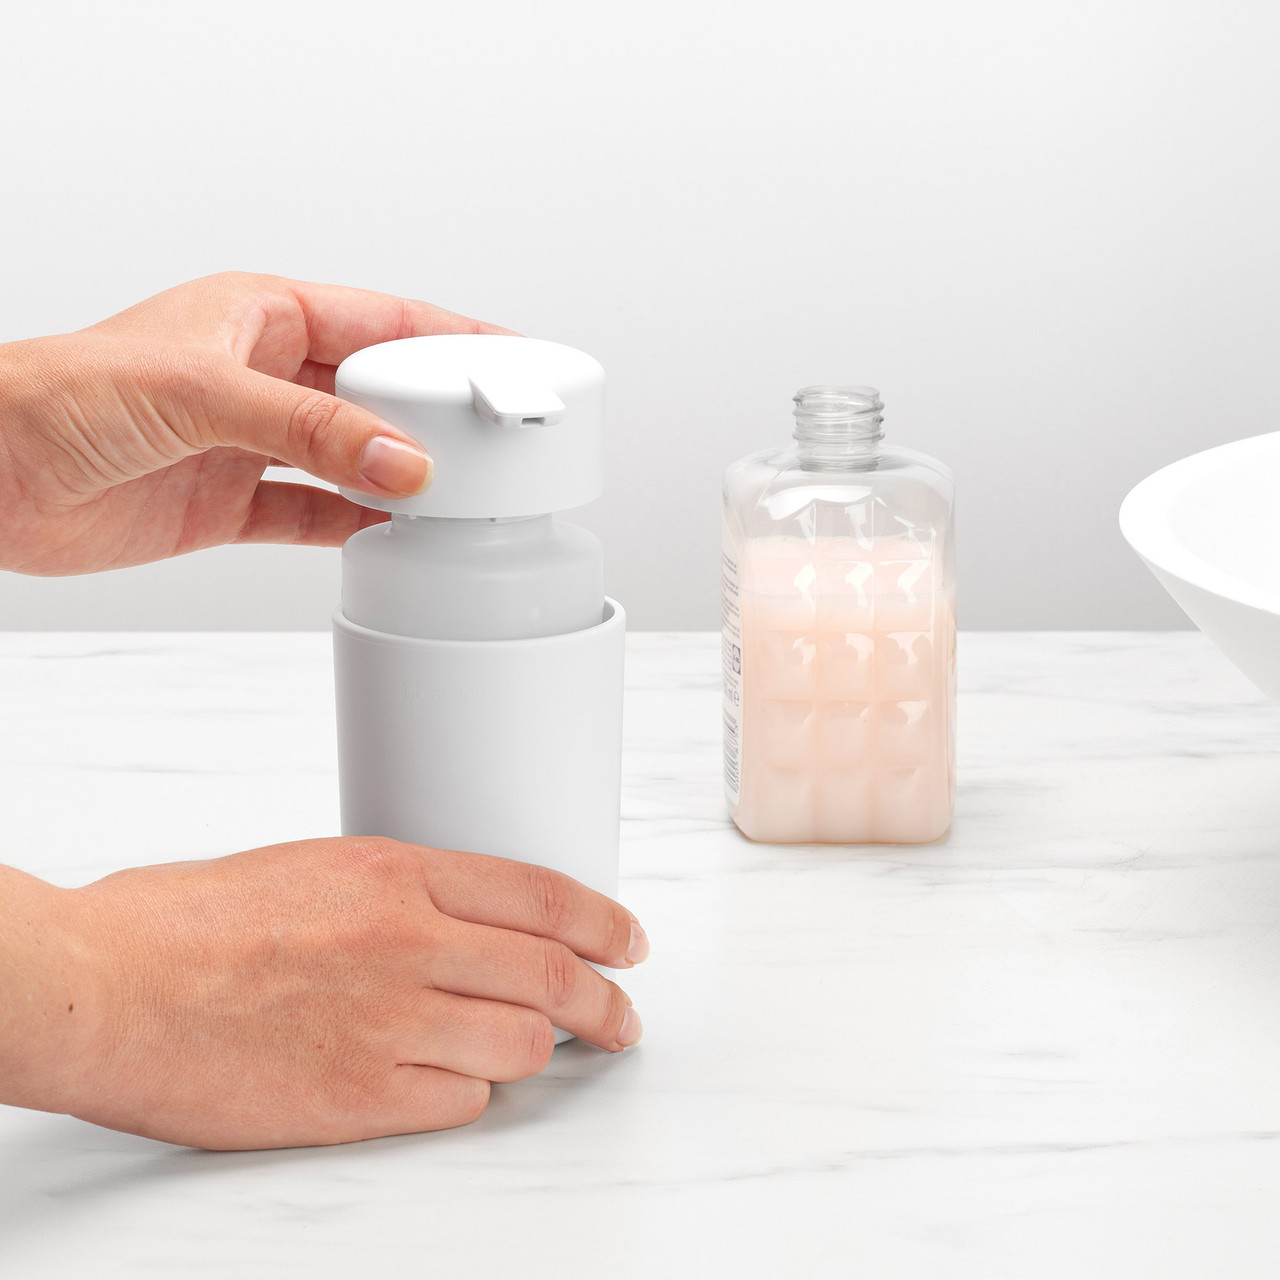
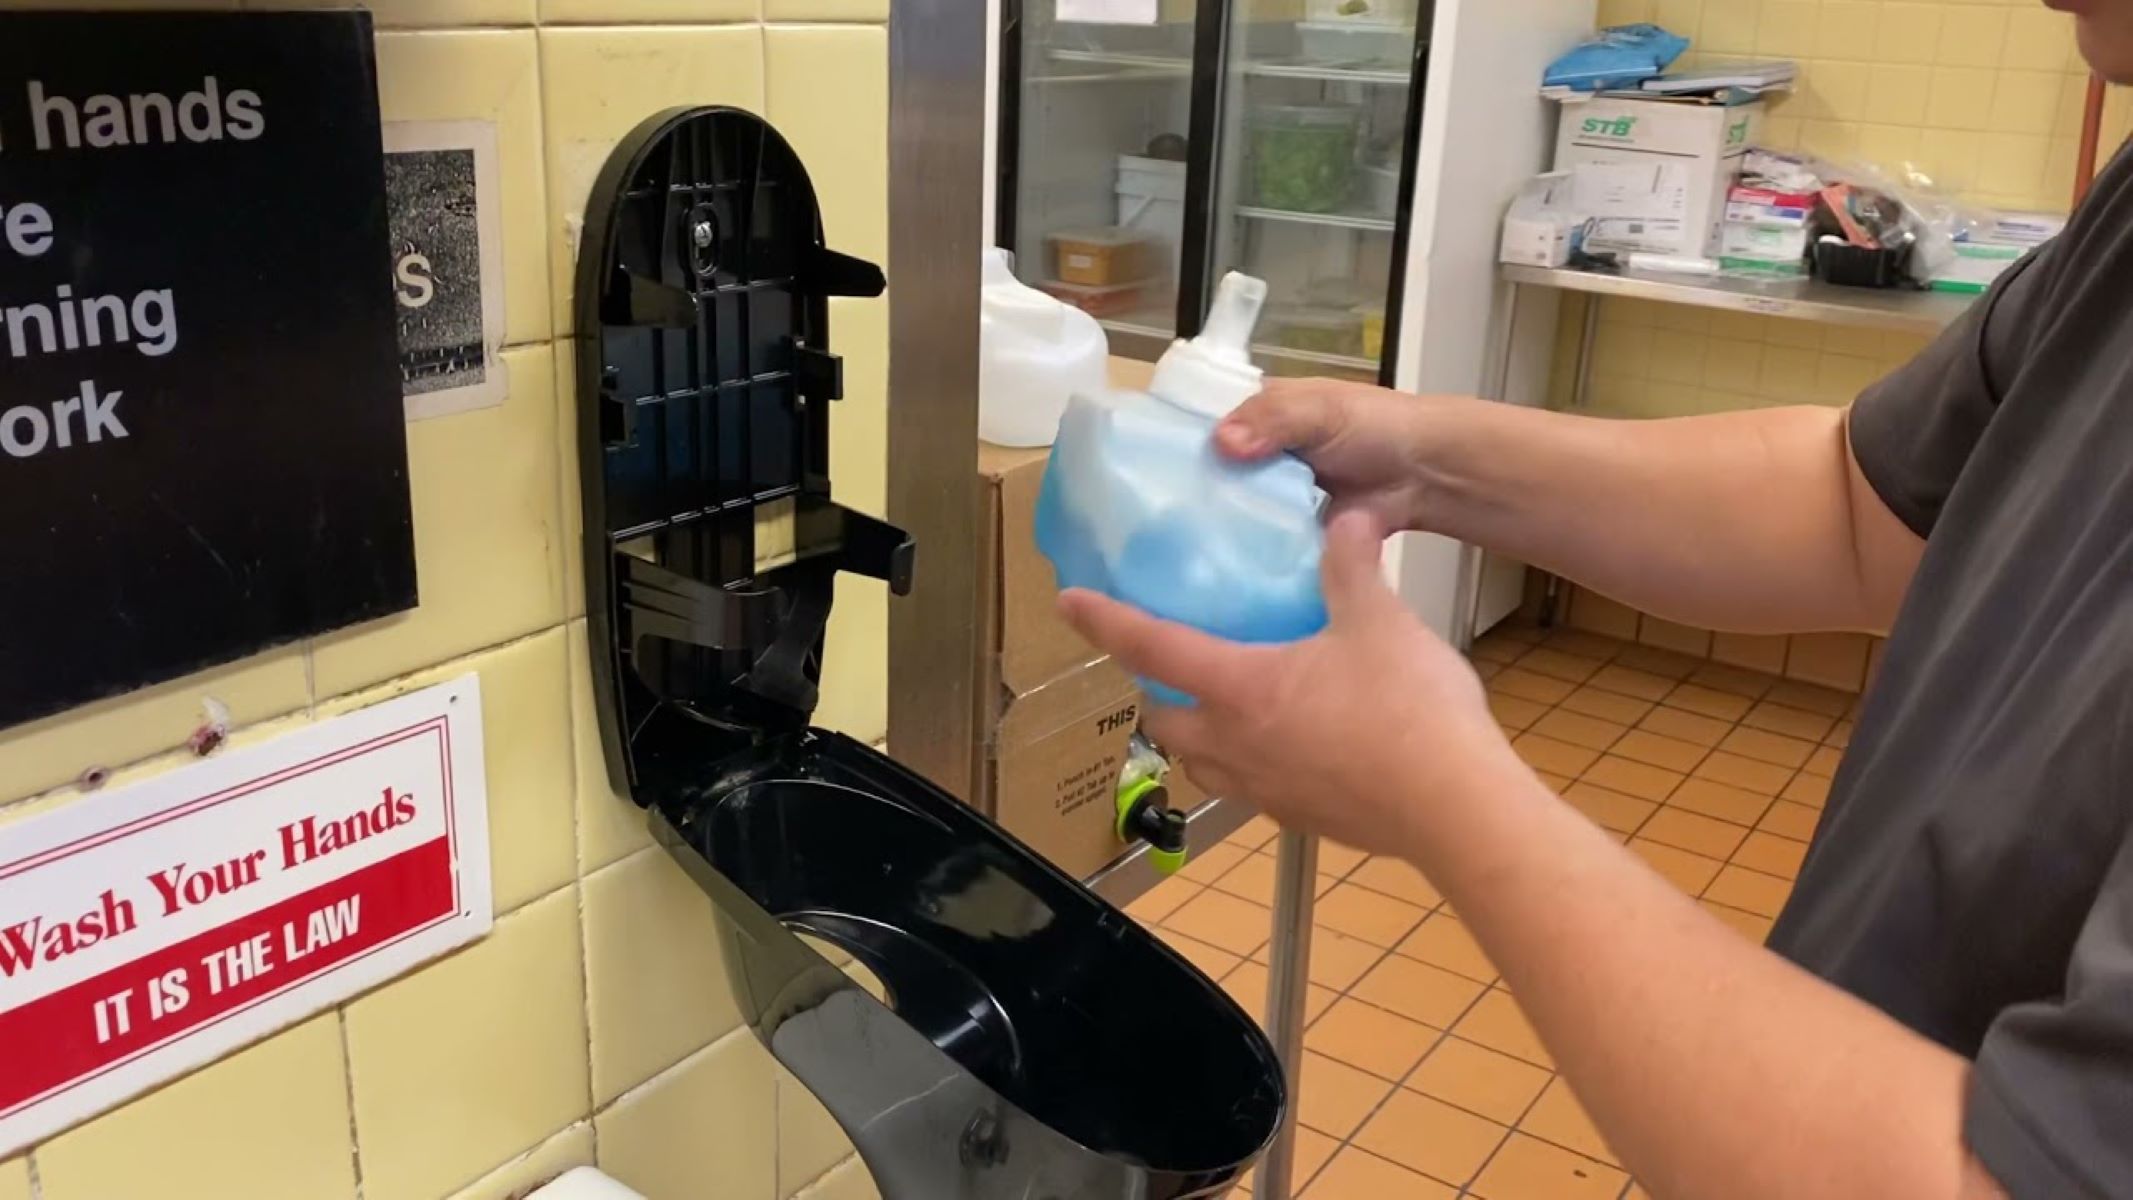
1. Fill the Dispenser: If you haven’t already done so, fill the soap dispenser with your preferred liquid or foam soap. Follow the manufacturer’s instructions for filling the dispenser, taking care not to overfill it.
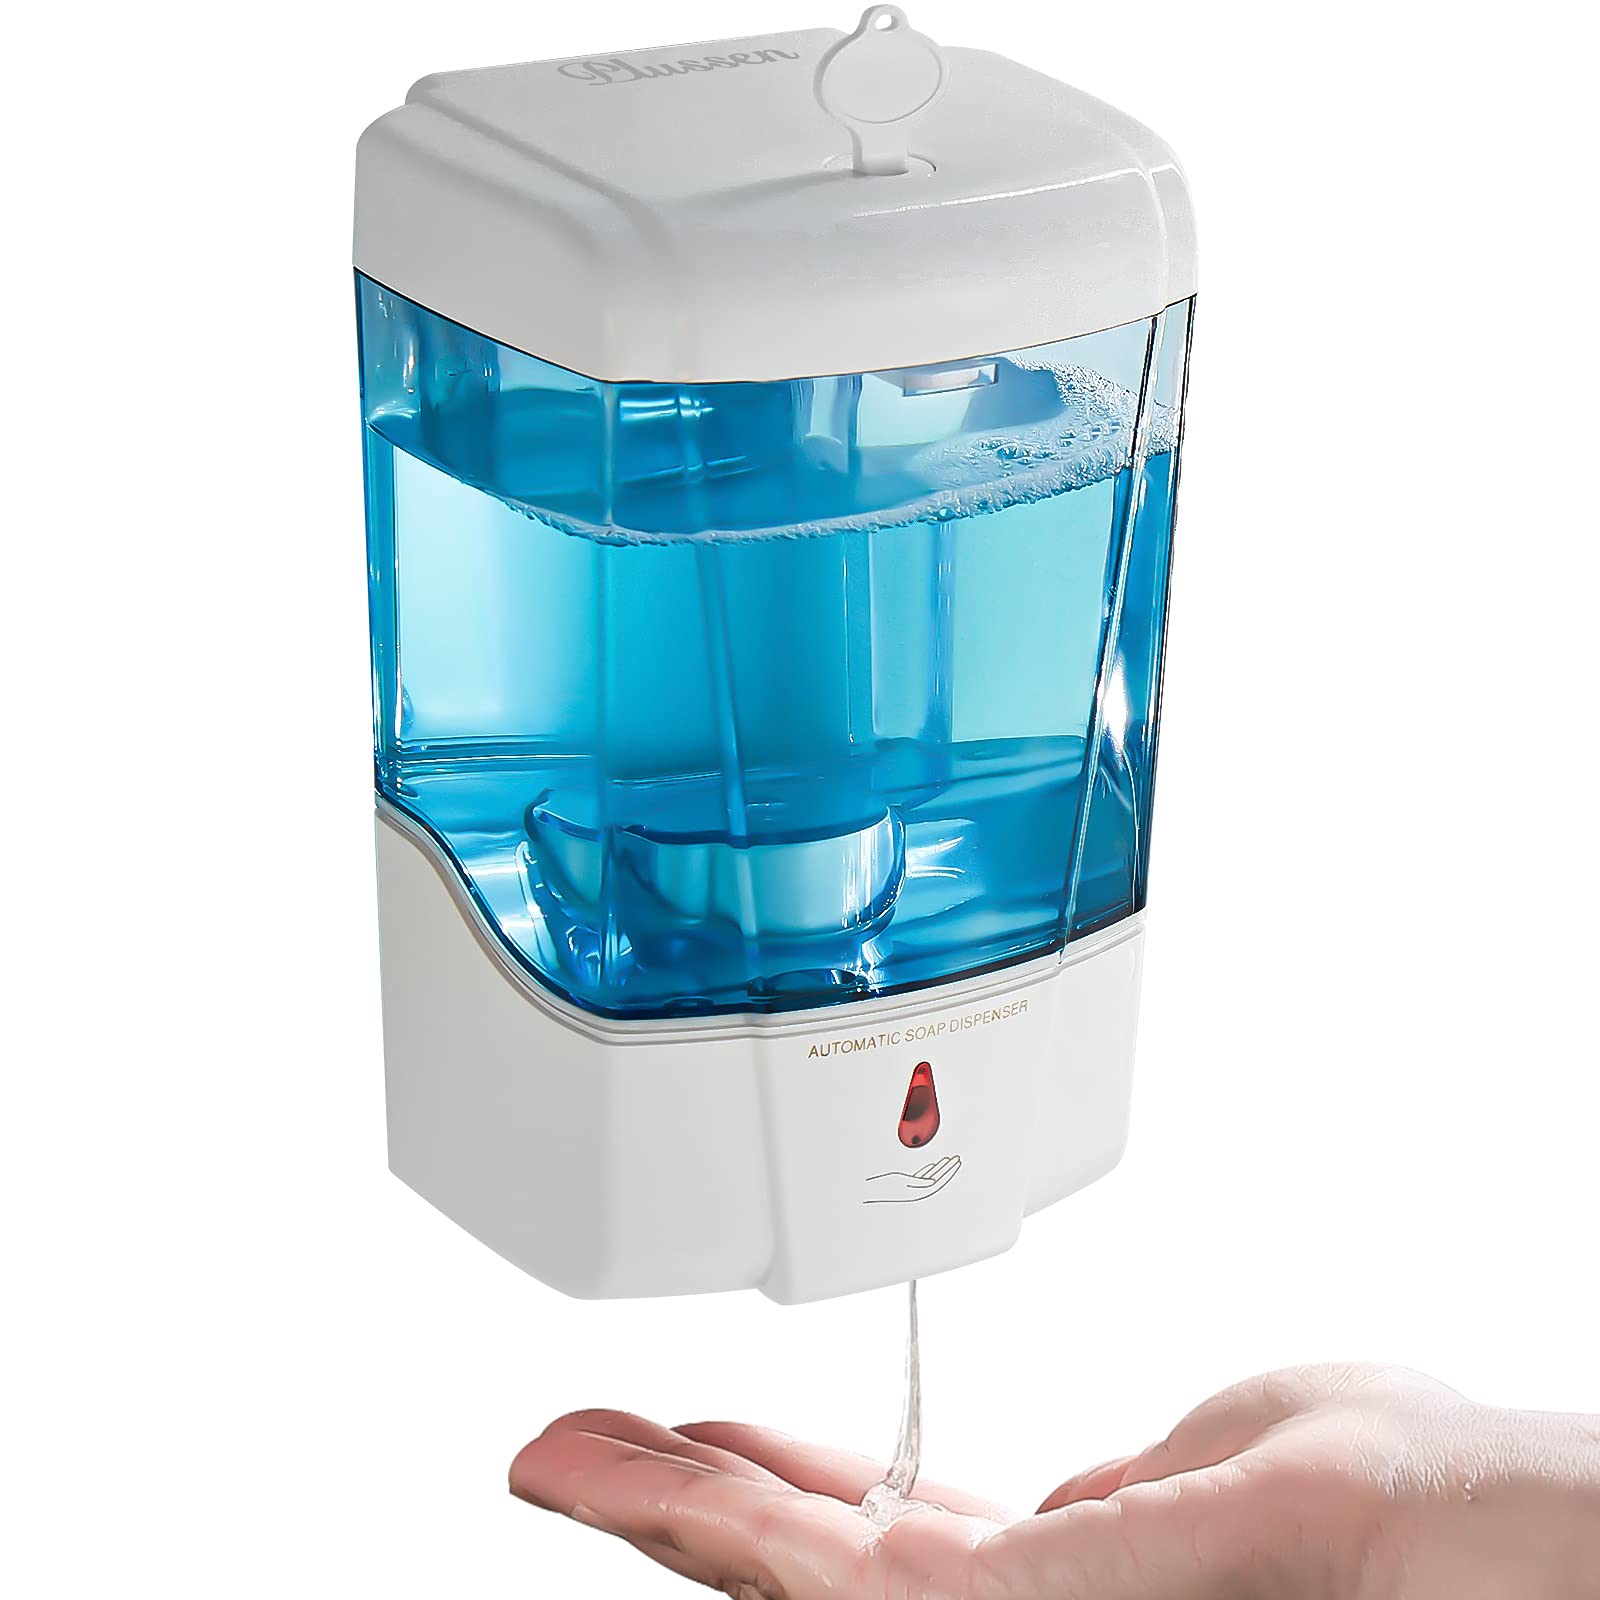
2. Activate the Dispenser: Depending on the type of soap dispenser you have installed, follow the specific instructions provided with your model to activate the dispenser. This may involve pushing a button, pulling a lever, or using motion sensors.
3. Observe the Dispensing Action: Activate the dispenser and observe the soap dispensing action. Ensure that the soap flows smoothly and evenly, without any leaks or drips. If you notice any issues, refer to the manufacturer’s instructions for troubleshooting.
4. Adjust Settings (if applicable): Some soap dispensers may have adjustable settings for soap dosage or dispensing time. If your dispenser has these features, test different settings and adjust them according to your preference.
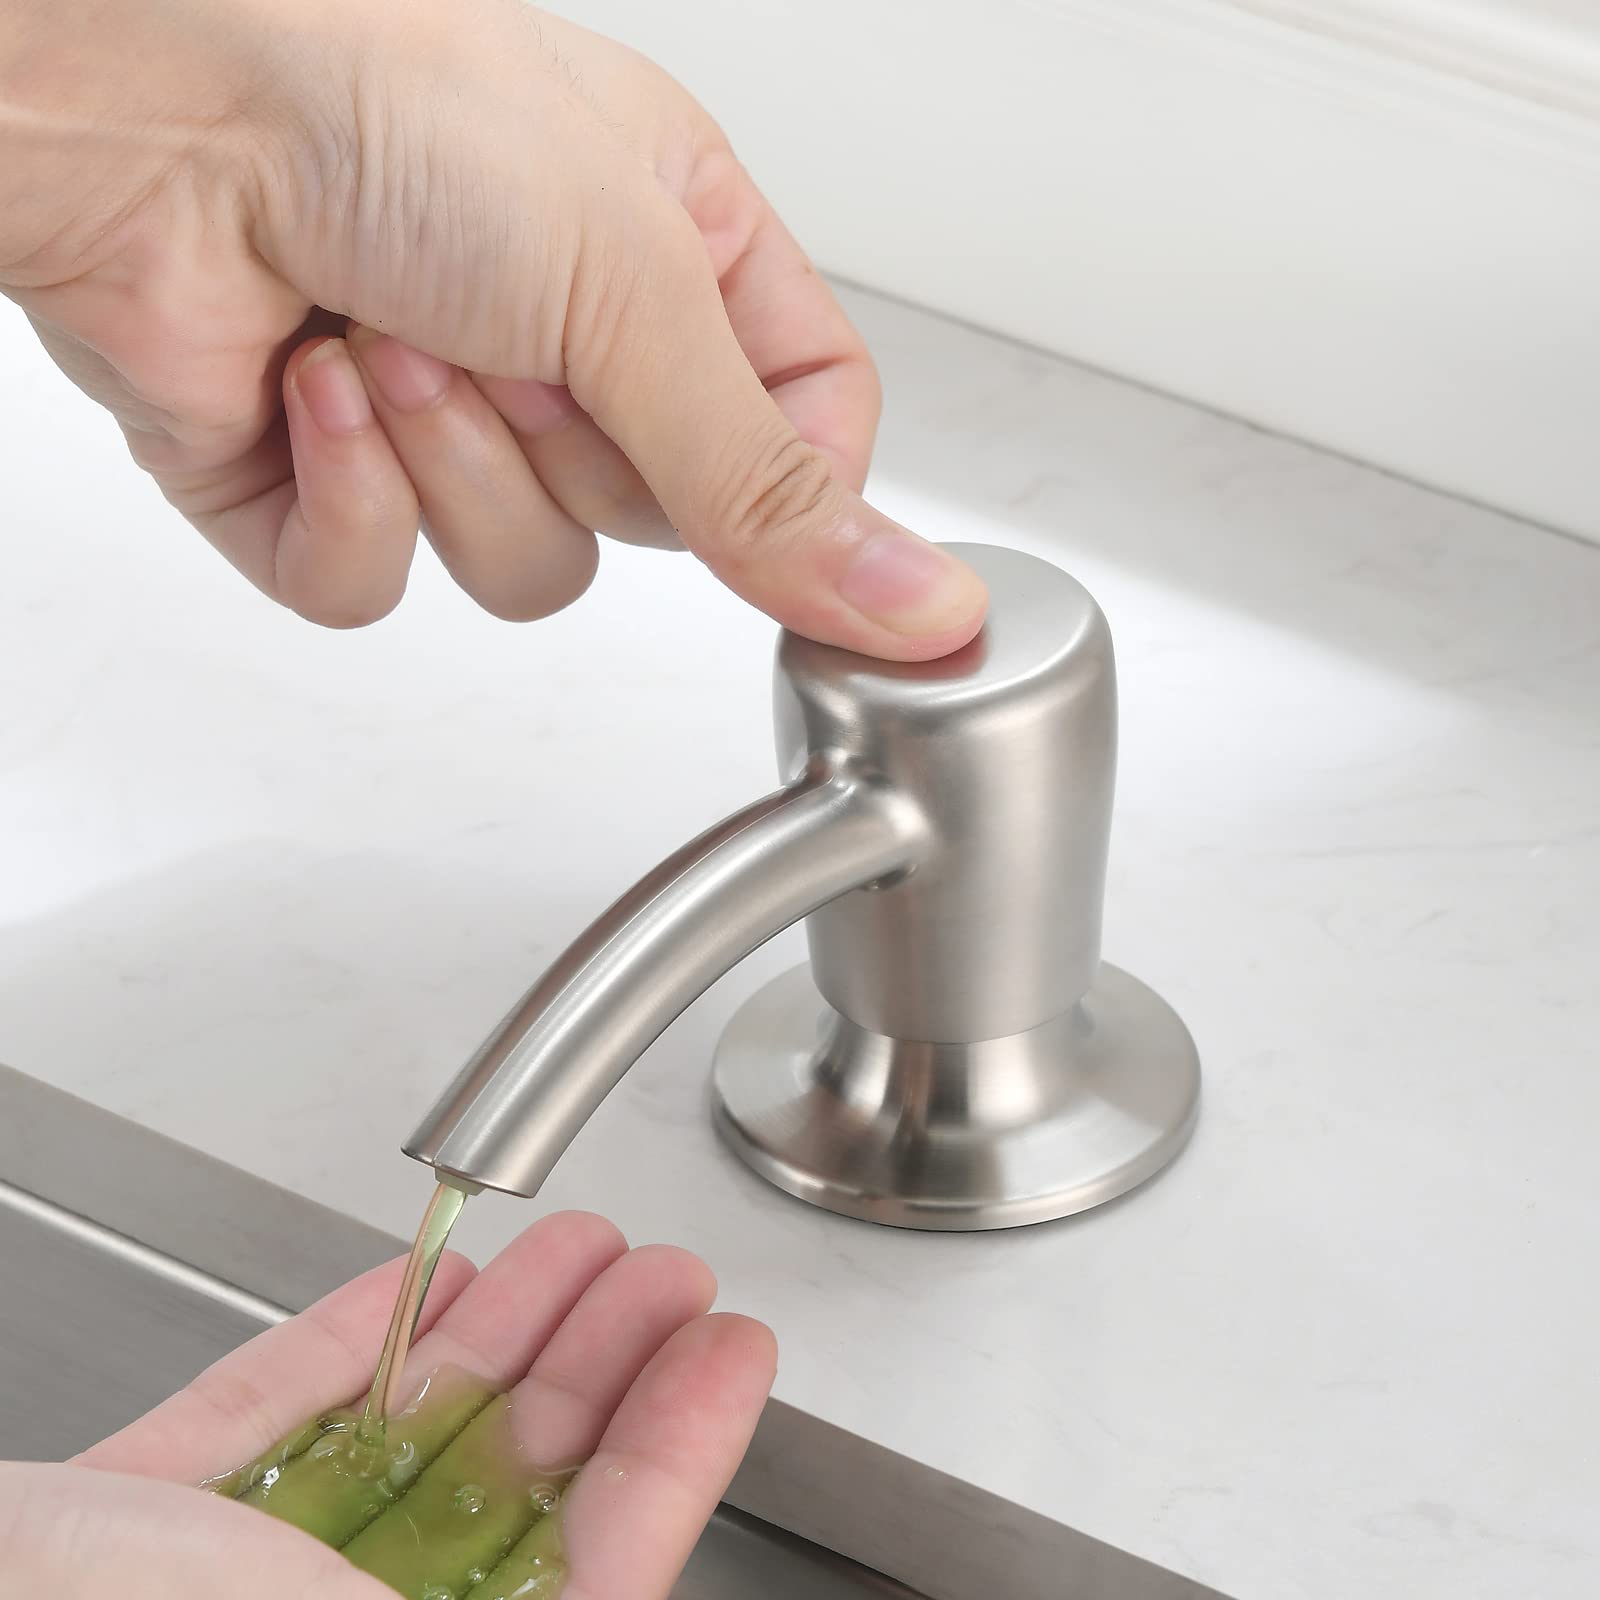
5. Check Accessibility: Test the dispenser’s accessibility by placing your hand or hands underneath the dispenser to receive the soap. Ensure that it is easy to use and that the soap is dispensed where it is intended to be.
By testing the soap dispenser, you can verify that it is functioning properly and meeting your expectations. If any issues arise during the testing process, refer to the manufacturer’s instructions or contact customer support for assistance.
Congratulations! You have successfully installed and tested your soap dispenser on the wall. It’s now ready to be used for convenient and hygienic handwashing. Enjoy the benefits of a clutter-free sink area and the ease of accessing soap whenever it is needed.
Remember to regularly refill the soap dispenser as needed to ensure continuous hand hygiene.
Conclusion
Installing a soap dispenser on the wall is a practical and stylish solution for keeping your hands clean and promoting good hygiene. By following the step-by-step guide provided in this article, you can successfully install a soap dispenser in any desired location, whether it’s in the bathroom, kitchen, or any other space.
Throughout the installation process, we covered important steps such as identifying the ideal location, preparing the wall, positioning the mounting bracket, marking and drilling holes, installing wall anchors (if necessary), attaching the mounting bracket securely, connecting the soap dispenser, and testing its functionality.
With the soap dispenser mounted on the wall, you will enjoy several benefits. It saves valuable counter or sink space, providing a clutter-free and organized area. The dispenser is easily accessible, ensuring that soap is always within reach for proper handwashing. It also adds a modern and stylish touch to your space, enhancing its overall aesthetic.
Remember to regularly refill the soap dispenser to ensure a constant supply of soap for effective handwashing. Additionally, clean and maintain the dispenser according to the manufacturer’s instructions to keep it functioning optimally.
By implementing these steps, you have successfully installed a soap dispenser on the wall, creating a convenient and hygienic handwashing solution. Enjoy the ease and functionality of having soap readily available whenever you need it.
Stay clean, stay healthy!
Frequently Asked Questions about How To Install Soap Dispenser On Wall
Was this page helpful?
At Storables.com, we guarantee accurate and reliable information. Our content, validated by Expert Board Contributors, is crafted following stringent Editorial Policies. We're committed to providing you with well-researched, expert-backed insights for all your informational needs.

0 thoughts on “How To Install Soap Dispenser On Wall”