Articles
How To Change A Soap Dispenser
Modified: January 5, 2024
Learn how to change a soap dispenser with step-by-step instructions and helpful articles. Improve your bathroom experience today.
(Many of the links in this article redirect to a specific reviewed product. Your purchase of these products through affiliate links helps to generate commission for Storables.com, at no extra cost. Learn more)
Introduction
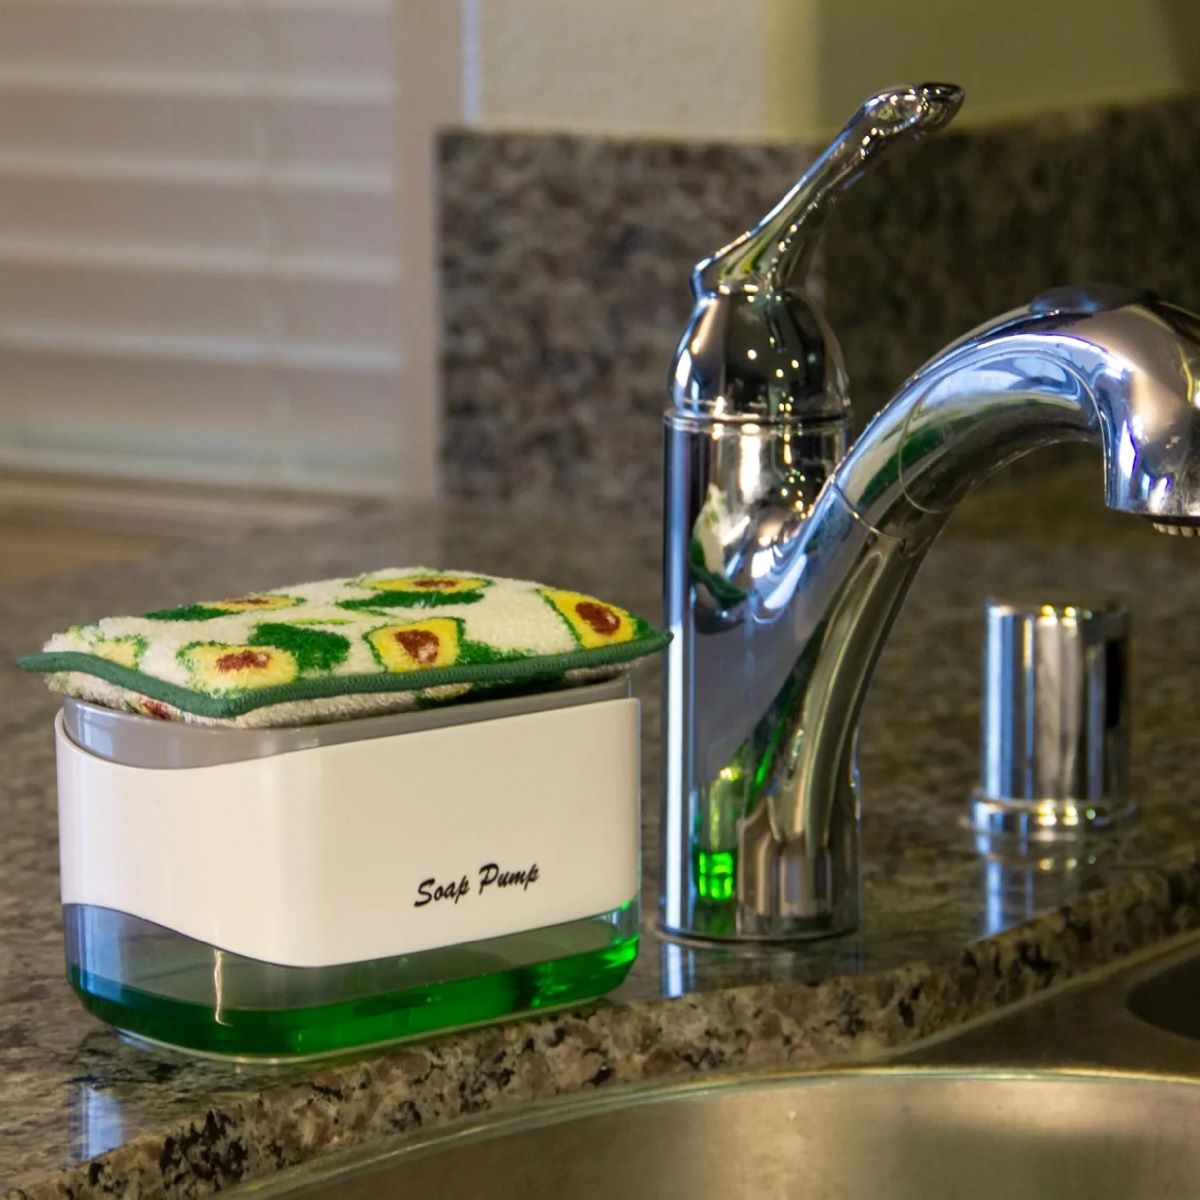
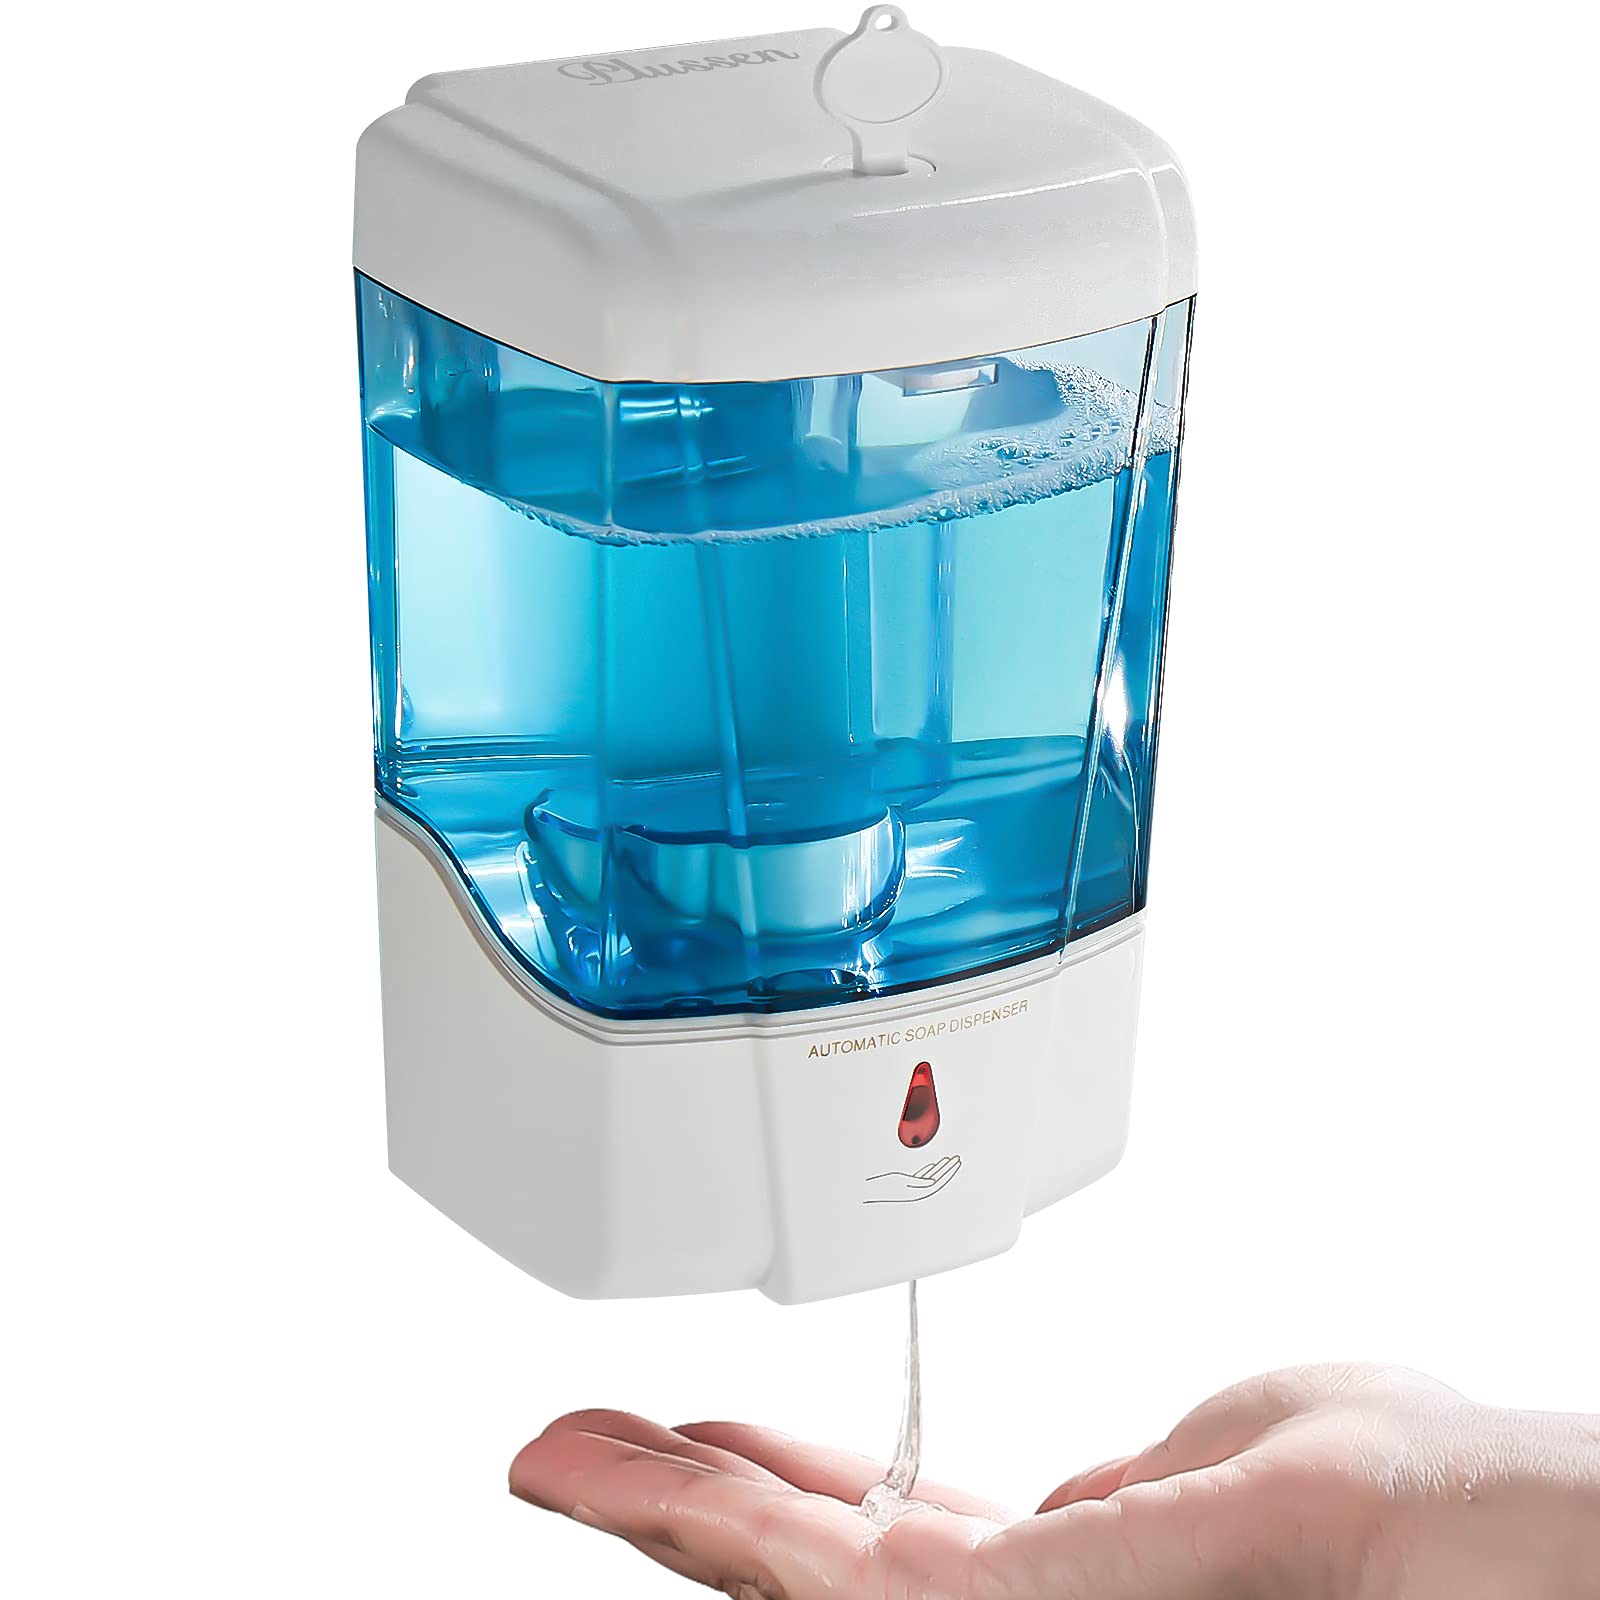
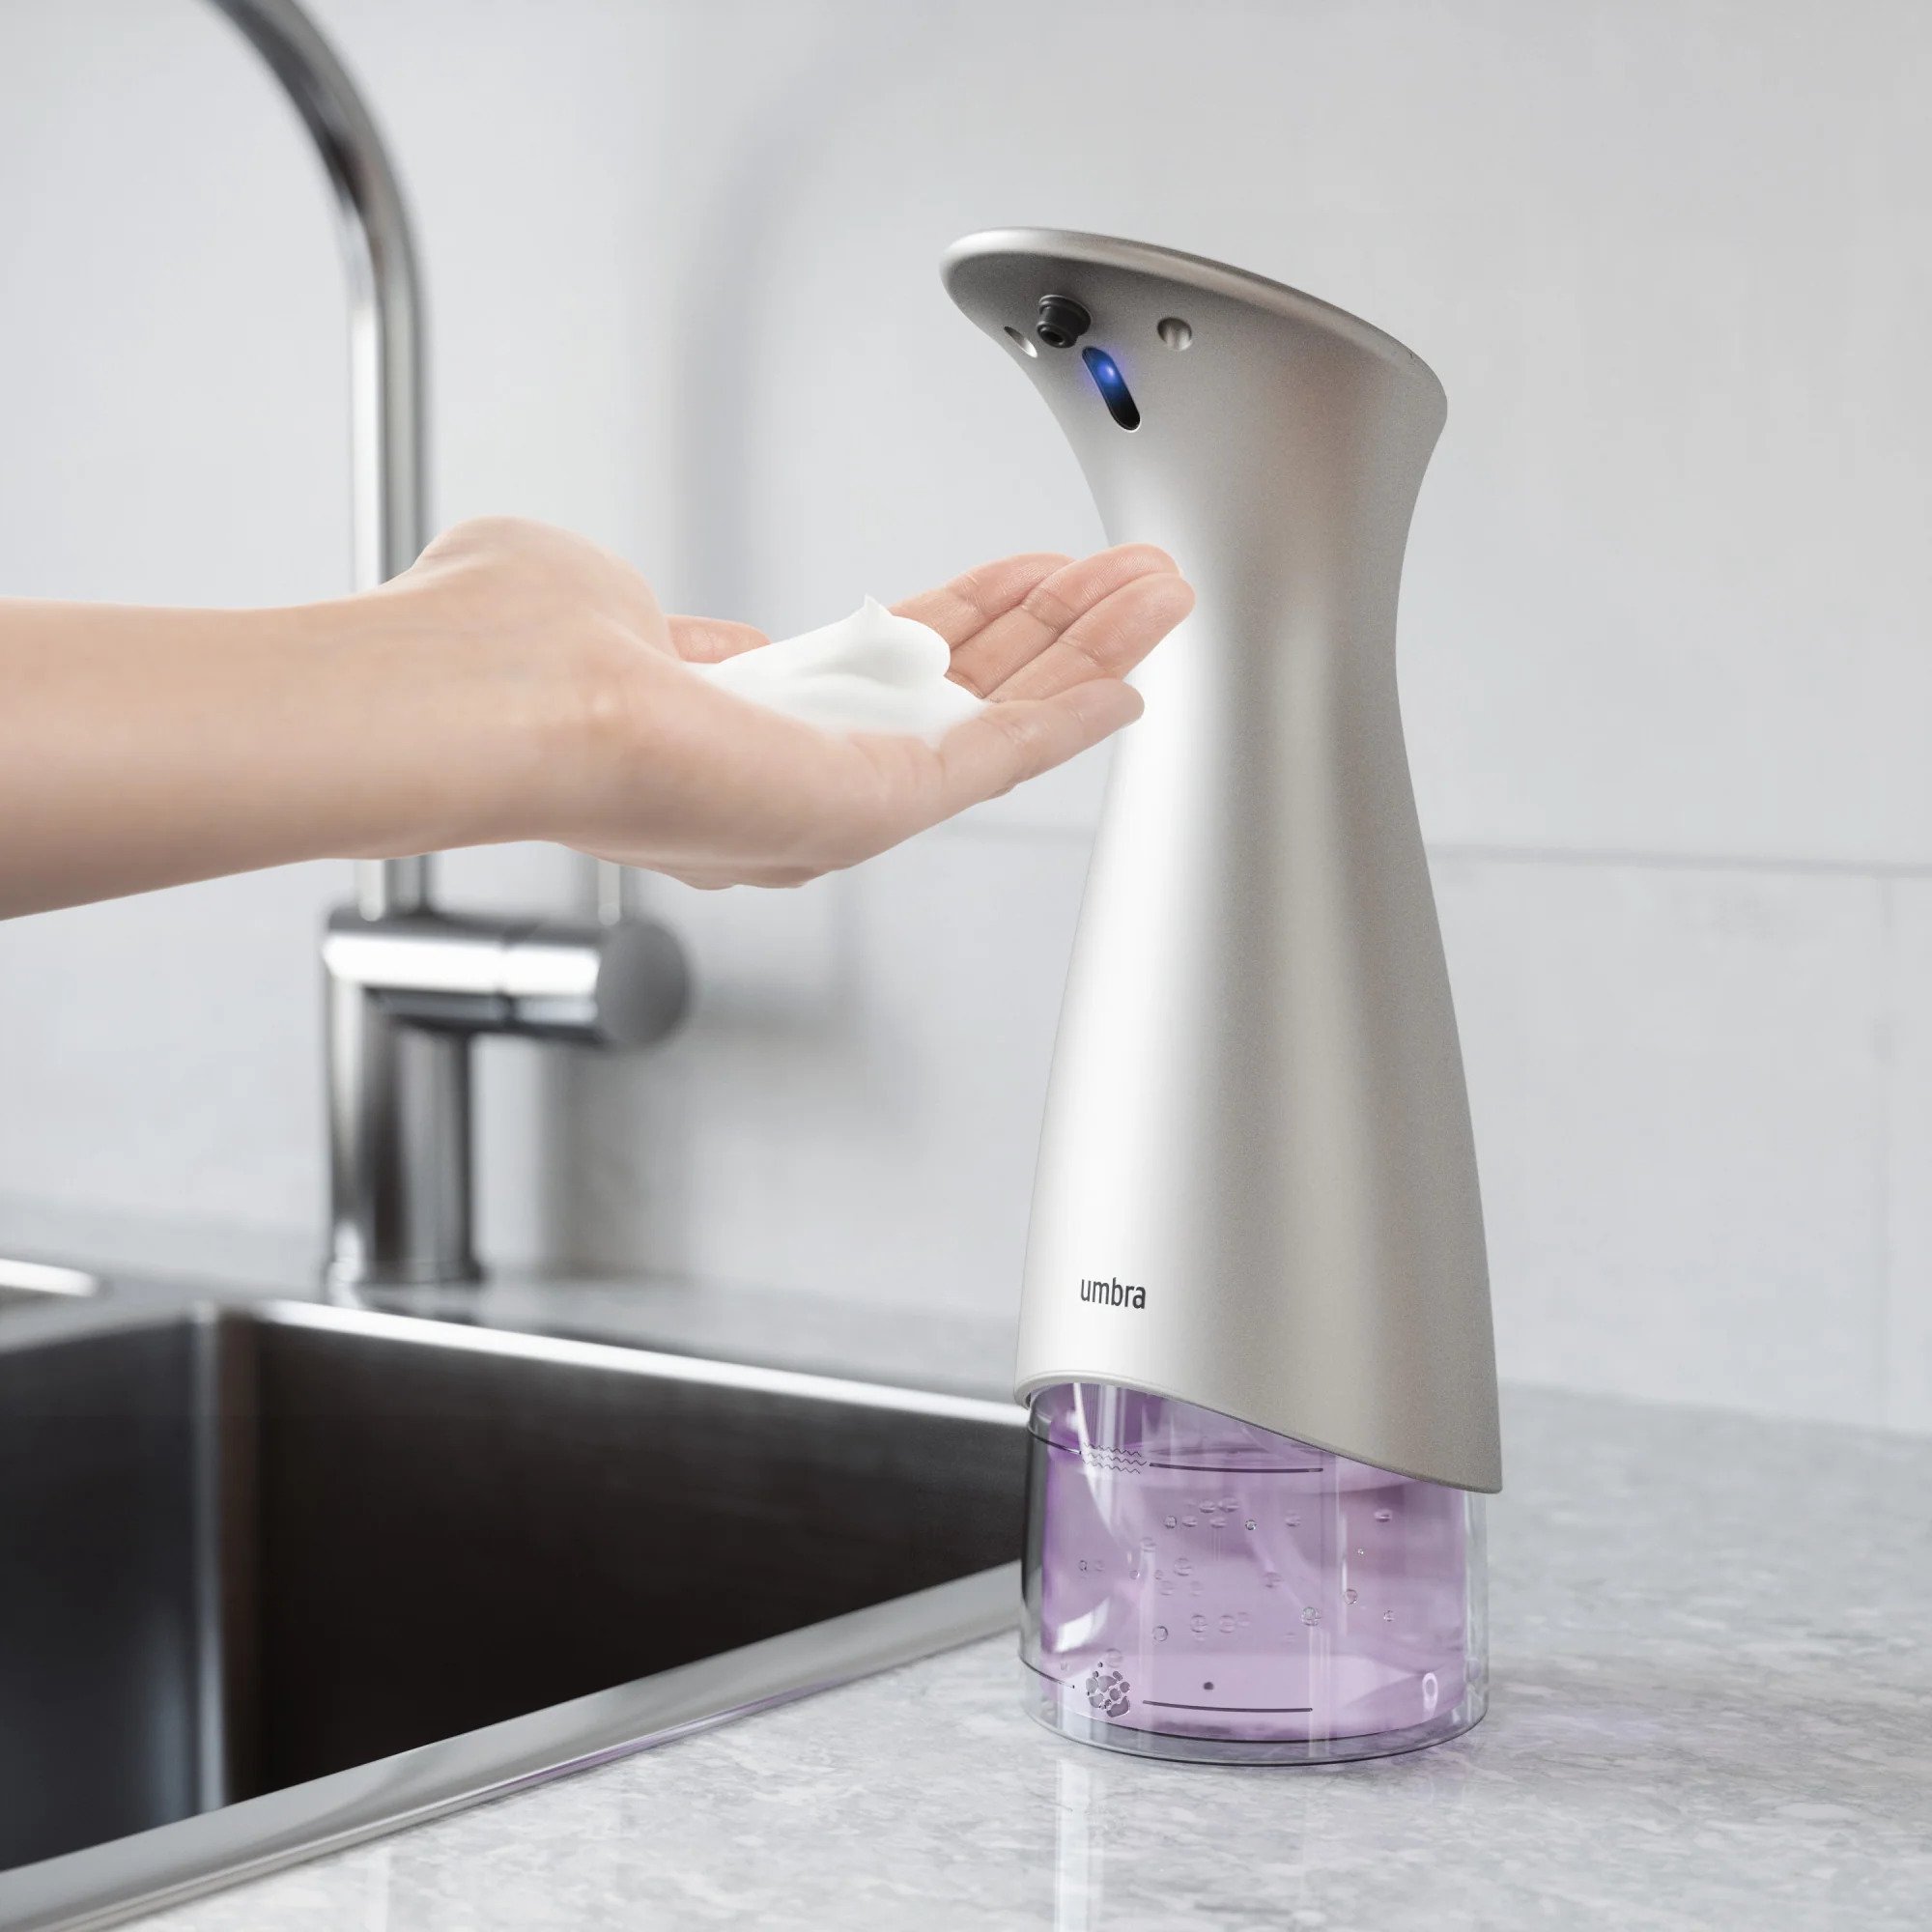
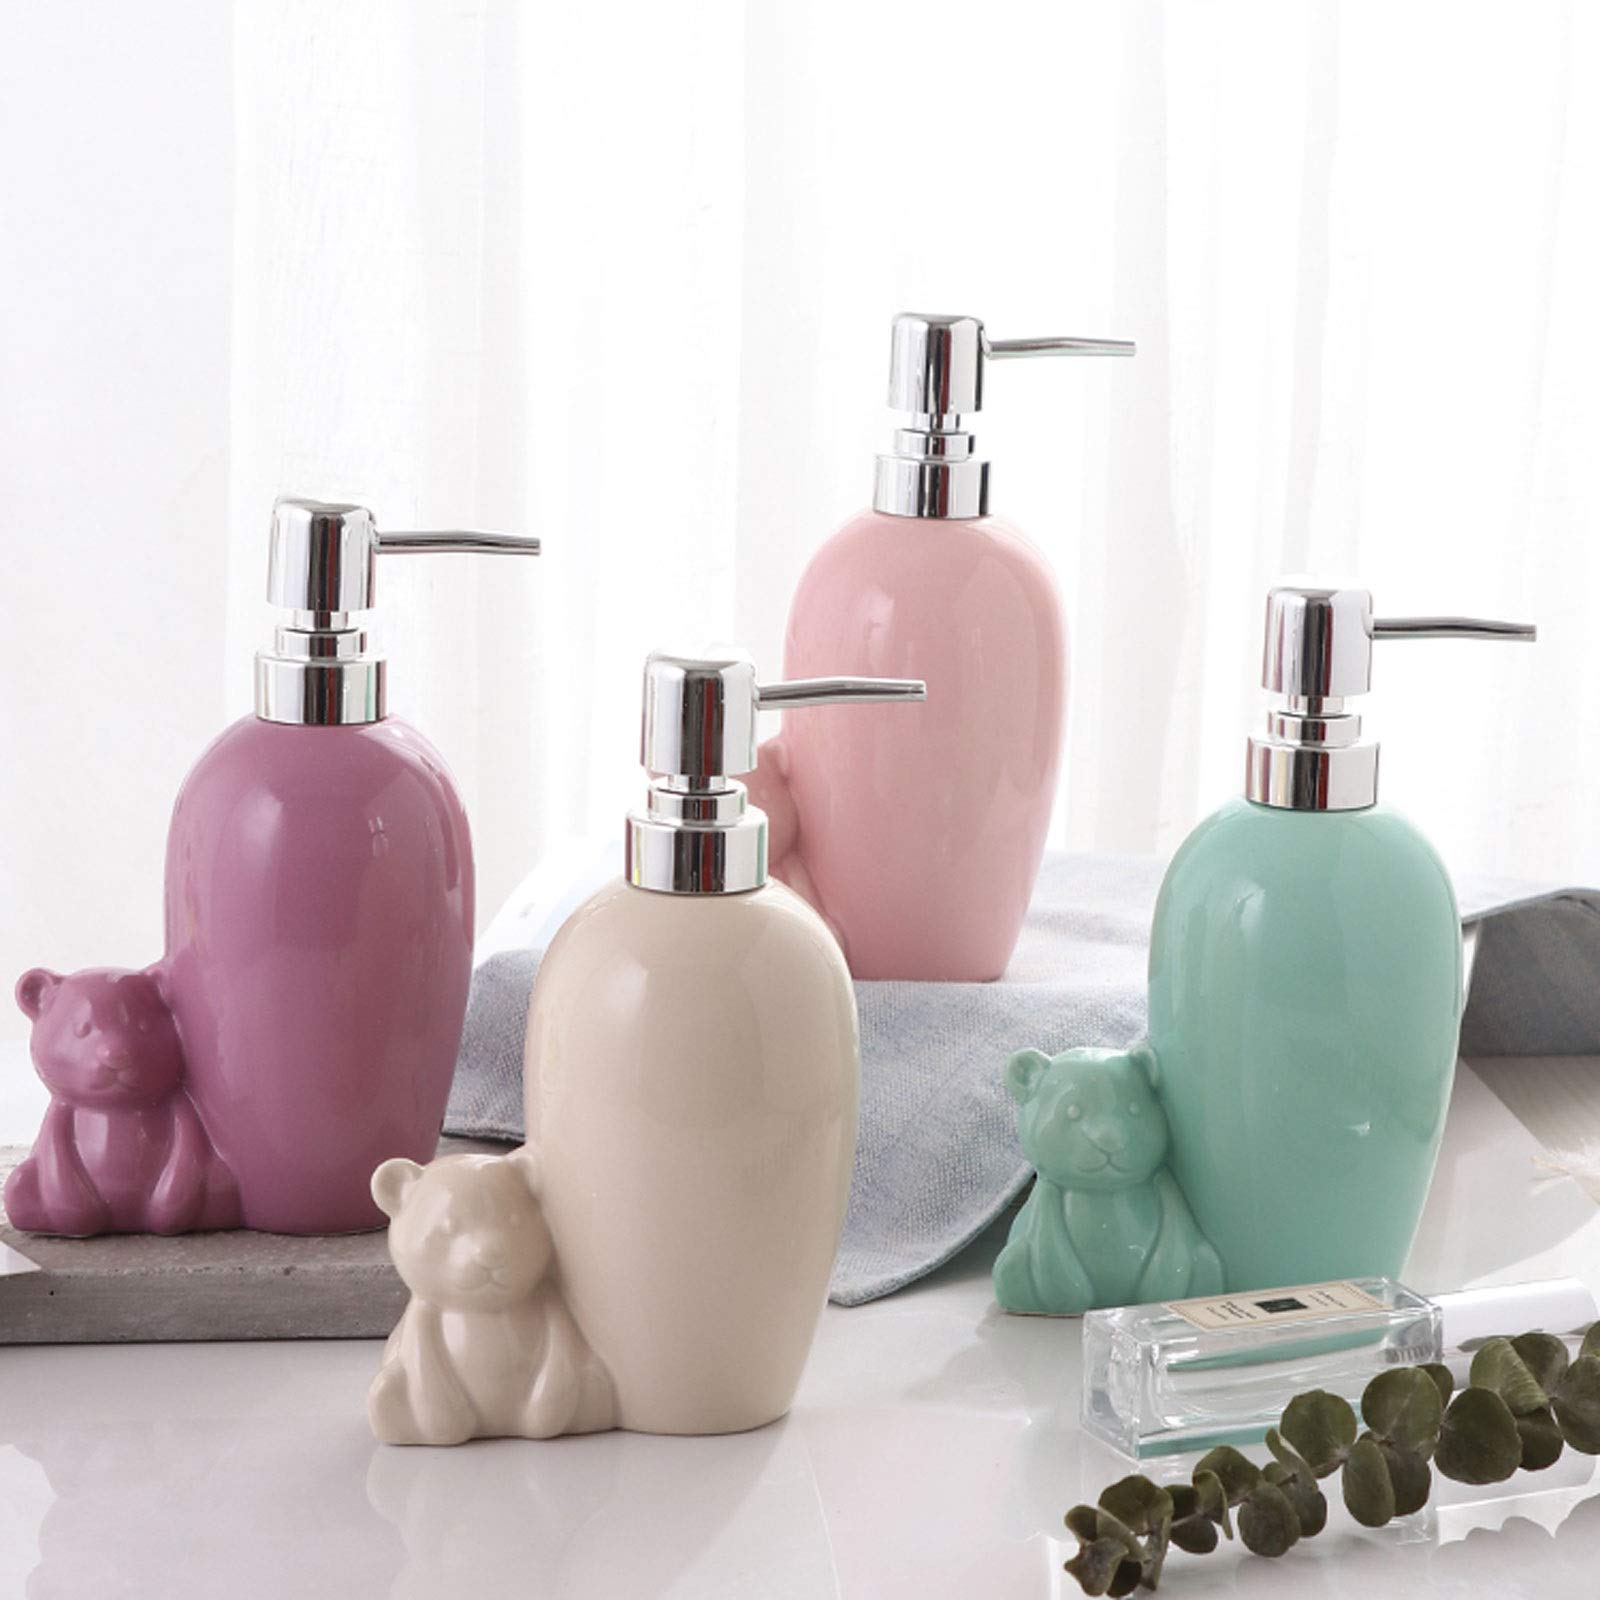
Soap dispensers are essential bathroom and kitchen accessories that provide convenience and hygiene. Over time, soap dispensers may need to be replaced due to wear and tear, or simply for a change in style. If you’re looking to update your bathroom or kitchen with a new soap dispenser, you’ve come to the right place!
In this article, we will guide you through the process of changing a soap dispenser step-by-step. Whether you’re a DIY enthusiast or a beginner, this guide will help you complete the task with ease.
Before we dive into the details, let’s take a look at the tools you will need for this project.
Key Takeaways:
- Changing a soap dispenser is a simple DIY task that can enhance your bathroom or kitchen. Gather the right tools, follow the step-by-step guide, and enjoy the convenience of a new dispenser!
- Ensure a smooth installation by prepping the new dispenser, testing for leaks, and adjusting the soap flow. Follow the manufacturer’s instructions and enjoy the benefits of a well-functioning soap dispenser!
Read more: How To Change Soap In Gojo Soap Dispenser
Tools Needed
Before you begin changing a soap dispenser, make sure you have the following tools handy:
- Adjustable wrench
- Screwdriver (flat-head or Phillips, depending on the dispenser)
- Plumber’s tape
- Soap dispenser (new)
Having these tools readily available will ensure a smooth and efficient process. Now that you have everything you need, let’s move on to the step-by-step instructions.
Step 1: Gather Supplies
Before starting the soap dispenser replacement process, it’s important to gather all the necessary supplies. This will save you time and prevent interruptions as you work through the steps. Here’s what you’ll need:
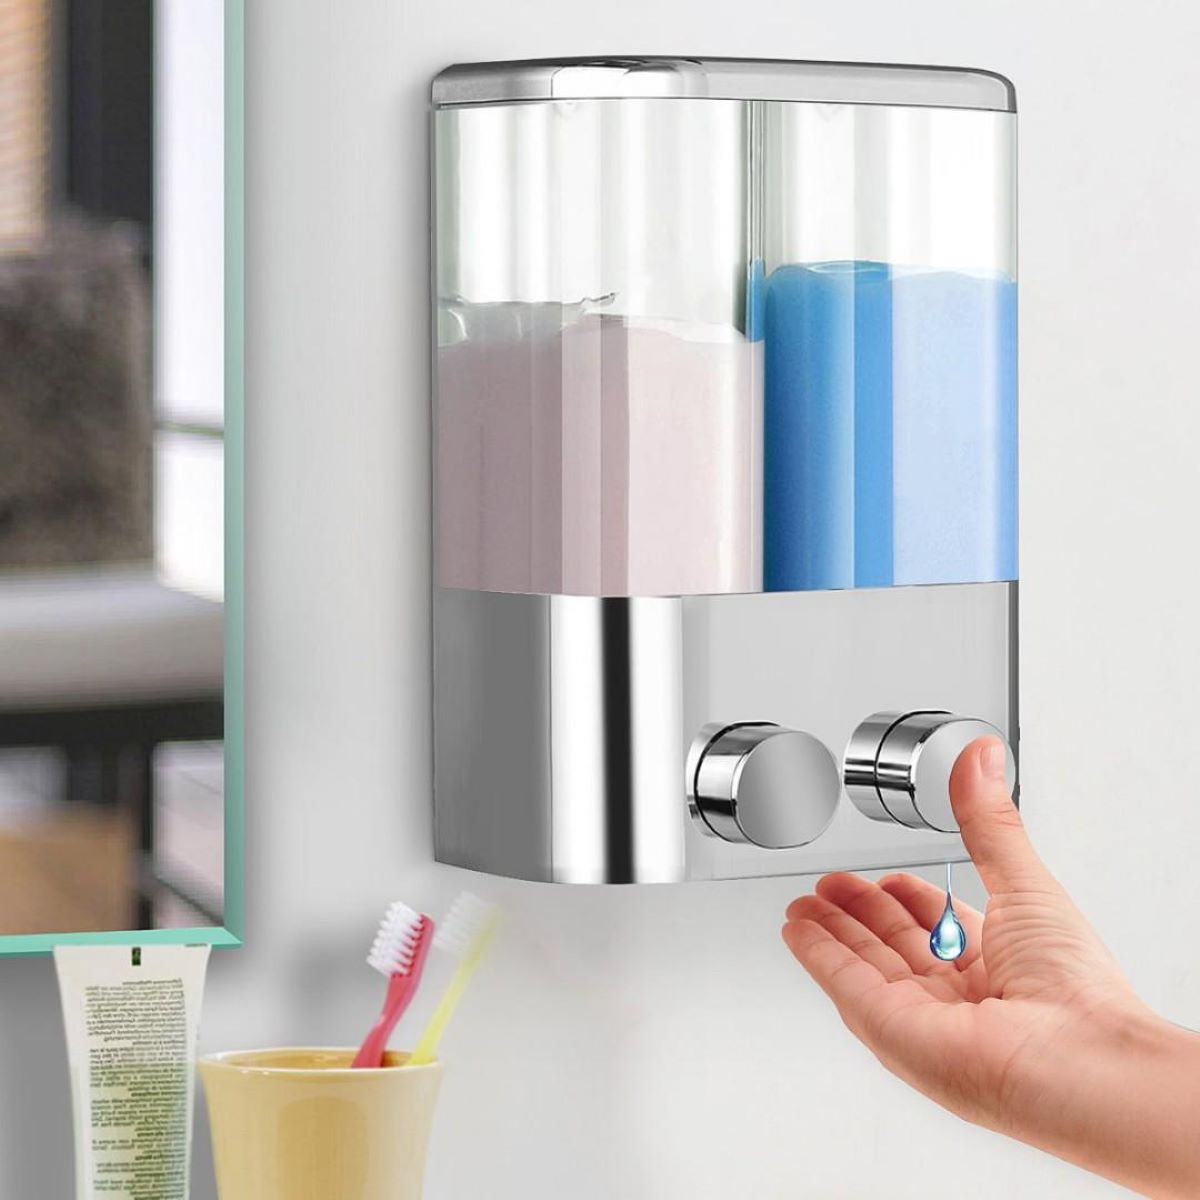
- Soap dispenser (new): Choose a dispenser that matches your style and preferences. Consider the design, material, and functionality.
- Adjustable wrench: This tool will help you loosen and tighten nuts and bolts during the installation process.
- Screwdriver: Depending on the type of soap dispenser you have, you’ll need either a flat-head or Phillips screwdriver.
- Plumber’s tape: Also known as Teflon tape, this tape is used to create a watertight seal between threaded plumbing connections.
Once you have gathered these supplies, you can move on to the next step. It’s always a good idea to read through the manufacturer’s instructions that come with your new soap dispenser before proceeding. This will give you a better understanding of any specific requirements or recommendations.
Now that you have everything ready, you’re one step closer to having a new soap dispenser in place. Next, we’ll learn how to remove the old dispenser.
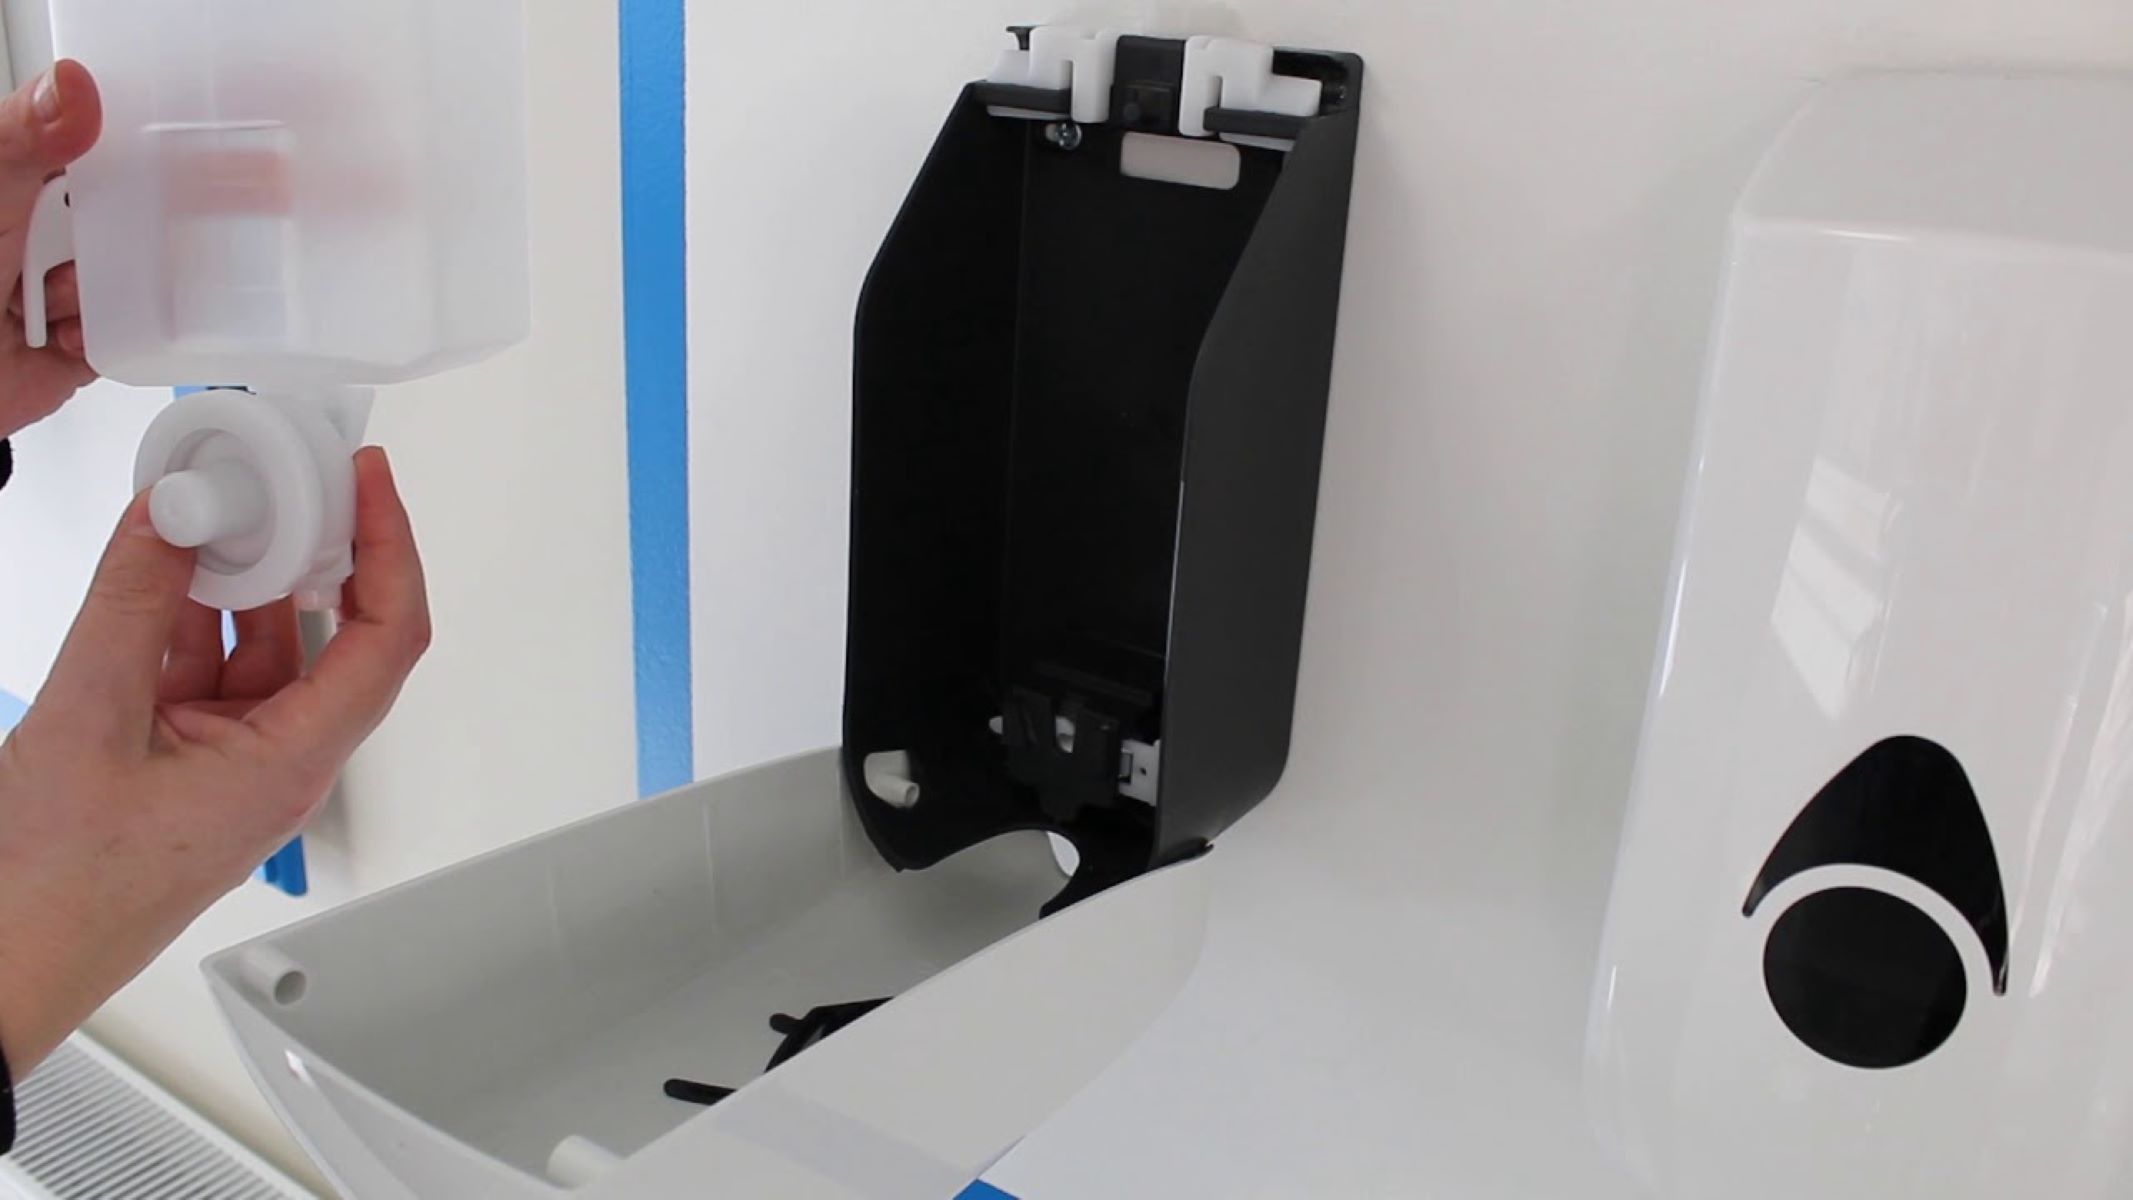
Step 2: Remove Old Dispenser
Now that you have all the necessary supplies, it’s time to remove the old soap dispenser. Follow these steps:
- Locate the mounting nut: The mounting nut is the piece that holds the soap dispenser in place. It is usually located underneath the sink or countertop. Use an adjustable wrench to loosen and remove the nut.
- Detach the dispenser pump: Once the mounting nut is removed, you can now detach the dispenser pump from the soap bottle. Depending on the type of dispenser, you may need to twist, unscrew, or pry it off. Be careful not to damage any surrounding surfaces.
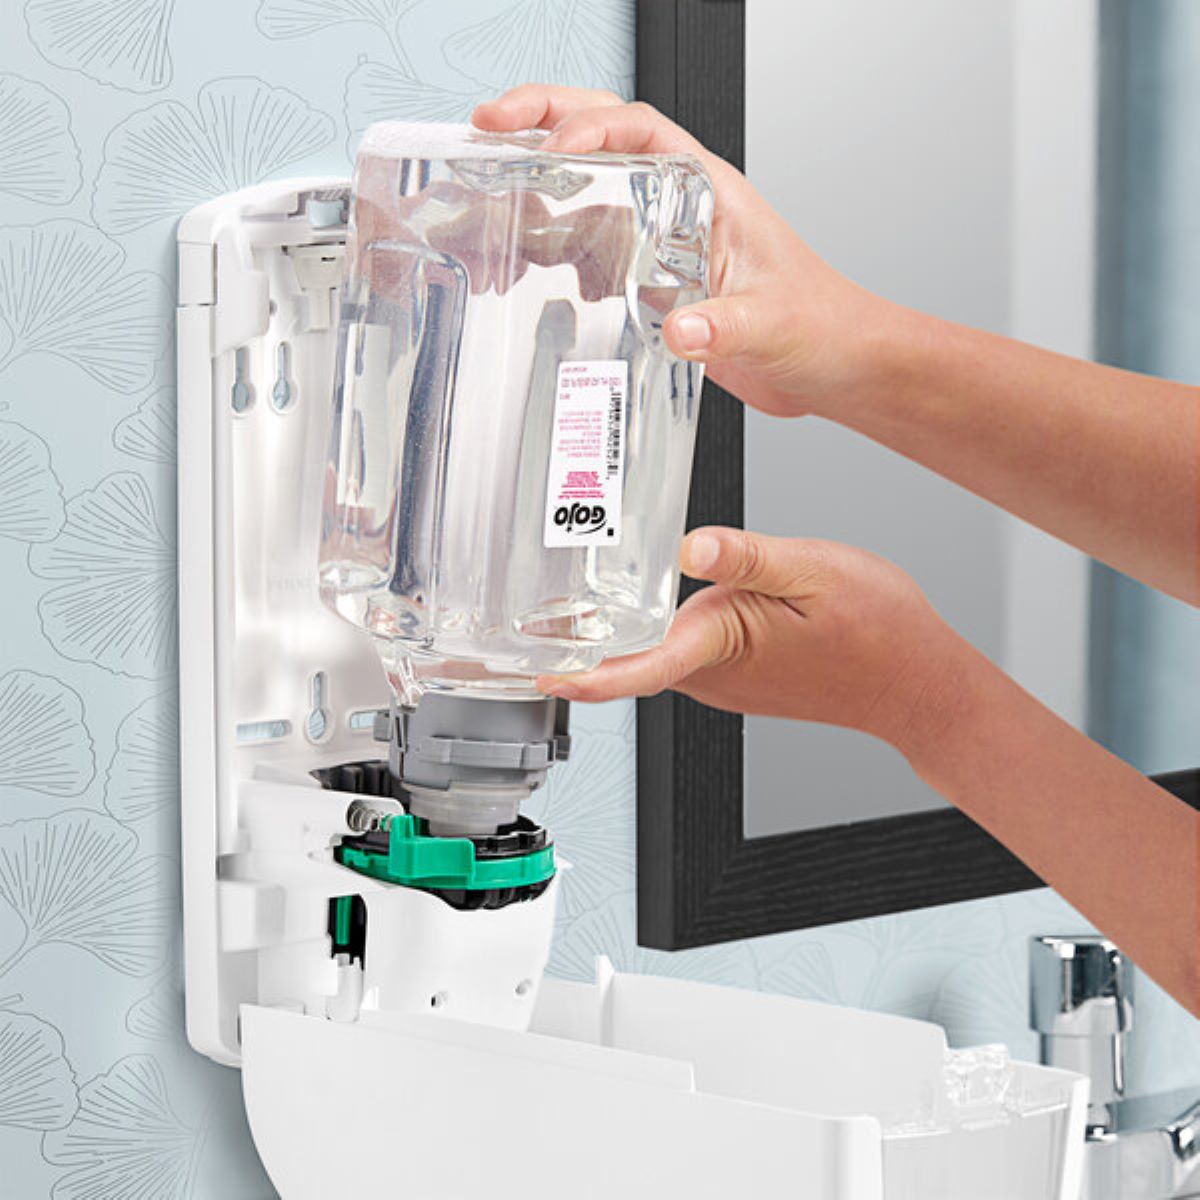
- Remove the soap bottle: With the pump detached, you can easily remove the empty or nearly empty soap bottle. Dispose of it properly, following local waste management guidelines.
- Clean the area: Take a moment to clean the area where the old soap dispenser was installed. Use mild soap and water or a suitable cleaning solution to remove any residue or buildup.
Once you have completed these steps, you’re ready to move on to the next step – preparing the new soap dispenser for installation.
When changing a soap dispenser, make sure to turn off the water supply and disconnect the old dispenser. Clean the area before installing the new dispenser to ensure a secure and clean fit.
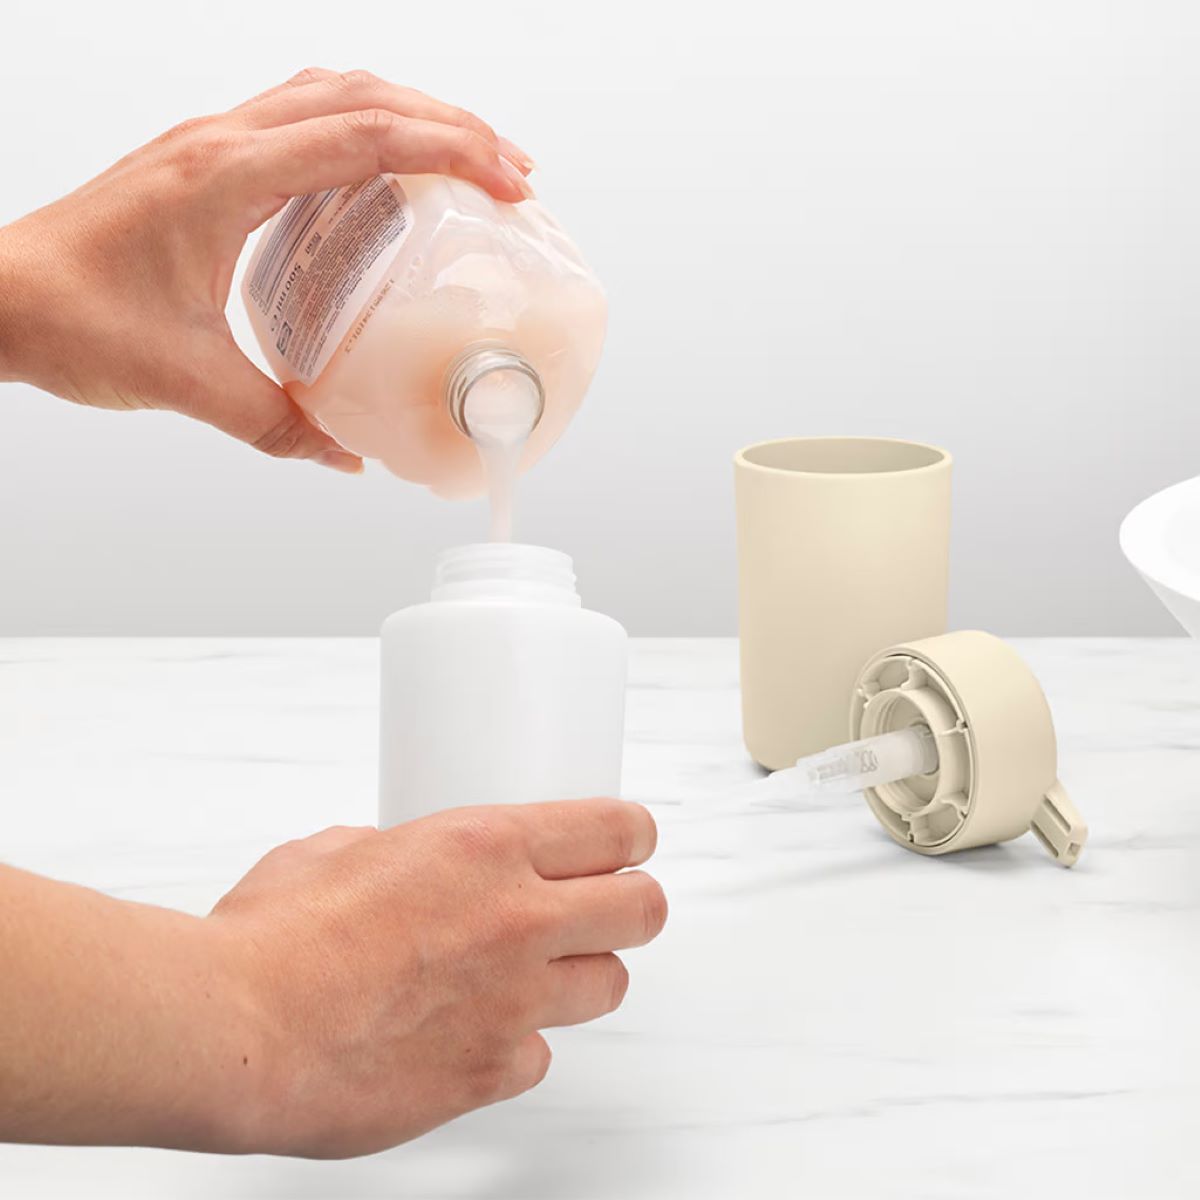
Step 3: Prep the New Dispenser
With the old soap dispenser removed, it’s time to prepare the new dispenser for installation. Follow these steps:
- Read the instructions: Before proceeding, read the manufacturer’s instructions that come with your new soap dispenser. This will ensure you understand any specific requirements or recommendations.
- Apply plumber’s tape: Take the plumber’s tape and wrap it around the threaded connection on the dispenser. This tape helps create a watertight seal when the dispenser is installed, preventing leaks.
- Attach the pump: Depending on the type of dispenser you have, you may need to attach the pump to the soap bottle before installing it. Follow the manufacturer’s instructions for this step.
- Place the soap bottle: Insert the soap bottle into the appropriate holder or slot on the dispenser. Make sure it fits securely and is aligned properly.
- Tighten the dispenser: Use an adjustable wrench or the appropriate tool to securely tighten the nut at the base of the dispenser. Make sure you don’t overtighten, as it may damage the dispenser or cause leaks.
Once you have completed these steps, your new soap dispenser is prepared and ready for installation. In the next step, we’ll guide you through the process of installing the new dispenser.
Read more: How To Put Soap In A Soap Dispenser
Step 4: Install the New Dispenser
Now that you have prepped the new soap dispenser, it’s time to install it. Follow these steps:
- Locate the mounting hole: Find the mounting hole on your sink or countertop where you want to install the soap dispenser. It should be a suitable location that is convenient for use.
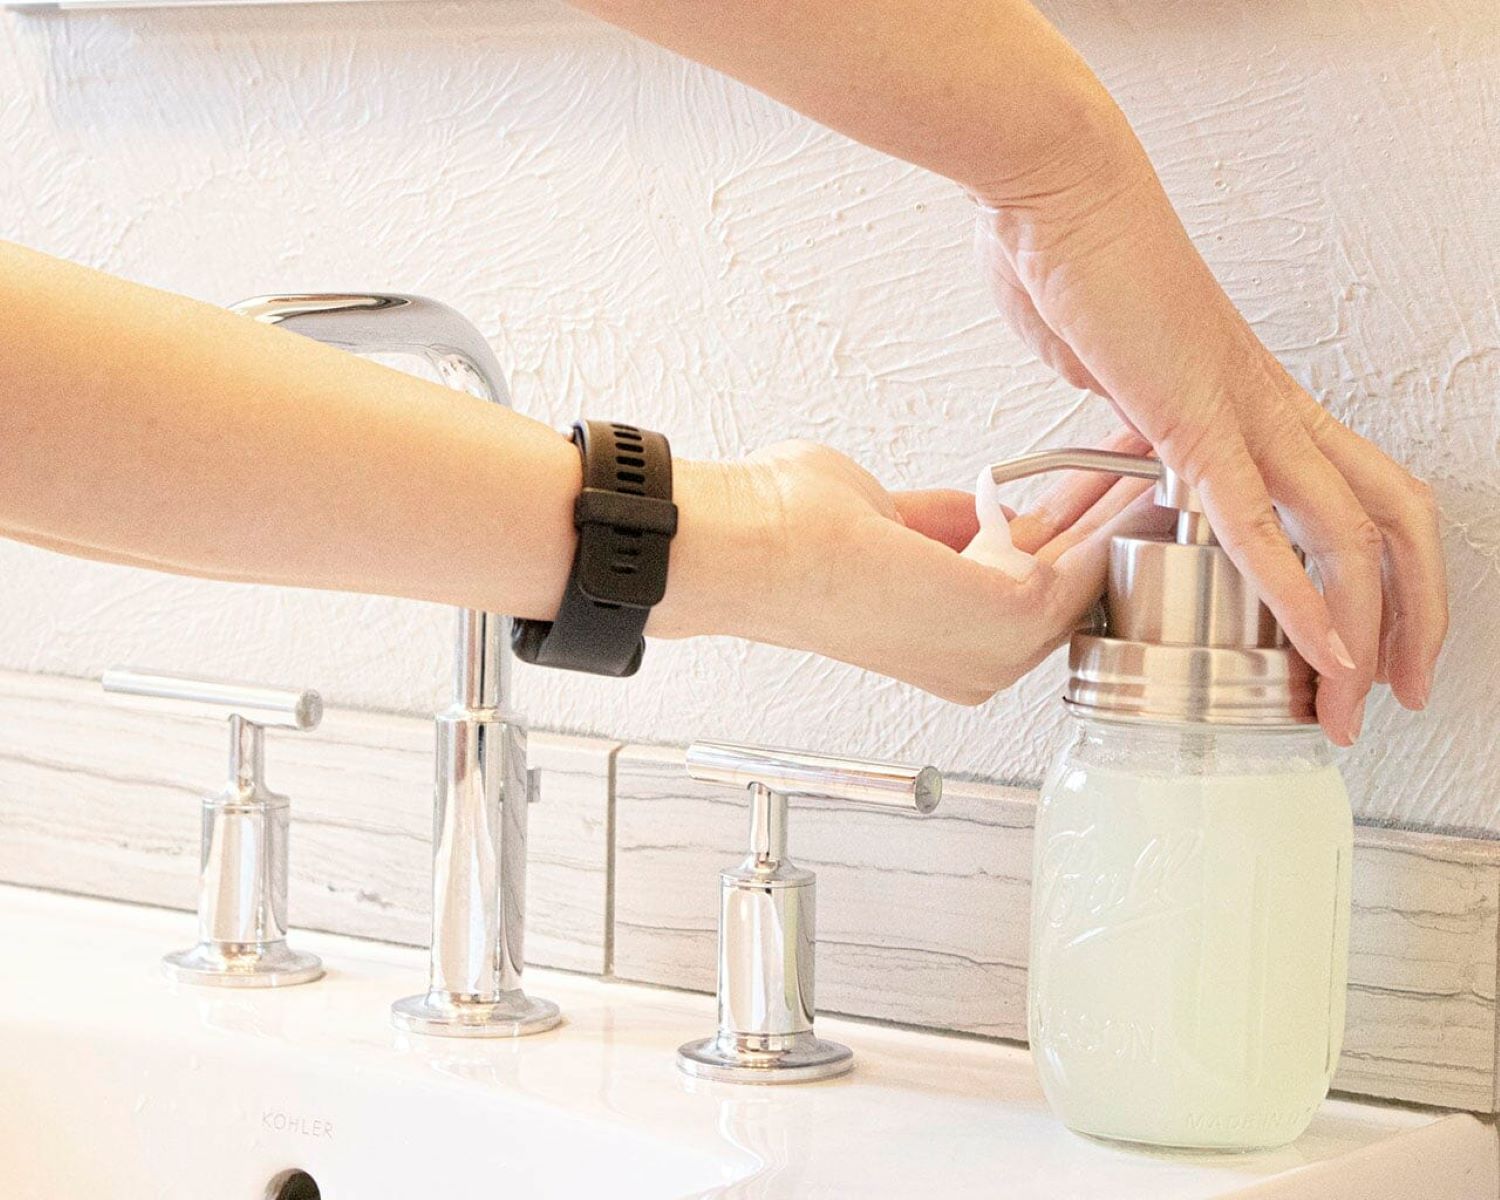
- Insert the pump: Take the pump assembly of the new dispenser and insert it into the mounting hole. Make sure it fits securely and is straight.
- Tighten the mounting nut: Underneath the sink or countertop, use an adjustable wrench to tighten the mounting nut onto the threaded shaft of the pump assembly. Ensure it is snug but not overly tight.
- Check for alignment: Verify that the pump assembly is properly aligned and straight. Adjust if necessary by tightening or loosening the mounting nut as needed.
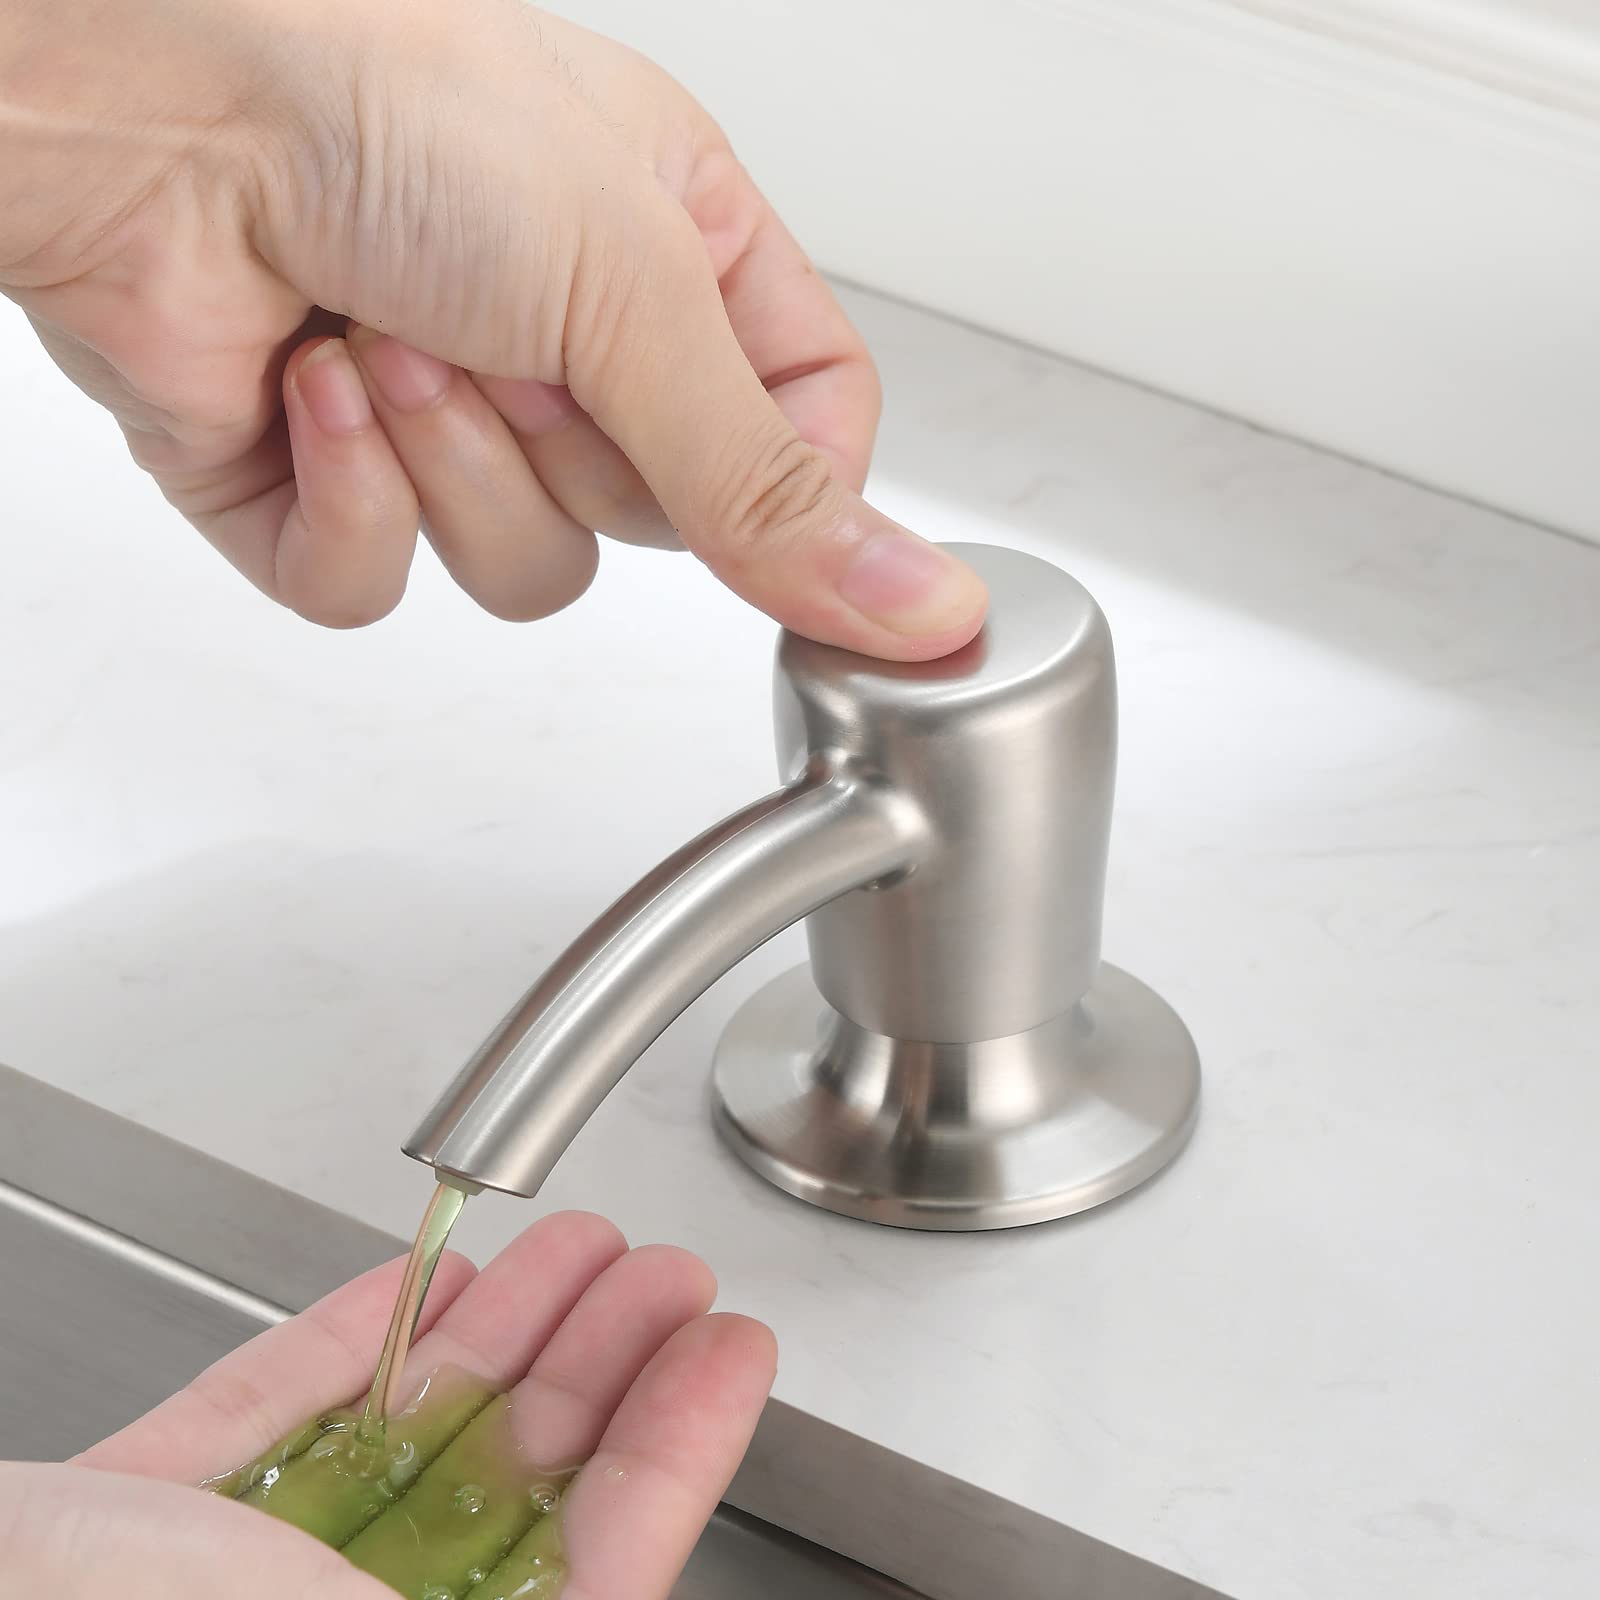
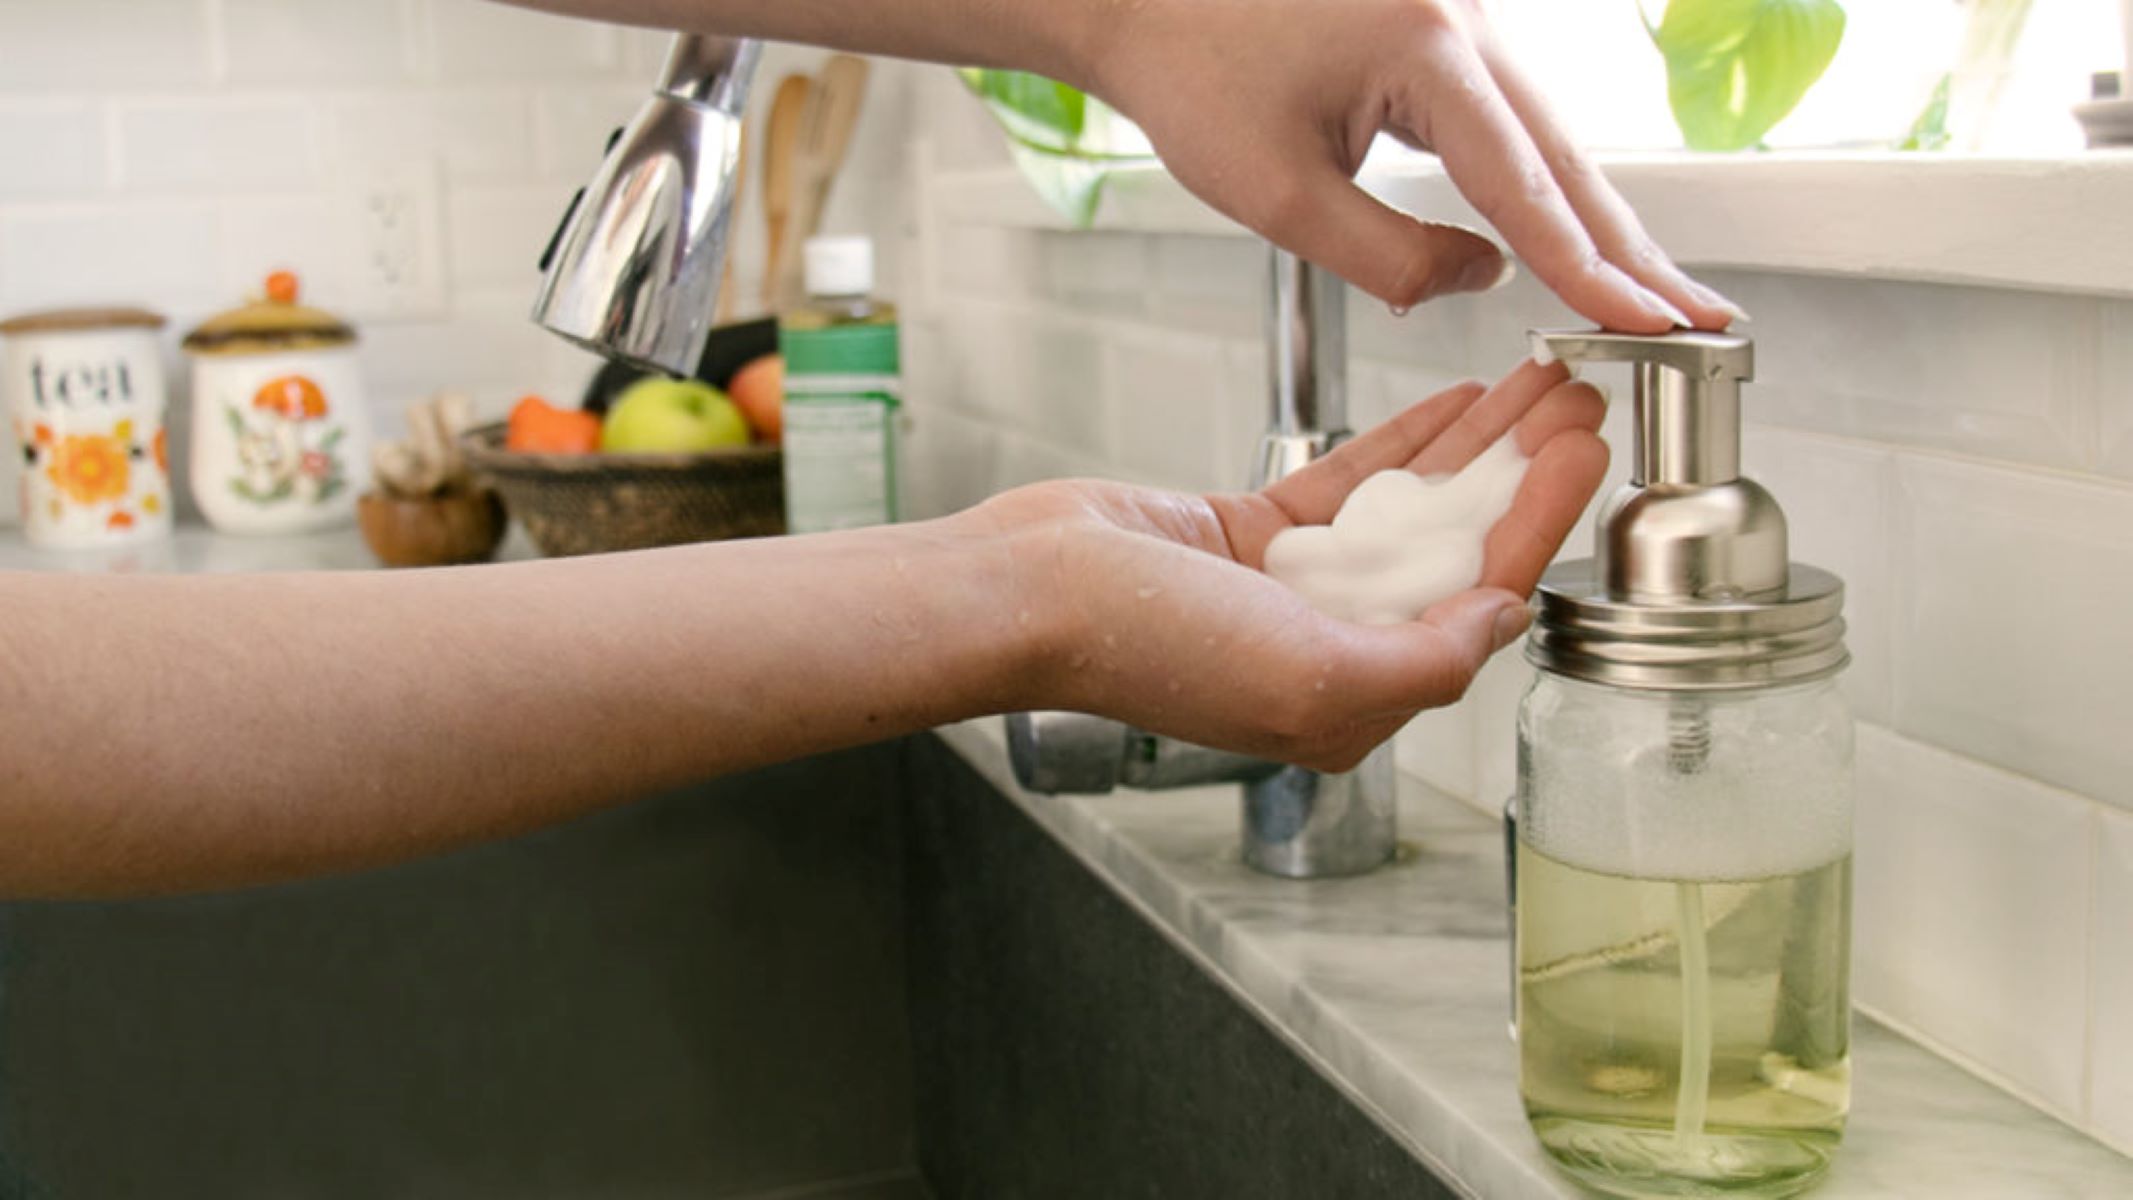
- Test the dispenser: Activate the pump a few times to test the soap flow and make sure it is dispensing correctly. Keep in mind that initial pumps may require a few more strokes to prime the dispenser and get the soap flowing smoothly.
Once you have completed these steps, your new soap dispenser should be securely installed. It’s time to move on to the final step – testing and adjusting the dispenser.
Step 5: Test and Adjust
After installing the new soap dispenser, it’s important to test and make any necessary adjustments for optimal performance. Follow these steps:
- Check for leaks: Carefully inspect the area around the dispenser for any signs of leaks. If you notice any leaks, tighten the mounting nut or adjust the connections as needed to ensure a watertight seal.
- Adjust the soap flow: Depending on your preference, you may want to adjust the soap flow of the dispenser. Check the manufacturer’s instructions to see if there are any adjustment options available.
- Prime the pump: If you notice that the soap is not dispensing smoothly, try priming the pump by pressing it a few times until the soap flows consistently. This may require some initial pumping to remove any air or build-up in the dispenser.
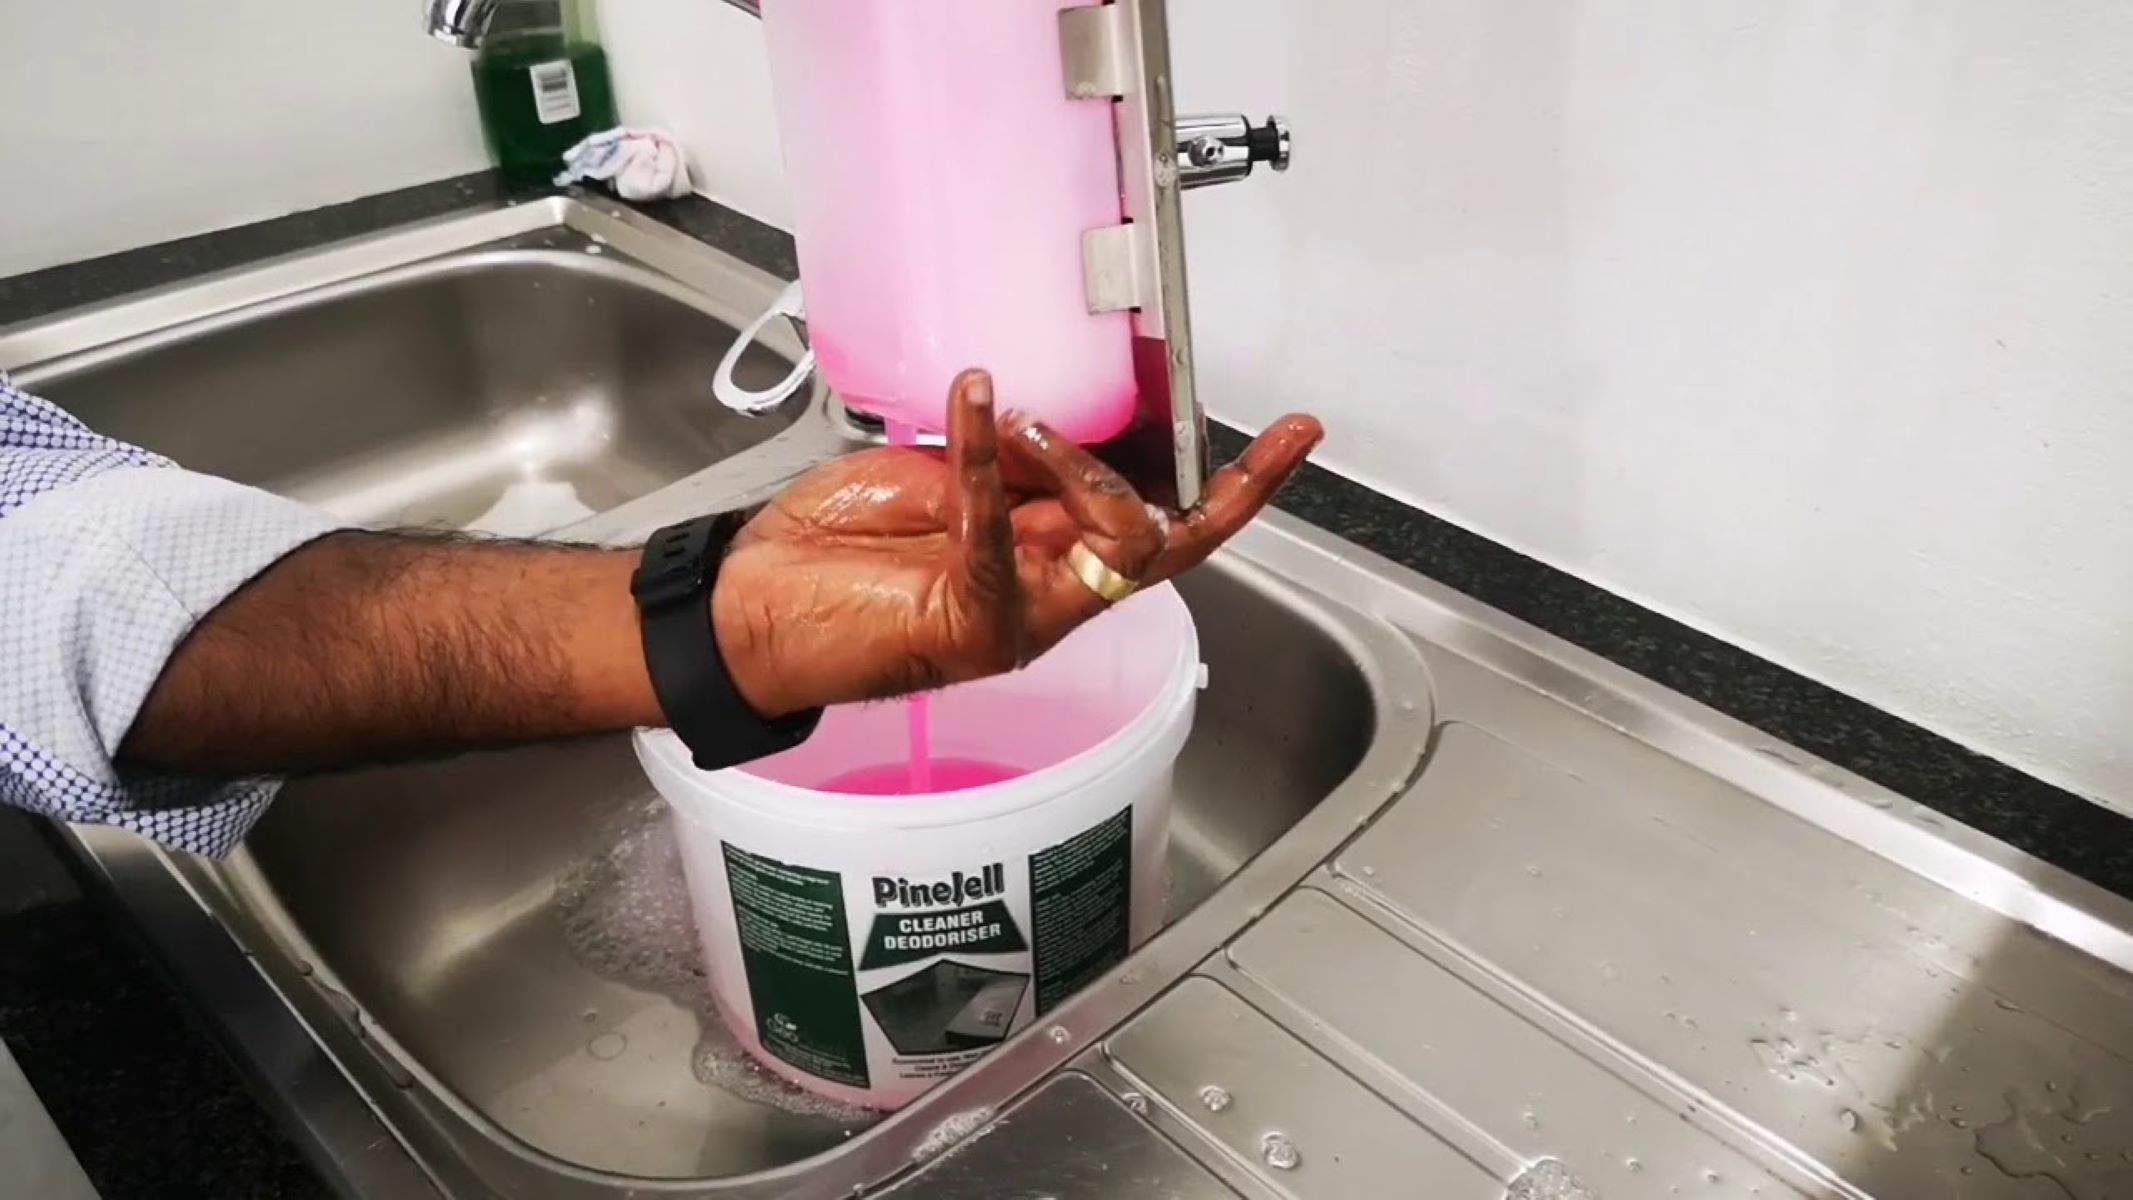
- Refill the soap: If the soap bottle runs empty, refill it with your desired liquid soap or lotion. Follow the manufacturer’s instructions for proper refill procedures.
- Test the functionality: Activate the soap dispenser and evaluate its performance. Ensure that it dispenses the desired amount of soap with each pump and operates smoothly without any issues.
By testing and adjusting the soap dispenser, you can ensure that it functions properly and meets your needs. If you encounter any persistent issues or difficulties, consult the manufacturer’s support or seek professional assistance.
Congratulations! You have successfully changed the soap dispenser in your bathroom or kitchen. Enjoy the convenience and hygiene that a new dispenser brings to your everyday routine.
If you have any other questions or need further assistance, don’t hesitate to reach out. Happy soap dispensing!
Conclusion
Changing a soap dispenser is a simple yet rewarding task that can enhance the functionality and aesthetics of your bathroom or kitchen. By following the step-by-step guide provided in this article, you can successfully replace your old dispenser with a new one.
Remember to gather all the necessary tools and supplies before starting the process. This includes a new soap dispenser, adjustable wrench, screwdriver, and plumber’s tape. Take the time to read the manufacturer’s instructions for your specific dispenser to ensure proper installation and usage.
Throughout the process, be cautious and mindful of any leaks or misalignments. Properly tighten the mounting nut and check for any signs of leakage. Adjust the soap flow and prime the pump if necessary for optimal performance.
With a new soap dispenser in place, you’ll enjoy the convenience and cleanliness it brings to your daily routine. Refill the soap as needed and continue to enjoy the benefits of a well-functioning dispenser.
Should you encounter any challenges or persistent issues, don’t hesitate to seek professional assistance or consult the manufacturer’s support. Your satisfaction and peace of mind are paramount.
Thank you for following this guide. We hope you found it helpful and informative. If you have any further questions or need additional assistance, feel free to reach out. Happy soap dispensing and enjoy your newly installed dispenser!
Frequently Asked Questions about How To Change A Soap Dispenser
Was this page helpful?
At Storables.com, we guarantee accurate and reliable information. Our content, validated by Expert Board Contributors, is crafted following stringent Editorial Policies. We're committed to providing you with well-researched, expert-backed insights for all your informational needs.

0 thoughts on “How To Change A Soap Dispenser”