Articles
How To Open An Outdoor Electrical Box
Modified: December 7, 2023
Looking for articles on how to open an outdoor electrical box? Find useful tips and step-by-step guides in this comprehensive article.
(Many of the links in this article redirect to a specific reviewed product. Your purchase of these products through affiliate links helps to generate commission for Storables.com, at no extra cost. Learn more)
Introduction
Welcome to our comprehensive guide on how to open an outdoor electrical box. Electrical boxes are crucial components for outdoor electrical systems as they house the wiring and connections that distribute power to various outdoor fixtures, such as lights, outlets, and appliances. Whether you need to perform maintenance tasks, troubleshoot issues, or make repairs, knowing how to safely open an outdoor electrical box is essential.
While working with electrical systems can be intimidating, the process of opening an outdoor electrical box can be relatively straightforward if you follow the proper steps and take the necessary precautions. In this article, we will guide you through the entire process, providing detailed instructions and tips to ensure a safe and successful experience.
Before we delve into the steps, it’s important to emphasize the importance of safety. Dealing with electricity can be hazardous, so always prioritize your well-being by following these safety precautions:
- Ensure the power is turned off before opening the electrical box.
- Wear appropriate protective gear, including safety goggles and gloves.
- Avoid working in wet conditions or when it’s raining.
- Double-check the wiring and connections for any signs of damage or wear.
- If you are unsure or uncomfortable with any step, consult a professional electrician.
By taking these safety measures seriously, you can mitigate the risks associated with working on electrical systems and ensure a smooth and incident-free process.
Now that we’ve established the importance of safety, let’s move on to the first step: gathering the necessary tools and materials.
Key Takeaways:
- Prioritize safety by turning off the power, wearing protective gear, and inspecting for damage before opening an outdoor electrical box. Always consult a professional if unsure.
- Gather the necessary tools, locate the box, and follow step-by-step instructions to safely open, inspect, maintain, and test the electrical box for optimal functionality. Regular maintenance ensures safety and reliability.
Read more: How To Open Outdoor Electrical Box
Step 1: Safety Precautions
Before you begin opening an outdoor electrical box, it is crucial to prioritize safety. Working with electricity can be dangerous, and taking the appropriate precautions is essential to protect yourself and prevent accidents.
Here are some safety measures to keep in mind:
- Turn Off the Power: Before opening the electrical box, make sure to switch off the power supply at the main breaker or disconnect switch. This will prevent any accidental electric shocks or short circuits.
- Wear Protective Gear: Always wear the appropriate safety gear, such as insulated gloves, safety goggles, and protective clothing. This will protect you from potential electrical shocks and avoid any injuries from flying debris or sharp edges.
- Work in Dry Conditions: It’s important to choose a dry day to work on the outdoor electrical box. Moisture can increase the risk of electrical accidents, so avoid working when it’s raining or in wet conditions.
- Inspect for Damage: Before opening the electrical box, visually inspect it for any signs of damage, wear, or corrosion. If you notice any issues, such as exposed wires or loose connections, it’s best to contact a qualified electrician for repairs.
- Keep Others Informed: If you’re working on an electrical box that supplies power to multiple units or areas, inform others about your work. This will ensure everyone is aware of the power shutdown and prevent accidental reactivation while you’re working.
- Avoid Overloading Circuits: Be mindful not to overload circuits when working with an electrical box. Overloading can lead to overheating, which can cause damage to the wiring and potentially start a fire. If you need additional outlets or lights, consider consulting an electrician to assess the load and make necessary installations.
By following these safety precautions, you can minimize the risks associated with working on outdoor electrical boxes and ensure a safe working environment.
Now that you’re aware of the safety measures, let’s move on to the next step: gathering the necessary tools and materials.
Step 2: Gather the Necessary Tools and Materials
Before you can proceed with opening an outdoor electrical box, it’s important to gather all the necessary tools and materials. Having everything you need at hand will make the process smoother and more efficient.
Here is a list of the tools and materials you will need:
- Screwdriver: A screwdriver with the appropriate head (flathead or Phillips) is essential for removing any screws or fasteners securing the outer cover of the electrical box.
- Pliers: Pliers will come in handy for gripping and manipulating wires, connectors, or other components within the box.
- Insulated Gloves: Wearing insulated gloves will provide an added layer of protection against electric shocks while working inside the electrical box.
- Voltage Tester: A voltage tester is a crucial tool for determining if there is still voltage present in the box, even after turning off the power.
- Flashlight: A flashlight will help you see inside the electrical box, especially if it’s located in a dimly lit area.
- Wire Strippers: Wire strippers are necessary for removing the insulation from wires when performing maintenance or repairs.
- Electrical Tape: Electrical tape is useful for insulating and securing wires and connections, helping to prevent any accidental contact with live electrical parts.
- Cleaning Tools: Depending on the condition of the box, you may need cleaning tools such as a soft brush or cloth to remove any dirt, dust, or debris that might have accumulated over time.
- Replacement Parts: If you anticipate the need for replacement parts, such as wire nuts, connectors, or fuses, make sure to have them on hand to minimize downtime during the process.
By ensuring that you have all the necessary tools and materials readily available, you can proceed with confidence in opening the outdoor electrical box.
Now that you’re equipped with the right tools, let’s move on to the next step: locating the outdoor electrical box.
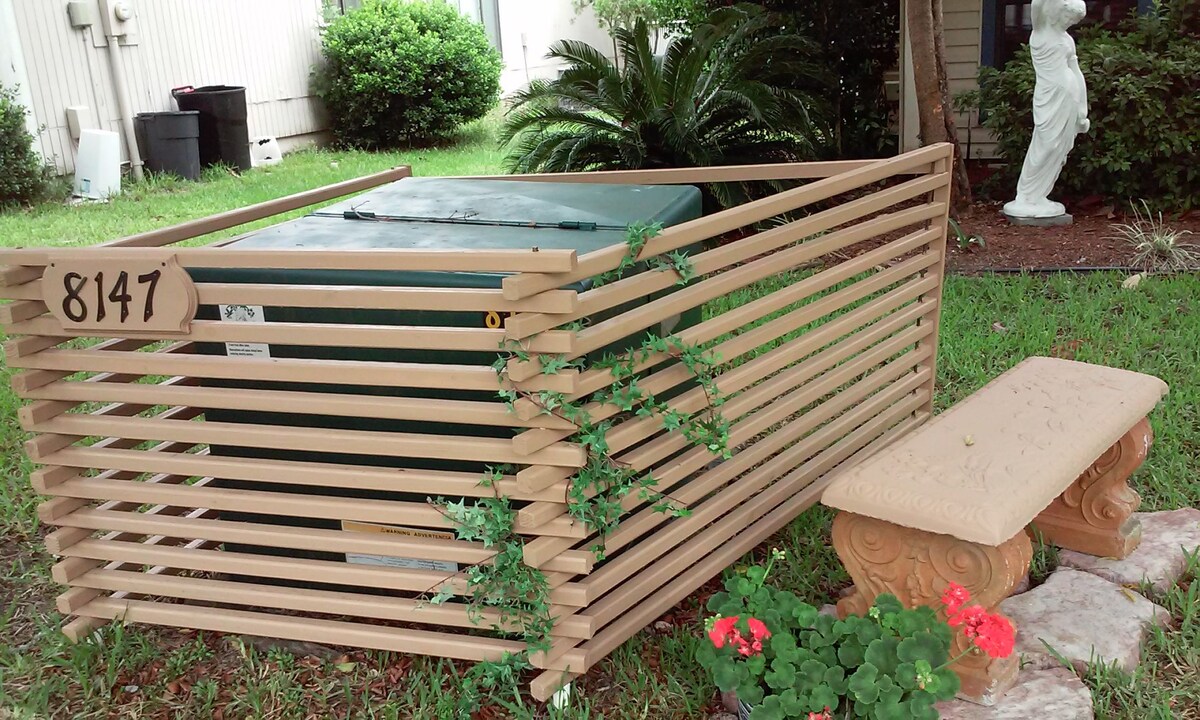
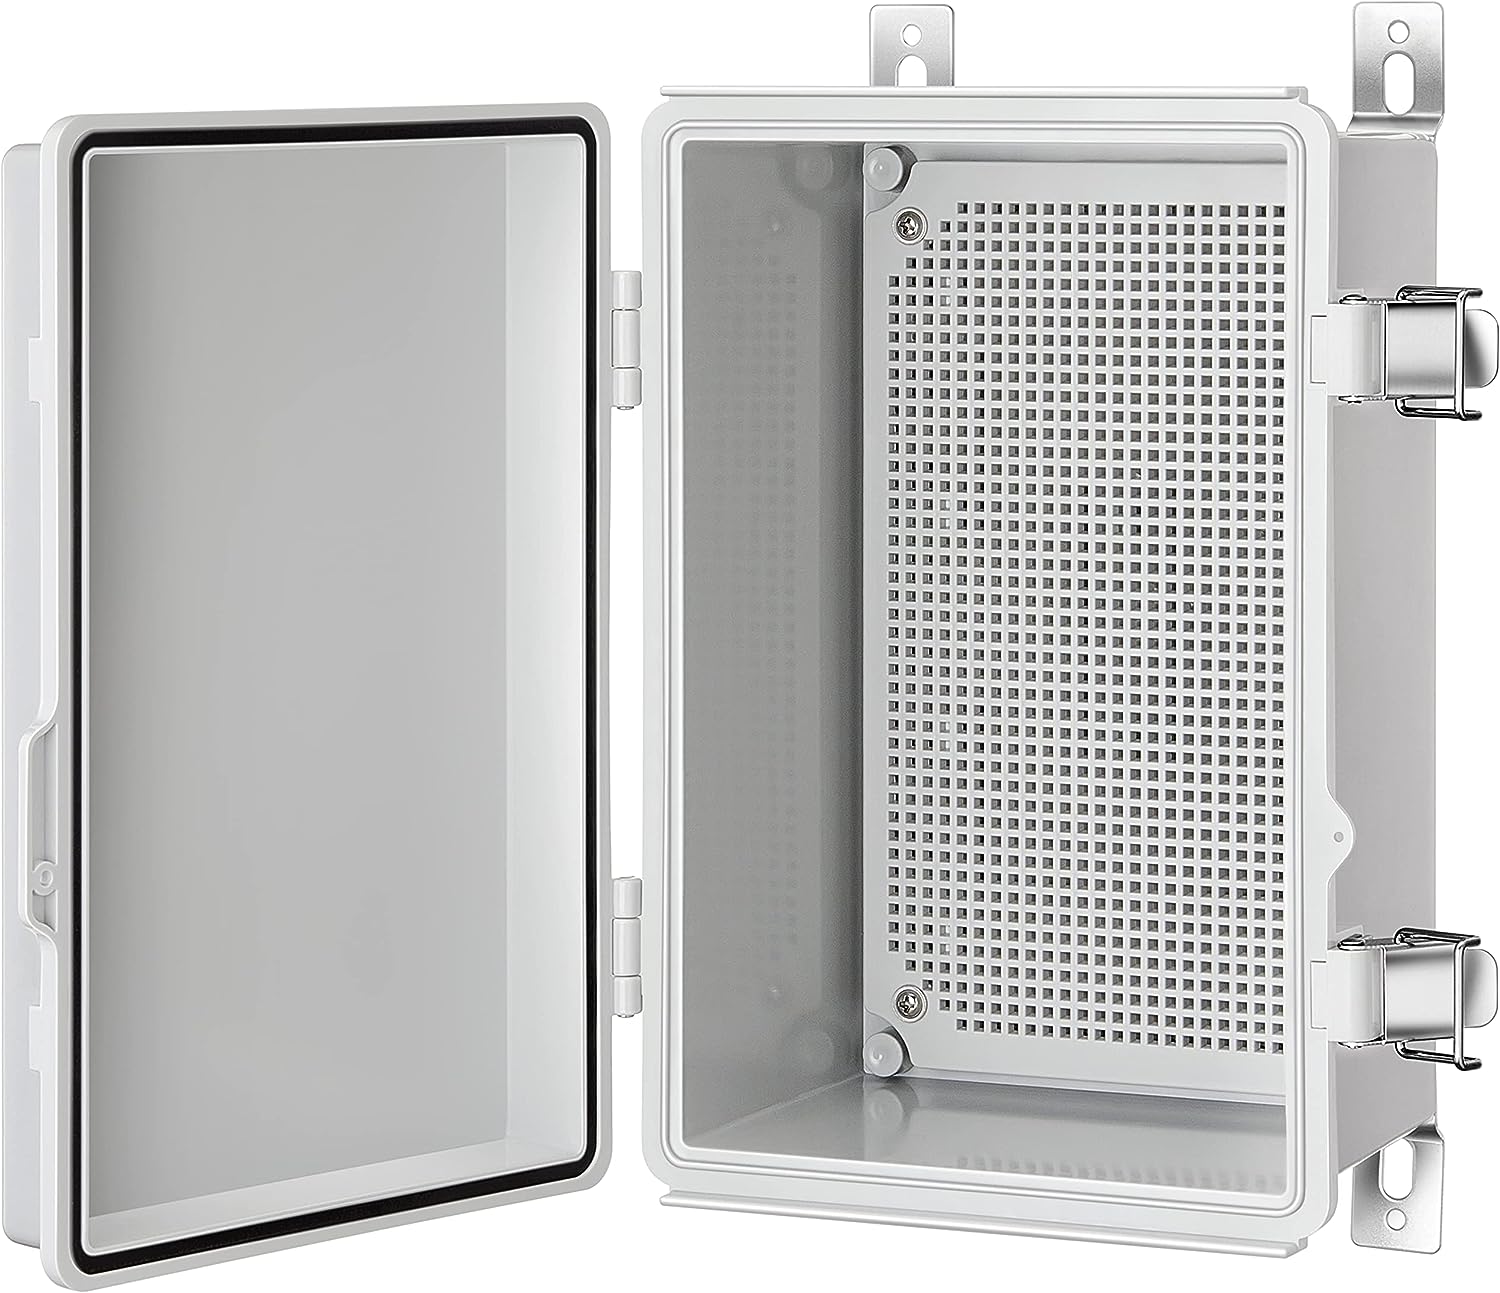
Step 3: Locate the Outdoor Electrical Box
Before you can begin opening the outdoor electrical box, you need to locate its exact position. The location of the electrical box can vary depending on the layout of your outdoor space and the wiring setup.
Here are a few places where you might commonly find outdoor electrical boxes:
- Exterior Walls: In many cases, outdoor electrical boxes are attached to the exterior walls of buildings. They are typically positioned at a convenient height for easy access.
- Fences or Posts: Depending on the outdoor setup, electrical boxes may also be mounted on fences or posts. This is common, especially when the electrical box is meant to provide power to specific outdoor fixtures or appliances.
- Utility Poles: In some cases, the outdoor electrical box might be located on a utility pole. This is more common in areas where above-ground wiring is prevalent.
- Ground Level: In certain situations, the electrical box might be installed at ground level. This is often the case for larger outdoor junction boxes or transformer enclosures.
To locate the outdoor electrical box:
- Take a walk around the exterior of your property and pay attention to any visible electrical wiring or conduits.
- If you are unable to locate the electrical box visually, consult any electrical diagrams or plans of your property to determine its possible placement.
- Use a voltage tester to identify the live wires connected to the electrical box. This will help you confirm its exact location.
- Once you have located the electrical box, take note of its position and any other pertinent details that might help during the opening process.
By successfully locating the outdoor electrical box, you are now ready to begin the process of opening it and accessing its internal components.
Next up, we will cover Step 4: Turn Off the Power.
Step 4: Turn Off the Power
Before you open the outdoor electrical box, it is essential to turn off the power to ensure your safety and prevent any electrical accidents. Failing to do so can result in serious injuries or damage to the electrical system.
Here’s how you can turn off the power:
- Locate the main breaker or disconnect switch in your electrical panel. This is usually found near the top or bottom of the panel.
- Switch the main breaker or disconnect switch to the “Off” position. This will cut off power to the entire electrical system, including the outdoor electrical box.
- Once you’ve turned off the power, double-check that the electrical box is no longer receiving any voltage by using a voltage tester. Test each wire or connection to ensure they are not live.
- While it’s important to turn off the power at the main breaker, if you have other electrical boxes connected to the same circuit, check their power status as well. It’s advisable to double-check and ensure all related circuits are shut off.
By switching off the power and confirming that there is no voltage present, you can proceed with peace of mind knowing that you have eliminated the risk of electric shock during the opening process. Remember, even if you have turned off the power, always treat the electrical components with caution and respect.
In the next step, we will discuss how to safely remove the outer cover of the electrical box.
Read more: How To Open An Electrical Box
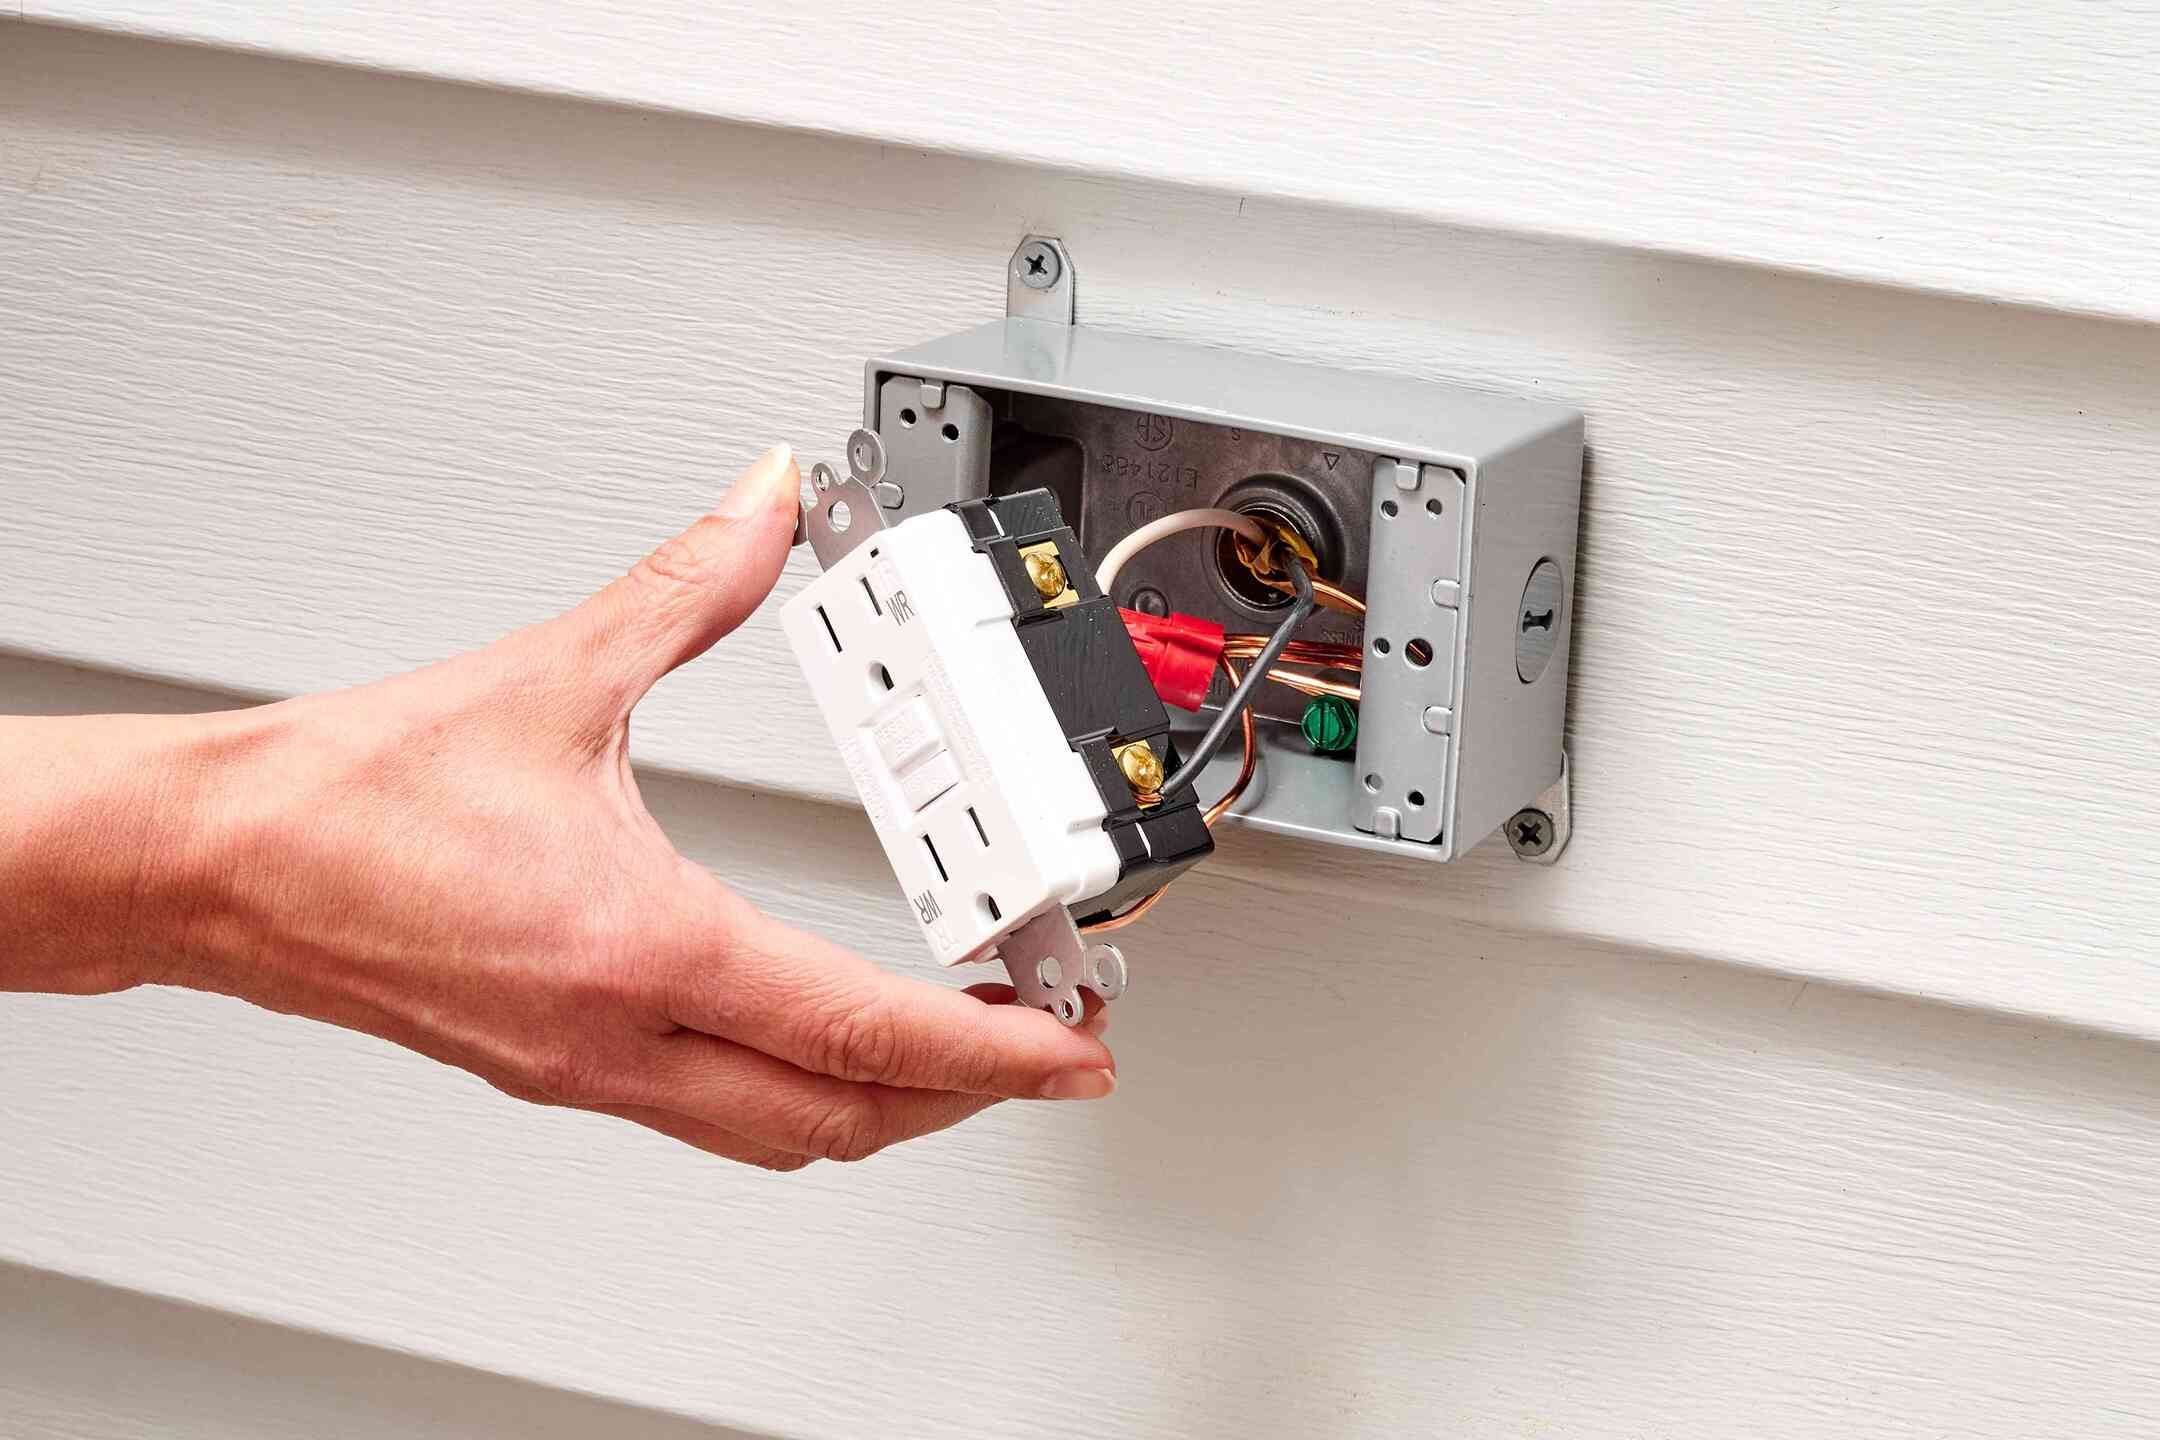
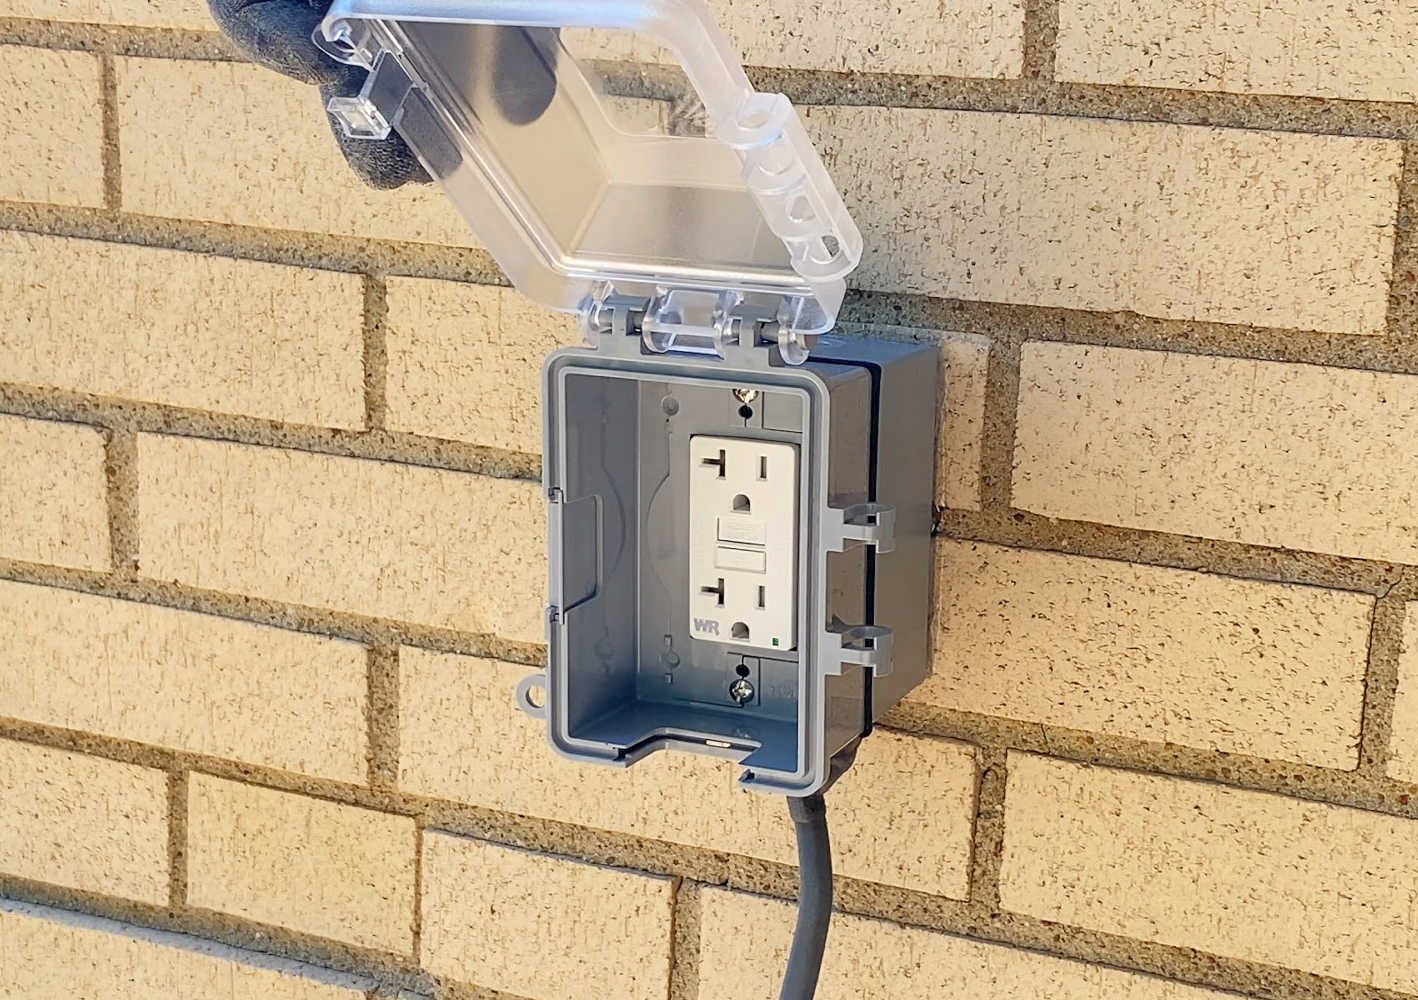
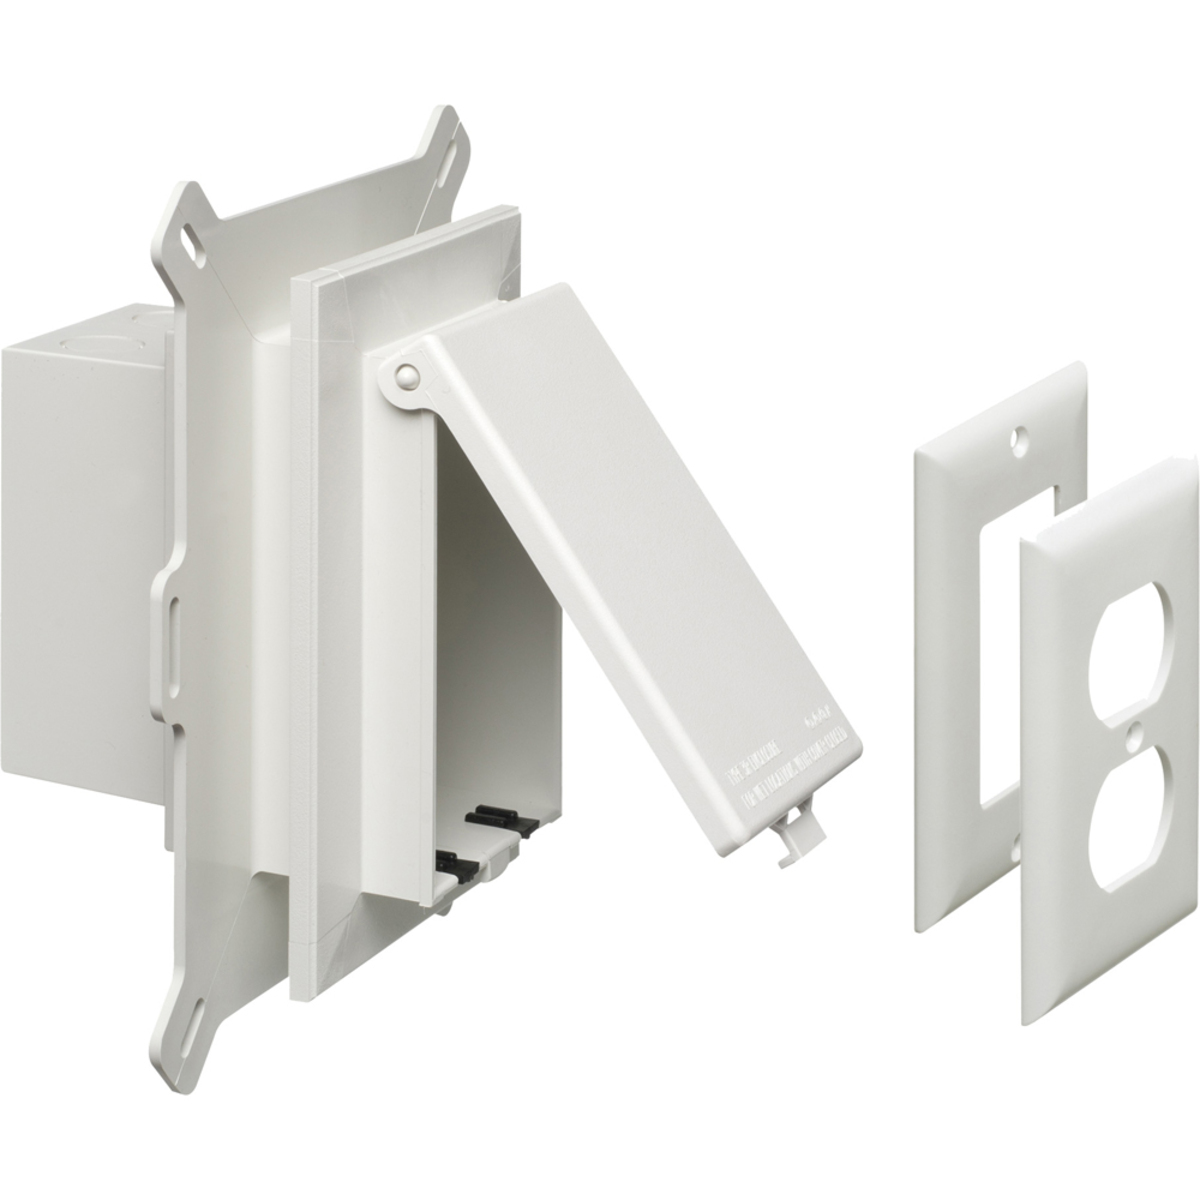
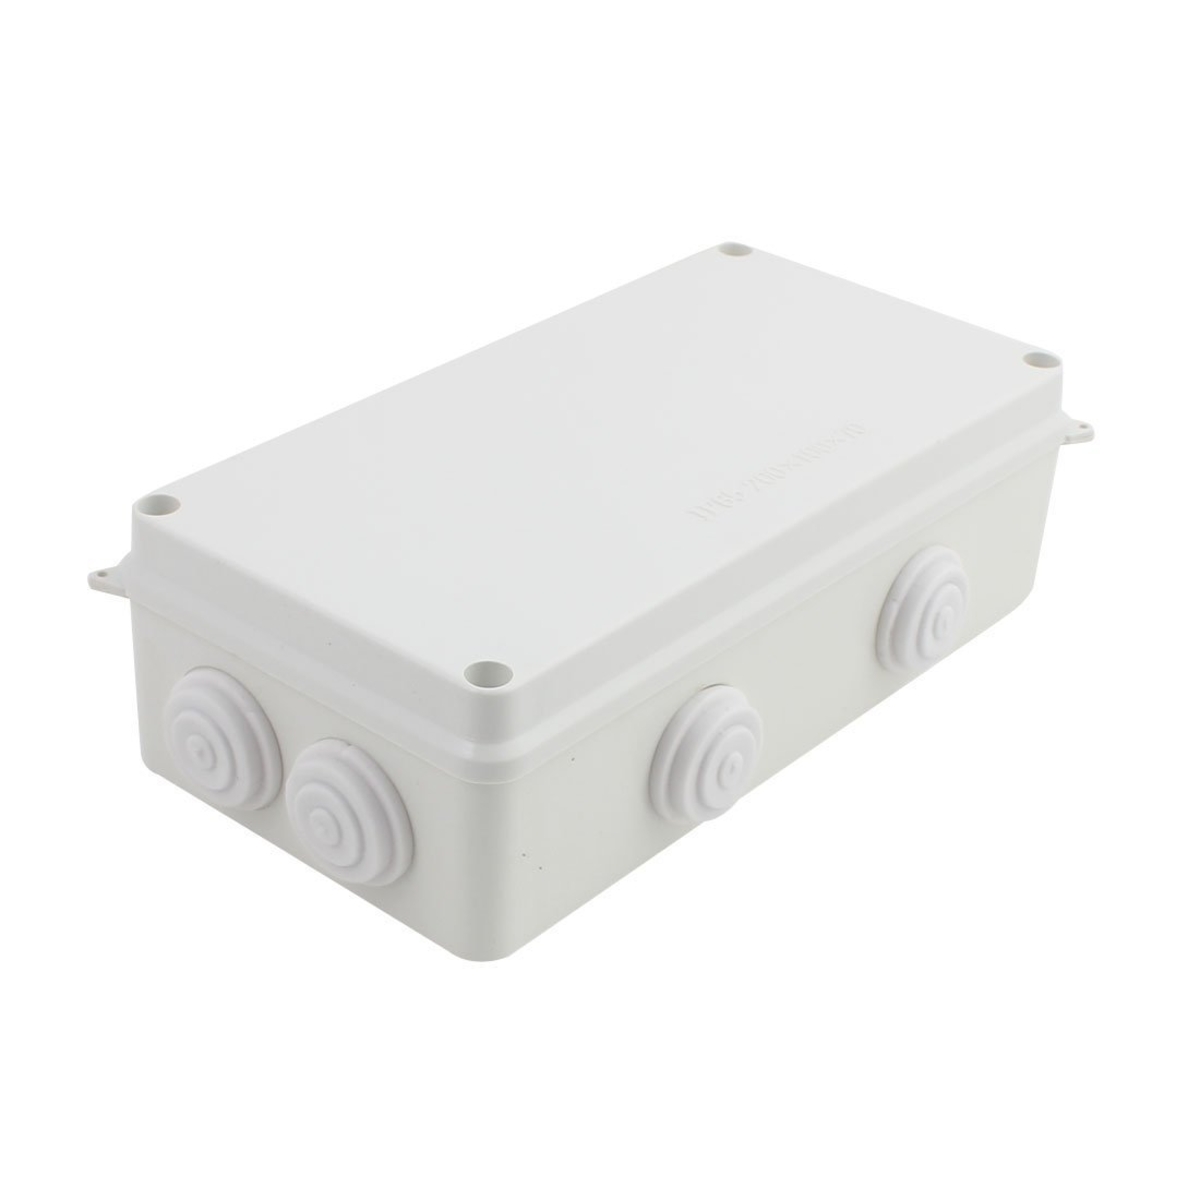
Step 5: Remove the Outer Cover of the Electrical Box
With the power turned off to the outdoor electrical box, you can now proceed to remove the outer cover. The outer cover is typically fastened with screws or other types of fasteners, and removing it will grant you access to the internal components of the box.
Follow these steps to remove the outer cover:
- Using a screwdriver that fits the screws on the cover, carefully loosen and remove each screw one by one. Place the screws in a safe location to avoid misplacing them.
- If the cover is held in place by clips or latches, release them using the appropriate tools. Be gentle and avoid using excessive force to prevent any damage to the cover or the box itself.
- Once all fasteners have been removed or released, carefully lift the outer cover away from the box. Be mindful of any wires or cables that might be connected and ensure they do not get snagged or damaged in the process.
- Set the cover aside in a secure location. It’s a good practice to keep it nearby so that you can easily replace it after completing any necessary maintenance or repairs.
- With the outer cover removed, take a moment to inspect the internal components of the box for any visible signs of damage, such as loose wires, burnt cables, or corroded connections. If you notice any issues, make a note of them for further inspection or repair.
Once you have successfully removed the outer cover of the outdoor electrical box and assessed the internal components, you are ready to move on to step 6: inspecting the wires and connections.
Note: If you are unsure about any aspect of working with electrical systems or if you encounter any complex wiring configurations, it is always recommended to consult a licensed electrician for assistance.
When opening an outdoor electrical box, always make sure to turn off the power supply to the box before attempting to open it. This will help prevent any potential electrical hazards.
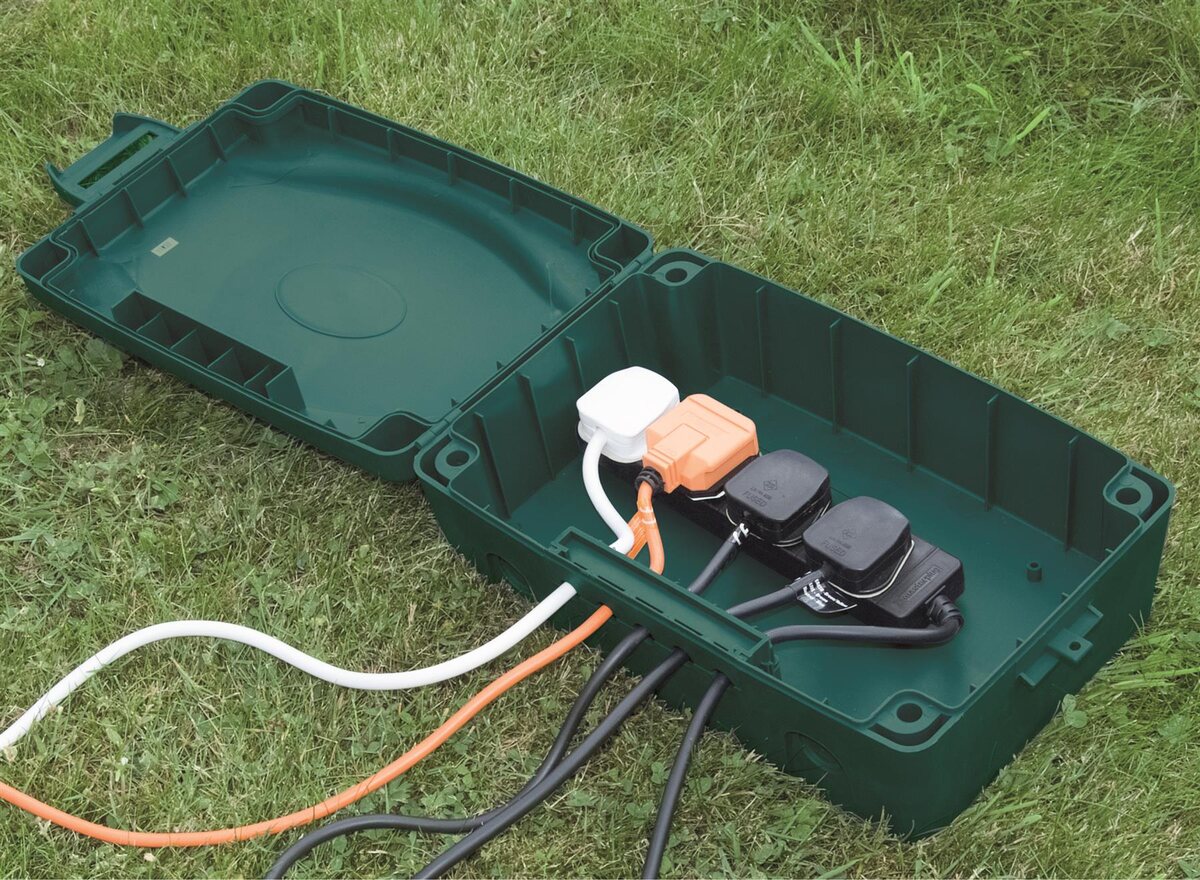
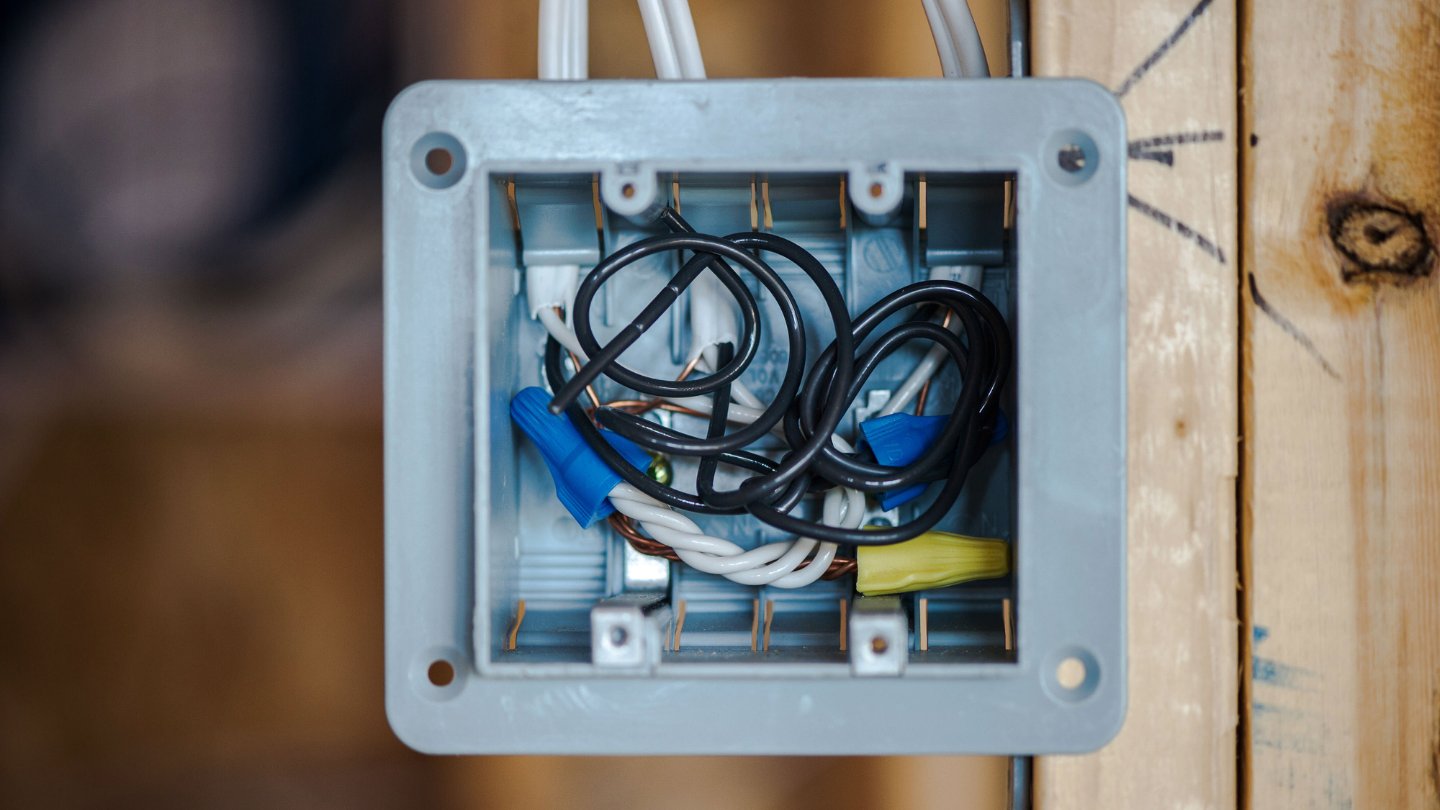
Step 6: Inspect the Wires and Connections
Now that the outer cover of the outdoor electrical box is removed, you can begin inspecting the wires and connections inside. This step is crucial to identify any issues such as loose connections, damaged wires, or signs of wear and tear.
Follow these steps to inspect the wires and connections:
- Start by visually examining the wires for any visible signs of damage, such as fraying or exposed copper conductors. If you come across any damaged wires, take note of them for repair or replacement.
- Inspect the connections within the box, focusing on wire nuts, terminal blocks, or other connectors. Look for signs of loose connections, corrosion, or overheating. If you find any loose connections, tighten them using pliers or the appropriate tools.
- Check for any wires or connections that appear burnt or discolored, as this could indicate overheating or faulty electrical components.
- Ensure that all wires are securely fastened and properly seated in their respective connectors. If necessary, reposition or secure any loose wires to ensure a safe and reliable connection.
- While inspecting the wiring, also take note of the wire sizing and gauge to ensure they are compatible with the electrical load and amperage requirements. If you notice any discrepancies, consult an electrician for further guidance.
During the inspection process, it’s essential to exercise caution and handle the wires gently to avoid causing any further damage or dislodging delicate connections.
If you encounter any issues or are unsure about the condition of the wires or connections inside the electrical box, it is best to consult a qualified electrician for further assessment and repairs.
Once you have thoroughly inspected the wires and connections and made any necessary repairs, you can proceed to the next step: performing maintenance or repairs as needed.
Step 7: Perform Necessary Maintenance or Repairs
After inspecting the wires and connections inside the outdoor electrical box, you may identify maintenance tasks or repairs that need to be addressed. Performing these necessary maintenance or repairs will help ensure the safety and functionality of the electrical system.
Follow these steps to perform the necessary maintenance or repairs:
- If you notice any loose connections during the inspection, use pliers or the appropriate tools to secure and tighten them. Ensure that the connections are snug and properly seated.
- If you come across any damaged wires with frayed insulation or exposed conductors, carefully strip away the damaged portion using wire strippers. Cut a piece of new insulation and reconnect the wire securely.
- Inspect the wire nuts or other connectors in the box. If you find any worn-out or damaged connectors, replace them with new ones to ensure a reliable connection.
- Consider cleaning the interior of the electrical box, removing any dust, dirt, or debris that has accumulated. Use a soft brush or cloth to gently clean the components, ensuring not to dislodge any wires or connections in the process.
- If you encounter any other maintenance tasks specific to your outdoor electrical box, such as replacing fuses, resetting circuit breakers, or upgrading components, follow the appropriate procedures outlined in the instruction manual or consult a licensed electrician.
Remember, it’s crucial to approach any maintenance or repair tasks with caution and follow industry best practices. If you’re unsure about a particular repair or maintenance procedure, it’s always recommended to seek the assistance of a professional electrician.
Once you have completed the necessary maintenance or repairs, you can proceed to the next step: replacing the outer cover of the electrical box.
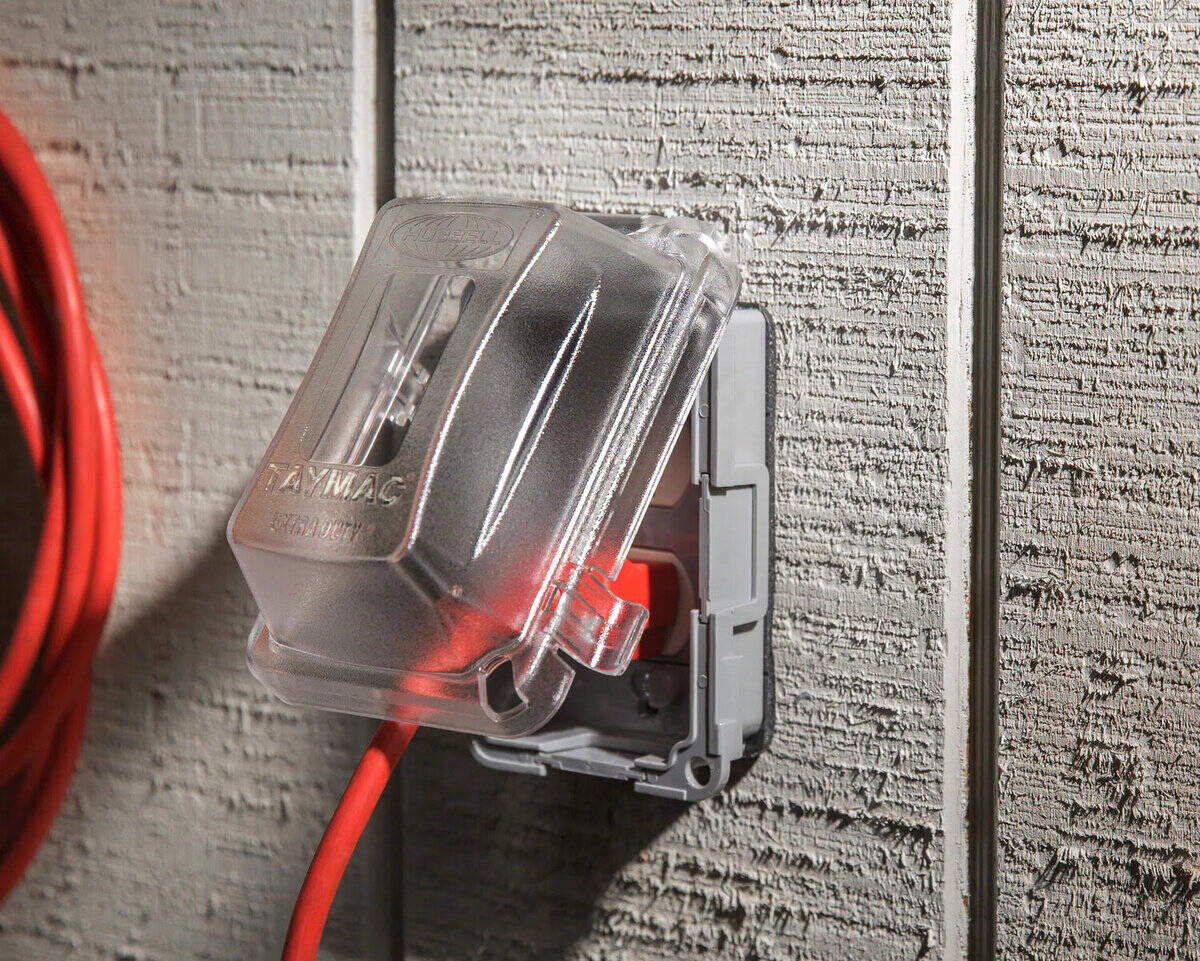
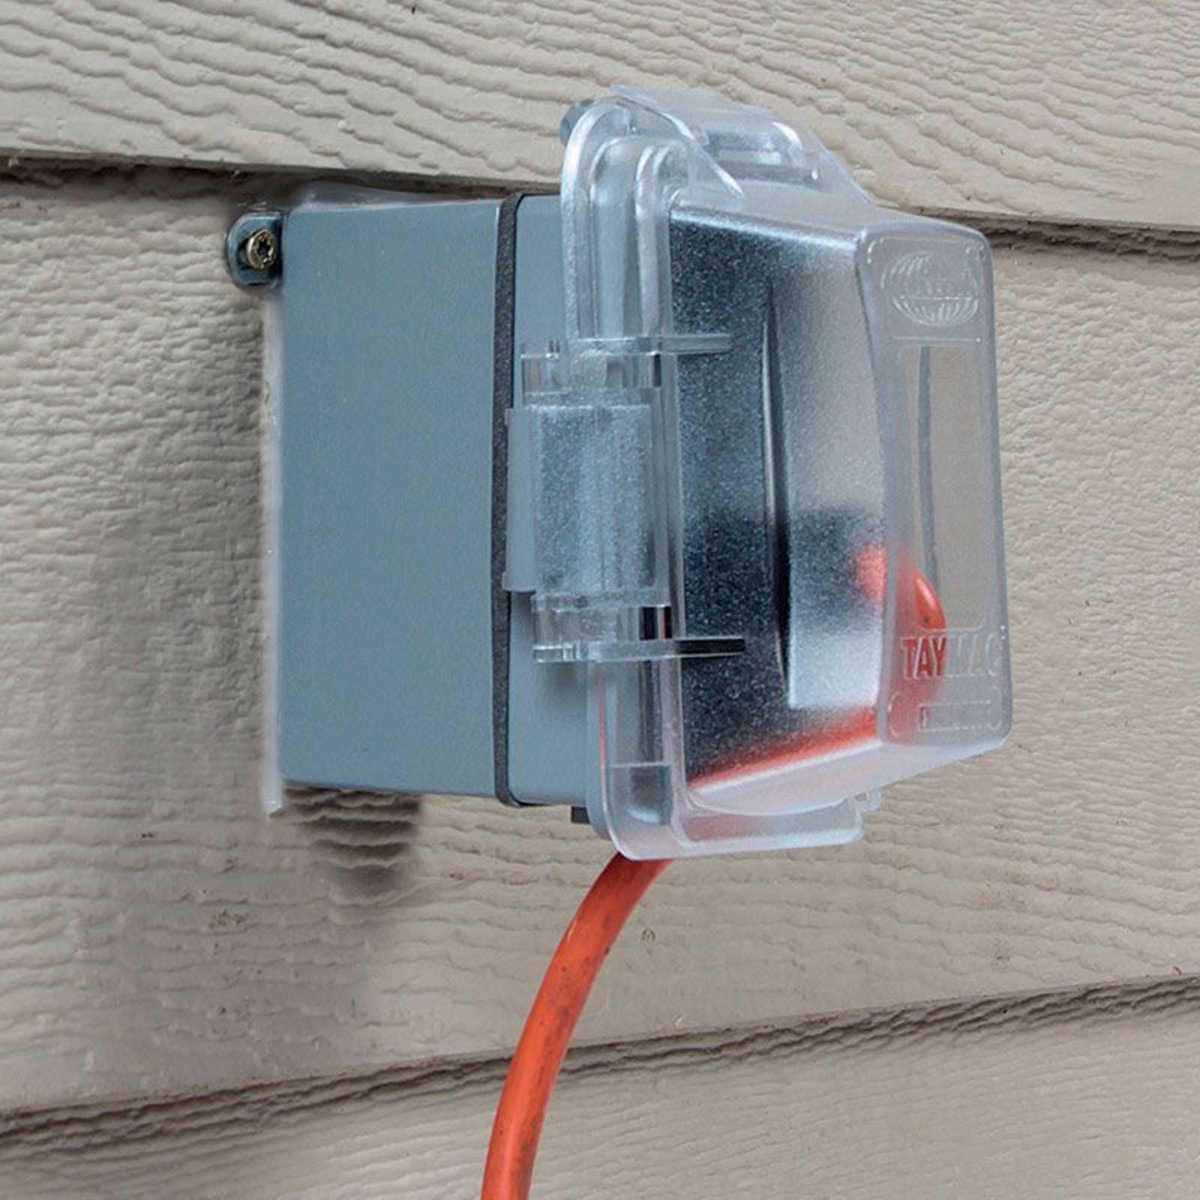
Step 8: Replace the Outer Cover of the Electrical Box
After performing necessary maintenance or repairs inside the outdoor electrical box, it is time to replace the outer cover. This step ensures the protection and safety of the internal components and prevents any exposure to the elements.
Follow these steps to replace the outer cover of the electrical box:
- Align the outer cover with the box, making sure it sits properly on the edges. Ensure any openings or slots on the cover align with the corresponding components inside the box.
- If the outer cover uses screws or fasteners, insert each screw back into its respective hole and tighten them securely. Take care not to overtighten as it may damage the cover or the threads.
- If the cover uses clips or latches, carefully push or snap them back into place to secure the cover tightly.
- Double-check that the cover is securely in place and there are no loose or protruding parts.
- If you had to remove any labels or identification markers from the cover, consider replacing them so that you can easily identify the electrical box in the future.
Once the outer cover is securely replaced, your outdoor electrical box is properly enclosed, protecting the internal components from weather, debris, and accidental contact.
In the next step, we will discuss how to safely turn on the power to the electrical box.
Read more: How To Open An Outdoor Breaker Box
Step 9: Turn On the Power
After replacing the outer cover of the outdoor electrical box, you can now proceed to turn the power back on. This step will restore electricity to the box and allow for the normal functioning of any connected outdoor fixtures or appliances.
Follow these steps to turn on the power:
- Carefully return to the main electrical panel or distribution panel where you initially turned off the power.
- Locate the main breaker or disconnect switch and switch it back to the “On” position. This will restore power to the entire electrical system, including the outdoor electrical box.
- Once the power is turned on, test the functionality of any outdoor fixtures, such as lights, outlets, or appliances, to ensure they are receiving power.
During this step, it’s crucial to be vigilant and observant. If you encounter any issues such as flickering lights, sparks, or unusual sounds, turn off the power immediately and consult a licensed electrician. These signs may indicate a more significant underlying electrical problem that requires professional attention.
By safely turning on the power, you have reestablished the electrical supply to the outdoor electrical box and can now proceed to the final step: testing the electrical box.
Step 10: Test the Electrical Box
The final step in the process of opening an outdoor electrical box is to test its functionality. Testing the electrical box ensures that all connections are secure, the power is flowing correctly, and there are no underlying issues that could compromise its performance or safety.
Follow these steps to test the electrical box:
- Begin by checking all the outdoor fixtures and appliances that are connected to the electrical box. Ensure that they are receiving power and functioning as expected.
- Test the outlets by plugging in a small electronic device such as a lamp or phone charger. Verify that they are providing power and functioning correctly.
- Check the lights connected to the electrical box. Turn them on and off multiple times to confirm that they are operating smoothly and without any flickering or unusual behavior.
- If applicable, test any other devices or appliances that rely on the electrical box for power. Monitor their performance and ensure they are functioning correctly.
- Inspect the area around the electrical box for any signs of overheating, unusual smells, or buzzing sounds. These could be indicators of a potential problem and should be addressed by a professional electrician.
If, during the testing process, you notice any issues such as outlets not providing power, lights flickering excessively, or any other abnormal behavior, it is important to address them promptly. In such cases, it is recommended to consult a qualified electrician to investigate and resolve the issue.
By thoroughly testing the electrical box, you can have confidence in its functionality and the safety of the connected outdoor electrical system.
Congratulations! You have successfully completed all the steps to open an outdoor electrical box and ensured its proper operation. Remember, if you have any doubts or encounter complex electrical issues, it is always wise to seek assistance from a professional electrician.
We hope this guide has been helpful and that your experience working with outdoor electrical boxes has been both productive and safe.
Conclusion
Opening an outdoor electrical box may seem like a daunting task, but by following the proper steps and taking the necessary precautions, you can safely and effectively access the internal components for maintenance, repairs, or troubleshooting. Throughout this comprehensive guide, we have covered each step in detail, from safety precautions to testing the electrical box’s functionality.
Remember, safety should always be your top priority when working with electricity. Before opening the electrical box, ensure that power is turned off, wear appropriate protective gear, and be mindful of any potential risks. If you are uncertain or uncomfortable with any aspect of the process, consulting a professional electrician is recommended.
Gathering the necessary tools and materials, locating the outdoor electrical box, and removing the outer cover are crucial initial steps. Inspecting the wires and connections inside the box and performing necessary maintenance or repairs are essential for ensuring the efficiency and safety of the electrical system. Replacing the outer cover and turning on the power follow these steps. Finally, testing the electrical box ensures its proper functionality.
By familiarizing yourself with these steps and understanding the importance of safety, you can confidently and successfully open an outdoor electrical box. Regular maintenance and necessary repairs help maintain the performance and longevity of your outdoor electrical system, ensuring that it functions optimally and safely.
If you encounter any complex issues, or if you are unsure about any aspect of the process, it is always advisable to seek the assistance of a professional electrician. They have the specialized knowledge and expertise to handle more intricate electrical tasks.
We hope this guide has been informative and helpful in guiding you through the process of opening an outdoor electrical box. By following the steps outlined in this guide, you can ensure the ongoing functionality, safety, and reliability of your outdoor electrical system.
Thank you for reading, and we wish you the best of luck in your future endeavors with outdoor electrical boxes!
Frequently Asked Questions about How To Open An Outdoor Electrical Box
Was this page helpful?
At Storables.com, we guarantee accurate and reliable information. Our content, validated by Expert Board Contributors, is crafted following stringent Editorial Policies. We're committed to providing you with well-researched, expert-backed insights for all your informational needs.


0 thoughts on “How To Open An Outdoor Electrical Box”