Articles
How To Mount Outdoor Electrical Box
Modified: August 27, 2024
Learn how to safely and properly mount an outdoor electrical box with helpful articles and step-by-step instructions. Secure your electrical connections and ensure durability with our expert guidance.
(Many of the links in this article redirect to a specific reviewed product. Your purchase of these products through affiliate links helps to generate commission for Storables.com, at no extra cost. Learn more)
Introduction
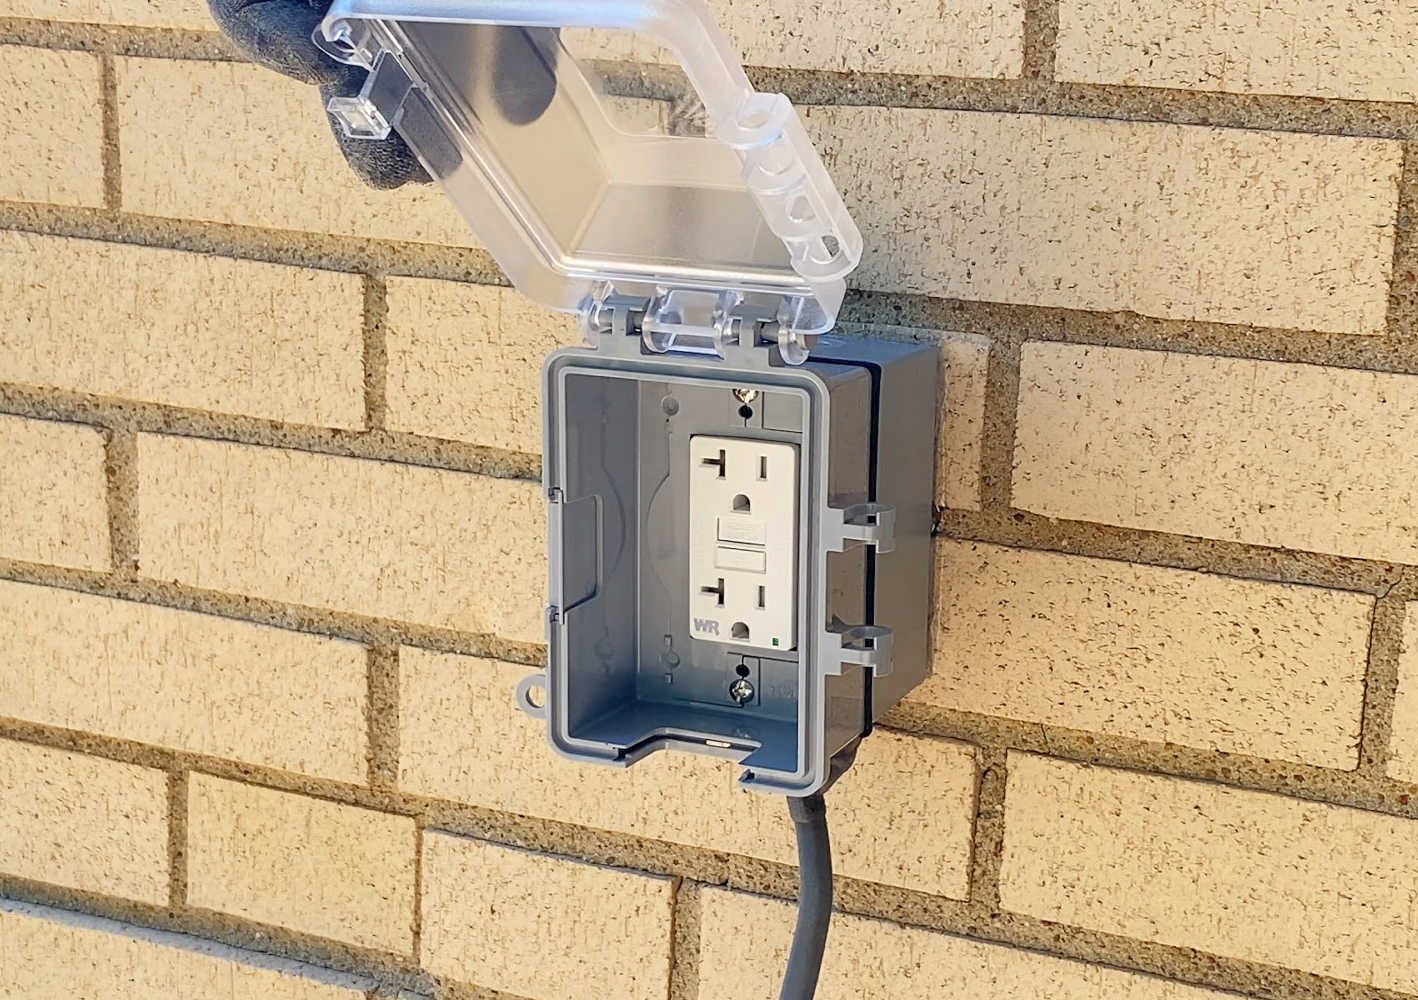
Mounting an outdoor electrical box is an important step in adding or expanding electrical connections to your outdoor spaces. Whether you’re installing outdoor lighting, a security camera, or simply need an outlet for convenience, a properly mounted electrical box is crucial to ensure safety and functionality. In this article, we’ll guide you through the steps to mount an outdoor electrical box, ensuring that you have the knowledge and skills to complete the task with confidence.
Before we delve into the steps, it’s important to note that electrical work should always be approached with caution. Make sure to follow all safety procedures and consult with a licensed electrician if you have any doubts or concerns. With that said, let’s get started on mounting your outdoor electrical box!
Step 1: Determine the Location
The first step in mounting an outdoor electrical box is to determine the location. Consider the purpose of the box and the proximity to other electrical sources. You’ll want to ensure that the box is easily accessible and convenient for its intended use. It’s also important to check local building codes and regulations to ensure compliance and safety.
Step 2: Gather the Required Tools and Materials
Once you have determined the location, gather all the necessary tools and materials before you begin. This will save you time and ensure a smoother installation process. The tools and materials you’ll need may include:
- Outdoor electrical box
- Mounting brackets
- Mounting screws
- Screwdriver
- Drill
- Drill bits
- Wire stripper
- Wire connectors
- Electrical wires
- Electrical tape
- Protective gloves
- Safety glasses
Step 3: Turn off the Power
Prior to starting any electrical work, it’s crucial to turn off the power to the area where you’ll be installing the outdoor electrical box. Locate the corresponding circuit breaker in your electrical panel and switch it off. Use a voltage tester to verify that the power is indeed turned off before proceeding.
Step 4: Prepare the Mounting Location
With the power turned off, it’s time to prepare the mounting location for the electrical box. Use a marker or pencil to outline the shape and position of the box on the wall or surface. Ensure that the area is free from any obstructions or debris that could interfere with the installation.
Key Takeaways:
- Prioritize safety and compliance by carefully determining the location, gathering the necessary tools, and turning off the power before mounting an outdoor electrical box. Following proper procedures ensures a successful and secure installation.
- Securely mounting the box, connecting the wires, testing for functionality, and sealing the box are crucial steps in the installation process. Regular maintenance and inspections are essential to ensure ongoing safety and functionality.
Step 1: Determine the Location
The first step in mounting an outdoor electrical box is to carefully determine the location where it will be installed. This step is crucial as it will ensure that the box is accessible and conveniently located for its intended purpose. Consider the following factors when choosing the location:
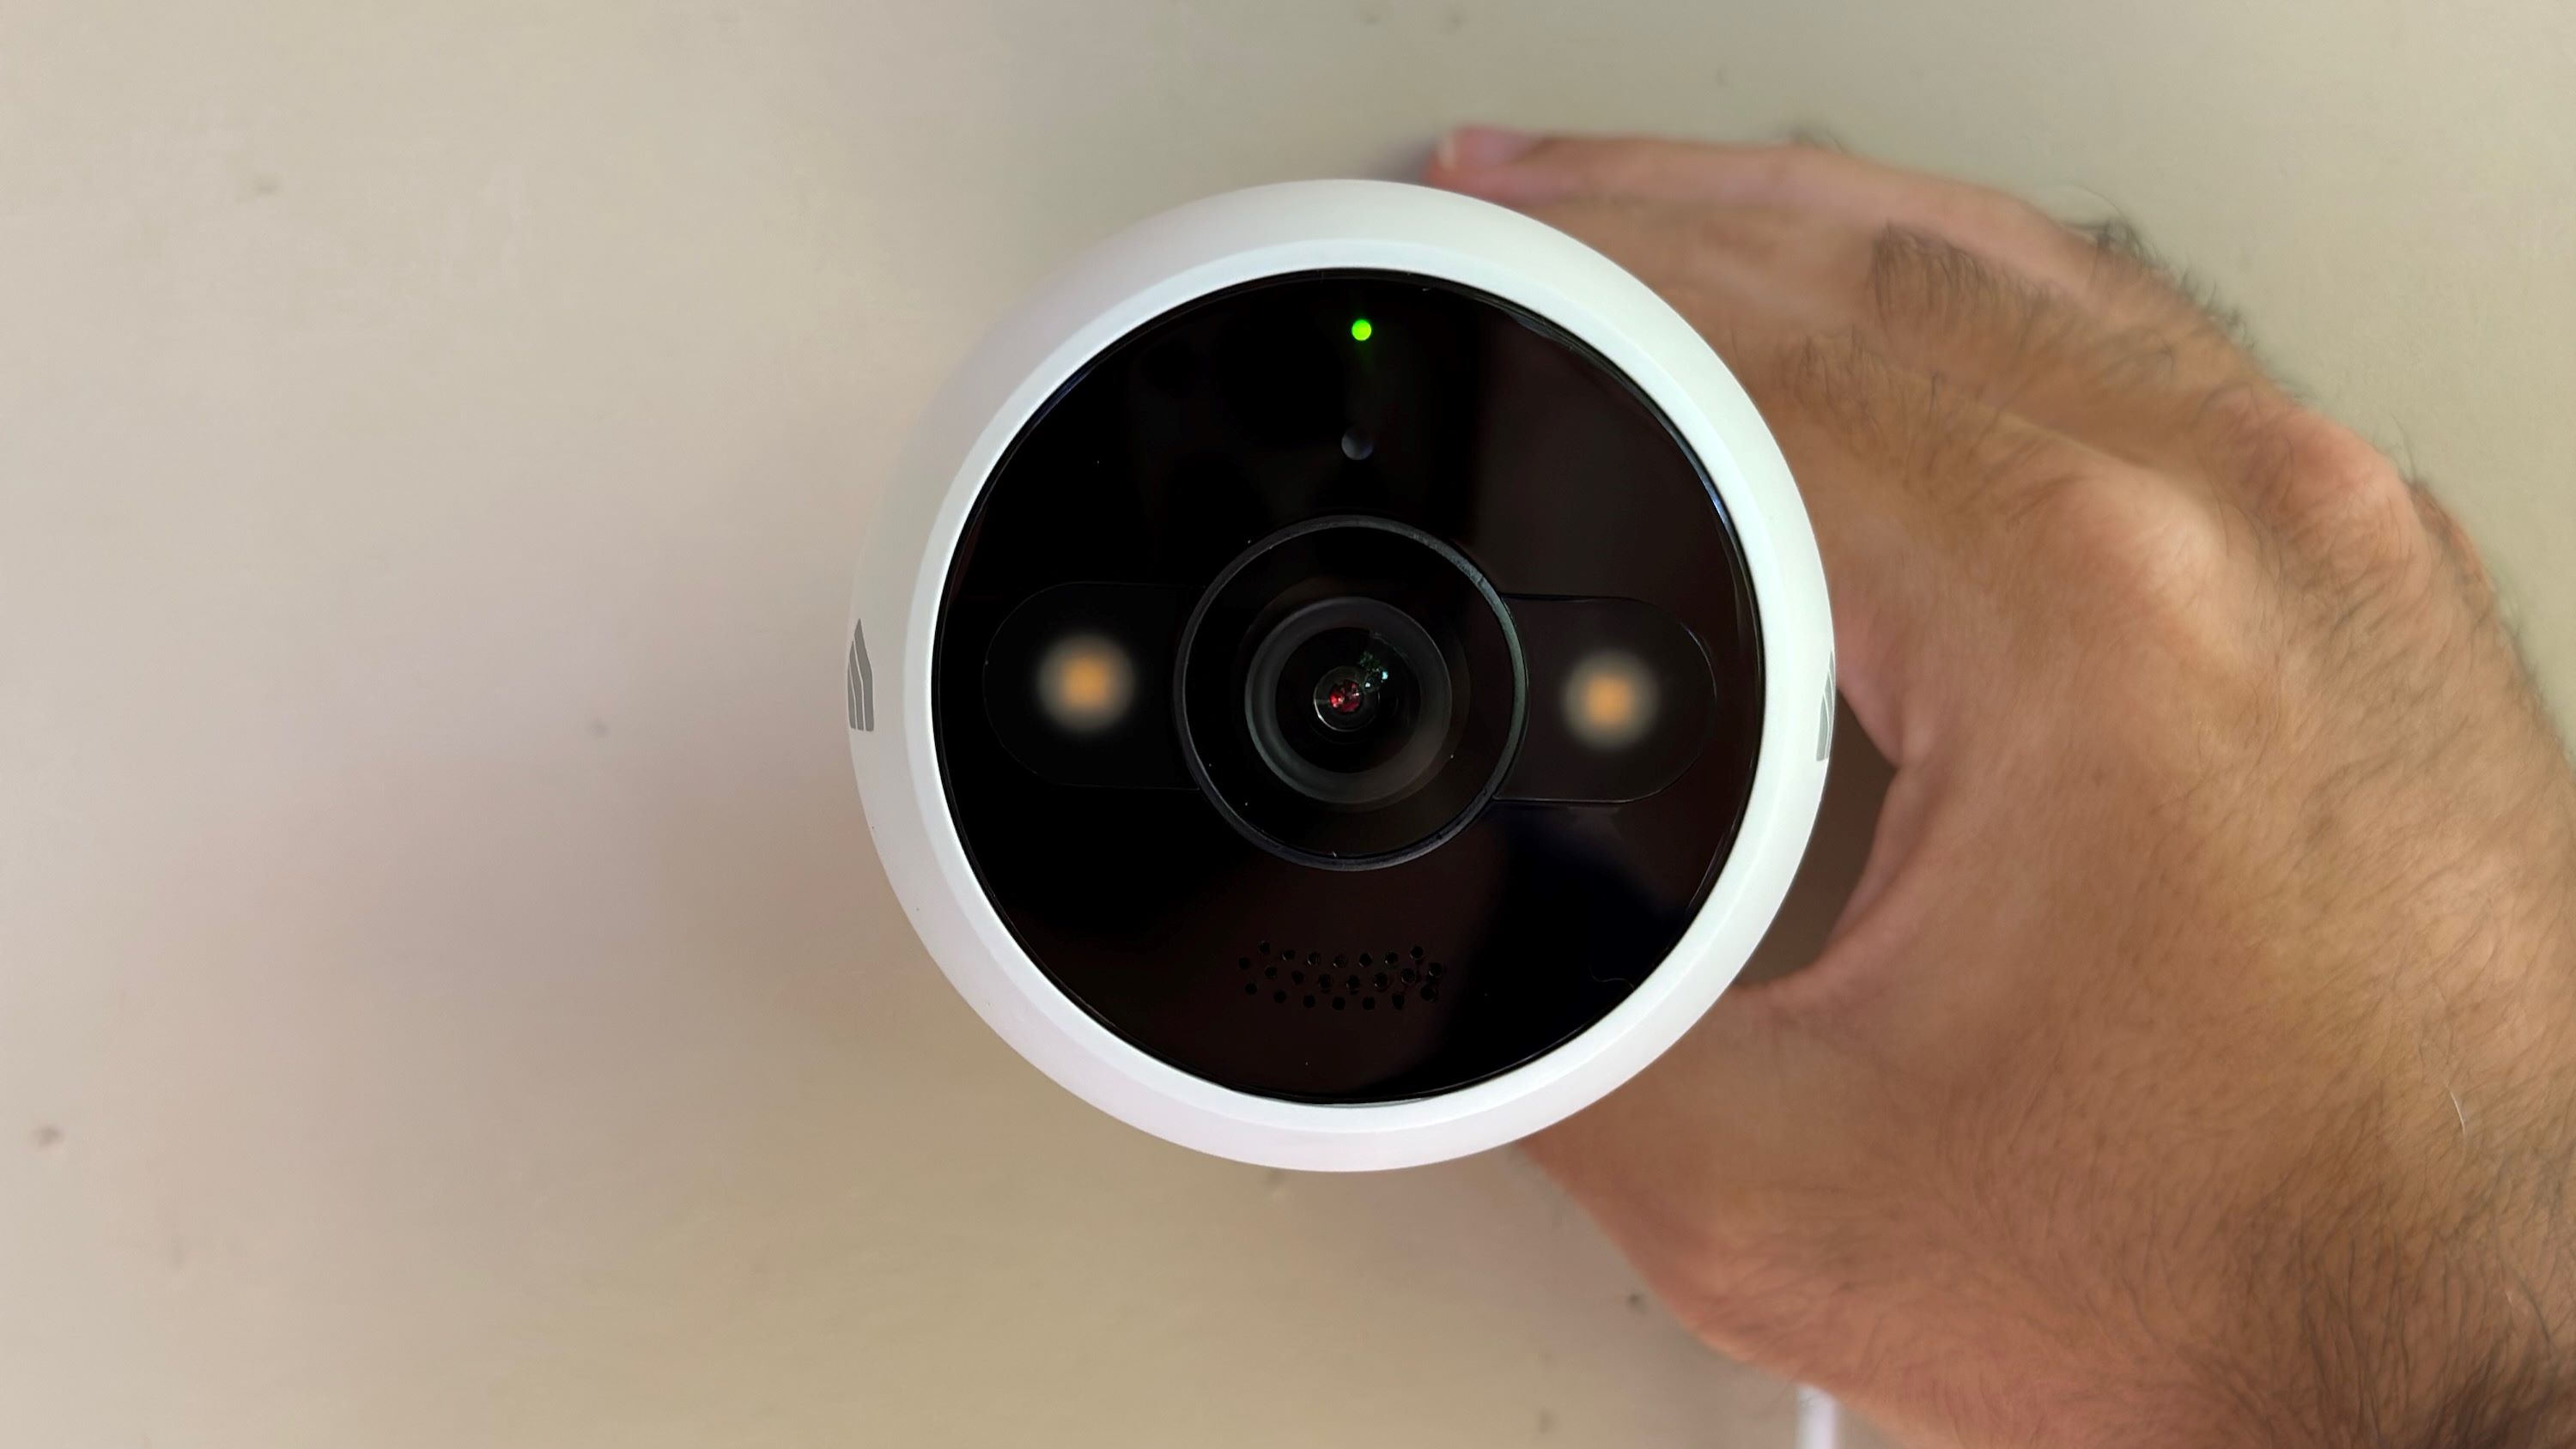
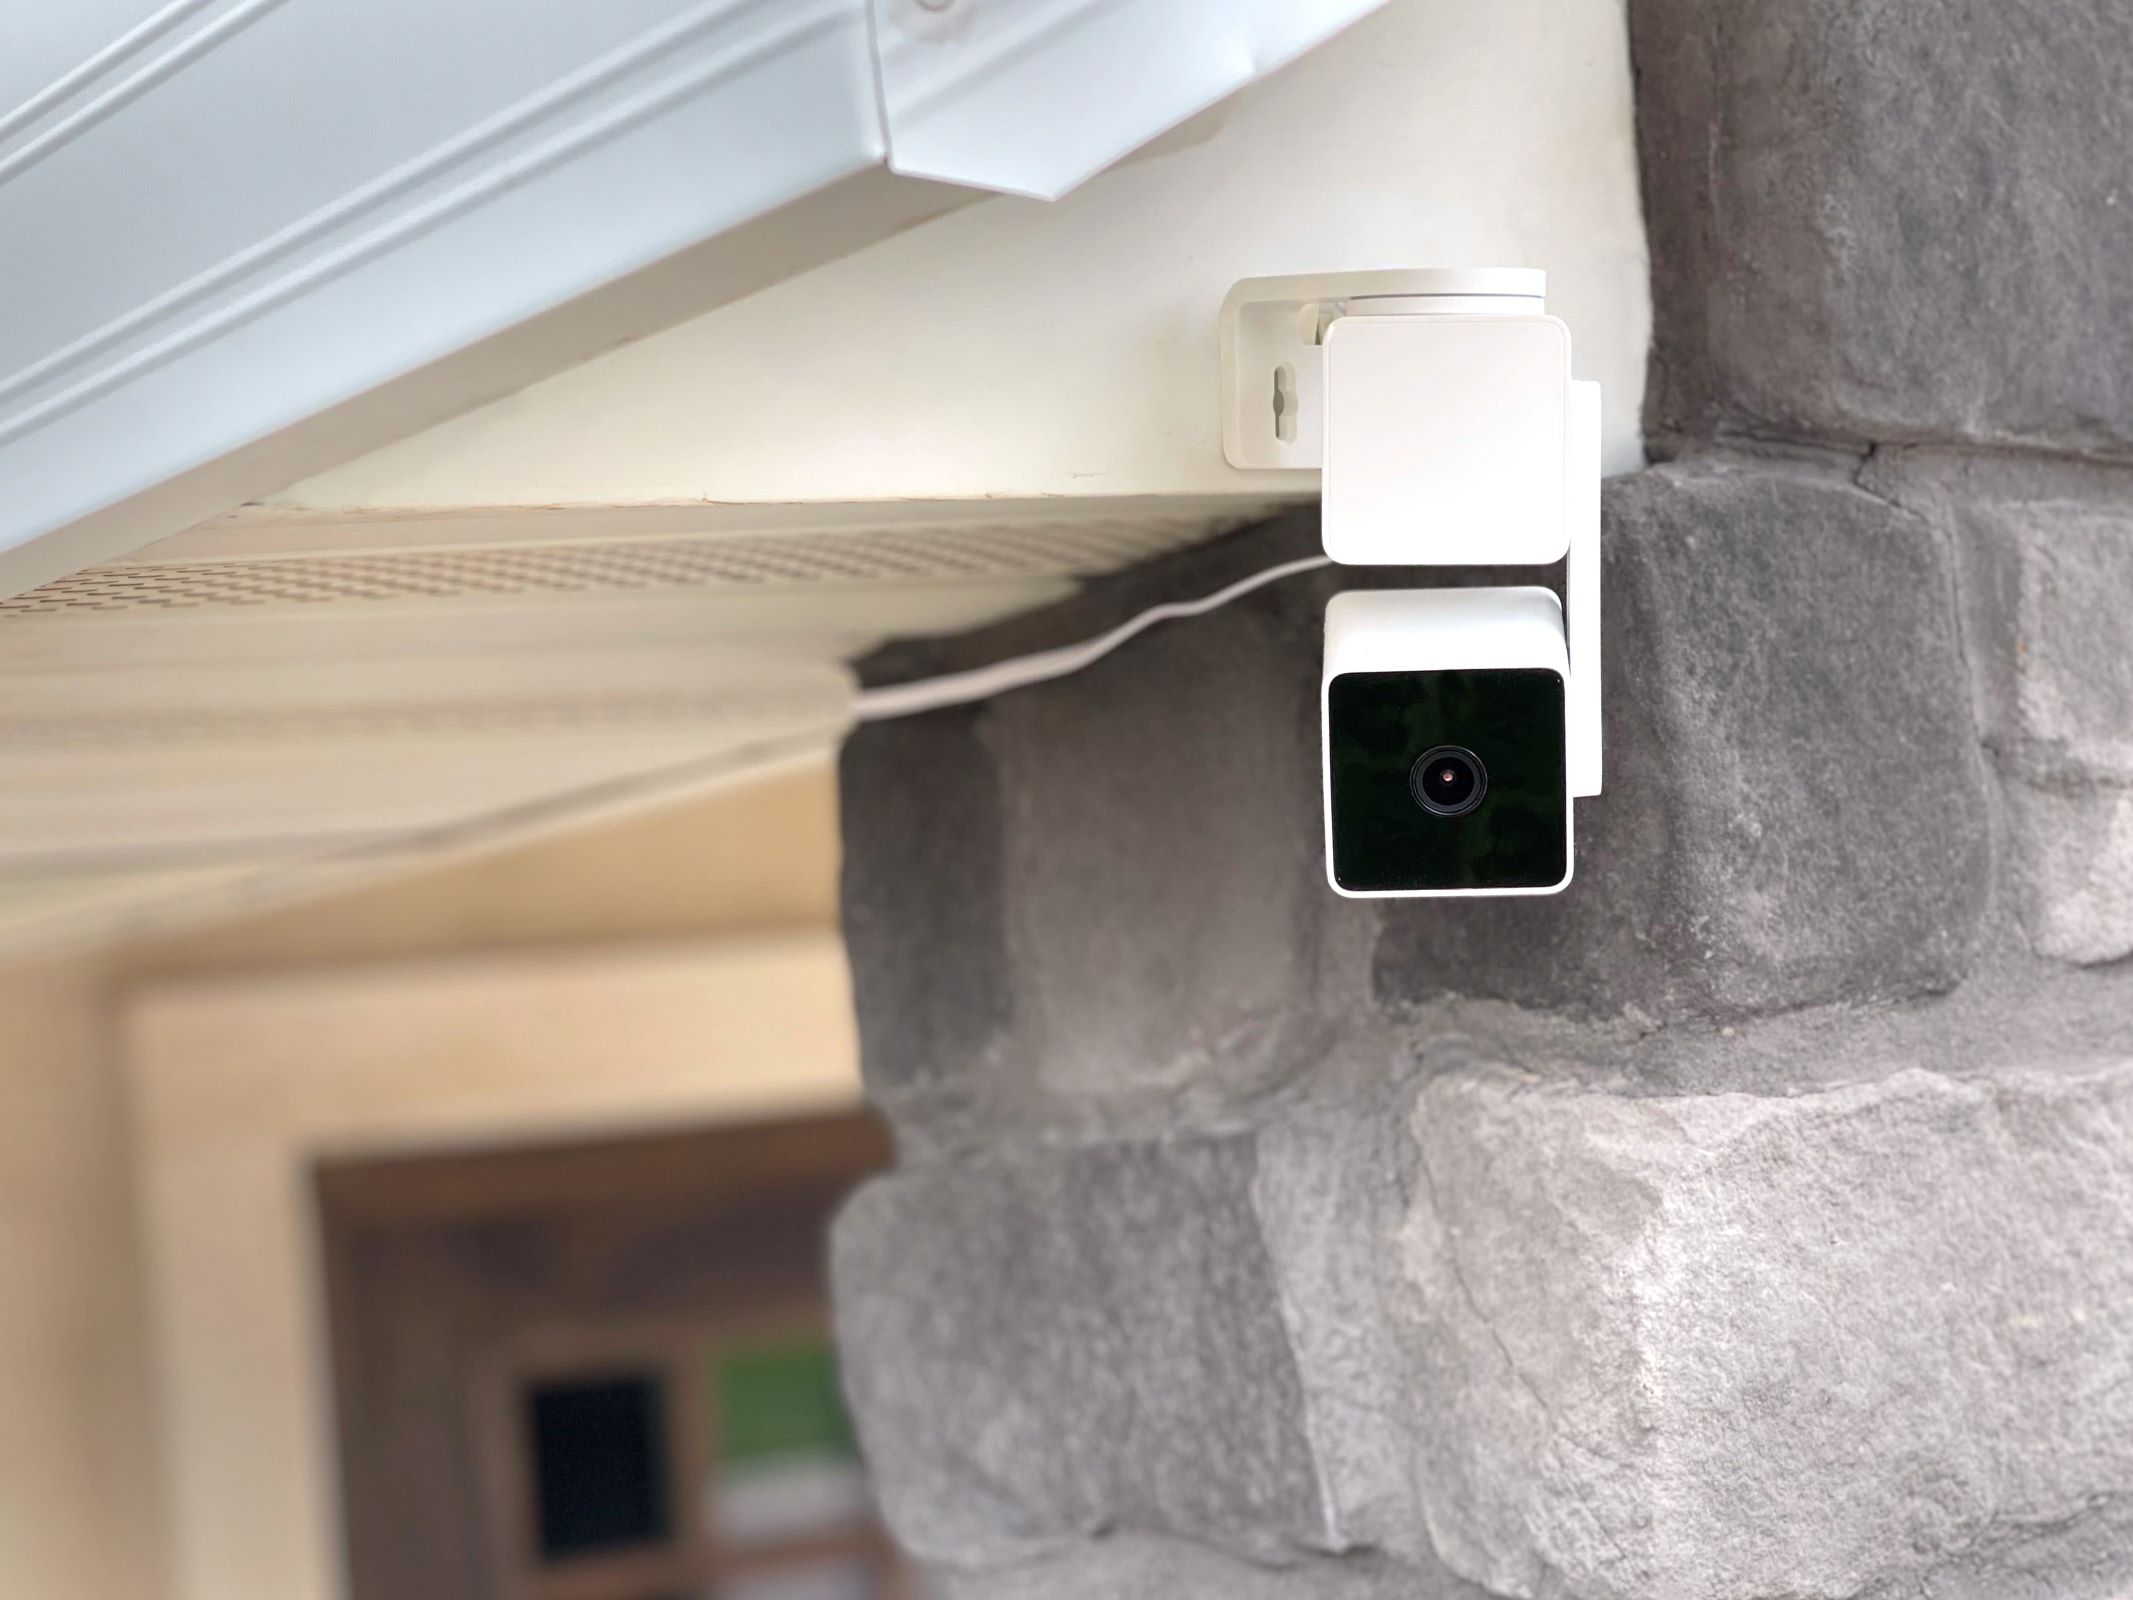
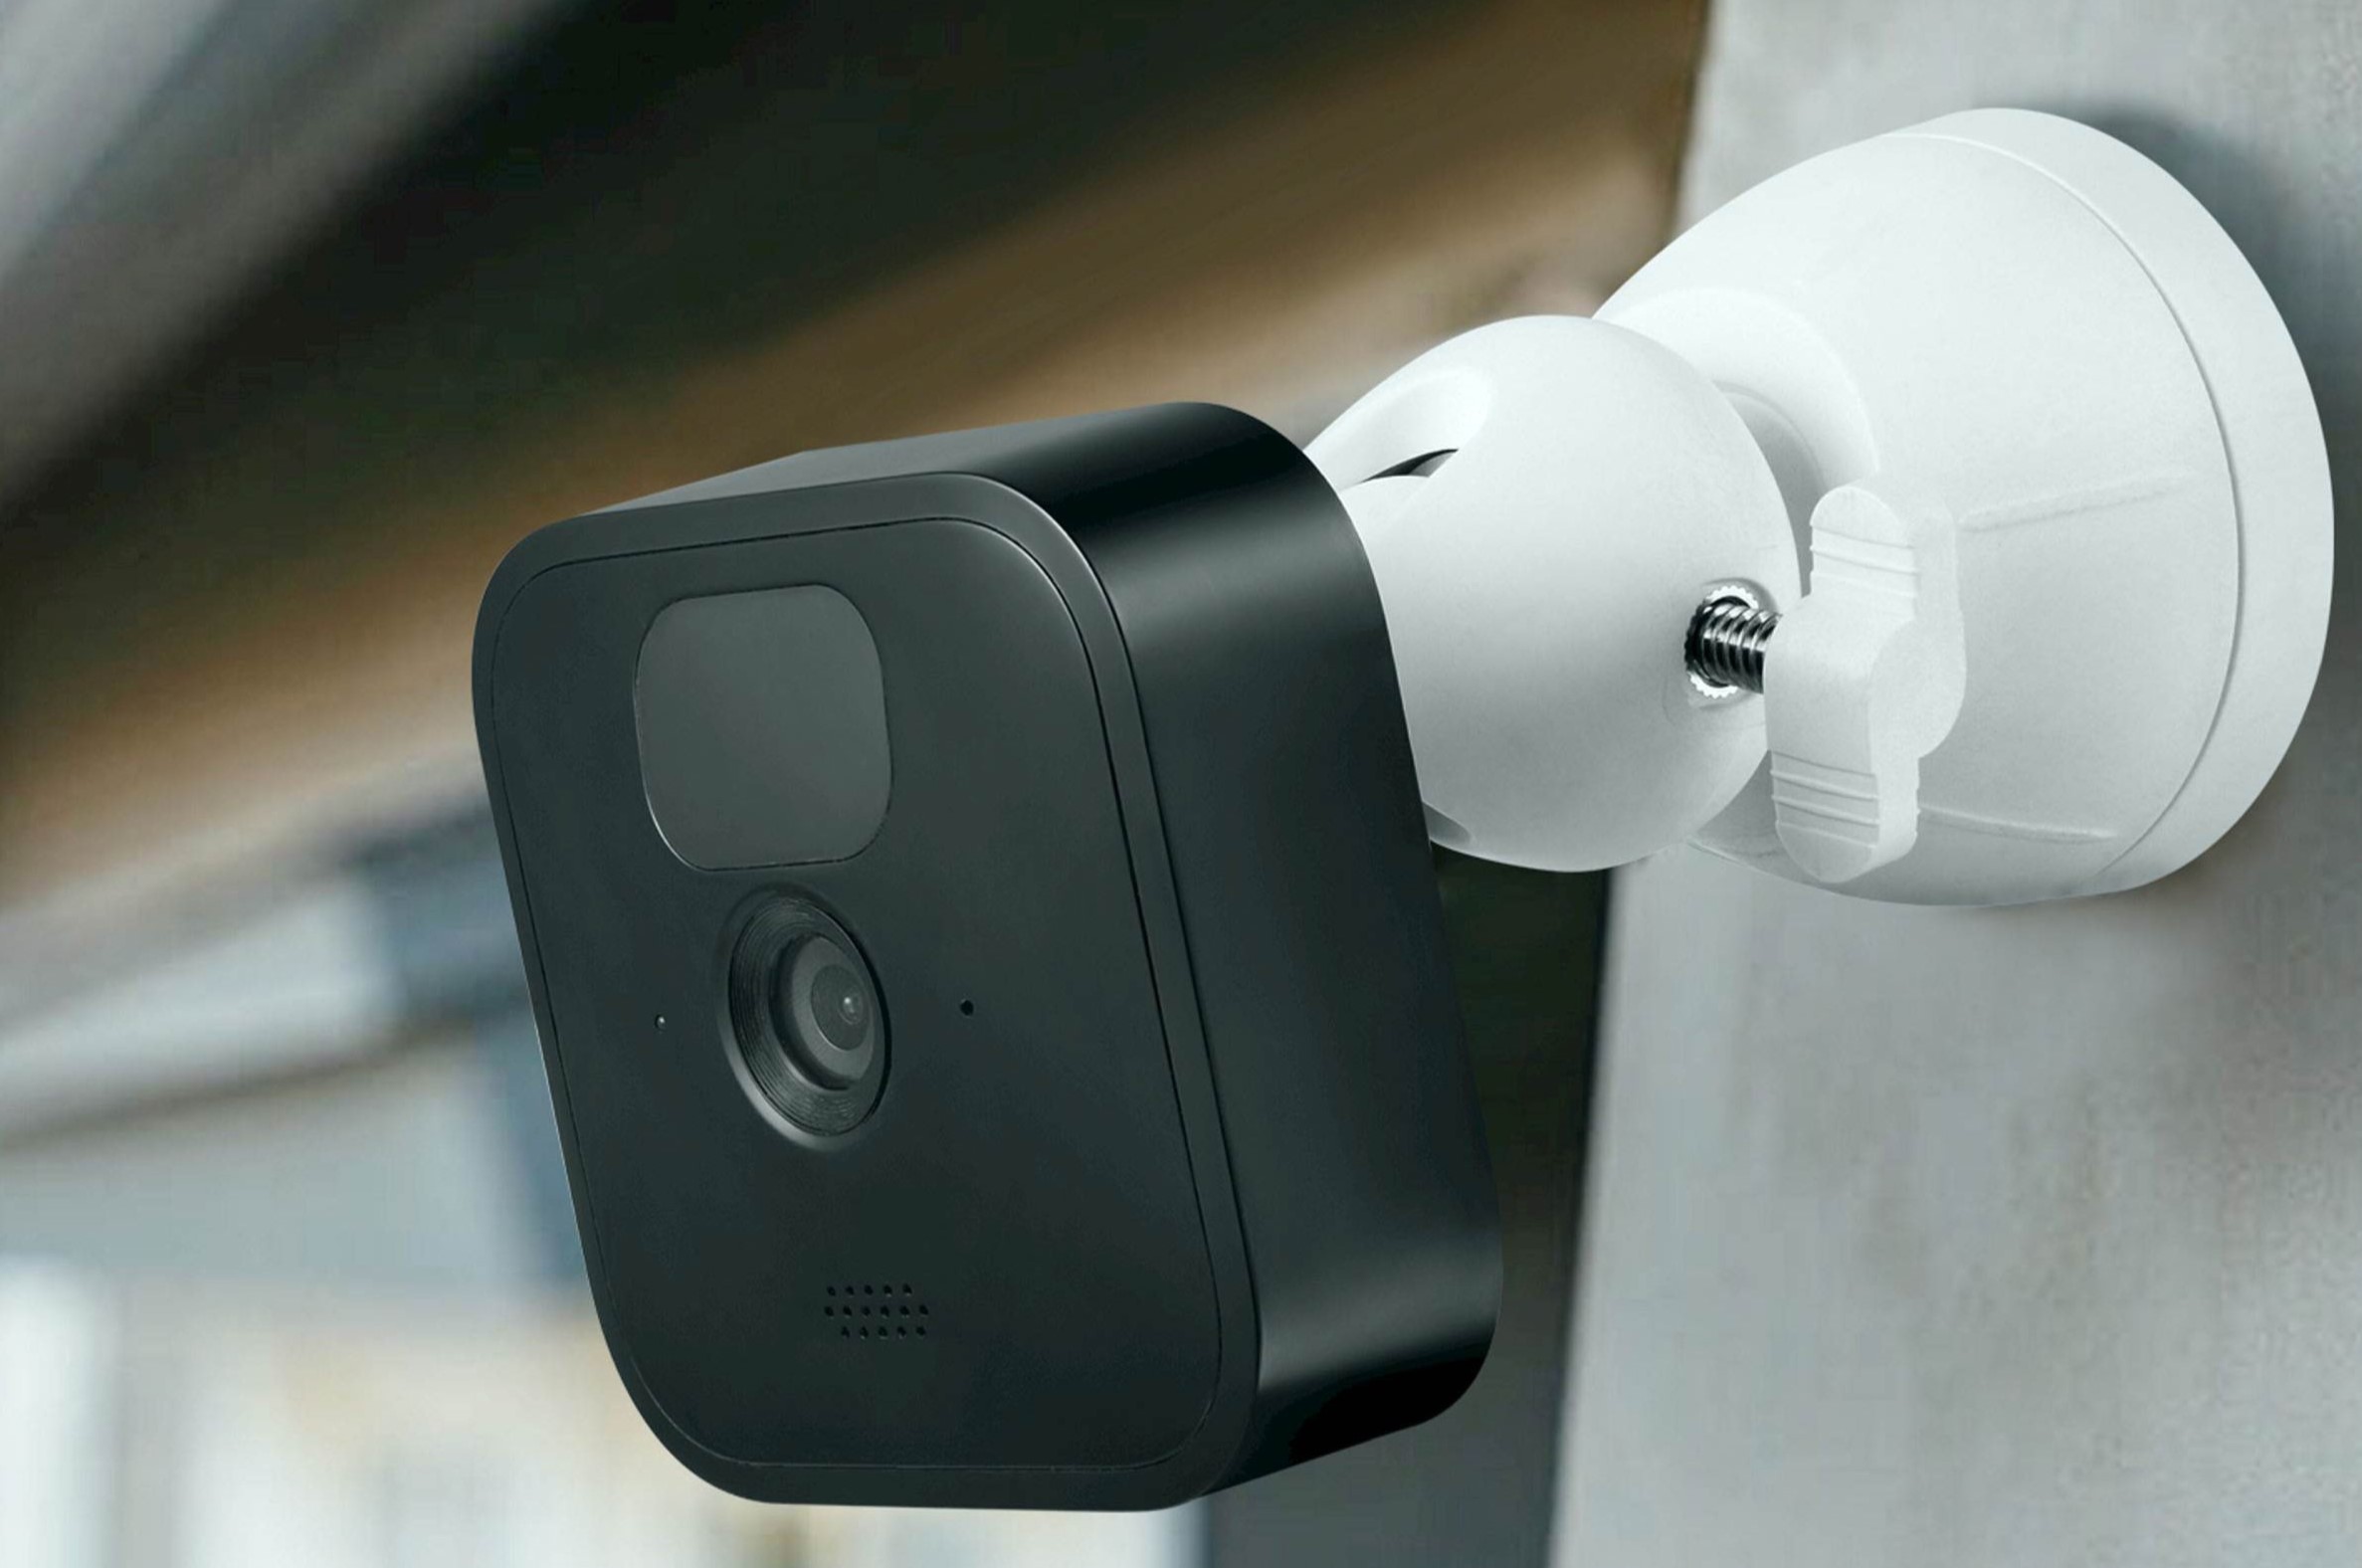
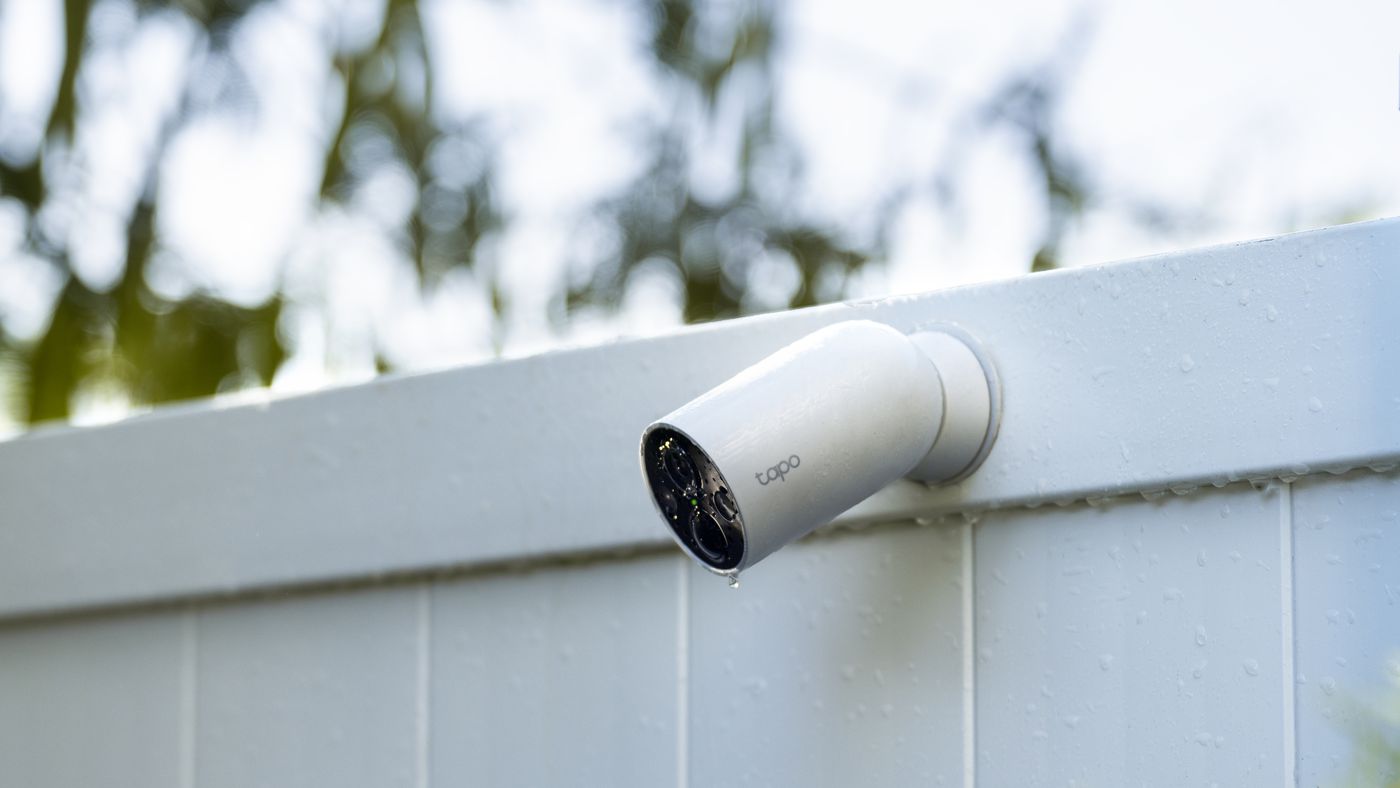
- Purpose: Identify the specific purpose for installing the outdoor electrical box. Are you adding an outdoor outlet for convenience? Installing outdoor lighting? Setting up a security camera? Understanding the purpose will help you determine the ideal location based on its intended use.
- Proximity: Take into account the proximity to other electrical sources. If you’re installing an outdoor outlet, consider the distance from the nearest indoor electrical panel or existing electrical outlets. For outdoor lighting or security cameras, ensure the location is close to the areas you want to illuminate or monitor.
- Accessibility: Ensure that the chosen location is easily accessible. You don’t want the electrical box to be obstructed by vegetation or other objects, making it difficult to reach when needed. Consider the convenience of accessing and operating the box.
- Obstructions: Check for any potential obstructions that may impede the installation or affect the functionality of the electrical box. Look out for tree branches, overhangs, fences, or any other objects that could hinder the proper installation or access to the box.
- Local Regulations: Familiarize yourself with the local regulations and building codes that govern outdoor electrical installations. Check if there are any specific requirements or restrictions regarding the mounting location of outdoor electrical boxes. Adhering to these regulations will ensure a safe and compliant installation.
By taking all these factors into consideration, you can determine the most suitable location for your outdoor electrical box. This will provide ease of access, functionality, and meet all necessary safety requirements. Once you’ve identified the ideal location for your electrical box, you can move on to the next step in the installation process.
Step 2: Gather the Required Tools and Materials
Before you begin mounting your outdoor electrical box, it’s important to gather all the necessary tools and materials. Having everything prepared beforehand will save you time and ensure a smoother installation process. Here’s a list of the tools and materials you’ll need:
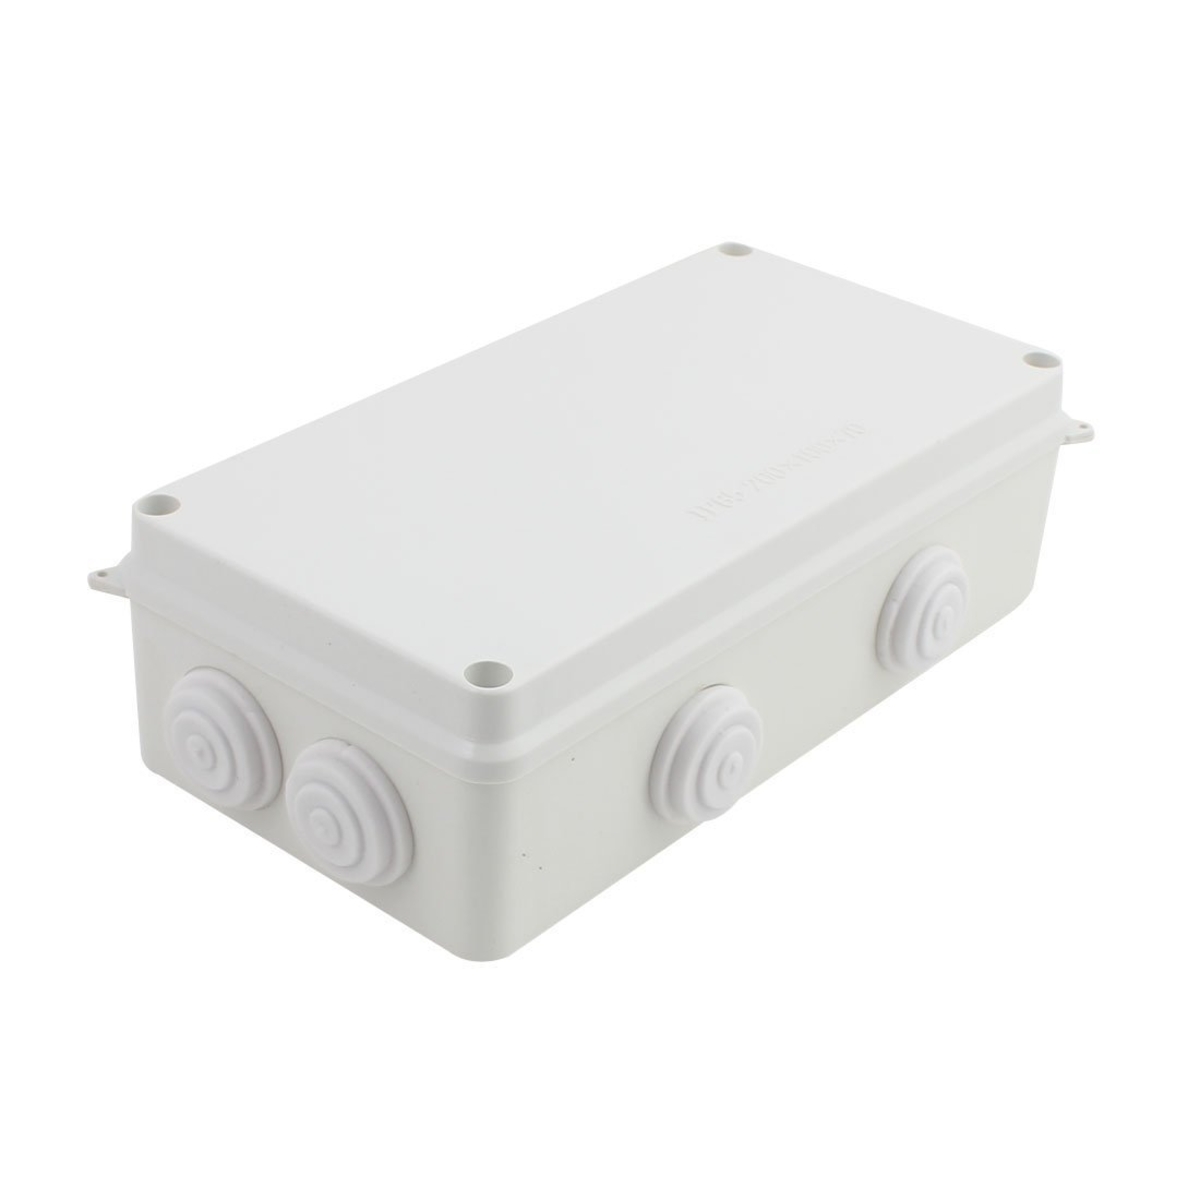
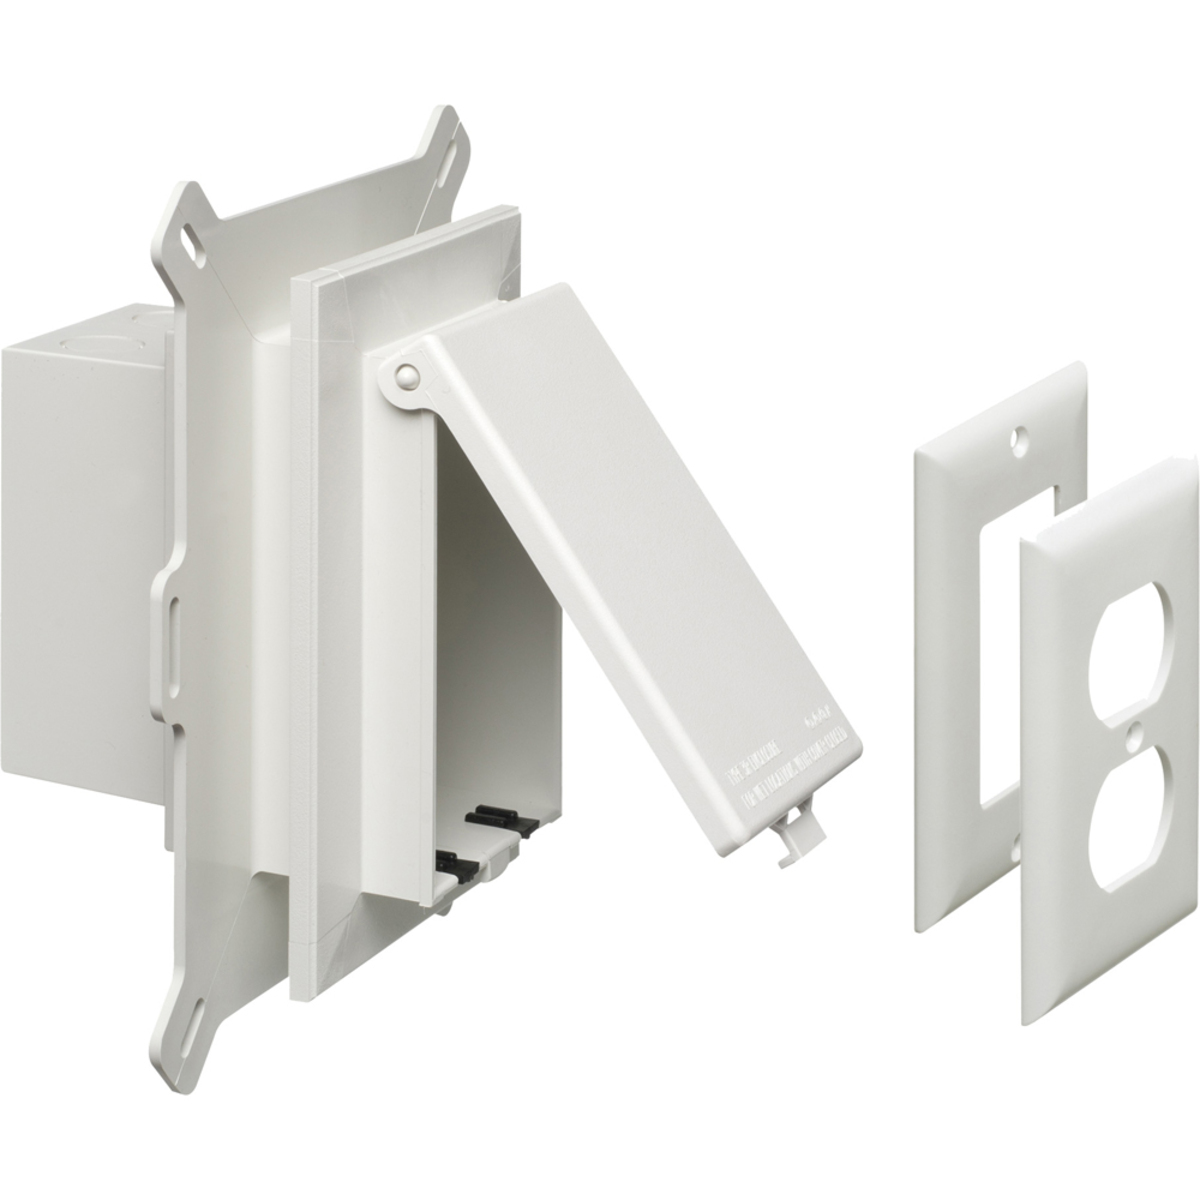
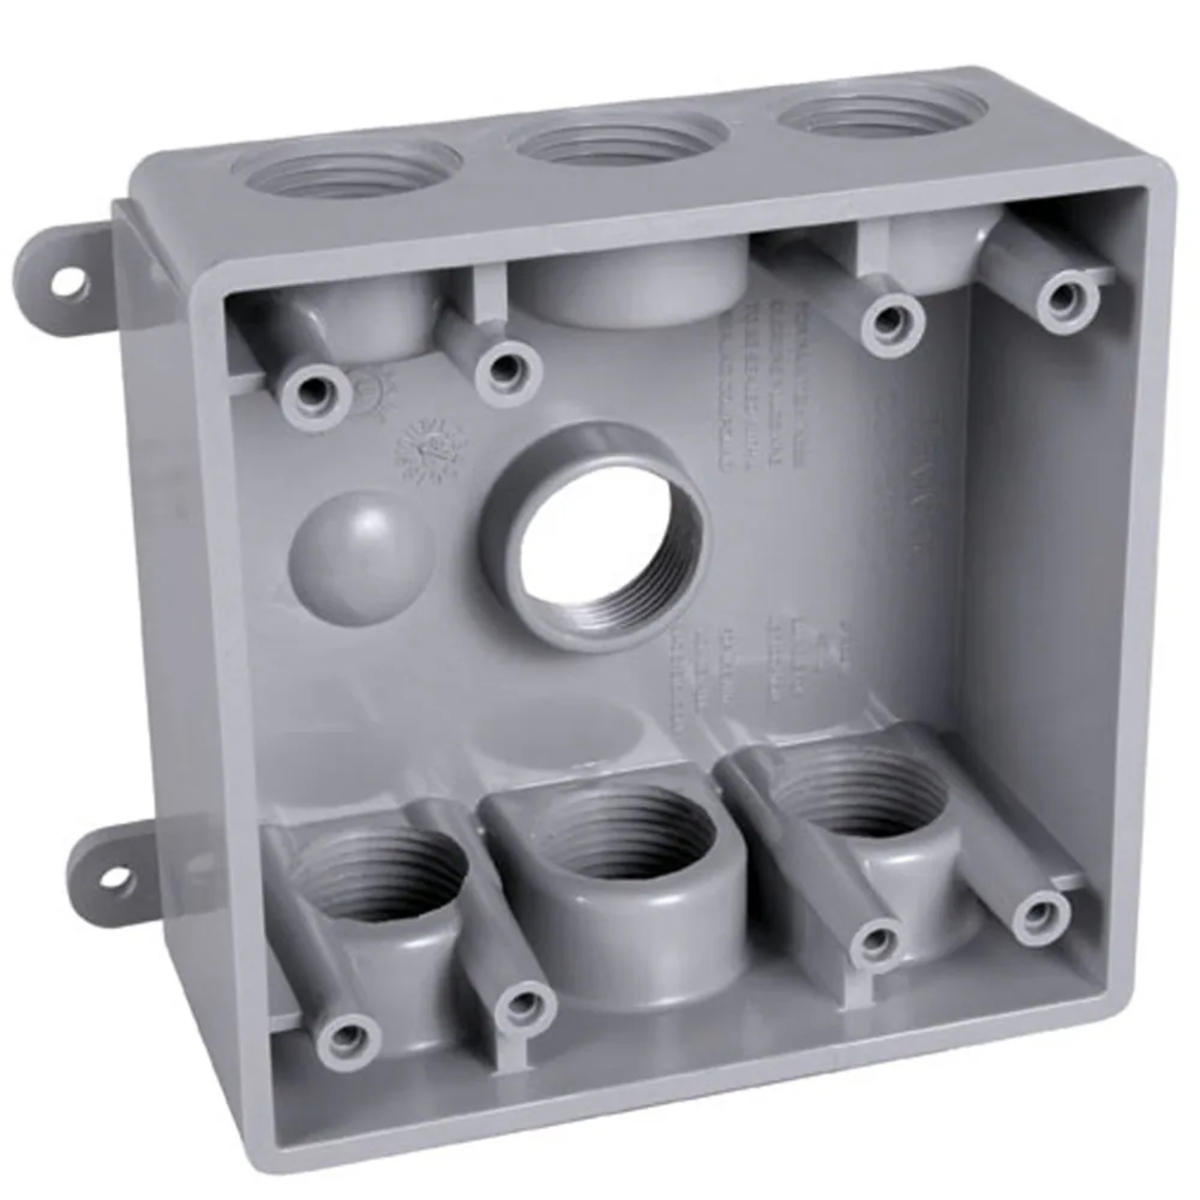
- Outdoor electrical box: Choose a weatherproof outdoor electrical box that is suitable for the specific purpose and installation requirements.
- Mounting brackets: Depending on the type of electrical box, you may need mounting brackets to secure it to the wall or surface. Make sure the mounting brackets match the electrical box and provide a sturdy foundation.
- Mounting screws: Select appropriate screws to secure the mounting brackets and electrical box to the surface. Ensure the screws are weather-resistant and compatible with the chosen materials.
- Screwdriver: Use a screwdriver that fits the size and type of screws you’re using. This will make it easier to drive the screws into the surface and secure the electrical box.
- Drill: If necessary, have a drill on hand to create pilot holes for the mounting screws. The drill should be suitable for the surface you’re working with, such as masonry, wood, or metal.
- Drill bits: Choose drill bits that match the size of the mounting screws. This will ensure accurate pilot holes and help prevent surface damage or splitting.
- Wire stripper: A wire stripper is essential for removing the insulation from electrical wires. It allows you to make clean and precise cuts, ensuring proper connections later on.
- Wire connectors: Have wire connectors or wire nuts available to secure and join electrical wires. Make sure the connectors are suitable for the wire gauge and rated for outdoor use.
- Electrical wires: Depending on the purpose of your outdoor electrical box, you may need electrical wires of different lengths and types. Consider the voltage requirements and current capacity when selecting the appropriate wires.
- Electrical tape: Electrical tape is useful for providing insulation and protecting wire connections. It helps to prevent moisture and corrosion, ensuring the longevity and safety of the electrical installation.
- Protective gloves: Safety should always be a priority when working with electrical components. Protect your hands by wearing insulated gloves to minimize the risk of electric shock.
- Safety glasses: Wear safety glasses to protect your eyes from any flying debris or particles that may be generated during the installation process.
By having all the necessary tools and materials ready, you can work efficiently and effectively while ensuring a professional and secure installation of your outdoor electrical box. Once you’ve gathered everything, you’re ready to move on to the next step of the installation process.
Step 3: Turn off the Power
Prior to starting any electrical work, it is crucial to turn off the power to the area where you’ll be installing the outdoor electrical box. This step is essential to ensure your safety and prevent any accidents or electrical shocks. Follow these steps to safely turn off the power:
- Locate the electrical panel: Identify the location of your main electrical panel in your home. It is typically found in a basement, utility room, or garage. If you are unsure of its location, consult the electrical panel diagram or contact a licensed electrician for guidance.
- Open the electrical panel: Remove the panel cover by unscrewing the screws that hold it in place. Be careful as this exposes live electrical components. Use caution and avoid touching any wires or terminals inside the panel.
- Identify the circuit breaker: Look for the circuit breaker that controls the power supply to the area where you’ll be installing the outdoor electrical box. It may be labeled with the corresponding room or area, or you may need to identify it through trial and error.
- Switch off the circuit breaker: Once you’ve located the correct circuit breaker, switch it to the “Off” position. This cuts off the power supply to the designated area, ensuring that you can work safely without the risk of electric shock.
- Confirm power outage: To double-check that the power is indeed turned off, use a voltage tester. Test nearby outlets or switches to verify that no electricity is flowing to the area where you’ll be working. If the tester indicates no voltage, it is safe to proceed with the installation.
Important: When working with electrical components, it’s essential to follow safety precautions. Always assume that a wire or terminal may be live until proven otherwise. Never touch bare wires or terminals, and avoid working in wet or damp environments. If you have any doubts or concerns about electrical work, consult a licensed electrician for assistance.
By turning off the power, you eliminate the risk of electric shock and ensure a safe working environment for installing your outdoor electrical box. Once you have confirmed that the power is off, you can proceed to the next step of preparing the mounting location.
Step 4: Prepare the Mounting Location
With the power turned off, it’s time to prepare the mounting location for the outdoor electrical box. This step is essential to ensure a secure and stable installation. Follow these steps to properly prepare the mounting location:
- Clean the surface: Start by cleaning the surface where the electrical box will be mounted. Remove any dirt, dust, or debris that may interfere with the adhesion or stability of the box. Use a brush or cloth to wipe down the surface, ensuring it is free from any obstructions.
- Mark the position: Position the electrical box on the surface and use a pencil or marker to trace around its outline. This will serve as a guide for the next steps and help ensure accurate placement of the box.
- Drill pilot holes: If necessary, use a drill with an appropriate drill bit to create pilot holes for the mounting screws. Pilot holes are small holes drilled into the surface that help guide and secure the screws more easily. Make sure the drill bit size matches the diameter of the mounting screws to ensure a proper fit.
- Install mounting brackets: If your electrical box requires mounting brackets, attach them to the surface using the pilot holes as a reference. Line up the holes in the mounting brackets with the pilot holes and insert the mounting screws. Use a screwdriver or drill to tighten the screws and secure the brackets firmly to the surface.
- Attach the electrical box: Place the outdoor electrical box onto the mounting brackets or directly onto the marked position. Align the holes in the box with the holes in the mounting brackets, if applicable. Insert the mounting screws through the holes and tighten them, ensuring the box is securely attached to the surface.
- Check the alignment: Take a moment to check the alignment of the electrical box. Ensure it is level and properly positioned. Make any necessary adjustments by loosening or tightening the mounting screws.
By following these steps, you will properly prepare the mounting location for your outdoor electrical box. This ensures a stable and secure installation, preventing any future shifting or movement. Once the mounting location is prepared, you can move on to the next step of connecting the wires.
Remember: If you are unsure about any aspect of the installation process or are uncomfortable working with electrical components, consult a licensed electrician for assistance. Safety should always be a top priority when working with electricity.
Read also: 14 Best Flush Mount Electrical Box for 2025
Step 5: Mount the Outdoor Electrical Box
Now that you have prepared the mounting location, it’s time to mount the outdoor electrical box. This step involves securely attaching the box to the surface you have prepared. Follow these steps to complete this part of the installation:
- Position the box: Place the outdoor electrical box onto the previously prepared mounting location. Ensure that the box is aligned properly and centered within the marked outline.
- Align the holes: Check the holes in the back of the electrical box and align them with the corresponding holes in the mounting brackets, if applicable.
- Insert the mounting screws: Insert the appropriate screws through the holes in the box and into the mounting brackets or surface. Use a screwdriver or drill to tighten the screws, ensuring a secure attachment. Be careful not to overtighten the screws, as it could damage the box or strip the screw holes.
- Check the stability: Gently shake or tap the electrical box to check its stability. Ensure that it is securely mounted and does not move or wobble. If necessary, adjust the tightness of the screws to achieve a firm and stable attachment.
It’s important to make sure that the outdoor electrical box is securely mounted to the surface. This will ensure that it remains stable and can support the weight of the electrical components and any external stressors, such as wind or temperature changes.
If your outdoor electrical box does not require mounting brackets, follow similar steps to securely attach it to the surface. Make sure to align the box with the marked outline and use the appropriate screws to fasten it in place.
Once the outdoor electrical box is mounted, you can proceed to the next step of connecting the wires.
Reminder: Always prioritize safety when working with electricity. If you are unsure or uncomfortable with any aspect of the installation, consult a licensed electrician for assistance.
When mounting an outdoor electrical box, make sure to use weatherproof materials and follow local building codes. Seal all connections with silicone to prevent water damage.
Step 6: Connect the Wires
Now that the outdoor electrical box is securely mounted, it’s time to connect the wires. This step involves carefully and correctly wiring the electrical components inside the box. Follow these steps to ensure a safe and proper connection:
- Prepare the wires: Strip off a small section of insulation from the ends of the electrical wires using a wire stripper. Be careful not to nick or damage the wire strands while stripping.
- Identify the wires: Identify the different wires inside the electrical box. Depending on the purpose of your outdoor electrical box, you may have hot (black), neutral (white), and ground (green or bare copper) wires that need to be connected.
- Make electrical connections: Use wire connectors or wire nuts to make the appropriate electrical connections. Connect the hot wires together, the neutral wires together, and the ground wires together. Twist the wires together and secure them with the appropriate connector, ensuring a tight connection.
- Insulate the connections: After making the electrical connections, wrap each wire connection with electrical tape. This helps protect the connections from moisture, prevents accidental contact, and ensures the electrical connections remain secure.
- Tuck the wires: Once the connections are made and insulated, carefully tuck the wires into the electrical box. Make sure they are arranged neatly and do not interfere with the functionality of the box or pose any risk of damage or accidental contact.
- Double-check the connections: Before proceeding further, double-check all the wire connections to ensure they are secure and properly insulated. This will help prevent any electrical issues or safety hazards in the future.
Remember to always follow proper electrical wiring techniques and adhere to safety guidelines. If you’re unsure about any aspect of wiring the outdoor electrical box, it’s advisable to consult a licensed electrician for assistance.
With the wires properly connected, you’re one step closer to completing the installation of your outdoor electrical box. The next step involves testing the electrical box, which we will cover in the following step.
Step 7: Test the Electrical Box
After connecting the wires inside the outdoor electrical box, it’s crucial to test the box to ensure that everything is working properly. Testing will help you confirm that the electrical connections are secure and that the box is functioning as expected. Follow these steps to test the electrical box:
- Restore power: Go to the electrical panel and switch on the circuit breaker that supplies power to the outdoor electrical box. This will restore power to the box, allowing you to test it.
- Perform functionality tests: Test the functionality of the electrical components connected to the outdoor electrical box. For example, if you installed an outdoor outlet, plug in a device to ensure it receives power. If you installed outdoor lighting, turn on the switch and verify that the lights illuminate. This step will help you confirm that the connections are functional and that the box is supplying power as intended.
- Check for abnormalities: While testing the electrical box, be attentive to any irregularities or abnormalities. Look out for flickering lights, sparks, unusual sounds, or any signs of overheating. If you notice any issues, immediately turn off the power and consult a licensed electrician to investigate and resolve the problem.
- Ensure proper grounding: Verify that the grounding wire is connected properly. Grounding provides a safe path for electrical currents to divert in case of a fault, protecting you and your electrical system. Check for a secure connection between the grounding wire and the grounding terminal or screw in the electrical box.
Testing the electrical box is a critical step in ensuring the safety and functionality of your outdoor electrical installation. By performing these tests, you can identify any issues or problems early on and address them before they escalate.
If you encounter any problems during the testing phase or are unsure about the results, it’s always recommended to consult a licensed electrician for further assistance. They have the expertise and knowledge to diagnose and resolve electrical issues safely and effectively.
Once you have successfully tested the electrical box and are satisfied with the results, you can proceed to the next step of securing and sealing the electrical box.
Step 8: Secure and Seal the Electrical Box
Securing and sealing the outdoor electrical box is the next step towards completing the installation. This will help protect the electrical components from the elements and ensure the longevity and safety of your outdoor electrical system. Follow these steps to properly secure and seal the electrical box:
- Verify the tightness: Check that all the mounting screws are tight and secure. If any screws are loose, use a screwdriver or drill to tighten them. A secure mounting ensures that the box remains stable and in position.
- Apply sealant: To protect the electrical components from moisture and other weather elements, apply a generous amount of outdoor-rated sealant around the edges and gaps of the electrical box. Use a caulking gun or squeeze tube to apply the sealant, ensuring complete coverage and a watertight seal.
- Smooth the sealant: Use a small putty knife or your finger to smooth out the applied sealant. This will help create an even and uniform seal while also removing any excess sealant. A smooth seal contributes to the visual appeal and effectiveness of the sealing process.
- Inspect the seal: Take a moment to inspect the sealant to ensure it completely covers all the gaps and edges of the electrical box. Look out for any areas that may have been missed or require additional sealant. Any gaps can compromise the integrity of the seal, so it’s important to address them.
- Allow the sealant to dry: Follow the manufacturer’s instructions for the recommended drying time. Allow the sealant to cure fully before subjecting it to any external forces or the elements. This will ensure that the sealant forms a strong bond and provides effective protection.
By securing and sealing the electrical box, you provide an additional layer of protection for the electrical components. This helps prevent moisture, debris, and insects from entering the box and potentially causing damage or short circuits.
Remember that regular maintenance and inspections are essential to ensure the ongoing effectiveness of the seal. Check the sealant periodically and reapply as needed to maintain a tight and durable seal.
Once the sealant is dry and the electrical box is securely sealed, you can proceed to the final step of restoring power to the outdoor electrical box and performing a final test.
Step 9: Restore Power and Test Again
After securing and sealing the outdoor electrical box, it’s time to restore power and perform a final test to ensure everything is functioning correctly. This step will verify that the electrical connections are secure, the box is properly sealed, and the outdoor electrical system is operating as expected. Follow these steps to restore power and test again:
- Return to the electrical panel: Go back to the electrical panel and switch on the circuit breaker that supplies power to the outdoor electrical box. This will restore electrical power to the box.
- Perform comprehensive tests: Test the electrical components connected to the outdoor electrical box once again. Check that outlets are providing power, lights are illuminating properly, and any other connected devices are functioning correctly. Take note of any abnormalities or issues that may arise during the testing process.
- Inspect the seal: After restoring power, inspect the seal around the electrical box to ensure it remains intact and effective. Check for any signs of damage, deterioration, or gaps in the sealant. Repair or reapply the sealant as necessary to maintain the box’s weatherproofing and protection.
- Verify proper grounding: Double-check that the grounding wire is still securely connected to its designated terminal or grounding screw. Proper grounding is crucial for the safety and functionality of the electrical system, so ensure it remains intact.
- Monitor for any issues: After testing and restoring power, carefully monitor the outdoor electrical system for any signs of malfunction, such as flickering lights or unusual noises. If you notice any issues, immediately switch off the power and seek professional assistance to diagnose and resolve the problem.
By restoring power and performing a final test, you can ensure that the outdoor electrical box is properly installed, securely sealed, and fully functional. Regularly monitor and maintain the electrical system to identify and address any potential issues to prevent future problems.
Remember to exercise caution and seek professional assistance if you are uncertain about any aspect of the installation or encounter any problems during testing. Safety should always be the top priority when working with electricity.
With Step 9 complete, you have successfully installed and tested your outdoor electrical box. Congratulations!
Note: This guide serves as a general overview, but it’s important to consult local electrical codes and regulations, as well as consider professional advice for specific installation requirements.
Conclusion
Installing an outdoor electrical box can greatly enhance the functionality and convenience of your outdoor spaces. Whether you’re adding outdoor lighting, security cameras, or an outlet for various purposes, following a step-by-step process ensures a safe and successful installation. By carefully determining the location, gathering the necessary tools and materials, and turning off the power, you set the foundation for a smooth installation.
Preparing the mounting location, securely mounting the electrical box, connecting the wires, testing for functionality, and sealing the box are all essential steps in the process. These steps ensure that the electrical box is properly installed, providing a reliable and safe electricity supply for your outdoor needs.
Throughout the installation process, prioritize safety by adhering to proper electrical procedures and consulting a licensed electrician if needed. It’s crucial to turn off the power before beginning any work, and to double-check all connections and sealants to ensure a secure and watertight installation.
By carefully following these steps, you can confidently install an outdoor electrical box and enjoy the benefits that it brings. Remember to regularly inspect and maintain your outdoor electrical system to ensure its ongoing functionality and safety.
Always consult local electrical codes and regulations, as well as seek professional advice for specific installation requirements to ensure compliance and the utmost safety.
With the completion of these steps, you are now equipped with the knowledge and skills to mount an outdoor electrical box effectively. Enjoy your newly installed outdoor electrical system and make the most of its convenience and functionality!
Frequently Asked Questions about How To Mount Outdoor Electrical Box
Was this page helpful?
At Storables.com, we guarantee accurate and reliable information. Our content, validated by Expert Board Contributors, is crafted following stringent Editorial Policies. We're committed to providing you with well-researched, expert-backed insights for all your informational needs.


0 thoughts on “How To Mount Outdoor Electrical Box”