Articles
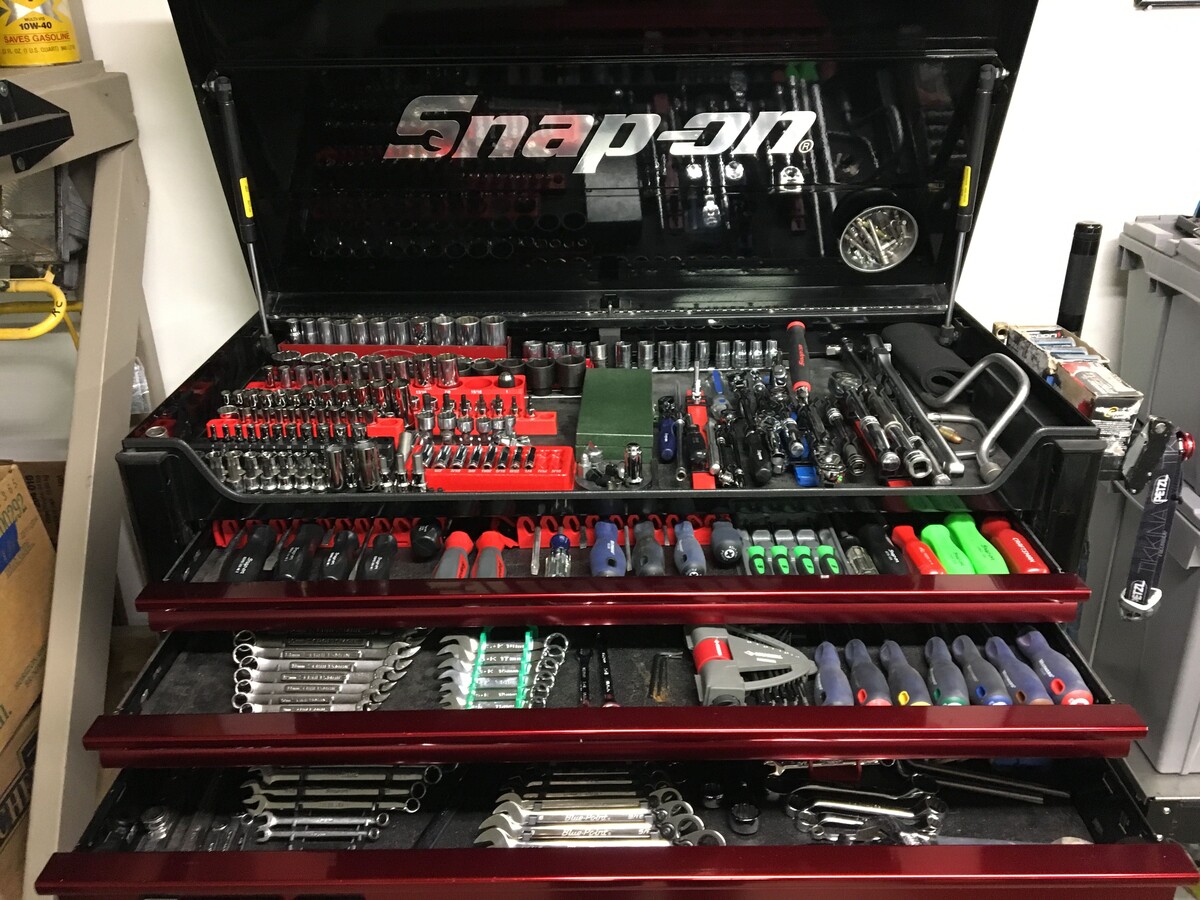
How To Open Snap-On Tool Box Without Key
Modified: August 16, 2024
Looking for articles on how to open a Snap On tool box without a key? Find step-by-step guides and helpful tips in our comprehensive collection.
(Many of the links in this article redirect to a specific reviewed product. Your purchase of these products through affiliate links helps to generate commission for Storables.com, at no extra cost. Learn more)
Introduction
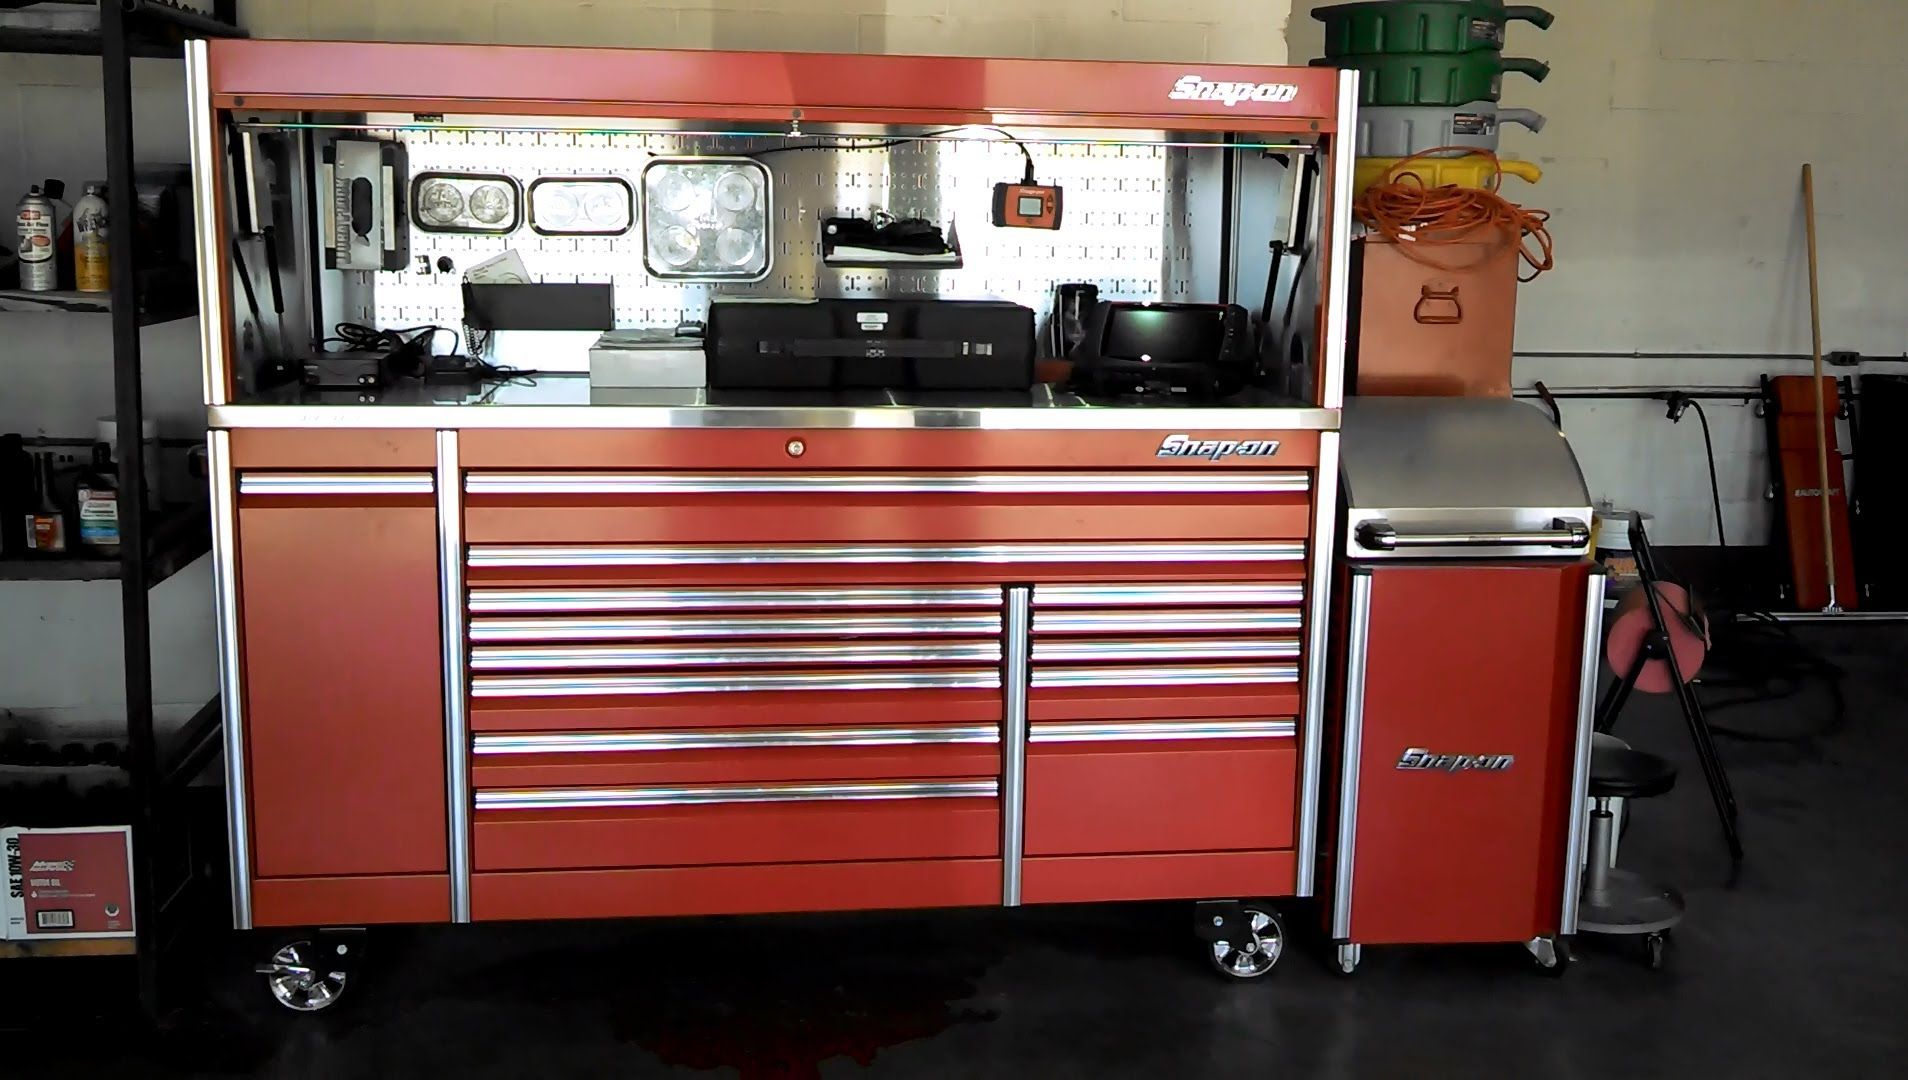
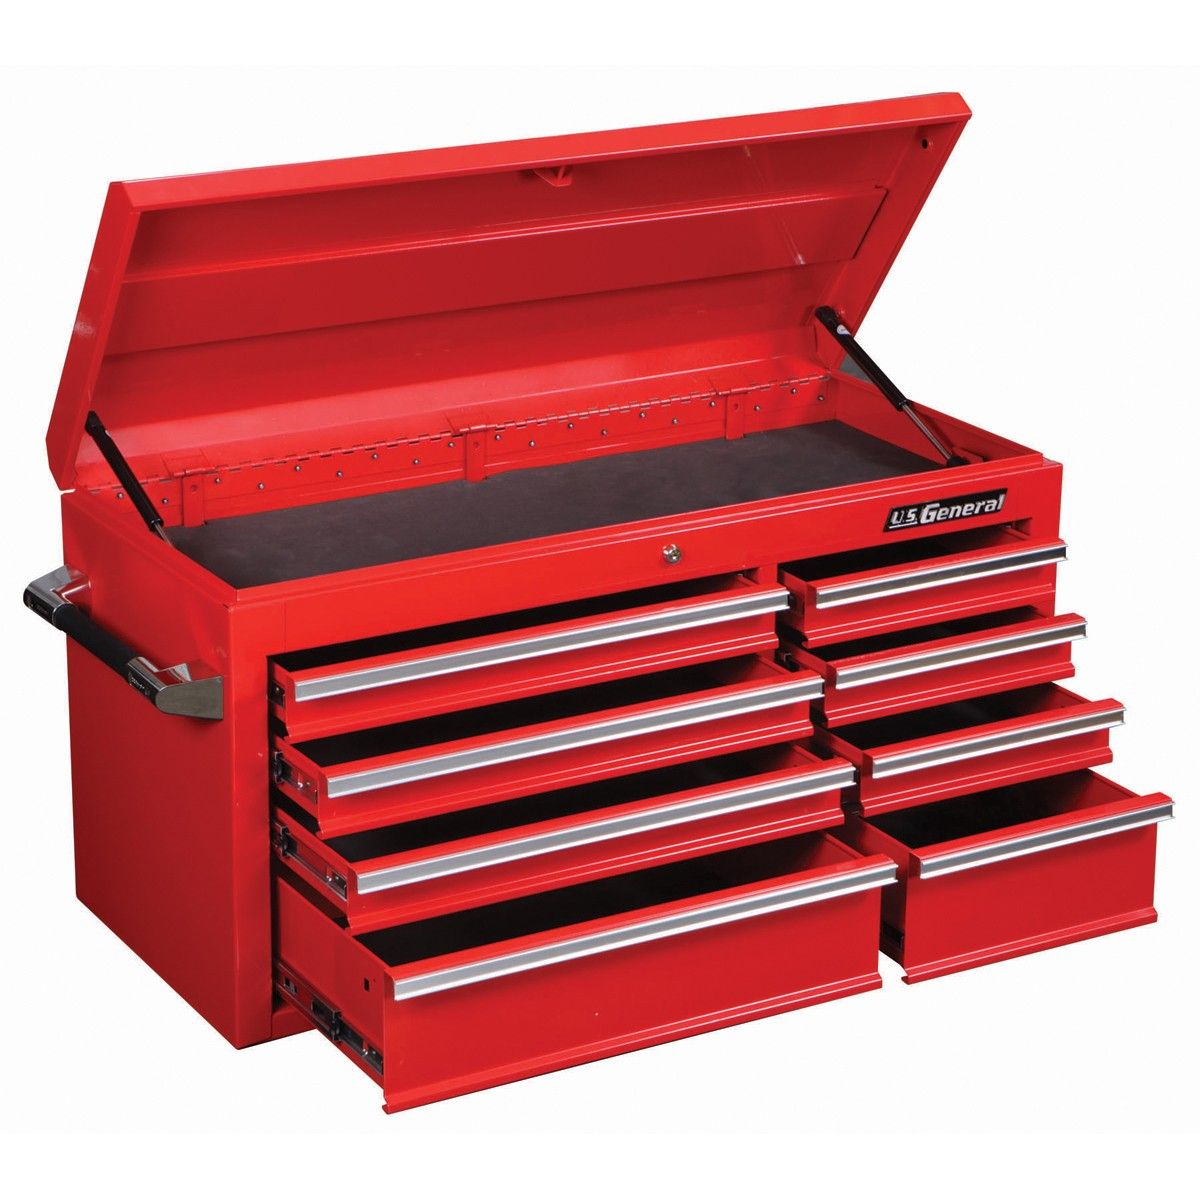
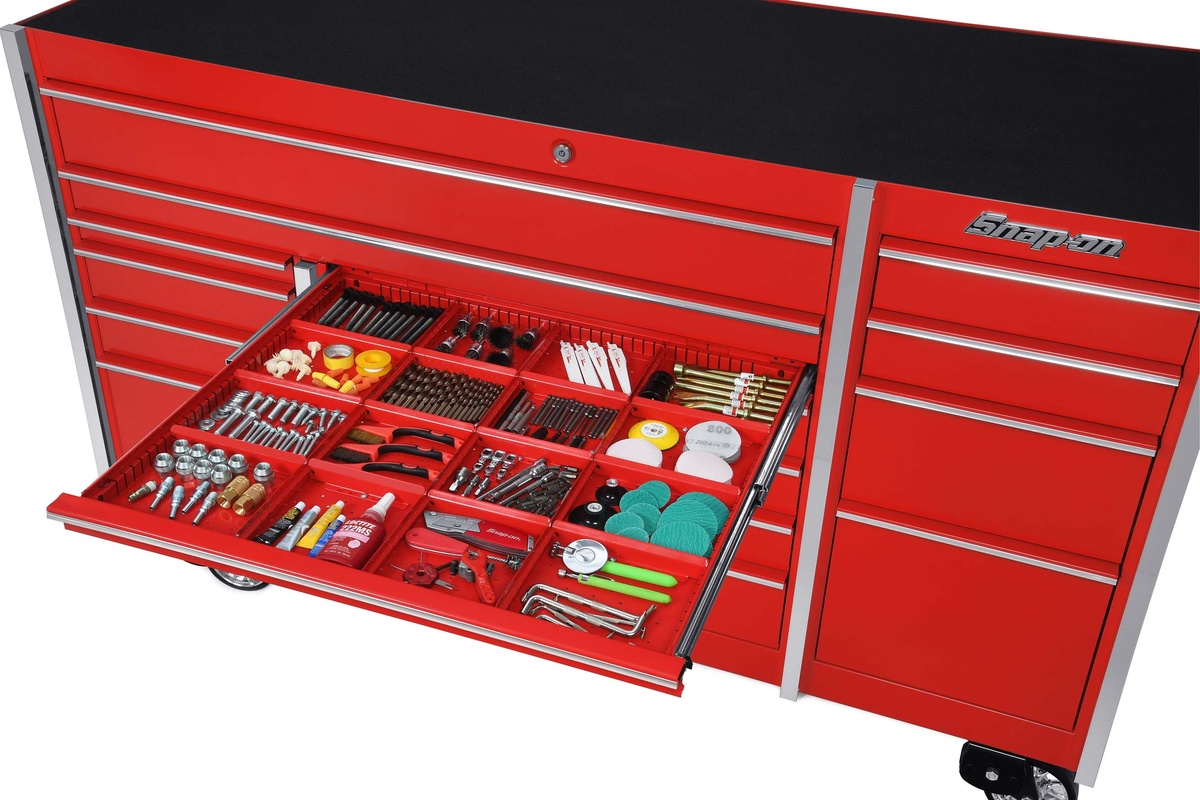
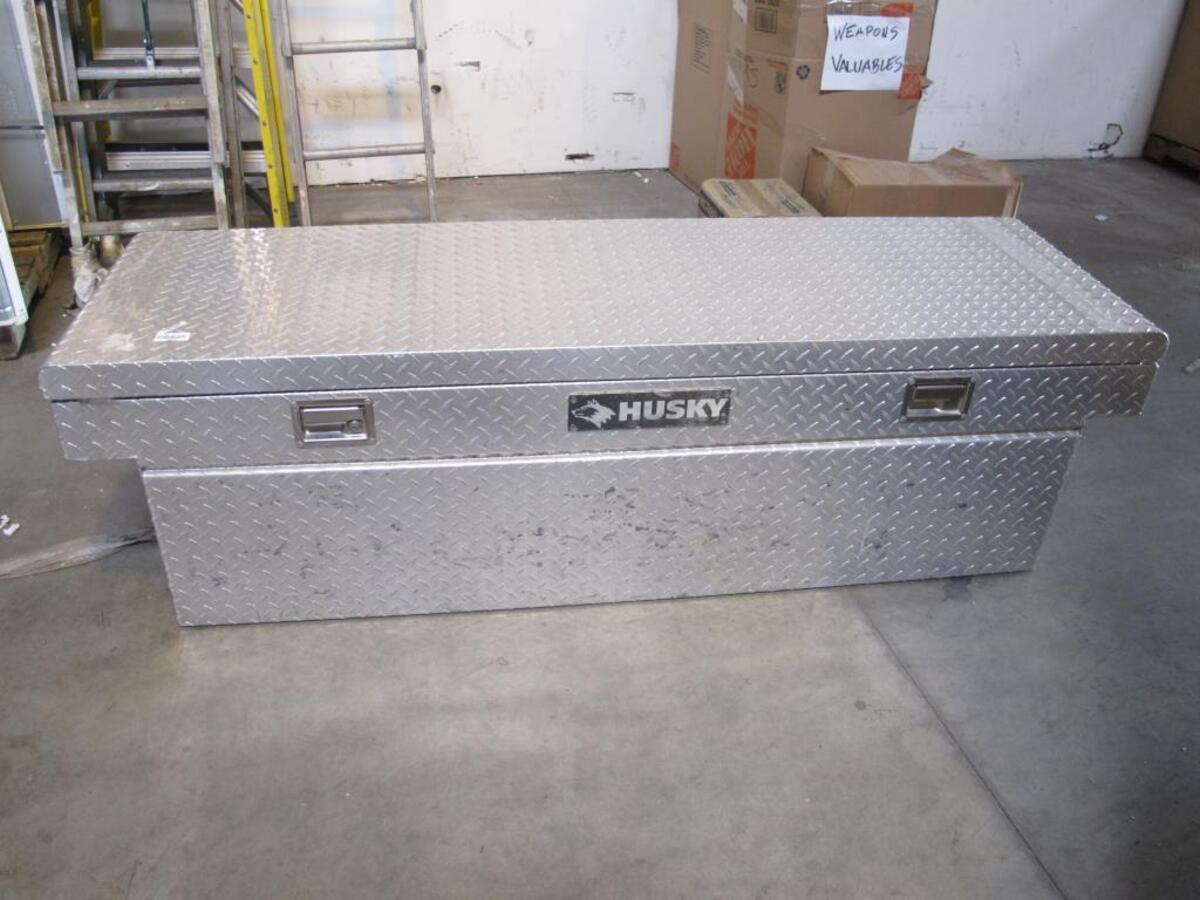
Having a Snap-on toolbox is a valuable asset for any technician or DIY enthusiast. However, what if you find yourself without the key to access your toolbox? Perhaps you misplaced it or it got lost over time. Don’t worry, there are several methods you can try to open your Snap-on tool box without a key. Whether you opt for a bypass tool, a screwdriver, a picking set, or seek professional assistance, we will guide you through the process step by step. Let’s explore these methods and get your toolbox open in no time!
Note: Before attempting any of these methods, it is important to remember that opening a tool box without a key may void any warranties or agreements you may have with Snap-on. Additionally, these methods should only be used if you have legal and rightful ownership of the tool box.
Key Takeaways:
- Don’t let a lost key lock you out of your Snap-on toolbox. From bypass tools to professional assistance, there are multiple methods to regain access and get back to your projects.
- When attempting to open a Snap-on toolbox without a key, ensure legal ownership and consider professional help if needed. With caution and the right approach, you can safely access your tools.
Read more: How To Open A Truck Tool Box Without The Key
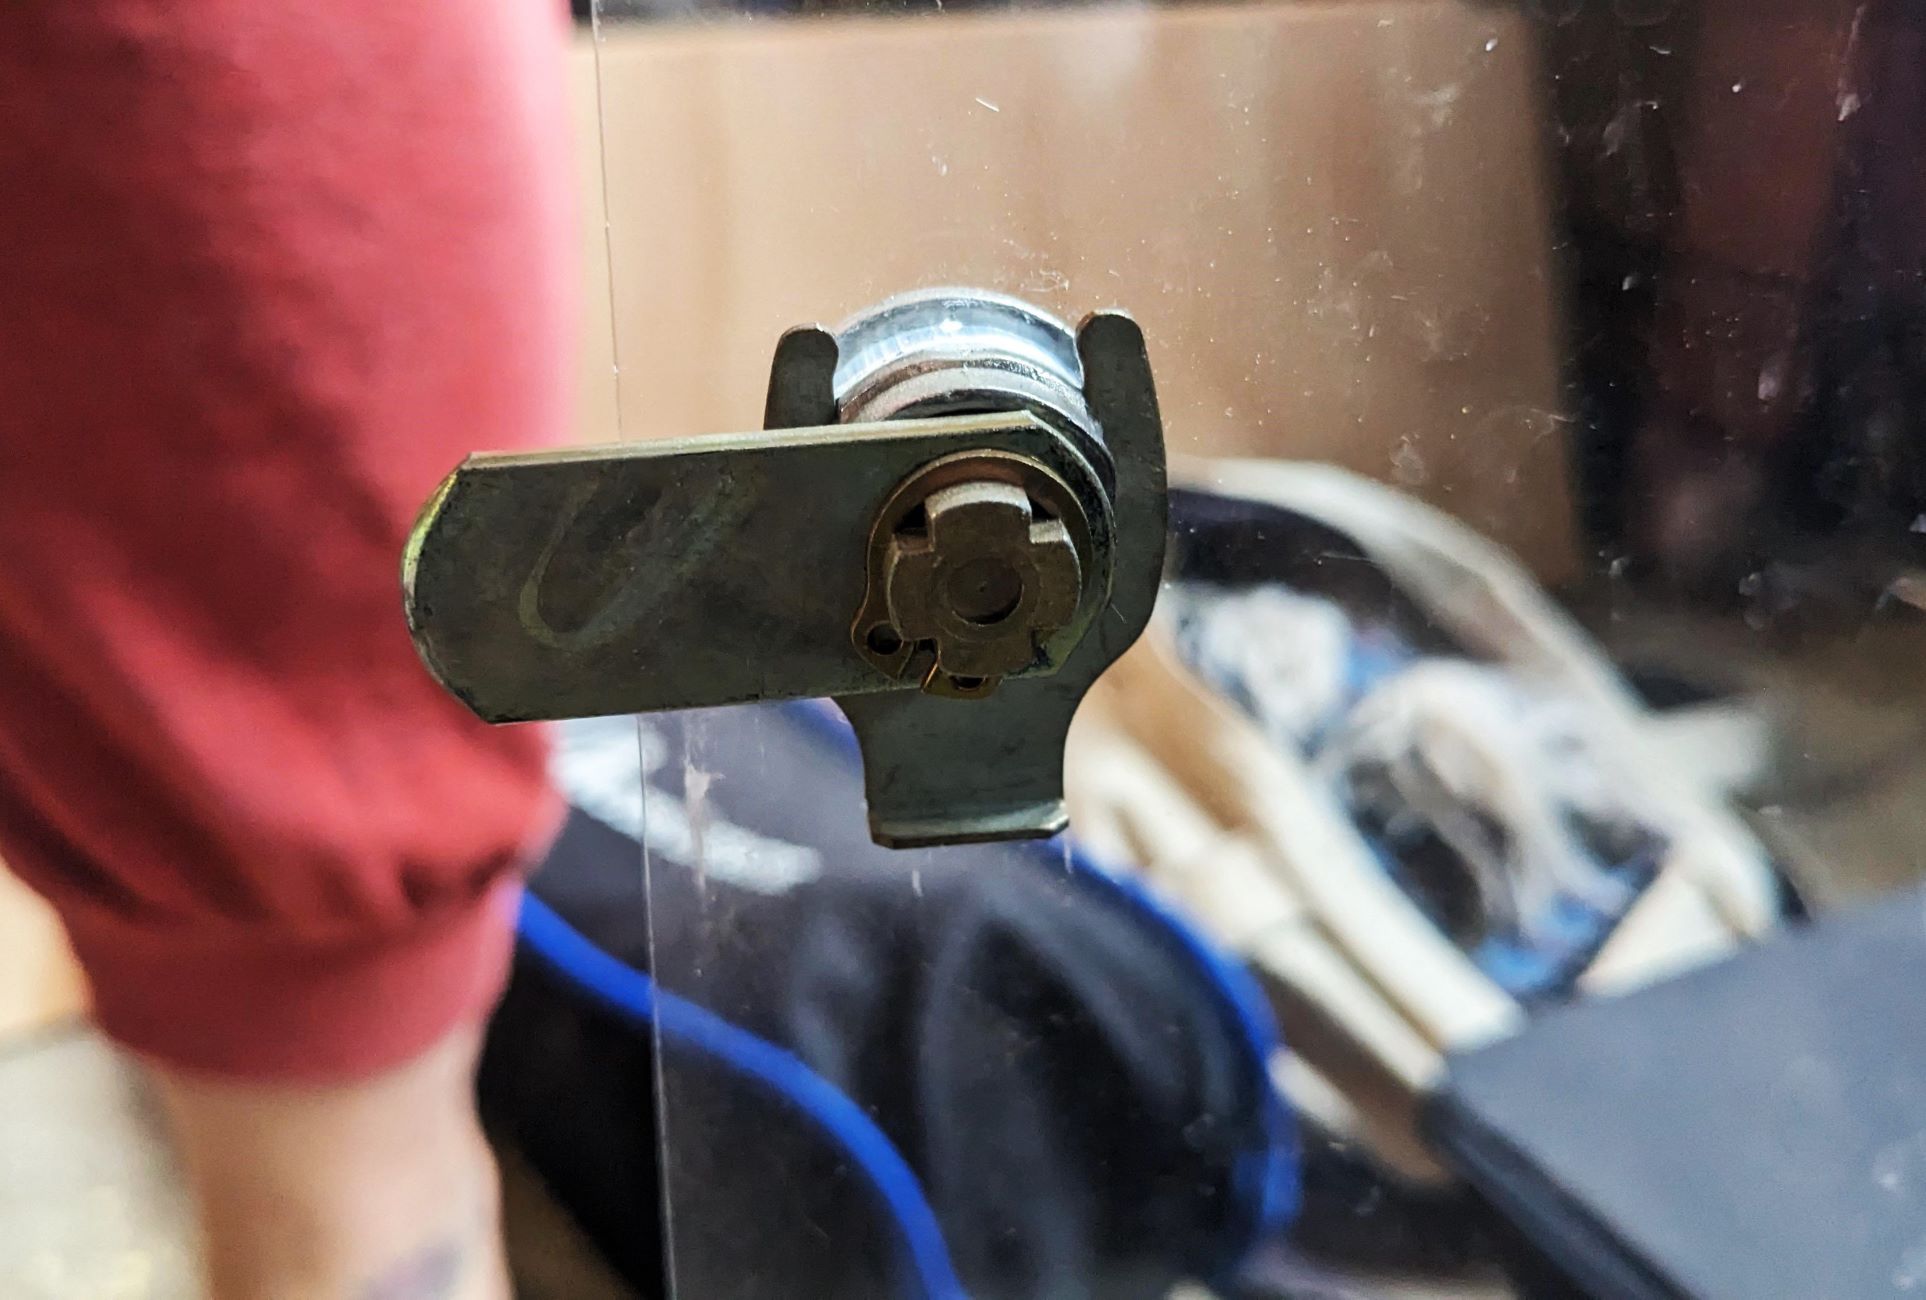
Method 1: Using a Bypass Tool
If you want to open your Snap-on tool box without a key, using a bypass tool can be an effective option. Bypass tools are designed to manipulate the locking mechanisms of various locks, including those on tool boxes.
Here is a step-by-step guide on how to open your Snap-on tool box using a bypass tool:
- Start by obtaining a bypass tool suitable for your tool box lock. There are different types of bypass tools available, such as bump keys or lockout tools. Make sure to choose the right one for your specific Snap-on tool box model.
- Insert the bypass tool into the lock slot. Gently wiggle and rotate the tool while applying slight pressure, aiming to align the tumblers inside the lock.
- Continue to manipulate the bypass tool until you hear or feel a click. This indicates that the tumblers have aligned correctly and the lock has been released.
- Once the lock is released, turn the tool box handle or latch to open it. Be cautious not to force it, as it may cause damage to the lock or the tool box itself.
It is important to note that using a bypass tool to open a tool box without a key should only be done if you have the legal right to access the contents inside. Additionally, this method may not work on all Snap-on tool box models, as some have more sophisticated locking mechanisms that are resistant to bypass tools.
If you are unsure or uncomfortable attempting to use a bypass tool, it is recommended to skip to other methods or seek professional assistance.
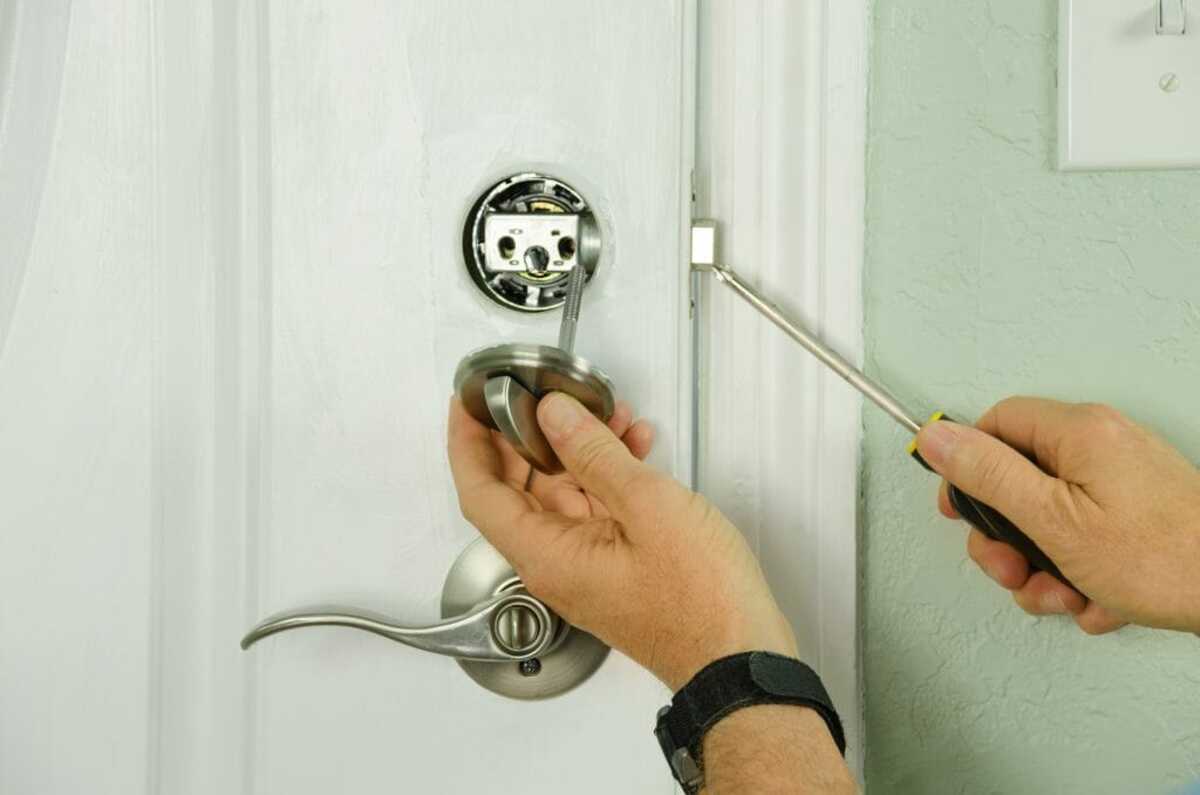
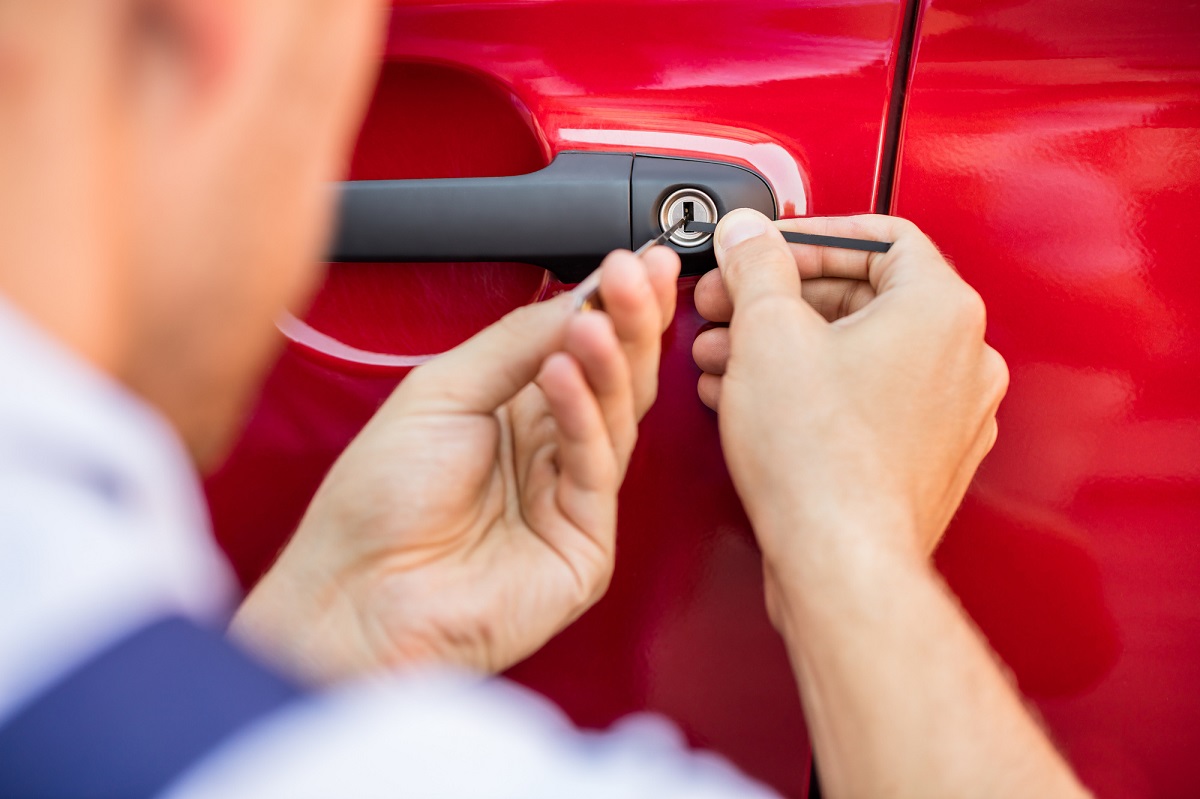
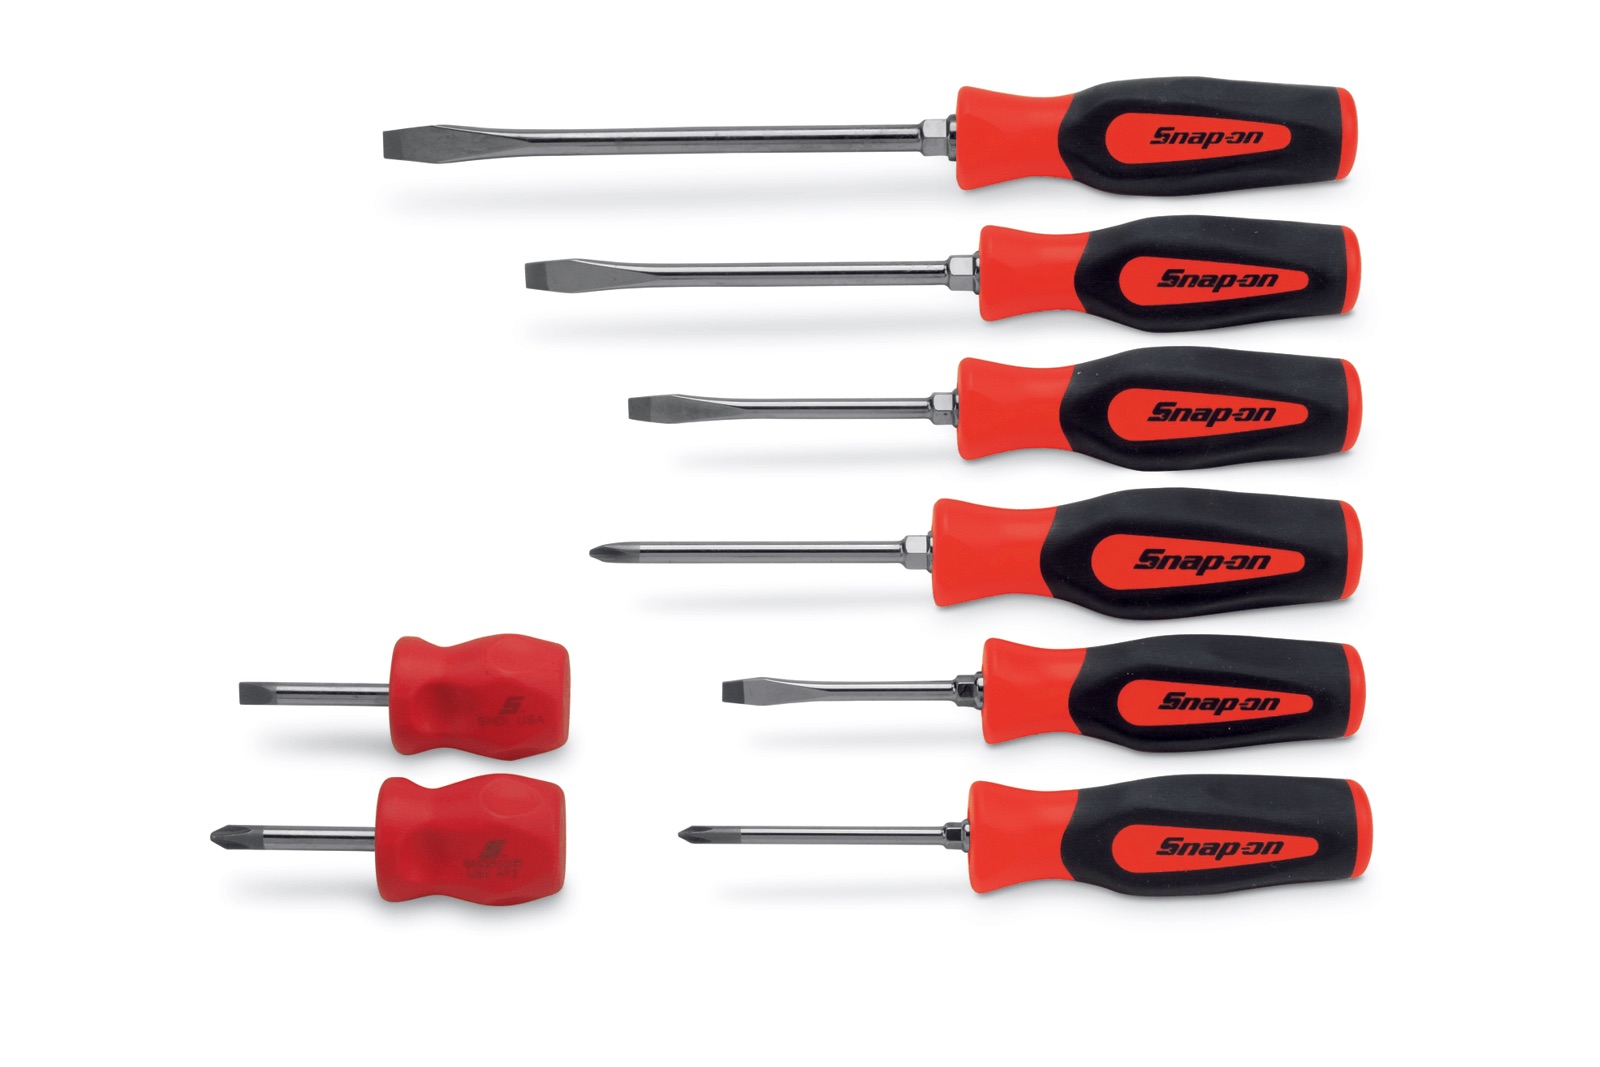
Method 2: Using a Screwdriver
If you don’t have a bypass tool at hand, another option to open your Snap-on tool box without a key is by using a screwdriver. This method involves manipulating the locking mechanism using the screwdriver to gain access.
Here is a step-by-step guide on how to open your Snap-on tool box using a screwdriver:
- Obtain a flathead screwdriver that is thin and narrow enough to fit in the keyway of the lock.
- Insert the screwdriver into the keyway at the top of the lock.
- Apply gentle pressure with the screwdriver and try to turn it as if you were using a key.
- While maintaining pressure on the screwdriver, wiggle it back and forth and apply slight rotational movements.
- Continue moving the screwdriver until you feel or hear a click, indicating that the tumblers inside the lock have aligned.
- Once you hear the click, turn the screwdriver in the direction that would unlock the tool box.
- With the pressure still applied, try to lift or push the latch mechanism to release the lock and open the tool box.
It’s worth noting that this method may not work on all Snap-on tool box models, especially ones with more sophisticated locking mechanisms. Additionally, attempting to open a tool box with a screwdriver may cause damage to the lock or the tool box itself, so exercise caution and only proceed if you have legal ownership of the tool box.
If you’re unsure about using a screwdriver or prefer a more reliable method, continue reading as we discuss using a picking set in the next section.
If you’ve lost the key to your Snap On tool box, try using a flathead screwdriver to gently pry open the lock. Be careful not to damage the lock or the box.
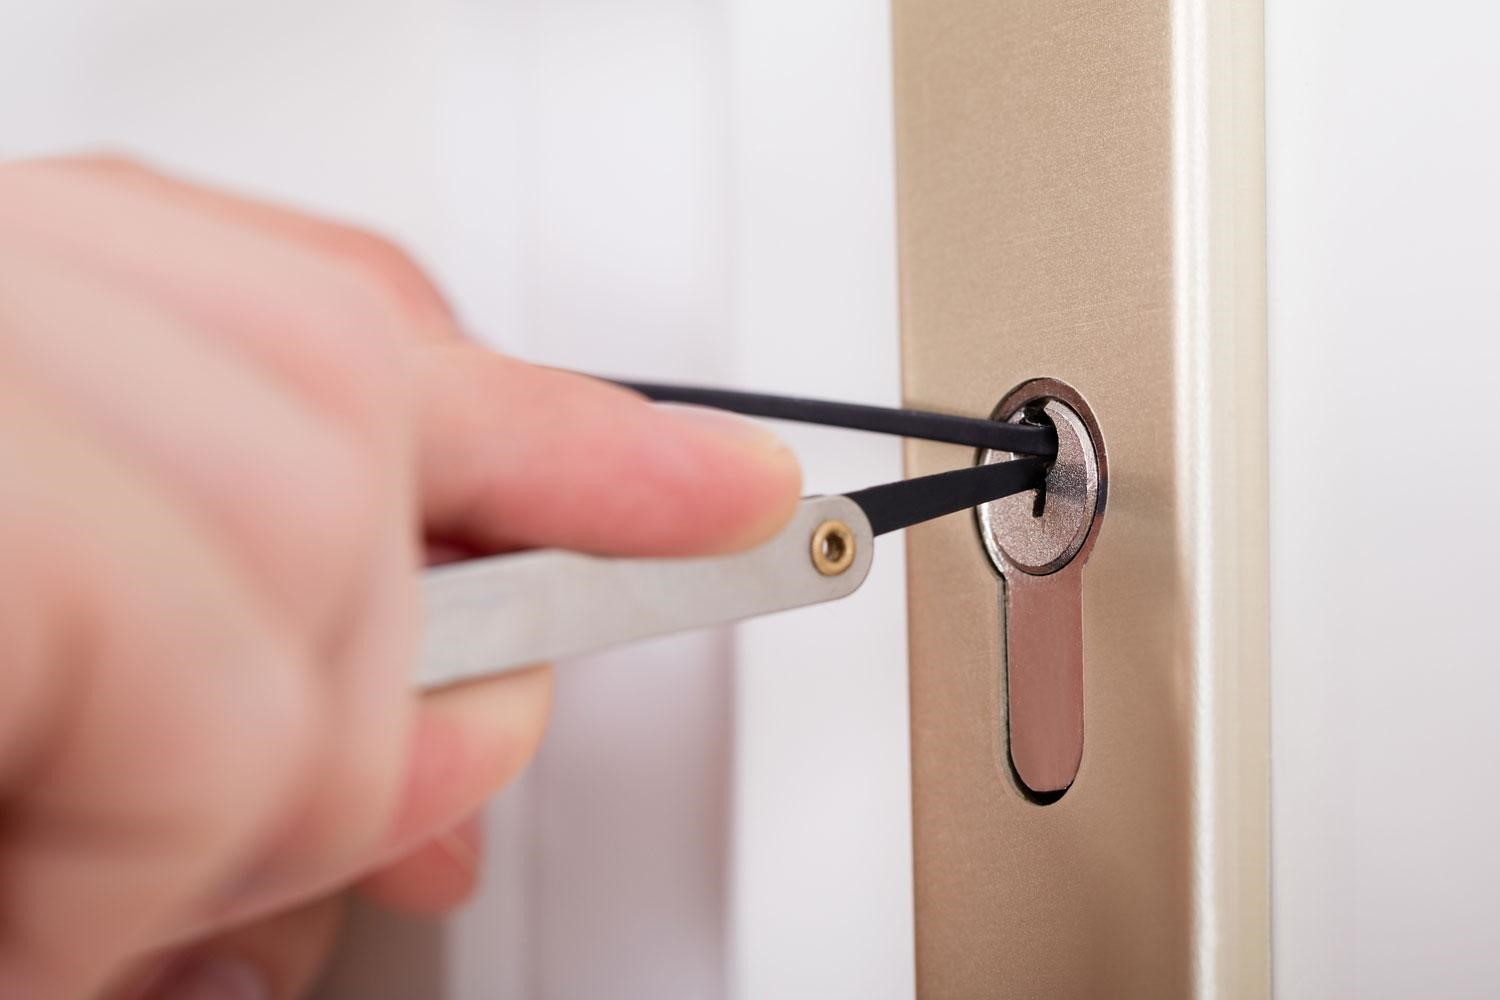
Method 3: Using a Picking Set
If you’re looking for a more advanced method to open your Snap-on tool box without a key, using a picking set might be a suitable option. Picking sets are specialized tools designed to manipulate the internal components of locks, allowing you to unlock them without a key.
Here is a step-by-step guide on how to open your Snap-on tool box using a picking set:
- Acquire a picking set with various tools, such as hooks, rakes, and tension wrenches. These tools will be used to manipulate the pins inside the lock.
- Insert the tension wrench into the keyway at the bottom of the lock, applying a slight rotational force in the direction that would unlock the tool box.
- Select a picking tool from your set and insert it above the tension wrench, positioning it in line with the pins inside the lock.
- Apply gentle upward pressure on the pins with the picking tool while maintaining rotational force with the tension wrench.
- Move the picking tool along the pins, lightly pushing and lifting them to manipulate the lock mechanism.
- Continue this process, feeling for feedback from the pins as they align and release.
- Once the pins have aligned and the lock has released, turn the tension wrench further in the unlocking direction.
- With the pressure still applied, try to lift or push the latch mechanism to release the lock and open the tool box.
Using a picking set requires a certain level of skill and patience. It’s essential to practice this technique before attempting it on your Snap-on tool box, as improper use can damage the lock or render it inoperable. Additionally, as with other methods, make sure you have the legal right to open the tool box before proceeding.
While picking a lock can be an effective method, it’s best to seek professional assistance if you’re unsure or uncomfortable with the process, as they have the expertise and tools to open the tool box without causing any damage.
Method 4: Seeking Professional Assistance
If you’ve tried the previous methods and still haven’t been able to open your Snap-on tool box without a key, or if you’re uncomfortable attempting any DIY methods, seeking professional assistance is a reliable and safe option. Locksmiths and professionals experienced in handling locks can help you gain access to your tool box without causing any damage.
Here are the steps to follow when seeking professional assistance:
- Research and find reputable locksmiths or professionals in your area who specialize in lockouts and tool box openings.
- Contact them and explain your situation, including the make and model of your Snap-on tool box.
- Schedule an appointment for them to assess the situation and provide a quote for their services.
- Once they arrive, they will utilize their expertise and specialized tools to open the tool box without a key.
Professional assistance ensures that your Snap-on tool box is opened safely and without any damage to the lock or the tool box itself. While it might incur some costs, it is a reliable and risk-free option.
Remember, if you’re accessing a tool box that doesn’t belong to you or if you’re uncertain about the legal ownership, it’s important to have proper authorization or the owner’s consent before seeking professional assistance.
By following these methods, you can successfully open your Snap-on tool box without a key. However, it’s crucial to exercise caution, ensure legal ownership, and consider professional assistance if necessary. Once your tool box is unlocked, you can get back to utilizing your valuable tools and resume your projects with ease.
Read more: How Much Is A Snap On Tool Box
Conclusion
Opening a Snap-on tool box without a key can be a daunting task, but there are several methods you can try to regain access. Whether you choose to use a bypass tool, a screwdriver, a picking set, or seek professional assistance, it’s important to approach the situation with caution and only proceed if you have legal ownership of the tool box.
Using a bypass tool can be an effective option, but it’s crucial to ensure that you have the right tool for your specific Snap-on tool box model. With the proper tool, you can manipulate the lock’s tumblers and successfully open the tool box.
If a bypass tool is not available to you, using a screwdriver can be a viable alternative. By applying gentle pressure and rotational movements, you may be able to release the lock mechanism and open the tool box.
For a more advanced approach, using a picking set can provide the ability to manipulate the internal components of the lock. However, this method requires practice and skill, so exercise caution and consider seeking professional assistance if needed.
Speaking of professional assistance, locksmiths and professionals experienced in handling locks can offer their expertise in opening your tool box without causing damage. This is a reliable and safe option, especially if you’re unsure or uncomfortable attempting the DIY methods.
Remember, when attempting any of these methods or seeking professional help, make sure you have legal ownership of the tool box and follow all applicable laws and regulations. Opening a tool box without proper authorization may have legal consequences.
In conclusion, while losing the key to your Snap-on tool box may seem like a setback, it doesn’t have to be. With the right approach and methodology, you can regain access to your valuable tools and continue your work without interruption.
Frequently Asked Questions about How To Open Snap-On Tool Box Without Key
Was this page helpful?
At Storables.com, we guarantee accurate and reliable information. Our content, validated by Expert Board Contributors, is crafted following stringent Editorial Policies. We're committed to providing you with well-researched, expert-backed insights for all your informational needs.
0 thoughts on “How To Open Snap-On Tool Box Without Key”