Home>Home Security and Surveillance>How To Open A Blink Outdoor Camera
Home Security and Surveillance
How To Open A Blink Outdoor Camera
Modified: March 6, 2024
Learn how to open a Blink Outdoor camera for your home security and surveillance needs. Ensure easy installation and setup with our step-by-step guide.
(Many of the links in this article redirect to a specific reviewed product. Your purchase of these products through affiliate links helps to generate commission for Storables.com, at no extra cost. Learn more)
Introduction
Welcome to this comprehensive guide on how to open and set up a Blink Outdoor camera. As home security and surveillance become increasingly important, it’s crucial to have a reliable and efficient monitoring system in place. The Blink Outdoor camera is a popular choice, known for its easy installation process and impressive features.
Whether you’re a tech-savvy enthusiast or a beginner, this step-by-step guide will walk you through the process of opening the Blink Outdoor camera and getting it up and running in no time. So let’s dive in and explore how to make the most of this powerful security device.
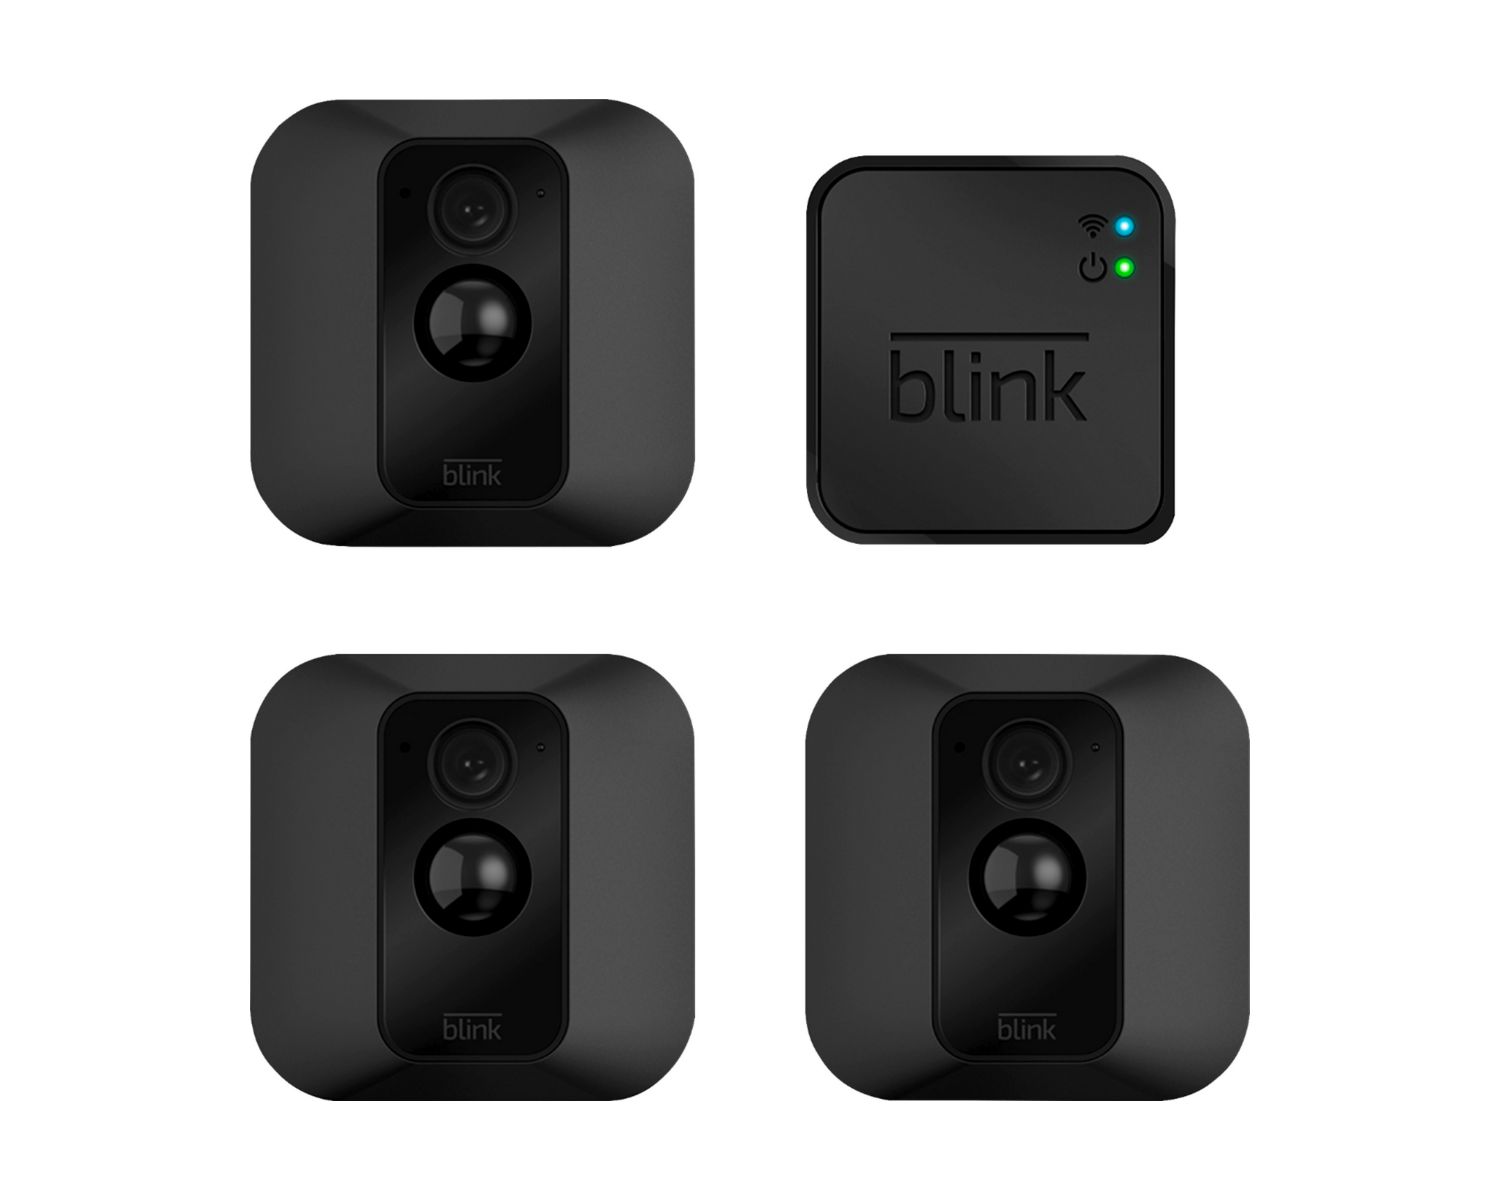
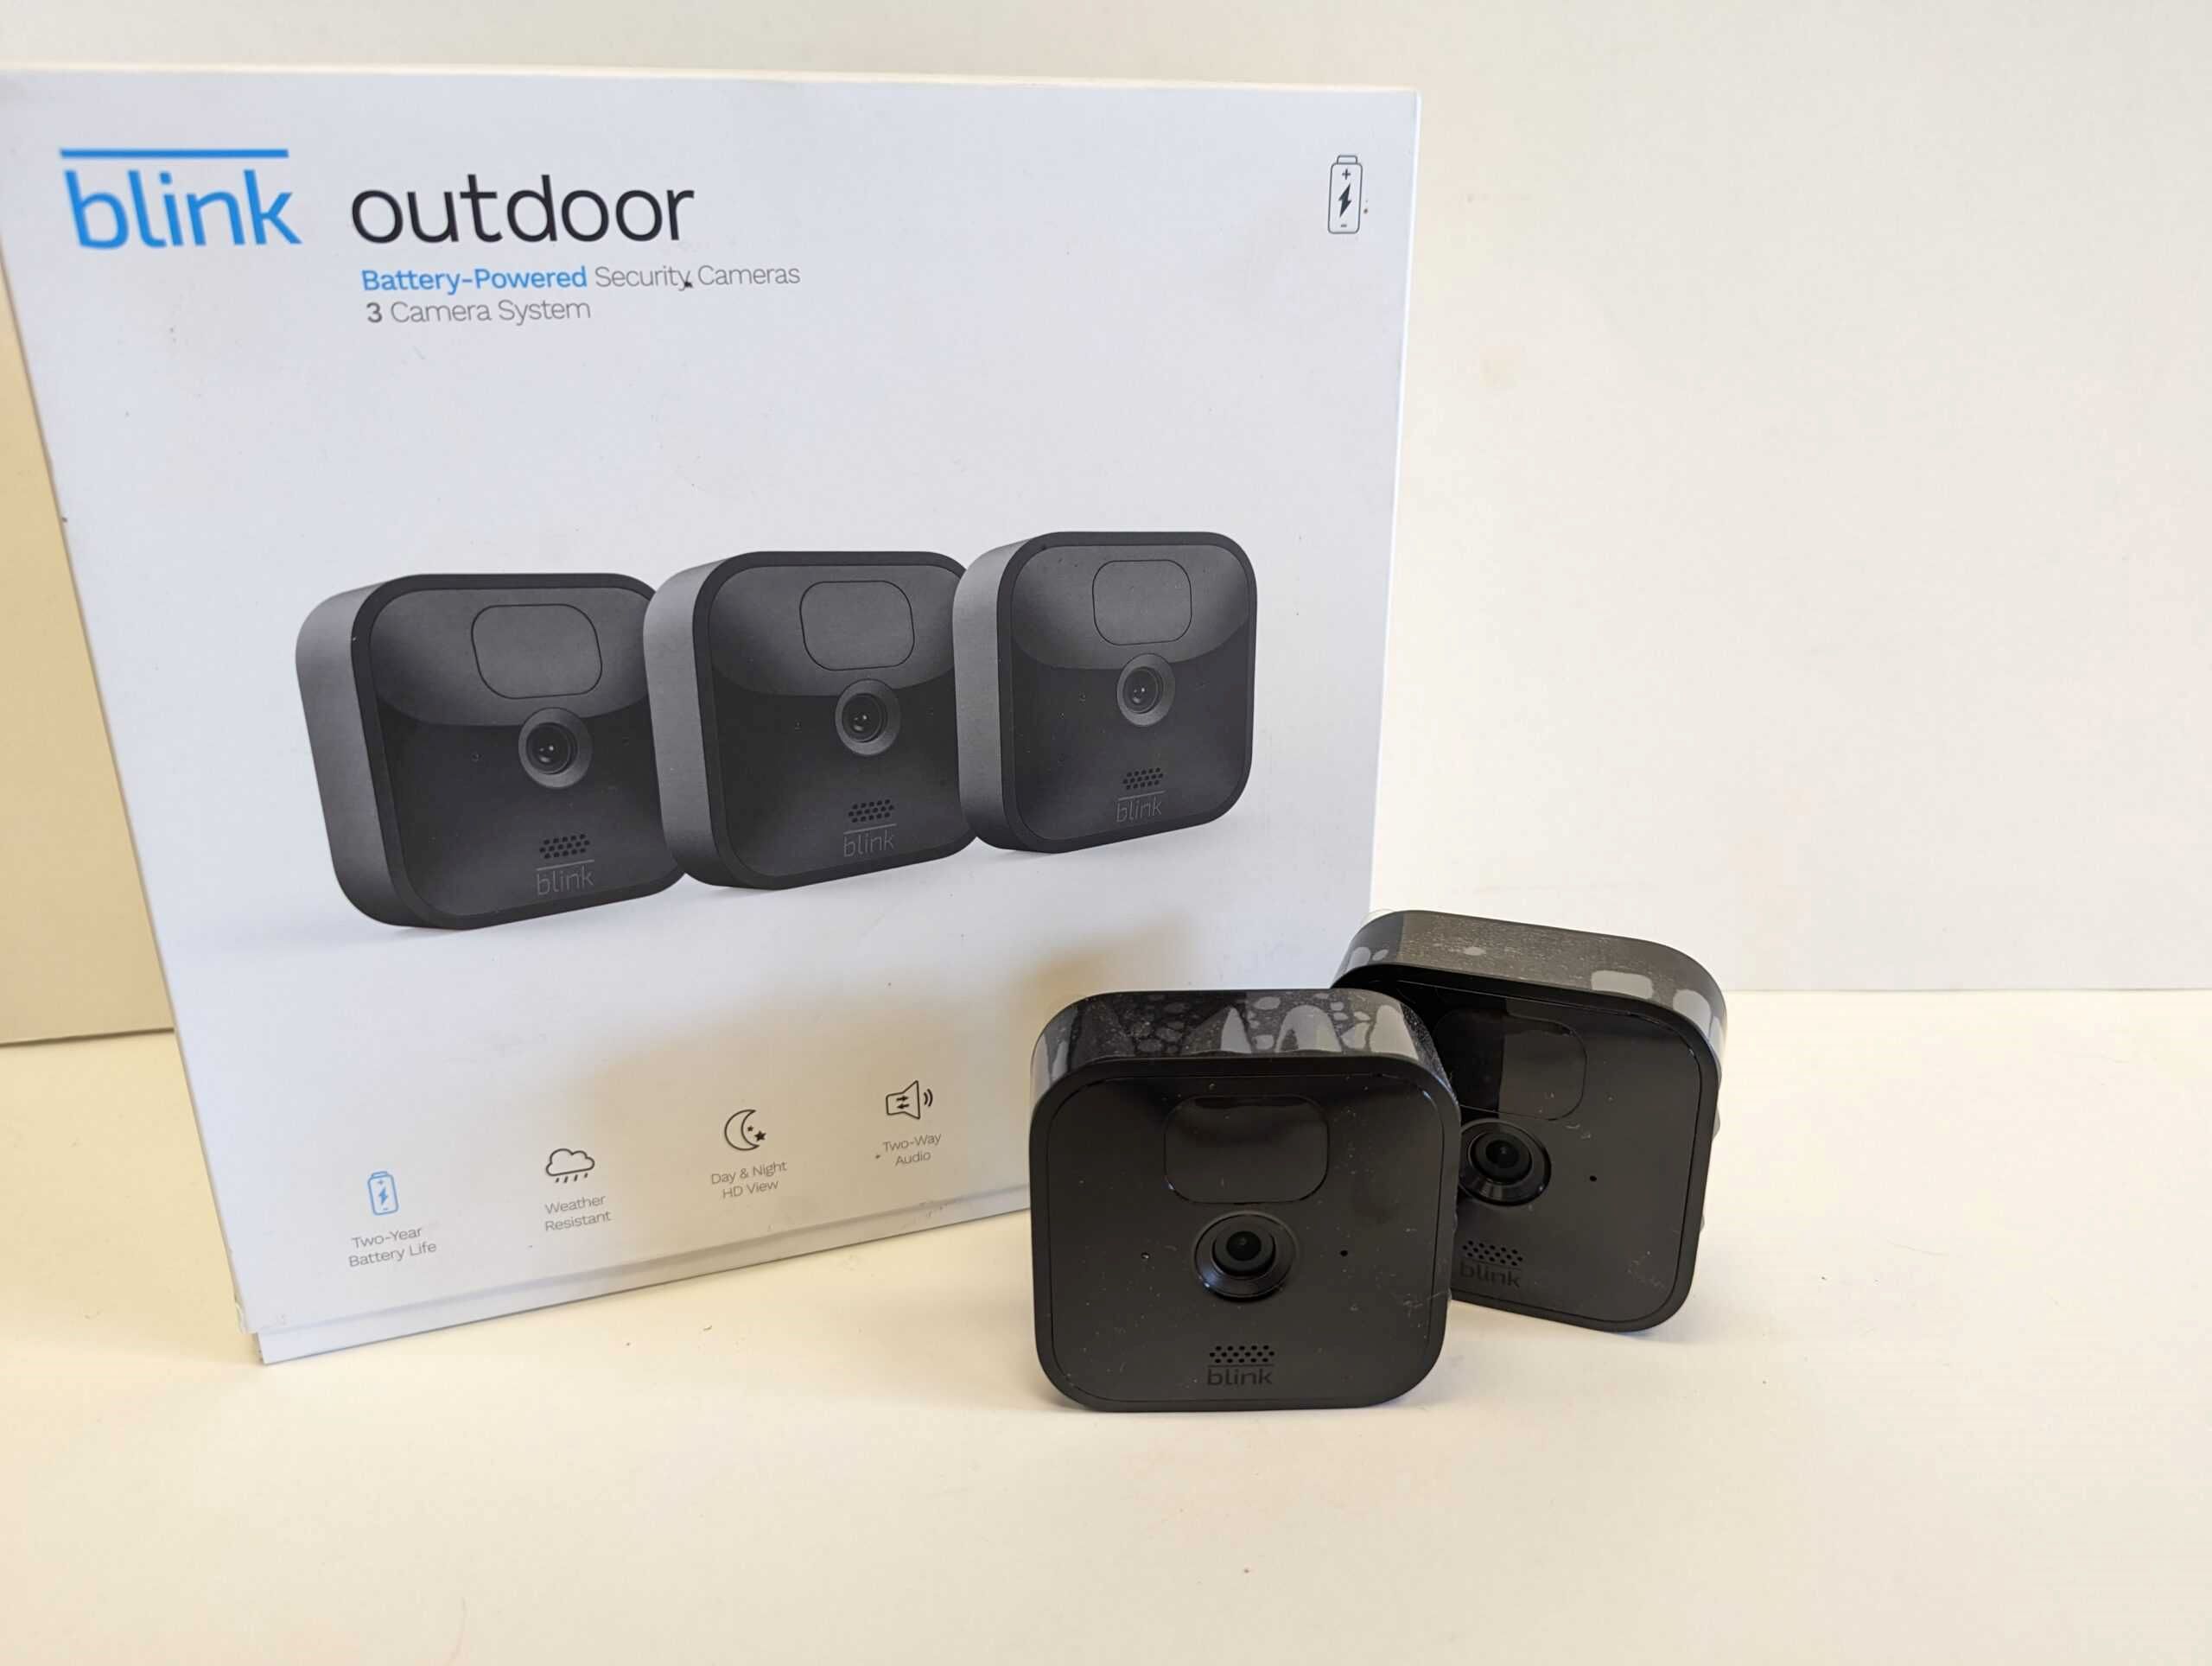
Before we begin, make sure you have all the necessary materials handy. For the Blink Outdoor camera setup, you’ll need:
- Blink Outdoor camera
- Mounting hardware
- Power cable
- Wi-Fi network credentials
- Mobile device with the Blink app installed
Once you have everything ready, let’s move on to the first step of opening the Blink Outdoor camera.
Key Takeaways:
- Setting up a Blink Outdoor camera is easy! Just gather the materials, choose the right location, and follow the step-by-step guide to mount, power on, and connect the camera. Then, adjust the settings and test its functionality for reliable home security.
- The Blink Outdoor camera offers motion detection, two-way audio, and high-quality video recording. By following the guide, you can ensure your camera is ready to keep your home safe and secure, providing peace of mind and convenience.
Read more: How To Unscrew Blink Outdoor Camera
Step 1: Gather the Necessary Materials
Before you start setting up your Blink Outdoor camera, it’s important to gather all the necessary materials. This will ensure a smooth and hassle-free installation process. Here’s a quick checklist of what you’ll need:
- Blink Outdoor camera: This is the main device that will capture and record video footage.
- Mounting hardware: The Blink Outdoor camera comes with a mounting bracket and screws for easy installation.
- Power cable: The camera needs to be connected to a power source for uninterrupted operation. The power cable is usually included in the package.
- Wi-Fi network credentials: You’ll need the SSID (network name) and password of your Wi-Fi network to connect the camera to the internet.
- Mobile device: Ensure that you have a smartphone or tablet with the Blink app installed. This app is available for both Android and iOS devices.
Once you have gathered all these materials, you are ready to move on to the next step of the Blink Outdoor camera setup process. Keep them within reach so that you can easily access them during the installation.
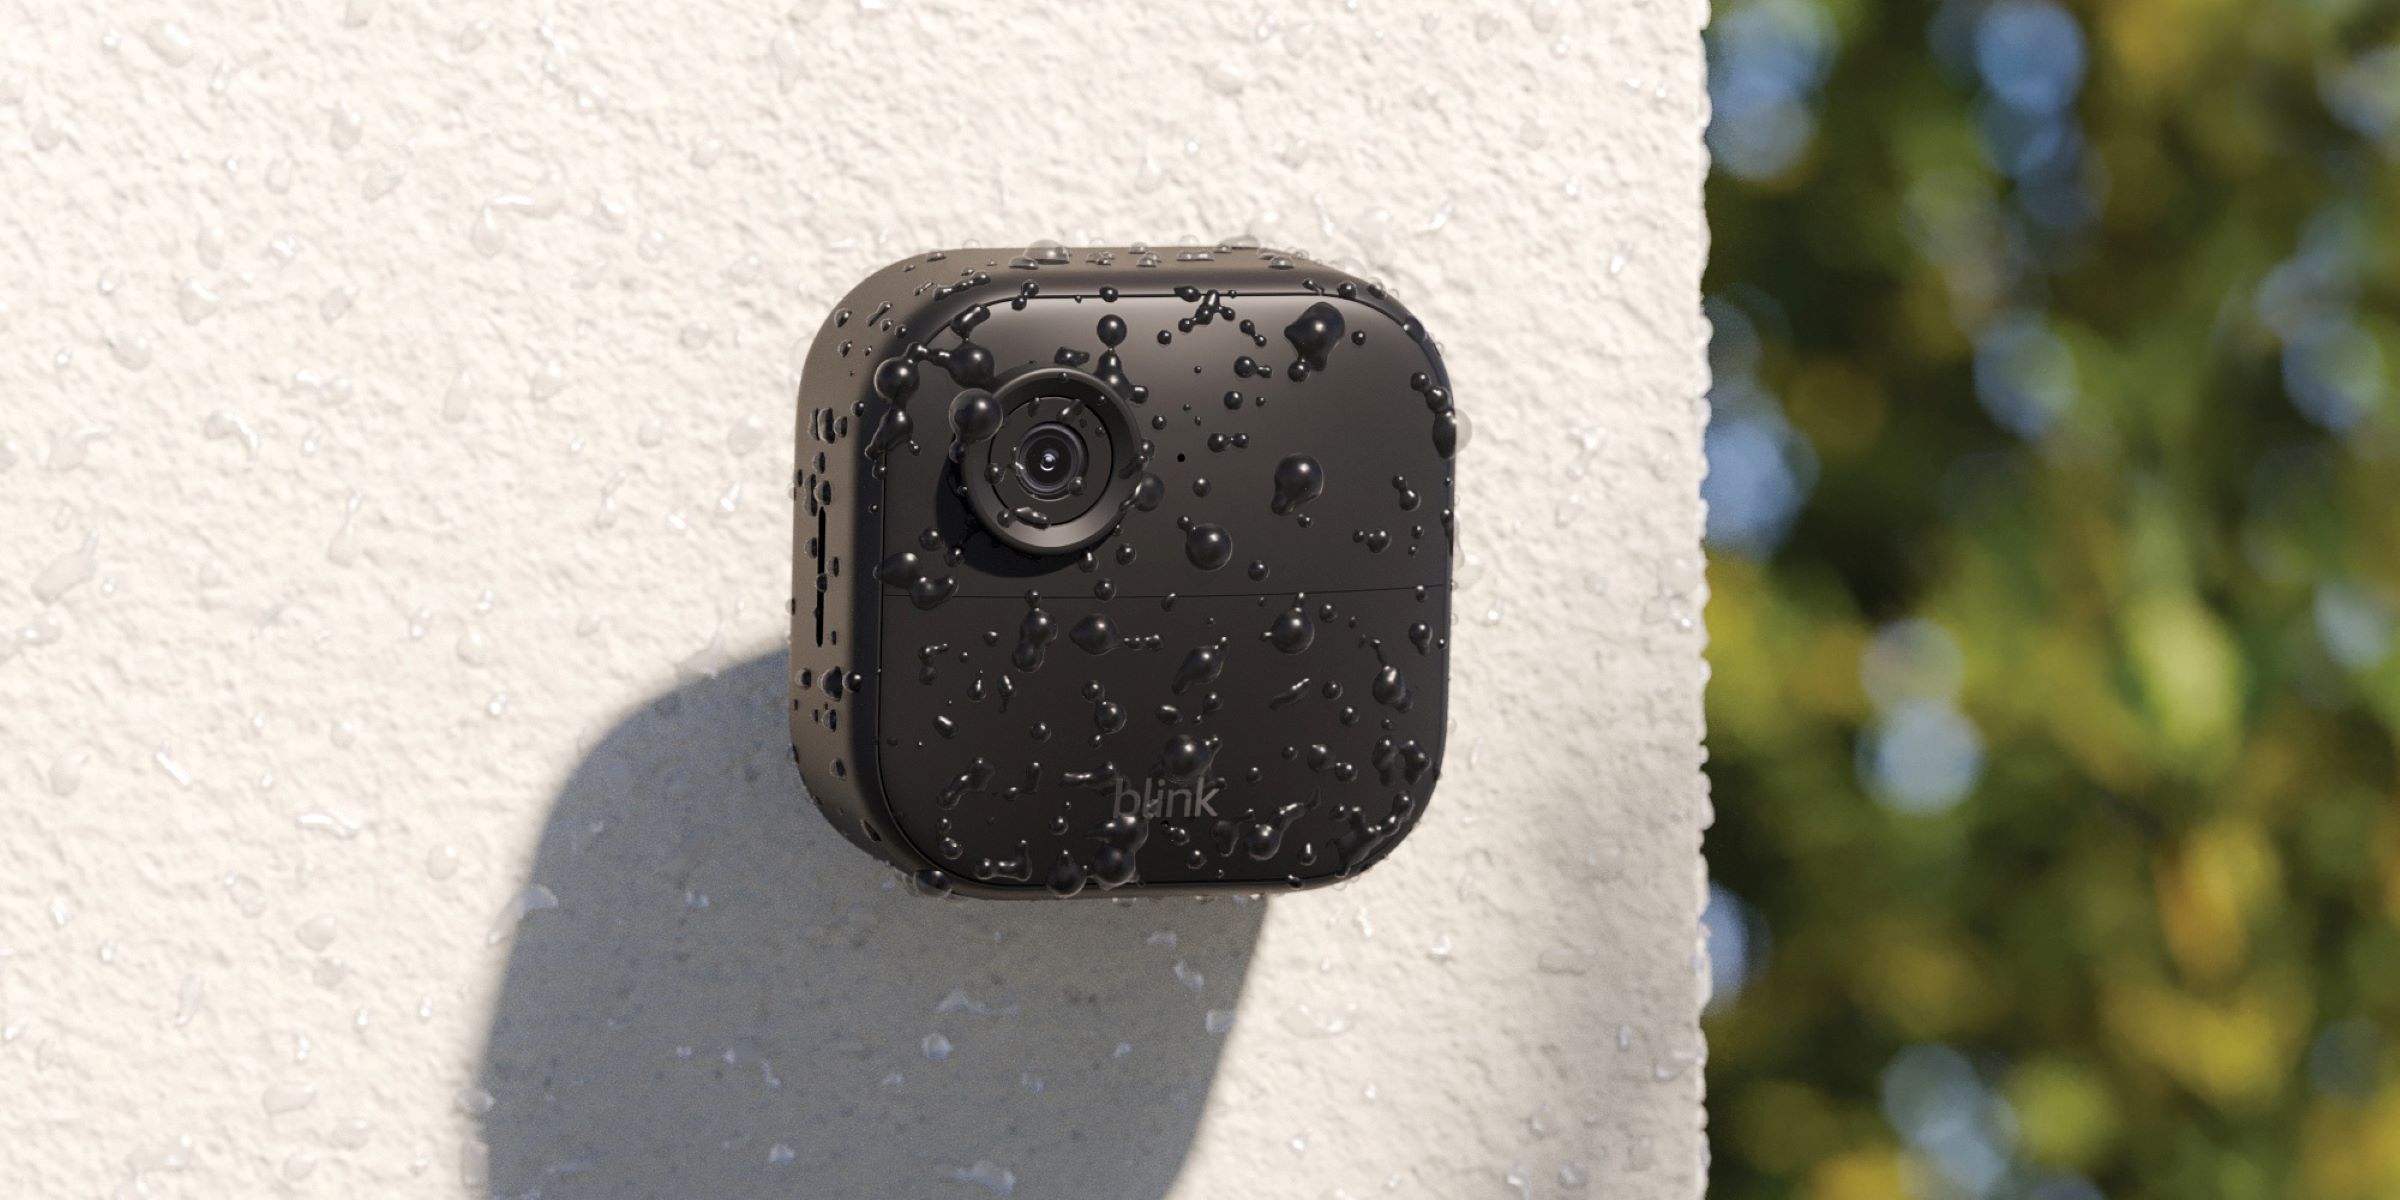
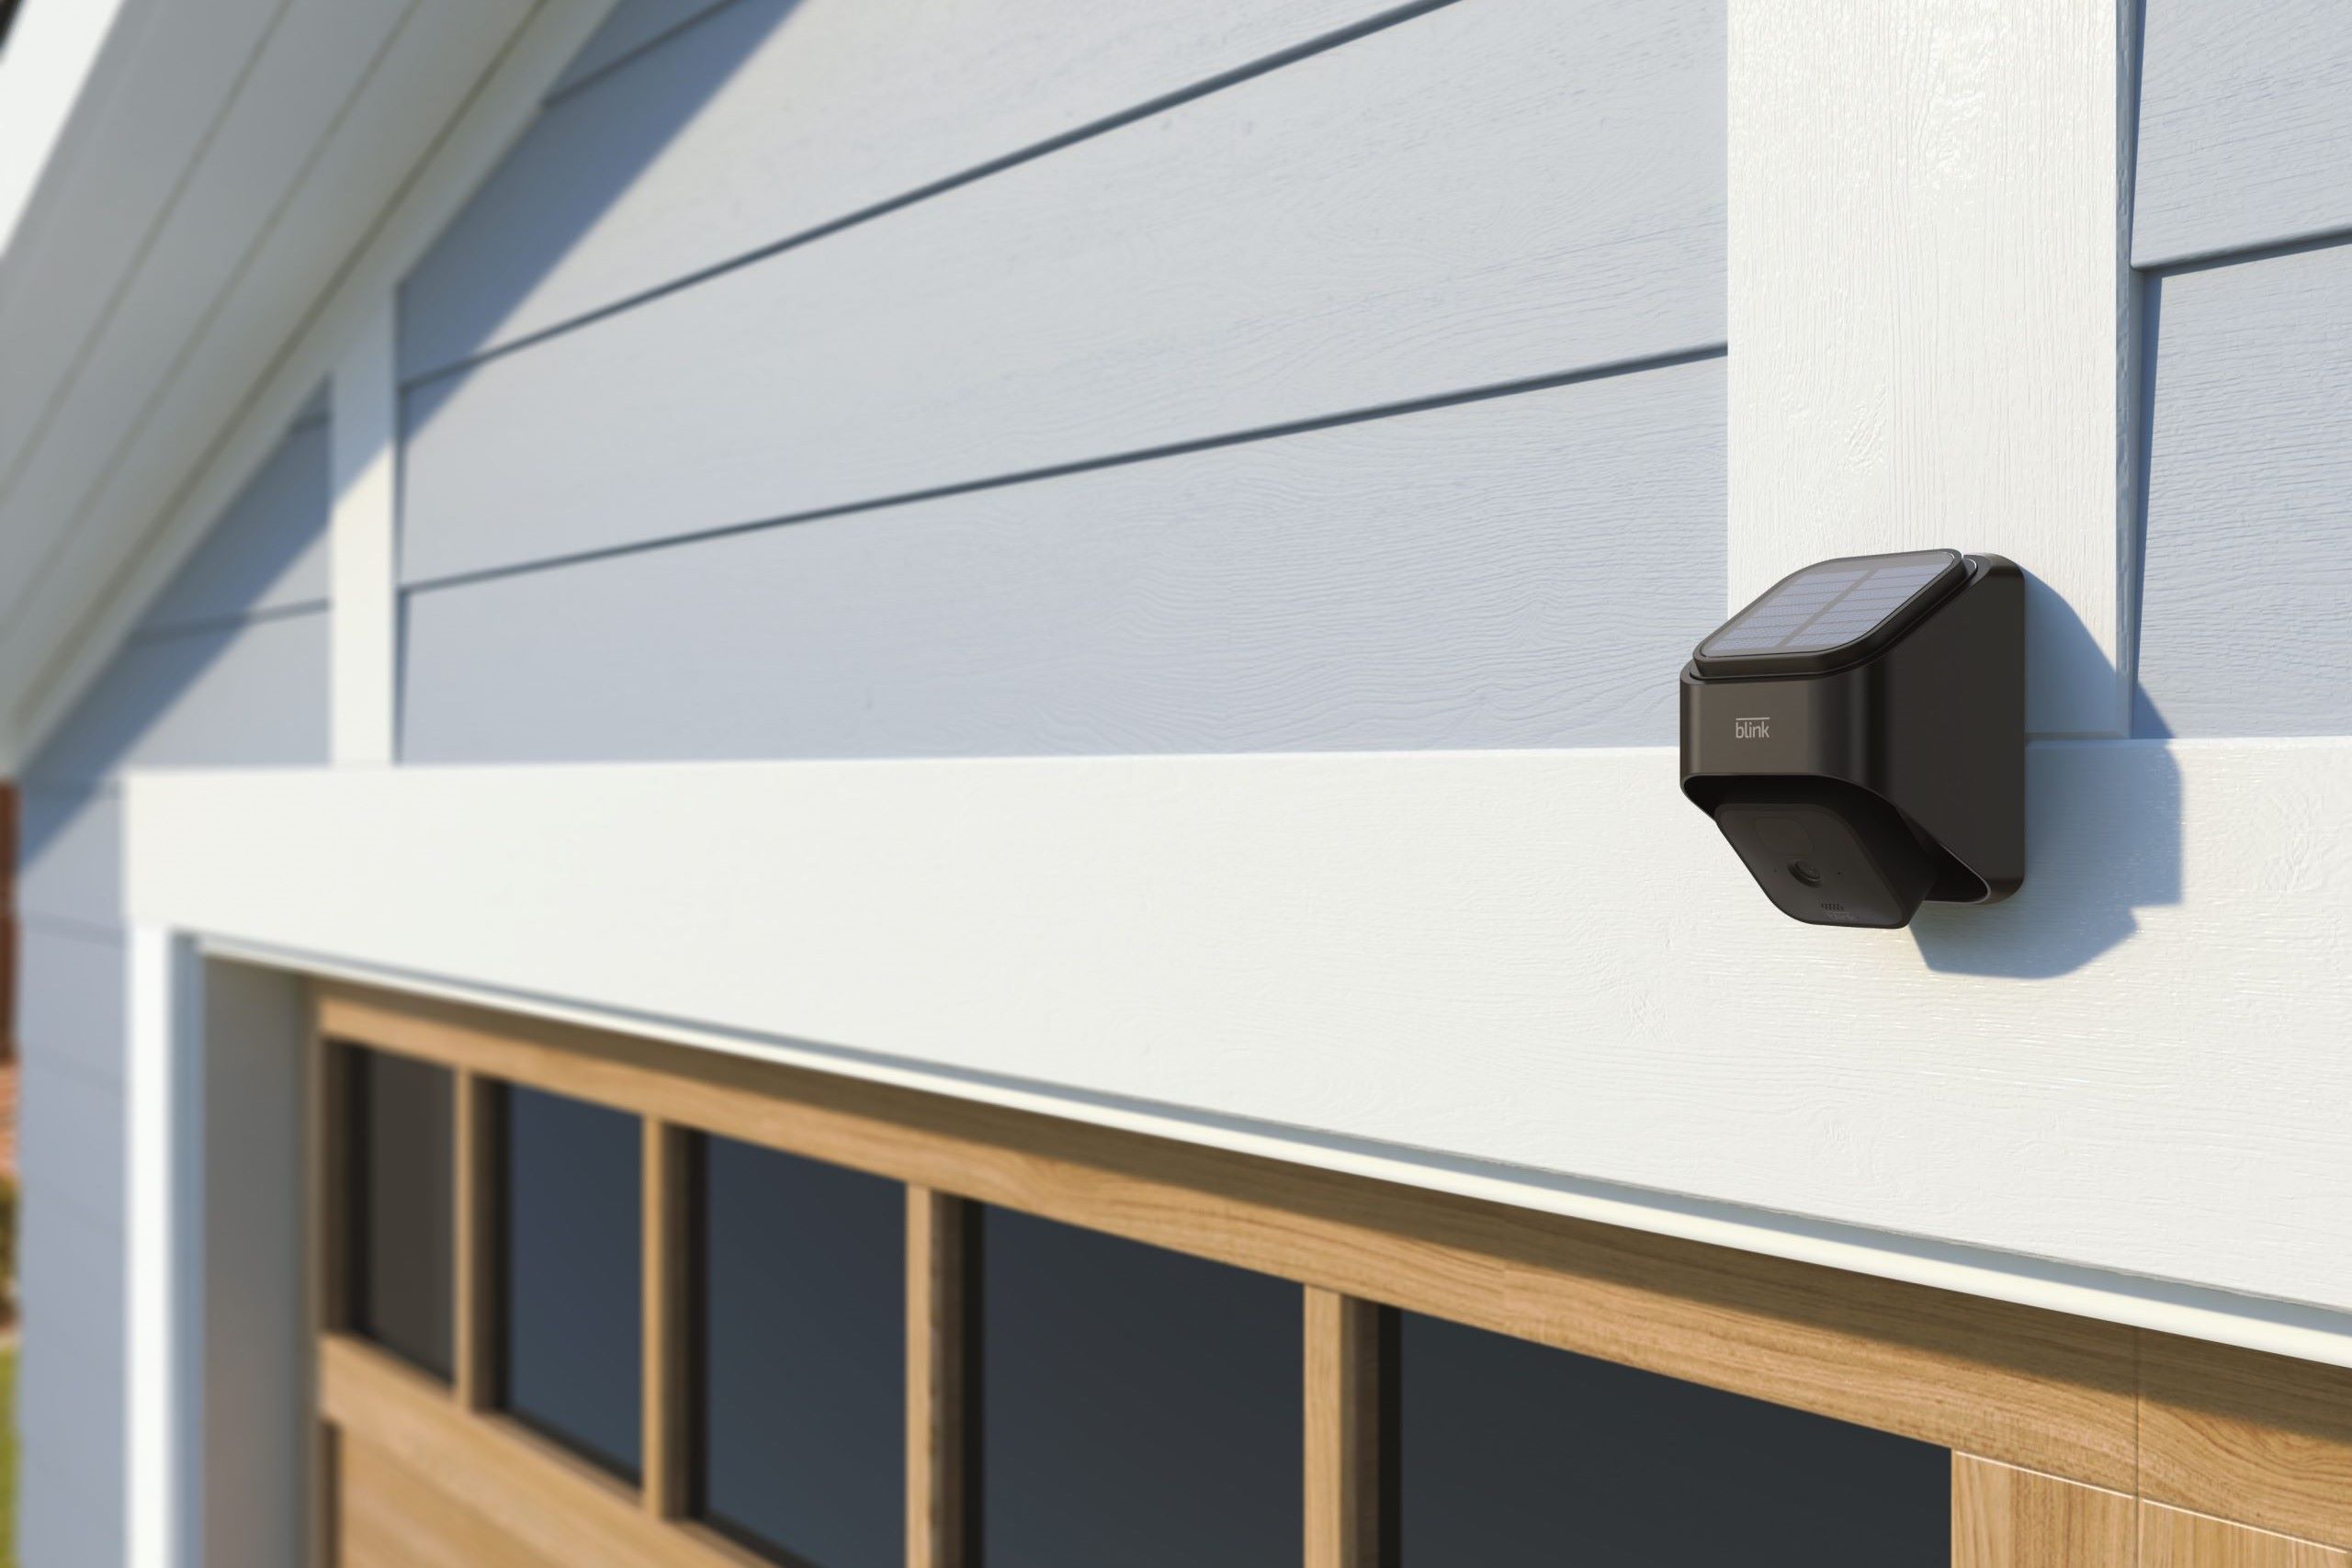
It’s worth noting that the Blink Outdoor camera is designed for outdoor use, which means it is rugged and weatherproof. However, to ensure longevity and optimal performance, it’s recommended to install the camera in a sheltered area, away from direct exposure to rain, snow, and extreme temperatures.
Now that you have all the necessary materials in hand, let’s proceed to step 2 and choose the right location for your Blink Outdoor camera.
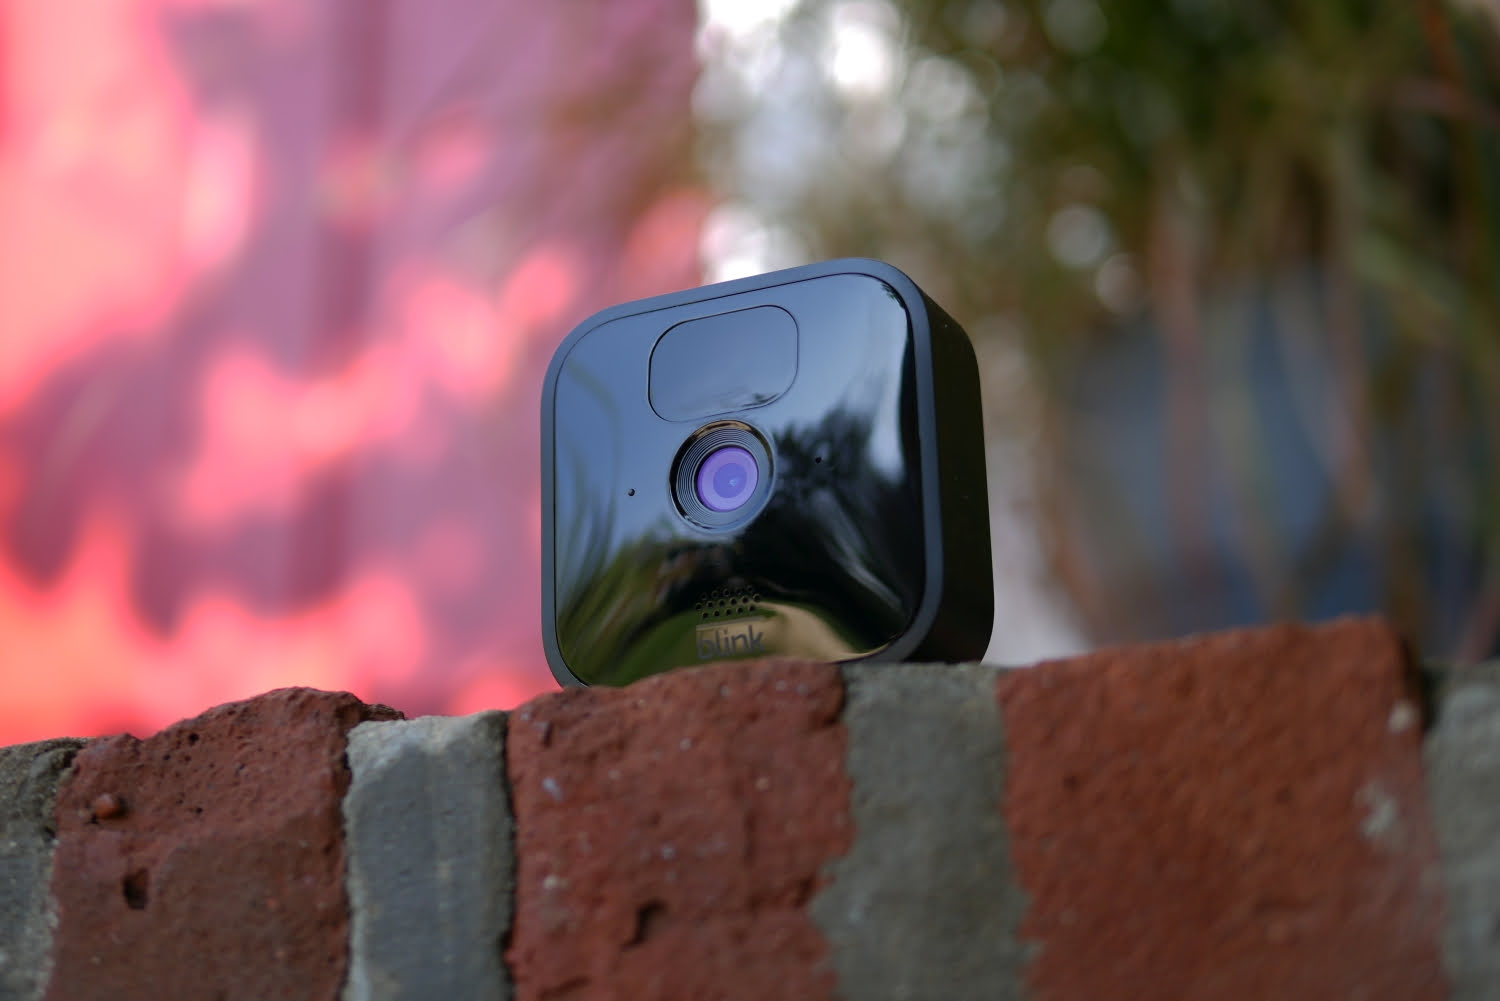
Step 2: Choose the Right Location
Choosing the right location for your Blink Outdoor camera is crucial to maximize its effectiveness and ensure optimal coverage of your property. Here are a few key factors to consider when selecting the placement:
- Field of view: Evaluate the area you want to monitor and determine the ideal field of view for your camera. Consider the maximum distance and angle you need to capture important details.
- Obstructions: Look out for any potential obstructions such as trees, bushes, or walls that may limit the camera’s view. These obstructions can obstruct the field of view and possibly affect the camera’s performance.
- Power source: Ensure that the chosen location is within reach of a power source so that you can easily connect the camera using the power cable. If the area lacks a nearby power outlet, you may need to use an extension cord or consider alternative power options.
- Wi-Fi signal strength: It’s crucial to have a reliable Wi-Fi connection for the camera to function properly. Check the Wi-Fi signal strength in the intended location to ensure a stable connection.
- Accessibility: Consider the accessibility of the camera for future maintenance or adjustments. Choose a location that allows easy access in case you need to clean the lens or make any changes to the camera’s position.
- Security: Keep in mind the security of the camera itself. Placing it out of reach and in a less visible spot can help prevent tampering or theft.
Once you have assessed these factors and identified the ideal location for your Blink Outdoor camera, you can proceed to the next step and begin mounting the camera.
Remember, the location you choose will greatly impact the camera’s effectiveness in capturing incidents and providing reliable security surveillance. Take your time to find the most strategic spot that meets your specific needs and requirements.
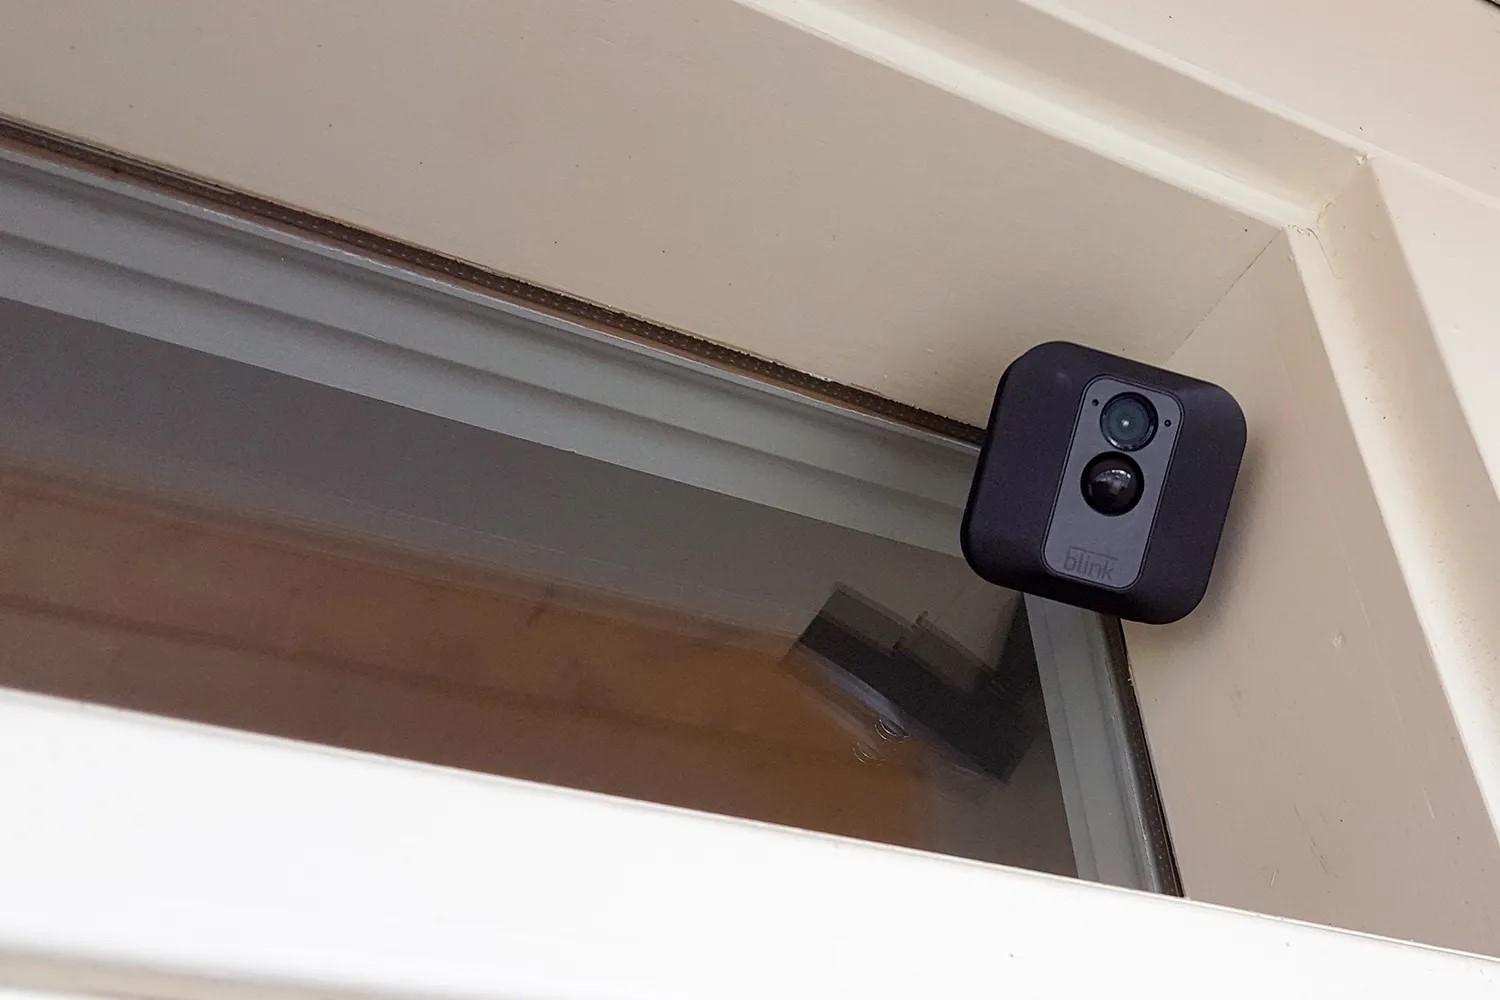
Step 3: Mounting the Camera
Now that you have chosen the right location for your Blink Outdoor camera, it’s time to mount it securely. Follow these steps to ensure a proper and sturdy installation:
- Prepare the mounting bracket: Start by attaching the mounting bracket to a wall or any other suitable surface. Use the screws provided in the package to secure it firmly in place. Make sure it is level and aligned according to your desired field of view.
- Attach the camera to the mounting bracket: After securing the mounting bracket, attach the Blink Outdoor camera to it. Align the camera’s mounting plate with the bracket and slide it into place. You will hear a click when it is securely attached.
- Adjust the camera angle: Once the camera is mounted, it’s time to adjust the angle. The Blink Outdoor camera allows for flexible positioning, so you can tilt and swivel it to capture the desired area. Experiment with different angles to find the optimal position.
When mounting the camera, keep the following tips in mind:
- Ensure that the camera is securely fixed to avoid any potential movement that might affect the video footage.
- Position the camera at a height that is both convenient for installation and provides optimal coverage of the area.
- Double-check the alignment and stability of the camera after mounting to ensure it is properly secured.
- Consider using a separate cover or enclosure if you are mounting the camera in an area prone to harsh weather conditions.
By following these steps and tips, you can ensure that your Blink Outdoor camera is mounted safely and accurately. Now that the camera is in place, it’s time to power it on and connect it to your Wi-Fi network, which we will cover in the next step.
Step 4: Powering On the Camera
Now that you have successfully mounted your Blink Outdoor camera, it’s time to power it on. Follow these steps to ensure a smooth and successful power-up process:
- Locate the power cable: Take the power cable included in the package and plug one end into the power input port on the bottom of the camera.
- Connect to a power source: Connect the other end of the power cable to a nearby power outlet or an extension cord if needed. Ensure that the power source is reliable and provides a stable power supply.
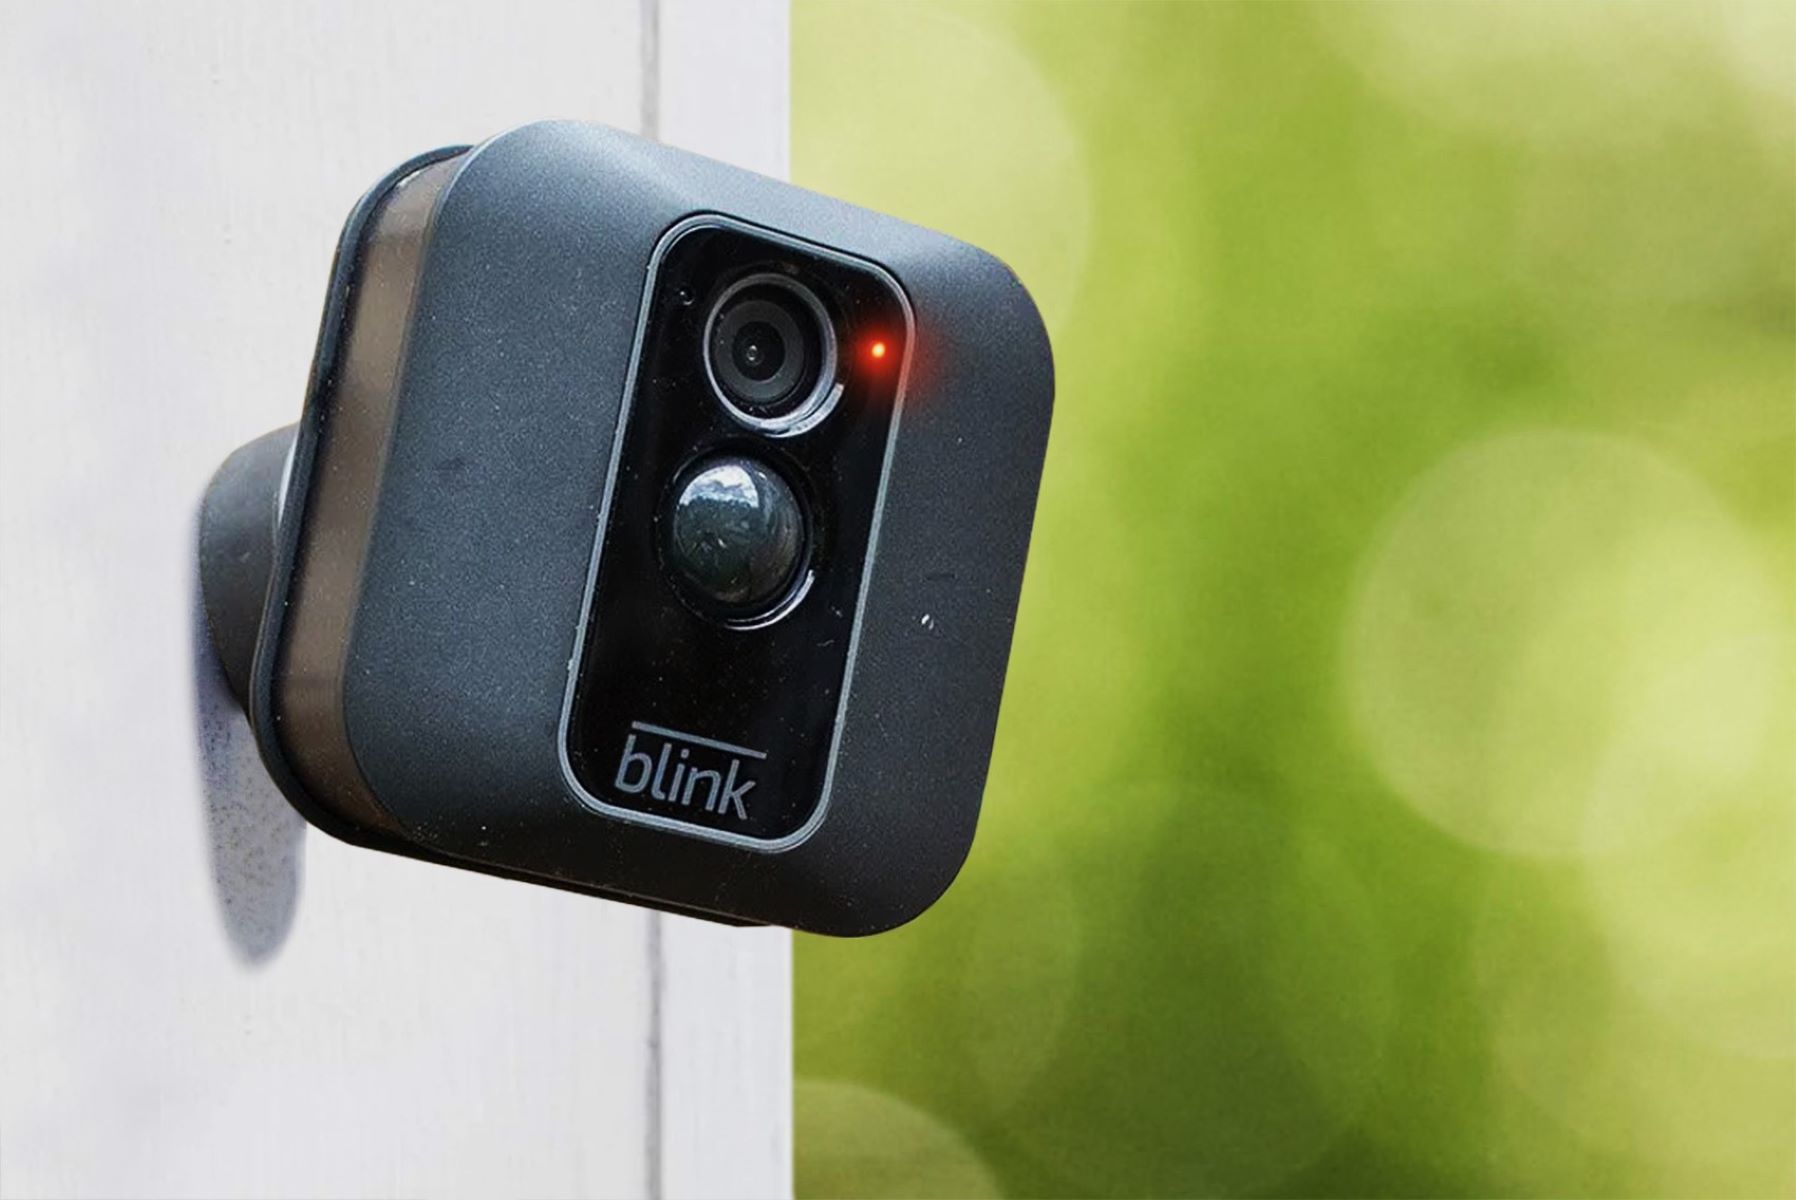
- Wait for the camera to power on: The Blink Outdoor camera will take a few moments to power on and initialize. During this time, you might see a blinking LED light on the camera, indicating that it is in the process of booting up.
- Confirm the camera’s power status: Once the camera has powered on, check for a solid LED light. This means that the camera is ready to be connected to your Wi-Fi network.
It’s important to ensure a stable and uninterrupted power supply to your Blink Outdoor camera. Consider using surge protectors or uninterruptible power supplies (UPS) to protect the camera from power fluctuations or outages.
With the Blink Outdoor camera powered on, you’re now ready to proceed to the next step and connect it to your Wi-Fi network. This will enable you to access the camera remotely and receive real-time alerts and notifications on your mobile device.
Read more: How To Install Blink Outdoor Cameras
Step 5: Connecting to Wi-Fi
Connecting your Blink Outdoor camera to your Wi-Fi network is essential for remote access and real-time monitoring. Follow these steps to establish a secure and stable connection:
- Ensure your mobile device is connected to Wi-Fi: Before proceeding, make sure your smartphone or tablet is connected to your home’s Wi-Fi network. This will allow you to effectively configure the camera.
- Open the Blink app: Launch the Blink app on your mobile device. If you haven’t already installed the app, you can download it from the App Store (iOS) or Google Play Store (Android).
- Sign in to your Blink account: If you’re a new user, follow the on-screen instructions to create a Blink account. If you already have an account, sign in with your credentials.
- Add a new device: Inside the Blink app, navigate to the Devices tab and tap on the “+” icon to add a new device.
- Select “Blink Outdoor” camera: From the list of available devices, select the “Blink Outdoor” camera model.
- Put the Blink Outdoor camera in pairing mode: To connect the camera to your Wi-Fi network, press and hold the sync button on the camera for a few seconds until the LED light starts flashing blue.
- Follow the in-app instructions: The Blink app will guide you through the process of connecting the camera to your Wi-Fi network. You will need to enter your Wi-Fi network name (SSID) and password.
- Wait for the camera to connect: After entering your Wi-Fi credentials, the camera will establish a connection to your network. This process may take a few moments. Once the connection is established, the LED light on the camera will turn solid blue.
It’s important to have a strong Wi-Fi signal in the area where you have mounted the Blink Outdoor camera. This will ensure a reliable connection and prevent any video streaming or performance issues.
With the Blink Outdoor camera now connected to your Wi-Fi network, you can proceed to the next step and download the Blink app on your mobile device to access and configure the camera.
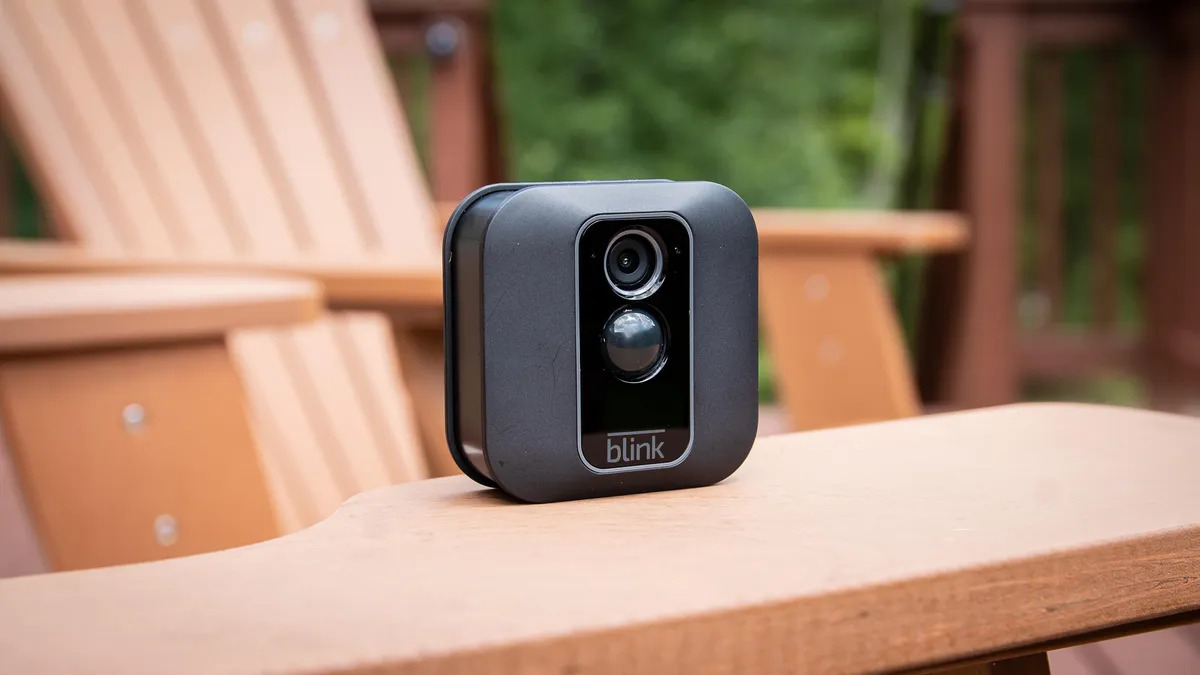
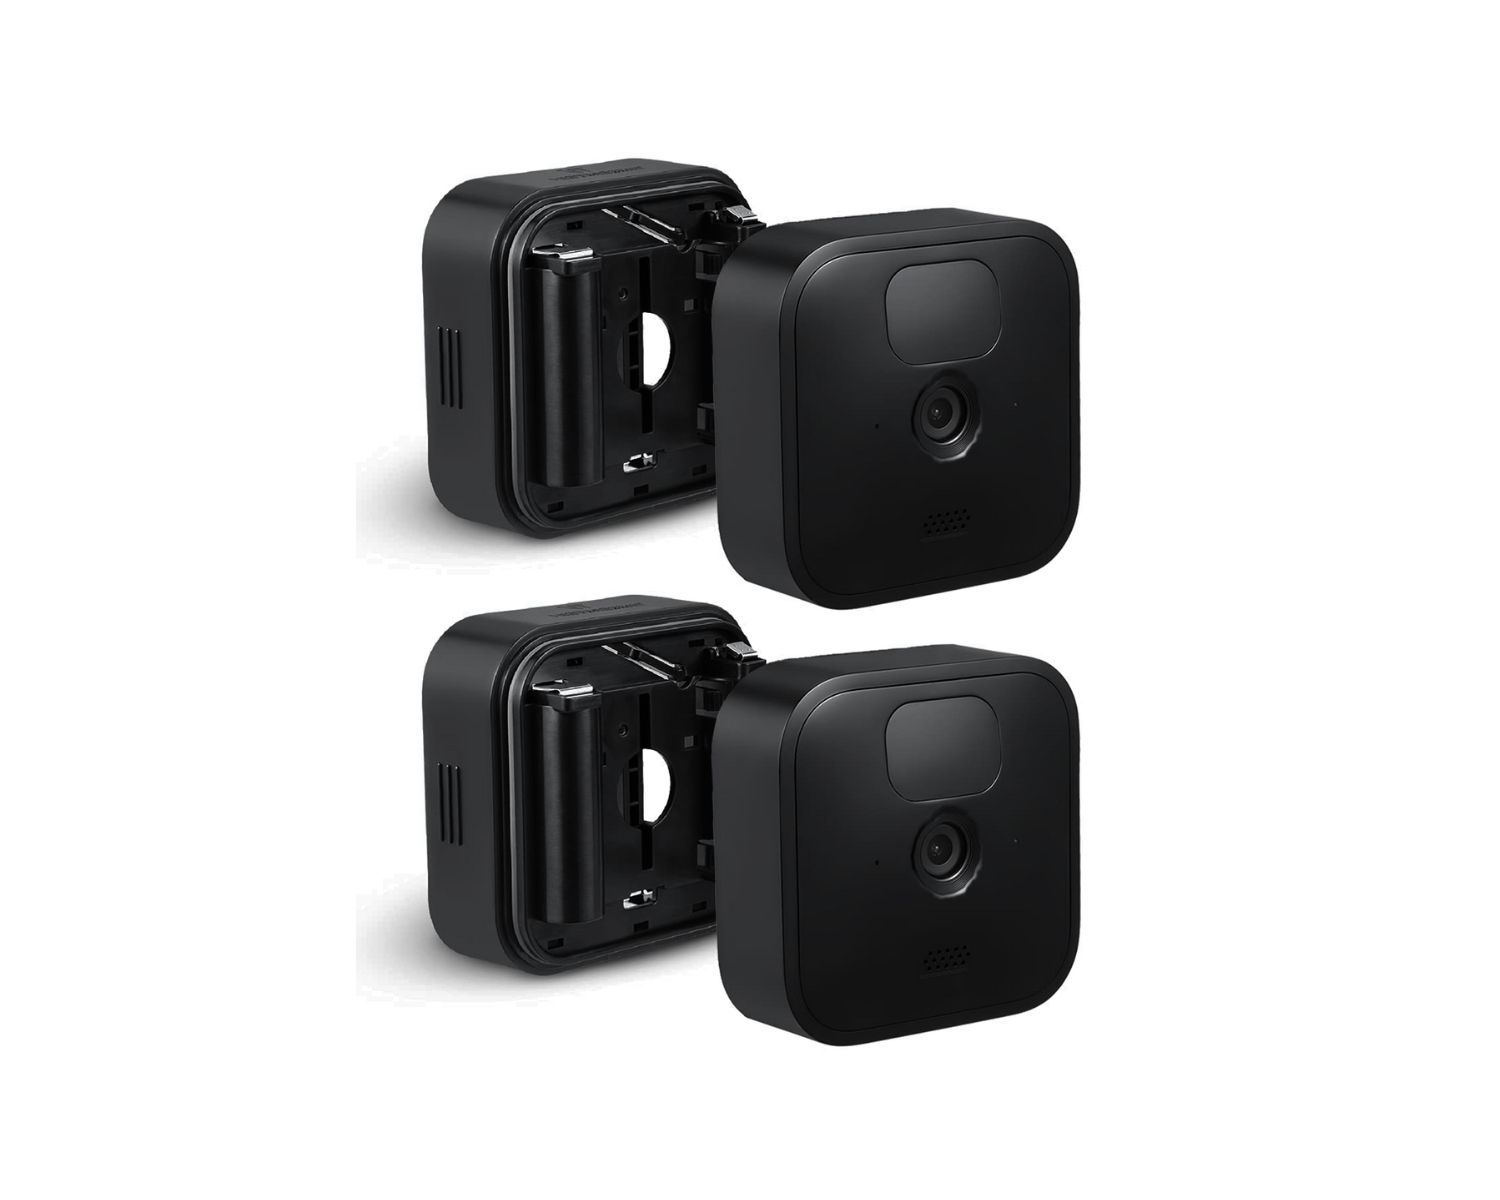
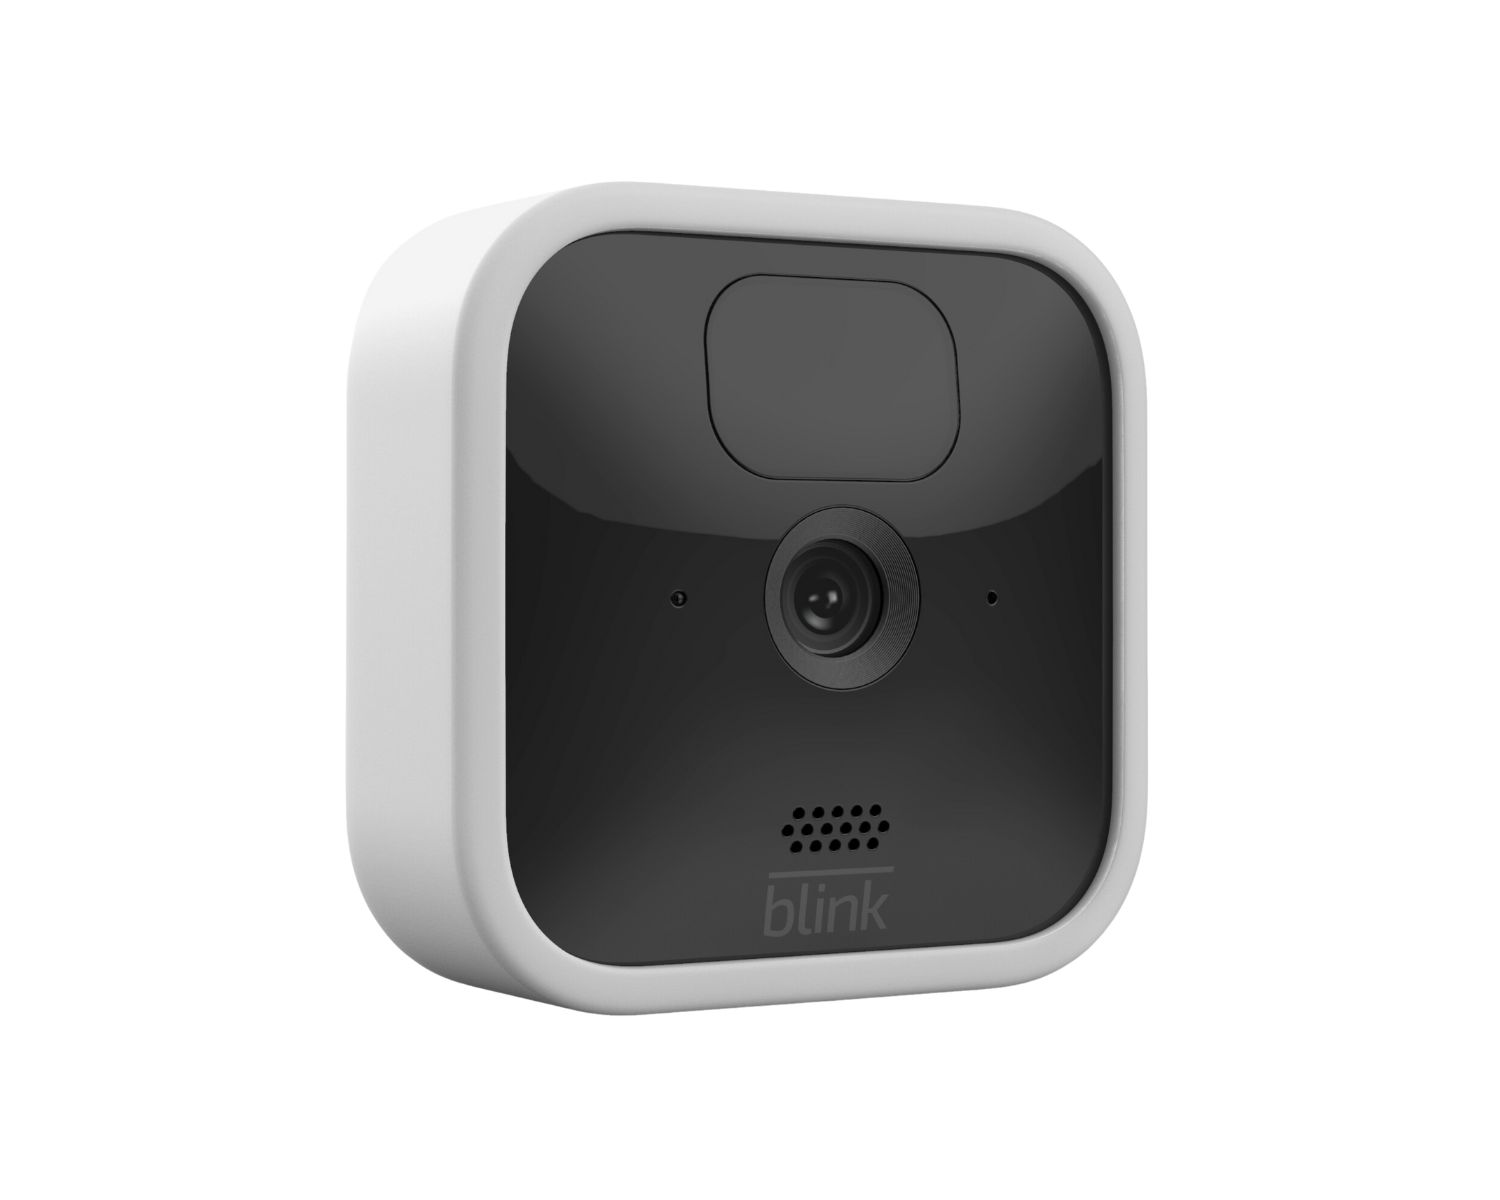
To open a Blink Outdoor camera, first remove the back cover by pressing the release button. Then, insert the batteries and close the cover securely.
Step 6: Downloading the Blink App
Once your Blink Outdoor camera is connected to your Wi-Fi network, it’s time to download the Blink app on your mobile device. The Blink app allows you to access and control your camera remotely, view live video feeds, and receive notifications. Follow these steps to download the Blink app:
- Open the App Store or Google Play Store: Depending on your mobile device’s operating system, open either the App Store (iOS) or Google Play Store (Android) on your smartphone or tablet.
- Search for the Blink app: In the search bar, type “Blink” and search for the official Blink app developed by Immedia Semiconductor.
- Select and download the app: From the search results, locate the Blink app and tap on it to access the app’s download page. Then, tap the “Download” or “Install” button to start the download process.
- Wait for the installation to complete: Allow the app to download and install on your device. The installation time may vary depending on your internet connection speed.
- Launch the Blink app: Once the installation is complete, locate the Blink app icon on your device’s home screen or app drawer. Tap on it to launch the app.
- Sign in to your Blink account: On the app’s login screen, enter your Blink account credentials (email and password) to sign in. If you don’t have an account, you can create one within the app.
After signing in to the Blink app, you will have access to various features and settings to configure your Blink Outdoor camera. These include setting up motion detection, scheduling recordings, and customizing other camera settings according to your preferences.
Downloading the Blink app is a crucial step to fully utilize the functionality of your Blink Outdoor camera. It allows you to monitor your property and receive alerts directly on your mobile device, providing you with peace of mind and enhanced security.
With the Blink app successfully installed, you’re now ready to proceed to the next step and set up your Blink Outdoor camera within the app.
Step 7: Setting Up the Camera in the App
Now that you have downloaded the Blink app, it’s time to set up your Blink Outdoor camera within the app. This process is essential for configuring the camera’s settings and personalizing your monitoring experience. Follow these steps to set up your camera in the Blink app:
- Launch the Blink app: Locate the Blink app on your mobile device and tap on the icon to launch it.
- Sign in to your Blink account: If you haven’t done so already, sign in to your Blink account using your registered email and password.
- Access the Devices tab: Once logged in, navigate to the Devices tab within the Blink app. Here, you will see the list of connected devices, including your Blink Outdoor camera.
- Select your Blink Outdoor camera: Tap on the Blink Outdoor camera from the list of devices to access its settings and configuration options.
- Configure camera settings: Within the camera settings, you can customize various options such as motion detection sensitivity, video quality, recording length, and more. Adjust these settings according to your preferences and requirements.
- Set up motion detection: Enable motion detection to receive alerts and notifications whenever motion is detected by the camera. You can define specific zones for motion detection and adjust the sensitivity to avoid false alarms.
- Explore additional features: Take some time to explore the additional features and options available within the Blink app. This includes two-way audio communication, scheduled recording, and integration with other smart home devices.
During the camera setup in the app, make sure to follow any on-screen prompts or instructions that will guide you through the process. The Blink app is designed to be user-friendly and intuitive, making the setup process straightforward and accessible to users of all experience levels.
By setting up your Blink Outdoor camera in the app, you can personalize your monitoring experience and tailor the camera’s functionality to suit your specific needs. Once the camera is configured, you’re ready to proceed to the next step and make any necessary adjustments to the camera settings.
Step 8: Adjusting Camera Settings
After setting up your Blink Outdoor camera in the app, it’s time to fine-tune the camera settings to ensure optimal performance and functionality. Here’s how you can adjust the camera settings:
- Open the Blink app: Launch the Blink app on your mobile device and sign in to your Blink account if you haven’t already.
- Access the camera settings: Navigate to the Devices tab in the app, and select your Blink Outdoor camera from the list of connected devices.
- Customize motion detection settings: Adjust the motion detection settings according to your preferences. You can set the sensitivity level, define specific motion detection zones, and enable/disable audio alerts.
- Configure recording options: Determine how the camera records and saves videos. You can choose to have the camera automatically record when motion is detected or manually initiate recordings from the app.
- Set up scheduling: If you prefer to have specific recording times, you can create a schedule within the app. This allows you to automatically enable or disable motion detection and recording based on your preferred time frames.
- Explore advanced features: Dive deeper into the camera settings to explore additional features. This includes adjusting video quality, enabling night vision for low-light conditions, and managing storage options.
- Check device health: Within the app, you can also view the device health of your Blink Outdoor camera. This includes checking the battery level (if using batteries), signal strength, and Wi-Fi connectivity status.
By adjusting the camera settings to your liking, you can customize your monitoring experience and ensure that the camera operates in a way that best suits your preferences and needs. Take the time to experiment with different settings and configurations to find the ideal setup for your Blink Outdoor camera.
Remember to periodically review and adjust the camera settings as necessary to accommodate changes in your surroundings or requirements. This way, you can maintain an effective and efficient home security surveillance system that meets your expectations.
With the camera settings adjusted, you’re ready to move on to the next step and test your Blink Outdoor camera to ensure its functionality.
Read more: How To Charge A Blink Outdoor Camera
Step 9: Testing and Troubleshooting
Testing your Blink Outdoor camera is an essential step to ensure its proper functionality and address any potential issues. Follow these steps to test and troubleshoot your camera if needed:
- Check the live view: Open the Blink app and navigate to the camera you want to test. Tap on the live view option to see the real-time video feed from the camera. Make sure the image is clear and the camera is capturing the desired area.
- Trigger motion detection: Walk in front of the camera to test the motion detection feature. Verify that you receive alerts and notifications on your mobile device when motion is detected within the camera’s field of view.
- Test two-way audio: Use the app to initiate a two-way audio conversation with the camera. Speak into your mobile device’s microphone and ensure that you can hear the audio feedback from the camera’s speaker.
- Review recorded clips: Access the recorded clips within the Blink app to verify that the camera is properly storing and saving the captured video footage. Playback the clips to ensure their quality and clarity.
- Check device connectivity: Assess the camera’s connectivity to your Wi-Fi network by reviewing the signal strength and device health status within the app. If the signal strength is weak, consider adjusting the camera’s position or router placement to improve the connection.
- Perform troubleshooting: If you encounter any issues during the testing phase, consult the Blink app’s troubleshooting guide or visit the Blink support website for assistance. Common troubleshooting steps include restarting the camera, ensuring the app is up to date, and verifying the Wi-Fi network settings.
Through thorough testing and troubleshooting, you can identify and resolve any camera-related issues or performance concerns. Regularly monitoring and testing your Blink Outdoor camera helps to ensure its reliability and effectiveness in providing home security and surveillance.
If you’re unable to resolve an issue, don’t hesitate to reach out to Blink customer support for further assistance. They have a team of experts ready to help you troubleshoot and address any concerns you may have.
Congratulations! You have now successfully completed the process of opening and setting up your Blink Outdoor camera. By following these steps and taking the time to adjust the settings and conduct thorough testing, you can enjoy the benefits of a reliable and efficient home security and surveillance system.
Remember to periodically check on your camera and make any necessary adjustments to ensure its continued optimal performance. Stay vigilant and enjoy the peace of mind that comes with having a Blink Outdoor camera protecting your home.
Conclusion
Setting up a Blink Outdoor camera for your home security and surveillance needs doesn’t have to be daunting. With the step-by-step guide provided in this article, you can easily open the camera, choose the right location, mount it securely, power it on, connect it to Wi-Fi, download the Blink app, set up the camera within the app, adjust the settings, and perform testing and troubleshooting.
The Blink Outdoor camera offers excellent features such as motion detection, two-way audio, and high-quality video recording. By following the steps outlined in this guide, you can maximize the functionality and effectiveness of the camera, ensuring a reliable and efficient home monitoring system.
Remember to carefully choose the location for your camera, considering factors like field of view, obstructions, and accessibility. Mount the camera securely, ensuring it is aligned properly and adjusted to the desired angle for optimal coverage. Connect the camera to your Wi-Fi network and download the Blink app on your mobile device for remote access and control.
Adjusting the camera settings according to your preferences and conducting thorough testing will ensure that your Blink Outdoor camera is ready to keep your home safe and secure. Keep an eye on the live view, test motion detection alerts, and review recorded clips to verify the camera’s functionality. And in case you encounter any issues, refer to the troubleshooting steps or reach out to Blink customer support for assistance.
With your Blink Outdoor camera properly set up, you can have peace of mind knowing that your home is protected. Enjoy the convenience of remote access, real-time alerts, and the ability to monitor your property from anywhere through the Blink app. Stay vigilant, stay secure!
Frequently Asked Questions about How To Open A Blink Outdoor Camera
Was this page helpful?
At Storables.com, we guarantee accurate and reliable information. Our content, validated by Expert Board Contributors, is crafted following stringent Editorial Policies. We're committed to providing you with well-researched, expert-backed insights for all your informational needs.