Home>Home Security and Surveillance>How To Open Yi Outdoor Camera
Home Security and Surveillance
How To Open Yi Outdoor Camera
Modified: September 1, 2024
Learn how to open your Yi Outdoor Camera for home security and surveillance. Get step-by-step instructions and useful tips to ensure a smooth setup process.
(Many of the links in this article redirect to a specific reviewed product. Your purchase of these products through affiliate links helps to generate commission for Storables.com, at no extra cost. Learn more)
Introduction:
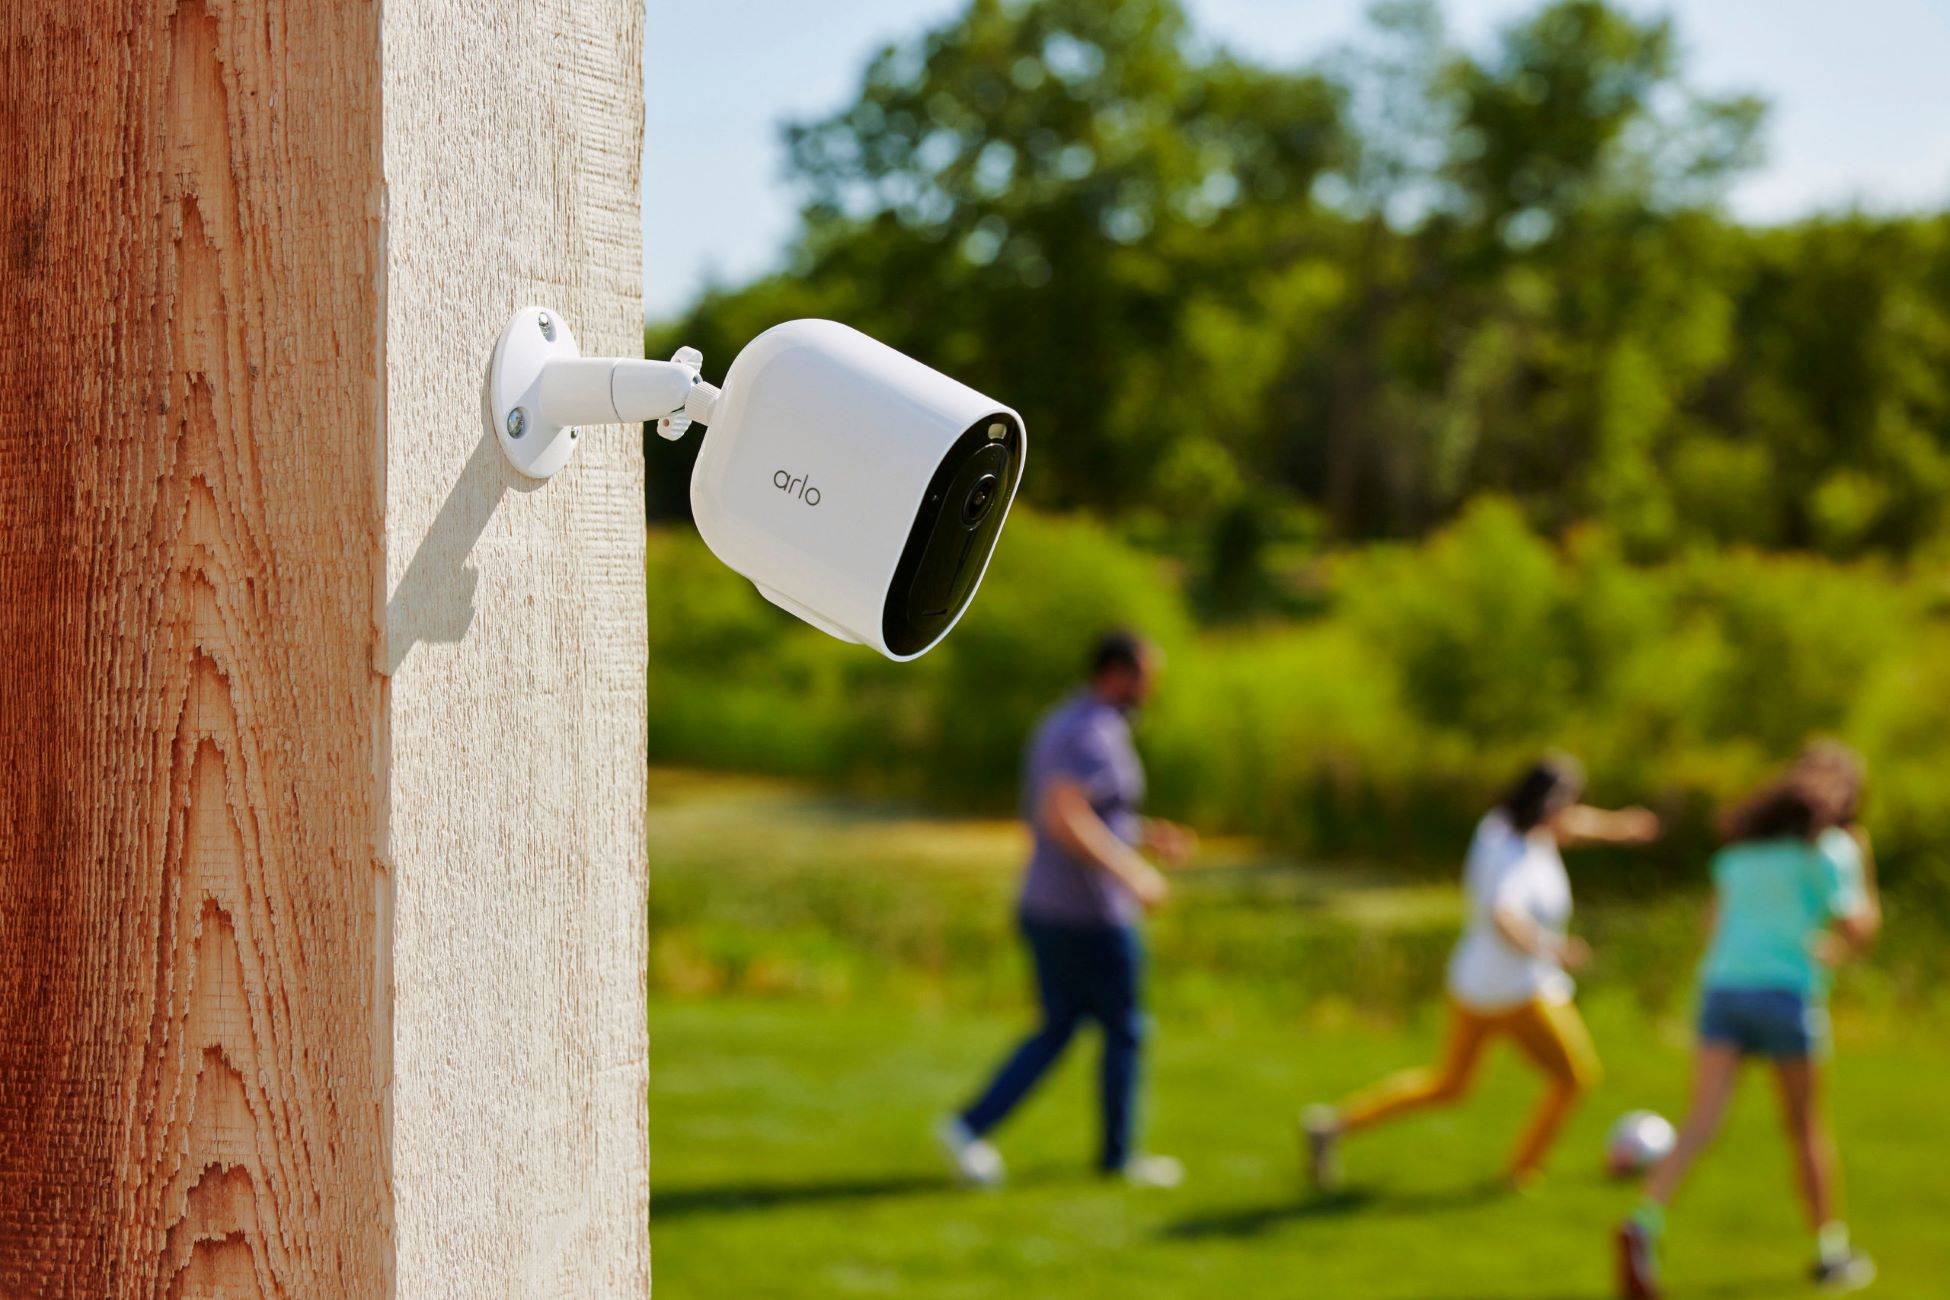
Welcome to the world of home security and surveillance! In today’s uncertain times, ensuring the safety and security of our homes has become a top priority for many. The advancements in technology have made it easier than ever to protect our homes and loved ones with the help of home security systems.
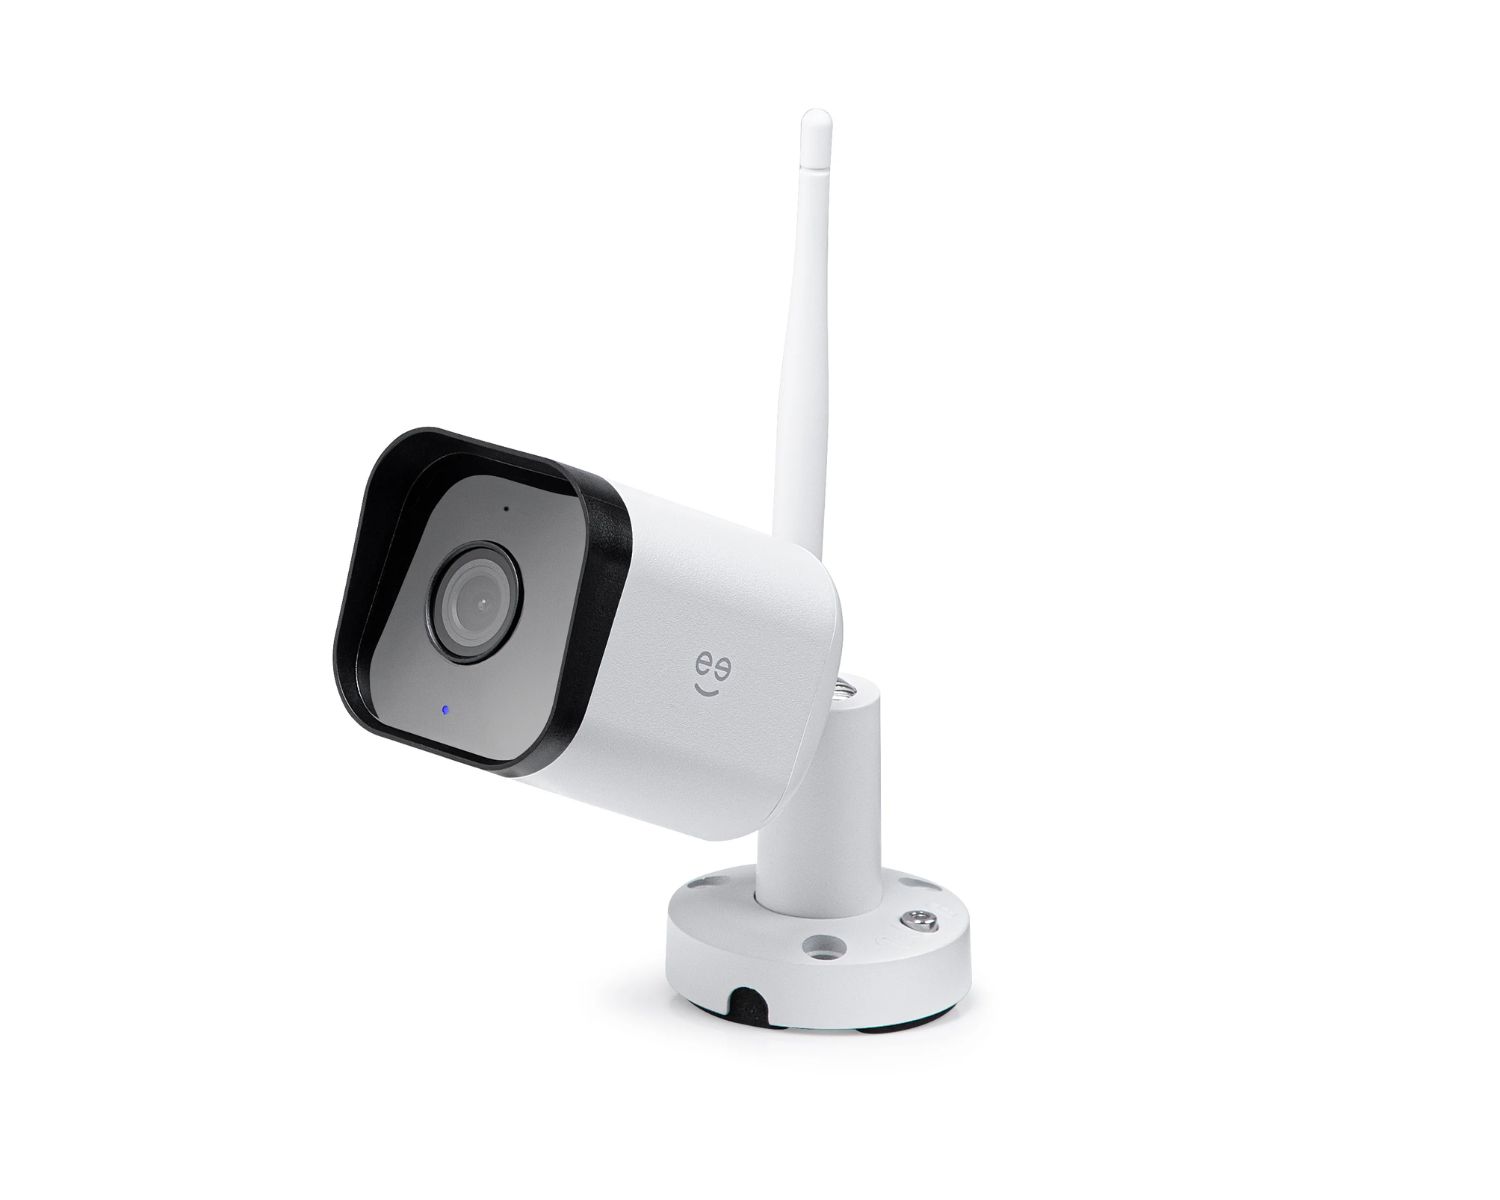
One popular choice in the market is the Yi Outdoor Camera. This camera offers a range of features and capabilities that make it an ideal choice for those looking to monitor the exterior of their homes. Whether you’re concerned about potential intruders, want to keep an eye on your property while you’re away, or simply wish to have peace of mind knowing that your home is secure, the Yi Outdoor Camera is an excellent option.
In this article, we will guide you through the process of setting up and opening your Yi Outdoor Camera. By following these step-by-step instructions, you’ll be able to enjoy the benefits of this reliable and efficient surveillance system in no time.
Before we dive into the installation process, let’s quickly go over the equipment you’ll need to have on hand:
Key Takeaways:
- Setting up your Yi Outdoor Camera involves gathering equipment, installing the app, connecting to Wi-Fi, and mounting the camera. It’s a simple process that enhances home security and peace of mind.
- After installation, adjusting camera settings and testing its functionality ensures optimal performance. The Yi Outdoor Camera provides reliable surveillance and can be customized to meet specific needs.
Step 1: Gathering the necessary equipment:
Before you begin the installation process, it’s essential to gather all the necessary equipment. By having everything ready, you can ensure a smooth and efficient setup for your Yi Outdoor Camera. Here are the items you will need:
- Yi Outdoor Camera: Make sure you have the camera itself, along with any accompanying parts or accessories that come with it.
- Mounting brackets and screws: These will be used to securely mount the camera in the desired location.
- Power adapter: The Yi Outdoor Camera requires a power source to function, so make sure you have a compatible power adapter.
- Wi-Fi connection: Ensure that you have a stable Wi-Fi connection available for the camera to connect to.
- Mobile device: You’ll need a smartphone or tablet to download the Yi Outdoor Camera app and configure the camera settings.
- Stable ladder or step stool: Depending on the height at which you plan to mount the camera, you may need a ladder or step stool to reach the desired location.
- Optional: Ethernet cable: If you prefer a wired connection instead of Wi-Fi, you may need an Ethernet cable to connect the camera directly to your router.
Once you have gathered all the necessary equipment, you’re ready to move on to the next step: installing the Yi Outdoor Camera app. Having the app installed on your mobile device is crucial for setting up and managing your camera’s settings. So let’s proceed to Step 2: Installing the Yi Outdoor Camera app.
Step 2: Installing the Yi Outdoor Camera app:
In order to set up and control your Yi Outdoor Camera, you’ll need to install the Yi Outdoor Camera app on your mobile device. This app allows you to configure camera settings, view live footage, and receive notifications on the go. Follow these steps to install the app:
- Go to your device’s app store: Whether you use an Android or iOS device, open the respective app store (Google Play Store or Apple App Store).
- Search for the Yi Outdoor Camera app: In the app store’s search bar, type in “Yi Outdoor Camera” and select the official app from the search results.
- Download and install the app: Tap on the “Install” or “Get” button to begin the installation process. Wait for the app to download and install on your device.
- Open the Yi Outdoor Camera app: Once the app is installed, open it from your device’s home screen or app drawer.
- Create an account or log in: If you already have a Yi account, log in using your credentials. Otherwise, create a new account by following the on-screen instructions.
Once you have installed and logged into the Yi Outdoor Camera app, you’re now ready to connect your camera to a power source. Proceed to Step 3 for detailed instructions on this process.
Step 3: Connecting the camera to a power source:
The Yi Outdoor Camera requires a reliable power source to function properly. In this step, we will guide you through the process of connecting the camera to a power outlet. Follow these steps:
- Locate a suitable power outlet: Choose a power outlet that is within reach of the camera’s mounting location. Ensure that the outlet is easily accessible and not obstructed by any objects.
- Plug in the power adapter: Connect the power adapter to the Yi Outdoor Camera’s power input port. Make sure it is securely and firmly plugged in.
- Connect the power adapter to the power outlet: Plug the power adapter into the selected power outlet. Verify that the outlet is supplying power by checking if the camera’s LED indicators light up.
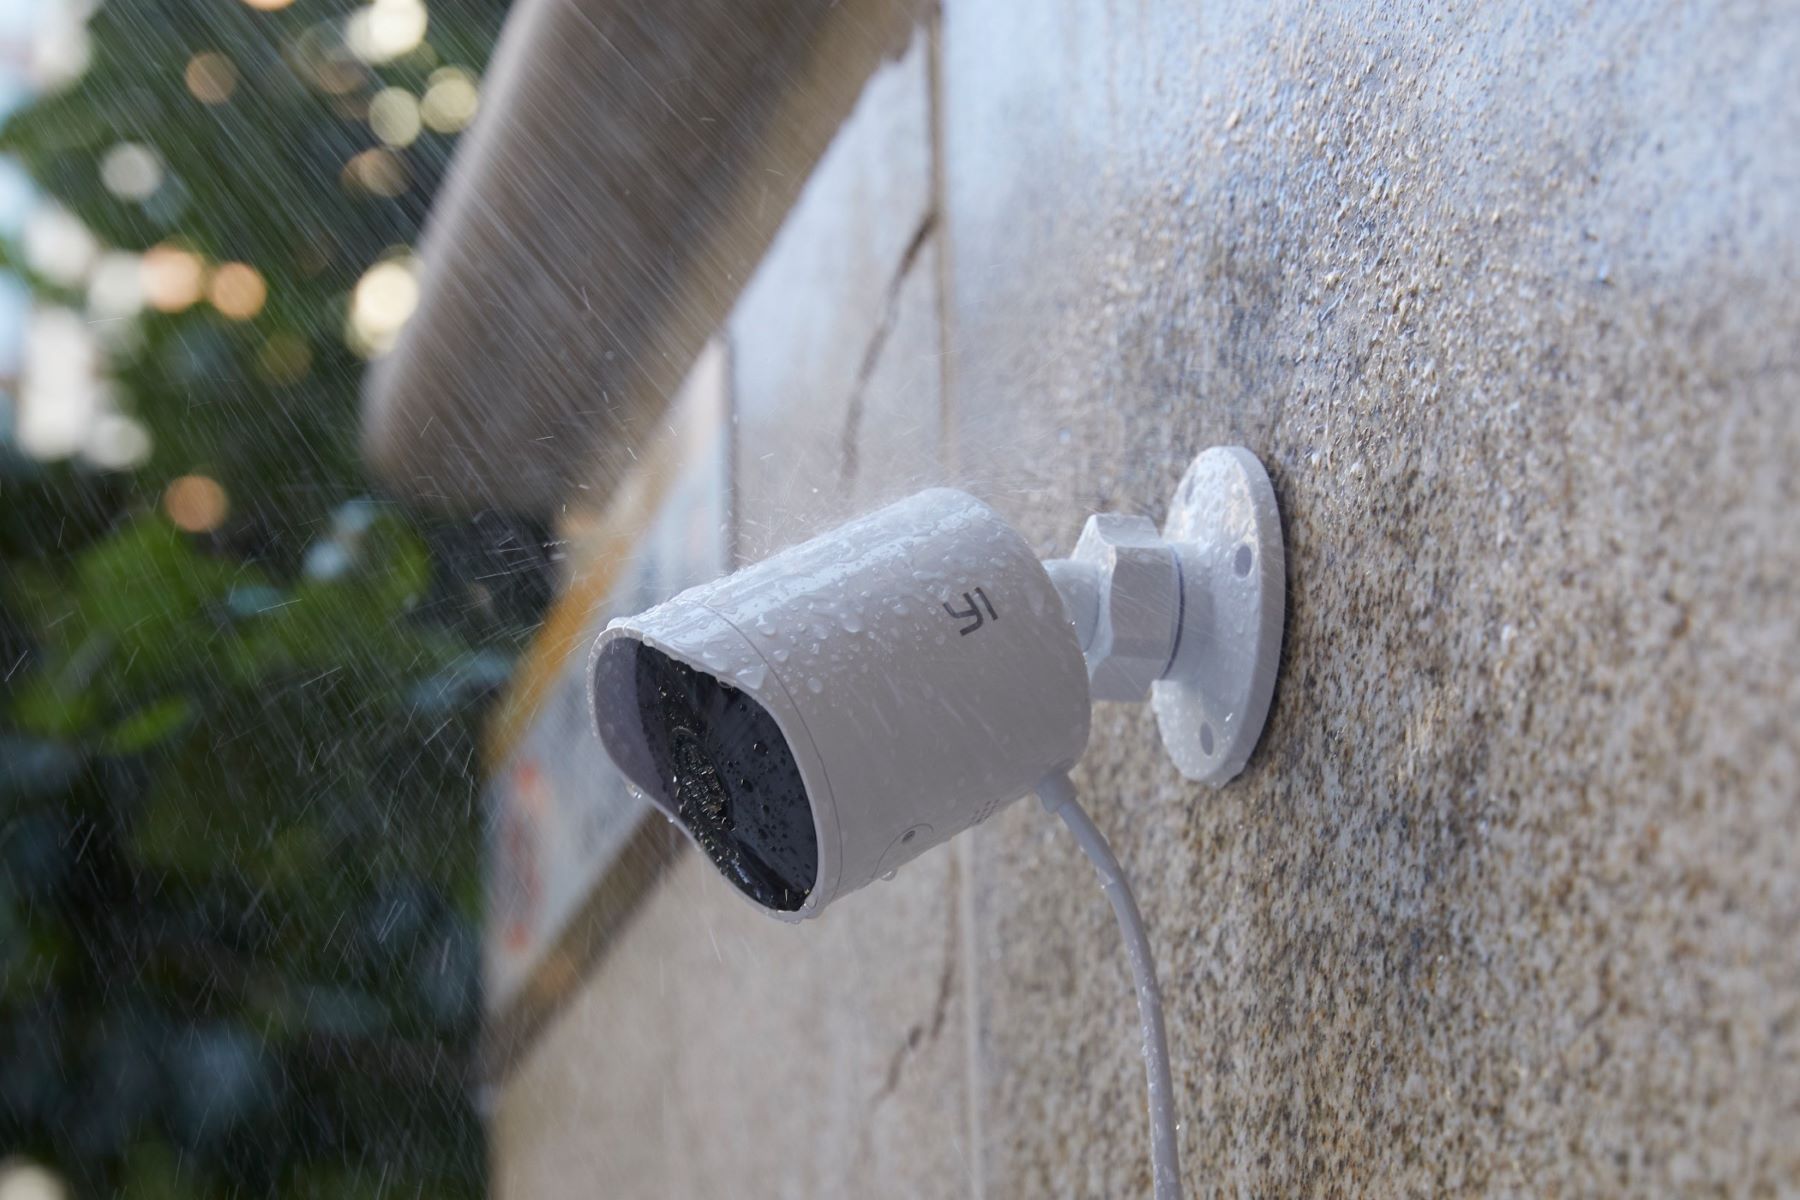
It is important to note that the Yi Outdoor Camera is designed for outdoor use and is equipped with weather-resistant features. However, we recommend taking precautions to protect the power adapter and connections from adverse weather conditions. This may include using outdoor-rated extension cords or installing appropriate weatherproof enclosures.
Now that your Yi Outdoor Camera is connected to a power source, the next step is to set up a Wi-Fi connection. Proceed to Step 4 for detailed instructions on connecting your camera to your home Wi-Fi network.
Step 4: Setting up a Wi-Fi connection:
In order to access the features and functionalities of your Yi Outdoor Camera remotely, you’ll need to connect it to your home Wi-Fi network. Follow these steps to establish a Wi-Fi connection:
- Launch the Yi Outdoor Camera app: Open the Yi Outdoor Camera app on your mobile device.
- Tap on the camera icon: Within the app, locate and tap on the camera icon to access the camera settings.
- Go to camera settings: Navigate to the camera settings menu within the app. Look for options like “Camera Settings,” “Device Settings,” or similar labels.
- Select “Wi-Fi Setup”: Inside the camera settings menu, locate and tap on the “Wi-Fi Setup” option. This will initiate the camera’s Wi-Fi setup process.
- Follow the on-screen instructions: The app will guide you through the process of connecting your Yi Outdoor Camera to your Wi-Fi network. Make sure to select the appropriate Wi-Fi network and enter the correct network password if prompted.
- Wait for the connection to establish: After entering the Wi-Fi network details, the camera will attempt to establish a connection. This process may take a few moments. Be patient and wait for the app to notify you of a successful connection.
It is crucial to ensure that your Wi-Fi network signal is strong and stable in the area where you have installed the Yi Outdoor Camera. A weak or intermittent Wi-Fi signal can affect the camera’s performance and may lead to unreliable footage and connectivity issues.
Now that your Yi Outdoor Camera is connected to your home Wi-Fi network, it’s time to move on to the next step: mounting the camera. Proceed to Step 5 for detailed instructions on how to securely mount your Yi Outdoor Camera.
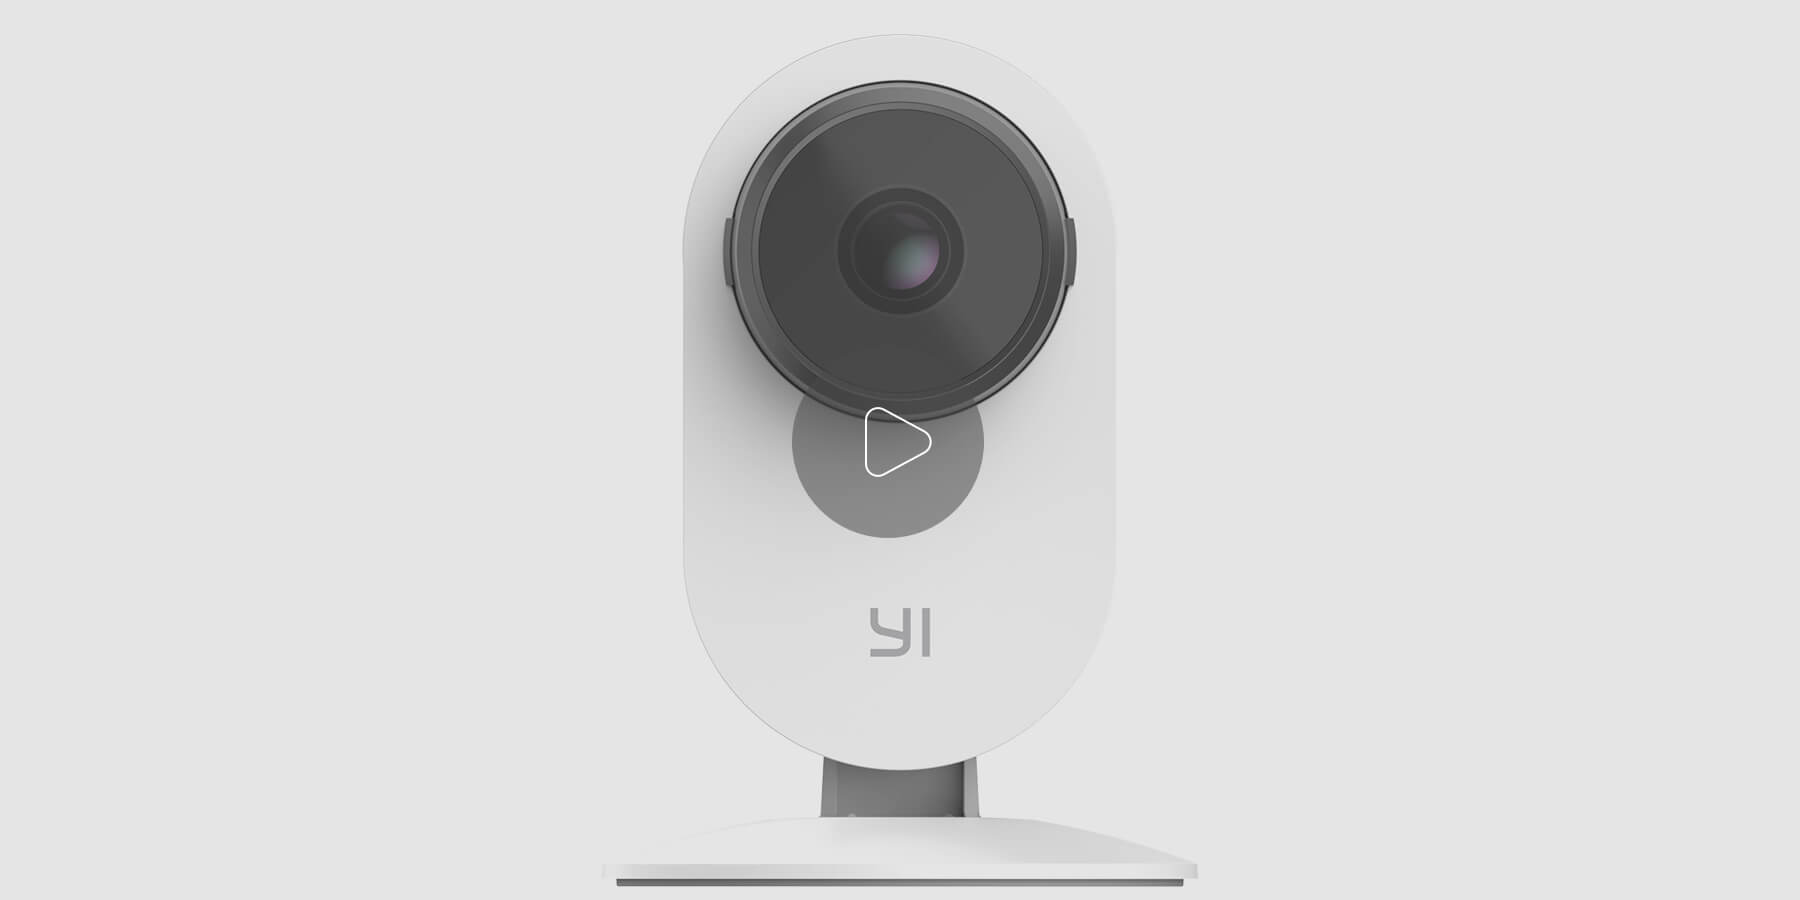
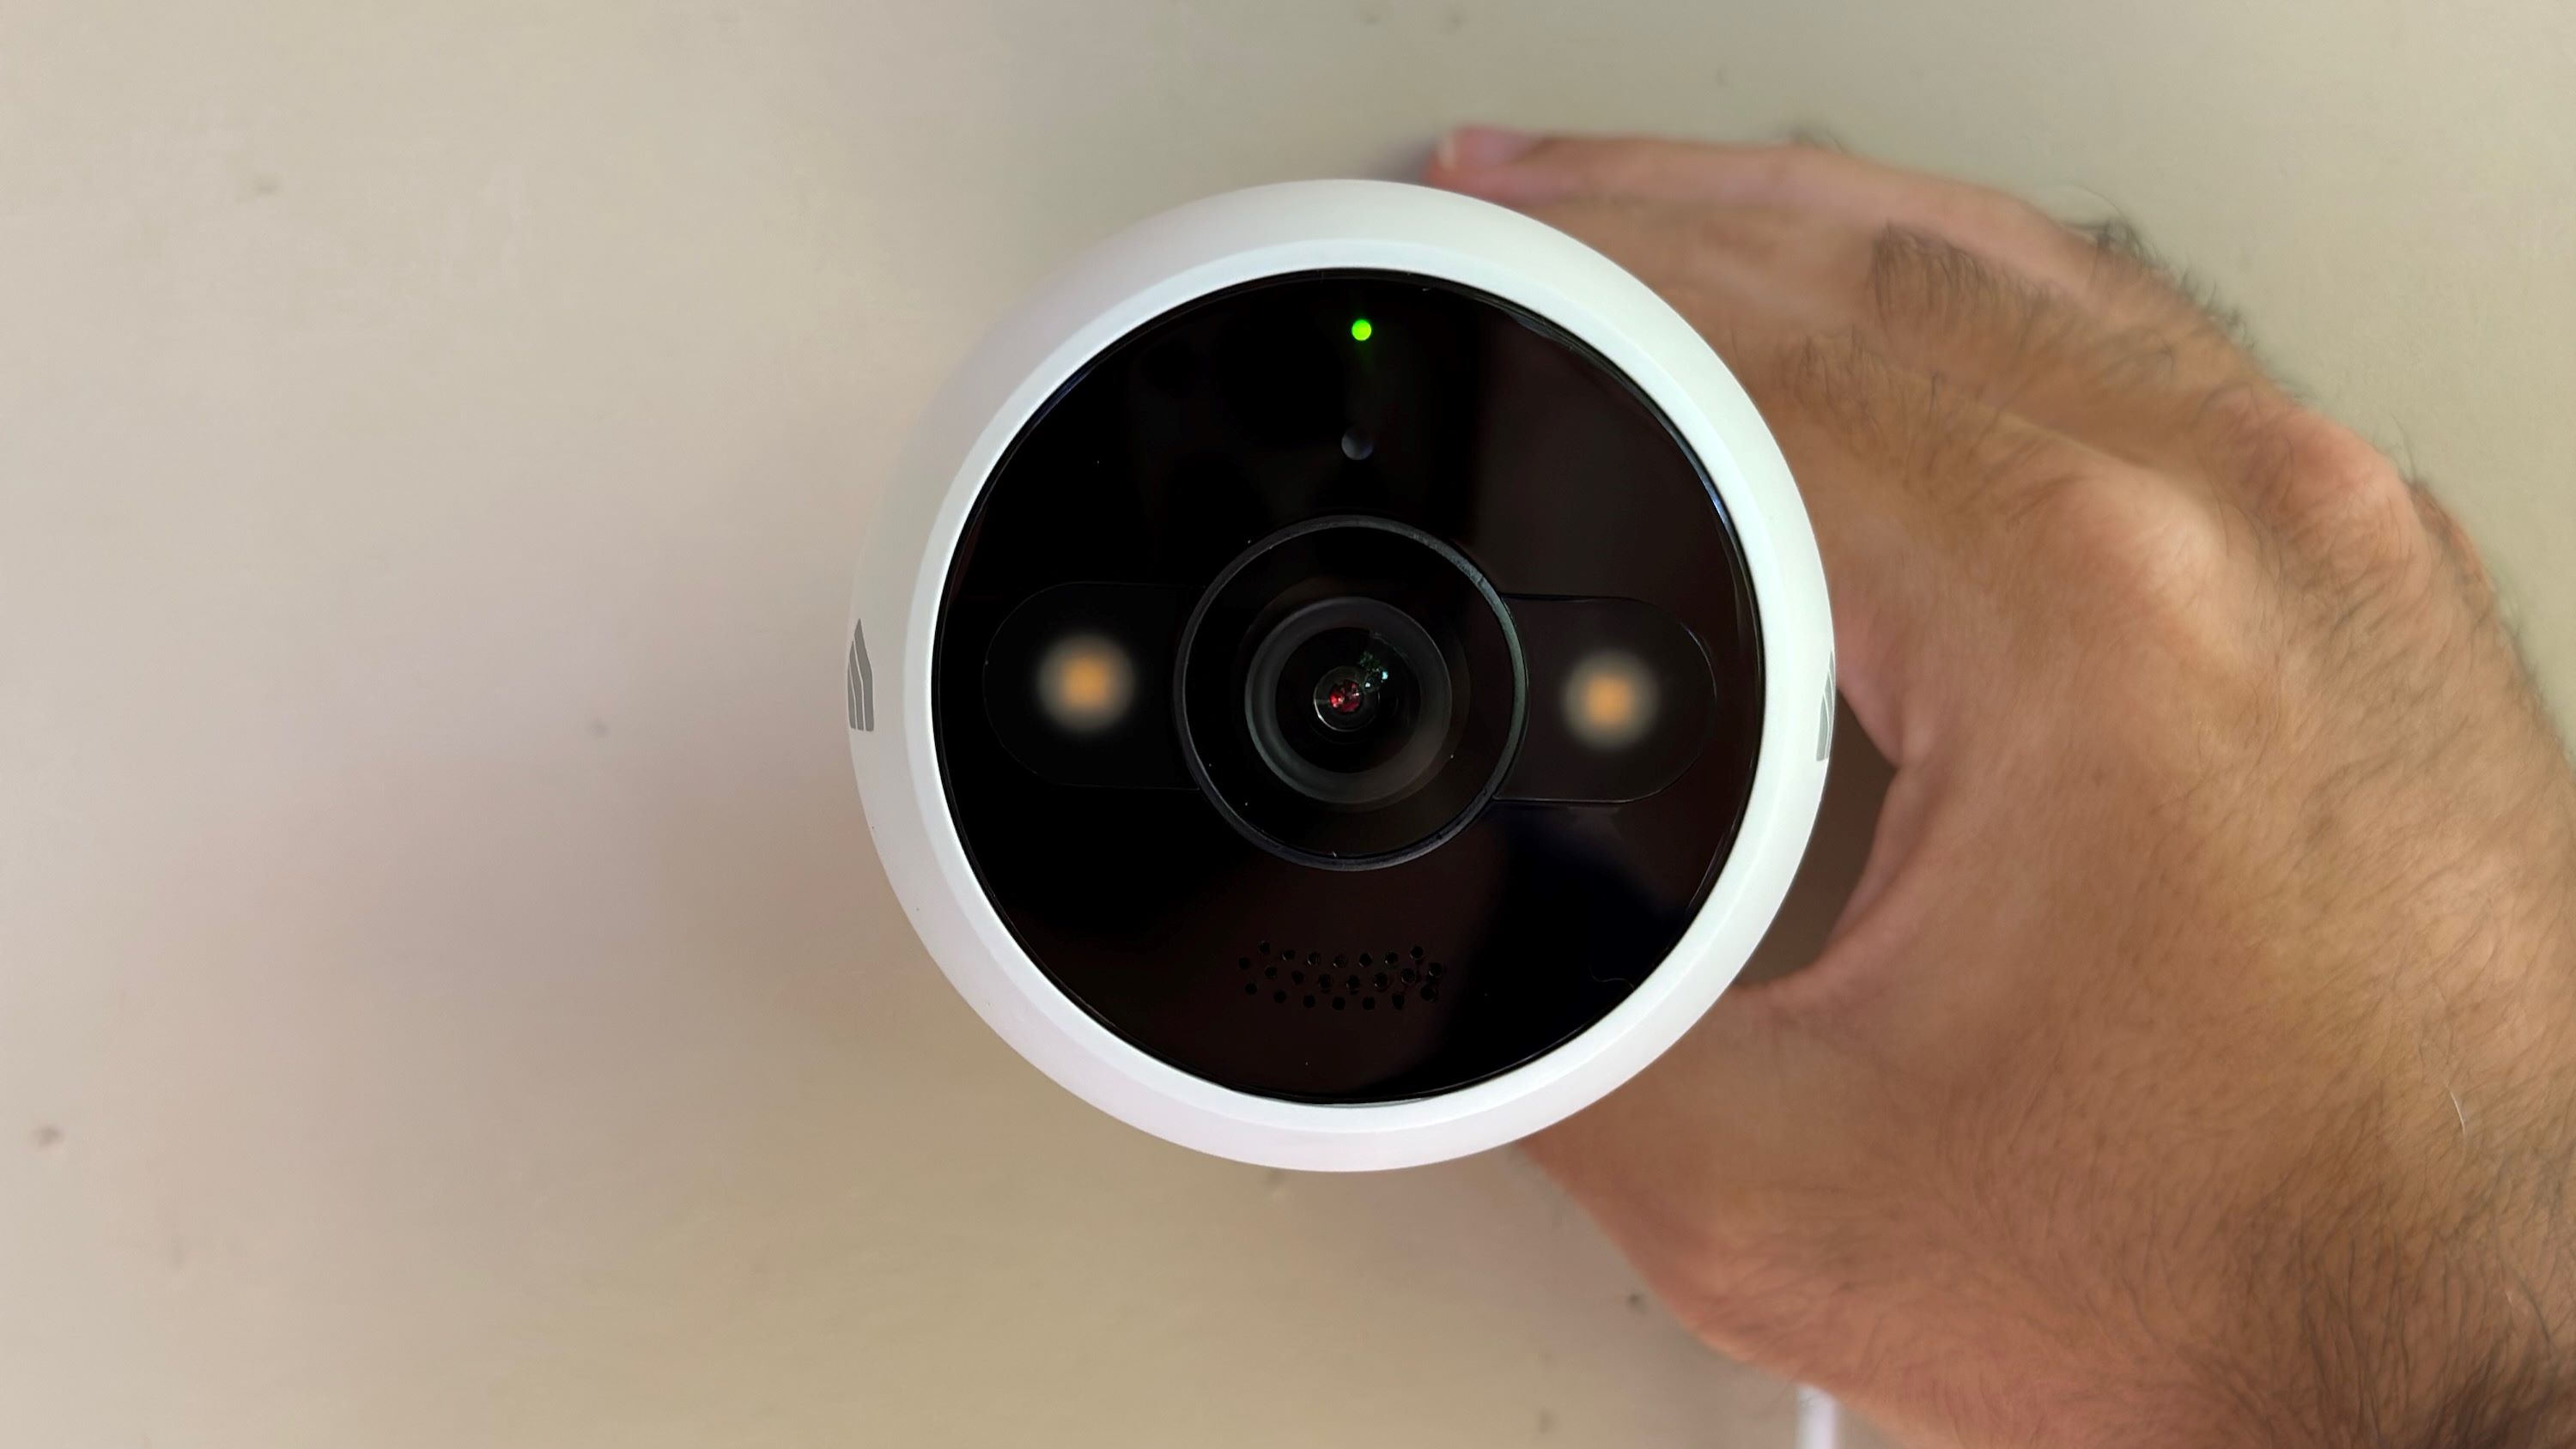
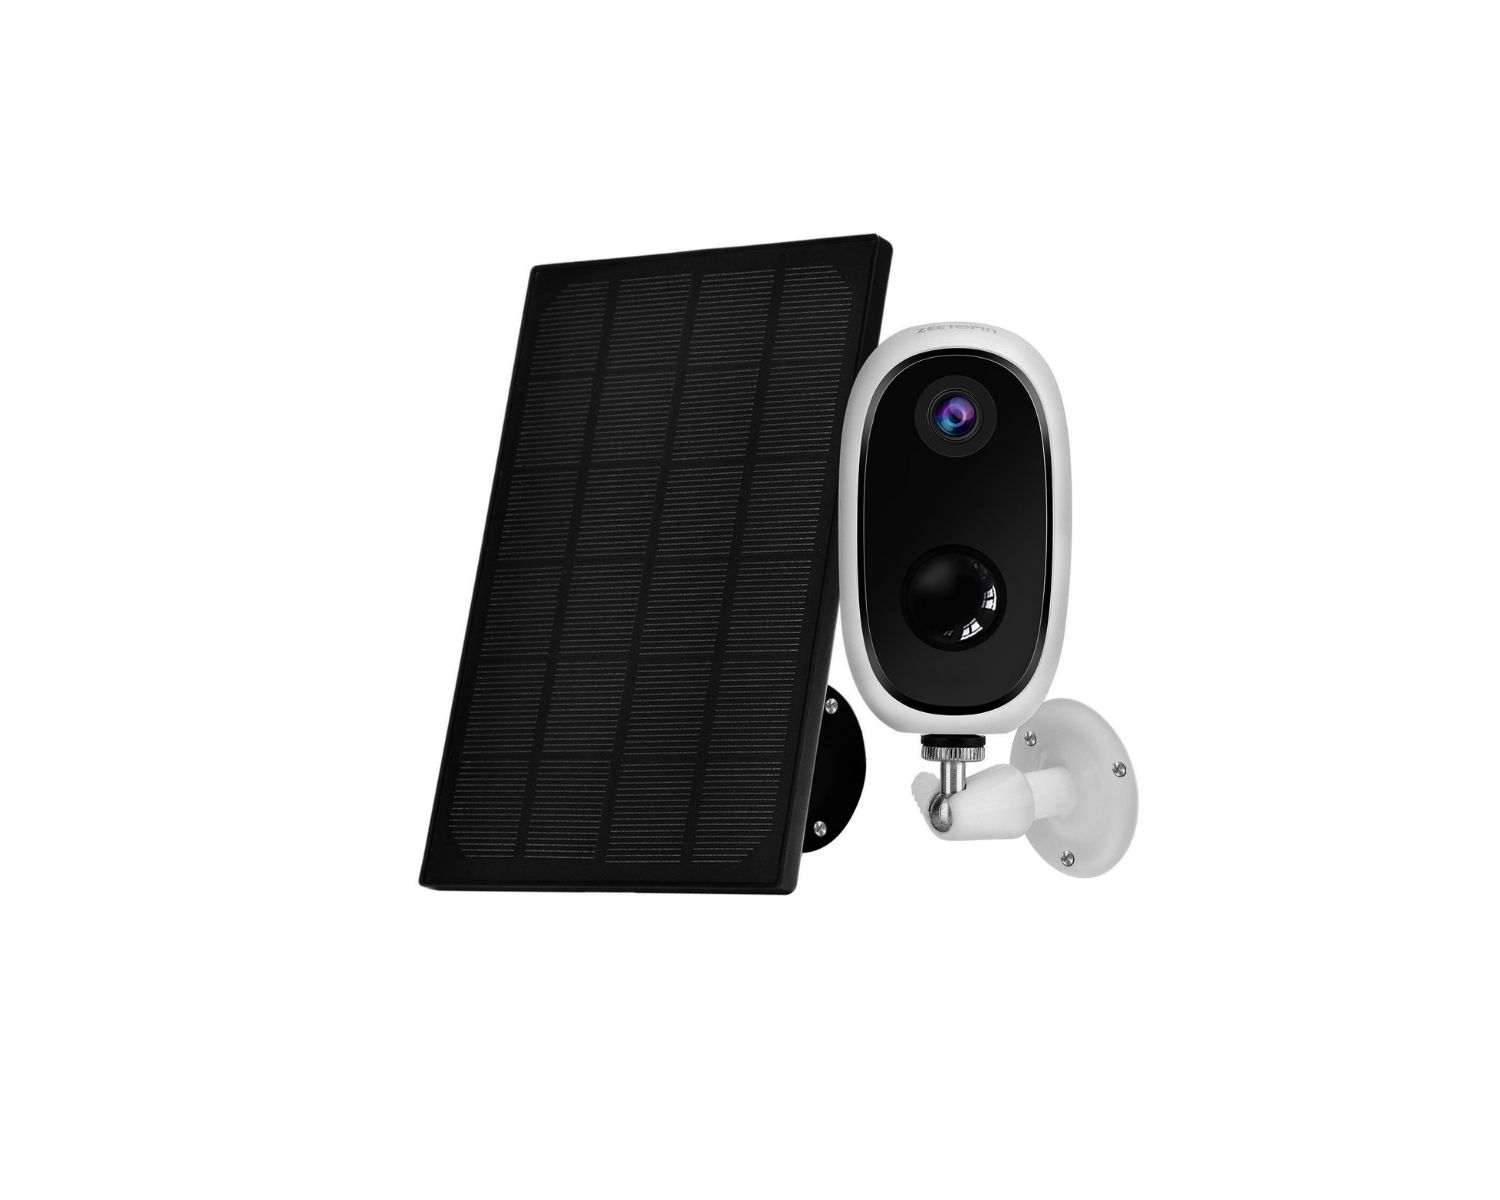
To open the Yi Outdoor Camera, first locate the screw on the bottom of the camera. Use a screwdriver to remove the screw, then carefully separate the two halves of the camera to access the interior components.
Read more: How To Open A Blink Outdoor Camera
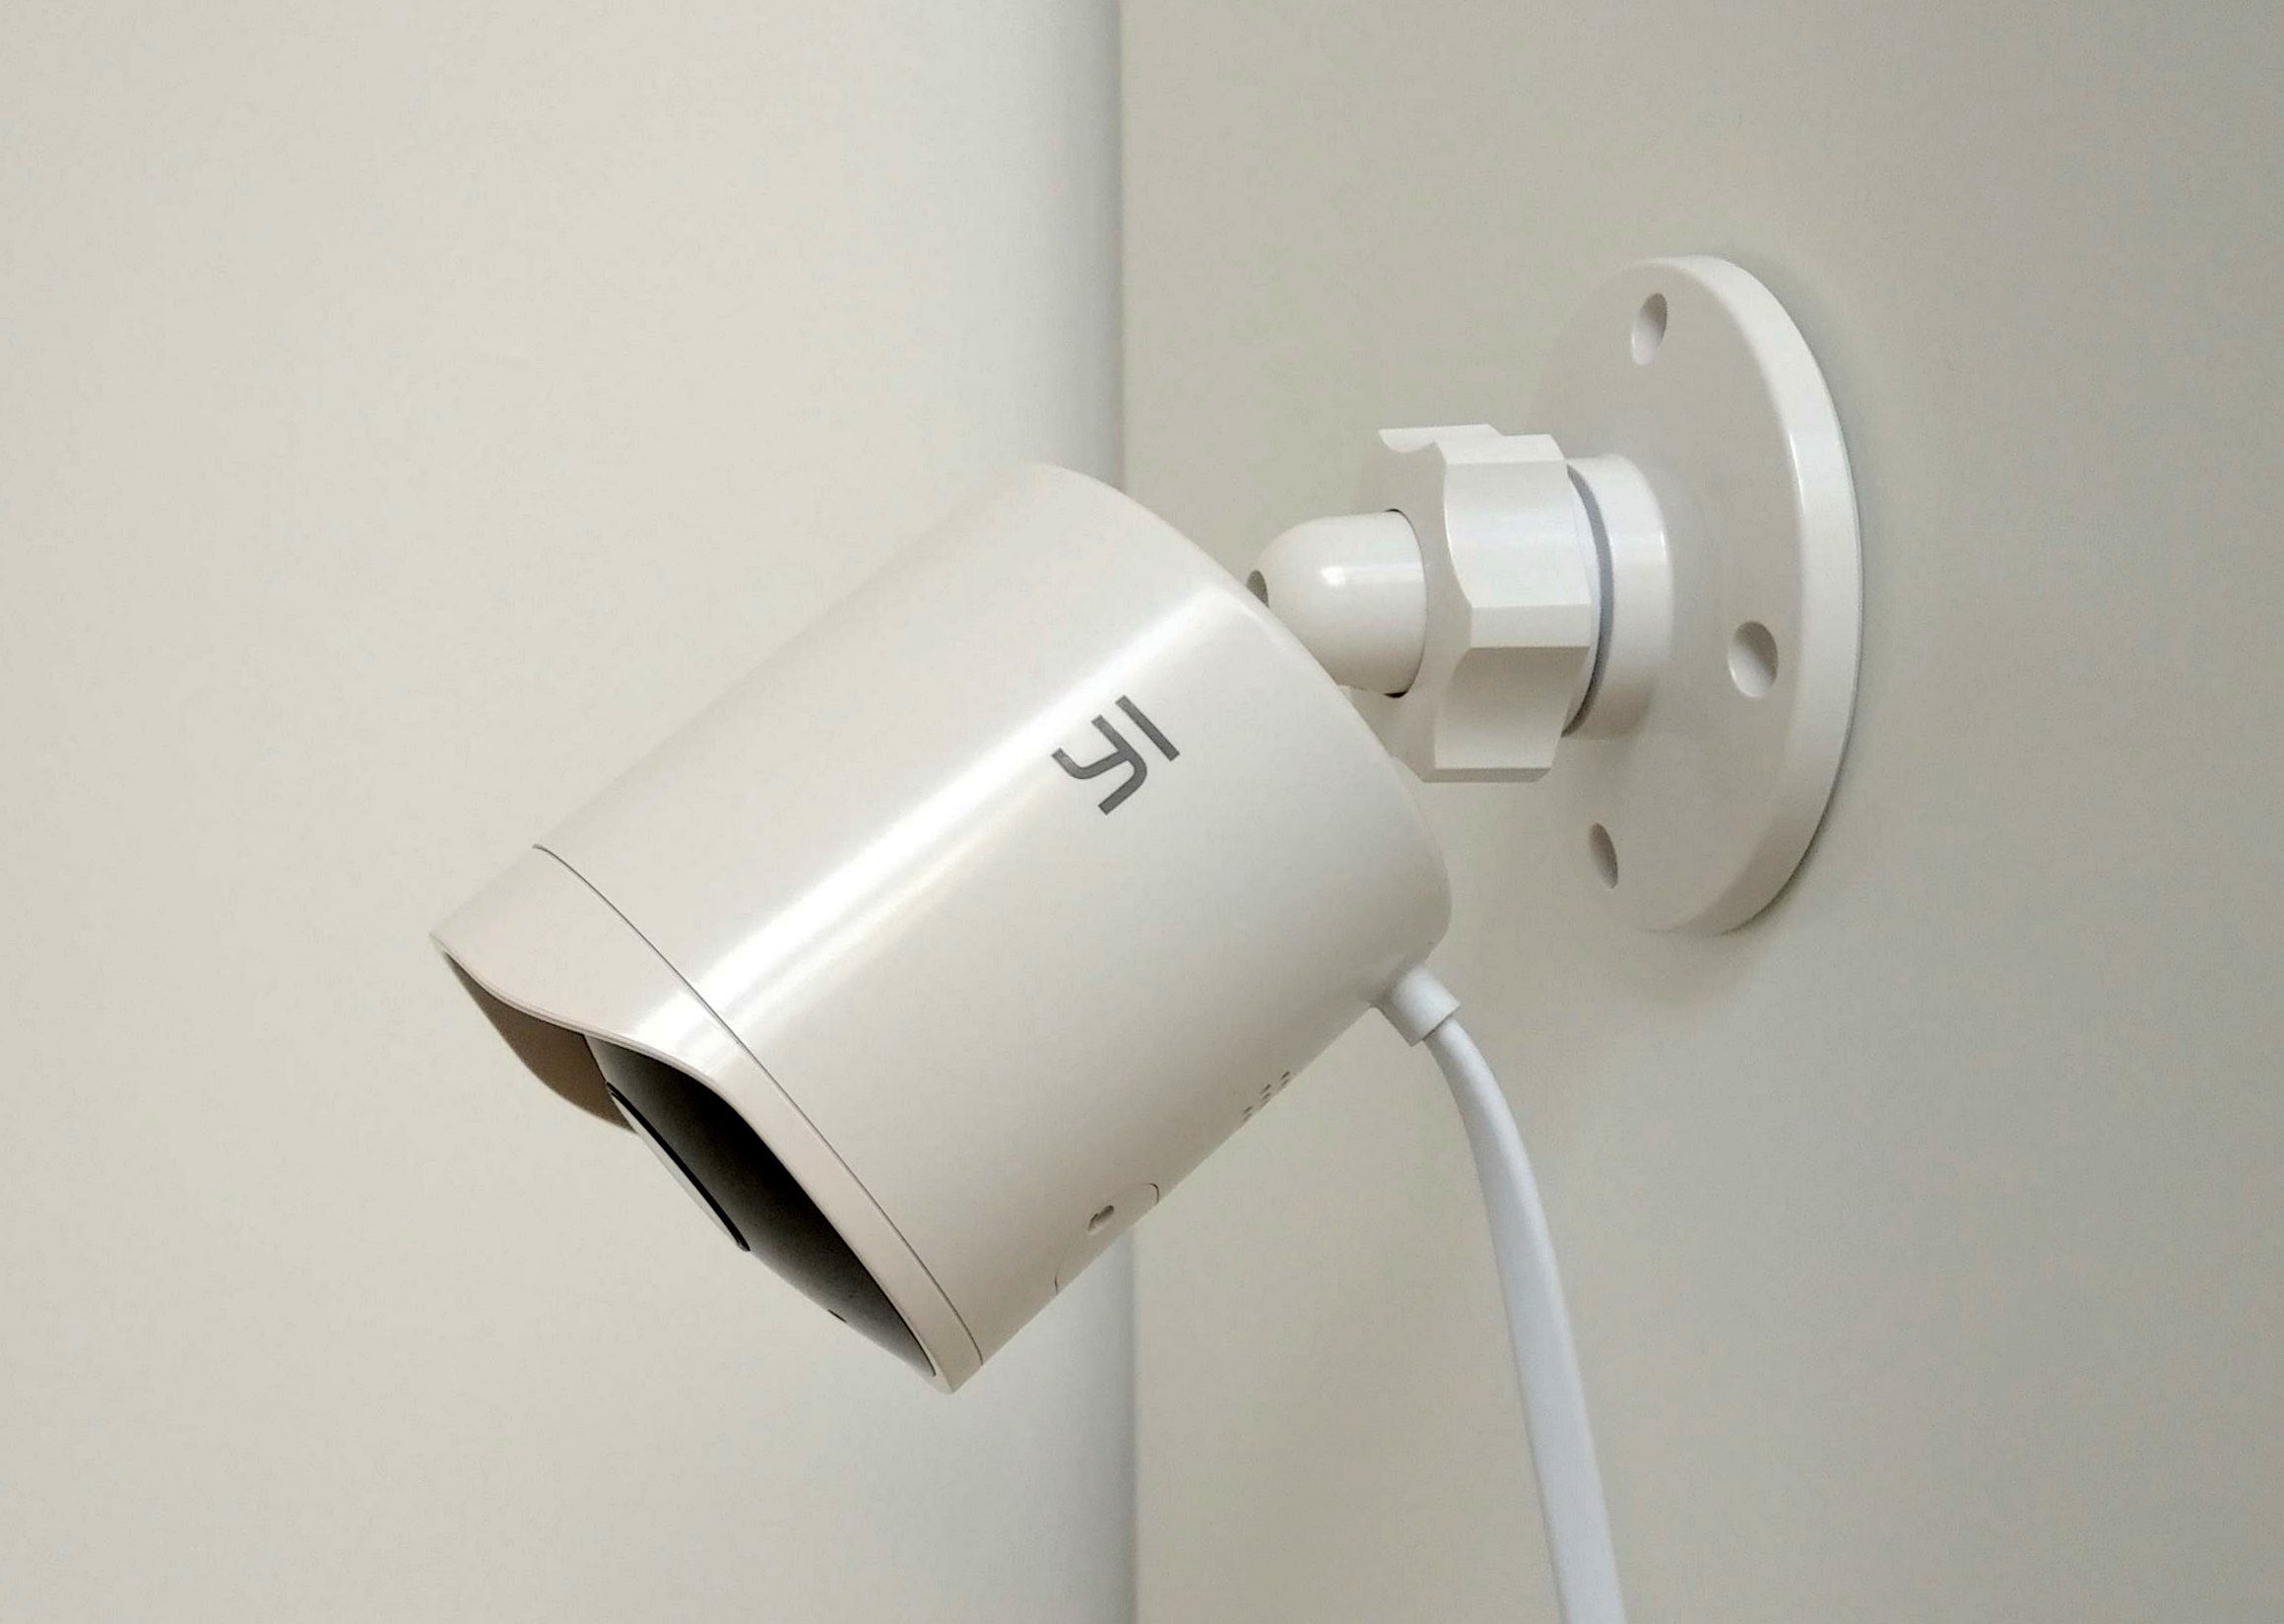
Step 5: Mounting the Yi Outdoor Camera:
Now that your Yi Outdoor Camera is connected to a power source and Wi-Fi network, it’s time to mount the camera in its desired location. Follow these steps to securely mount your Yi Outdoor Camera:
- Choose the mounting location: Select a suitable location outside your home where you want to install the camera. Consider areas that provide a wide view of the desired surveillance area.
- Use the mounting template: If provided, use the mounting template that comes with the camera to assist in positioning the mounting brackets accurately. This will ensure a proper alignment of the camera.
- Secure the mounting brackets: Attach the mounting brackets to the selected location using the appropriate screws or mounting hardware. Make sure the brackets are firmly anchored to provide stability.
- Attach the camera to the mounting brackets: Carefully place the Yi Outdoor Camera onto the mounting brackets. Ensure that it is securely attached and properly aligned for optimal viewing angle and coverage.
- Tighten the camera screws: Use the provided screws to secure the camera to the mounting brackets. Ensure that the camera is firmly fixed in place to prevent any movement or shifting once installed.
When mounting the Yi Outdoor Camera, consider the following tips to maximize its effectiveness:
- Optimal height: Mount the camera at a height that ensures proper coverage of the area while keeping it out of reach from potential vandals or tampering.
- Angle and tilt: Adjust the camera’s angle and tilt to achieve the desired viewing area. Make sure to test the camera’s field of view to ensure it covers the intended surveillance area.
- Weatherproofing: If necessary, apply weatherproofing measures to protect the camera from the elements, such as using silicone sealant around cable entry points.
Once you have securely mounted your Yi Outdoor Camera, it’s time to move on to the next step: adjusting camera settings. Proceed to Step 6 for detailed instructions on configuring your camera settings to meet your specific needs.
Step 6: Adjusting camera settings:
After mounting your Yi Outdoor Camera, it’s important to adjust the camera settings to cater to your specific surveillance needs. Follow these steps to configure your camera settings:
- Launch the Yi Outdoor Camera app: Open the Yi Outdoor Camera app on your mobile device.
- Select your camera: Within the app, locate and select your Yi Outdoor Camera from the list of connected devices.
- Access camera settings: Look for a “Settings” or “Camera Settings” option within the app. Tap on it to access the camera’s settings menu.
- Adjust video quality: If desired, you can adjust the video quality settings to optimize the camera’s performance. Higher video quality settings may consume more bandwidth and storage, so choose the appropriate setting based on your needs.
- Configure motion detection: Enable motion detection and set the desired sensitivity level to receive alerts when any movement is detected within the camera’s field of view.
- Set up recording options: Determine whether you want the camera to continuously record or only record when motion is detected. You can also configure the camera to save recordings to a cloud storage service or a local SD card (if supported).
- Customize notifications: Configure the app to send you notifications when motion is detected or when specific events occur within the camera’s surveillance area.
- Explore additional features: Depending on the model and firmware version of your Yi Outdoor Camera, there may be additional features and settings available in the app. Feel free to explore and customize these options based on your preferences.
By adjusting these camera settings, you can tailor the Yi Outdoor Camera to suit your specific surveillance requirements. Remember to periodically review and update the settings as needed to adapt to changing circumstances or preferences.
Now that you have adjusted your camera settings, it’s time to proceed to the final step: testing the camera. Refer to Step 7 for instructions on how to ensure your Yi Outdoor Camera is functioning correctly.
Step 7: Testing the camera:
After completing the installation and configuration of your Yi Outdoor Camera, it’s essential to test its functionality to ensure that it is working correctly. Follow these steps to test your camera:
- Launch the Yi Outdoor Camera app: Open the app on your mobile device.
- Connect to the camera: Ensure that your mobile device is connected to the same Wi-Fi network as the camera. Select your camera from the list of connected devices within the app.
- Live view: Tap on the live view option to see real-time footage from your Yi Outdoor Camera. Check if the image is clear and stable.
- Check motion detection: Move within the camera’s field of view to test if motion detection is working correctly. Verify that you receive notifications on your mobile device when motion is detected.
- Review recordings: If you have set up recording options, check the recorded footage to ensure that it is capturing the desired events and actions effectively.
- Night vision: Test the camera’s night vision capabilities by viewing the footage in a low-light environment. Ensure that the infrared LEDs are illuminating the area properly.
- Adjust settings if necessary: If you encounter any issues or are unsatisfied with the camera’s performance, revisit the camera settings within the app and make adjustments as needed.
Testing your Yi Outdoor Camera allows you to identify any potential issues and ensure that the camera is functioning optimally. It also provides an opportunity to become familiar with the camera’s features and capabilities.
Remember to periodically check the camera’s performance, update firmware if available, and make any necessary adjustments to maintain its effectiveness and reliability.
With the successful testing of your Yi Outdoor Camera, congratulations! You have successfully completed the installation and configuration process. Enjoy the peace of mind that comes with knowing your home is protected and monitored with this reliable security solution.
If you have any further questions or need assistance, refer to the camera’s user manual or reach out to the Yi support team for additional help and guidance.
Stay vigilant, stay secure!
Conclusion:
In conclusion, setting up and opening your Yi Outdoor Camera is a straightforward process that allows you to enhance the security and surveillance of your home. By following the step-by-step instructions outlined in this guide, you can successfully install, configure, and test your Yi Outdoor Camera to provide reliable monitoring and peace of mind.
From gathering the necessary equipment to mounting the camera in a strategic location, each step plays a crucial role in ensuring the camera’s effectiveness. The Yi Outdoor Camera app allows you to customize settings, such as video quality, motion detection, recording options, and notifications, tailoring the system to meet your specific needs.
Once you have completed the installation and configuration, it’s important to periodically review and update the camera settings as necessary. Regular testing of the camera’s functionality, including live view, motion detection, and night vision, allows you to ensure its proper operation and make any adjustments or troubleshooting as needed.
Remember, the Yi Outdoor Camera is just one piece of the puzzle when it comes to home security. It’s important to complement it with other security measures, such as proper lighting, secure locks, and alarm systems, for comprehensive protection.
With the Yi Outdoor Camera installed and operational, you can have peace of mind knowing that you have taken an important step towards safeguarding your home and loved ones. Embrace the enhanced security and surveillance it provides and enjoy the added layer of convenience and control offered by the Yi Outdoor Camera app.
Should you encounter any difficulties or have any questions during the setup process, refer to the camera’s user manual or seek assistance from the Yi support team. They are there to help you make the most of your home security system.
Thank you for choosing the Yi Outdoor Camera, and we hope this guide has been helpful in opening up a world of enhanced security and peace of mind for you and your family.
Frequently Asked Questions about How To Open Yi Outdoor Camera
Was this page helpful?
At Storables.com, we guarantee accurate and reliable information. Our content, validated by Expert Board Contributors, is crafted following stringent Editorial Policies. We're committed to providing you with well-researched, expert-backed insights for all your informational needs.