Articles
How To Connect PVC Conduit To Electrical Box
Modified: October 19, 2024
Learn how to connect PVC conduit to an electrical box in this informative article. Find step-by-step instructions and essential tips for a successful installation.
(Many of the links in this article redirect to a specific reviewed product. Your purchase of these products through affiliate links helps to generate commission for Storables.com, at no extra cost. Learn more)
Introduction
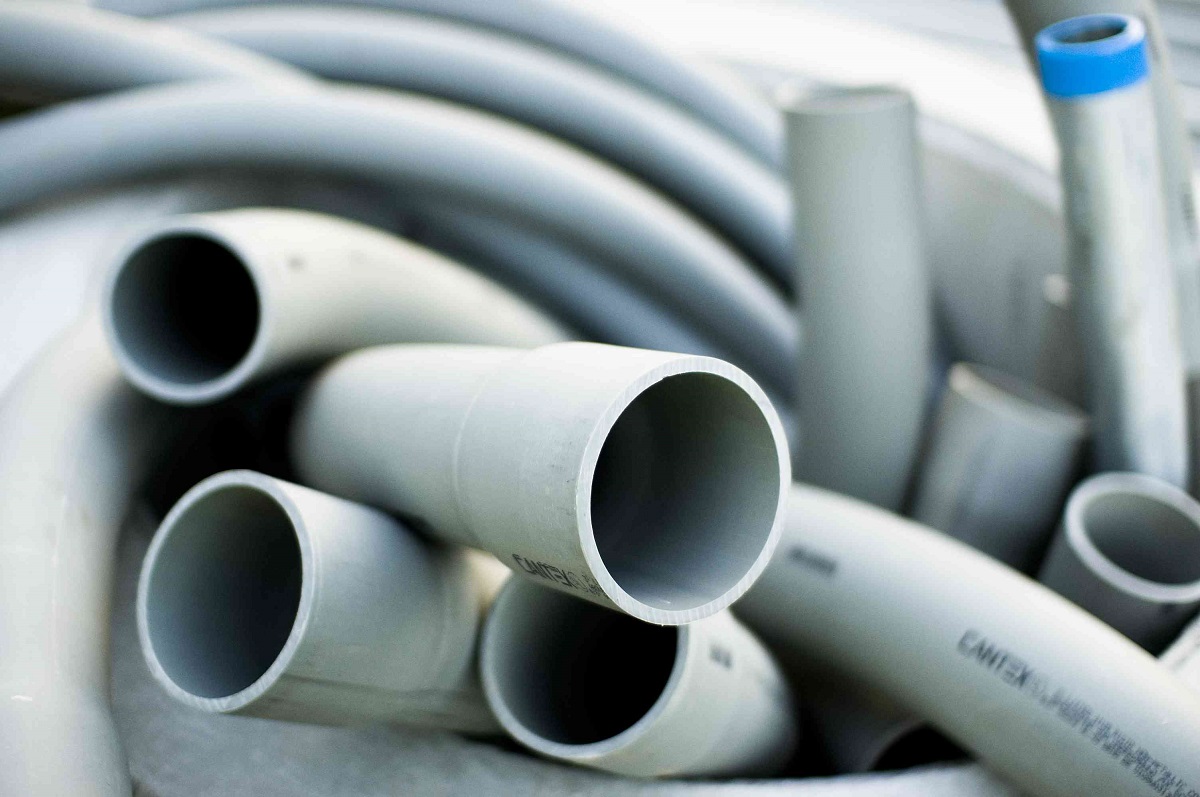
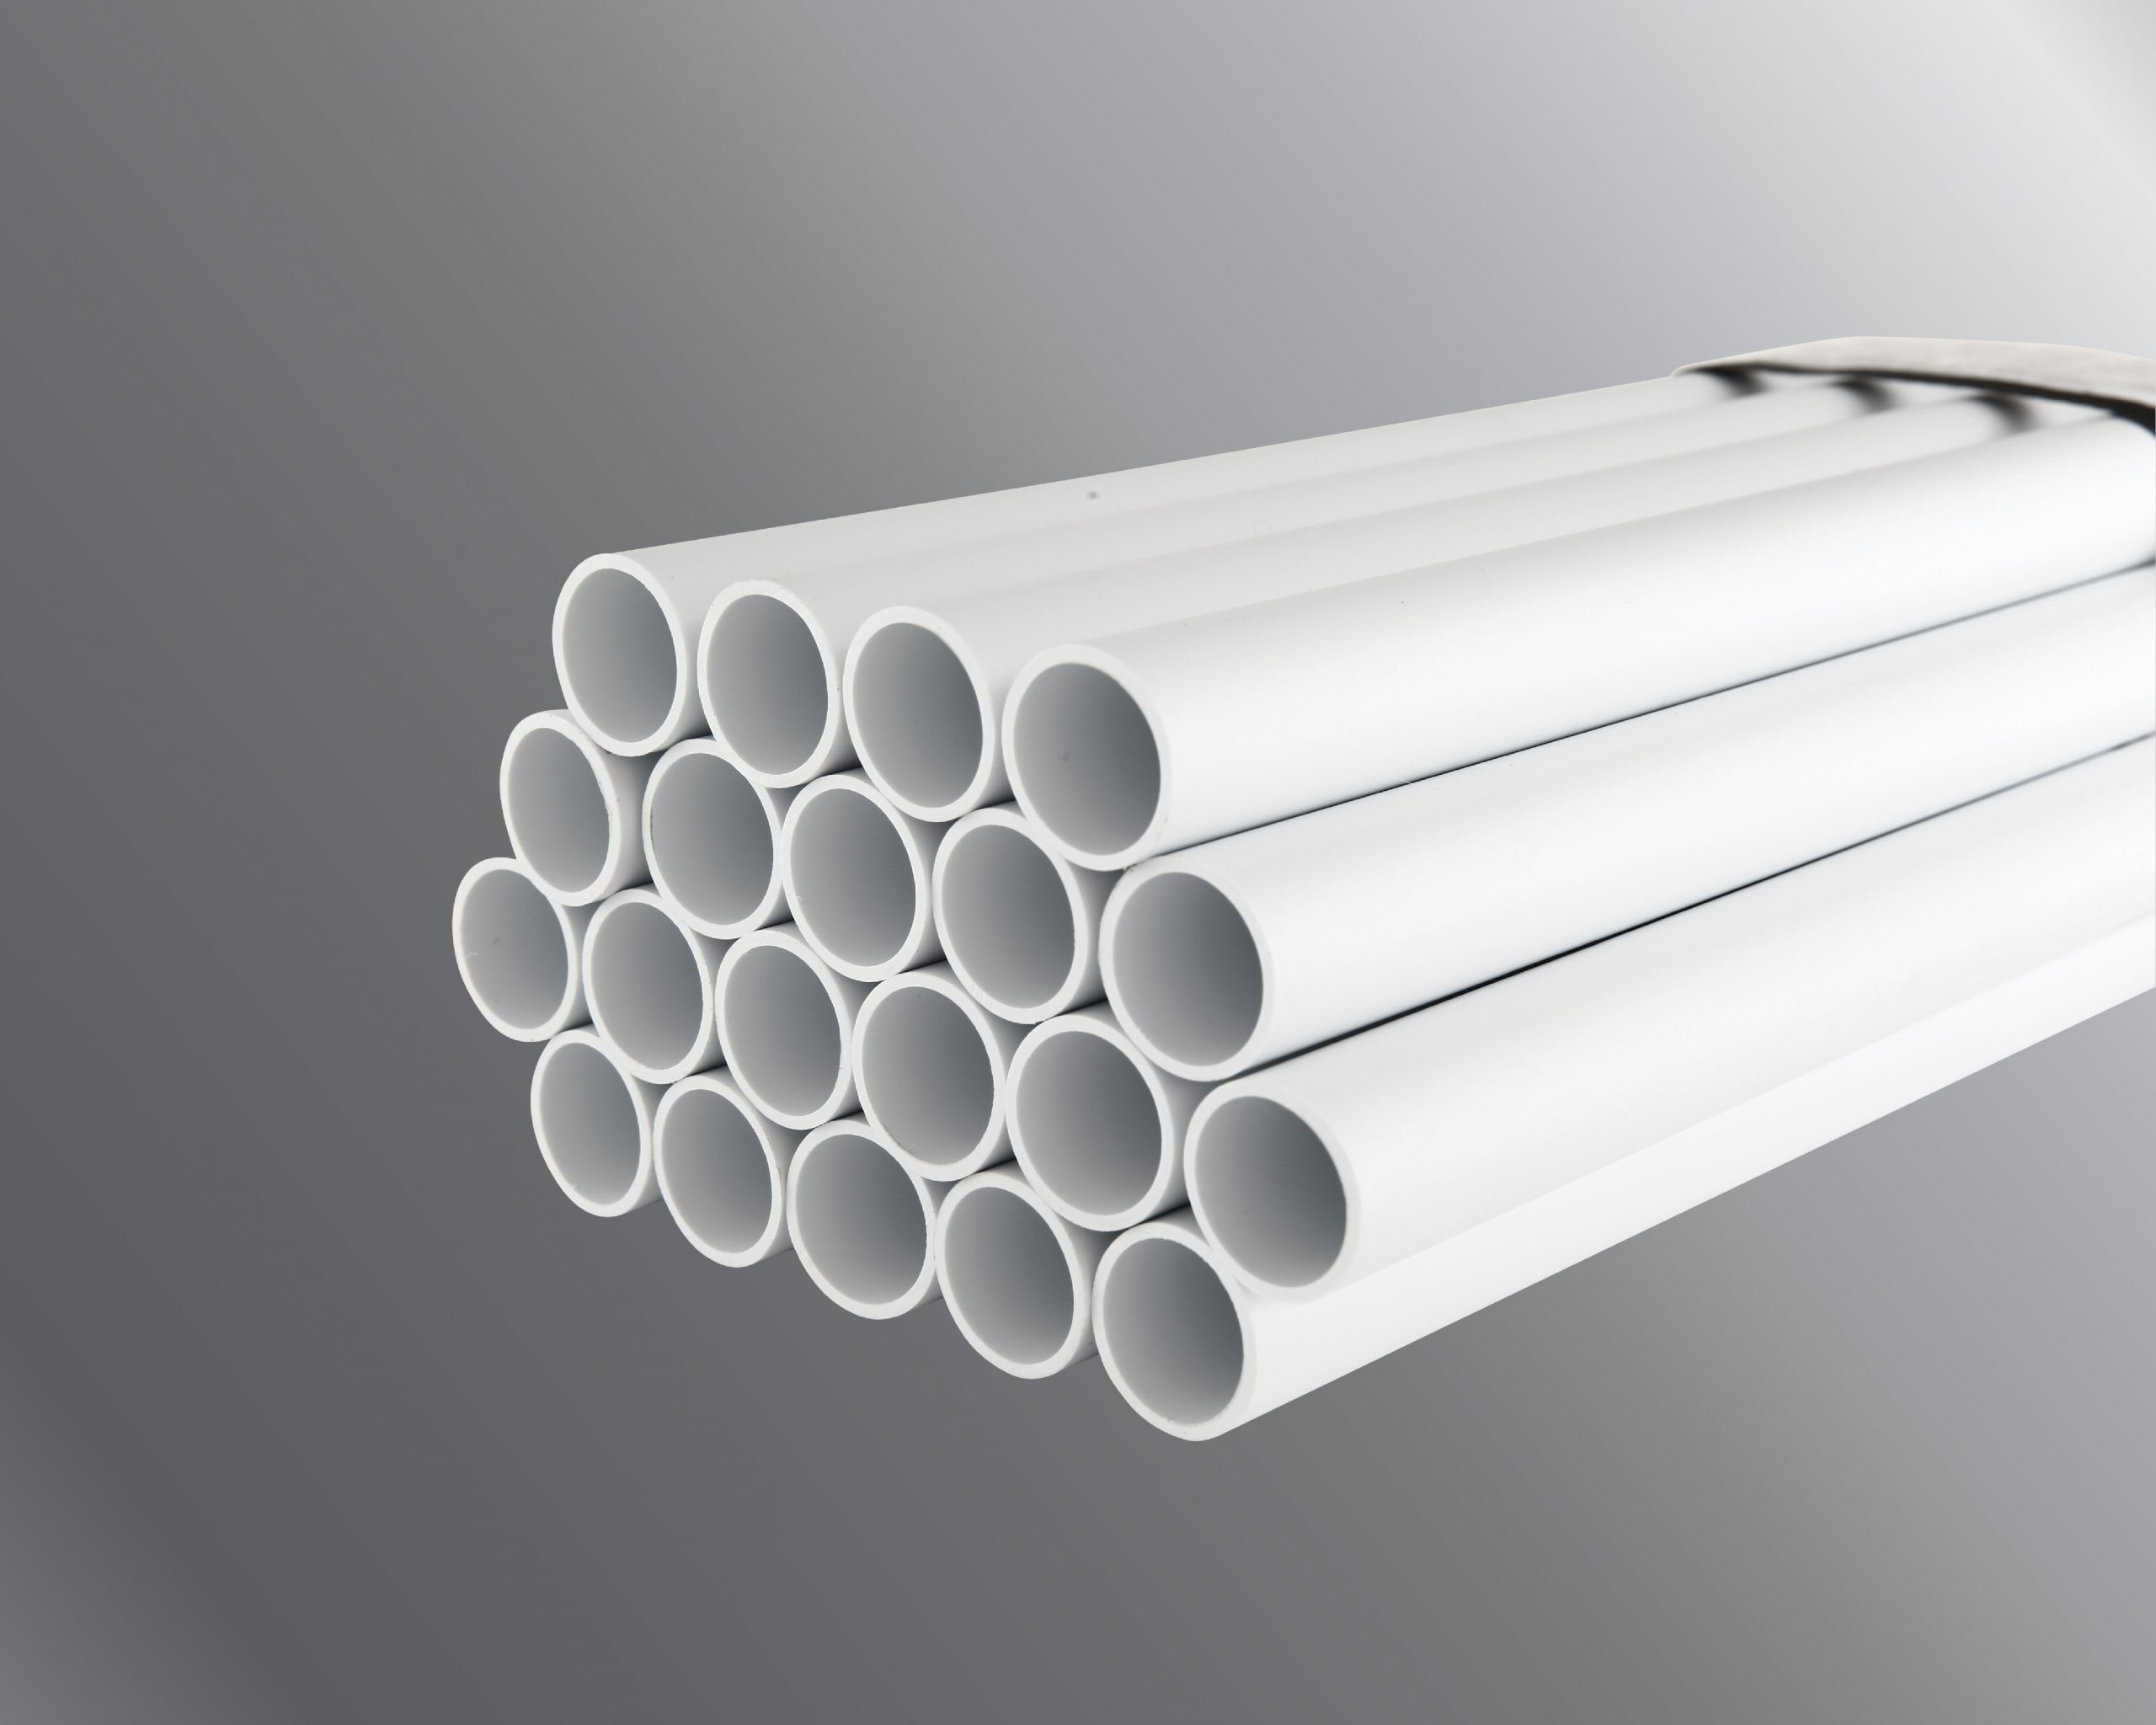
Connecting PVC conduit to an electrical box is an essential step in electrical installations. PVC conduit, or polyvinyl chloride conduit, is a durable and cost-effective option for protecting and routing electrical wires. It provides excellent insulation and protection against moisture, corrosion, and physical damage.
Properly connecting PVC conduit to an electrical box ensures a secure and reliable electrical connection. Whether you are a professional electrician or a DIY enthusiast, this article will guide you through the process of connecting PVC conduit to an electrical box effectively and safely.
Before we dive into the steps, let’s gather the necessary tools and materials.
Key Takeaways:
- Properly preparing PVC conduit and electrical box is crucial for a secure and reliable electrical connection. Use the right tools, follow the steps, and conduct thorough checks for a successful installation.
- Safety precautions, attention to detail, and adherence to local electrical codes are essential for connecting PVC conduit to an electrical box. Seek professional assistance when in doubt to ensure a safe and compliant installation.
Read more: How To Connect Conduit To Box
Tools and Materials Needed
Before starting the process of connecting PVC conduit to an electrical box, make sure you have the following tools and materials at hand:
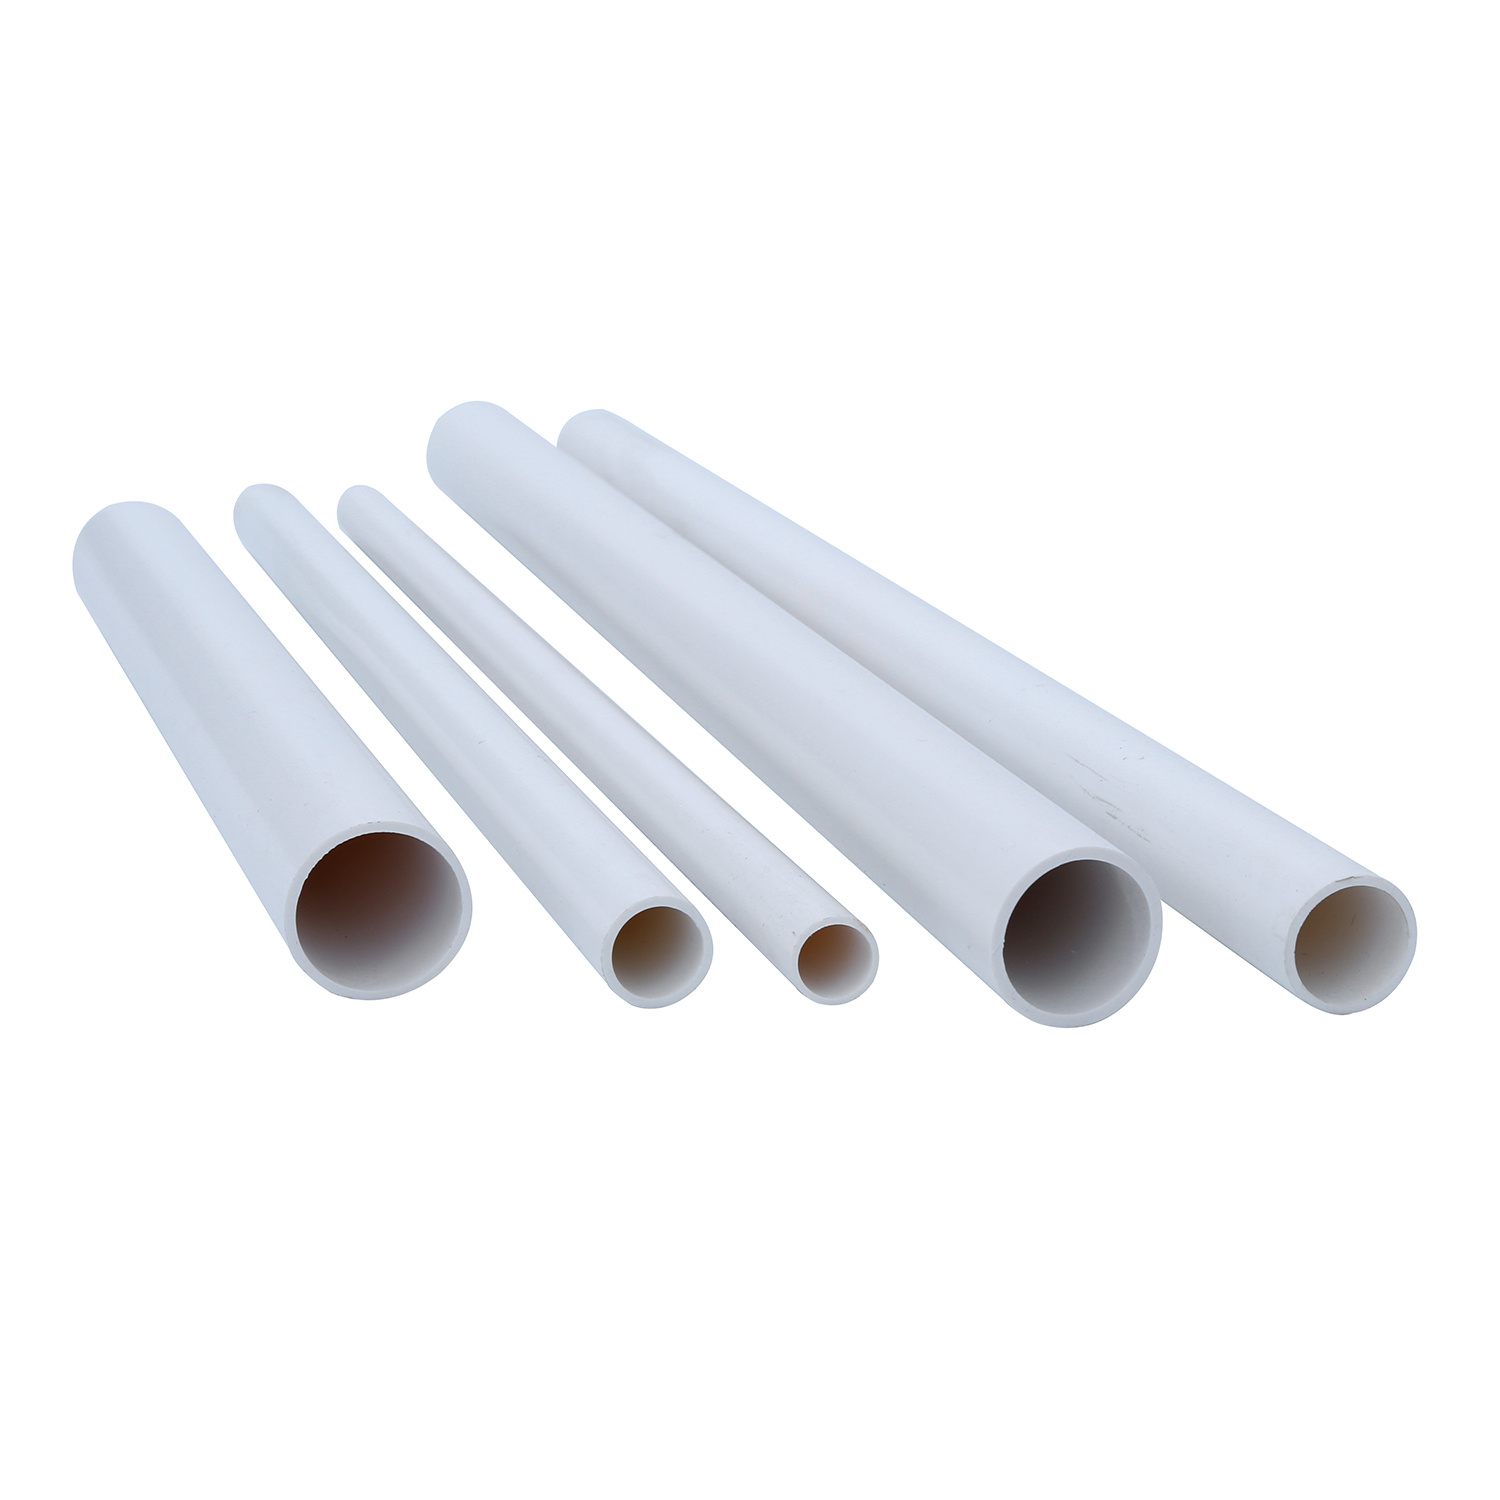
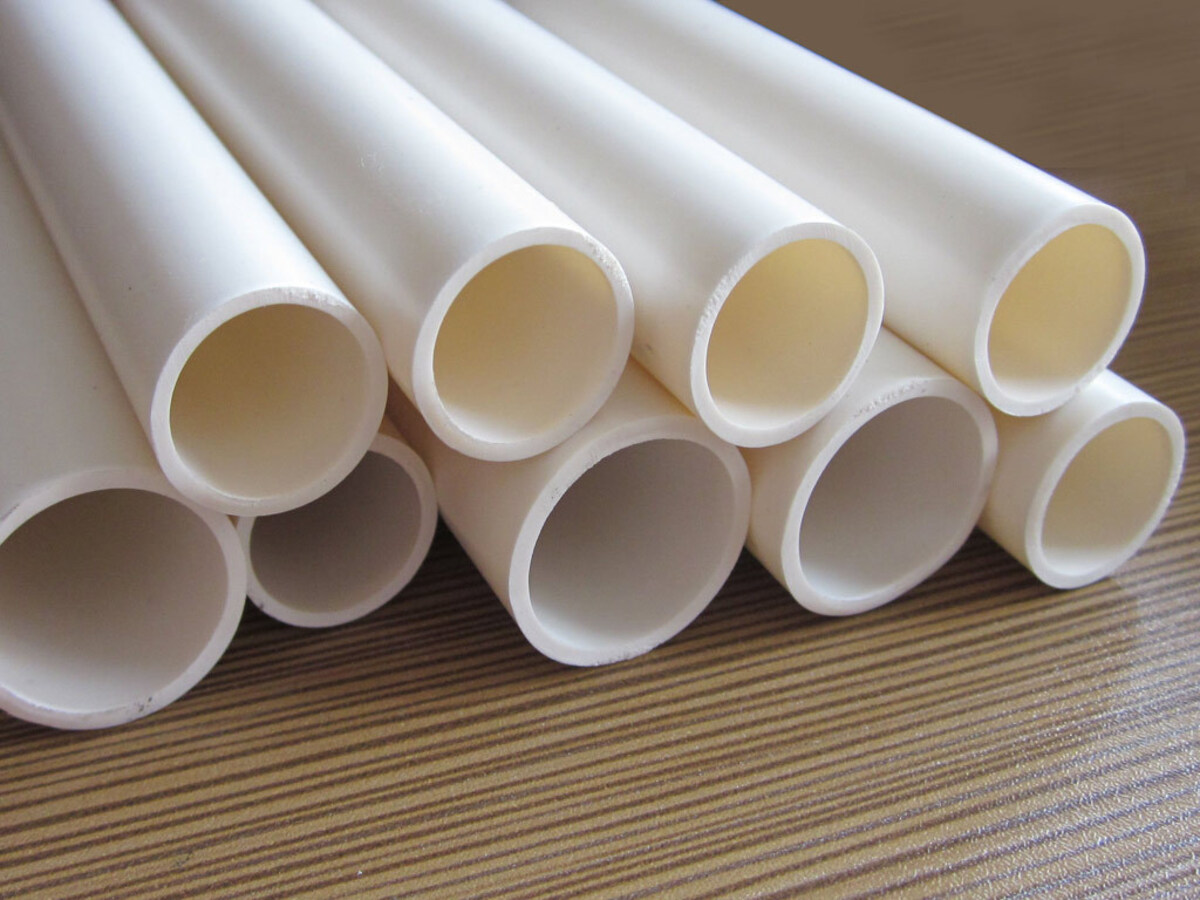
- PVC conduit: Choose the appropriate size and length based on your electrical needs.
- Electrical box: Select a box that matches the size and specifications required for your project.
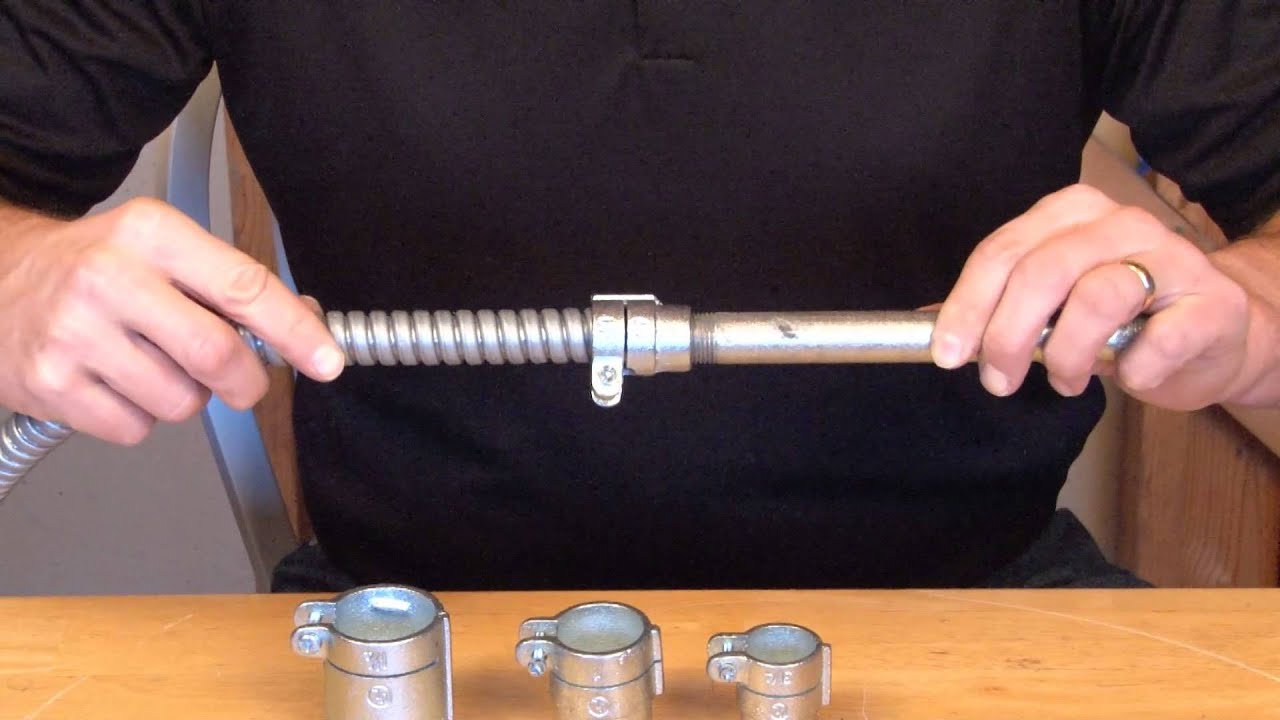
- Saw or PVC pipe cutter: Used to cut the PVC conduit to the desired length.
- Deburring tool: Helps remove any burrs or sharp edges from the cut ends of the conduit.
- PVC adhesive: A specialized glue used for bonding PVC components.
- Electrical tape: Provides additional insulation and protection.
- Screwdriver: Required for fastening the conduit to the electrical box.
- Measuring tape: Helps ensure precise cuts and measurements.
- Marker or pencil: Used for marking the conduit and electrical box.
- Safety gloves and goggles: Essential for personal protection.
Having these tools and materials ready will streamline the process and help you achieve a professional-quality connection between the PVC conduit and electrical box.
Step 1: Prepare the PVC Conduit
Before connecting the PVC conduit to the electrical box, you need to properly prepare the conduit. Follow these steps:
- Measure and mark: Use a measuring tape to determine the length of conduit needed for your installation. Mark the conduit accordingly using a marker or pencil.
- Cut the conduit: Using a saw or PVC pipe cutter, carefully cut the conduit along the marked line. Make sure to use smooth and controlled motions to ensure a clean cut.
- Debur the edges: Once the conduit is cut, use a deburring tool to remove any burrs or sharp edges from the cut ends. This will prevent damage to the wires and make the installation process smoother.
- Inspect the conduit: Before proceeding, visually inspect the conduit for any cracks, defects, or irregularities. If any issues are found, replace the conduit to ensure a safe and secure connection.
By properly preparing the PVC conduit, you ensure that it fits correctly and is free from any sharp edges or damage. This promotes a smooth and secure connection with the electrical box.
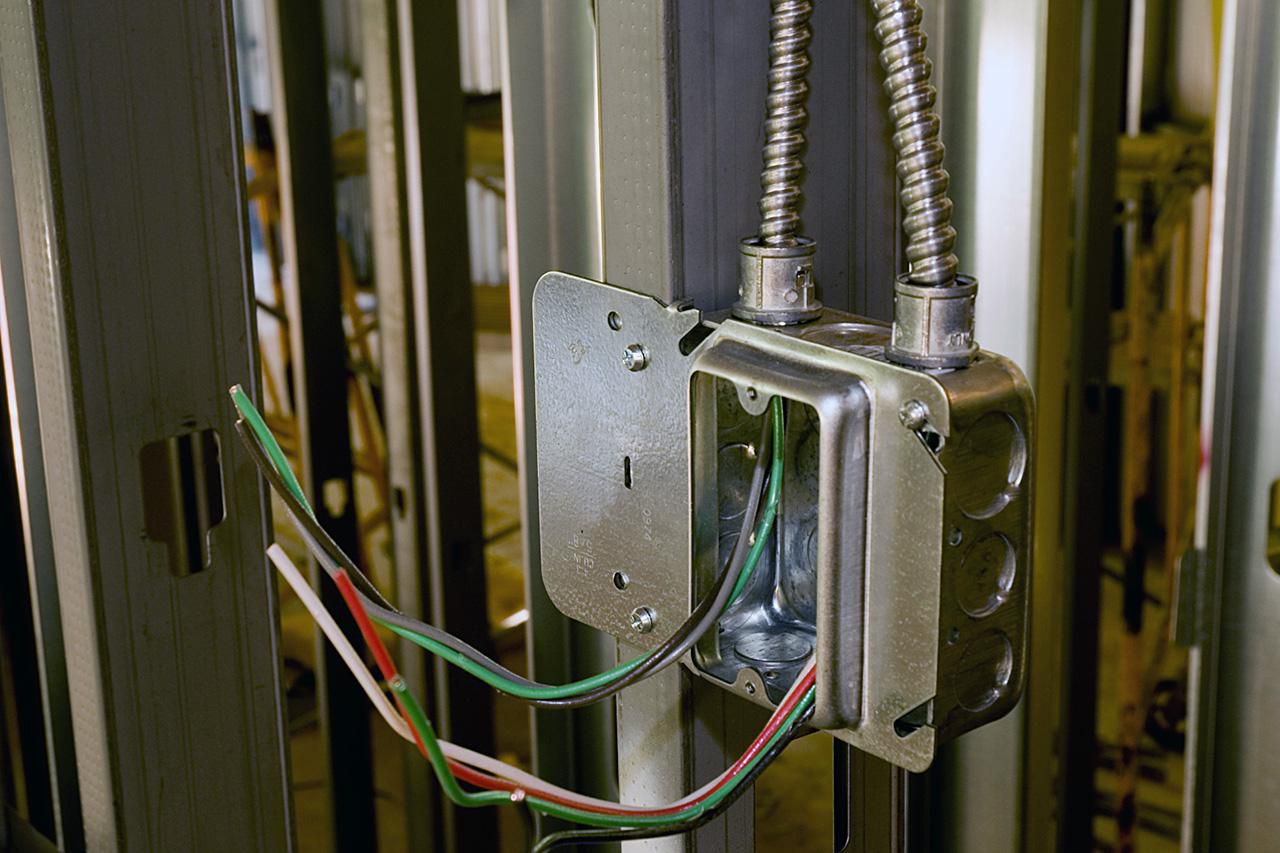
Step 2: Prepare the Electrical Box
After preparing the PVC conduit, it’s time to focus on preparing the electrical box. Follow these steps:
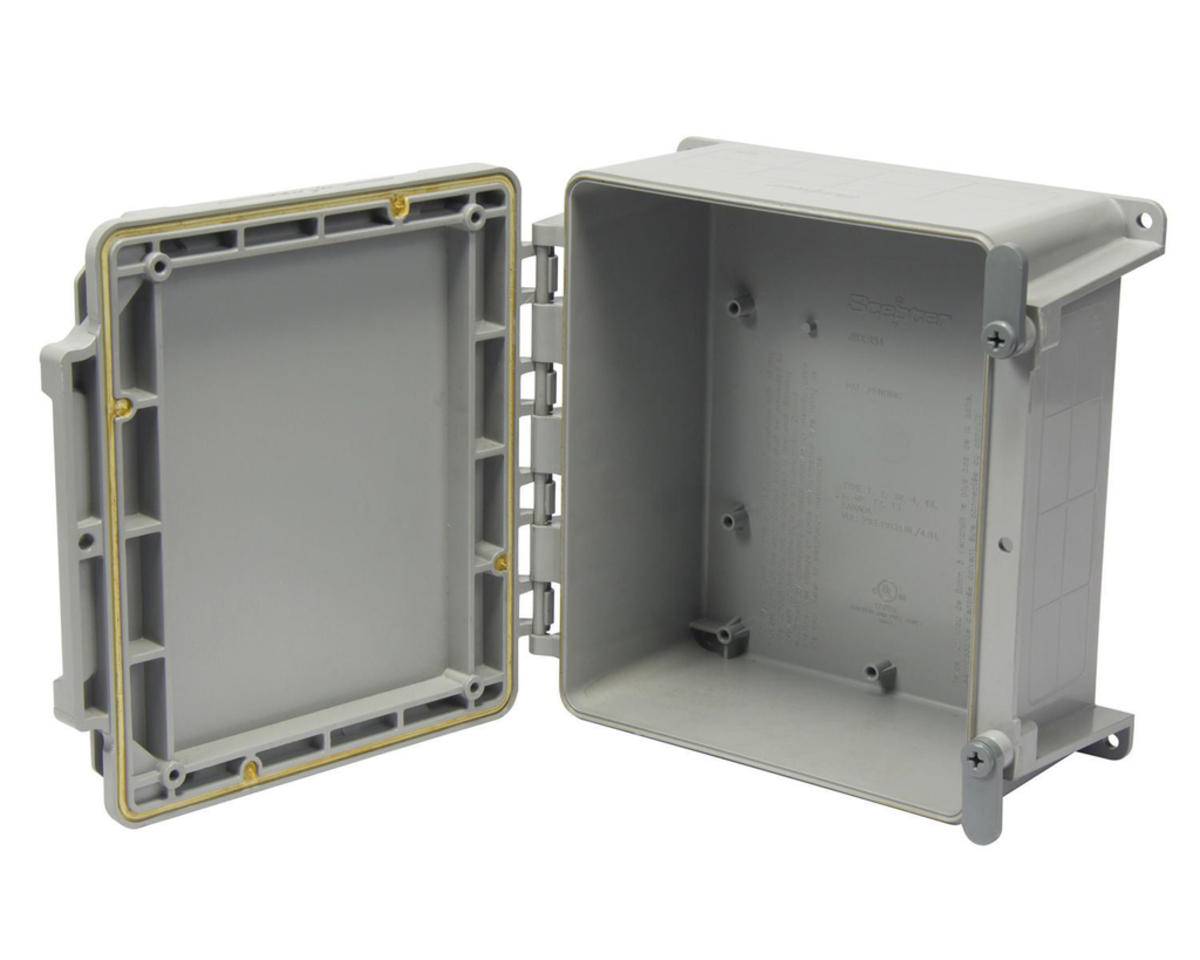
- Select the appropriate box: Ensure that you have the correct size and type of electrical box for your installation. Different electrical applications require different boxes, so make sure to choose the right one.
- Remove the knockout(s): Most electrical boxes come with knockouts that need to be removed to accommodate the conduit. Use a screwdriver or knockout punch tool to remove the knockout(s) located on the side or back of the box. Be sure to remove the appropriate knockout for your conduit size.
- Smooth the edges: After removing the knockout(s), use a file or sandpaper to smooth any sharp edges around the knockout hole(s). This will help prevent damage to the conduit and make the connection easier.
- Inspect the box: Take a moment to inspect the electrical box for any cracks, damage, or loose components. If you notice any issues, replace the box to ensure a secure and safe connection.
Properly preparing the electrical box ensures that it is compatible with the PVC conduit and provides a secure housing for your electrical connections. It also helps prevent any potential damage or hazards during the installation process.
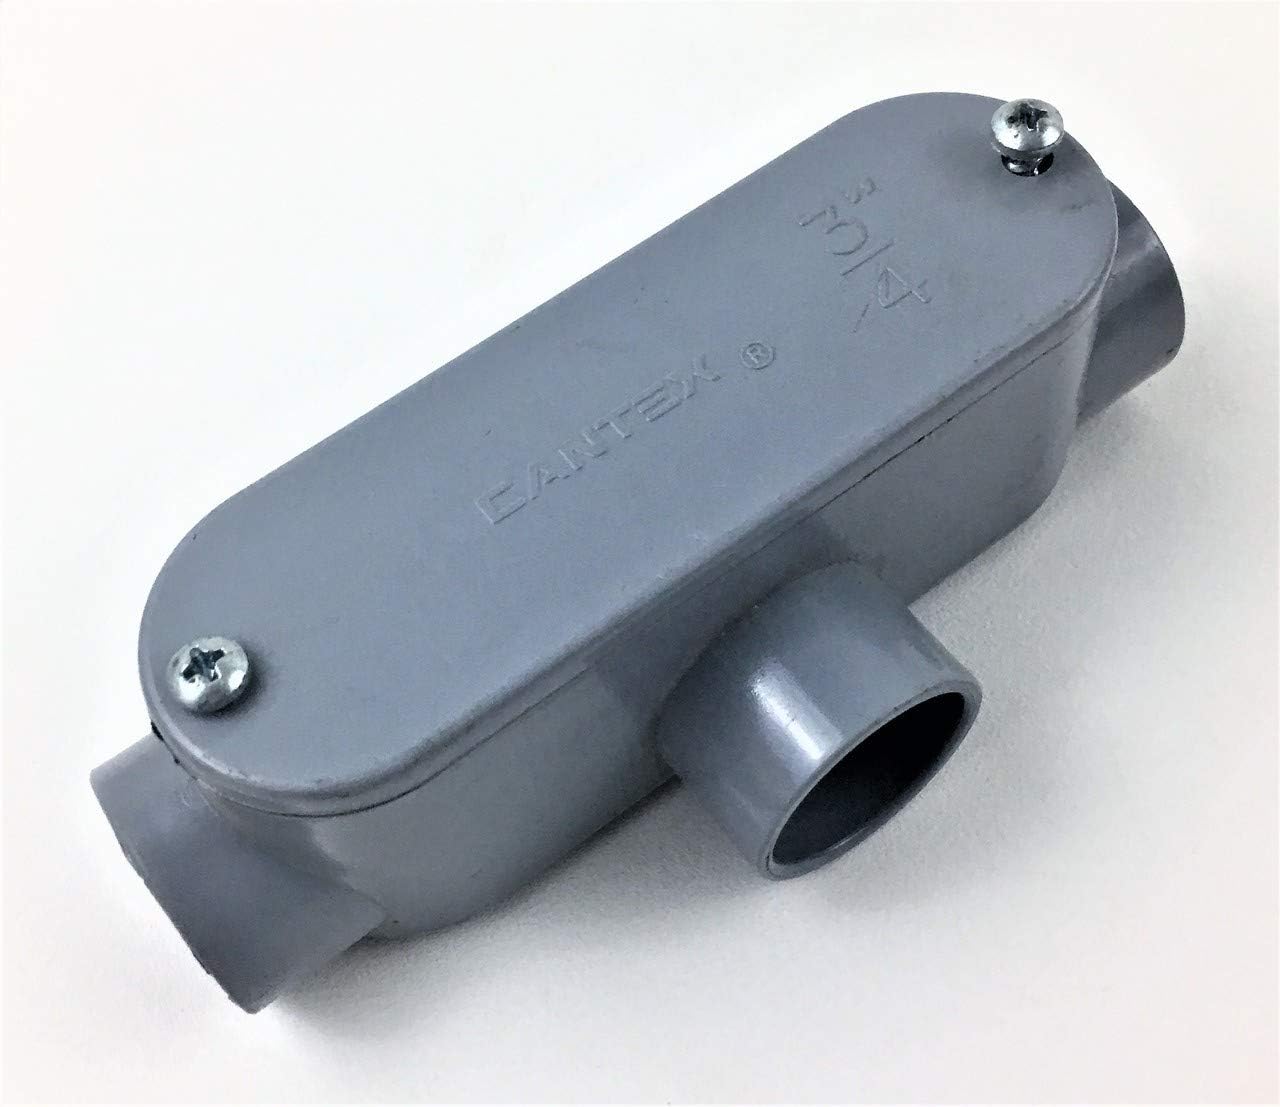
When connecting PVC conduit to an electrical box, make sure to use the appropriate PVC connectors and fittings. Secure the conduit to the box with locknuts and bushings to ensure a tight and safe connection.
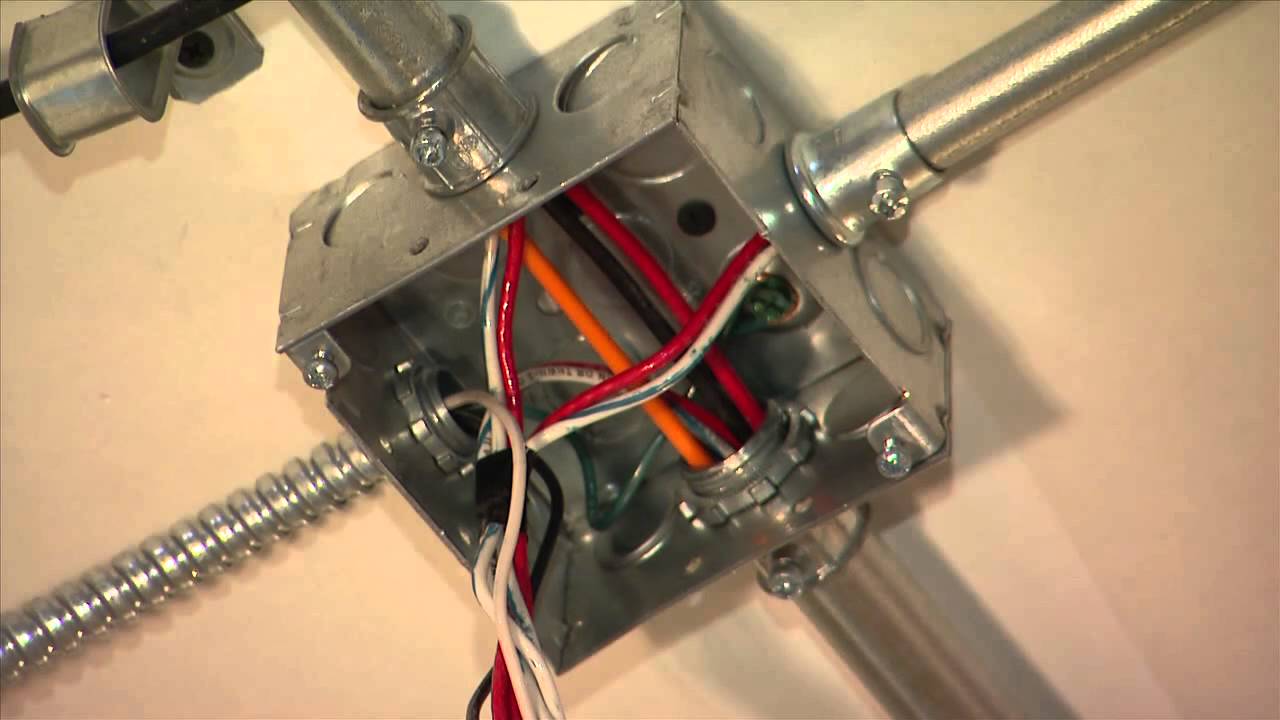
Step 3: Attach the PVC Conduit to the Electrical Box
Now that both the PVC conduit and electrical box are prepared, it’s time to connect them. Follow these steps:
- Apply PVC adhesive: Apply a layer of PVC adhesive to the outer end of the conduit and the inner surface of the knockout hole in the electrical box. Be sure to spread the adhesive evenly to ensure a strong bond.
- Insert the conduit into the knockout hole: Insert the adhesive-coated end of the conduit into the knockout hole in the electrical box. Apply gentle pressure and twist the conduit slightly to ensure it is securely seated in the hole.
- Align the conduit: Check the alignment of the conduit to ensure it is straight and properly positioned in the electrical box. Adjust as needed before moving on to the next step.
- Fasten the conduit: Use screws or clamps, as specified by the manufacturer, to secure the conduit to the electrical box. Ensure that it is tightly fastened to provide a secure connection.
By following these steps, you can effectively attach the PVC conduit to the electrical box, creating a solid connection that will protect and route your electrical wiring.
Read also: 15 Amazing Pvc Electrical Conduit for 2025
Step 4: Secure the Conduit in Place
Once the PVC conduit is attached to the electrical box, it’s important to secure it in place to ensure stability and prevent any movement. Follow these steps to secure the conduit:
- Measure and mark the mounting location: Use a measuring tape to determine the desired mounting location for the conduit along the wall or surface. Mark the spots where you will secure the conduit.
- Drill pilot holes: Using a drill and an appropriate-sized drill bit, create pilot holes at the marked spots. These holes will act as guides for installing screws or anchors.
- Insert anchors (if necessary): If you’re mounting the conduit to a surface other than wood, such as concrete or drywall, you may need to insert anchors for added support. Follow the manufacturer’s instructions to insert the anchors into the pilot holes.
- Mount the conduit: Hold the conduit against the wall or surface, aligning it with the pilot holes. Use screws or appropriate fasteners to secure the conduit in place. Make sure the conduit is firmly attached and does not have any excessive movement.
- Inspect the installation: Take a moment to inspect the mounted conduit for any signs of instability or loose connections. Verify that the conduit is securely fastened and that there are no gaps or gaps between the conduit and the electrical box.
Securing the PVC conduit in place not only provides stability but also ensures the long-term reliability of your electrical installation. Proper mounting reduces the risk of damage to the conduit and improves the overall safety of the electrical system.
Step 5: Check for Proper Connection
After completing the steps to attach and secure the PVC conduit to the electrical box, it’s essential to check for a proper connection. Follow these steps to ensure a successful installation:
- Inspect the overall setup: Take a step back and evaluate the entire installation. Look for any visible gaps or misalignments between the conduit and the electrical box. Ensure that the conduit is securely fastened and that there are no loose connections.
- Verify electrical continuity: Use a multimeter or a continuity tester to check for electrical continuity between the conduit and the electrical box. This ensures that there is a proper electrical connection and that current can flow seamlessly.
- Perform a tug test: Gently tug on the conduit to check its stability. It should remain firmly attached to the electrical box without any excessive movement. If there is any sign of weakness or instability, double-check the fastening and make necessary adjustments.
- Check for proper insulation: Inspect the area where the conduit enters the electrical box for proper insulation. Ensure that there are no exposed wires or gaps that could potentially result in electrical hazards.
- Test the electrical system: Once you have confirmed a secure and properly connected conduit, you can proceed to test the electrical system. Turn on the power and check that everything is functioning as expected.
By undergoing these checks, you can ensure that the PVC conduit is successfully connected to the electrical box, providing a reliable and safe electrical pathway for your wiring.
Conclusion
Connecting PVC conduit to an electrical box is an important step in electrical installations. By following the steps outlined in this guide, you can successfully connect PVC conduit to an electrical box, ensuring a secure and reliable electrical connection.
Starting with preparing the PVC conduit and electrical box, to attaching the conduit to the box and securing it in place, each step plays a crucial role in creating a strong connection. By using the right tools and materials and following the proper techniques, you can achieve a professional-quality installation.
Remember to inspect all components for any defects or damage before proceeding with the installation. Safety precautions such as wearing gloves and goggles should also be taken to protect yourself during the process.
Once the PVC conduit is properly connected to the electrical box, conduct a thorough check to ensure a proper connection, electrical continuity, and insulation. This will guarantee the stability and safety of your electrical system.
Always consult local electrical codes and regulations, especially if you are not familiar with electrical work. When in doubt, it’s best to seek professional assistance to ensure a safe and compliant electrical installation.
By following the steps outlined in this guide and paying attention to details, you can confidently connect PVC conduit to an electrical box, facilitating effective wire routing and protecting your electrical system for years to come.
Now that you've mastered connecting PVC conduit to electrical boxes, why not tackle another practical project? If you're considering powering up your garage with some overhead lights or tools, our next guide on running electrical wiring overhead to a garage will be perfect. This straightforward guide will walk you through every necessary step, ensuring your workspace is both functional and safely powered.
Frequently Asked Questions about How To Connect PVC Conduit To Electrical Box
Was this page helpful?
At Storables.com, we guarantee accurate and reliable information. Our content, validated by Expert Board Contributors, is crafted following stringent Editorial Policies. We're committed to providing you with well-researched, expert-backed insights for all your informational needs.


0 thoughts on “How To Connect PVC Conduit To Electrical Box”