Articles
How To Organize Filing Cabinet
Modified: May 6, 2024
Looking to efficiently organize your filing cabinet? Discover expert tips and tricks for office storage to maximize space and enhance productivity.
(Many of the links in this article redirect to a specific reviewed product. Your purchase of these products through affiliate links helps to generate commission for Storables.com, at no extra cost. Learn more)
Introduction
Welcome to the world of organized chaos – the realm of the filing cabinet! Whether you’re a student, a professional, or a busy individual with a stack of important documents, having an efficient filing system can save you time, reduce stress, and help you stay organized. A well-organized filing cabinet can be the key to a clutter-free workspace and a productive mindset.
But where do you start? How do you sort through the piles of papers and create a system that works for you? In this article, we’ll guide you through the process of organizing your filing cabinet from start to finish. By following these steps, you’ll be able to streamline your document storage, locate files effortlessly, and maintain a neat and orderly filing system.
Whether you’re setting up a brand-new filing cabinet or reorganizing an existing one, this step-by-step guide will equip you with the knowledge and tools to create a functional and user-friendly system. So, roll up your sleeves, grab a cup of coffee (or tea), and let’s dive in!
In the following sections, we’ll cover essential steps such as assessing your filing needs, purging unnecessary documents, categorizing your documents, choosing a filing system, labeling your files, setting up your filing cabinet, establishing a file maintenance routine, and securing important documents. Each of these steps plays a crucial role in creating a well-organized filing system that is tailored to your unique needs and preferences.
Whether you’re organizing personal documents, work-related files, or a combination of both, the strategies discussed here can be applied to any type of filing cabinet. So, let’s get started on the path to organization bliss!
Key Takeaways:
- Assess your filing needs, purge unnecessary documents, and categorize files to create a streamlined and efficient filing system. Regular maintenance and securing important documents are crucial for long-term organization.
- Choose a suitable filing system, label files effectively, and set up your filing cabinet for maximum organization. Establish a file maintenance routine and secure important documents to ensure the longevity and integrity of your filing system.
Read more: How To Organize A File Cabinet
Step 1: Assessing your filing needs
Before diving into the process of organizing your filing cabinet, it’s important to take a moment to assess your filing needs. This step will help you determine the scope and scale of your organization project and lay the foundation for a customized filing system that suits your specific requirements.
Start by asking yourself the following questions:
- What types of documents do you need to organize? Are they personal, professional, or a mix of both?
- How often do you need to access these documents? Are some files more frequently used than others?
- Do you need to keep physical copies of all your documents, or can some be digitized and stored electronically?
- Are there any legal or compliance requirements that you need to consider when organizing your files?
By answering these questions, you’ll gain a clear understanding of what you’re working with and what your priorities are. This knowledge will guide you in making informed decisions about how to structure your filing system and what types of file categories and subcategories to create.
Once you have an idea of the types of documents you need to manage, it’s time to gather and review all your current files. Set aside some dedicated time to go through each document and determine its relevance and importance. Consider creating three piles: keep, discard, and digitize.
The “keep” pile should include documents that you know you’ll need to refer to in the future. These might include important legal documents, tax records, or contracts. The “discard” pile should include documents that are no longer relevant, such as old receipts or outdated manuals. Finally, the “digitize” pile should include any documents that can be scanned and stored electronically to reduce physical clutter.
By decluttering and removing unnecessary documents, you’ll create space and make the organizing process more manageable. Remember, the goal is to have a streamlined filing system that only contains documents that are relevant and important to you.
Once you’ve assessed your filing needs and gone through your existing files, you’ll have a clearer picture of what needs to be organized and how to proceed. In the next step, we’ll delve into the process of purging unnecessary documents to further refine your filing system.
Step 2: Purging unnecessary documents
Now that you’ve assessed your filing needs and categorized your documents, it’s time to tackle step 2 of organizing your filing cabinet: purging unnecessary documents. This step involves decluttering and getting rid of any files that are no longer relevant, outdated, or taking up valuable space.
Start by going through each document in your “discard” pile that you created during the assessment phase. Ask yourself the following questions as you make decisions about what to keep and what to discard:
- Is this document still relevant to my life or work?
- Can I find this information elsewhere, such as online or in digital form?
- Does this document have any sentimental value or legal significance?
- Is this document easily replaceable if needed in the future?
Be ruthless in your decision-making process, keeping only the files that truly have meaning or are necessary for legal or compliance purposes. Remember, the goal is to streamline and simplify your filing system. Getting rid of unnecessary papers will not only free up physical space but also make it easier to locate important documents when needed.
As you purge unnecessary documents, be mindful of proper disposal methods, especially when it comes to sensitive information. Shred any documents that contain personal, financial, or confidential information to protect yourself from identity theft or unauthorized access. Recycling is also an eco-friendly option for paper that doesn’t contain sensitive information.
Once you have purged unnecessary documents and disposed of them appropriately, take a moment to appreciate the tangible progress you’ve made. You’re one step closer to a well-organized filing cabinet!
Next, in step 3, we’ll explore the process of categorizing your documents and creating a logical framework for your filing system. This step is crucial for easy retrieval and efficient organization.
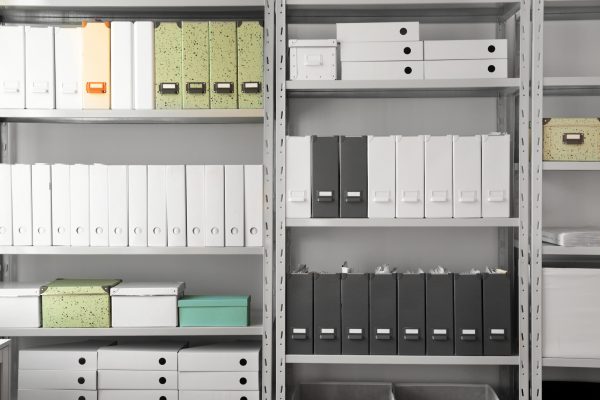
Step 3: Categorizing your documents
Now that you have eliminated unnecessary documents, it’s time to move on to step 3: categorizing your remaining files. Categorization is crucial for creating a logical framework that will make it easier to find and retrieve documents when needed. It helps to establish order and structure within your filing system.
Start by reviewing the documents you have chosen to keep. Look for common themes, topics, or purposes that can serve as the basis for your categories. Some common categories might include:
- Finance
- Health and Medical
- Legal and Contracts
- Personal Documents
- Work Projects
- Educational
These are just a few examples; your categories will depend on your specific needs and the types of documents you have. Aim for broad and meaningful categories that encompass a range of related files.
Once you have your main categories identified, consider creating subcategories to further organize your documents. For example, under the “Finance” category, you might have subcategories such as “Bank Statements,” “Tax Documents,” and “Invoices.” This hierarchical structure will help you drill down and locate specific files with ease.
When categorizing your documents, try to keep it simple and intuitive. Avoid creating too many categories, as it can become overwhelming and confusing. Aim for a balance between broad categories and specific subcategories.
Additionally, consider incorporating a color-coding system or using colored file folders to visually differentiate between categories. For example, you could use blue folders for finance-related documents, green folders for health and medical documents, and so on. This visual cue can help you quickly identify the category of a file and streamline your filing process further.
Remember, the goal of categorizing your documents is to create a system that makes sense to you and is easy to maintain. Take the time to think through your categories and ensure they align with your organizational needs.
Now that you have established your categories, it’s time to move on to step 4: choosing a filing system. In the next section, we’ll explore different filing systems and help you decide which one suits your needs best.
Step 4: Choosing a filing system
With your documents categorized, it’s time to move on to step 4: choosing a filing system. A well-chosen filing system will provide structure, accessibility, and efficiency in managing your documents. There are several options to consider, so let’s explore some of the most common filing systems to help you decide which one is right for you.
1. Alphabetical Filing: This is one of the most straightforward and widely used filing systems. Arrange your files in alphabetical order based on the main categories or subcategories you have created. Use dividers or file tabs to separate individual files within each category. This system works particularly well for personal documents, client files, or files related to individuals or businesses with whom you frequently interact.
2. Chronological Filing: This system organizes files based on the date or timeline of the documents. Sort your files by year, month, or day to easily track the sequence of events. This system works well for documents that are time-sensitive, such as invoices, contracts, or project files.
3. Numerical Filing: Assign a unique number to each file in sequential order. This system is useful when you have a large volume of files and need a quick reference system. You can create an index or use a spreadsheet to track the file numbers and their corresponding categories. This system is commonly used in medical offices, legal firms, or business environments with extensive record-keeping requirements.
4. Functional Filing: Organize your files based on their functional or thematic relationship. This system groups files together based on the activities, projects, or functions they relate to. For example, if you have a home-based business, you may have categories such as marketing, inventory, or client management. This system works well if you need to access files based on specific tasks or projects.
Consider the nature of your documents and how you’re likely to search for them when deciding on a filing system. It’s also worth noting that you can combine elements of different systems to create a hybrid approach that suits your needs.
Additionally, regardless of the filing system you choose, consider creating a master index or a digital spreadsheet to keep track of your files. This index will serve as a quick reference guide, helping you locate files efficiently without having to browse through each folder individually.
Once you’ve selected a filing system, it’s time to move on to step 5: labeling your files. In the next section, we’ll explore the importance of clear and consistent file labeling and provide tips for effective labeling techniques.
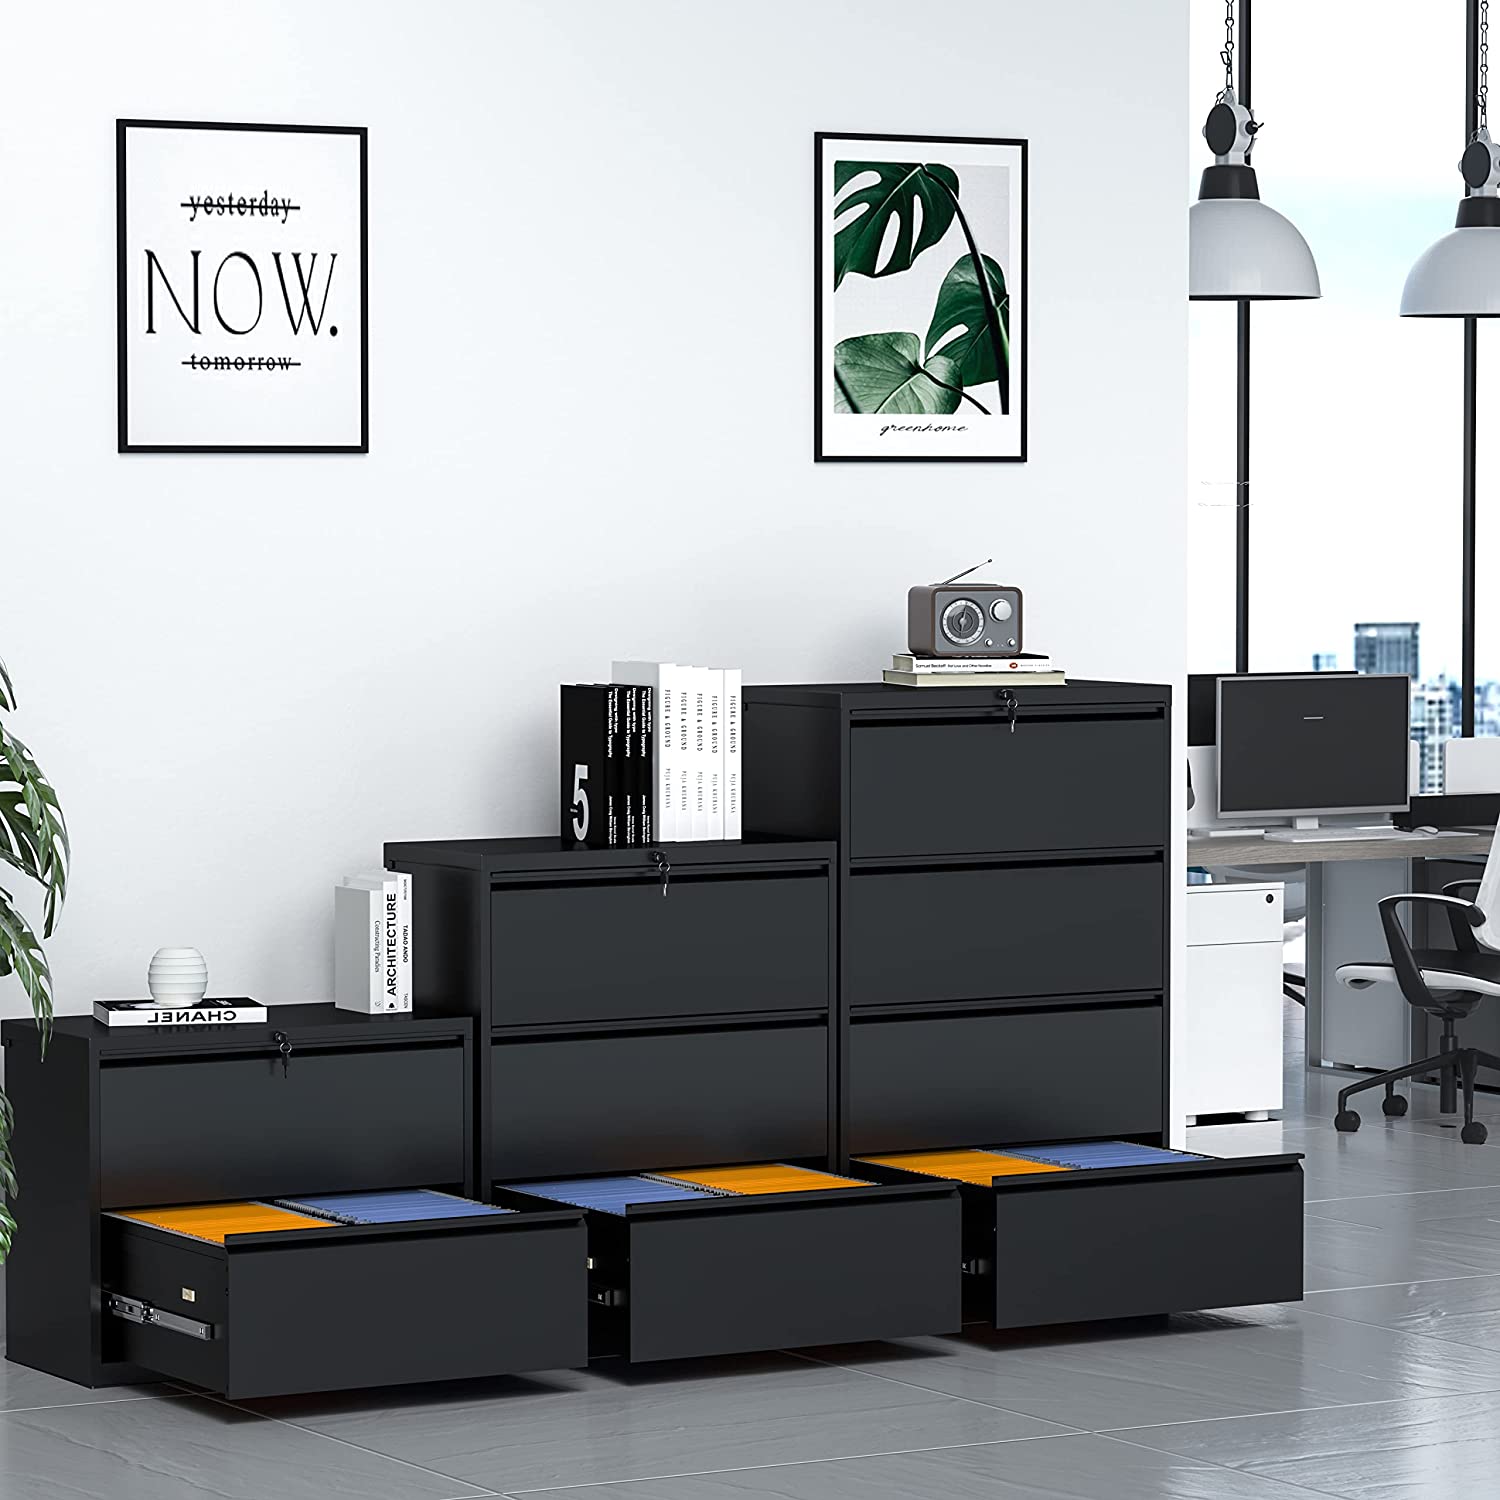
Use hanging file folders to separate categories such as bills, medical records, and personal documents. Label each folder clearly and consider using color coding for easy identification. Keep a master list of the contents for quick reference.
Read more: What Is A Lateral File Cabinet
Step 5: Labeling your files
Now that you have chosen a filing system, it’s time to move on to step 5: labeling your files. Clear and consistent labeling is essential for quickly identifying and retrieving documents from your filing cabinet. It helps maintain the organization you’ve established and ensures that files are returned to their proper place.
Here are some tips to help you label your files effectively:
1. Use descriptive and specific labels: When creating labels for your files, be as specific as possible. Avoid vague or generic labels that might make it difficult to locate the document you need. For example, instead of labeling a file “Invoices,” you could label it “2021 Monthly Invoices.” The more precise your labels, the easier it will be to find relevant files.
2. Consistent formatting: Establish a consistent format for labeling your files. This includes factors such as capitalization, abbreviation, and punctuation. Stick to the same format across all your labels to maintain a cohesive and organized appearance. For example, if you choose to abbreviate words in one label, do so consistently in all labels.
3. Color-coded labels: Consider using colored labels or colored tabs to further enhance the organization of your filing system. Assign specific colors to different categories or subcategories, making it easier to quickly locate files visually. For example, you could use yellow labels for financial documents, green labels for medical records, and blue labels for personal files.
4. Easy-to-read fonts: Choose a legible font for your labels to ensure they are easily readable. Avoid using overly decorative fonts that may be difficult to decipher. Opt for a clear and sans-serif font that is easy on the eyes, such as Arial or Helvetica.
5. Placement: Place the labels consistently in the same location on each file folder, preferably on the tab or the front left corner of the folder. This will make it easier to quickly scan and locate the desired file.
Remember, the purpose of labeling is to create an intuitive and user-friendly system that enables you to quickly find what you need. Invest some time in creating clear and informative labels to ensure a smooth and efficient filing experience.
In the next step, step 6, we’ll explore how to set up your filing cabinet for maximum organization and accessibility. So let’s get your filing cabinet in tip-top shape!
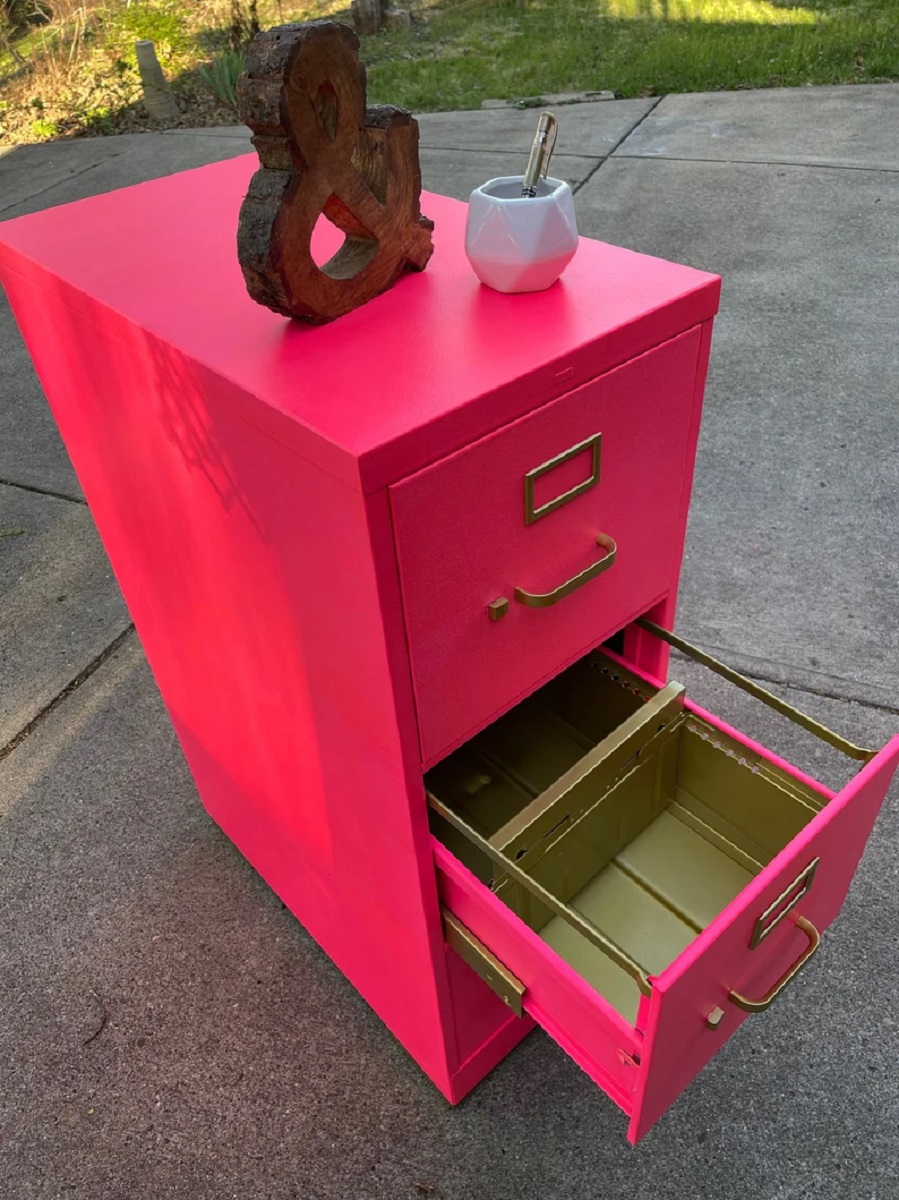
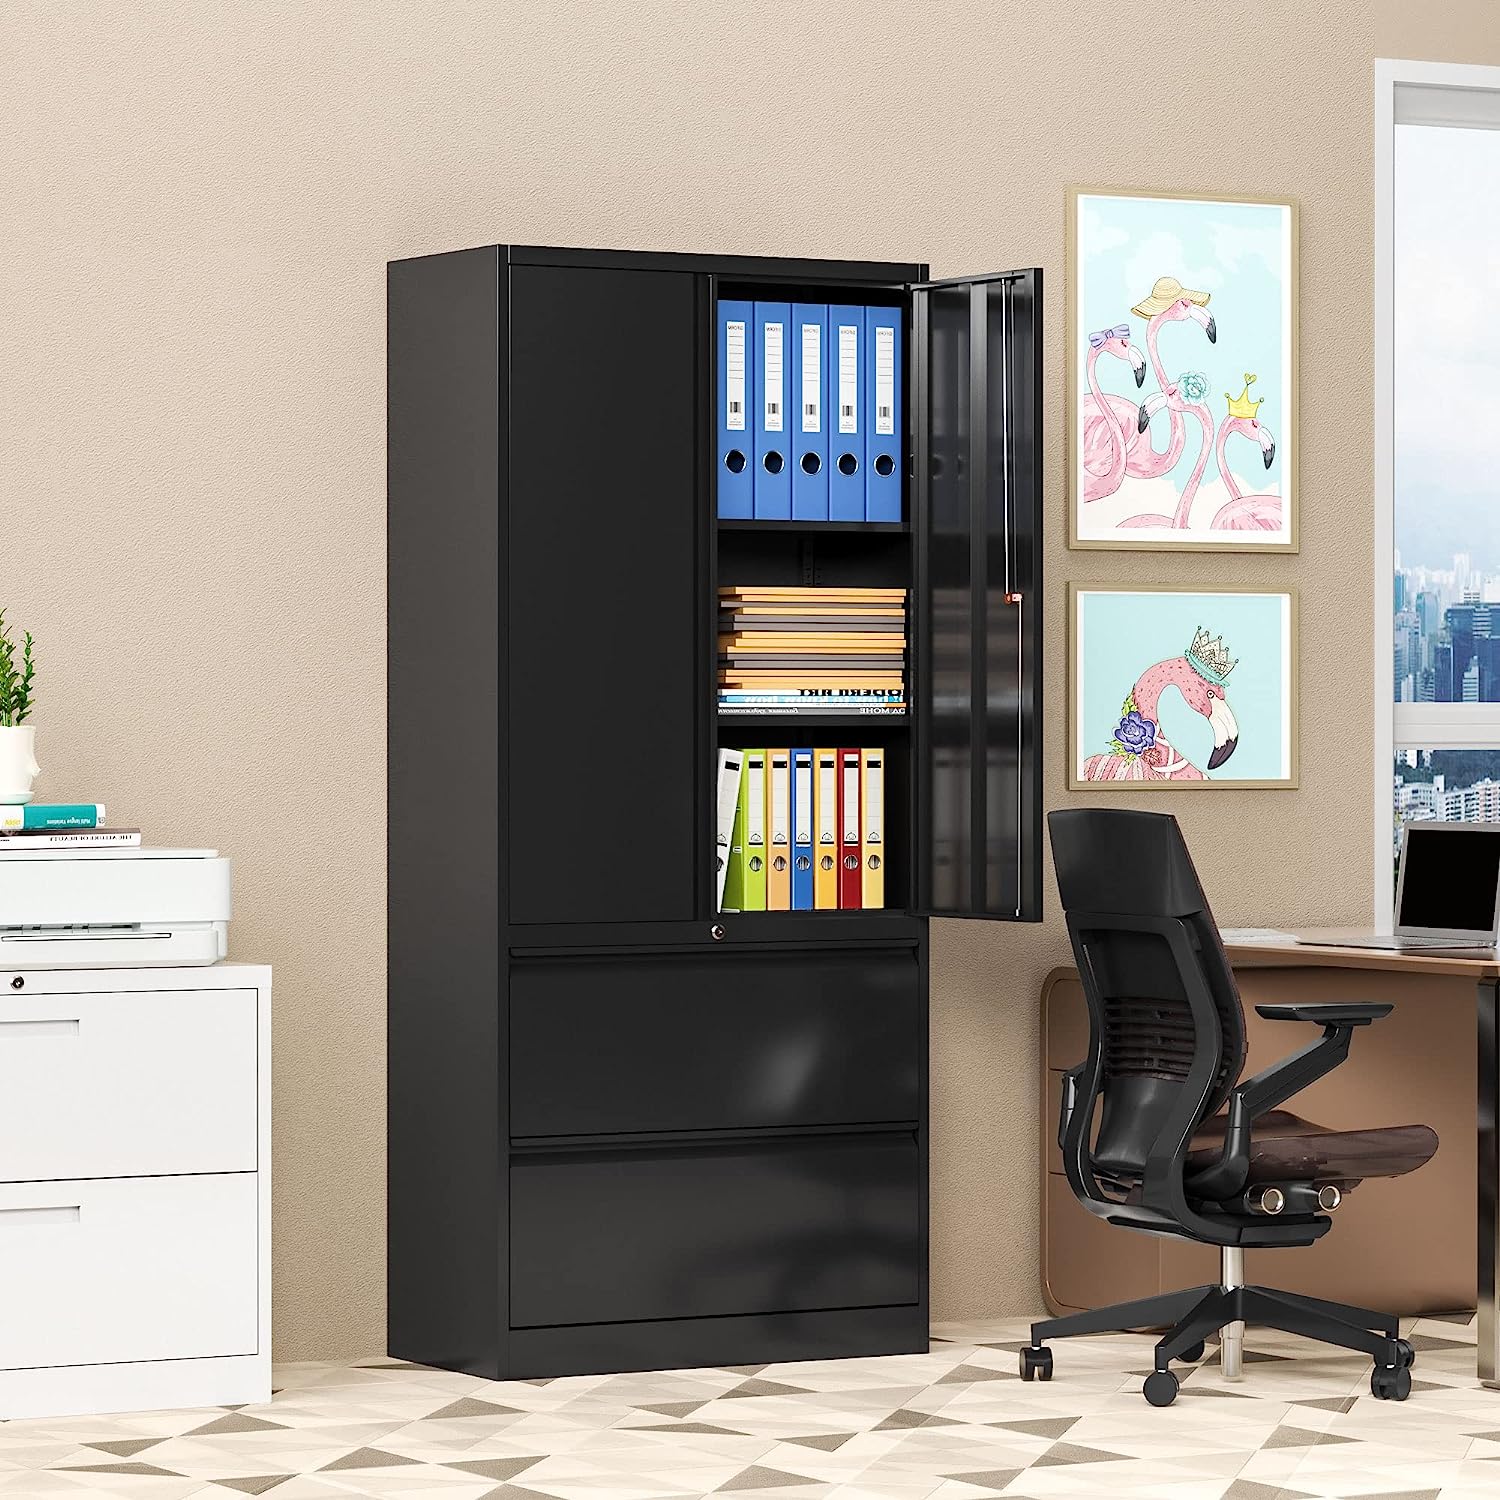
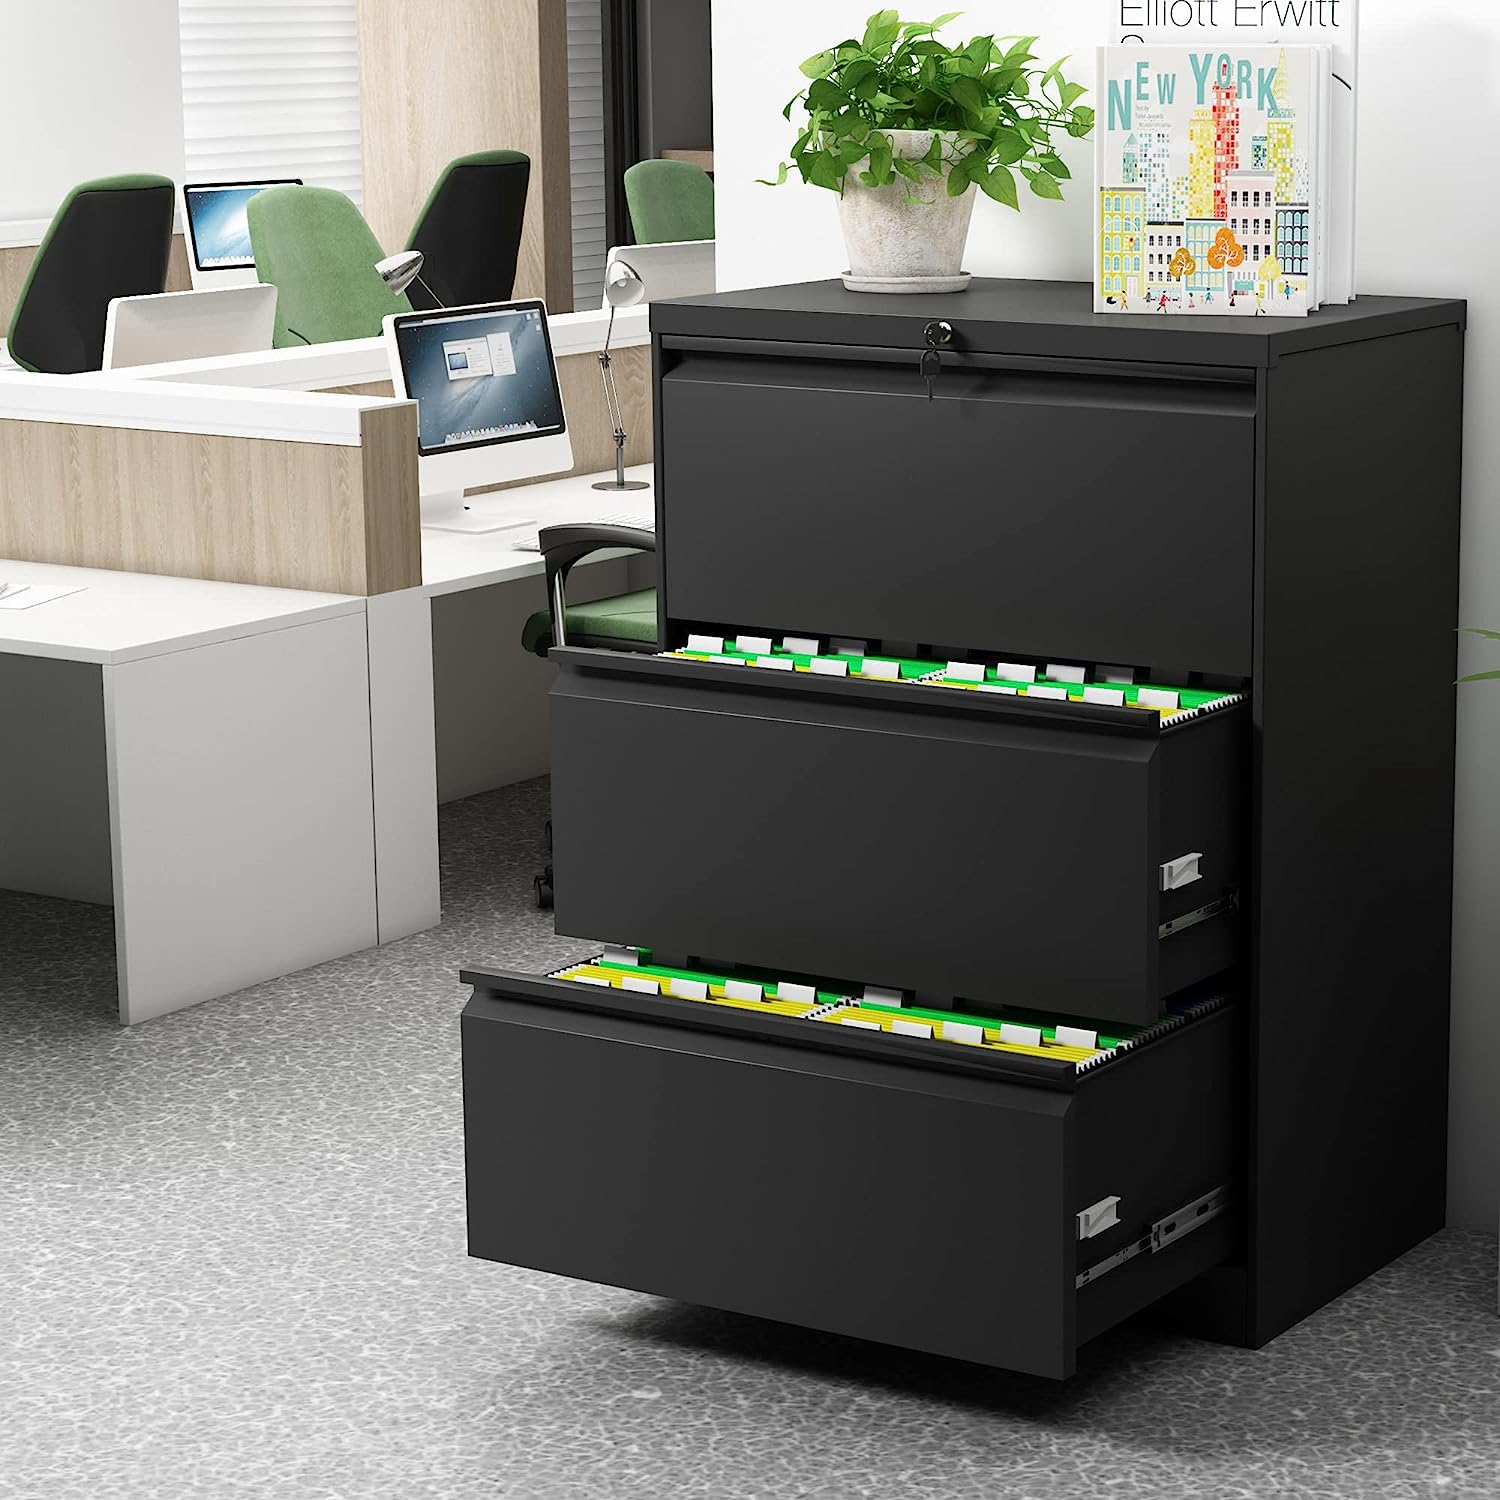
Step 6: Setting up your filing cabinet
Now that you have categorized and labeled your files, it’s time to move on to step 6: setting up your filing cabinet. Proper organization and arrangement of your files within the cabinet will further enhance the efficiency and accessibility of your filing system.
Here are some steps to help you set up your filing cabinet:
1. Clean and declutter the cabinet: Before placing your files in the cabinet, make sure to clean and declutter the interior. Remove any dust, debris, or unnecessary items to create a clean and fresh space for your documents.
2. Invest in hanging file folders: Hanging file folders are a key component of an organized filing cabinet. They allow you to suspend files from the sides of the cabinet and keep them neatly arranged. Place the hanging files in your cabinet, ensuring that they are evenly spaced and aligned.
3. Insert file folders and labels: Once the hanging file folders are in place, insert your file folders into the hanging files. Slide each file folder in, making sure it hangs evenly and does not protrude from the top of the cabinet. Align the labels on the file folders so that they are visible and readable.
4. Arrange files alphabetically or according to your chosen system: Within each hanging file folder, arrange your individual files according to your chosen filing system. If you’re using an alphabetical system, ensure that files are in alphabetical order. If you’re using another system, follow the established order of your categories and subcategories.
5. Ensure proper file placement: As you place files within the folders, make sure they are placed flat and uniformly. Avoid overstuffing folders, as this can lead to difficulties in retrieving and re-filing documents.
6. Create a reference guide or index: Consider creating a reference guide or index that provides an overview of your filing system. This can be a physical document placed inside the filing cabinet or a digital file on your computer. The reference guide will serve as a quick reference tool for locating specific files and their corresponding categories.
7. Utilize additional storage options if needed: If your filing cabinet has additional compartments or drawers, you can use them to store items such as office supplies, stationery, or non-file-related documents. Keep these items separate from your categorized files to maintain the organization of the cabinet.
By following these steps, you will create a well-organized and efficient filing cabinet that makes it easy to locate and retrieve documents. Remember to maintain the organization by consistently filing new documents in their designated categories and performing regular file maintenance.
In step 7, we’ll discuss the importance of establishing a file maintenance routine to ensure the longevity and effectiveness of your filing system. So let’s keep the organization momentum going!
Step 7: Establishing a file maintenance routine
Now that your filing cabinet is set up and organized, it’s important to establish a file maintenance routine to ensure the longevity and effectiveness of your filing system. Regular maintenance will help you keep your documents up to date, prevent clutter from building up, and ensure that you can easily locate and access your files whenever needed.
Here are some steps to help you establish a file maintenance routine:
1. Schedule regular maintenance sessions: Set aside dedicated time on a regular basis to review and maintain your filing system. Depending on your needs, this can be done weekly, monthly, or quarterly. Use this time to declutter, update file labels, and ensure that files are organized correctly.
2. Purge unnecessary files: During your maintenance sessions, go through your files and identify any documents that are no longer relevant or needed. Remove these files and dispose of them securely using proper shredding or recycling methods.
3. Update file labels: As you come across outdated or incorrect file labels, update them promptly to reflect the current content of each file. This will help maintain the accuracy and usability of your filing system.
4. Reorganize as needed: Over time, you may find that certain categories or subcategories need adjustments or reorganization. Take the time to reassess your filing system and make any necessary changes to improve efficiency and accessibility.
5. File new documents promptly: Develop the habit of filing new documents as soon as possible. This will prevent piles of unfiled documents from accumulating and ensure that your filing cabinet remains organized and up to date.
6. Review and maintain digital files: If your filing system includes digital files, make sure to back up and organize them regularly. Establish a consistent folder structure on your computer or cloud storage system and adhere to it when saving and organizing digital documents.
7. Train others on the filing system: If you share your filing cabinet with others, take the time to educate them on the system and maintenance routine. Encourage everyone to follow the established filing system and participate in regular maintenance tasks. This will ensure that the organization is maintained consistently by all users.
Remember, the key to a successful file maintenance routine is consistency and diligence. By incorporating these steps into your workflow, you will be able to maintain an efficient and well-organized filing system over the long term.
In step 8, we’ll explore how to secure important documents within your filing cabinet to protect sensitive information and ensure the privacy and integrity of your files.
Step 8: Securing important documents
In the final step of organizing your filing cabinet, it’s crucial to address the security of your important documents. Whether you have personal or sensitive information, confidential business records, or legal documents, taking measures to secure them within your filing cabinet is essential.
Here are some steps to help you secure important documents:
1. Identify and separate important documents: Review your files and determine which ones contain sensitive, confidential, or valuable information. This may include documents such as passports, social security cards, legal contracts, or financial statements. Separating these documents from the rest will allow you to give them extra protection.
2. Use a lockable filing cabinet: Invest in a filing cabinet with a lock to provide an extra layer of security. A lockable cabinet will help prevent unauthorized access to your important documents. Ensure that the lock is sturdy and well-maintained.
3. Secure valuable documents in a safe or lockbox: For documents that require maximum security, such as property deeds, wills, or valuable certificates, consider storing them in a safe or lockbox. This provides an additional level of protection against theft, fire, or other potential risks.
4. Consider digital backups for important files: In addition to physical copies, create digital backups of your important documents. Store digital files on password-protected devices or secure cloud storage platforms. Make sure to keep your digital backups regularly updated and encrypted to protect sensitive information.
5. Limit access to your filing cabinet: Control who has access to your filing cabinet. If possible, keep it in a locked room or office to restrict access to authorized individuals only. If you share your workspace, ensure that your cabinet is secured when you’re away.
6. Implement a document tracking system: Keep a record of who accesses and removes documents from your filing cabinet. You can do this by maintaining a log or using a tracking software or app. This helps monitor the movement of sensitive files and ensures accountability.
7. Regularly review and update security measures: Periodically evaluate the security measures you have in place and update them as needed. This includes checking the integrity of locks, updating access codes, and reviewing your file backup procedures.
By taking these steps, you can protect your important documents from unauthorized access, loss, or damage. Remember that security should be an ongoing consideration, so make it a habit to regularly assess and enhance the security measures for your filing cabinet.
With this final step complete, you have successfully organized your filing cabinet! Through proper assessment, purging, categorization, labeling, setting up, maintenance, and securing of your files, you have created an efficient and secure system that will help you stay organized and easily locate important documents.
Congratulations on your newly organized filing cabinet, and may it bring you peace of mind and increased productivity in your work and personal life!
Read more: 55 Best Lateral File Cabinet In 2022
Conclusion
Congratulations on completing the journey of organizing your filing cabinet! By following the step-by-step process, you have transformed a chaotic collection of documents into a well-organized and efficient system. With your newly organized filing cabinet, you’ll enjoy benefits such as saved time, reduced stress, and increased productivity.
Throughout this journey, you assessed your filing needs, purged unnecessary documents, categorized your files, chose a suitable filing system, labeled your files, set up the filing cabinet, established a file maintenance routine, and secured important documents. Each step played a vital role in creating a well-structured and manageable filing system tailored to your unique requirements.
Remember, organization is an ongoing process. Commit to maintaining the system you have established by regularly purging unnecessary documents, updating labels, and reviewing your file structure. Embrace a consistent file maintenance routine to ensure that your filing cabinet remains organized and efficient over time.
As you continue to use your newly organized filing cabinet, enjoy the benefits it brings to your work and personal life. Experience the ease of locating files, the sense of calm in a clutter-free workspace, and the confidence of having important documents secure and easily accessible.
Finally, share your knowledge of organizing with others. Teach your colleagues, friends, or family members about the benefits and techniques of an organized filing system. Help them create a more productive and stress-free environment by passing on the tips and strategies you have learned.
Thank you for joining us on this journey to master the art of organizing a filing cabinet. Embrace the power of an organized workspace, and may it contribute to your success and peace of mind in all your endeavors!
Now that you've got your filing cabinet in tip-top shape, why stop there? Your office could likely use a bit of sprucing up too. For those eager to continue their organizational journey, our guide on office organization offers practical advice and creative solutions. Ready to transform your workspace into a model of efficiency? Dive into our detailed guide and learn how to keep everything from pens to printers in perfect order.
Frequently Asked Questions about How To Organize Filing Cabinet
Was this page helpful?
At Storables.com, we guarantee accurate and reliable information. Our content, validated by Expert Board Contributors, is crafted following stringent Editorial Policies. We're committed to providing you with well-researched, expert-backed insights for all your informational needs.


0 thoughts on “How To Organize Filing Cabinet”