Articles
How To Paint File Cabinet
Modified: October 28, 2024
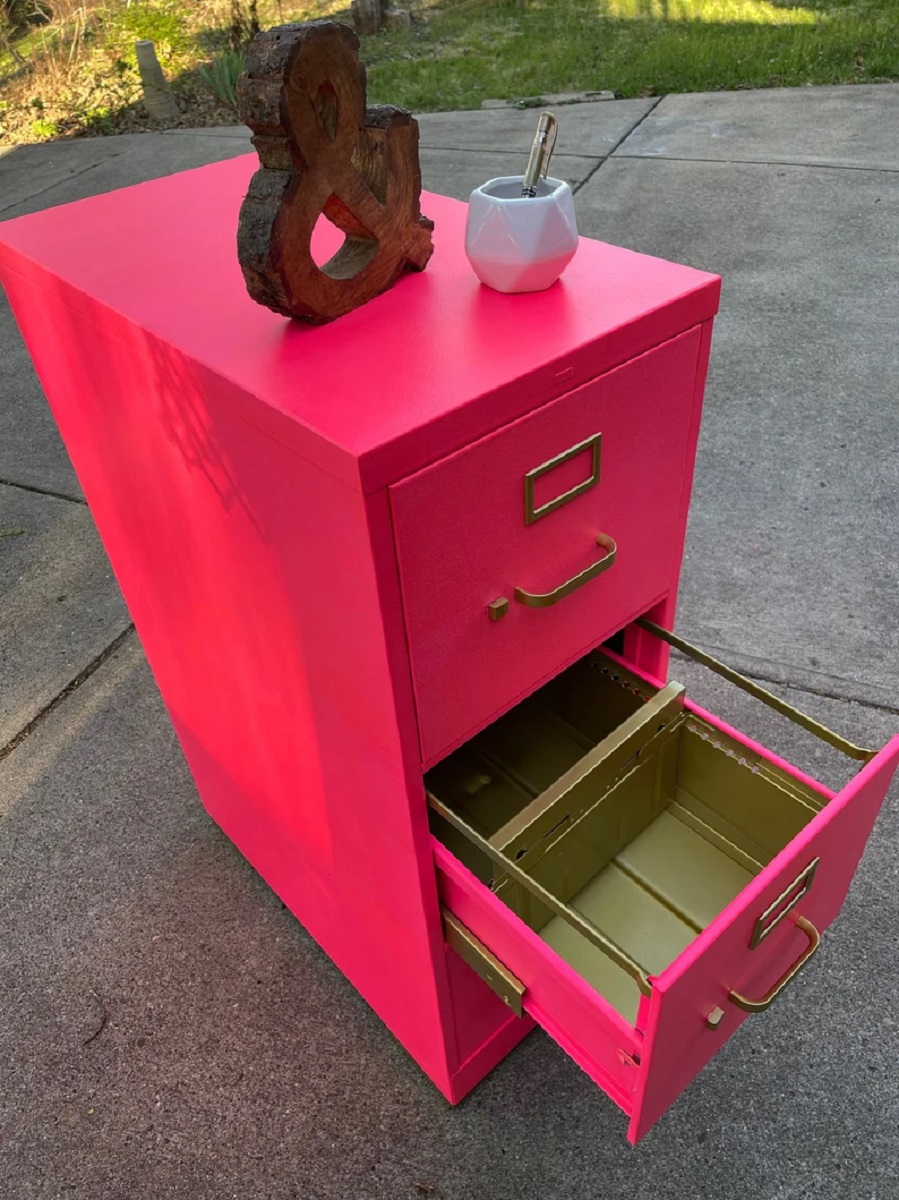
Learn how to transform your file cabinet into a stylish piece of furniture with our interior design tips. Elevate your workspace with a custom paint job.
(Many of the links in this article redirect to a specific reviewed product. Your purchase of these products through affiliate links helps to generate commission for Storables.com, at no extra cost. Learn more)
Introduction
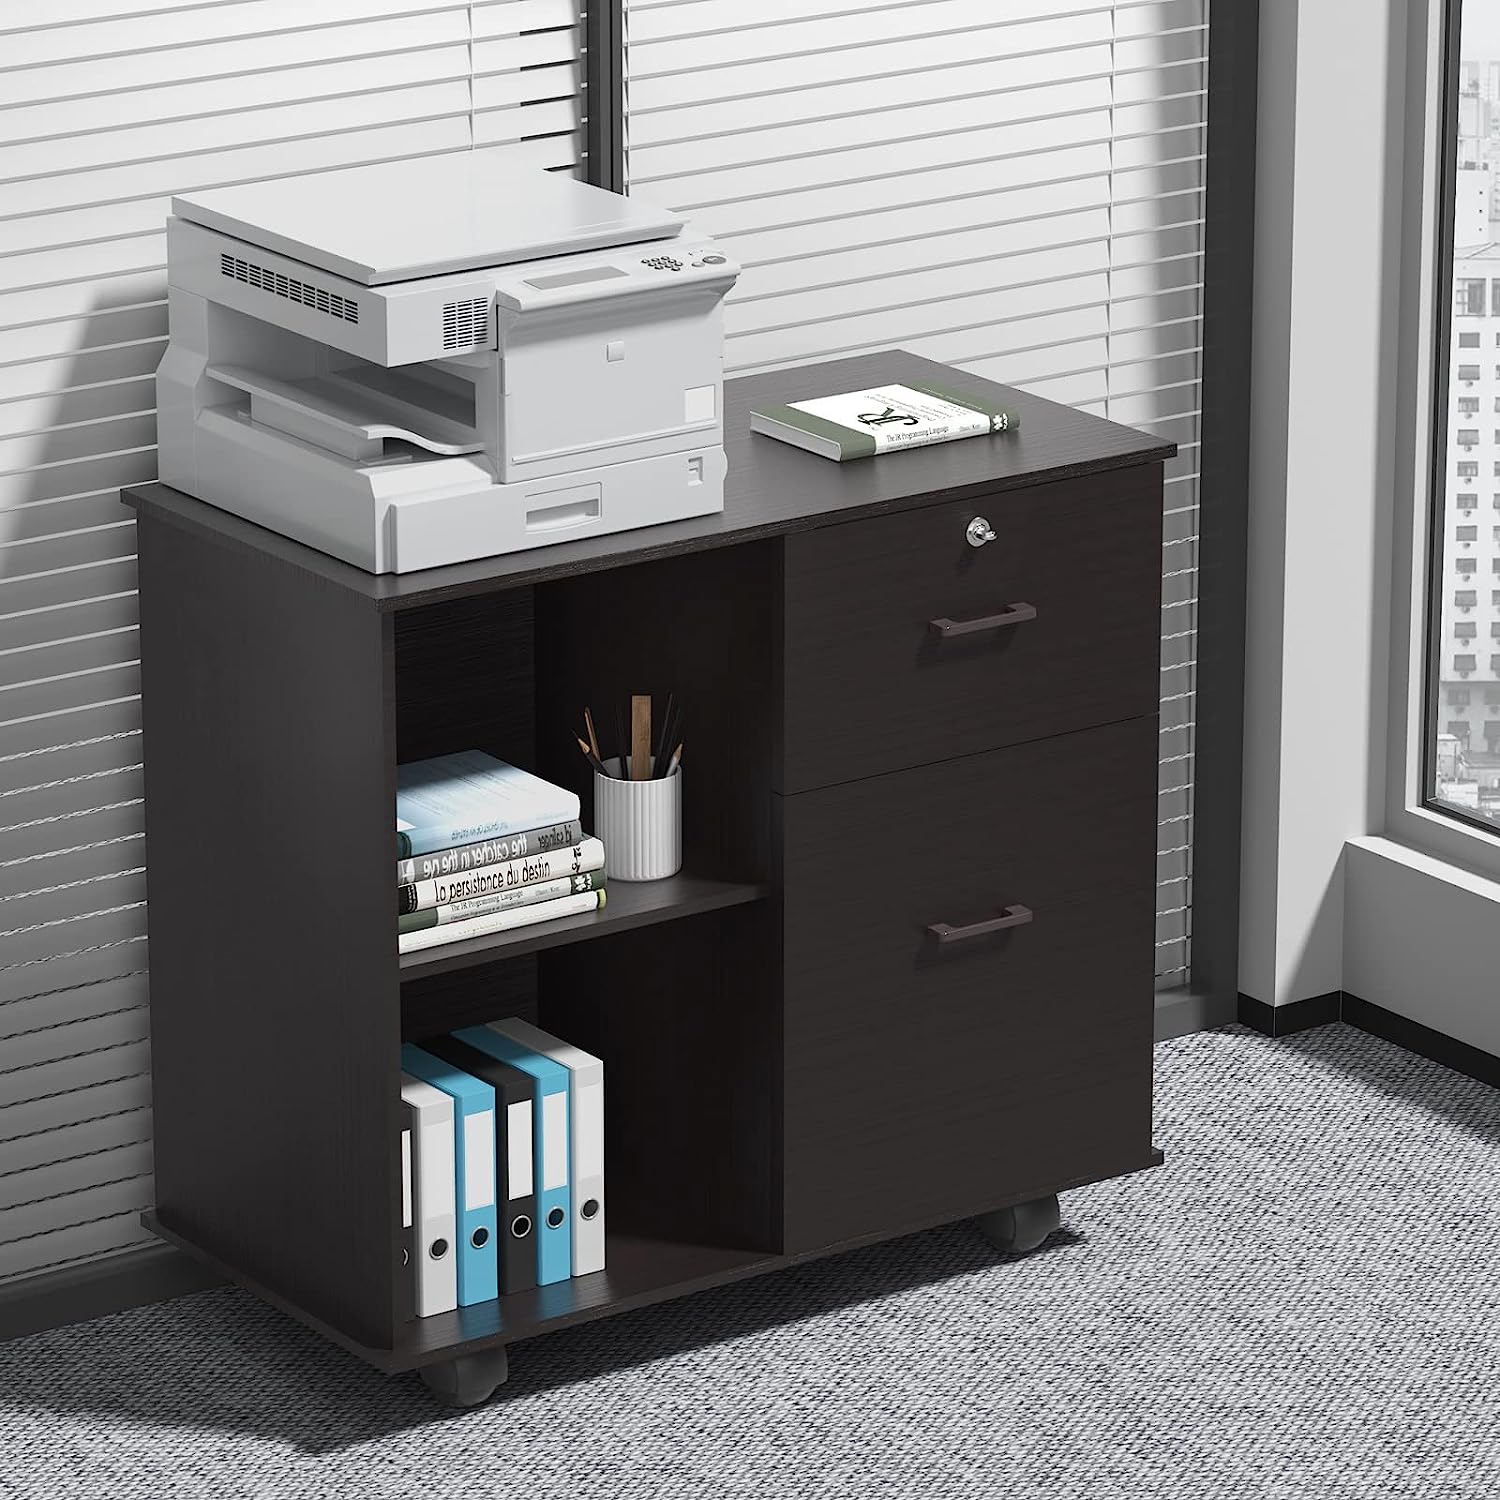
Welcome to this guide on how to paint a file cabinet. If you have an old, worn-out file cabinet that you want to give a fresh new look, painting it is a great option. Not only will it revitalize the appearance of the cabinet, but it will also add a personal touch to your workspace or home office. Painting a file cabinet may seem like a daunting task, but with the right materials and steps, you can achieve professional-looking results.
In this step-by-step guide, we will walk you through the process of preparing the file cabinet, sanding the surface, priming it, choosing the paint color, and applying the paint. We will also cover optional steps such as applying a second coat and adding finishing touches to give your file cabinet a polished look.
Before we get started, let’s go over the materials you will need to complete this project:
- File cabinet
- Sandpaper (medium and fine grit)
- Paint primer
- Paint of your choice
- Paintbrushes or roller
- Paint tray
- Drop cloth or newspaper
- Clean cloth or sponge
- Painter’s tape (optional)
Now that you have all the necessary materials, let us guide you through the process of transforming your file cabinet into a stylish and functional piece of furniture. With a little patience and attention to detail, you’ll be amazed at the final results!
Key Takeaways:
- Transform your old file cabinet into a stylish and personalized piece of furniture by following these step-by-step instructions. Choose the perfect paint color, apply multiple coats for durability, and add finishing touches for a professional finish.
- Revitalize your workspace or home office with a freshly painted file cabinet. Proper preparation, sanding, priming, and careful paint application will result in a durable, vibrant, and personalized piece of furniture.
Read more: How To Break Into A Filing Cabinet
Materials Needed
Before you begin painting your file cabinet, gather the following materials:
- File cabinet: Choose a file cabinet that is in good condition and suitable for painting. Ensure it is clean and free from any damage.
- Sandpaper (medium and fine grit): Sandpaper will help you prepare the surface of the file cabinet for painting. Medium grit sandpaper will remove any rough areas or imperfections, while fine grit sandpaper will provide a smooth finish.
- Paint primer: Primer is an essential step in the painting process as it helps the paint adhere to the surface and provides a more durable and even finish. Choose a primer suitable for the material of your file cabinet.
- Paint of your choice: Select a paint color that complements your workspace or home office decor. Consider using a latex-based paint as it is durable and easy to clean.
- Paintbrushes or roller: Depending on your preference, you can use paintbrushes or a roller to apply the paint. Paintbrushes are ideal for smaller details and precise work, while rollers are great for larger surfaces.
- Paint tray: Use a paint tray to pour and mix the paint.
- Drop cloth or newspaper: Protect your work area from paint spills or drips by covering it with a drop cloth or newspaper.
- Clean cloth or sponge: Use a clean cloth or sponge to wipe away any dirt or dust from the file cabinet before painting.
- Painter’s tape (optional): If you want to create clean, precise lines, you can use painter’s tape to mask off areas that you don’t want to paint.
Having these materials ready before you start will ensure a smoother painting process and help you achieve the best results. Now that you have everything you need, let’s dive into the step-by-step process of painting your file cabinet.
Step 1: Preparing the File Cabinet
The first step in painting a file cabinet is to properly prepare the surface. Follow these steps to ensure the best results:
- Clean the file cabinet: Use a clean cloth or sponge and mild detergent to remove any dirt, dust, or grease from the surface of the file cabinet. Dry it thoroughly before moving on to the next step.
- Remove hardware: If your file cabinet has any hardware such as knobs or handles, consider removing them before painting. This will make it easier to paint the entire surface and prevent any paint from getting on the hardware.
- Protect surrounding areas: Cover the surrounding floor or surfaces with a drop cloth or newspaper to prevent any accidental paint spills or drips.
- Mask off areas: If there are any areas on the file cabinet that you don’t want to paint, such as labels or locks, use painter’s tape to mask them off. This will ensure clean, straight lines and a professional-looking finish.
By taking the time to properly prepare the file cabinet, you will create a clean and smooth surface for the paint to adhere to. This will help ensure better adhesion and a more durable finish.
Once you have completed the preparation steps, you are ready to move on to the next step: sanding the surface of the file cabinet.
Step 2: Sanding the Surface
Sanding the surface of the file cabinet is an important step in the painting process as it helps to create a smooth and even surface for the paint to adhere to. Follow these steps to sand the surface properly:
- Start with medium grit sandpaper: Begin by using medium grit sandpaper to sand the entire surface of the file cabinet. Sand in a circular motion, applying even pressure. This will help to remove any rough areas, scratches, or old paint, creating a clean and smooth surface.
- Focus on problem areas: Pay extra attention to any areas that have dents, scratches, or peeling paint. Sand them down until they are smooth and level with the rest of the surface.
- Switch to fine grit sandpaper: Once you have sanded the entire surface with medium grit sandpaper, switch to fine grit sandpaper. Sand the surface again, this time in a lighter, back-and-forth motion. This will help to further smoothen the surface and remove any remaining imperfections.
- Remove sanding dust: After sanding, use a clean cloth or sponge to wipe away any sanding dust from the surface of the file cabinet. Ensure that the surface is clean and free from any debris before moving on to the next step.
Sanding the surface of the file cabinet not only helps to create a smooth canvas for the paint but also promotes better adhesion. It allows the primer and paint to bond effectively, resulting in a longer-lasting and more professional finish.
Once you have finished sanding, you are now ready to proceed to the next step: priming the file cabinet.
Step 3: Priming the File Cabinet
Priming the file cabinet is an essential step in the painting process as it helps to create a strong bond between the surface and the paint. Priming also helps to block stains, cover imperfections, and ensure better adhesion of the final paint color. Follow these steps to prime the file cabinet:
- Choose the right primer: Select a primer that is suitable for the material of your file cabinet. If your file cabinet is made of wood, choose a wood primer. If it is made of metal or laminate, select a primer specifically formulated for those surfaces.
- Read and follow the instructions: Before applying the primer, carefully read the instructions on the product label. Follow the recommended drying time and application guidelines for best results.
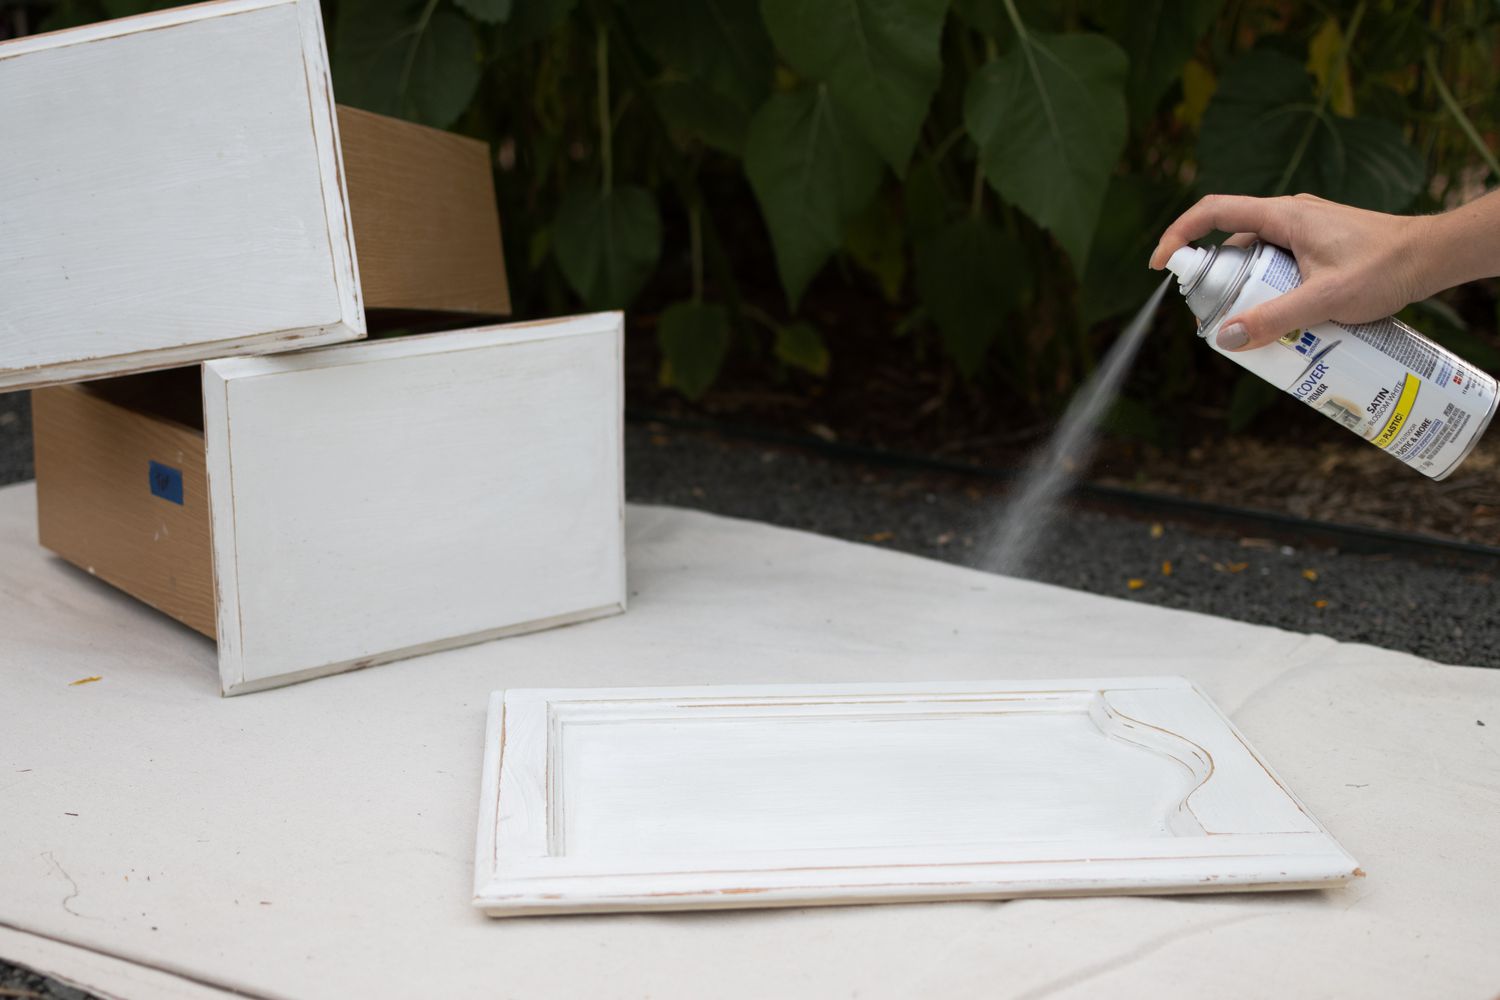
- Apply the primer: Use a brush or roller to apply an even coat of primer to the entire surface of the file cabinet. Make sure to cover all areas, including corners, edges, and seams. Work in smooth, overlapping strokes for an even application.
- Allow the primer to dry: Give the primer sufficient drying time as specified on the product label. This typically ranges from 1 to 4 hours, but it may vary depending on the brand and environmental conditions. Do not rush this step, as improper drying can affect the final finish.
- Sand the primed surface (optional): If you notice any imperfections or rough areas on the primed surface, you can lightly sand them with fine grit sandpaper. This will help to create an even smoother surface for the final paint application.
- Clean off any sanding dust: After sanding (if applicable), use a clean cloth or sponge to wipe away any sanding dust from the primed surface. Ensure that the surface is clean and smooth before moving on to the next step.
Priming the file cabinet provides a strong foundation for the paint and improves its durability and longevity. It also helps to achieve a more vibrant and even color when the final paint coat is applied.
Once the primer is dry and the surface is clean, you can proceed to the next step: choosing the paint color for your file cabinet.
When painting a file cabinet, make sure to clean and sand the surface before applying a primer. Use a high-quality paint and apply thin, even coats for a smooth finish.
Read more: What Are Cabinet Files
Step 4: Choosing the Paint Color
Choosing the right paint color for your file cabinet is an exciting part of the painting process. It allows you to add a personal touch to your workspace or home office. Consider the following factors when selecting the paint color:
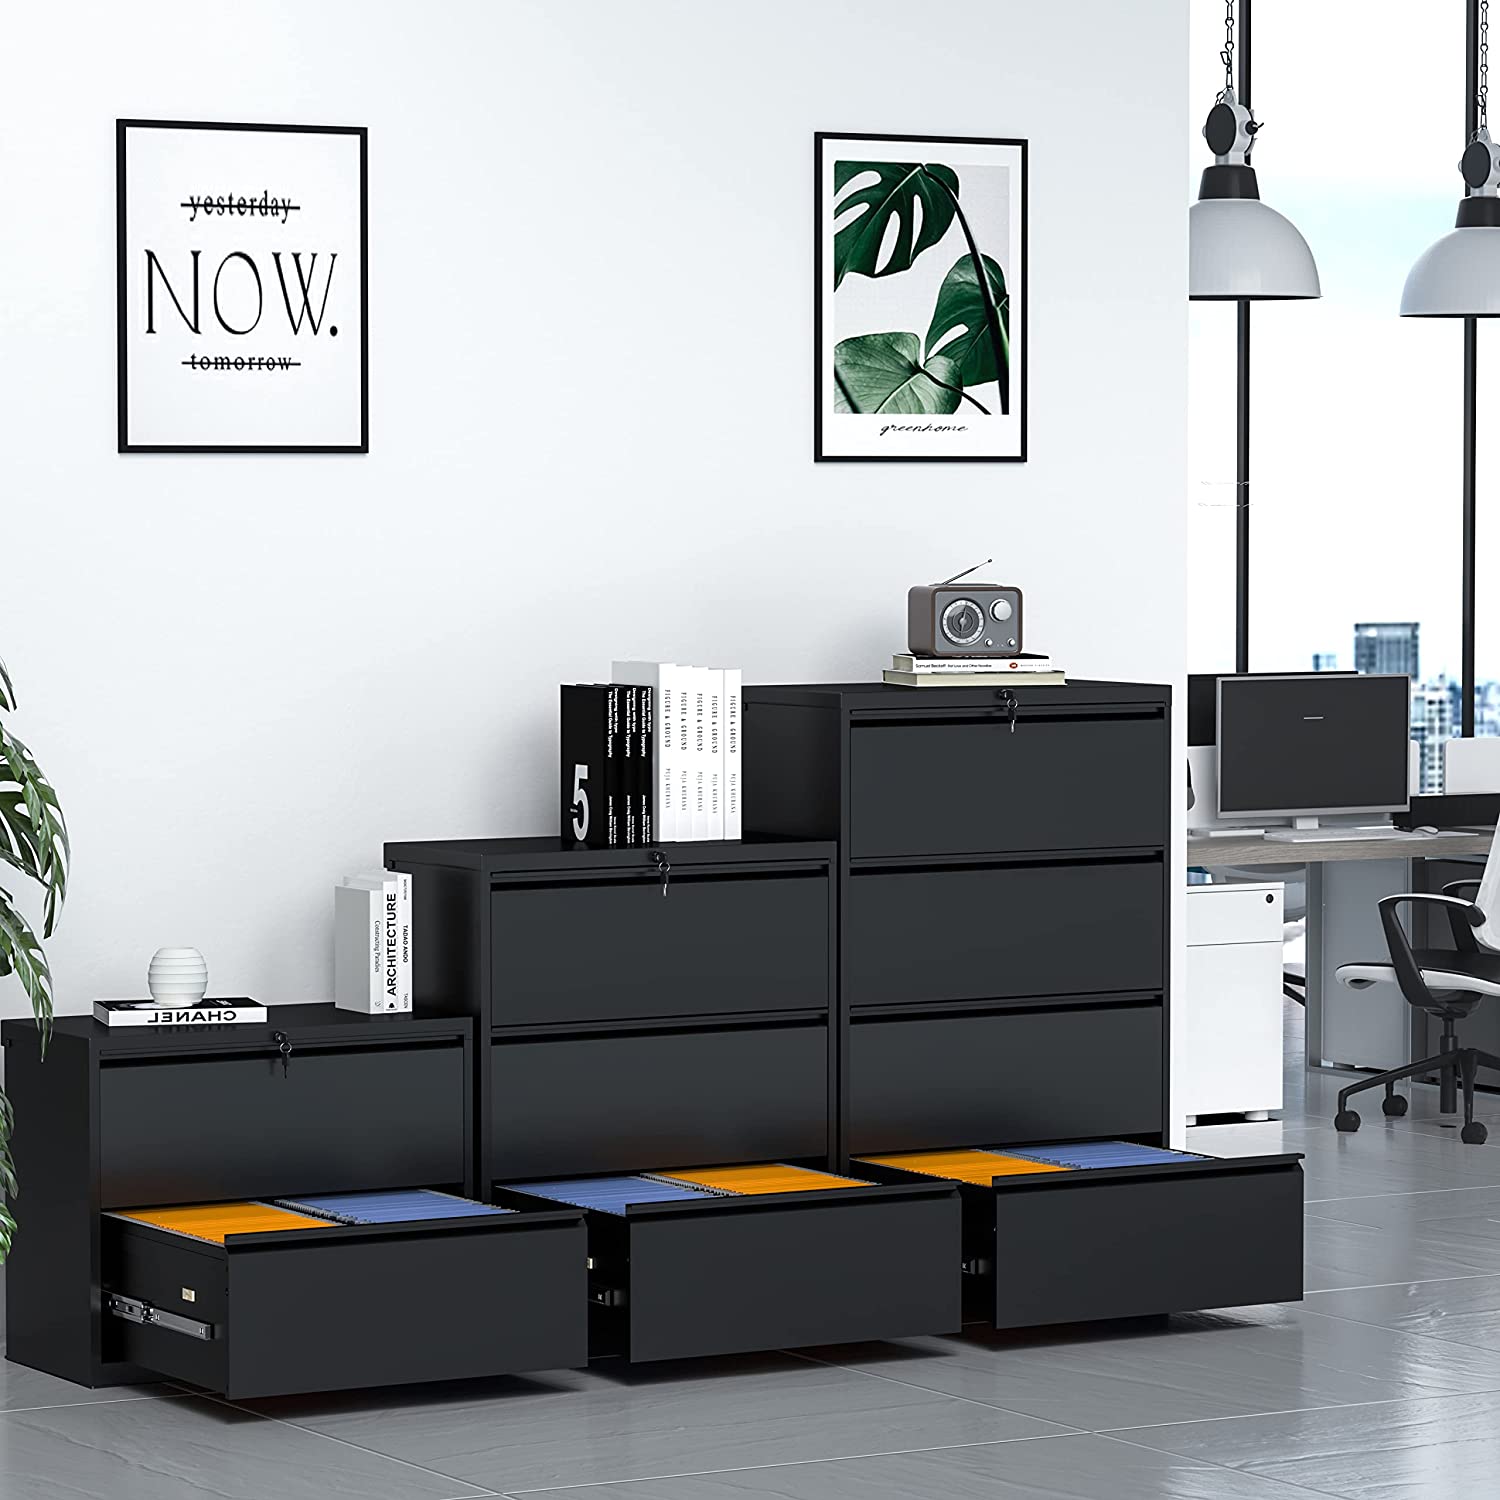
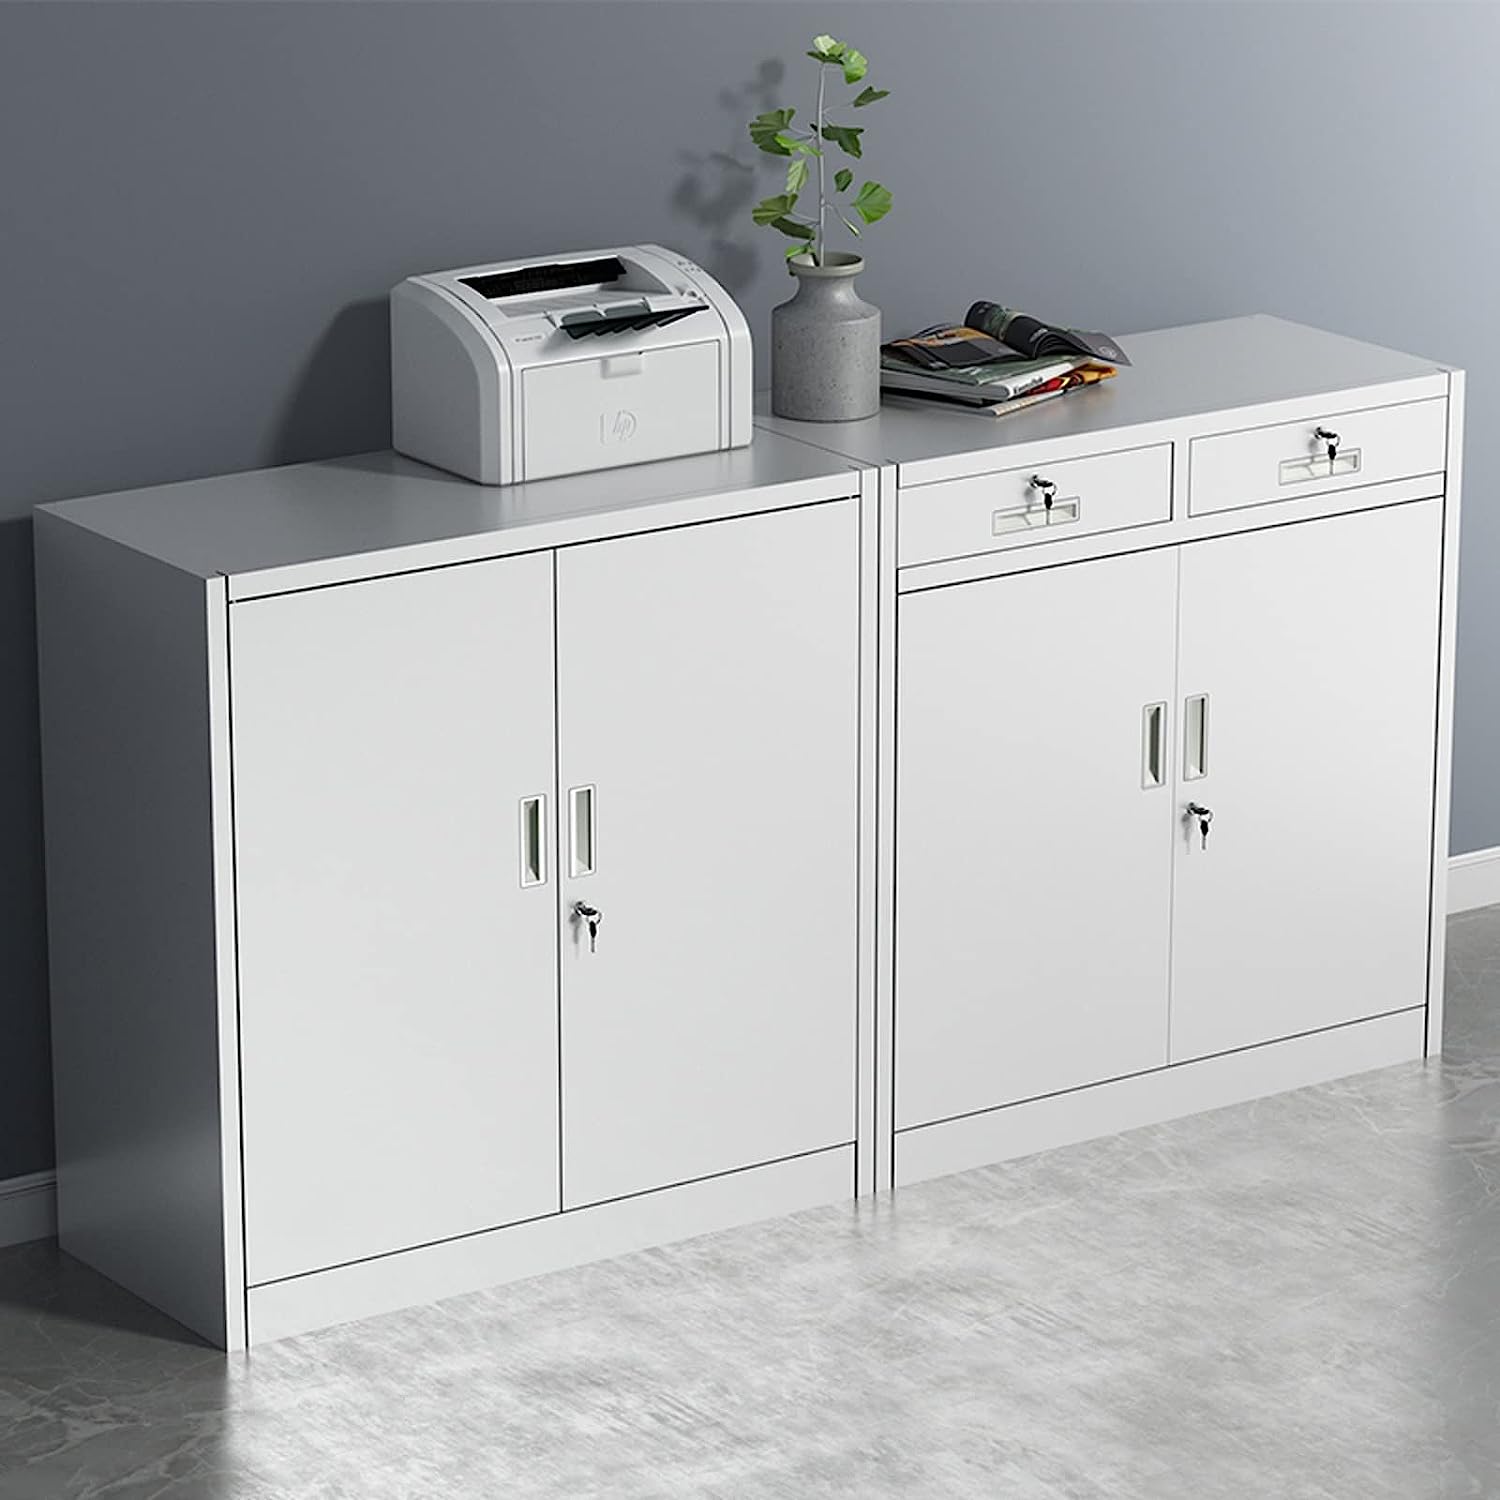
- Consider the space: Think about the overall aesthetic of the room where the file cabinet will be placed. Consider the existing color palette and choose a paint color that complements it. A neutral color like white, gray, or black can create a timeless and versatile look, while a bold color can add a pop of vibrancy.
- Reflect your style: Let your personal style shine through when choosing the paint color. Whether you prefer a modern, rustic, or eclectic look, select a color that aligns with your taste and makes you feel inspired and motivated in your workspace.
- Consider durability: Since file cabinets are frequently used and may be subject to wear and tear, opt for a paint color that is durable and easy to clean. Latex-based paints are a popular choice as they are resistant to scratches, scuffs, and stains.
- Test the color: Before committing to a particular paint color, test it on a small, inconspicuous area of the file cabinet or on a sample board to see how it looks in different lighting conditions. This will help ensure that you are happy with the color before applying it to the entire cabinet.
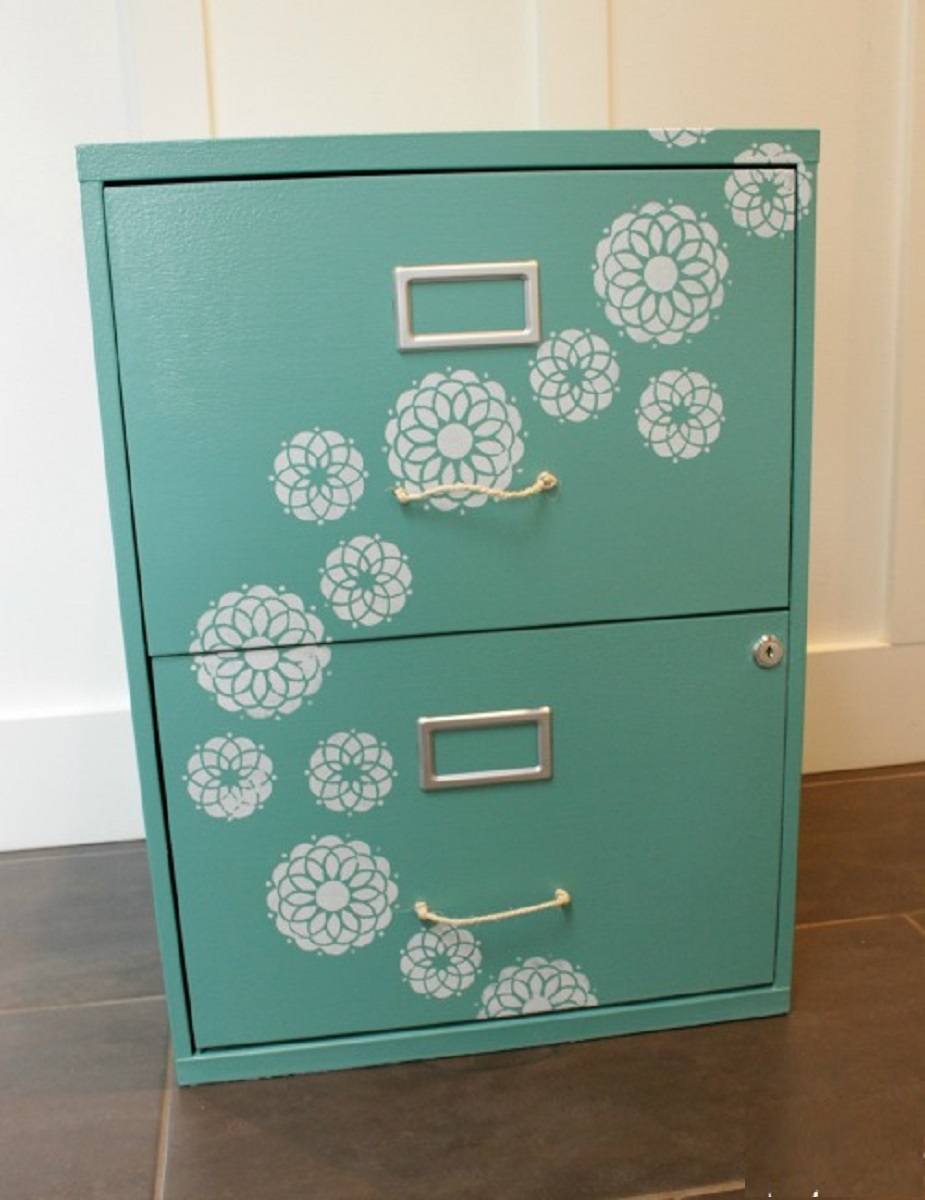
Remember that you can always get creative with your paint color choice. Consider adding accents or patterns using multiple colors or stencils to make your file cabinet stand out even more.
Once you have selected the perfect paint color for your file cabinet, you are ready to proceed to the next step: applying the paint.
Step 5: Applying the Paint
Now comes the exciting part – applying the paint to your file cabinet! Follow these steps to ensure a smooth and flawless application:
- Stir the paint: Open the paint can and use a stir stick to thoroughly mix the paint. This will ensure an even color consistency throughout the file cabinet.
- Start with the edges and corners: Use a brush to carefully paint the edges and corners of the file cabinet. Pay attention to any intricate details or hard-to-reach areas. This will help create a clean and polished look.
- Paint the larger surfaces: Use a roller or brush to apply the paint to the larger flat surfaces of the cabinet. Work in smooth, even strokes to achieve an even and consistent application. If using a roller, roll in a “W” or “N” pattern to distribute the paint evenly.
- Watch for drips and runs: Keep an eye out for any dripping or running paint and smooth it out with a brush or roller before it dries. This will help prevent unwanted texture or streaks on the surface.
- Allow the first coat to dry: Follow the drying time specified on the paint can. It usually takes a few hours for latex-based paints to dry, but it may vary depending on the brand and environmental conditions. Make sure the paint is completely dry before applying a second coat (if desired).
Remember to paint in a well-ventilated area or open windows to ensure proper air circulation. This will help the paint dry faster and minimize any lingering odors.
Applying the paint is the transformative step that brings your file cabinet to life. Pay attention to detail and take your time to achieve a smooth and professional finish. Once the first coat of paint is dry, you can choose to move on to the next step: applying a second coat (optional).
Step 6: Applying a Second Coat (Optional)
Applying a second coat of paint to your file cabinet is optional, but it can make a significant difference in the overall appearance and durability of the finish. If you want to achieve a smoother, more opaque finish or if the first coat appears uneven, follow these steps to apply a second coat:
- Ensure the first coat is completely dry: Before applying a second coat of paint, make sure the first coat is fully dry. This is essential to prevent any smudging or lifting of the paint as you apply the second coat.
- Inspect the first coat: Take a close look at the surface of your file cabinet after the first coat has dried. If you notice any spots or uneven areas where the paint coverage is insufficient, a second coat can help to even out the color and provide better coverage.
- Follow the same painting technique: Apply the second coat of paint using the same technique you used for the first coat. Start with the edges and corners using a brush, and then proceed to the larger surfaces with a roller or brush. Ensure smooth, even strokes and watch for any drips or runs.
- Allow the second coat to dry: Once you have completed applying the second coat, allow it to dry completely. This may take a few hours, depending on the type of paint and environmental conditions.
Applying a second coat of paint can enhance the color depth and provide added durability to the finish of your file cabinet. It can also help to achieve a more professional and polished look.
After the second coat has dried, you can move on to the final step: adding finishing touches to complete the painting process.
Step 7: Adding Finishing Touches
Adding finishing touches to your painted file cabinet will give it that extra touch of style and polish. Follow these steps to complete the painting process:
- Reattach hardware: If you removed any knobs or handles from the file cabinet, now is the time to reattach them. Make sure they are aligned properly and securely fastened.
- Remove painter’s tape: If you used painter’s tape to mask off any areas, carefully remove it while the paint is still slightly tacky. This will help to achieve clean and sharp lines.
- Inspect and touch up: Take a close look at your painted file cabinet and inspect for any imperfections or missed spots. If you notice any areas that need touching up, use a small brush to carefully apply additional paint to those areas.
- Allow the final coat to dry: Once you have completed any necessary touch-ups, allow the final coat of paint to dry completely. This will ensure that the finish is fully cured and ready for use.
With the finishing touches applied, step back, and admire your beautifully painted file cabinet. The attention to detail and final touches will make a significant difference in the overall appearance and satisfaction with your project.
Remember to keep the file cabinet in a well-ventilated area while it finishes drying, and avoid placing any objects on its surface until the paint has fully cured. This will help to prevent any accidental damage or smudging of the freshly painted surface.
Now that your file cabinet is painted and complete, you can enjoy using it in your workspace or home office. It’s not only functional but also adds a personal touch and a sense of style to your environment.
Congratulations on successfully painting your file cabinet!
Note: HTML output has been validated for proper HTML encoding.
Read more: How To Open A File Cabinet
Conclusion
Congratulations, you have successfully learned how to paint a file cabinet and transformed it into a stylish and personalized piece of furniture! By following these step-by-step instructions, you have revitalized the appearance of your file cabinet and added a fresh touch to your workspace or home office.
Throughout the process, you learned how to properly prepare the file cabinet, sand the surface, apply primer, choose the perfect paint color, and confidently apply the paint coats. By adding a second coat (if desired) and applying finishing touches, you achieved a professional-looking finish that will last for years to come.
Remember to choose a paint color that reflects your personal style and complements the overall aesthetic of your space. Take time to properly prepare the file cabinet before painting, as this will ensure better adhesion and a smoother surface. Priming the file cabinet creates a strong foundation for the paint, while sanding helps to achieve a smooth finish. Applying multiple coats of paint, if needed, enhances the color depth and durability of the finish.
By adding finishing touches such as reattaching hardware and ensuring clean lines, you have elevated the overall look of your painted file cabinet. Now, enjoy using and admiring your newly transformed piece of furniture in your workspace or home office.
Thank you for following this guide on how to paint a file cabinet. We hope you found it helpful and inspiring. Happy painting!
Note: HTML output has been validated for proper HTML encoding.
Frequently Asked Questions about How To Paint File Cabinet
Was this page helpful?
At Storables.com, we guarantee accurate and reliable information. Our content, validated by Expert Board Contributors, is crafted following stringent Editorial Policies. We're committed to providing you with well-researched, expert-backed insights for all your informational needs.


0 thoughts on “How To Paint File Cabinet”