Articles
How To Remove Drawers From Filing Cabinet
Modified: August 25, 2024
Learn how to remove drawers from your filing cabinet easily and efficiently with our step-by-step guide. Organize your office storage effortlessly!
(Many of the links in this article redirect to a specific reviewed product. Your purchase of these products through affiliate links helps to generate commission for Storables.com, at no extra cost. Learn more)
Introduction
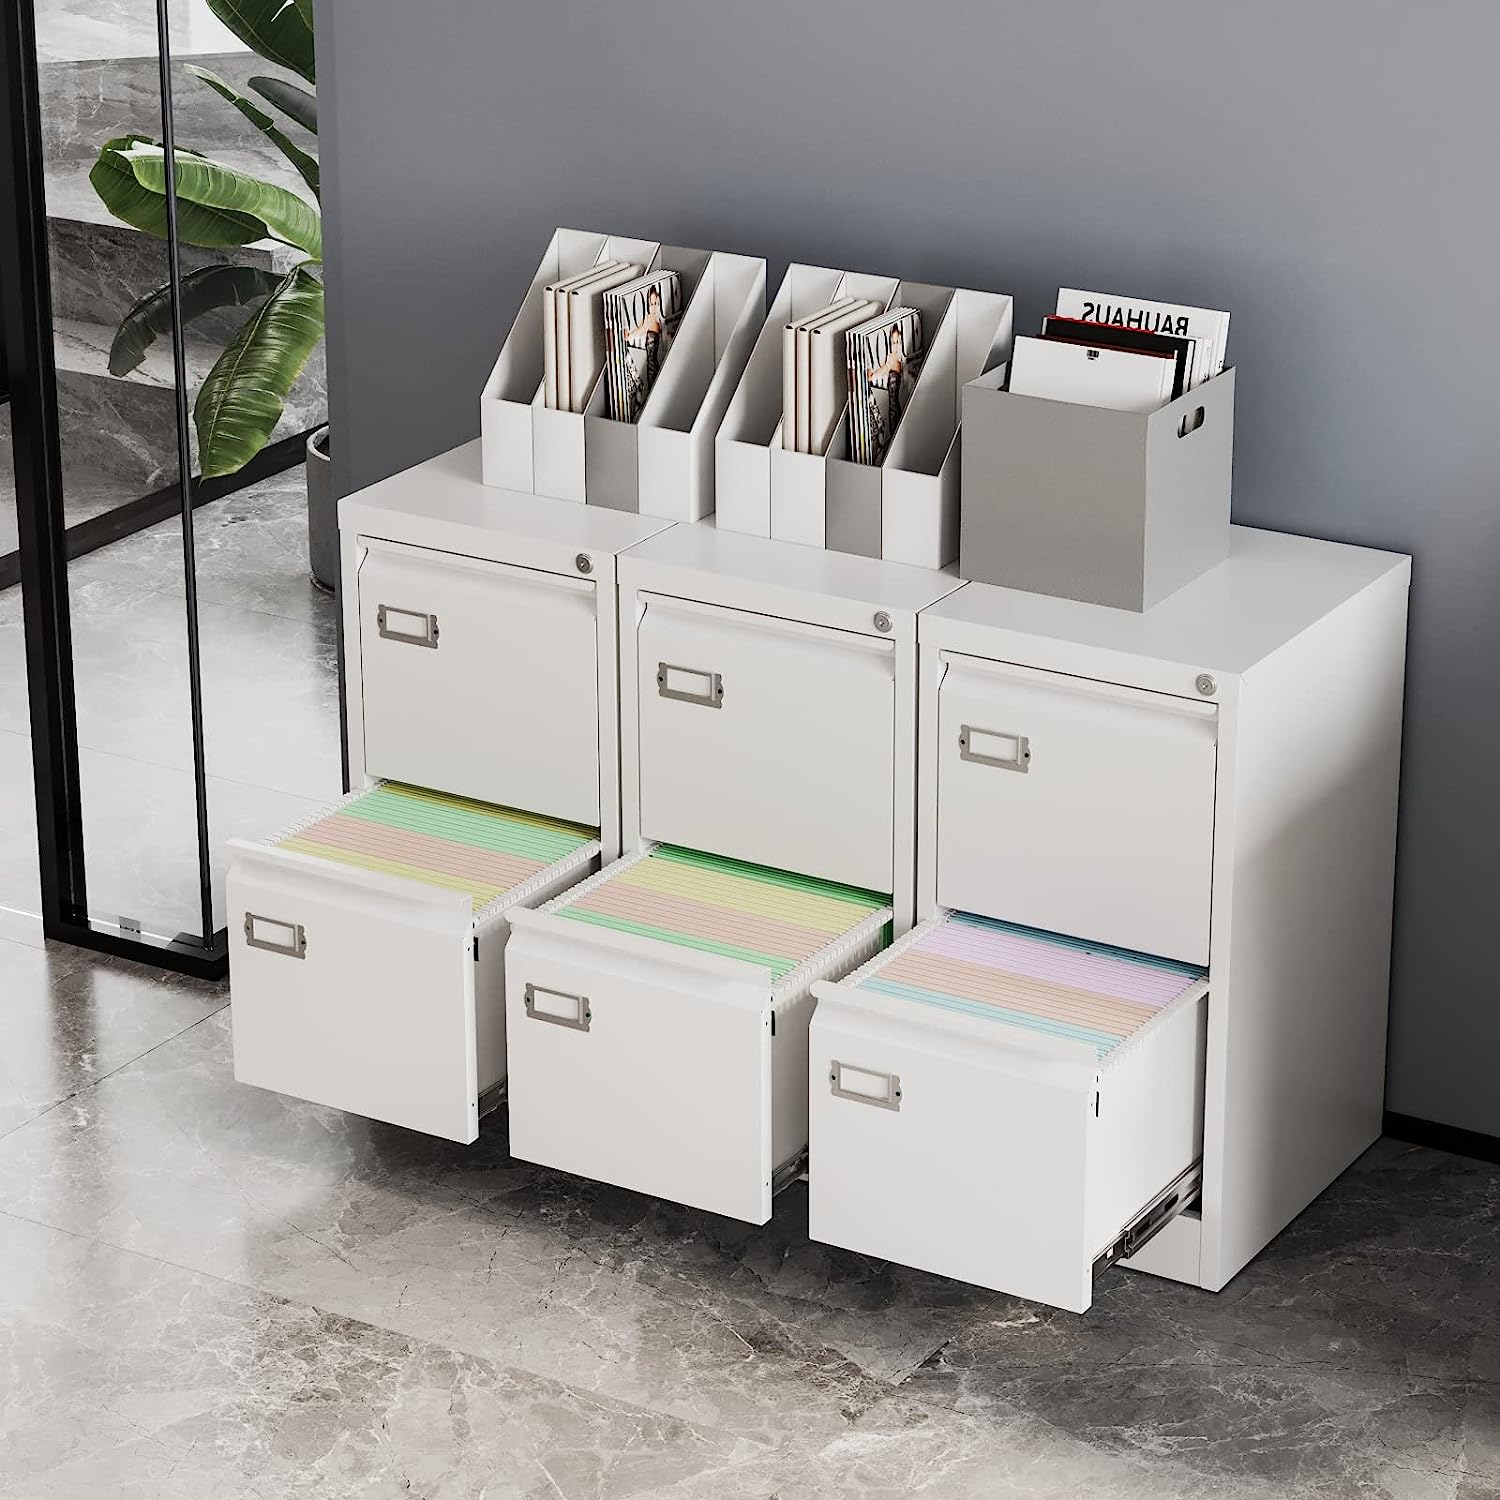
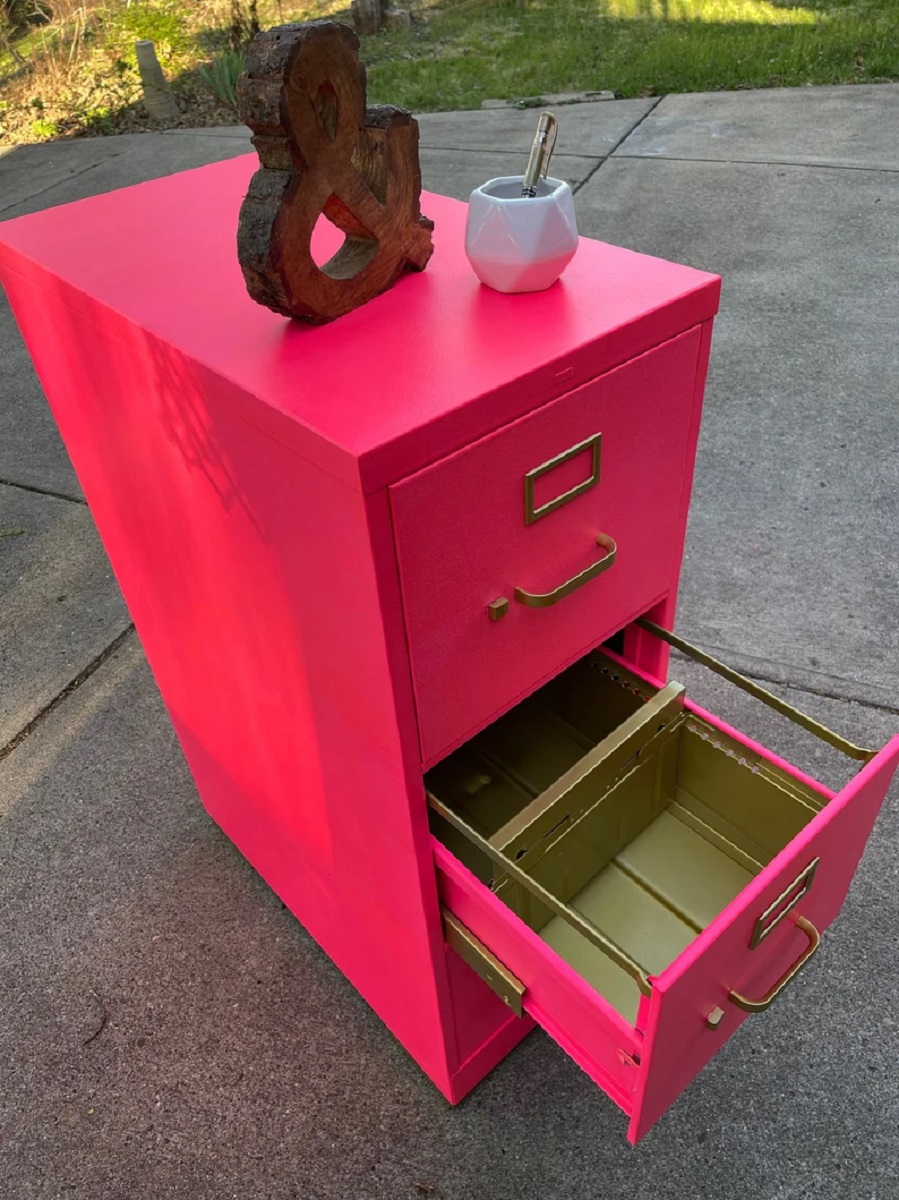
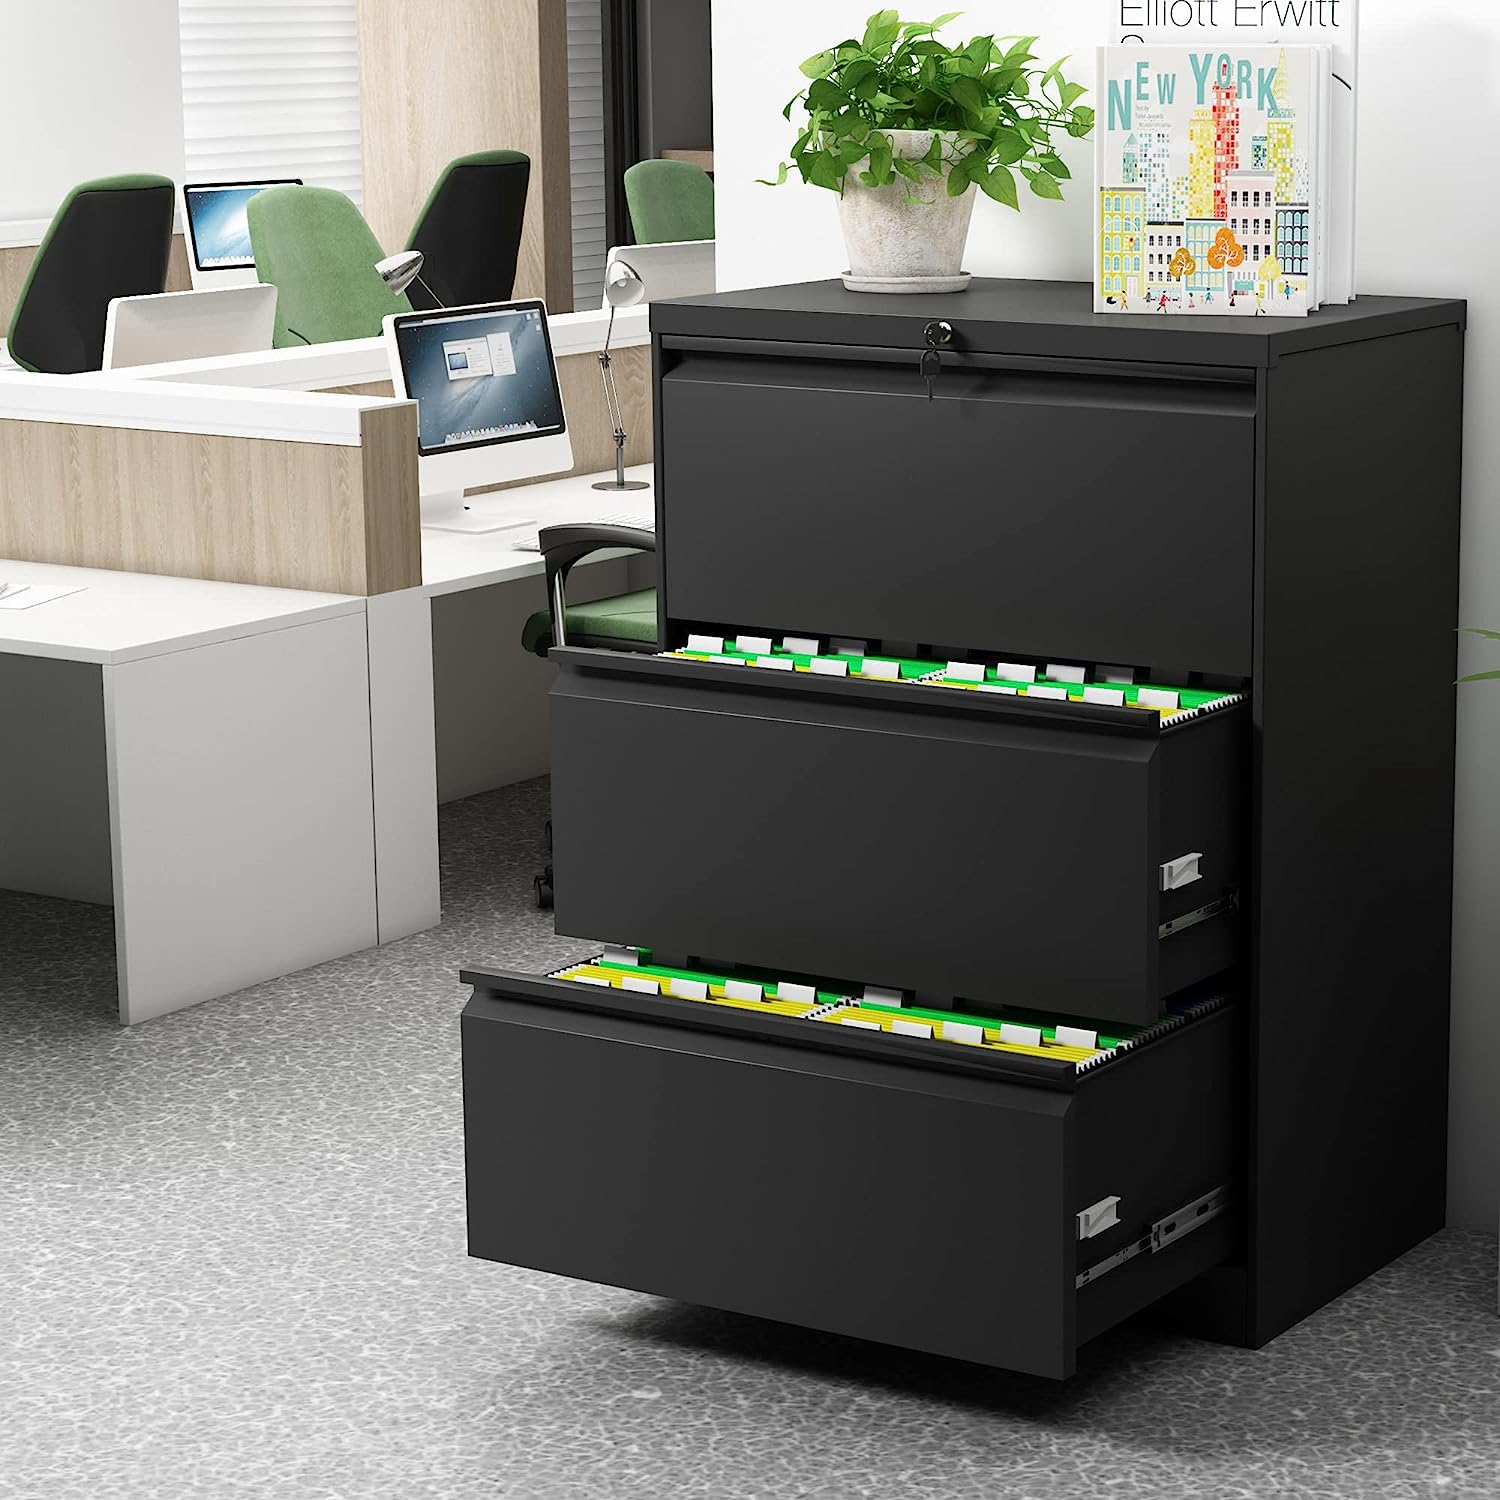
A filing cabinet is a useful piece of furniture for organizing and storing important documents. Over time, you may need to remove the drawers from your filing cabinet for various reasons, such as cleaning, moving, or replacing them. However, if you’ve never done it before, you might be unsure of how to go about it.
In this article, we will walk you through the step-by-step process of removing drawers from a filing cabinet. By following these instructions, you’ll be able to remove the drawers safely and efficiently, without causing any damage to the cabinet or the drawers themselves.
Before we dive into the steps, it’s important to note that different filing cabinets may have slightly different mechanisms for releasing the drawers. However, the general process remains the same. So, let’s get started!
Key Takeaways:
- Safely and efficiently remove drawers from your filing cabinet by preparing the necessary tools, emptying the contents, locating the release mechanism, and gently releasing and removing each drawer.
- Follow the step-by-step process to remove drawers from your filing cabinet, ensuring safety, organization, and ease throughout the entire procedure.
Read more: How To Remove A Lock From A File Cabinet
Step 1: Prepare the necessary tools
Before you begin removing the drawers from your filing cabinet, it’s important to gather the necessary tools. Having these tools on hand will make the process easier and more efficient. Here are the tools you will need:
- Screwdriver: A flathead or Phillips screwdriver, depending on the type of screws used in your filing cabinet.
- Tape measure: Useful for measuring the dimensions of the drawers or the cabinet, if needed.
- Gloves: It’s always a good idea to protect your hands, especially when handling heavy or sharp objects.
- Furniture sliders (optional): If your filing cabinet is heavy or difficult to move, furniture sliders can help you easily slide it without scratching the floor.
Once you have gathered these tools, ensure that they are easily accessible. This will save you time and frustration during the drawer removal process.
It’s also worth mentioning that some filing cabinets may have additional requirements or specialized tools for removing the drawers. If you are unsure, consult the manufacturer’s instructions or look for specific guidelines for your particular cabinet model.
Now that you have your tools ready, you’re all set to move on to the next step: emptying the contents of the drawer.
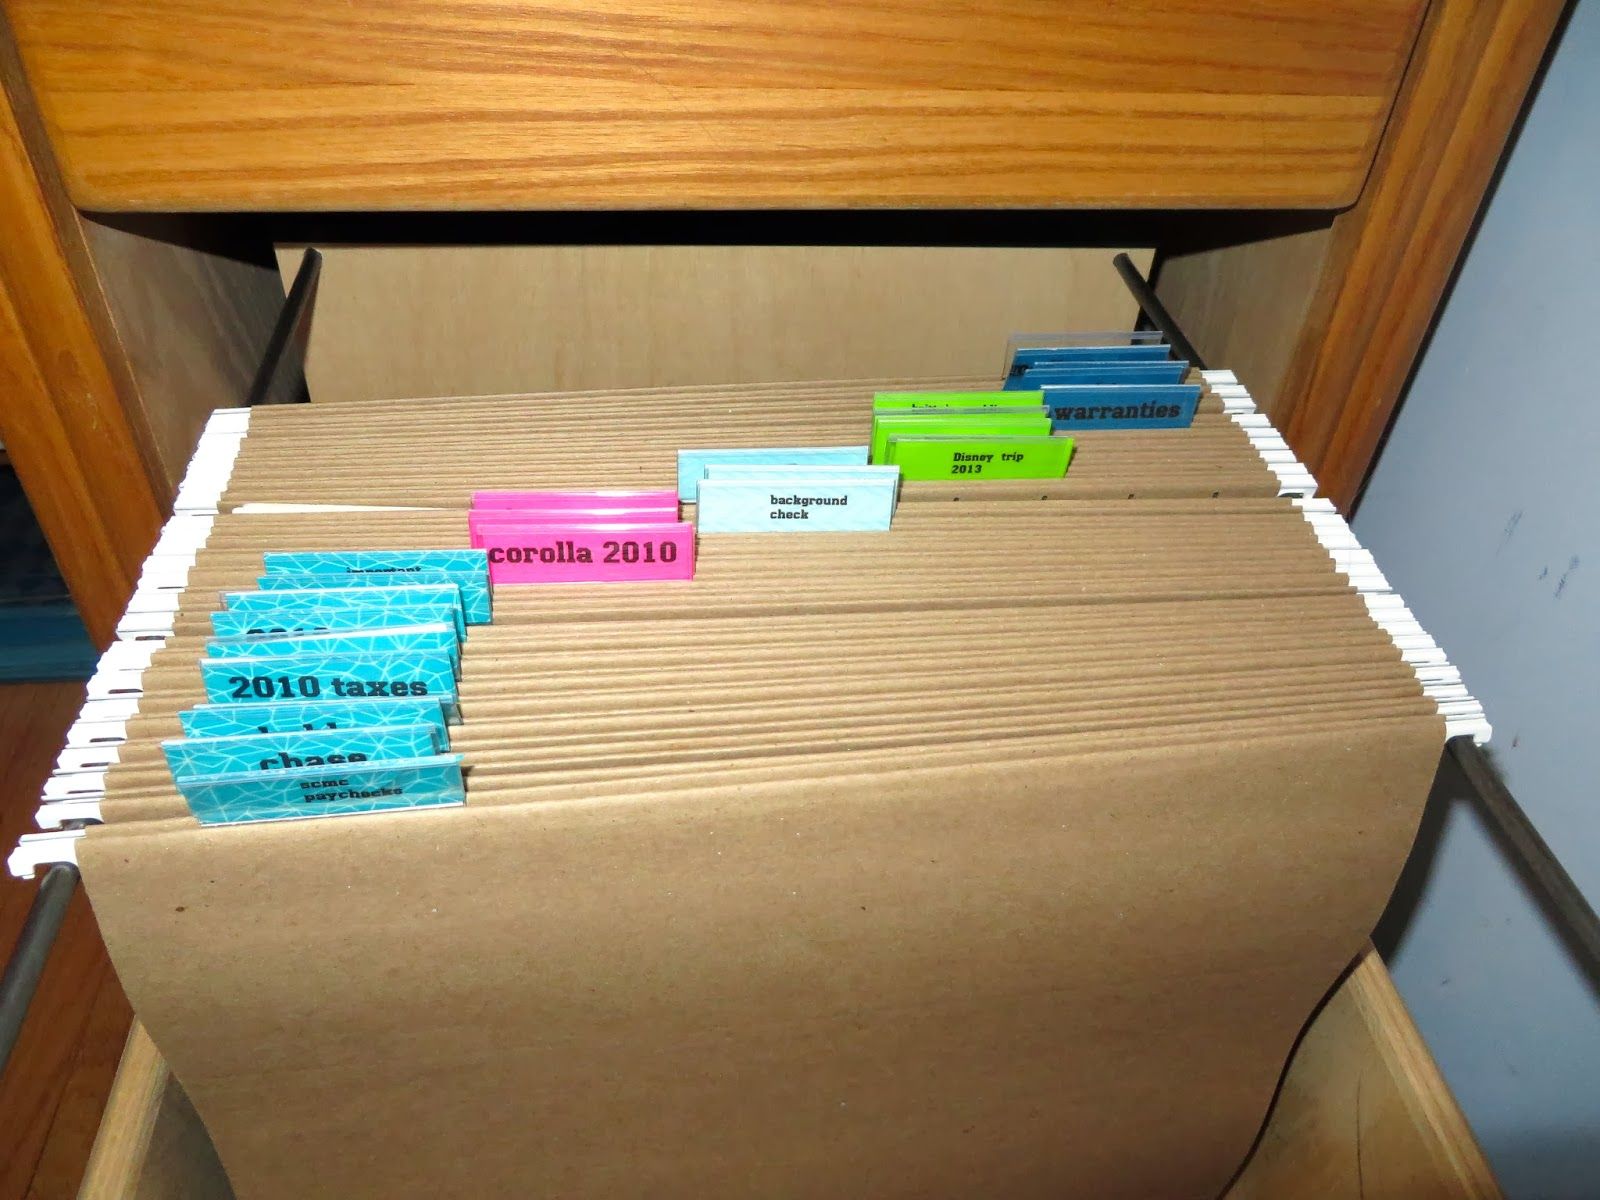
Step 2: Empty the contents of the drawer
Before attempting to remove a drawer from your filing cabinet, it’s important to empty its contents completely. This will make the drawer lighter and easier to handle, reducing the risk of injuries or damage. Follow these steps to empty the drawer:
- Start by gently pulling the drawer out of the cabinet as far as it will go without forcing it.
- Remove any loose items or folders from the drawer and place them on a nearby surface.
- Sort through the contents and organize them if needed. You can use this opportunity to discard any unnecessary documents or rearrange the files for better organization.
- Once you have emptied the drawer, double-check to ensure there are no remaining loose items or paperclips that could get in the way during the removal process.
By emptying the drawer and organizing the contents, you’ll not only make the removal process smoother but also have a chance to declutter and improve the overall organization of your filing cabinet.
Once the drawer is emptied, you’re ready to move on to the next step: locating the release mechanism.
Step 3: Locate the release mechanism
Each filing cabinet has a different type of release mechanism to disconnect the drawer from the cabinet. Before proceeding with removal, it’s important to locate this mechanism. Here are some common release mechanisms and where you can find them:
- Push-release mechanism: In some filing cabinets, you may simply need to push the drawer inwards while simultaneously lifting the front of the drawer slightly. This action will disengage the latches or tabs holding the drawer in place. Look for small buttons or levers inside the cabinet near the drawer slides.
- Drawer stop/release lever: Some filing cabinets have a release lever or stop mechanism that allows you to remove the drawers. Usually, this lever is located on the sides or back of the drawer slides, near the bottom. Move the lever in the direction indicated (often upward or outward) to release the drawer.
- Screw-release mechanism: In certain cabinets, the drawers are secured to the slides with screws. Look for screws on the sides or back of the drawer slides. Use a screwdriver to unscrew them, ensuring you keep them in a safe place.
Remember that the location and type of the release mechanism may vary depending on the specific model and manufacturer of your filing cabinet. If you’re unsure about the release mechanism or cannot find it, consult the cabinet’s user manual or contact the manufacturer for guidance.
Once you’ve located the release mechanism, you’re ready to move on to the next step: releasing the drawer.
Most filing cabinets have a lever or button on the inside of the drawer that needs to be pressed while pulling the drawer out. If you can’t find a lever, check the manufacturer’s instructions for specific guidance.
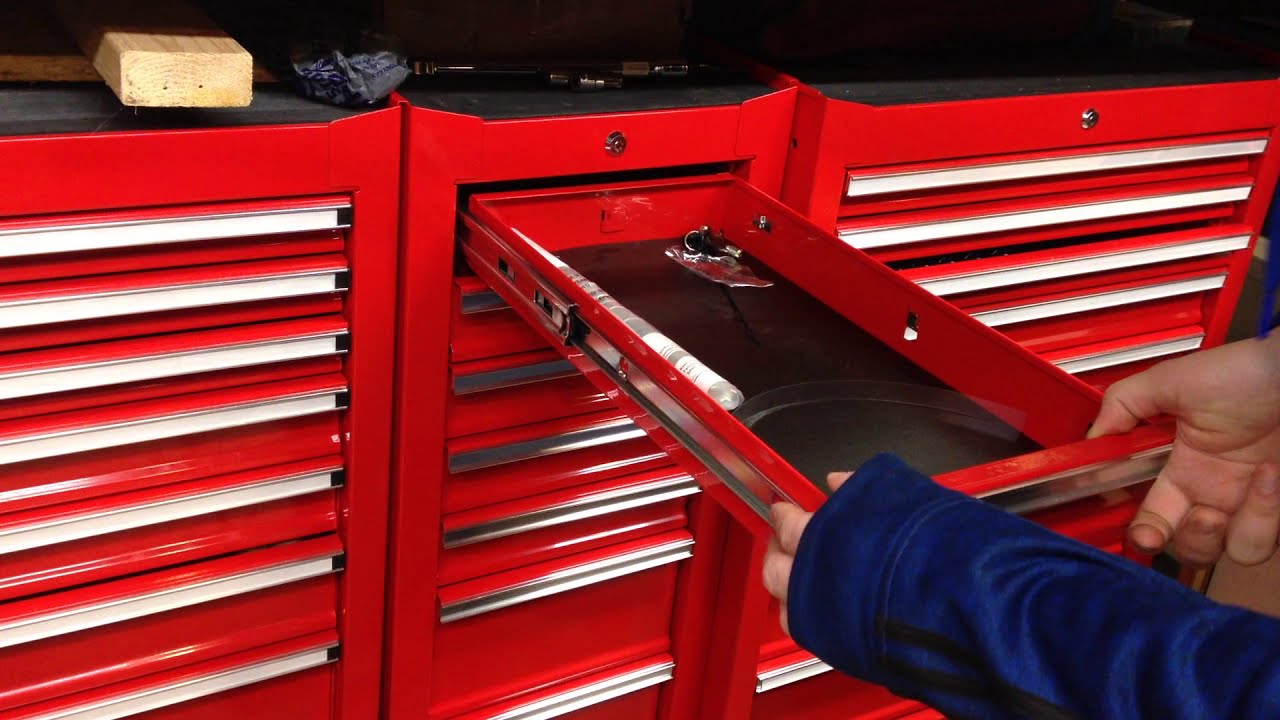
Step 4: Release the drawer
Now that you have located the release mechanism, it’s time to release the drawer from the filing cabinet. Follow these steps to safely and effectively release the drawer:
- Start by opening the drawer as far as it will go without forcing it. If there are any locks on the drawer, ensure that they are unlocked.
- Depending on the type of release mechanism you identified in Step 3, perform the necessary action to disengage the drawer from the cabinet. This may involve pressing buttons, moving levers, or unscrewing screws.
- Gently lift the front of the drawer slightly while continuing to push it inwards or engaging the release lever. This will help release any remaining latches or tabs and allow the drawer to slide out smoothly. Make sure to support the weight of the drawer as you lift it.
- If the drawer seems stuck or doesn’t release easily, double-check to ensure that you have correctly identified and engaged the release mechanism. Sometimes, a little jiggling or wiggling may be necessary to free the drawer.
- Once released, carefully pull the drawer straight out from the filing cabinet. Be cautious of any sharp edges or corners that could cause injury, and avoid twisting or tilting the drawer.
By following these steps, you should be able to release the drawer from the filing cabinet without any issues. Remember to take your time and handle the drawer with care to avoid any damage or accidents.
With the drawer released, you’re ready to move on to the next step: removing the drawer from the cabinet.
Read more: 20 Best 2 Drawer File Cabinet (2022 Edition)
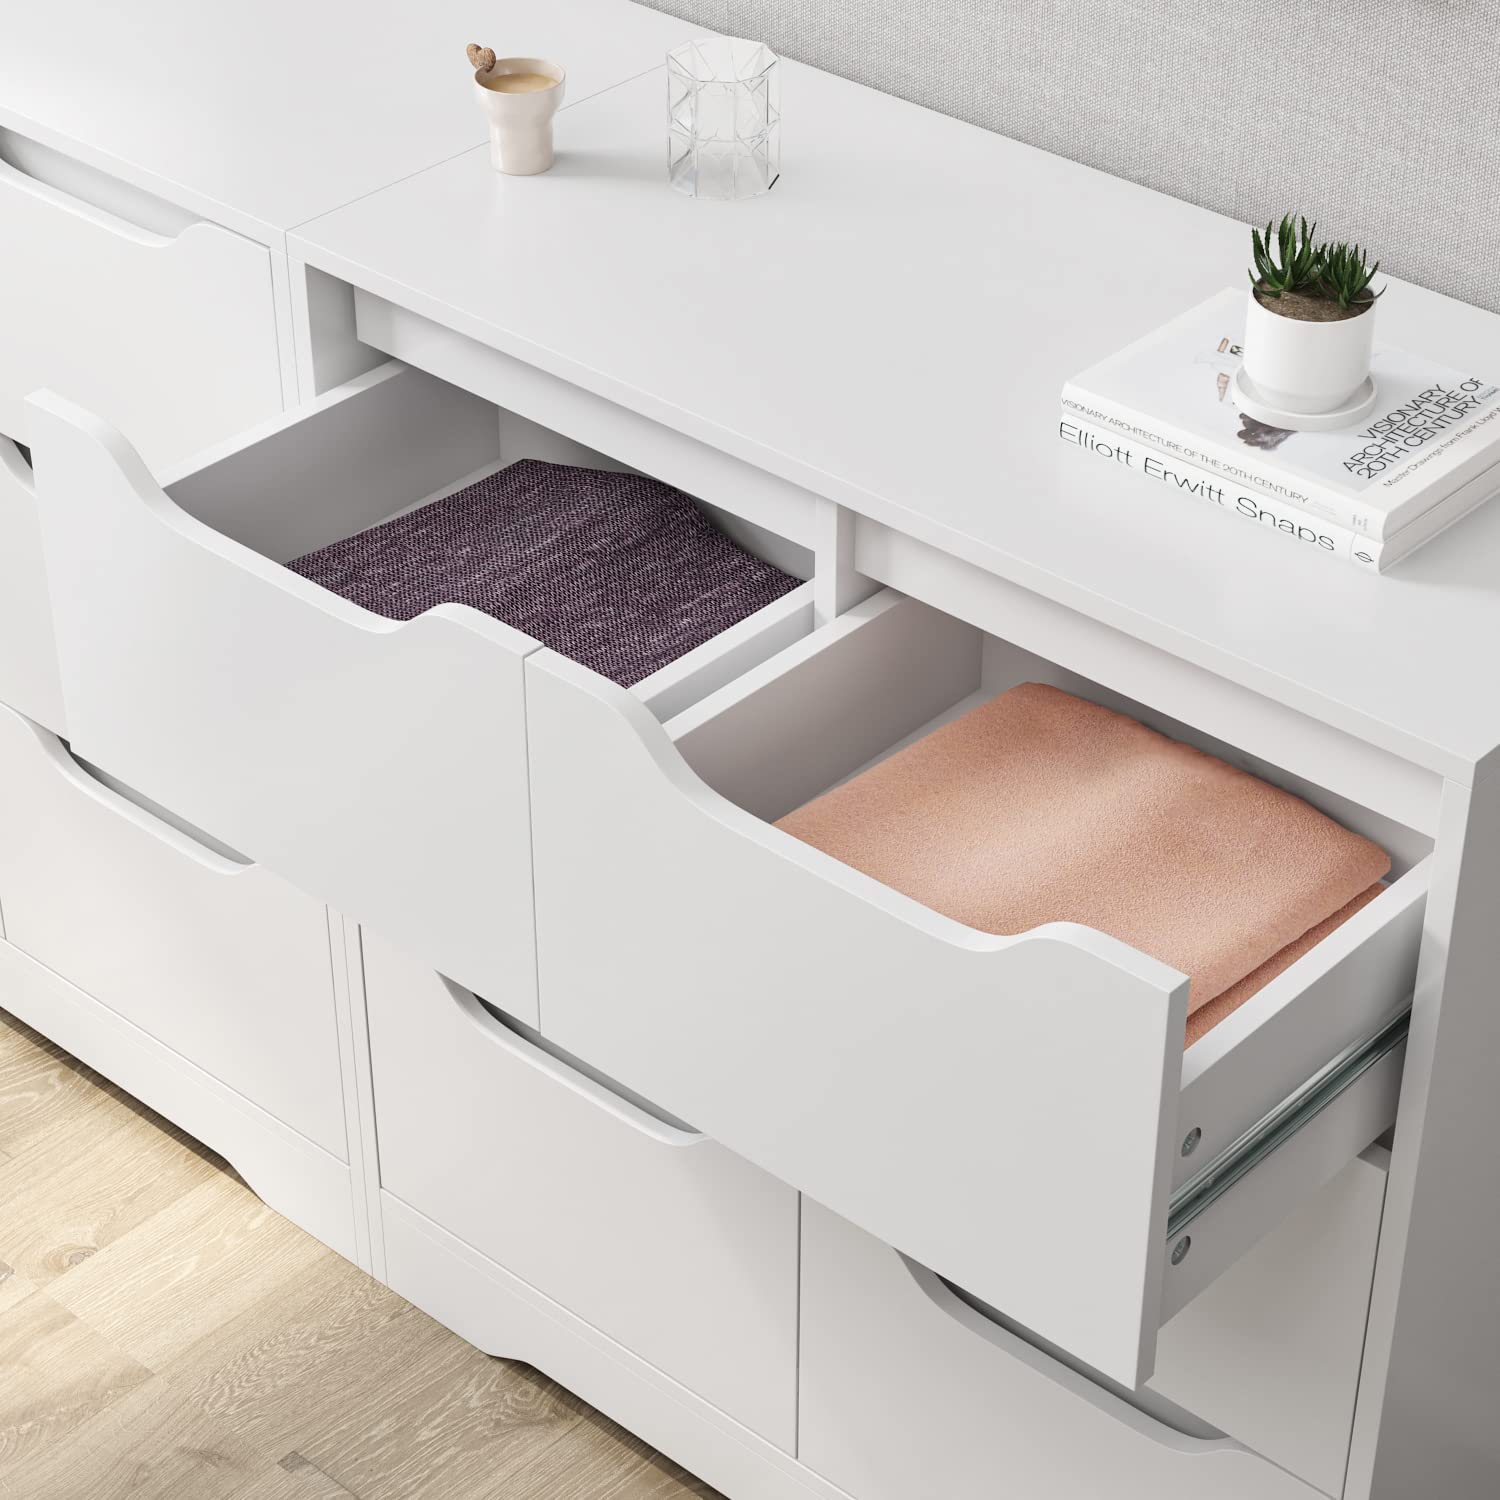
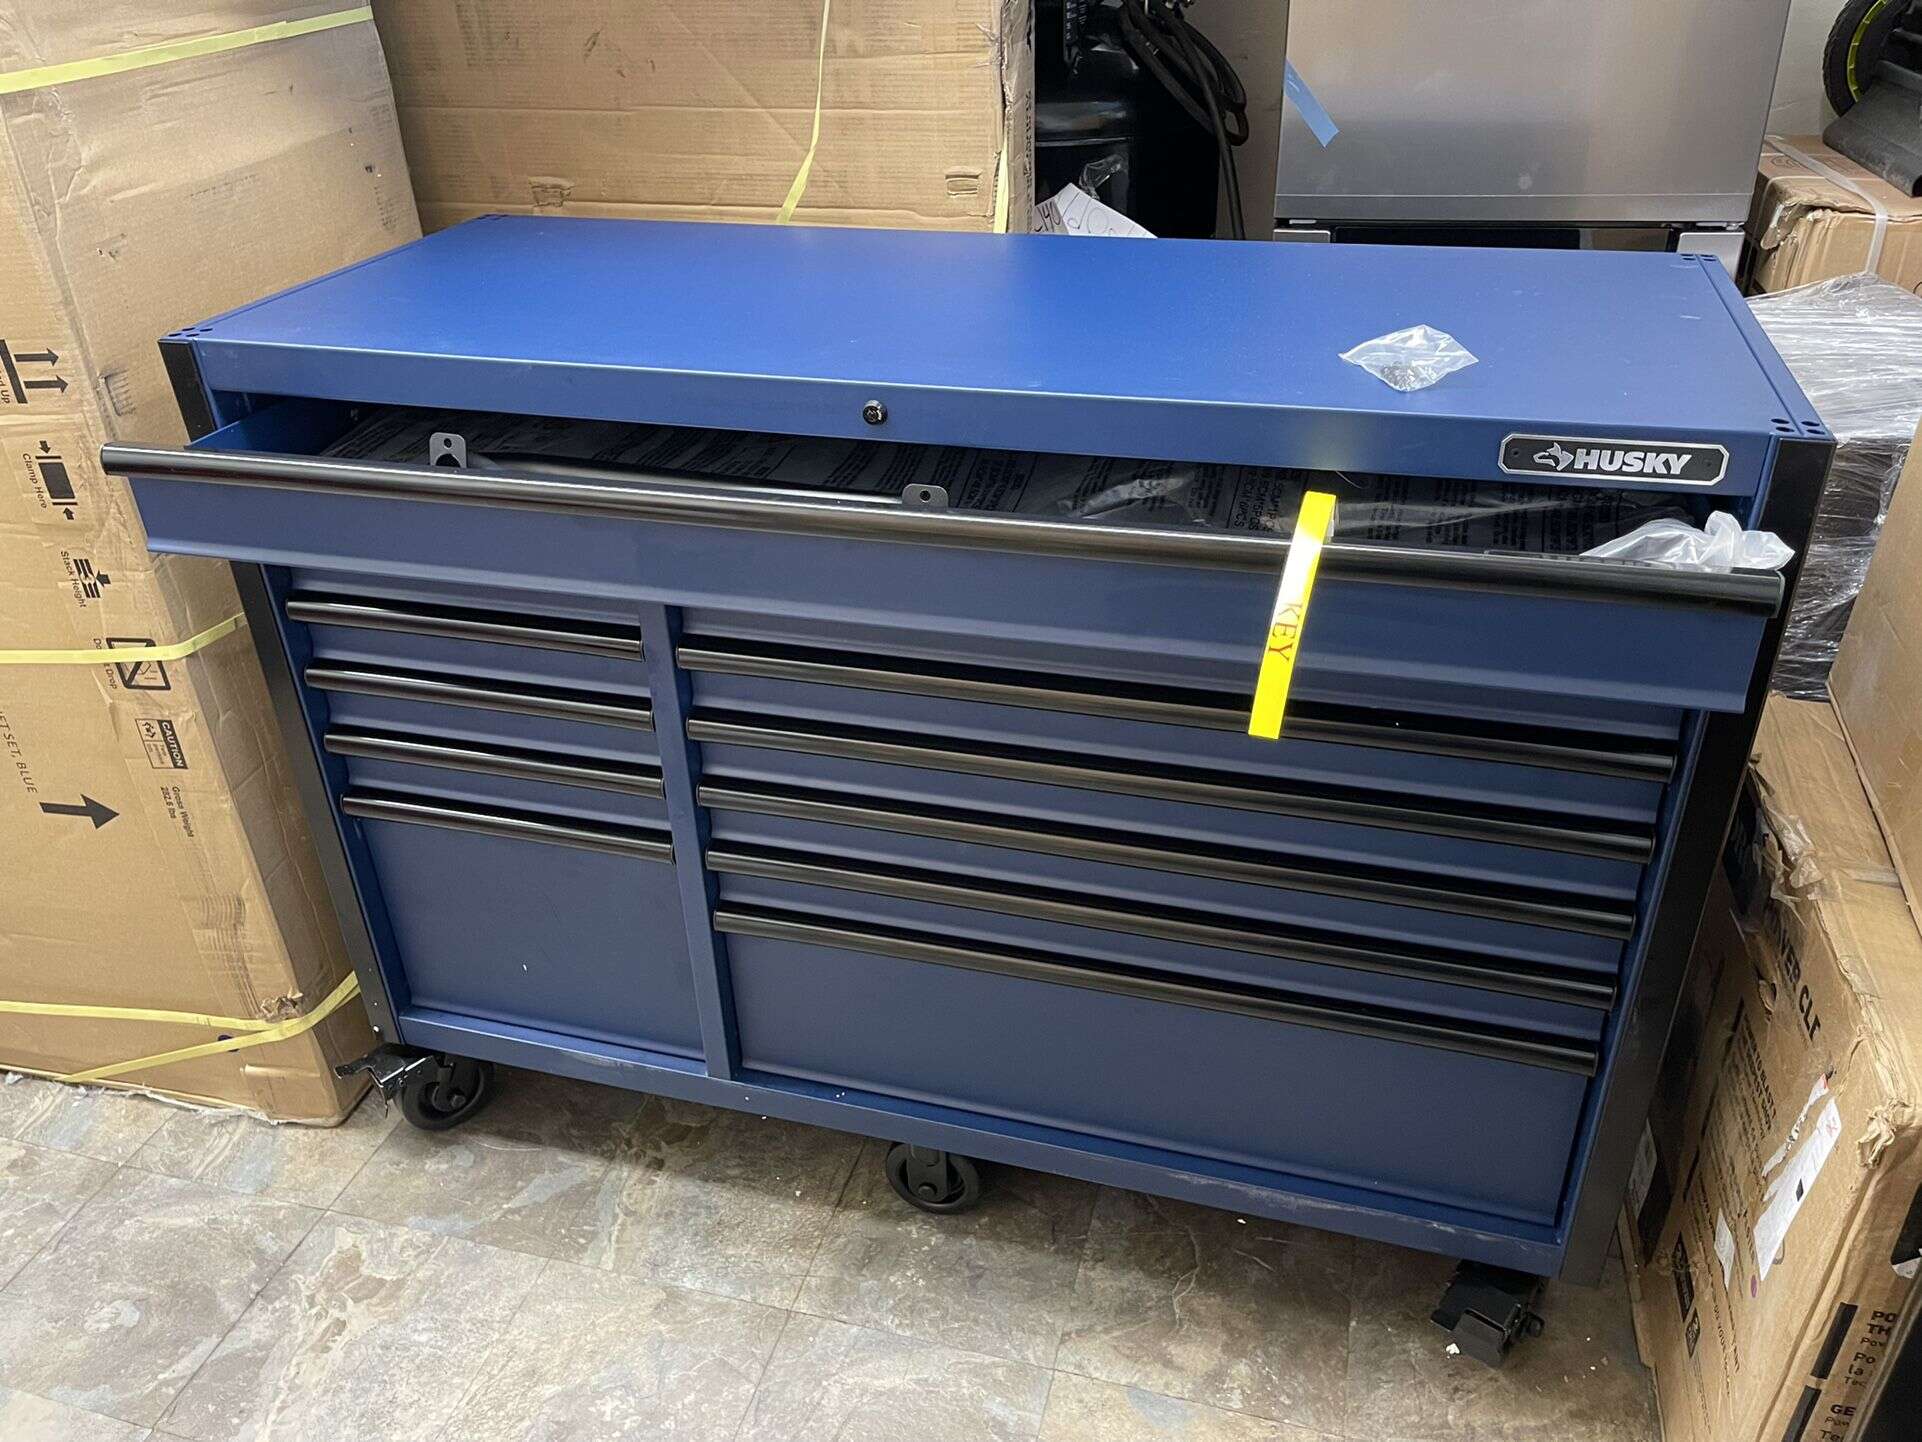
Step 5: Remove the drawer from the cabinet
With the drawer released, it’s time to remove it completely from the filing cabinet. Follow these steps to safely and efficiently remove the drawer:
- Hold the released drawer firmly by both sides, using a balanced grip.
- Slowly and carefully pull the drawer straight out from the cabinet, ensuring that it remains level.
- If the drawer is heavy or difficult to handle, consider using furniture sliders or enlisting the help of a second person to support the weight and provide extra stability.
- As you pull the drawer out, keep an eye out for any wires, cables, or obstructions that may be attached to the back of the drawer. If you encounter any, gently disconnect or remove them to ensure a smooth removal.
- Once the drawer is completely out of the cabinet, set it down on a stable surface, such as a table or the floor. Take care to protect the drawer’s finish by placing it on a soft surface or using a protective covering if necessary.
By following these steps, you will be able to remove the drawer safely and efficiently from the filing cabinet. Remember to take your time and be cautious of any potential hazards or obstructions during the removal process.
If your filing cabinet has multiple drawers, you can follow the same steps to remove each additional drawer individually. However, make sure to remove one drawer at a time, supporting the weight and maintaining balance throughout the process.
With the drawer successfully removed from the cabinet, you’ve completed this step. The next step, if applicable, is repeating the process for any remaining drawers in your filing cabinet.
Step 6: Repeat for additional drawers (if applicable)
If your filing cabinet has multiple drawers, you may need to repeat the previous steps to remove each additional drawer individually. Follow these steps to safely remove any remaining drawers:
- Ensure that the drawer you just removed is set aside safely and securely.
- Move on to the next drawer that you wish to remove.
- Follow Steps 3, 4, and 5 to release, remove, and set aside the additional drawer.
- Repeat this process for any remaining drawers in your filing cabinet.
By following these steps for each drawer, you can systematically and safely remove all the drawers from your filing cabinet.
Remember to handle each drawer with care, paying attention to its weight and any potential obstacles. If you encounter any challenges or difficulties during this process, take your time and consider seeking assistance if necessary.
Once you have removed all the drawers from your filing cabinet, you can proceed with whatever task you had in mind, whether it’s cleaning the cabinet, moving it to a new location, or replacing the drawers.
With all the drawers removed, you have successfully completed the process of removing the drawers from your filing cabinet. Congratulations!
Conclusion
Removing drawers from your filing cabinet may seem like a daunting task, especially if you’ve never done it before. However, by following the step-by-step process outlined in this article, you can safely and effectively remove the drawers without any hassle or damage.
Remember to prepare the necessary tools before you begin, empty the contents of the drawer, locate the release mechanism, and release the drawer from the cabinet. Then, gently remove the drawer from the cabinet, taking care to avoid any obstructions or hazards along the way. If you have multiple drawers, repeat the process for each one.
By taking your time, following the proper procedures, and exercising caution, you can successfully remove the drawers from your filing cabinet and accomplish your desired task, whether it’s cleaning, moving, or replacing the drawers.
Remember, if you encounter any challenges or are unsure of the specific release mechanism for your filing cabinet, consult the manufacturer’s instructions or seek guidance from professionals.
We hope this step-by-step guide has been helpful in your journey to remove the drawers from your filing cabinet. With a little patience and the right tools, you’ll be able to complete the process with ease and confidence.
Good luck, and enjoy your organized and functional filing cabinet!
Frequently Asked Questions about How To Remove Drawers From Filing Cabinet
Was this page helpful?
At Storables.com, we guarantee accurate and reliable information. Our content, validated by Expert Board Contributors, is crafted following stringent Editorial Policies. We're committed to providing you with well-researched, expert-backed insights for all your informational needs.


0 thoughts on “How To Remove Drawers From Filing Cabinet”