
Articles
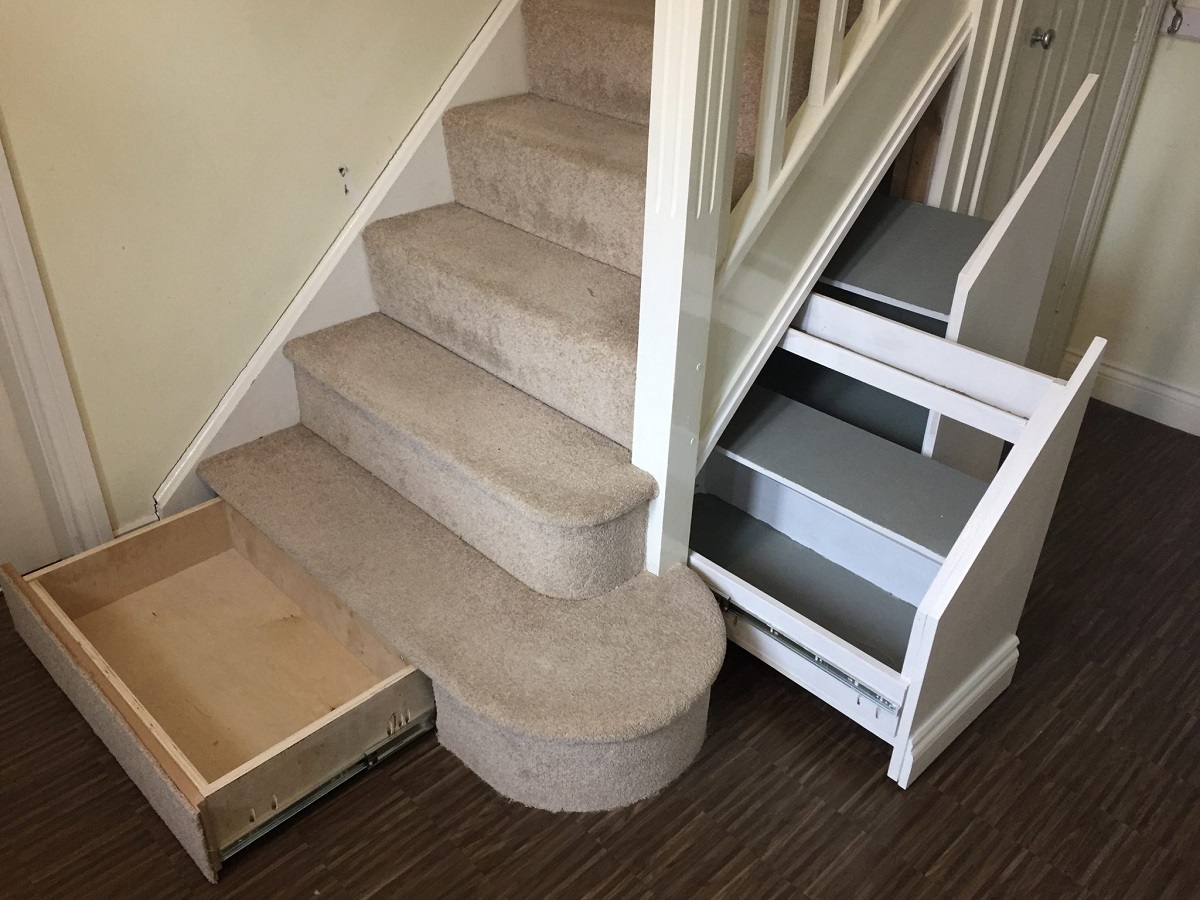
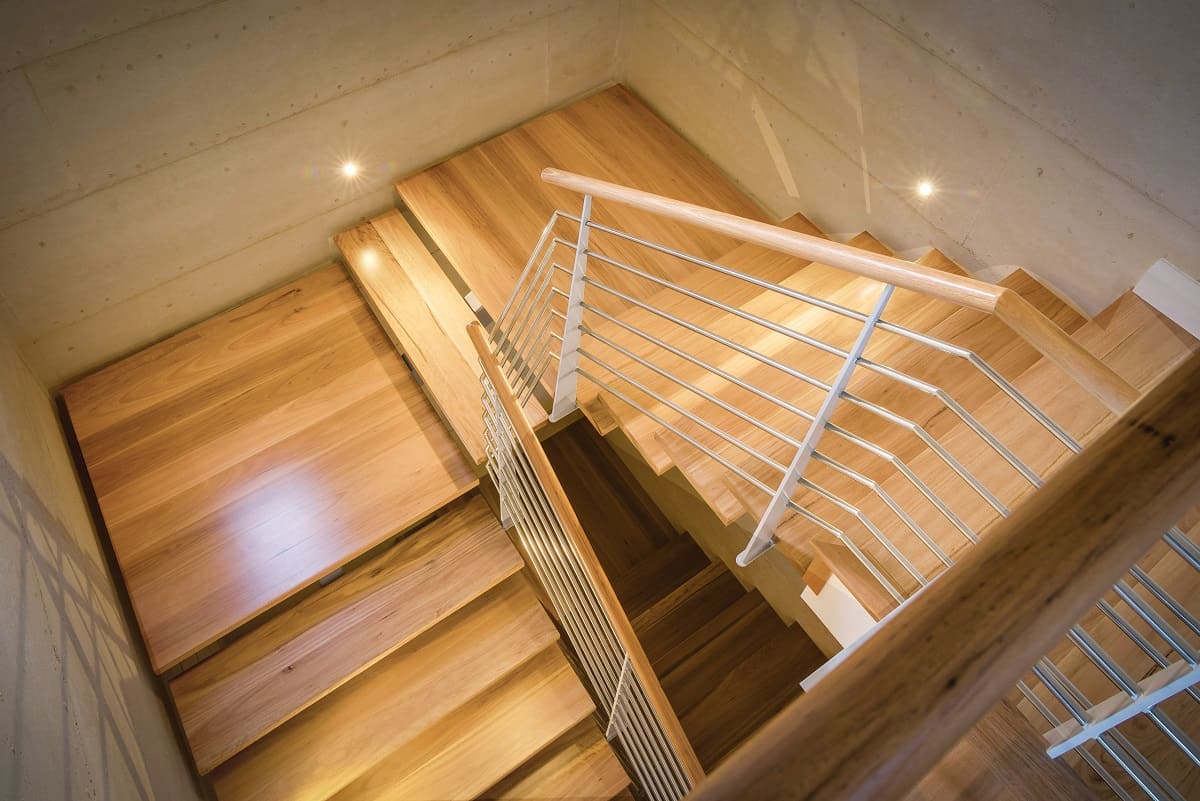
How To Build Basement Stairs
Modified: May 6, 2024
Learn how to build basement stairs with our informative articles. Get step-by-step instructions and expert tips to complete your DIY project.
(Many of the links in this article redirect to a specific reviewed product. Your purchase of these products through affiliate links helps to generate commission for Storables.com, at no extra cost. Learn more)
Introduction
Building basement stairs can be a daunting task, but with the right planning and proper execution, it is an achievable project for any DIY enthusiast. Whether you are finishing your basement or replacing an old set of stairs, constructing basement stairs requires careful measurements, precise cutting, and the use of the right materials and tools.
In this article, we will guide you through the step-by-step process of building basement stairs. From planning and measuring to installing stringers and adding treads, we will cover all the necessary steps to ensure a safe and sturdy staircase.
Before you begin, it is important to note that building codes and regulations may vary depending on your location. We recommend consulting your local building authorities to ensure compliance with safety standards and obtain any necessary permits before starting the project.
So, grab your tape measure and let’s get started on this exciting journey of building your own basement stairs!
Key Takeaways:
- Building basement stairs is achievable with proper planning, precise measurements, and the right materials and tools. Follow the step-by-step process to create a safe and sturdy staircase for your home.
- Adding finishing touches such as sanding, painting, and cleanup will give your basement stairs a polished and professional appearance, enhancing the overall aesthetics and longevity of the staircase.
Read more: How To Install Basement Stairs
Step 1: Planning and Measuring
The first step in building basement stairs is careful planning and accurate measurements. Before you start, take the time to assess the space where the stairs will be located and consider factors such as the available headroom, desired angle of the stairs, and the number of steps required.
Here are the key considerations for planning and measuring:
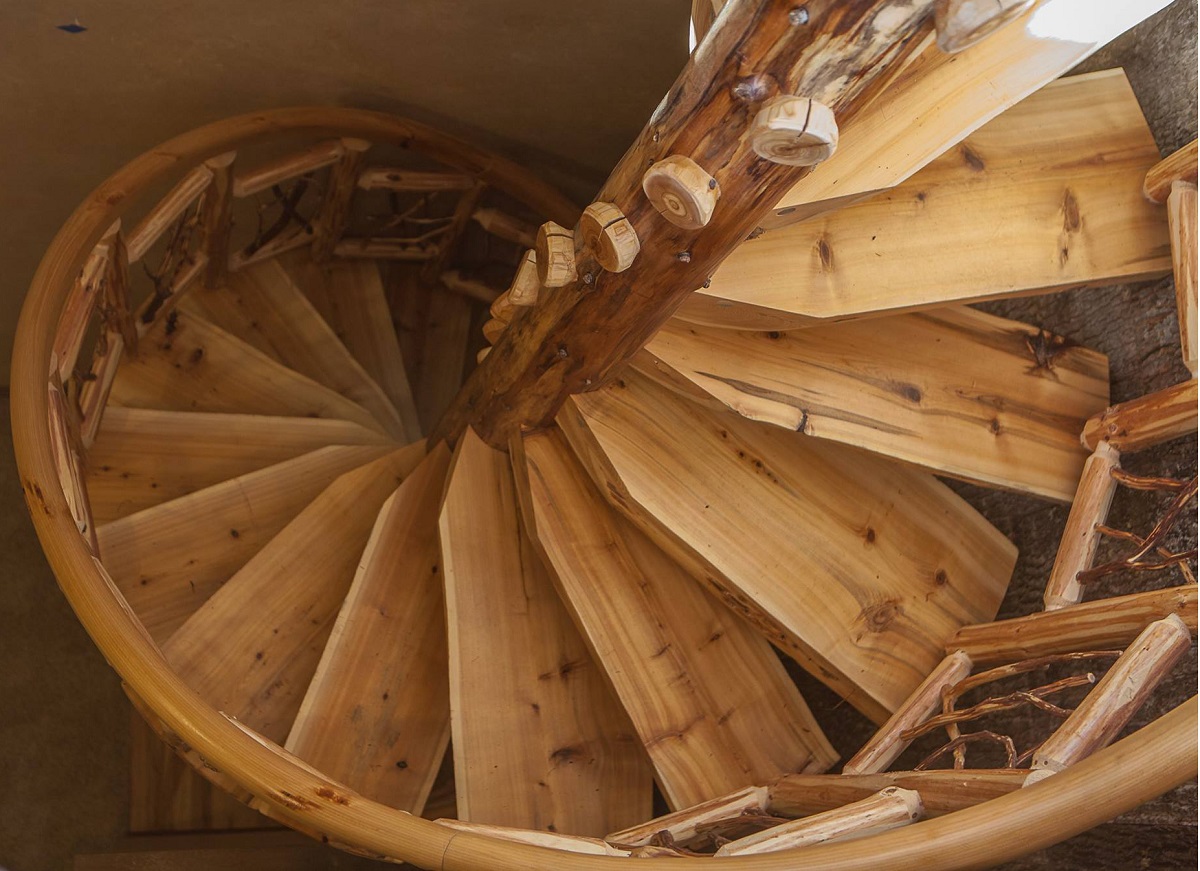
- Determine the stair design: Decide on the stair design that suits your needs and the available space. Straight stairs are the most common design for basement stairs, but you may also consider L-shaped or U-shaped stairs if you have limited space.
- Calculate the total rise: Measure the vertical distance between the finished floor at the bottom of the stairs and the finished floor at the top. This measurement will determine the number of steps needed.
- Determine the tread and riser dimensions: Treads are the horizontal parts of the steps, and risers are the vertical parts. The average tread width is around 10-11 inches, and the average riser height is around 7-8 inches. However, it’s important to confirm these measurements with your local building codes.
- Check the headroom: Ensure that there is enough headroom clearance at the top and bottom of the stairs. The standard requirement is a minimum of 6 feet 8 inches of headroom, but again, local building codes may vary.
- Draw a detailed plan: Using graph paper or a computer design program, sketch a detailed plan of the stairs, indicating the tread and riser dimensions, the total rise, the number of steps, and any other relevant measurements. This plan will serve as a guide throughout the construction process.
Remember, accuracy is crucial at this stage to ensure that your stairs fit perfectly and are safe for use. Take the time to double-check all measurements and consult experts or building professionals if you have any doubts.
Once you have completed the planning and measuring stage, you are ready to move on to the next step: gathering materials and tools.
Step 2: Gathering Materials and Tools
After careful planning and measuring, it’s time to gather the necessary materials and tools for building basement stairs. Having everything you need ready before you start will save you time and ensure a smooth construction process.
Here’s a list of the materials and tools you will need:
Materials:
- Pressure-treated lumber or engineered stair stringers
- Treads and risers (can be pre-cut or made from plywood or hardwood)
- Wood screws or nails
- Construction adhesive
- Wood shims
- Sanding and finishing materials (if using unfinished treads)
- Handrail and balusters (if desired)
- Paint or stain (if desired)
Tools:
- Tape measure
- Pencil
- Square
- Circular saw or handsaw
- Drill/driver or hammer
- Level
- Chisel
- Sanding block or electric sander
- Paintbrush or roller (if painting)
- Stain brush or rag (if staining)
Make sure to choose materials that are suitable for basement use, as basements tend to have higher moisture levels compared to other areas of the house. Pressure-treated lumber and moisture-resistant treads and risers are recommended for durability and longevity.
If you are not confident in cutting the stringers yourself, you can also purchase pre-cut stair stringers from your local home improvement store. These pre-cut stringers come in various sizes and can save you time and effort.
Once you have gathered all the materials and tools, organize them in a convenient workspace near the construction area. Having everything easily accessible will enable you to work efficiently and keep the construction process running smoothly.
In the next step, we will cover the process of cutting the stringers to the appropriate size and angle.
Read more: How To Finish Stairs To Basement
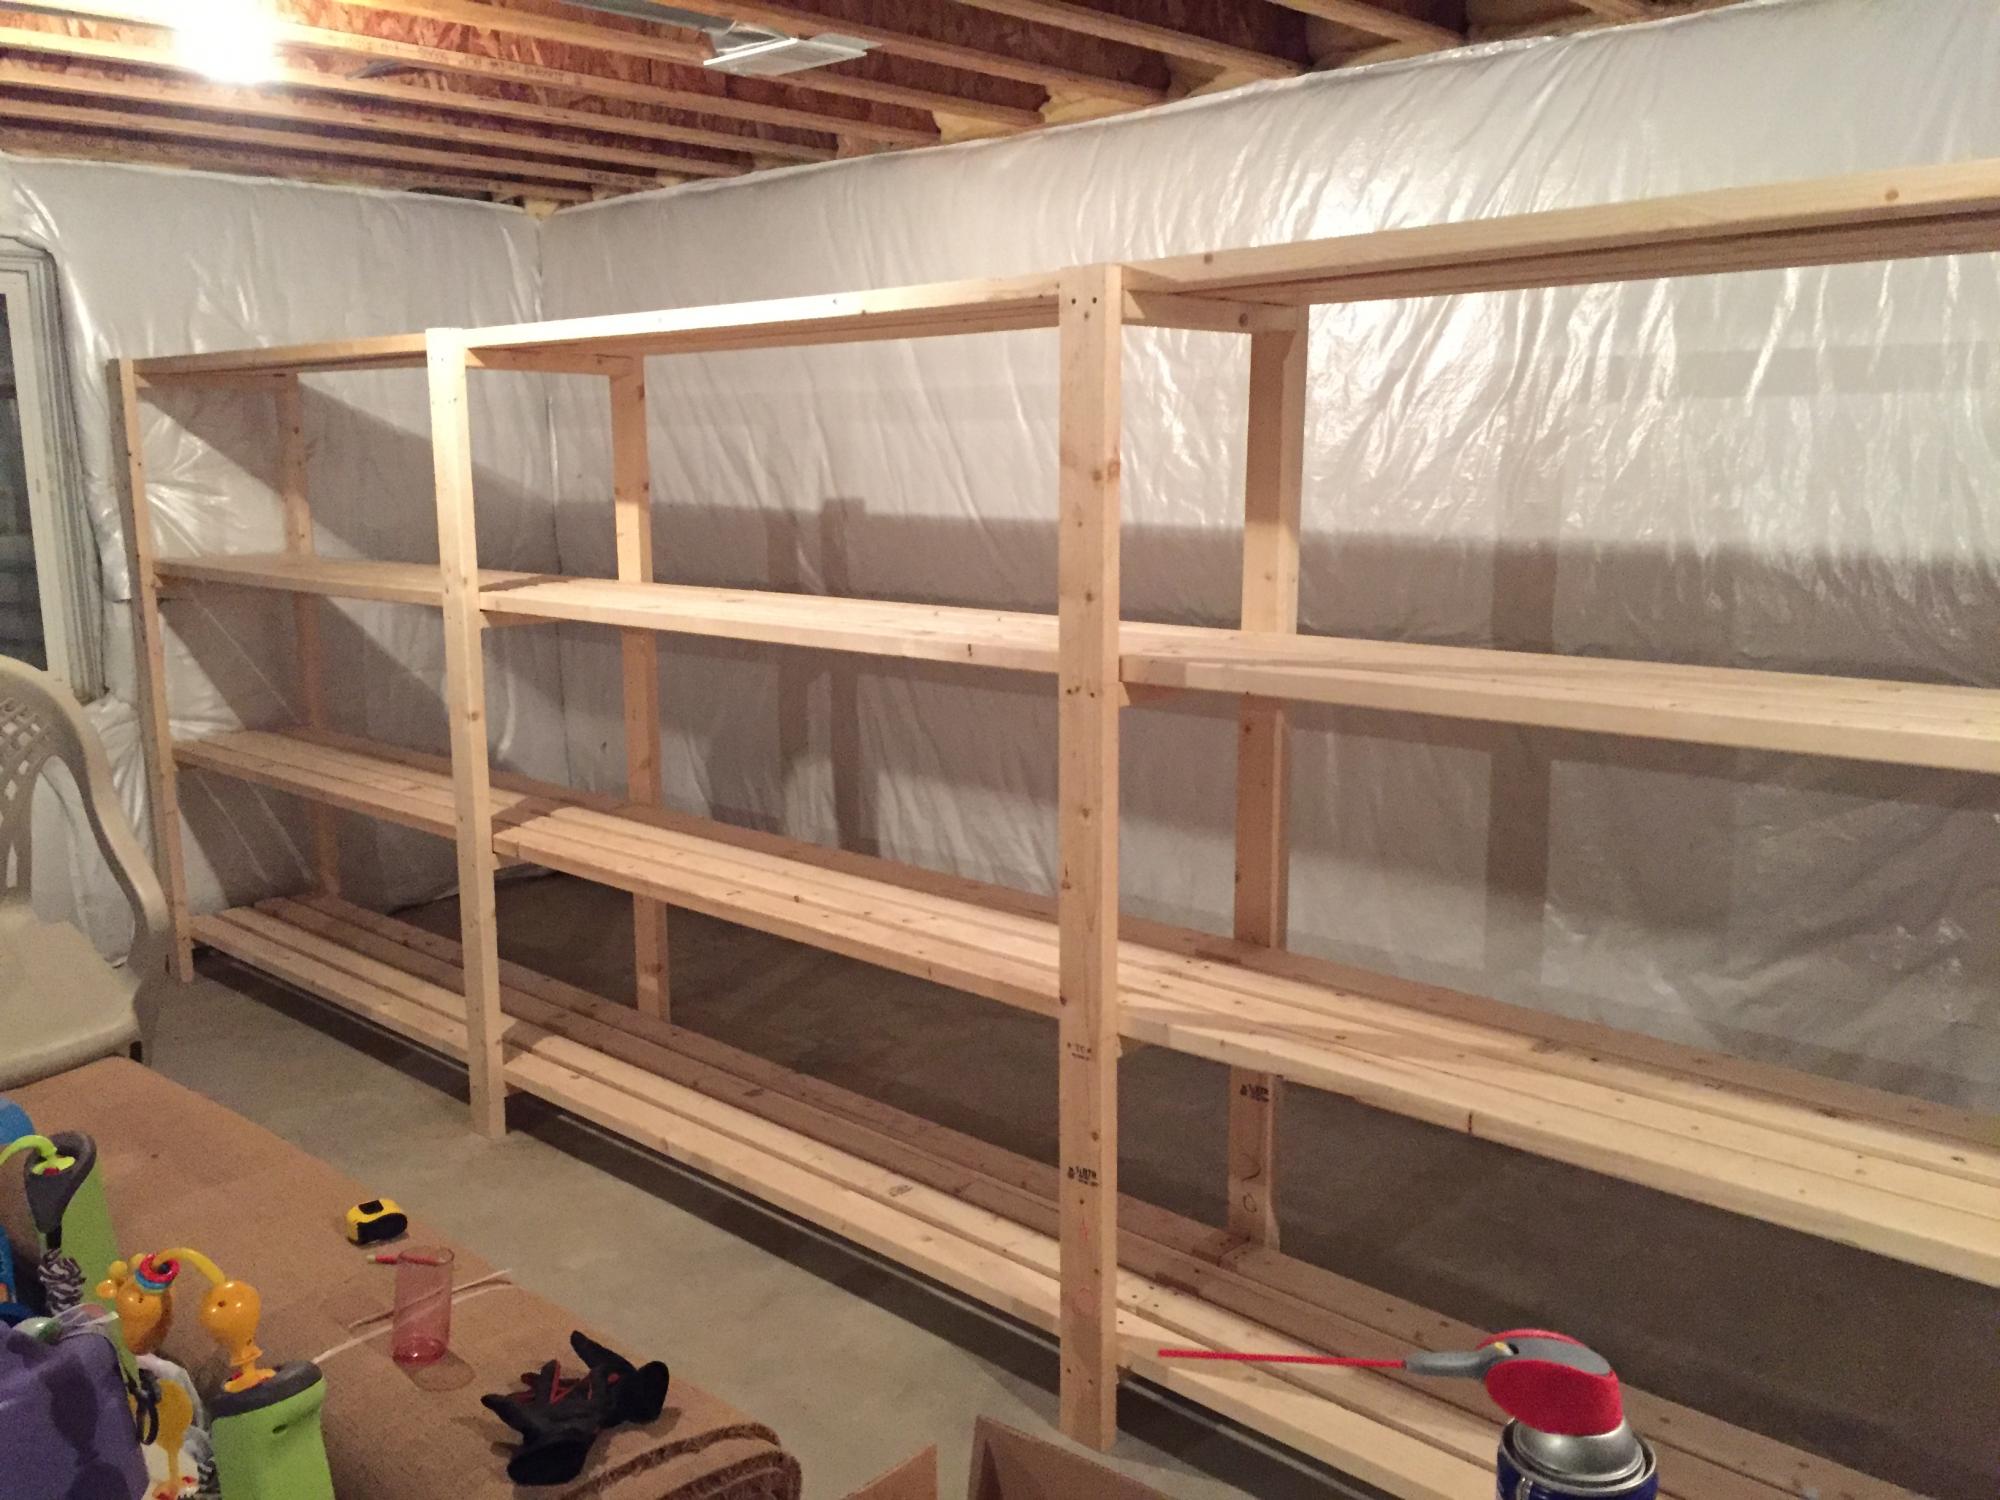
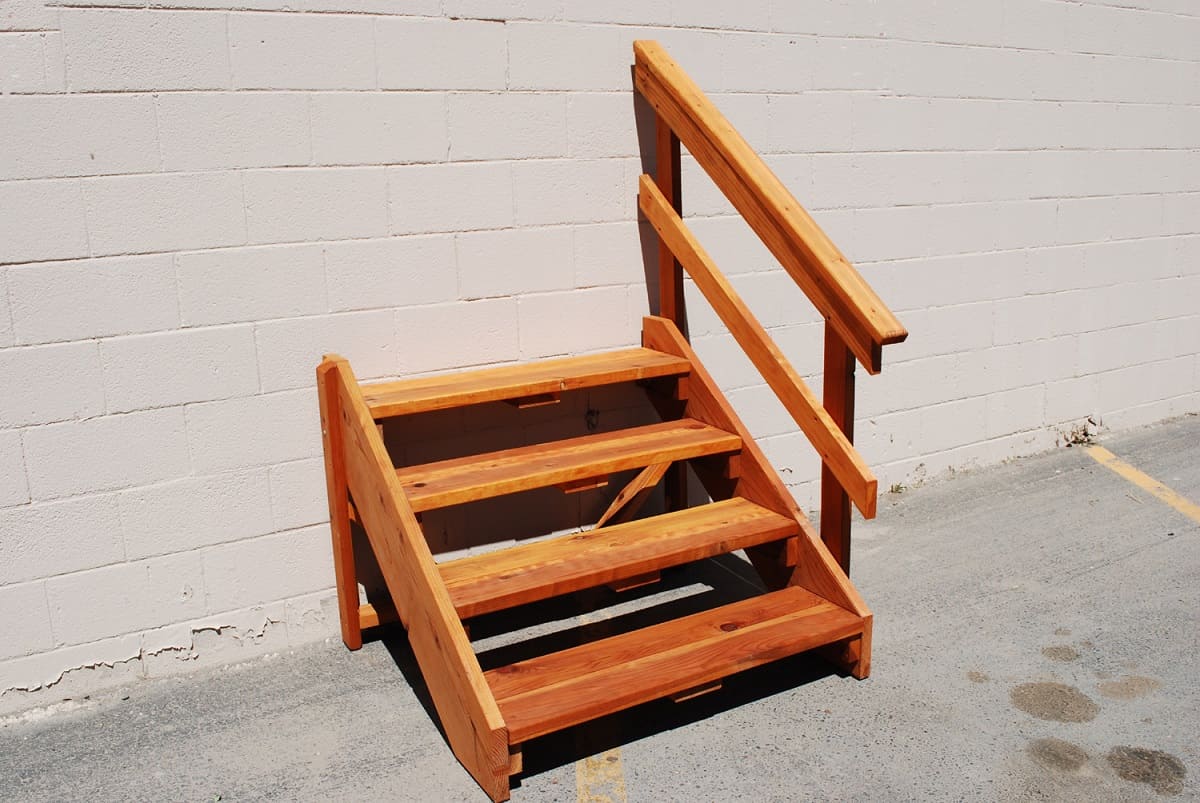
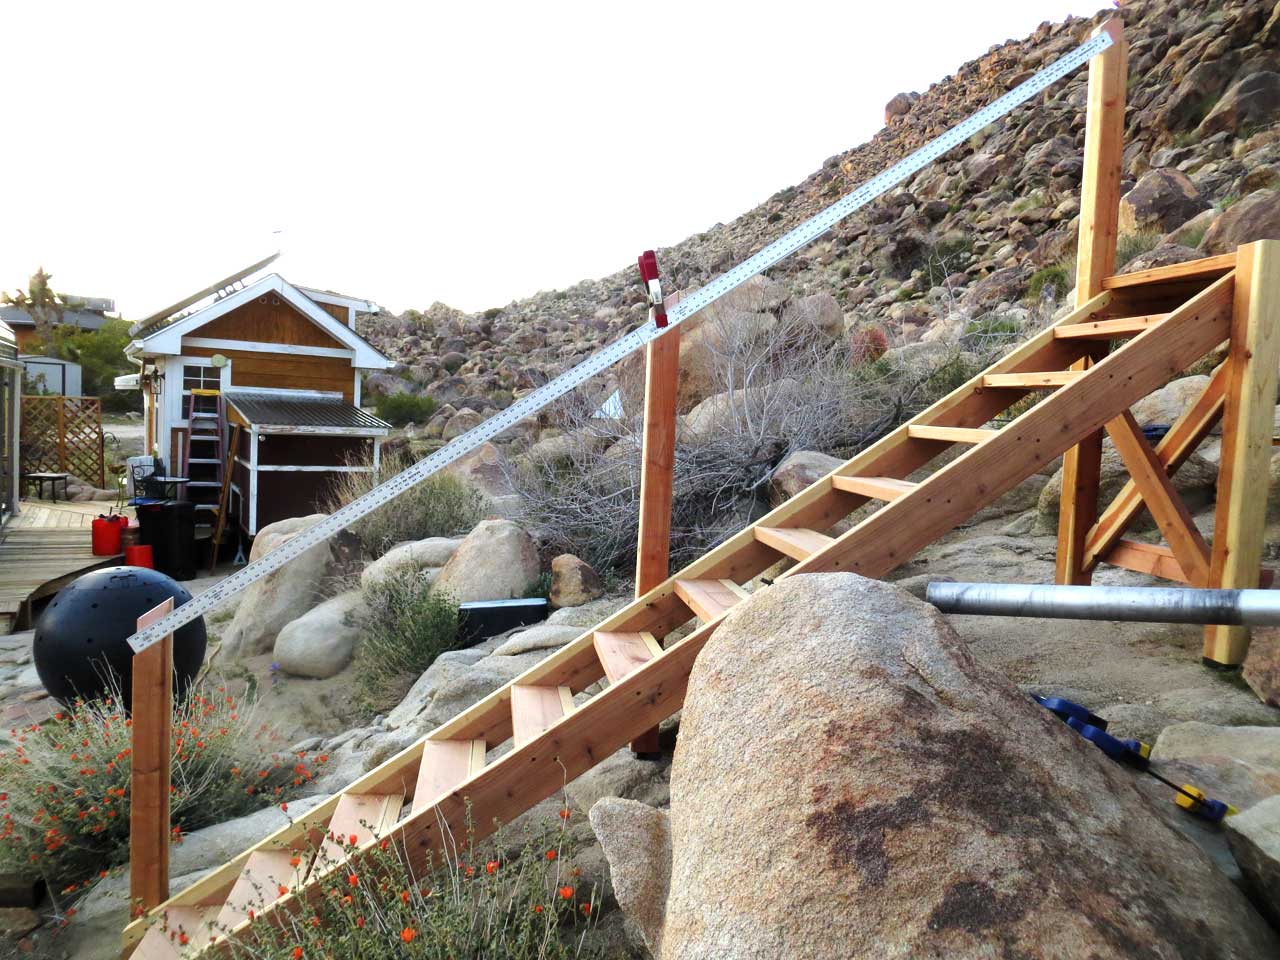
Step 3: Cutting Stringers
Now that you have your materials and tools ready, it’s time to move on to cutting the stringers for your basement stairs. Stringers are the diagonal supports that hold the treads and risers in place, providing stability and strength to the staircase.
Here’s how you can cut the stringers:
- Measure and mark the stringer location: Use your plan to determine the position of the stringers on the basement wall. Mark the top and bottom of each stringer on the wall using a pencil.
- Transfer the measurements to the stringer boards: Place the stringer boards on a flat surface and transfer the markings from the wall onto the boards. Use a square to ensure the lines are perpendicular to the boards.
- Calculate the angle: To determine the angle for the stringers, divide the total rise by the total run (distance from the first step to the last step). The resulting ratio will give you the angle or pitch of the stairs. You can use a calculator or an online stair stringer calculator for precise calculations.
- Mark the cuts: Using a square, draw a line across each stringer board at the calculated angle. This line represents the angle for the bottom of the stringers. Next, mark the locations of each tread and riser along the top edge of the stringer boards based on your plan.
- Cut the stringers: Carefully cut along the marked lines using a circular saw or handsaw. Take your time and make precise cuts to ensure the stringers fit accurately.
- Test-fit the stringers: Place the cut stringers against the wall and check their fit. Adjust as necessary to ensure a snug fit against the wall.
Remember to wear appropriate safety gear, such as safety glasses and gloves, during the cutting process. Take your time and double-check your measurements and cuts to ensure the stringers are accurate and properly aligned.
With the stringers cut and fitted, you are ready to move on to the next step: installing the stringers in place.
Step 4: Installing Stringers
With the stringers cut and ready, it’s time to install them in place to form the structure of your basement stairs. Proper installation of the stringers is crucial for the stability and safety of your staircase.
Follow these steps to install the stringers:
- Position the stringers: Place the stringers against the wall, aligning them with the marks you made in the previous step. Make sure they are level and plumb using a level and adjust as needed.
- Secure the stringers to the wall: Use construction adhesive and wood screws or nails to secure the stringers to the wall at each marked location. Make sure to follow the manufacturer’s instructions for the adhesive and use appropriate fasteners for your chosen stringer material.
- Add support blocks: To further strengthen the stringers, add support blocks at each intersection of the treads and risers. Cut small blocks of pressure-treated lumber and attach them to the wall between the stringers using screws or nails.
- Double-check the alignment: Once the stringers and support blocks are in place, double-check that everything is level and plumb. Make any necessary adjustments to ensure the stairs are straight and sturdy.
- Reinforce the joints: To reinforce the joints between the treads and risers, apply construction adhesive along the edges where they meet the stringers. This will provide additional stability.
- Allow the adhesive to dry: Follow the recommended drying time for the construction adhesive before proceeding to the next step. This will ensure that the stairs are secure and ready for the addition of treads and risers.
It’s important to note that while construction adhesive provides initial stability, it’s also recommended to use mechanical fasteners such as screws or nails for added support.
Once the stringers are securely installed, it’s time to move on to the next step: adding the treads and risers to complete the staircase.
Step 5: Adding Treads and Risers
With the stringers in place, it’s time to add the treads and risers to complete the construction of your basement stairs. Treads provide a stable surface for stepping, while risers enclose the space between each step, giving the staircase a finished look.
Follow these steps to add treads and risers to your basement stairs:
- Measure and cut the treads and risers: Measure the width and depth of each step and cut the treads and risers to the appropriate size. Use a circular saw or handsaw to make precise cuts.
- Attach the risers: Start at the bottom of the staircase and attach the risers to the back of each step. Apply construction adhesive to the back of the risers and place them in position, ensuring they are snug against the stringers. Use screws or nails to securely fasten the risers to the stringers.
- Install the treads: Apply construction adhesive on top of each riser and carefully place the treads on them. Press firmly to ensure a strong bond. Use screws or nails to secure the treads to the stringers from underneath, providing additional support.
- Check for levelness: As you add the treads and risers, periodically check for levelness and adjust as needed. A level staircase is essential for safety and comfort when using the stairs.
- Allow for drying time: Give the construction adhesive time to fully dry and set according to the manufacturer’s instructions before putting any weight on the stairs. This will ensure that the treads and risers are securely attached.
It’s important to note that the exact installation process may vary depending on the design and material of your treads and risers. Follow the manufacturer’s instructions for your specific materials to ensure proper installation.
Once the treads and risers are securely in place, you are ready to move on to the next step: securing handrails and balusters.
When building basement stairs, make sure to measure the height and width of the space accurately to ensure a proper fit. Use a sturdy material like pressure-treated lumber for durability.
Step 6: Secure Handrails and Balusters
Adding handrails and balusters to your basement stairs not only enhances the safety of the staircase but also adds a finishing touch to the overall aesthetics. Handrails provide support and stability, while balusters prevent falls and accidents.
Follow these steps to secure handrails and balusters:
- Choose the handrail style: Select a handrail that complements the design of your stairs and fits your personal preferences. Handrails are available in various materials such as wood, metal, or a combination of both.
- Measure and mark the handrail position: Measure and mark the position for the handrail on the wall adjacent to the stairs. Use a level to ensure the markings are straight and level.
- Install handrail brackets: Attach handrail brackets to the wall at the marked locations using screws or nails. Make sure the brackets are securely fastened and capable of supporting the weight of the handrail.
- Attach the handrail: Slide the handrail onto the brackets and secure it in place using screws or brackets provided with the handrail. Make sure the handrail is level and properly aligned with the stairs.
- Add balusters: Measure the appropriate spacing between each baluster based on local building codes and personal preference. Attach the balusters to the treads and handrail using screws or nails. Make sure they are securely fastened and evenly spaced.
- Check for stability: Once all the balusters are in place, check the stability of the handrail and balusters by applying light pressure. Ensure that they are secure and able to withstand normal usage.
It’s important to follow any local building codes or regulations regarding handrail height, spacing, and other safety requirements. Consulting with local authorities or professionals can provide guidance and ensure compliance.
With the handrails and balusters installed, your basement stairs are almost complete. It’s time to move on to the final step: adding the finishing touches.
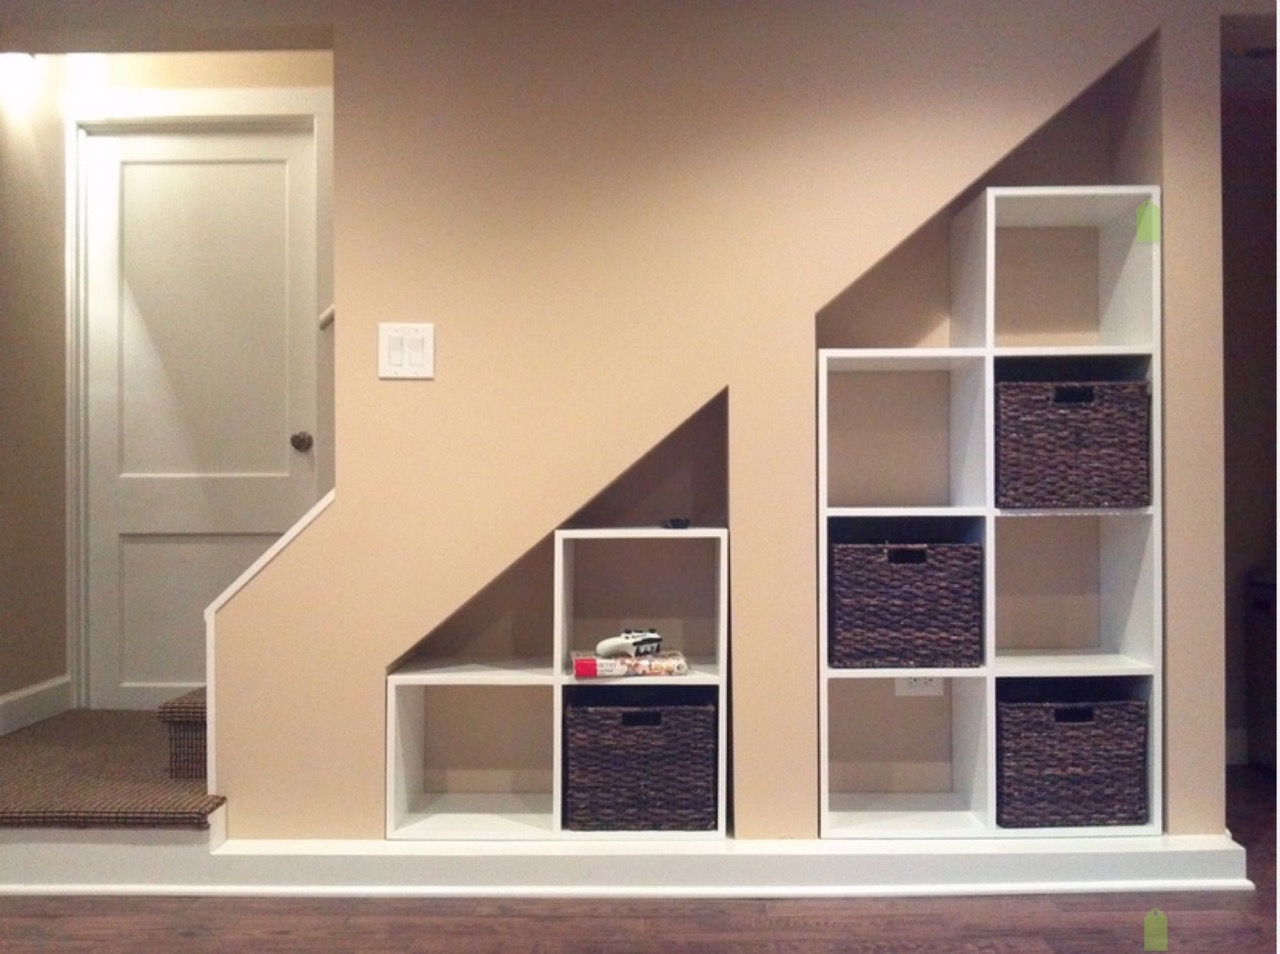
Read more: How To Build A Basement
Step 7: Finishing Touches
As you near the completion of your basement stairs project, it’s time to add the finishing touches that will give your staircase a polished and professional appearance. These final details will not only enhance the overall look but also ensure the longevity of your newly constructed stairs.
Here are some essential finishing touches to consider:
- Sanding and finishing: If you have chosen unfinished treads, it’s important to sand them to create a smooth and even surface. Use sandpaper or an electric sander to remove any rough edges or imperfections. Once sanded, apply a protective finish such as polyurethane or stain to enhance the durability and appearance of the treads.
- Touch-up painting: If you have painted the stringers or risers, inspect them for any chips or scratches. Touch up these areas with matching paint to ensure a seamless and consistent look.
- Cleanup: During the construction process, debris and dust may have accumulated on the stairs. Use a broom or vacuum cleaner to remove any remaining debris and give your stairs a clean and tidy finish.
- Final inspection: Before considering your basement stairs project complete, carefully inspect every element for any loose screws, nails, or other hazards. Check for any signs of instability or unevenness and make any necessary adjustments to ensure the safety and structural integrity of the staircase.
- Enjoy your newly constructed stairs: Once you are satisfied with the finishing touches and have completed all necessary inspections, it’s time to enjoy your newly constructed basement stairs. Take pride in your accomplishment and appreciate the improved functionality and aesthetics it brings to your space.
Remember, proper maintenance and occasional inspections will help ensure the longevity and safety of your basement stairs. Regularly check for any signs of wear or damage and address them promptly to prevent further issues.
Congratulations on completing the construction of your basement stairs! With careful planning, precise measurements, and attention to detail, you have successfully transformed your space and added a functional and stylish staircase.
If you are not confident in your DIY skills or prefer professional assistance, don’t hesitate to hire a reputable contractor to handle the construction of your basement stairs. Safety should always be the top priority when working with any type of construction project.
Conclusion
Building basement stairs may seem like a daunting task, but with proper planning, accurate measurements, and the right materials and tools, it is an achievable project for any DIY enthusiast or homeowner. By following the step-by-step process outlined in this article, you can construct a safe and sturdy staircase that adds functionality and aesthetic appeal to your basement.
Starting with careful planning and precise measurements, you can ensure that your stairs fit perfectly within the available space and comply with local building codes and regulations. Gathering the necessary materials and tools beforehand will save you time and ensure a smoother construction process.
From cutting and installing the stringers to adding treads and risers, each step plays a vital role in creating a structurally sound staircase. It is important to pay attention to detail and properly secure each component to ensure stability and safety when using the stairs.
Adding handrails and balusters provides an extra layer of safety, while the finishing touches like sanding, painting, and cleanup give your stairs a polished look. Regular maintenance and inspections will help preserve the integrity of your stairs for years to come.
Remember, if you don’t have the confidence or skill to tackle this project on your own, it’s always wise to consult with professionals or hire a contractor who specializes in staircase construction. Safety should always be a top priority.
Now that you have completed your basement stairs, take a moment to admire your hard work and enjoy the improved accessibility and aesthetics they bring to your home. Whether it’s for finishing your basement or replacing an old set of stairs, building basement stairs is a rewarding endeavor that adds value and functionality to your living space.
So, grab your tools, follow the steps outlined in this article, and embark on this exciting journey of creating your own basement stairs!
Now that you've mastered building basement stairs, why stop there? Dive into other DIY projects and discover the satisfaction of creating something from scratch. For those who are curious about the benefits of taking on these tasks, our article on the advantages of DIY projects offers plenty of insights. If woodworking piques your interest, our roundup of the best woodworking techniques for the coming year will certainly sharpen your skills. Both guides are packed with tips to keep you busy and inspired in your workshop!
Frequently Asked Questions about How To Build Basement Stairs
Was this page helpful?
At Storables.com, we guarantee accurate and reliable information. Our content, validated by Expert Board Contributors, is crafted following stringent Editorial Policies. We're committed to providing you with well-researched, expert-backed insights for all your informational needs.


0 thoughts on “How To Build Basement Stairs”