Articles
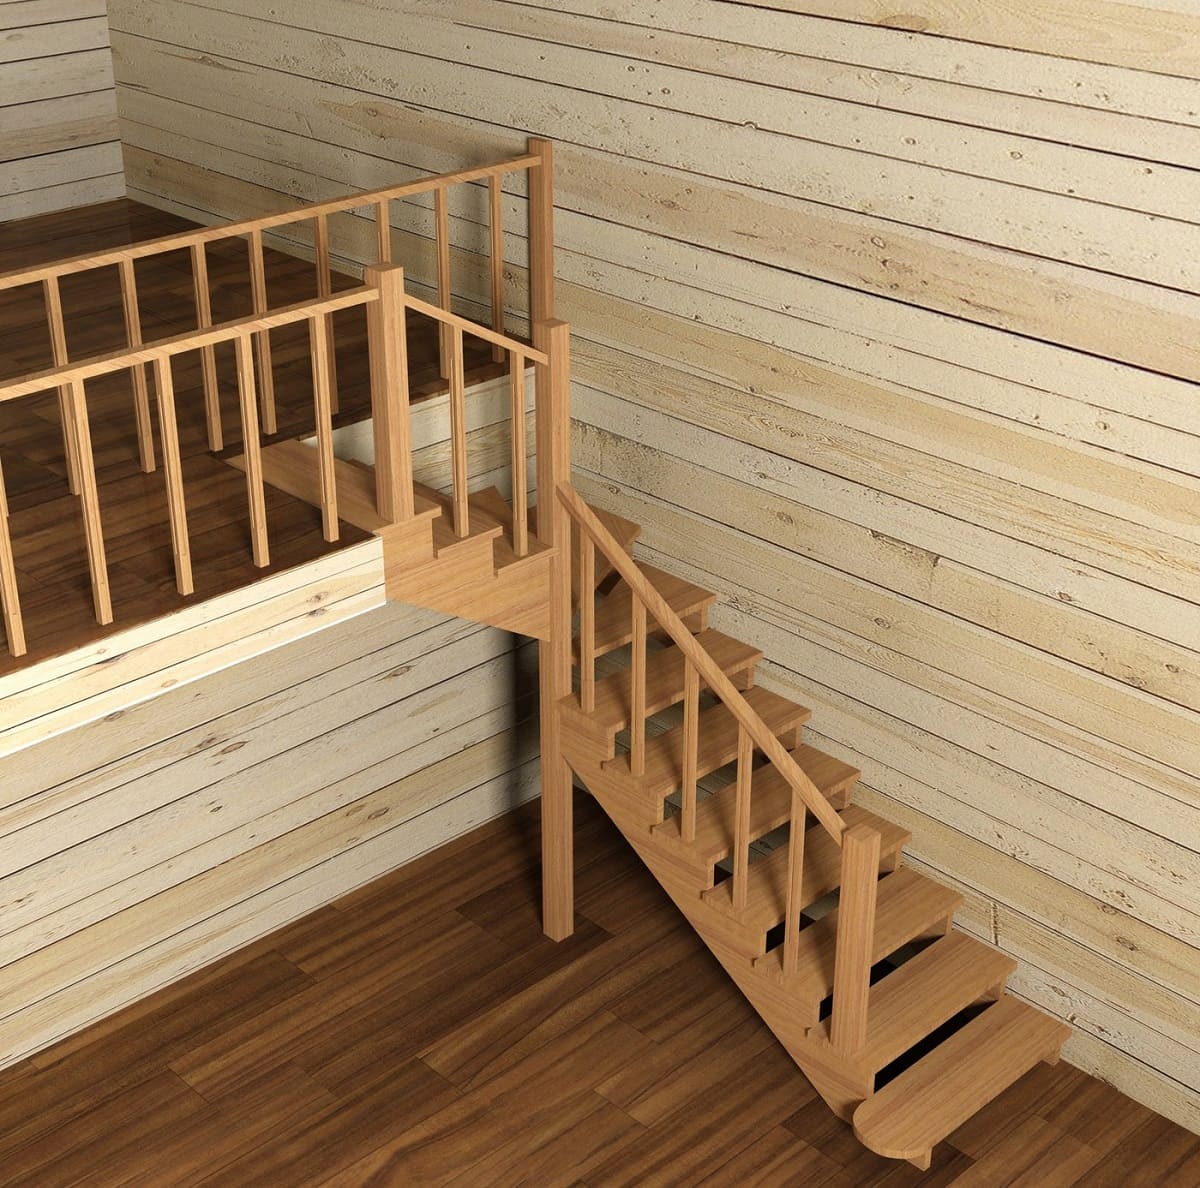
How To Tile Stairs Without Bullnose
Modified: August 21, 2024
Learn how to tile stairs without bullnose edges with our informative articles. Upgrade your staircase with these helpful step-by-step guides.
(Many of the links in this article redirect to a specific reviewed product. Your purchase of these products through affiliate links helps to generate commission for Storables.com, at no extra cost. Learn more)
Introduction
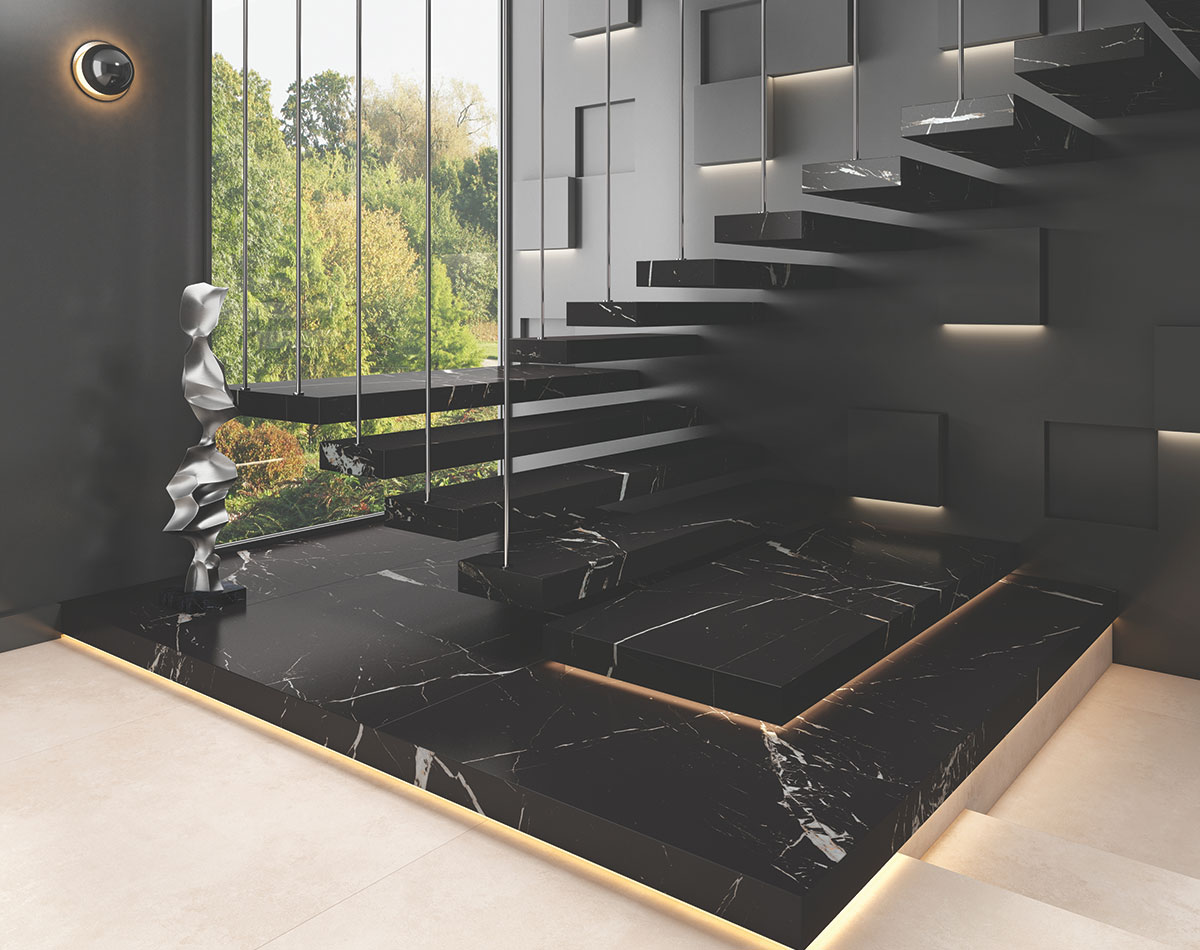
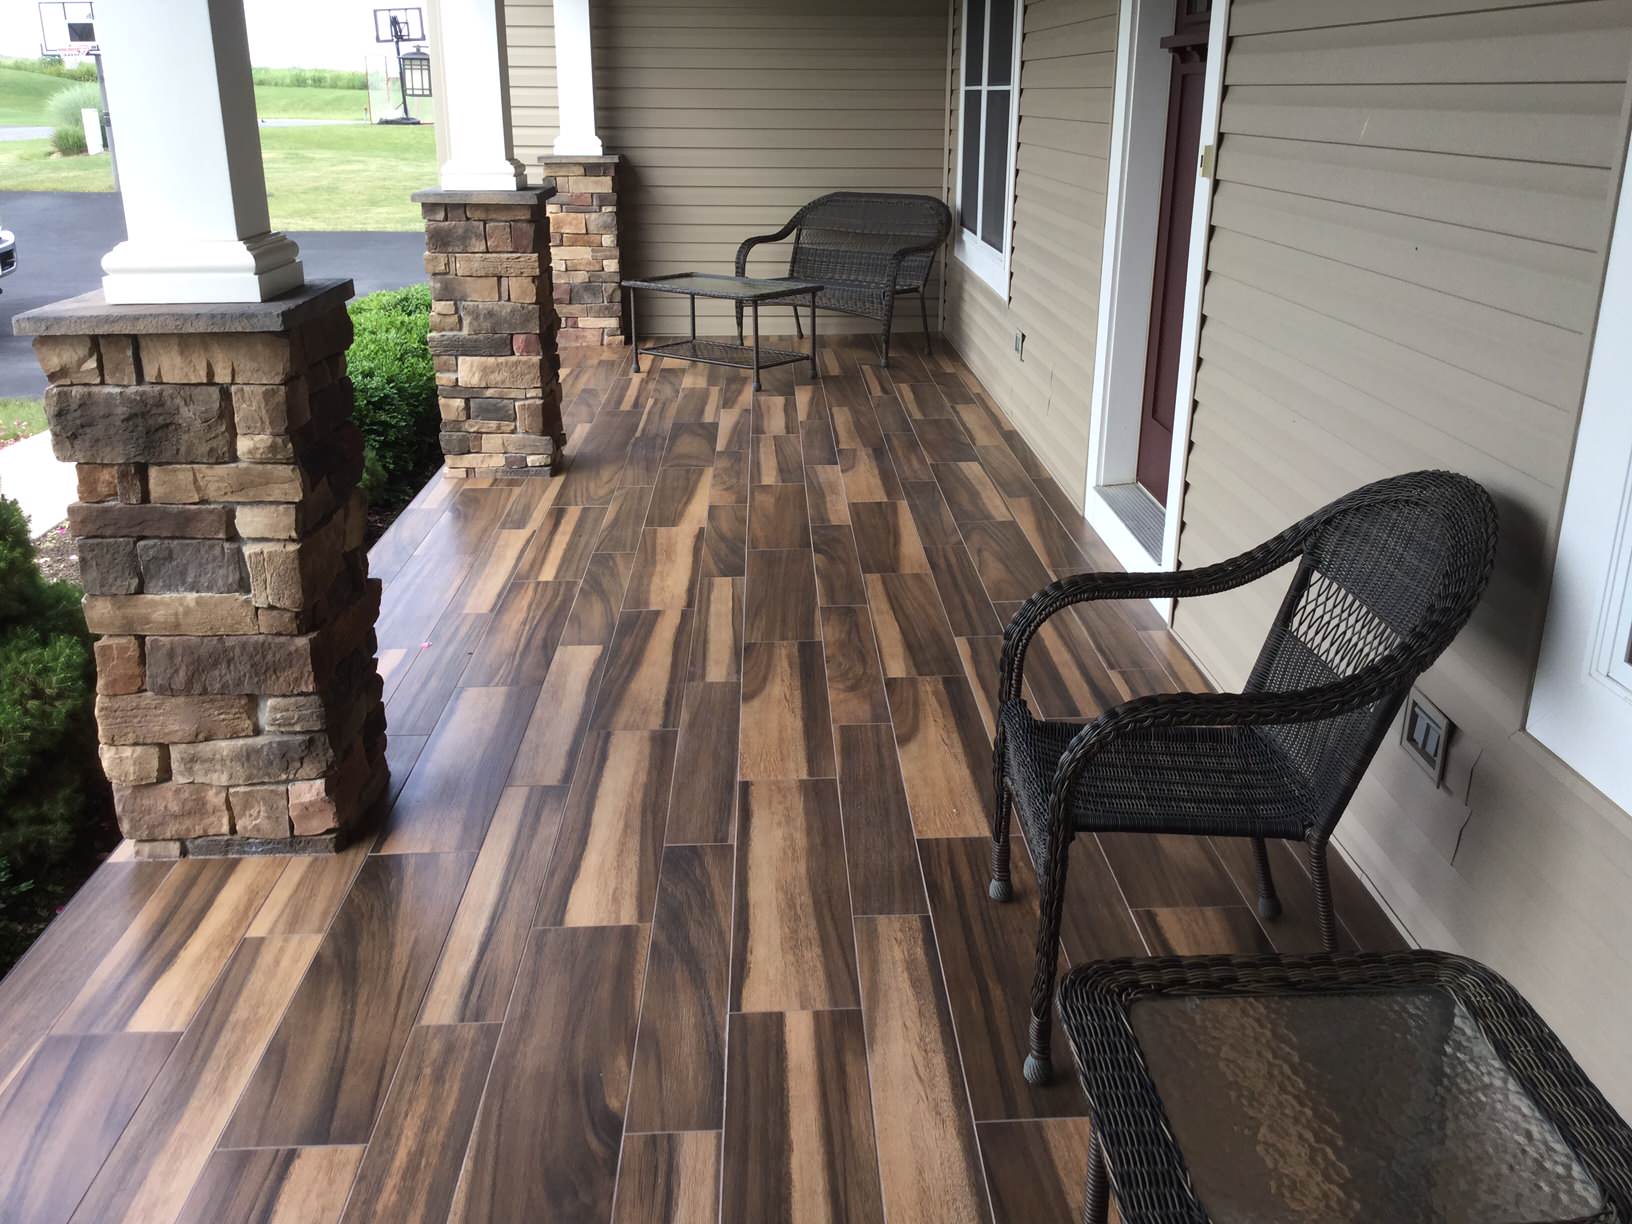
Tiling stairs can be a daunting task, especially when you don’t have bullnose tiles. Bullnose tiles are commonly used to finish the edge of stairs, providing a smooth and polished appearance. However, not all tile designs come with bullnose options, or you may simply prefer not to use them. But don’t fret! With the right technique and materials, you can still achieve a beautiful and professional-looking staircase without bullnose tiles.
In this article, we’ll walk you through a step-by-step guide on how to tile stairs without bullnose. From measuring and preparing the stairs to grouting and sealing the tiles, we’ll cover all the essential steps to help you successfully tackle this project.
Before we dive into the process, it’s important to gather all the necessary materials. Here’s a list of what you’ll need:
- Ceramic or porcelain tiles
- Tile adhesive
- Tile spacers
- Tile cutter or wet saw
- Grout
- Grout float
- Grout sealer
- Trowel
- Sponge
- Level
- Measuring tape
- Pencil or marker
- Knee pads (optional, but recommended)
Now that you have all the necessary materials, let’s get started with the first step: measuring and preparing the stairs.
Key Takeaways:
- Transform your staircase into a stunning focal point by tiling without bullnose. Follow the step-by-step guide to measure, prepare, tile, grout, and seal for a professional and elegant finish.
- Select the right tiles, measure and prepare your stairs, and follow the tiling process to achieve a beautiful staircase without bullnose. Grout, seal, and add finishing touches for a polished and professional result.
Read more: How To Put Tile On Stairs
Materials Needed
Before you begin tiling your stairs without bullnose, it’s important to have all the necessary materials on hand. Here’s a comprehensive list of what you’ll need:
- Ceramic or Porcelain Tiles: Choose high-quality tiles that are durable and suitable for stair tiling. Ensure that the tiles are of the same thickness to maintain a consistent look.
- Tile Adhesive: Use a high-quality tile adhesive that is specifically designed for vertical surfaces. This will ensure a strong bond between the tiles and the stairs.
- Tile Spacers: These small plastic pieces will help maintain consistent spacing between the tiles and ensure precise alignment.
- Tile Cutter or Wet Saw: Depending on the complexity of the cuts required, you can choose either a manual tile cutter or a wet saw. A wet saw is recommended for more intricate cuts.
- Grout: Select a grout color that complements your tile choice. It’s important to choose a grout that is suitable for both vertical and horizontal applications.
- Grout Float: Use a grout float to apply and spread the grout evenly between the tiles. It will help you achieve a professional finish.
- Grout Sealer: Apply a grout sealer after the grout has cured to protect it from stains and keep it looking fresh.
- Trowel: A notched trowel will be needed to spread the tile adhesive evenly on the stairs.
- Sponge: Use a sponge to clean off excess grout and keep the tiles looking neat and clean.
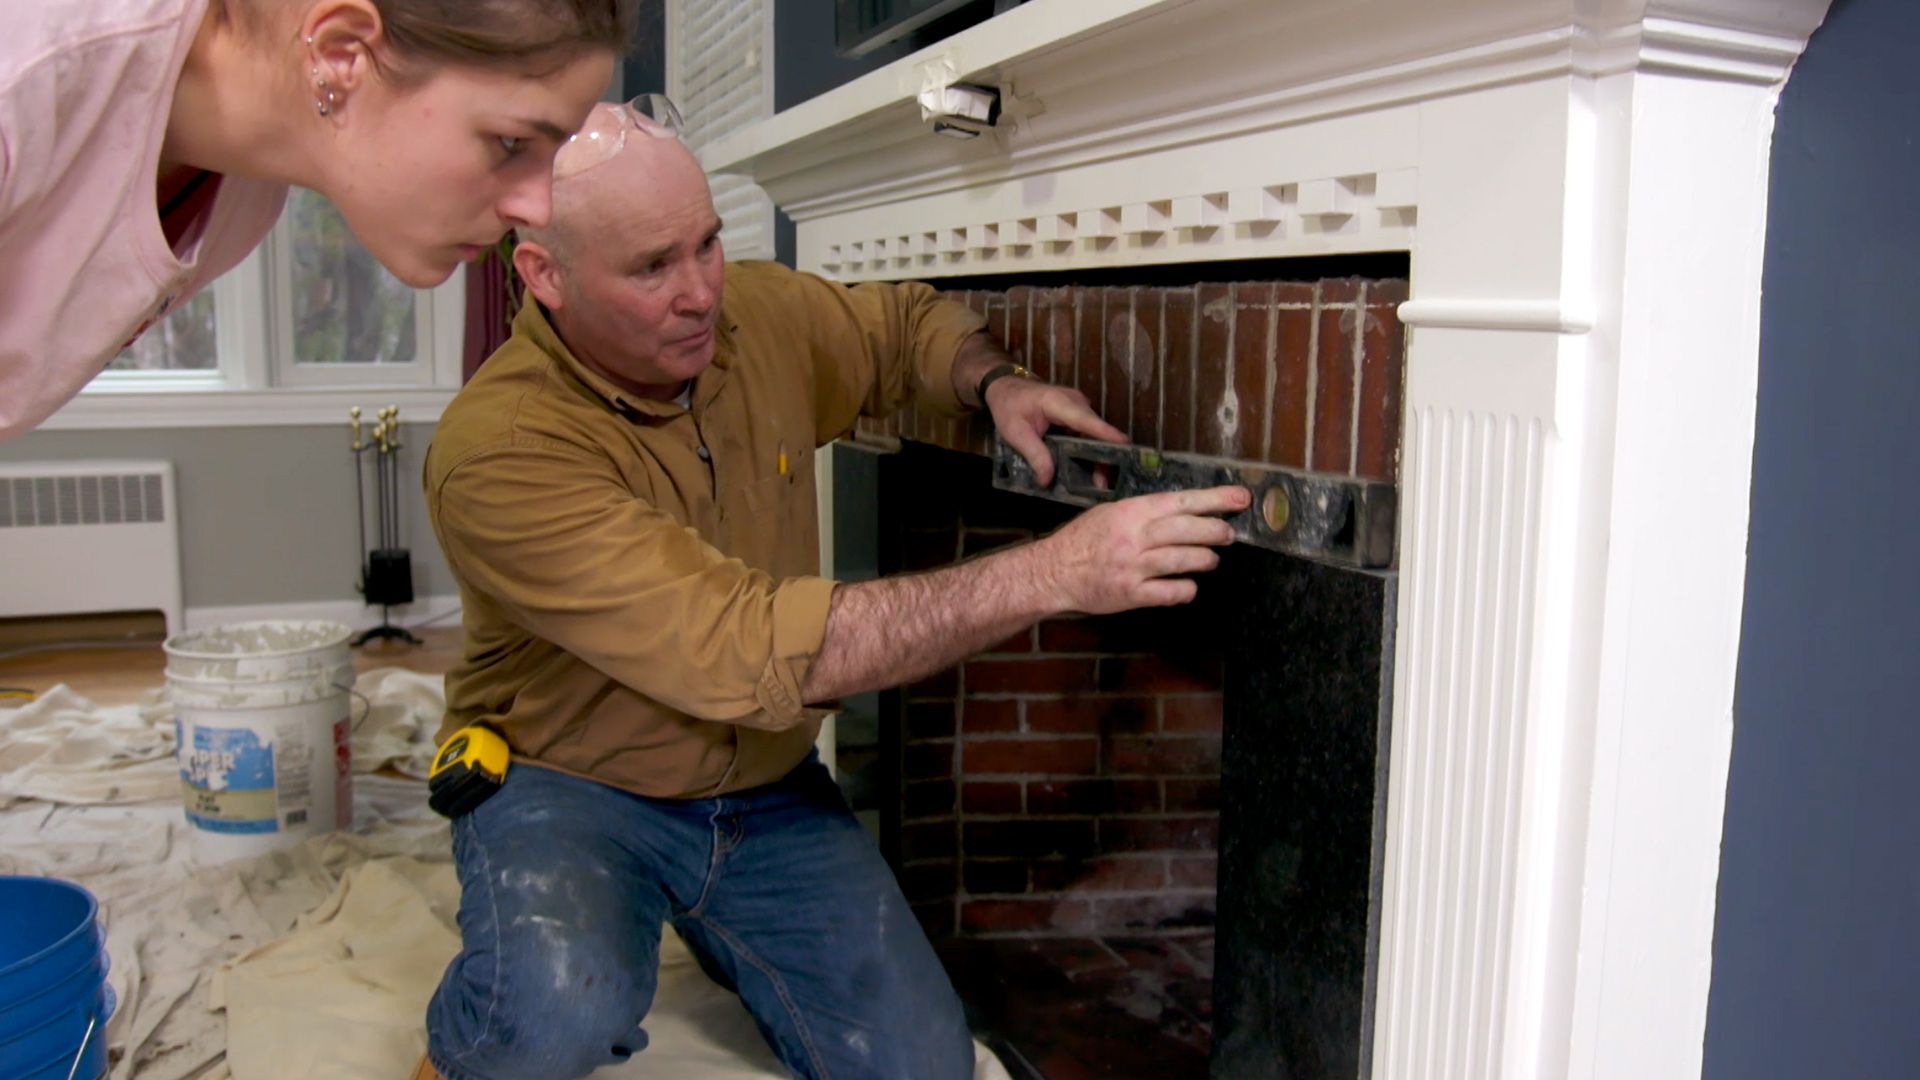
- Level: A level is essential to ensure that the tiles are installed straight and level on the stairs.
- Measuring Tape: Accurate measurements are crucial for a seamless and professional-looking installation.
- Pencil or Marker: Use a pencil or marker to mark the tiles for precise cutting and placement.
- Knee Pads: While not required, knee pads can provide added comfort and protection during the tiling process.
Having all of these materials ready before you begin will help streamline the tiling process and ensure a successful outcome. Now that you’ve gathered your materials, let’s move on to the first step: measuring and preparing the stairs.
Step 1: Measure and Prepare the Stairs
Before you start tiling, it’s important to measure your stairs accurately and prepare them for the tiling process. Here’s what you need to do:
- Measure your stairs: Use a measuring tape to measure the width and height of each step. Make sure to note any variations in size between steps, as this will affect your tile layout.
- Clean the stairs: Thoroughly clean the stairs to remove any dirt, dust, or debris. This will help ensure a strong bond between the tiles and the stairs.
- Smooth out rough areas: If you notice any rough or uneven areas on the stairs, use a scraper or sandpaper to smooth them out. This will create a flat surface for the tiles to adhere to.
- Apply a primer (optional): Depending on the material of your stairs, you may want to apply a primer before tiling. This will enhance the adhesion of the tile adhesive and ensure a long-lasting installation.
When measuring your stairs, it’s important to take into account the rise (height) and the run (width) of each step. This will help you determine the number of tiles needed and the layout pattern you’ll use.
Once you’ve measured and prepared your stairs, you’re ready to move on to the next step: choosing and purchasing your tiles.
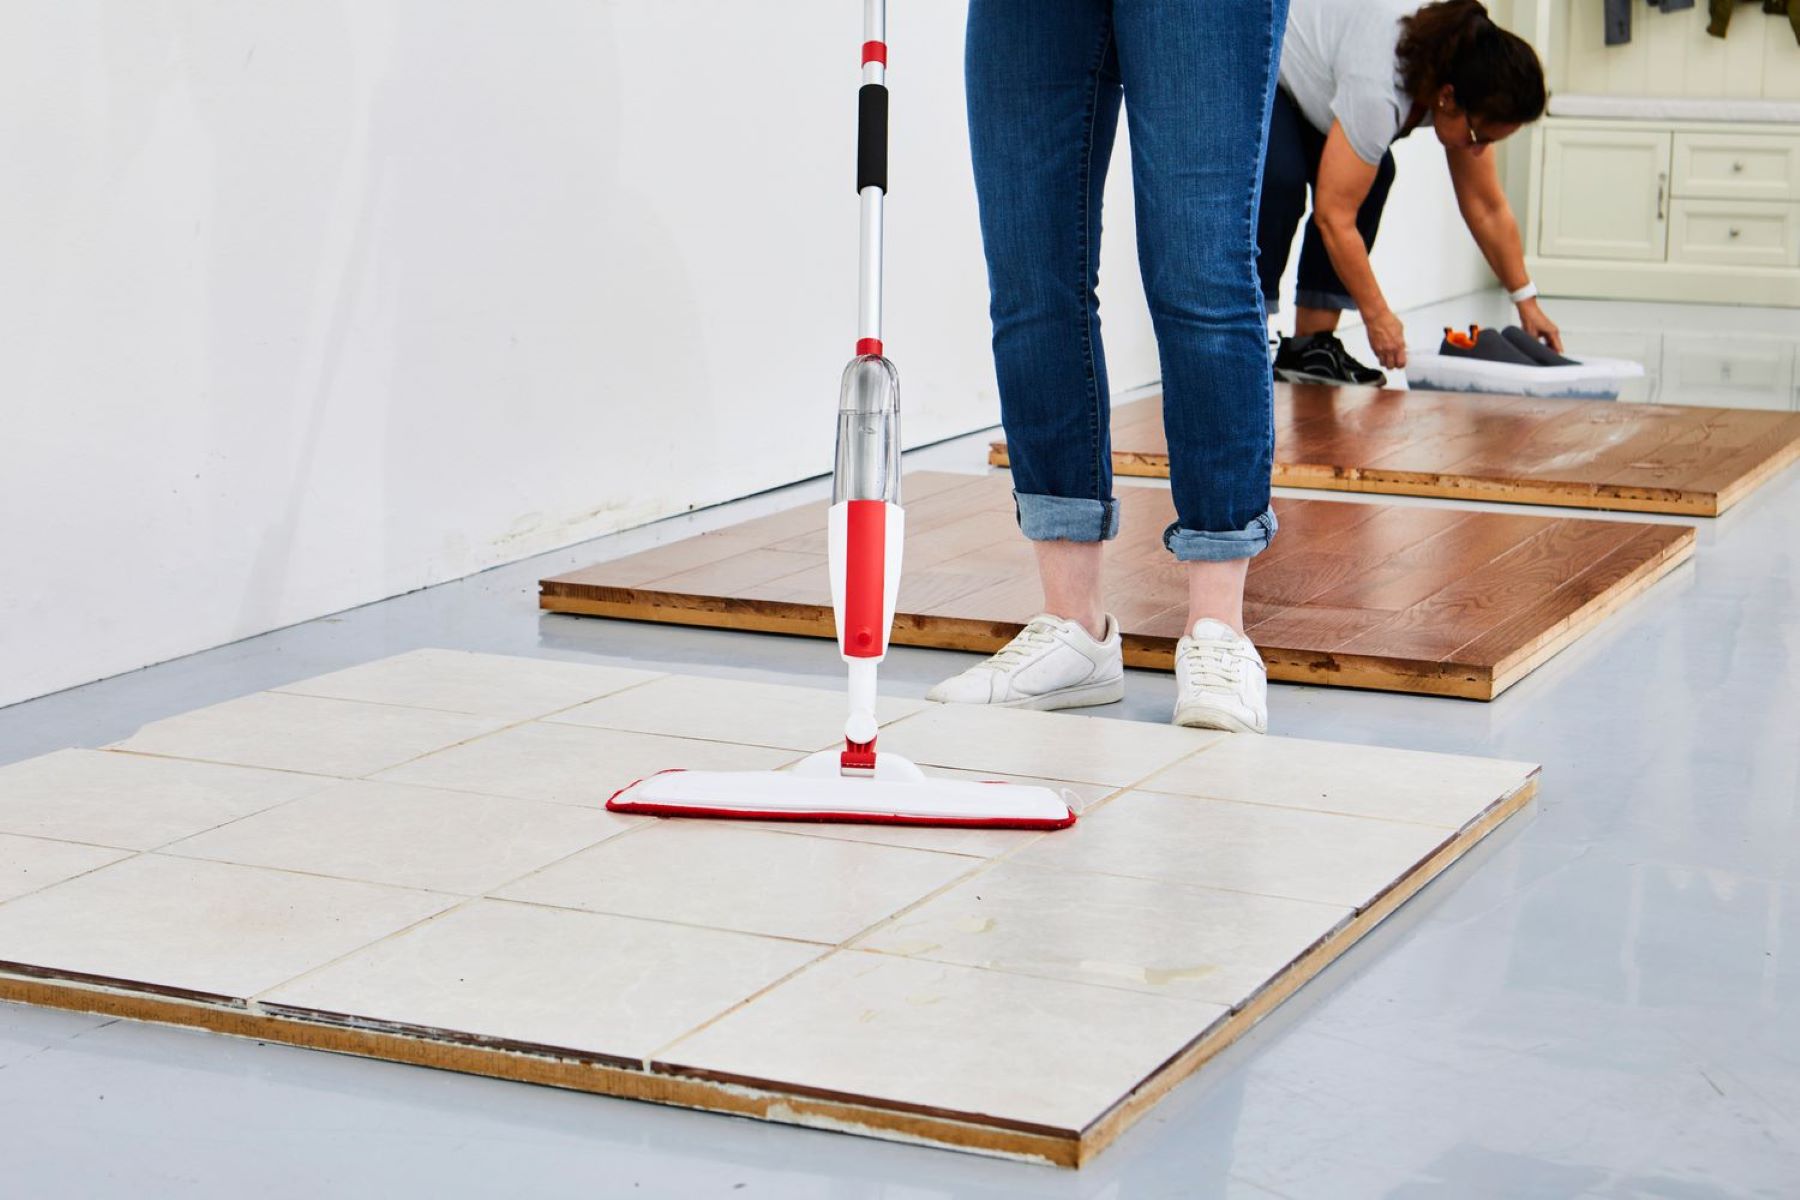
Step 2: Choose and Purchase Tiles
Choosing the right tiles for your stairs is a crucial step in achieving the desired look and durability. Here’s what you need to consider when selecting and purchasing your tiles:
- Material: Opt for ceramic or porcelain tiles as they are durable and easy to maintain. These materials are also resistant to moisture, which is essential for stair tiling.
- Size and Shape: Consider the size and shape of the tiles that will work best for your stairs. You may choose square tiles for a classic look or opt for rectangular tiles to create a modern and elongated appearance.
- Color and Pattern: Choose a color and pattern that complements the overall aesthetic of your space. Consider the existing design elements and the desired ambiance you wish to create.
- Texture: Keep in mind that stairs are high-traffic areas, so select tiles with a texture that provides slip resistance. This will ensure safety, especially if the stairs are frequently used.
- Quantity: Calculate the number of tiles needed based on the measurements you took in the previous step. It’s always a good idea to purchase extra tiles to account for potential cutting errors or replacements in the future.
- Budget: Set a budget for your tile purchase and explore various options within your price range. Don’t forget to consider any additional costs, such as adhesives and grout.
- Shop around: Visit tile showrooms or browse online to find a wide selection of tile options. Take advantage of samples to visualize how the tiles will look on your stairs before making a final decision.
- Purchase: Once you’ve chosen the perfect tiles for your stairs, make the purchase from a reputable supplier. Ensure that you have enough tiles to complete the entire staircase.
By carefully considering these factors and taking your time to select the right tiles, you can ensure a beautiful and functional staircase. With your tiles in hand, you’re now ready to move on to the next step: preparing the tiles for installation.
Step 3: Prepare the Tiles
Before you begin tiling your stairs, it’s important to properly prepare the tiles for installation. Here are the steps to follow:
- Inspect the tiles: Carefully examine each tile to ensure they are in good condition and free from any chips or cracks. If you come across any damaged tiles, set them aside for possible replacements.
- Sort and arrange: If your tiles have a pattern or variation in color, sort them and arrange them in a way that ensures a balanced and visually pleasing layout. This will help you achieve a consistent and cohesive look on your stairs.
- Cut tiles (if needed): Measure and mark any tiles that require cutting to fit the size and shape of your stairs. Use a tile cutter or wet saw to make precise cuts. Remember to wear safety goggles and follow the manufacturer’s instructions when using cutting tools.
- Test the layout: Before applying adhesive, place the tiles on the stairs to verify that they fit properly and the layout is as desired. This will prevent any surprises or issues during the actual installation process.
- Number the tiles (optional): If your tiles have a particular pattern or design, you may want to number them on the back with a pencil or marker. This will make it easier to maintain the desired layout when it comes time to adhere them to the stairs.
By thoroughly inspecting and preparing the tiles before installation, you ensure a smooth and efficient tiling process. With the tiles now prepped and ready, it’s time to move on to the exciting part: tiling the stairs!
Read more: How To Block Stairs Without A Gate
Step 4: Start Tiling from the Bottom Step
Now that you have prepared the tiles, it’s time to start tiling your stairs. Follow these steps to begin the tiling process from the bottom step:
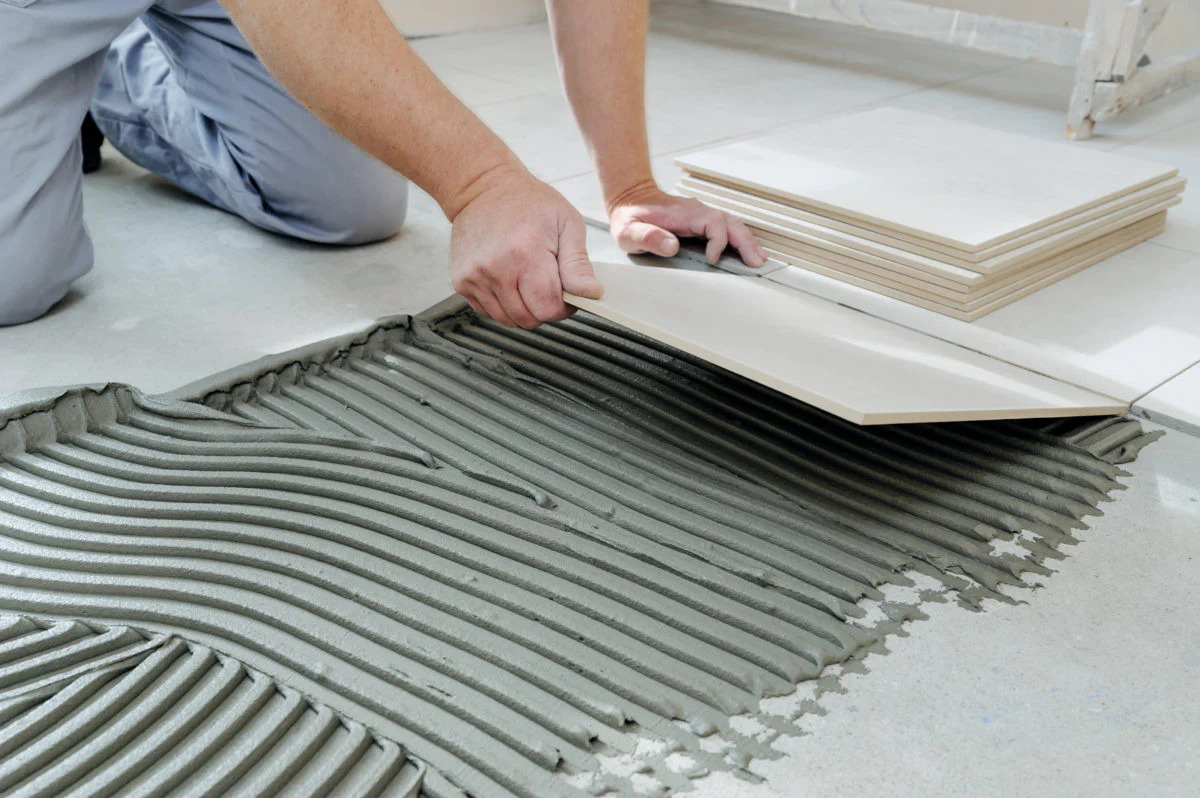
- Apply tile adhesive: Spread a layer of tile adhesive on the back of the first tile using a notched trowel. Ensure that the adhesive covers the entire surface of the tile.
- Place the tile: Carefully position the tile on the bottom step, pressing it firmly and evenly into the adhesive. Use a level to make sure the tile is straight and aligned with the step.
- Add tile spacers: Insert tile spacers on all sides of the first tile to create even gaps between the tiles for grouting. This will help maintain a consistent spacing as you continue tiling.
- Continue tiling: Repeat the process, applying adhesive and placing tiles one by one on the bottom step. Make sure to align the tiles properly and maintain a consistent spacing between them.
- Check level and alignment: Regularly use a level to ensure that each tile is level and aligned with the previous ones. Adjust the tiles if necessary before the adhesive sets.
- Wipe off excess adhesive: As you go, use a damp sponge to wipe off any excess adhesive that may squeeze out between the tiles. This will help keep the surface clean and prevent it from drying onto the tiles.
- Allow adhesive to dry: Follow the manufacturer’s instructions for the recommended drying time of the adhesive. Avoid walking on the newly installed tiles until the adhesive has fully dried and cured.
By starting the tiling process from the bottom step, you ensure a stable foundation for the rest of the stairs. Take your time and double-check the level and alignment of each tile as you go. With the first step complete, it’s time to move on to the next step: cutting tiles to fit.
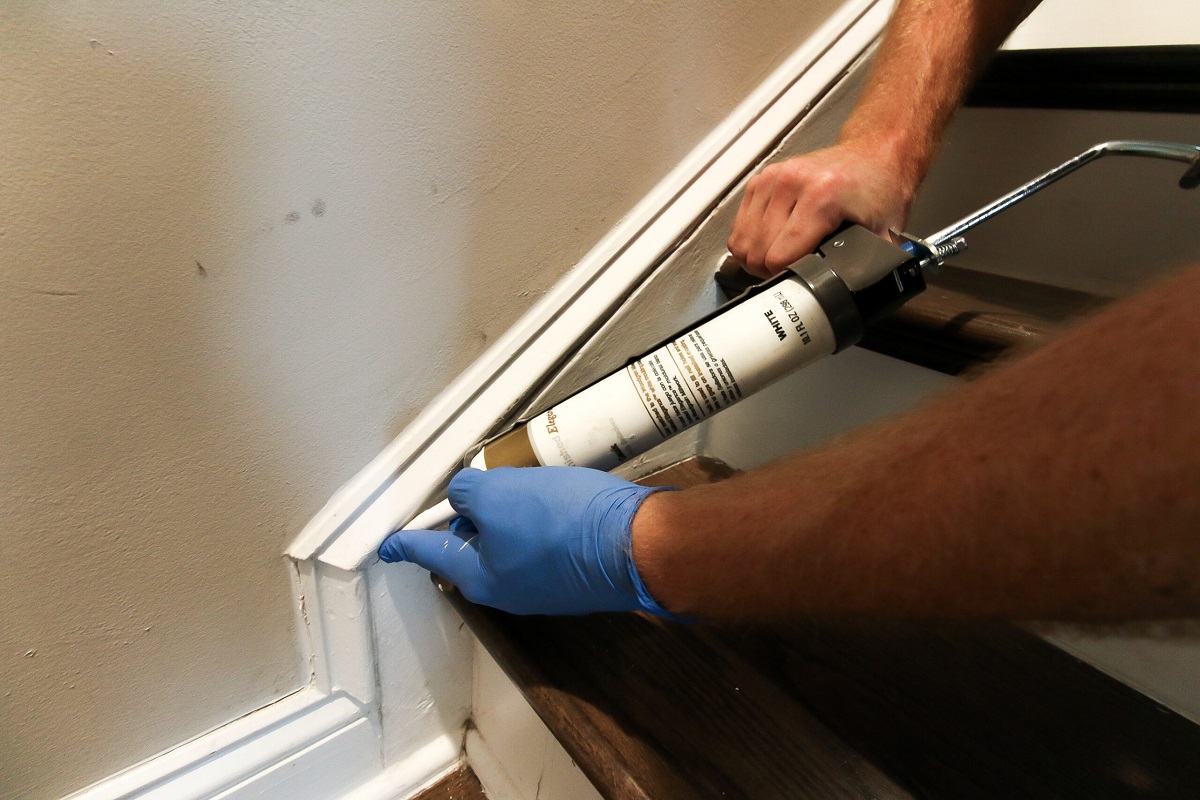
When tiling stairs without bullnose, consider using a metal trim or wood molding to create a finished edge. This will provide a clean and professional look to the staircase.
Step 5: Cut Tiles to Fit
As you continue tiling your stairs, you may come across areas that require tiles to be cut to fit the size and shape of the steps. Here’s how to cut tiles to ensure a precise and seamless installation:
- Measure and mark: Measure the area that needs a tile cut, taking into account any irregularities or angles. Mark the tile accordingly using a pencil or marker.
- Prepare the tile cutter or wet saw: Set up the tile cutter or wet saw according to the manufacturer’s instructions. Make sure to wear safety goggles and follow all safety precautions.
- Cut the tile: Place the marked tile on the tile cutter or wet saw, aligning the mark with the cutting guide. Slowly and steadily push the tile through the blade, making the desired cut.
- Sand rough edges (if needed): After cutting the tile, you may notice rough or sharp edges. Use a tile file or sandpaper to smooth out any rough edges for a clean and polished finish.
- Test the fit: Before applying adhesive, place the cut tile in the designated spot to ensure it fits correctly. Make any necessary adjustments or trims as needed.
- Apply adhesive and install the cut tile: Apply tile adhesive to the back of the cut tile and firmly press it into place. Use a level to ensure it is aligned properly with the surrounding tiles.
- Continue tiling: Repeat the process of measuring, marking, cutting, and installing tiles as you work your way up the stairs. Maintain consistent spacing and alignment throughout the tiling process.
Remember to exercise caution when using tile cutting tools and always follow safety guidelines. Take your time with each cut to ensure precision. With the tiles cut to fit, you can now proceed to the next step: continuing the tiling process up the stairs.
Step 6: Continue Tiling Up the Stairs
With the bottom step and any necessary cut tiles in place, it’s time to continue tiling up the stairs. Follow these steps to ensure a seamless and professional-looking installation:
- Apply tile adhesive: Spread a layer of tile adhesive on the back of each tile using a notched trowel. Make sure to cover the entire surface of the tile.
- Place the tile: Position each tile on the stair riser or step, pressing it firmly and evenly into the adhesive. Use a level to ensure the tiles are straight and aligned with the previous ones.
- Insert tile spacers: Insert tile spacers on all sides of each tile to maintain even gaps for grouting. This will help create a professional and polished finish.
- Continue tiling: Repeat the process, applying adhesive, placing tiles, and adding spacers as you work your way up the stairs. Take your time to align the tiles properly and maintain consistent spacing.
- Clean off excess adhesive: As you go, use a damp sponge or cloth to wipe off any excess adhesive that may squeeze out between the tiles. This will prevent it from drying onto the tiles and marring their appearance.
- Check level and alignment: Regularly use a level to ensure that each tile is level and aligned with the previous ones. Make any necessary adjustments before the adhesive sets.
- Allow adhesive to dry: Follow the manufacturer’s instructions for the recommended drying time of the adhesive. Avoid walking on the newly installed tiles until the adhesive has fully dried and cured.
While tiling, take care to maintain a consistent pattern and spacing between the tiles. This will ensure a cohesive and visually appealing stairway. As you continue tiling up the stairs, you’re getting closer to the finishing touches. Let’s move on to the next step: grouting the tiles.
Step 7: Grout the Tile
Grouting the tiles is a critical step that not only enhances the appearance of your tiled stairs but also helps to protect and stabilize the tiles. Follow these steps to grout the tile:
- Prepare the grout: Mix the grout according to the manufacturer’s instructions, ensuring you achieve a smooth and consistent texture.
- Apply the grout: Using a grout float, spread the grout over the tiles, pressing it firmly into the gaps. Hold the float at a 45-degree angle to ensure thorough coverage and avoid excessive grout on the tile surfaces.
- Work in small sections: Focus on grouting a small section at a time to prevent the grout from drying before you can clean it off the tiles.
- Remove excess grout: After applying the grout, use the edge of the grout float or a grout sponge to remove the excess grout from the tile surfaces. Hold the float or sponge at a 90-degree angle and swipe diagonally across the tiles to avoid dislodging the grout from the gaps.
- Clean the tiles: Once you’ve removed the excess grout, lightly dampen a sponge or cloth and gently wipe the tiles in a circular motion. Rinse the sponge or cloth frequently to ensure effective cleaning without smearing the grout. Avoid excessive water that could wash out the grout from the gaps.
- Allow the grout to set: Follow the manufacturer’s instructions for the recommended drying time of the grout. Avoid walking on the stairs or disturbing the grouted tiles until the grout has fully dried and hardened.
Grouting not only fills the gaps between the tiles but also provides stability and prevents moisture from seeping through. Take your time when grouting and ensure thorough coverage and cleaning for a polished and professional finish. Once the grout has set, it’s time to move on to the next step: sealing the grout.
Step 8: Seal the Grout
Sealing the grout is an essential step to protect it from stains, dirt, and moisture. This helps to maintain the appearance and longevity of your tiled stairs. Follow these steps to seal the grout:
- Ensure the grout is fully dry: Before applying any sealer, make sure that the grout has completely dried and cured according to the manufacturer’s instructions.
- Select the appropriate sealer: Choose a grout sealer that is compatible with your grout type and follow the manufacturer’s recommendations on applicator and coverage.
- Prepare the area: Protect the surrounding tiles from any potential sealer drips or spills by covering them with masking tape or plastic sheeting.
- Apply the sealer: Using an applicator brush or roller, evenly apply the sealer over the grout lines. Make sure to cover the grout lines thoroughly, but avoid applying sealer on the tile surfaces.
- Allow the sealer to penetrate: Let the sealer sit on the grout lines for the recommended amount of time specified by the manufacturer. This will allow the sealer to fully penetrate and provide maximum protection.
- Wipe off excess sealer: After the required waiting time, use a clean and dry cloth or sponge to gently wipe off any excess sealer from the tile surfaces.
- Allow the sealer to cure: Give the sealer sufficient time to dry and cure as per the manufacturer’s instructions before exposing the stairs to heavy foot traffic or moisture.
Sealing the grout is an important step in maintaining its integrity and preventing discoloration or damage. The sealer forms a protective barrier that repels stains and makes routine cleaning easier. With the grout sealed, your stairs are almost complete. Let’s move on to the final step: adding the finishing touches.
Step 9: Finishing Touches
With the tiling and grouting complete, it’s time to add the finishing touches to your newly tiled stairs. These final steps will enhance the overall look and ensure a polished and professional appearance. Here’s what you need to do:
- Remove any masking tape or protection: Carefully remove any masking tape or protective coverings used during the tiling and sealing process. Dispose of them properly.
- Clean the stairs: Give your tiled stairs a thorough cleaning using a damp mop or cloth. This will remove any remaining residue, dirt, or grout haze on the tiles. Allow the stairs to dry completely.
- Inspect and make any necessary touch-ups: Take a close look at the tiled stairs for any areas that need touch-ups. Fix any loose or uneven tiles, and touch up grout lines if needed.
- Apply edge trim (optional): If you prefer a finished and decorative edge for your tiled stairs, you can add edge trim. This will provide a clean and professional look while also protecting the edges of the tiles.
- Final inspection: Step back and inspect your tiled stairs from a distance. Check for any issues, such as uneven tiles or grout lines. Make any necessary adjustments or corrections.
- Enjoy your newly tiled stairs: Once you’re satisfied with the results, it’s time to enjoy your beautiful, tiled stairs. Take pride in your accomplishment and marvel at the transformation it has brought to your space.
With the finishing touches complete, you can now revel in the beauty and functionality of your newly tiled stairs. Remember to maintain regular cleaning and care to keep your tiled stairs looking their best for years to come. Congratulations on a job well done!
Conclusion
Tiling stairs without bullnose tiles may seem like a challenge, but with the right approach and materials, you can achieve stunning results. By following the step-by-step guide outlined in this article, you can transform your ordinary staircase into a beautifully tiled focal point.
We began by measuring and preparing the stairs, ensuring a clean and even surface for tiling. Next, we discussed the importance of selecting the right tiles, considering factors such as material, size, color, and texture. Once the tiles were chosen and prepared, we embarked on the tiling process, starting from the bottom step and working our way up. We learned how to cut tiles to fit irregular areas and the importance of maintaining proper alignment and spacing.
Grouting and sealing the tiled stairs were vital steps in completing the project. We covered the process of applying grout, removing excess grout, and sealing the grout lines to protect them from stains and damage. Finally, we added the finishing touches, including cleaning, inspecting, and making any necessary touch-ups to ensure a flawless result.
By following these steps and taking the time to execute each one with care and precision, you can create a stunning staircase that adds style and elegance to your home. Remember to maintain regular cleaning and care for your tiled stairs to keep them looking their best for years to come.
So, don’t let the absence of bullnose tiles deter you from transforming your stairs into a work of art. Roll up your sleeves, gather the necessary materials, and let your creativity flow as you embark on the exciting journey of tiling your stairs without bullnose. Enjoy the process and the satisfaction of seeing your vision come to life!
Now that you've mastered tiling stairs without bullnose, why stop there? Dive deeper with our next piece, filled with expert advice that'll refine your skills even further. Whether you're a seasoned DIYer or just starting out, these hints and tips on how to tile stairs will ensure your next project looks flawless and professional. Don't miss out on elevating your tiling technique to the next level!
Frequently Asked Questions about How To Tile Stairs Without Bullnose
Was this page helpful?
At Storables.com, we guarantee accurate and reliable information. Our content, validated by Expert Board Contributors, is crafted following stringent Editorial Policies. We're committed to providing you with well-researched, expert-backed insights for all your informational needs.


0 thoughts on “How To Tile Stairs Without Bullnose”