Articles
How To Paint Checkerboard Floor
Modified: August 17, 2024
Learn how to paint a stunning checkerboard floor with our step-by-step guide. Get expert tips and advice on articles for the perfect DIY project.
(Many of the links in this article redirect to a specific reviewed product. Your purchase of these products through affiliate links helps to generate commission for Storables.com, at no extra cost. Learn more)
Introduction
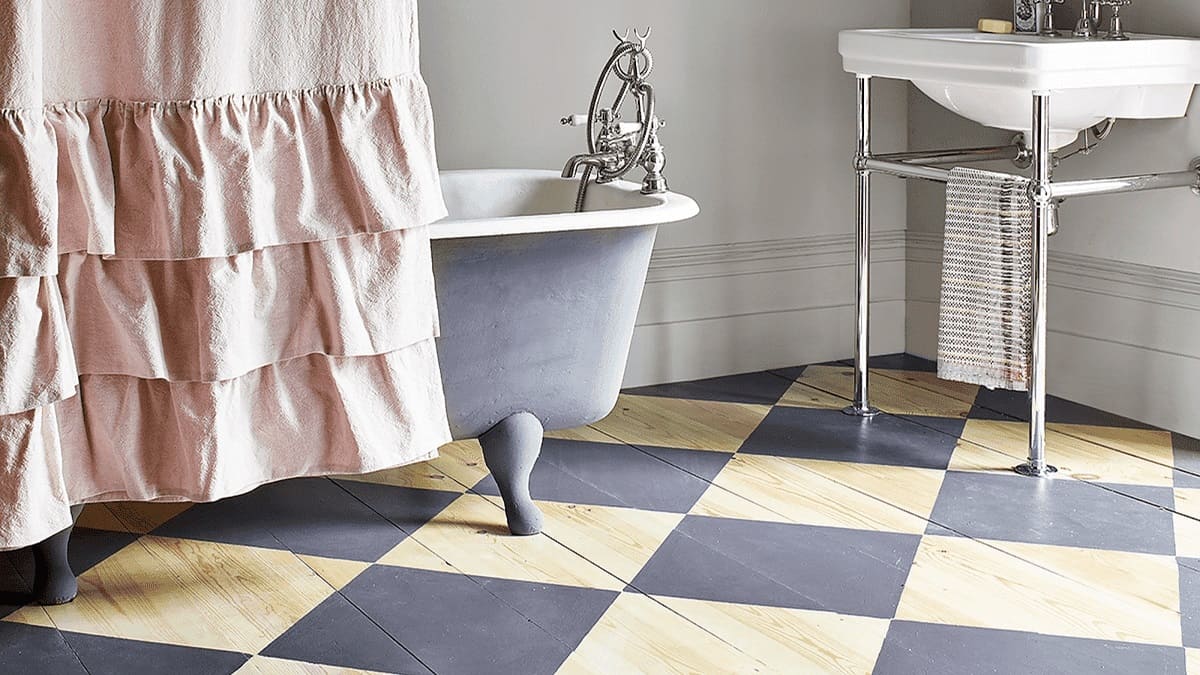
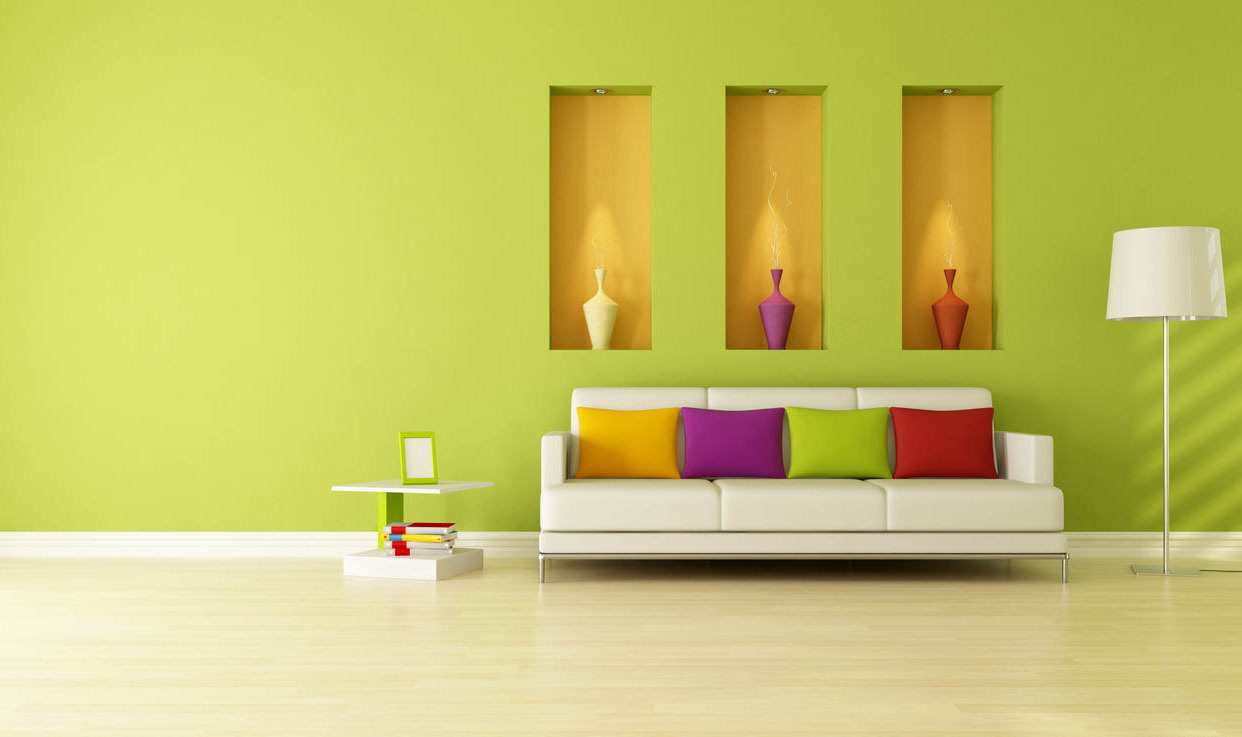
Are you tired of your plain, boring floor? Looking to add a touch of personality and style to your space? Painting a checkerboard pattern on your floor is a fun and creative way to transform your room. Whether you want a classic black and white checkerboard or a bold, vibrant color combination, this article will guide you through the process step by step.
Painting a checkerboard floor can completely change the look and feel of a room. It adds visual interest, depth, and a unique design element that will surely impress your guests. Plus, it’s a relatively simple and affordable DIY project that can be completed over the course of a weekend.
Before diving into the painting process, it’s essential to gather all the necessary supplies. This will ensure that you have everything you need on hand and can work efficiently:
Key Takeaways:
- Transform your space with a visually captivating checkerboard floor, adding personality and style to any room. Follow the step-by-step guide for a fun and budget-friendly DIY project.
- Achieve a professional-looking checkerboard pattern by meticulously preparing the floor, measuring and marking the grid accurately, and painting with precision. Unleash your creativity and enjoy the stunning visual impact.
Read more: How To Paint A Floor
Supplies Needed
Before starting your checkerboard floor painting project, gather the following supplies:
- Paint primer
- Painter’s tape
- Roller brush
- Paint tray
- Paint roller frame
- High-quality floor paint in your desired colors
- Measuring tape
- Pencil
- Ruler or straightedge
- Damp cloth or sponge
- Drop cloth or plastic sheeting to protect surrounding surfaces
- Painter’s mask and goggles for protection
- Optional: Small paintbrush for touch-ups
Make sure to choose a paint that is specifically designed for use on floors. This will ensure durability and longevity, as well as resistance to wear and tear. Additionally, consider the type of flooring you have. Different paints work better on different surfaces, such as wood, concrete, or tile.
Once you have all your supplies ready, it’s time to move on to the next step: preparing the floor.
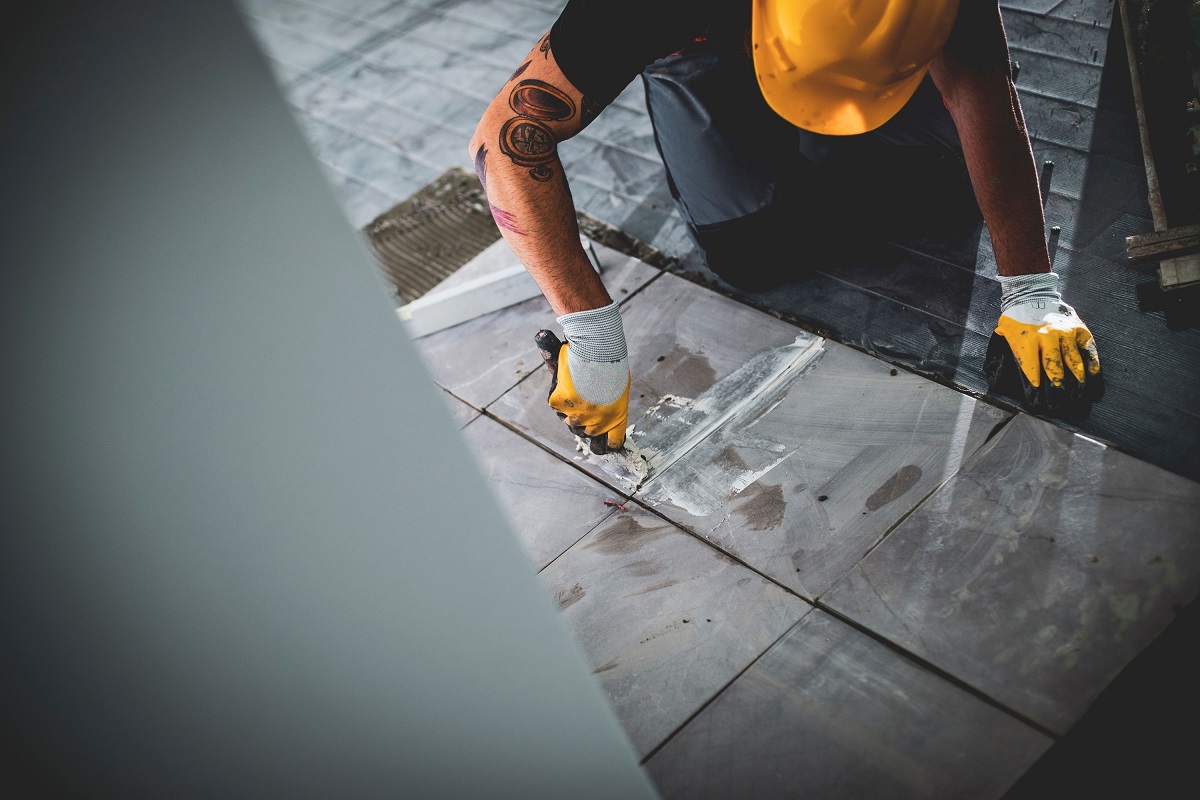
Step 1: Prepare the Floor
The first step in painting a checkerboard floor is to prepare the surface. Proper preparation ensures that the paint adheres well and provides a smooth, long-lasting finish. Follow these steps:
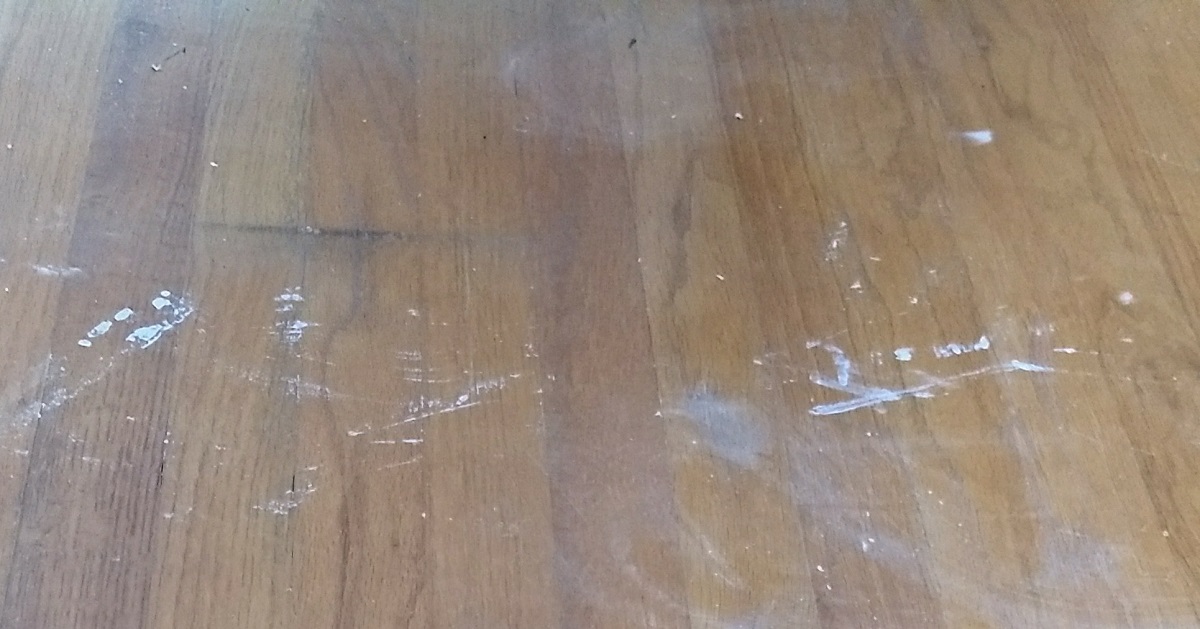
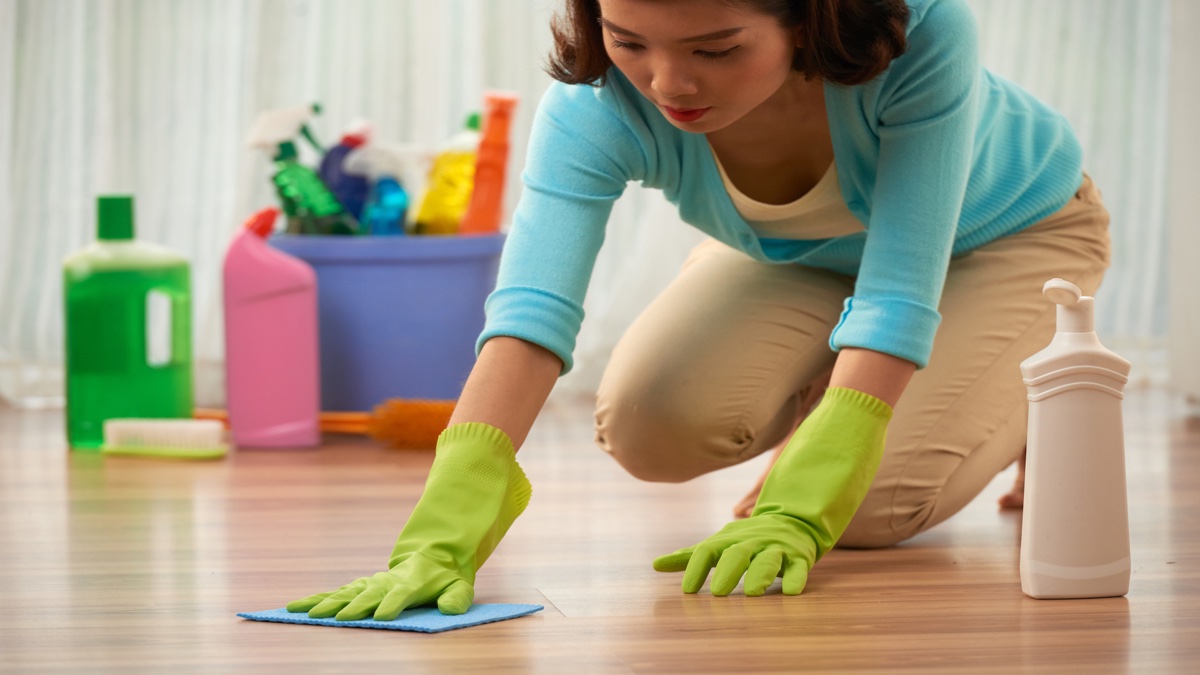
- Clean the floor: Remove any furniture, rugs, or debris from the area. Sweep or vacuum the floor to remove dust and dirt. Use a damp cloth or sponge to wipe down the floor and remove any remaining dirt or stains. Let the floor dry completely before proceeding.
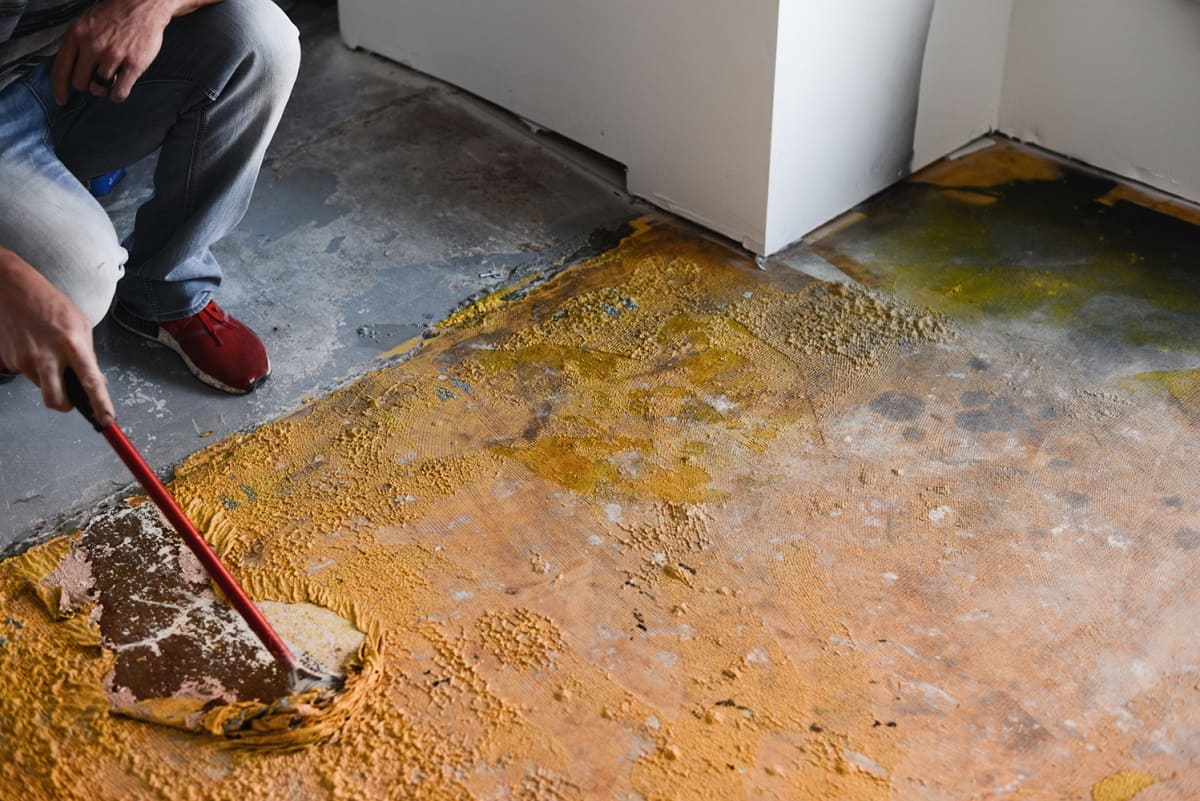
- Repair any damage: Inspect the floor for any cracks, holes, or uneven surfaces. Fill any gaps or cracks with a suitable filler and use a sander to smooth out any rough patches or imperfections. Allow the filler to dry and then sand it down until it is level with the rest of the floor. This step will ensure a smooth and even surface for painting.
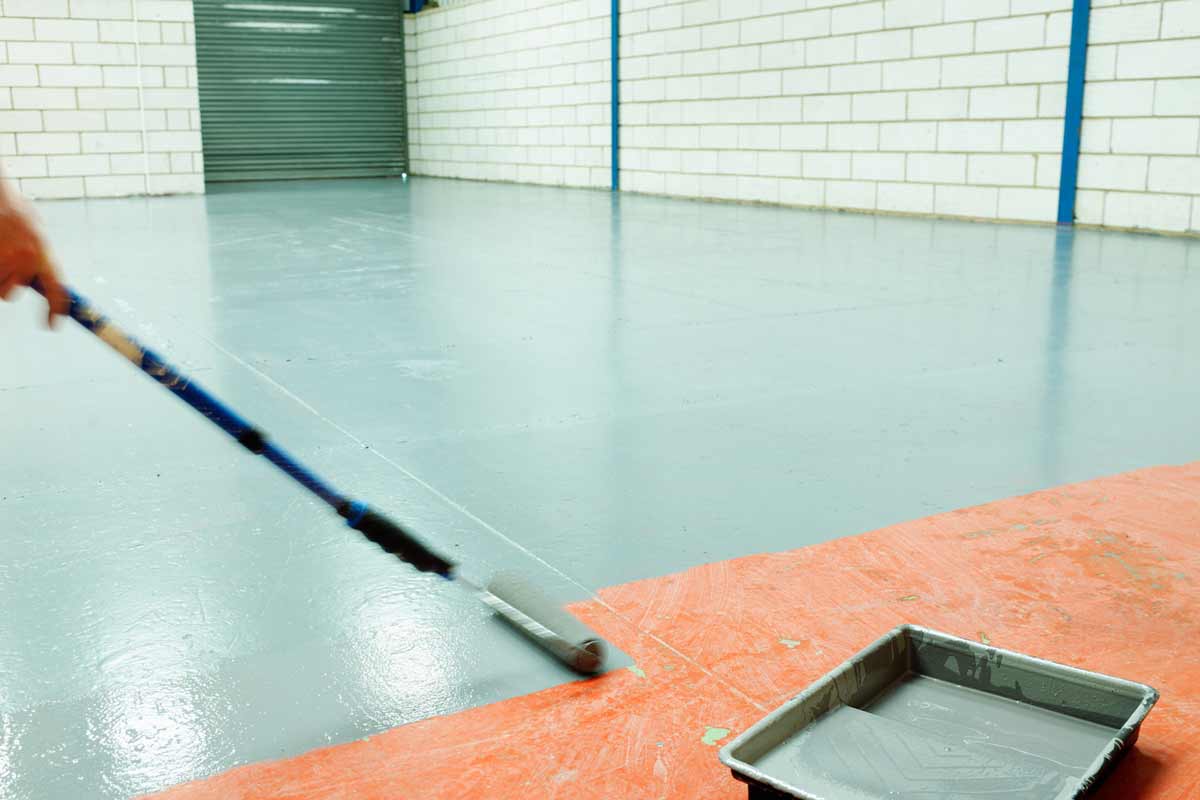
- Apply a primer: Before applying the paint, it is recommended to apply a coat of primer. Primer helps the paint adhere better to the floor and provides a more even finish. Use a roller brush or a paintbrush to apply the primer in long, even strokes. Allow the primer to dry according to the manufacturer’s instructions.
- Protect surrounding surfaces: Place drop cloths or plastic sheeting around the edges of the area to protect walls, baseboards, and any other surfaces that you don’t want to accidentally paint. Secure the drop cloths with tape to ensure they stay in place during the painting process.
By properly cleaning, repairing, and priming the floor, you are laying the foundation for a successful checkerboard painting project. With the surface prepared, you are now ready to move on to the next step: applying the base coat.
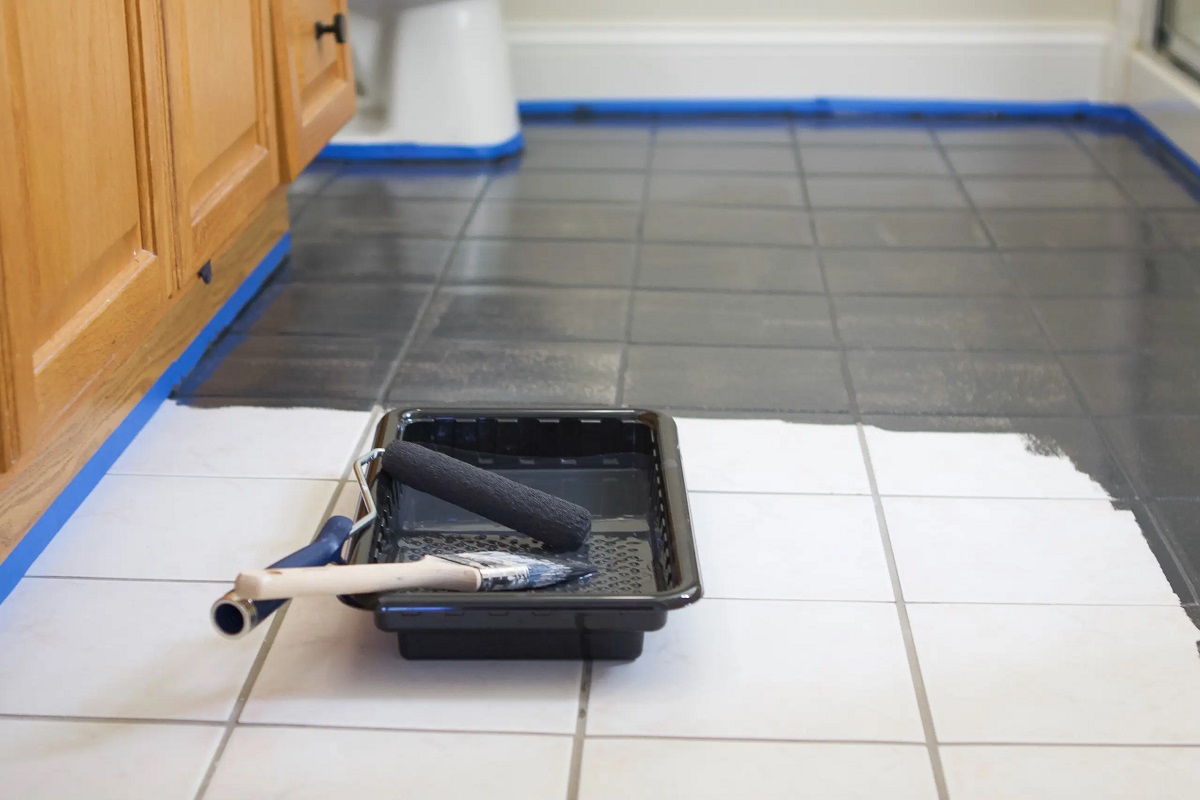
Step 2: Base Coat
After preparing the floor, it’s time to apply the base coat. The base coat serves as the foundation for your checkerboard pattern and provides a neutral background color. Follow these steps to apply the base coat:
- Choose your base coat color: Select a color that complements the overall design and style of your room. Typically, a lighter shade is preferred for the base coat to create a nice contrast with the checkerboard pattern.
- Pour the paint: Pour the base coat paint into a paint tray. Use a roller brush or a paintbrush to load the paint onto the roller or brush.
- Begin painting: Start at one corner of the room and work your way towards the opposite corner. Use long, even strokes to apply the base coat paint to the floor. Make sure to cover the entire floor area with a smooth and even layer of paint.
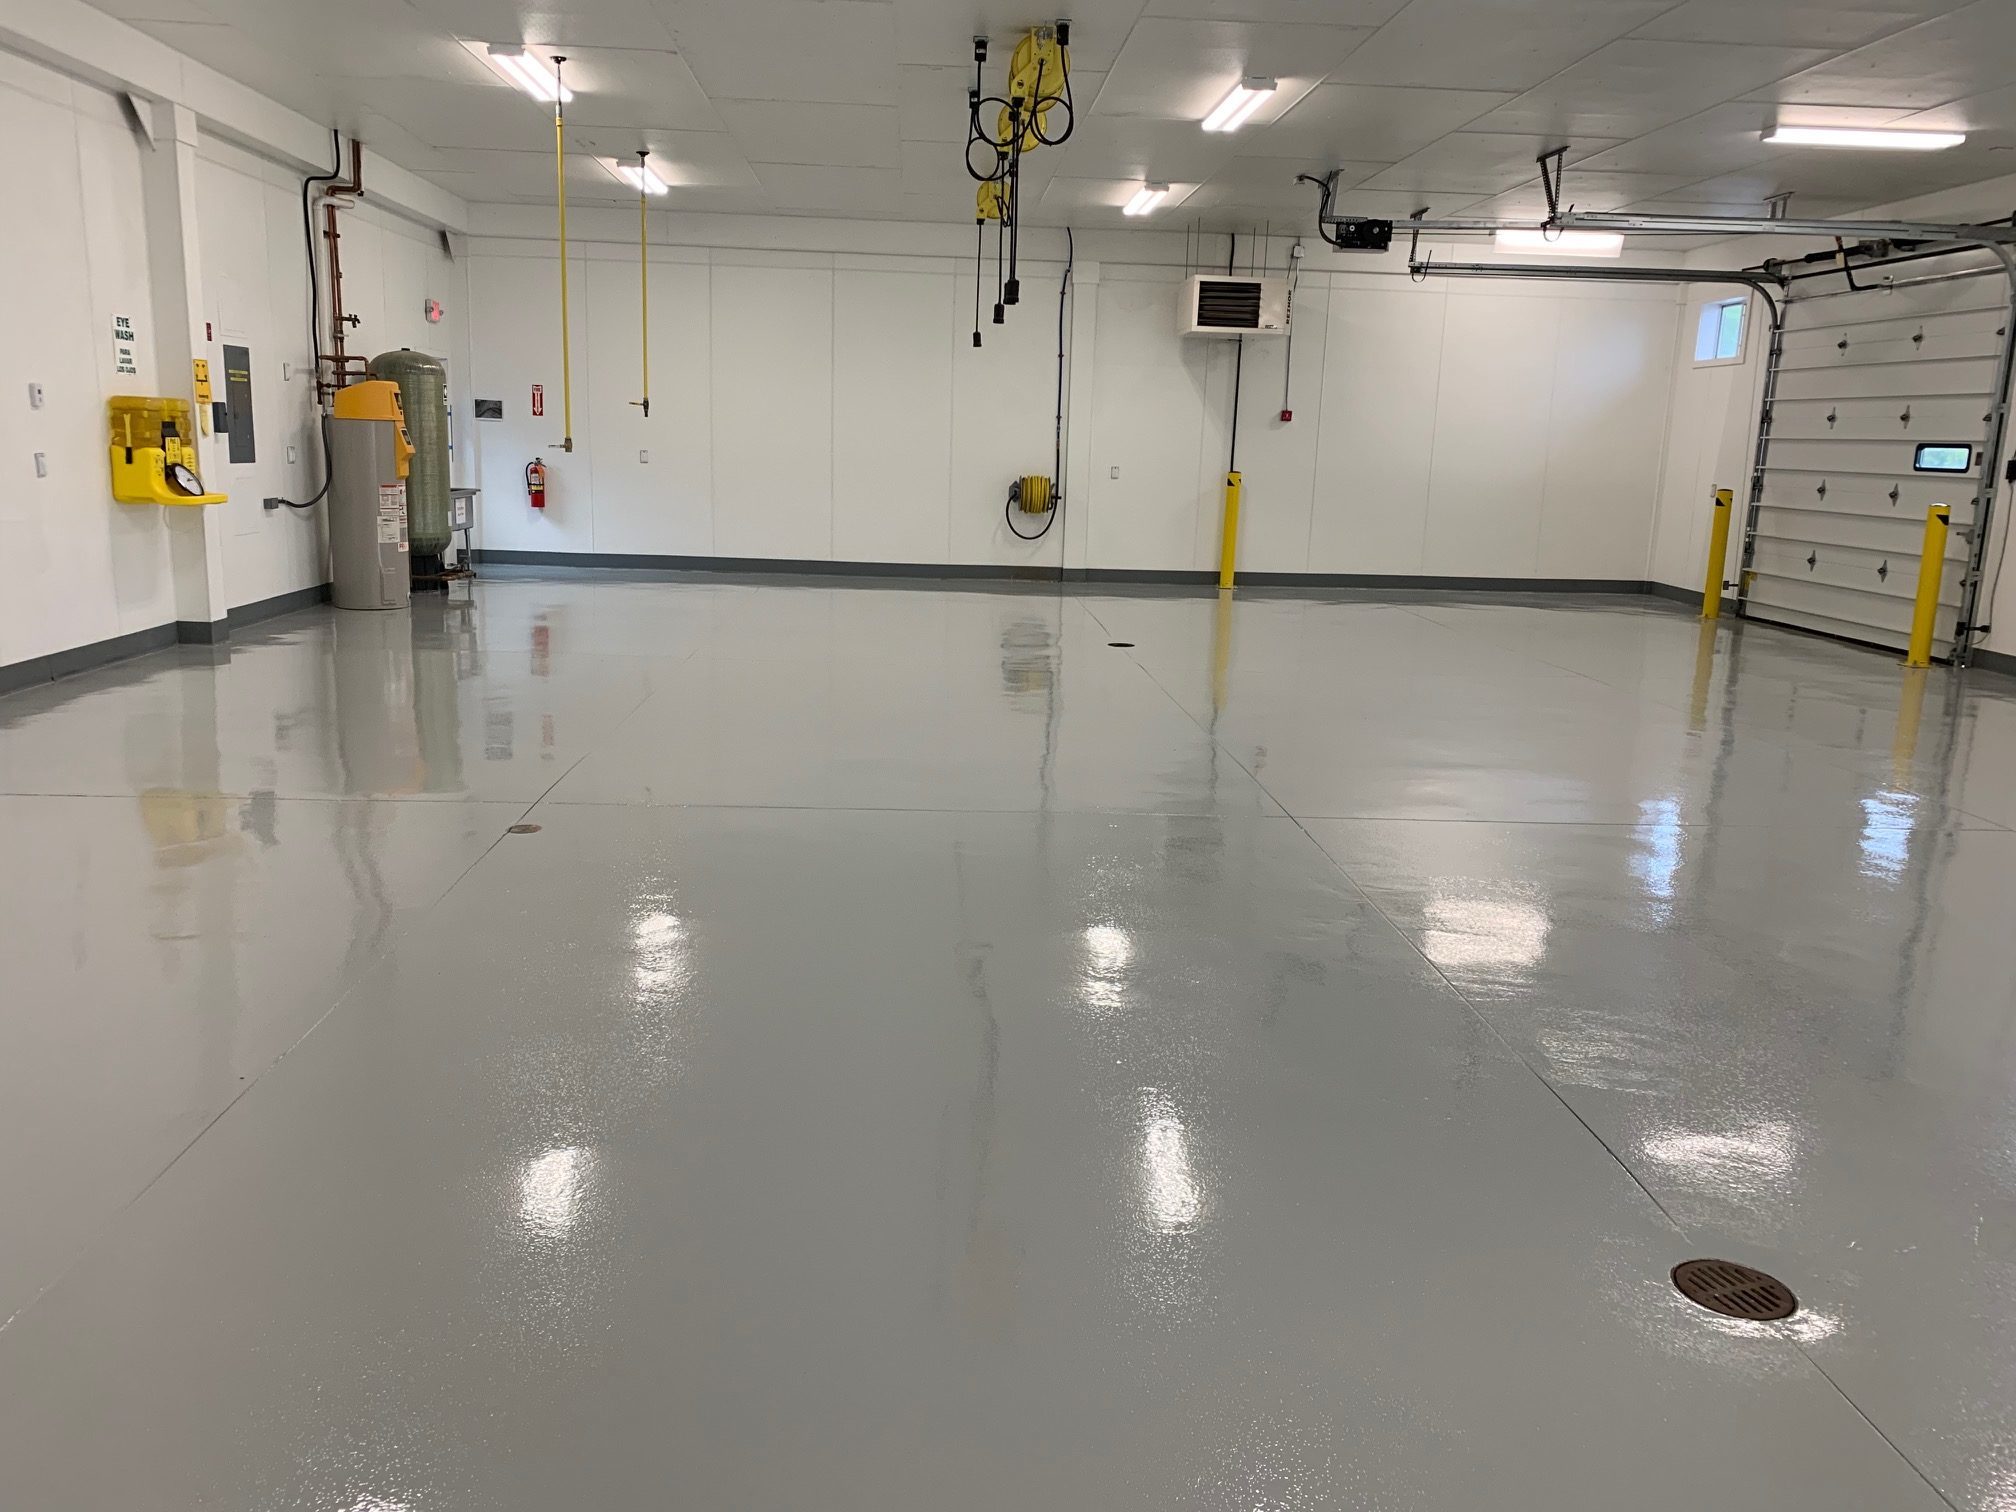
- Allow the paint to dry: Follow the drying time specified on the paint can. It’s important to let the base coat dry completely before proceeding to the next steps.
- Inspect for any imperfections: Once the base coat is dry, inspect the floor for any missed spots or uneven areas. If necessary, touch up those areas with additional base coat paint and allow it to dry.
Applying a base coat ensures that your checkerboard pattern will have a solid and consistent color foundation. With the base coat complete, you are now ready to move on to the next step: measuring and marking the grid for your checkerboard pattern.
Step 3: Measure and Mark the Grid
Creating an accurate and evenly spaced grid is crucial for achieving a well-balanced and visually pleasing checkerboard pattern. Follow these steps to measure and mark the grid:
- Gather your tools: Get a measuring tape, pencil, and a ruler or straightedge.
- Determine the size of your checkerboard: Decide how large or small you want each square on your checkerboard to be. Keep in mind the dimensions of your room and the overall aesthetic you’re aiming for. For example, if you have a small space, smaller squares might be more suitable, while larger squares can work well in larger rooms.
- Start at a corner: Begin at one corner of the room and measure out the width of your first square. Use the measuring tape to mark the starting point and the end point of the square.
- Continue marking the squares: Move along the edge of the floor, measuring and marking the width of each square until you reach the opposite wall. Make sure to maintain consistent spacing between the squares.
- Repeat for the length of the room: Once you have marked the squares along one edge, measure and mark the squares along the adjacent edge of the room. Again, maintain consistent spacing between the squares.
- Double-check your measurements: Before moving on to the next step, take a step back and visually inspect the marked grid. Ensure that the squares are evenly spaced, and adjust any measurements if needed.
- Optional: Use painter’s tape as a guide: If you want to ensure clean and straight lines when painting the checkerboard pattern, you can use painter’s tape to outline the grid. Simply apply the tape along the marked lines to create a visual guide for painting.
By accurately measuring and marking the grid, you will lay the foundation for a well-defined and symmetrical checkerboard pattern on your floor. With the grid in place, you are now ready to move on to the next step: taping the grid.
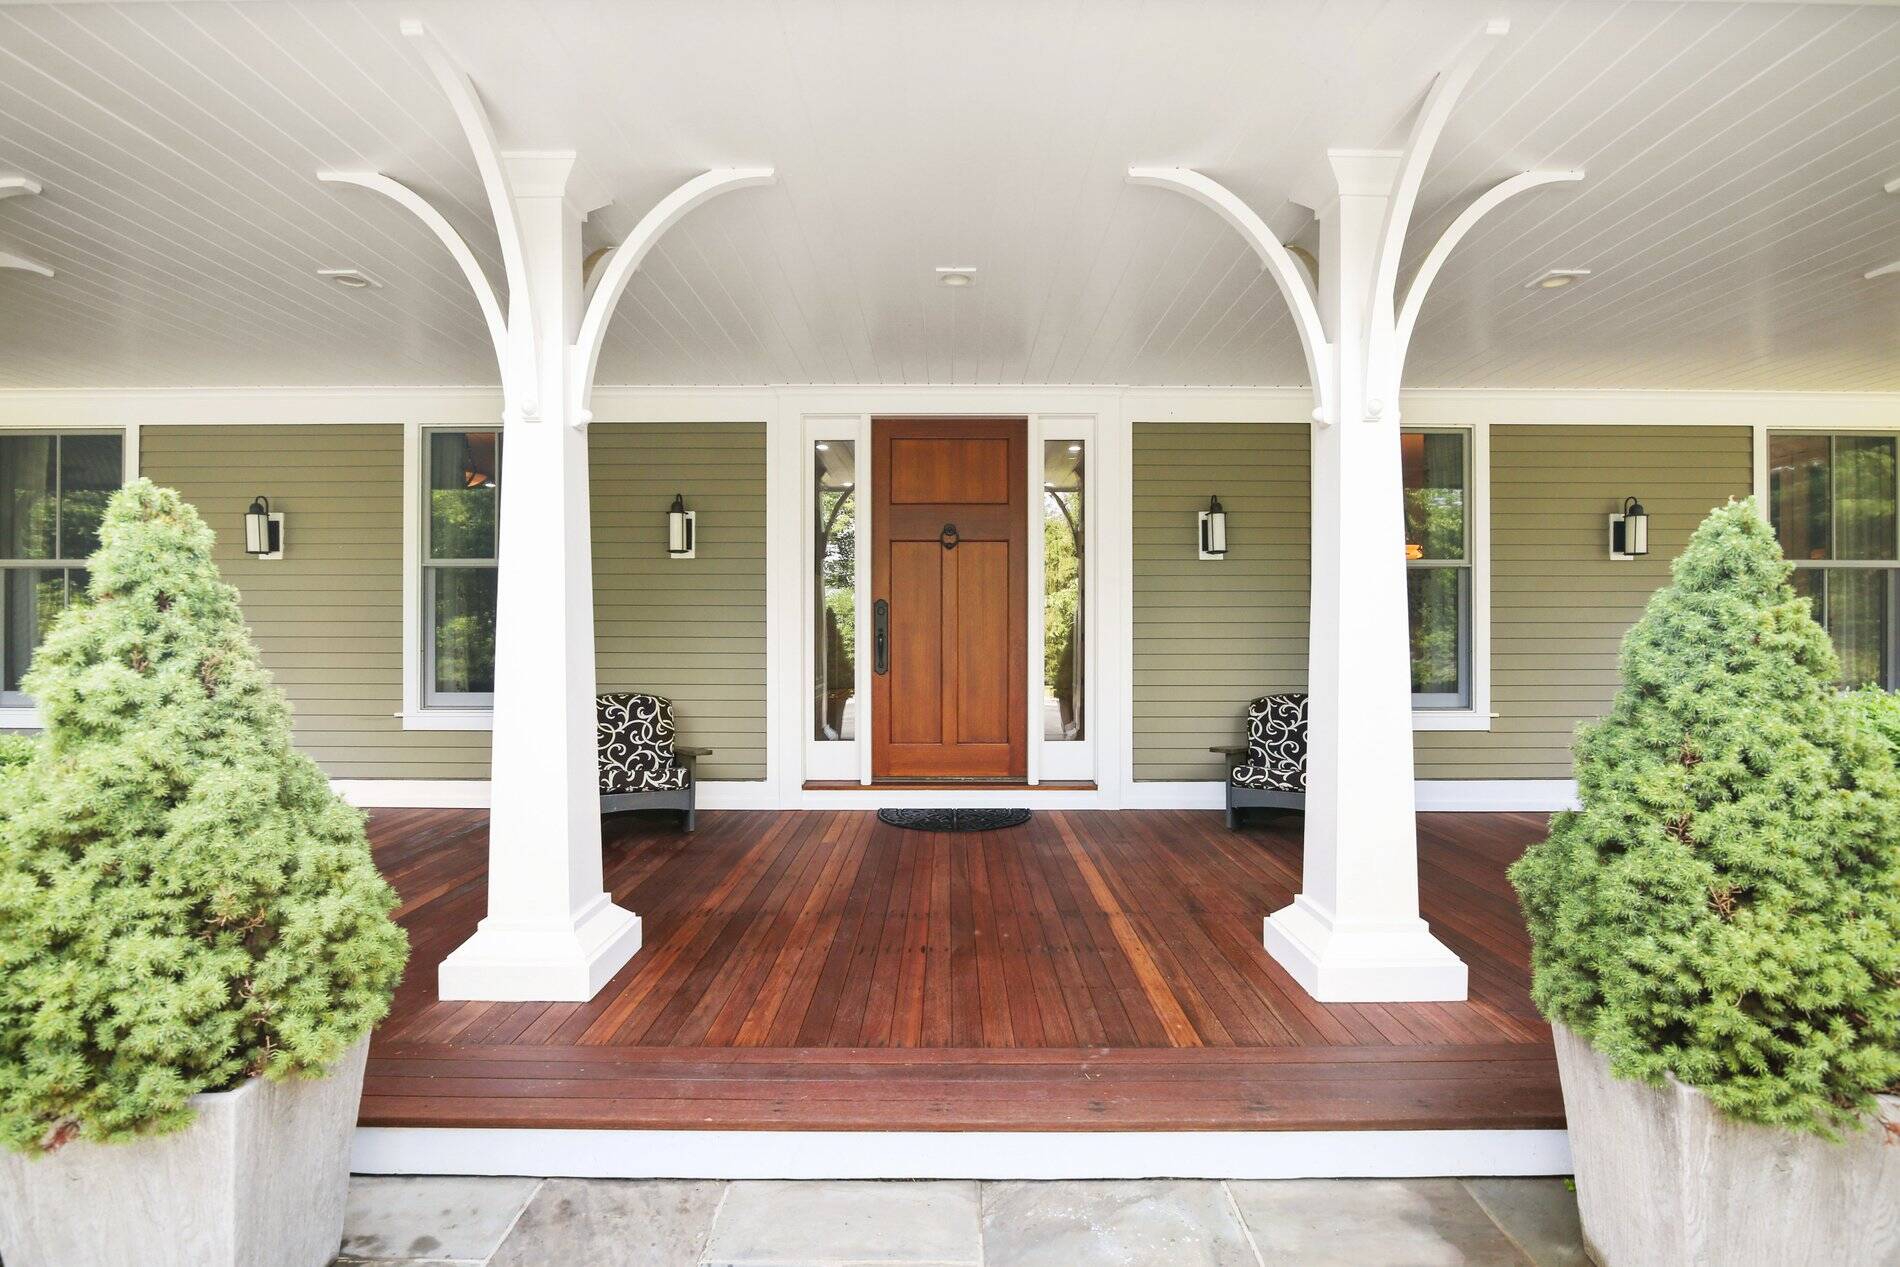
Read more: How To Paint A Porch Floor
Step 4: Tape the Grid
Once you have measured and marked the grid for your checkerboard pattern, it’s time to tape the grid using painter’s tape. Taping the grid helps create crisp and clean lines while painting. Follow these steps:
- Gather your painter’s tape: Use a high-quality painter’s tape that is suitable for use on floors. The tape should be wide enough to cover the width of the grid lines.
- Start at one corner: Begin at one corner of the room, aligning the edge of the tape with the marked line. Press the tape firmly onto the floor, ensuring that it adheres well.
- Continue taping the grid lines: Work your way along the marked lines, pressing down the tape and following the grid pattern. Make sure the tape is straight and properly aligned with the markings.
- Overlap the tape at intersections: When you reach the intersections where the vertical and horizontal grid lines meet, overlap the tape to create a clean and seamless corner.
- Smooth out the tape: Run your hand or a straightedge over the tape to ensure it is firmly secured and free from any bubbles or wrinkles.
- Double-check the taped grid: Step back and inspect the taped grid to ensure that the lines are straight and evenly spaced. Make any adjustments as necessary.
Taping the grid is an important step as it helps maintain the sharp and defined edges of your checkerboard pattern. With the grid taped down, you are now ready to move on to the next step: painting the first color.
Step 5: Paint the First Color
With the grid securely taped, it’s time to start painting the checkerboard pattern with the first color. You can choose any color you like, but black or white are popular options for a classic look. Follow these steps to paint the first color:
- Prepare the paint: Pour the first color of paint into a paint tray. Use a roller brush or a paintbrush to load the paint onto the roller or brush.
- Start at a corner: Begin at one corner of the room and apply the first color of paint to the squares that are outlined by the painter’s tape. Use long, even strokes to ensure a smooth and consistent coverage.
- Paint one color at a time: Work your way along the grid, painting all the squares with the first color. Take your time and be careful not to paint outside the designated areas.
- Apply multiple coats if needed: Depending on the color and the desired opacity, you may need to apply multiple coats of paint. Allow each coat to dry completely before applying the next one, following the drying time specified on the paint can.
- Remove any paint that seeps under the tape: If you notice any paint bleeding under the tape, use a damp cloth or sponge to clean it up immediately. This will help maintain clean and crisp lines.
- Allow the paint to dry: Once you have finished painting the first color, allow it to dry completely before moving on to the next steps. This will ensure that the paint sets properly.
By carefully painting the first color within the taped areas, you are bringing your checkerboard pattern to life. With the first color complete, you are now ready to move on to the next step: removing the tape.
Before painting a checkerboard floor, make sure to properly clean and prepare the surface to ensure the paint adheres well. Use painter’s tape to create even squares and work in small sections to maintain accuracy.
Step 6: Remove the Tape
After painting the first color and allowing it to fully dry, it’s time to remove the painter’s tape. Removing the tape properly will reveal crisp and clean lines, enhancing the overall appearance of your checkerboard pattern. Follow these steps to remove the tape:
- Start at a corner: Begin at one corner of the room and locate the edge of the tape.
- Peel off the tape: Slowly and carefully peel back the tape at a 45-degree angle. Pull the tape in a smooth, steady motion to avoid any paint from peeling off with it.
- Continue removing the tape: Work your way along the grid lines, removing the tape one section at a time. Take your time and ensure that the paint is not coming off along with the tape.
- Inspect the lines: As you remove the tape, inspect the lines for any imperfections or areas that may need touch-ups. If you notice any mistakes or paint bleeding, use a small paintbrush to carefully touch up those areas.
- Let the paint fully cure: Allow the paint to cure and harden according to the recommended time on the paint can. This will ensure that the paint is fully set and durable for foot traffic.
Removing the tape will reveal the clean and defined checkerboard pattern on your floor. Take a moment to admire your work and prepare for the next steps: taping the second color and painting it.
Step 7: Tape the Second Color
After removing the tape and admiring your crisp checkerboard pattern, it’s time to proceed with taping the grid for the second color. The second color will create contrast and dimension in your checkerboard design. Follow these steps to tape the grid for the second color:
- Gather your painter’s tape: Use the same high-quality painter’s tape that you used for the first color.
- Start at a corner: Begin at one corner of the room, aligning the edge of the tape with the joint of the checkerboard pattern. Press the tape firmly onto the floor, ensuring that it adheres well.
- Continue taping the grid lines: Work your way along the entire checkerboard pattern, applying the tape to the joints where the two colors meet. Be mindful of maintaining the straight and even lines.
- Overlap the tape at intersections: Similar to the first color, when you reach the intersections where the vertical and horizontal grid lines meet, overlap the tape to create neat and seamless corners.
- Smooth out the tape: Run your hand or a straightedge over the tape to ensure it is firmly secured and free from any bubbles or wrinkles.
- Double-check the taped grid: Step back and visually inspect the taped grid to ensure that the lines are straight and evenly spaced. Make any adjustments if needed.
Taping the grid for the second color is a crucial step to maintain clean lines and create a visually appealing checkerboard pattern. With the grid taped, you are now ready to move on to the next step: painting the second color.
Read more: How To Paint A Basement Cement Floor
Step 8: Paint the Second Color
With the grid securely taped for the second color, it’s time to paint the remaining squares to complete your checkerboard pattern. Select a contrasting color that complements the first color and suits your desired aesthetic. Follow these steps to paint the second color:
- Prepare the paint: Pour the second color of paint into a clean paint tray. Use a roller brush or a paintbrush to load the paint onto the roller or brush.
- Start at a corner: Begin at one corner of the room and apply the second color of paint to the squares that are outlined by the painter’s tape. Ensure you are painting the correct color in each square.
- Paint one color at a time: Work your way along the grid, painting all the squares with the second color. Use long, even strokes to achieve a smooth and consistent coverage.
- Apply multiple coats if needed: Depending on the color and desired opacity, you may need to apply multiple coats of paint. Allow each coat to dry completely before applying the next one, following the drying time specified on the paint can.
- Remove any paint that seeps under the tape: If you notice any paint bleeding under the tape, use a damp cloth or sponge to clean it up immediately. This will help maintain clean and crisp lines.
- Allow the paint to dry: Once you have finished painting the second color, allow it to dry completely before moving on to the next step. This will ensure that the paint sets and provides a durable finish.
By applying the second color within the taped areas, you will complete your visually appealing checkerboard pattern. With the second color painted, you are now ready to move on to the next step: removing the tape and completing any touch-ups.
Step 9: Remove the Tape
After painting the second color on the checkerboard pattern and allowing it to dry, it’s time to remove the painter’s tape. Removing the tape carefully will reveal the clean and sharp lines of your completed checkerboard floor. Follow these steps to remove the tape:
- Start at a corner: Begin at one corner of the room and locate the edge of the tape.
- Peel off the tape: Slowly and gently peel back the tape at a 45-degree angle. Pull the tape in a smooth, steady motion to avoid any paint from peeling off with it.
- Continue removing the tape: Work your way along the grid lines, removing the tape one section at a time. Take your time and ensure that the paint is not coming off along with the tape.
- Inspect the lines: As you remove the tape, inspect the lines for any imperfections or areas that may need touch-ups. If you notice any mistakes or paint bleeding, use a small paintbrush to carefully touch up those areas.
- Allow the paint to fully cure: Let the paint cure and harden completely according to the recommended drying time. This will ensure that the paint is fully set and ready for foot traffic.
Removing the tape will reveal the beautifully defined checkerboard pattern on your floor. Take a moment to appreciate your hard work and attention to detail. With the tape removed, you are now ready to move on to the final step: performing any touch-ups and applying finishing touches.
Step 10: Touch-Ups and Finishing
As you near the end of your checkerboard floor painting project, there are a few final touches and touch-ups to ensure a pristine final result. Follow these steps to complete the process:
- Inspect the floor: Take a close look at the painted checkerboard pattern and assess if there are any areas that require touch-ups or fine-tuning.
- Perform touch-ups: Use a small paintbrush and the appropriate color to carefully touch up any imperfections, smudges, or areas where the paint may have bled under the tape. Pay attention to maintaining clean and crisp lines.
- Clean up any spills or drips: If you accidentally spilled or dripped paint outside the designated areas, use a damp cloth or sponge to clean it up promptly. This will help keep the overall appearance neat and professional.
- Allow the touch-ups to dry: Once you’ve completed the necessary touch-ups, allow the paint to dry completely before proceeding to the next step. This will ensure a durable finish.
- Apply a protective layer: To increase the longevity and durability of your checkerboard floor, consider applying a clear sealant or polyurethane coating. This will protect the paint from daily wear and tear, spills, and stains. Follow the manufacturer’s instructions for application and drying time.
- Replace furniture and enjoy: Once the protective layer has dried, carefully move back your furniture and accessories onto the newly painted checkerboard floor. Take a moment to admire the transformation and enjoy your revamped space.
With the touch-ups and finishing touches complete, your checkerboard floor is now ready to be showcased. Stand back and appreciate the visual impact and personality it brings to your room. Congratulations on successfully painting a stunning checkerboard floor!
Conclusion
Painting a checkerboard floor is a fun and creative DIY project that can completely transform the look and feel of a room. By following the step-by-step guide outlined in this article, you have learned how to create a visually appealing and well-defined checkerboard pattern on your floor. Whether you prefer a classic black and white design or something more vibrant and unique, the key to success lies in careful preparation, precise measuring, and attention to detail.
Throughout the process, it’s important to gather all the necessary supplies, prepare the floor properly, and apply a base coat to ensure a smooth and durable surface. Measuring and marking the grid accurately, taping the grid, and painting each color meticulously are essential steps in achieving a professional-looking checkerboard pattern. Removing the tape and performing any touch-ups will finalize your masterpiece, while applying a protective sealant ensures its longevity.
A painted checkerboard floor adds character, style, and visual interest to any room. It creates a focal point that can tie together the overall design and become a conversation piece. Furthermore, it is a budget-friendly way to update your space and showcase your creativity.
As with any DIY project, remember to exercise patience and allow paint to dry thoroughly between coats and before moving furniture back into the room. Take the time to appreciate your hard work and enjoy the fruits of your labor. Your painted checkerboard floor is now a unique and captivating feature that will bring joy and personality to your home.
So go ahead, unleash your artistic side, and embark on the journey of transforming your floor into a stunning checkerboard masterpiece. Have fun and get ready to enjoy the visual impact of your newly painted floor!
Frequently Asked Questions about How To Paint Checkerboard Floor
Was this page helpful?
At Storables.com, we guarantee accurate and reliable information. Our content, validated by Expert Board Contributors, is crafted following stringent Editorial Policies. We're committed to providing you with well-researched, expert-backed insights for all your informational needs.


0 thoughts on “How To Paint Checkerboard Floor”