Articles
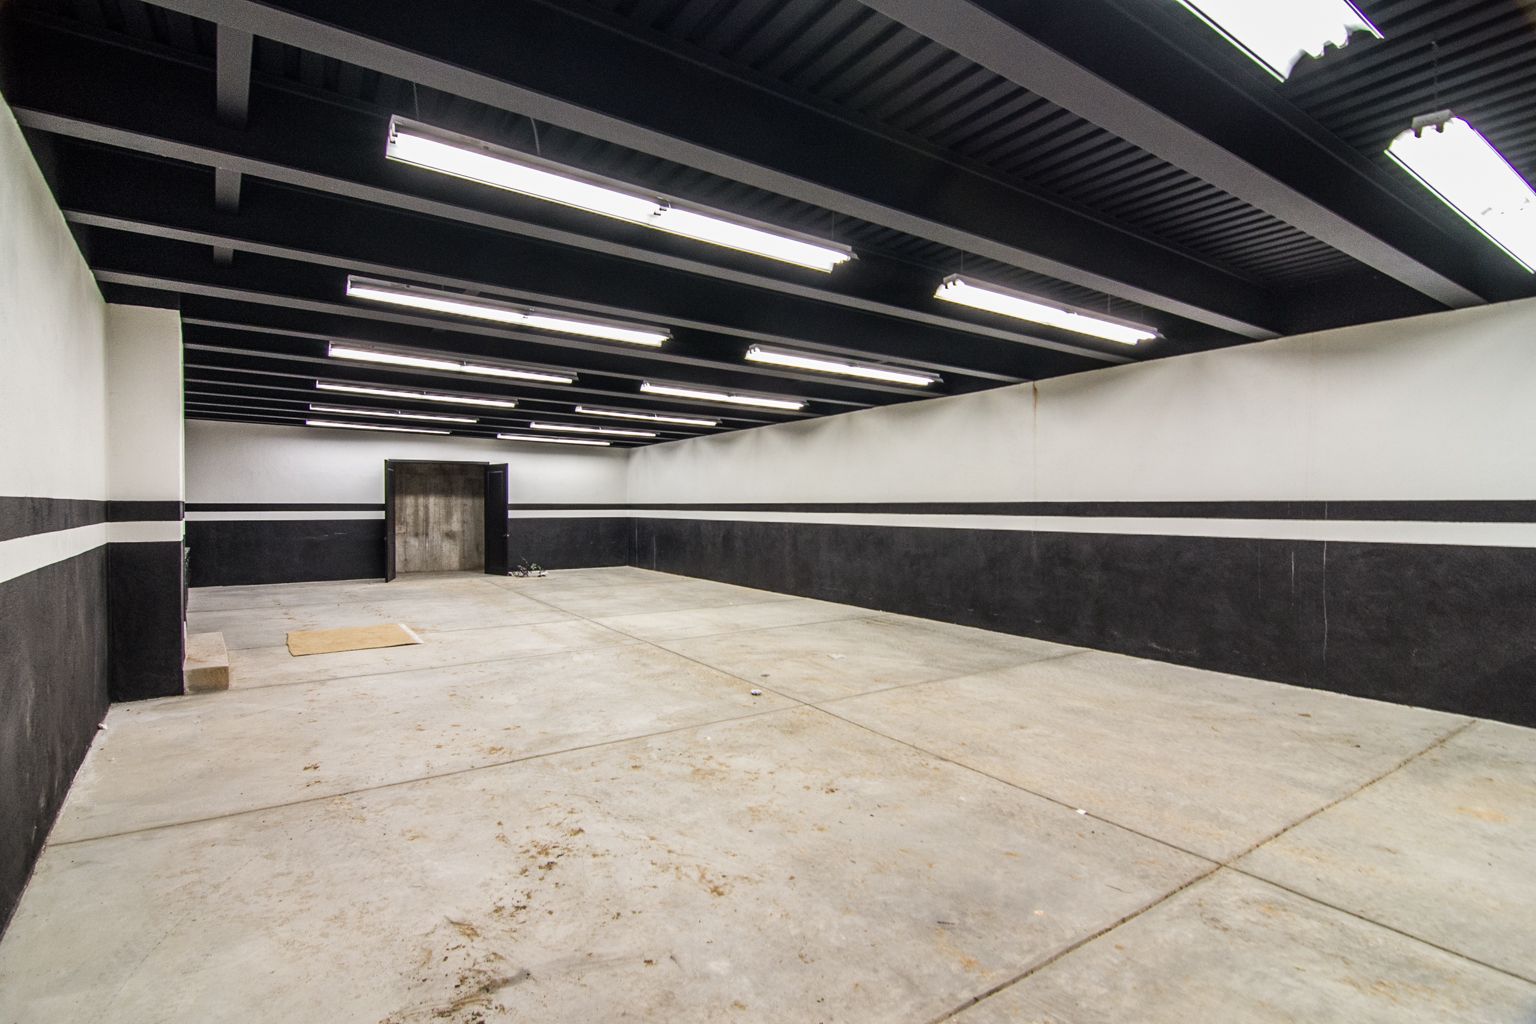
How To Paint A Garage Floor
Modified: February 25, 2024
Learn how to paint your garage floor with our step-by-step articles. Transform your space with a fresh coat of paint!
(Many of the links in this article redirect to a specific reviewed product. Your purchase of these products through affiliate links helps to generate commission for Storables.com, at no extra cost. Learn more)
Introduction
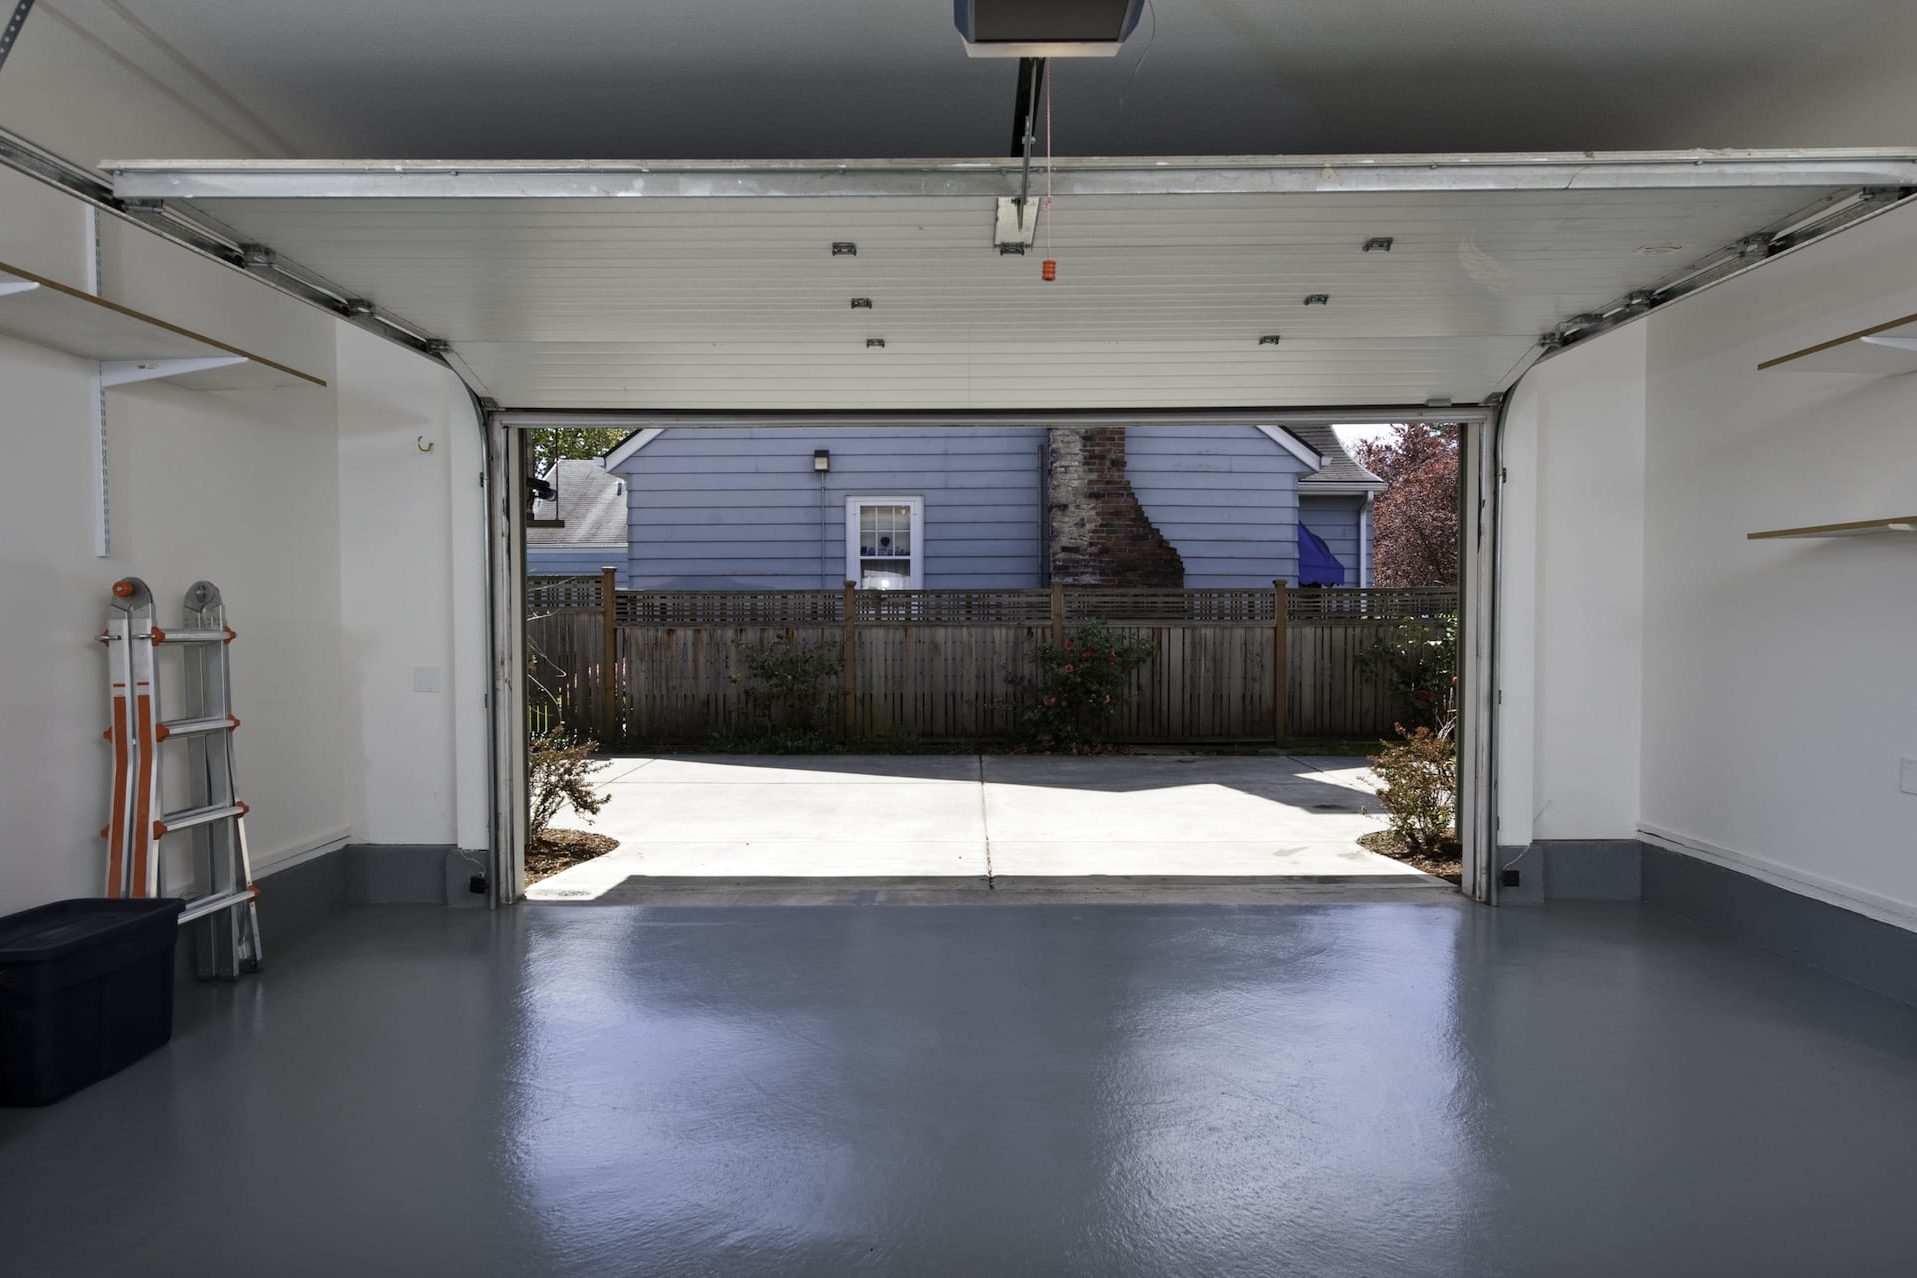
When it comes to transforming the look and functionality of your garage, painting the garage floor is a project that can make a significant difference. A freshly painted floor not only improves the overall aesthetics of the space but also adds durability and protection against stains, cracks, and wear. Whether you use your garage for parking your vehicles, as a workshop, or as a storage area, painting the floor can elevate its appearance and make it a more enjoyable and functional space.
In this article, we’ll guide you through the step-by-step process of painting a garage floor. From preparing the surface to applying the final coat, we’ll cover everything you need to know to achieve a professional and long-lasting result.
Before diving into the details, it’s important to mention that painting a garage floor is not a task that can be completed in a single day. It requires proper preparation, drying time between coats, and patience. However, the end result is well worth the effort and will provide you with a garage floor that is not only visually appealing but also highly resistant to the demands of everyday use.
Key Takeaways:
- Transform your garage into a durable and visually appealing space by following the step-by-step guide to painting your garage floor. Proper preparation, including cleaning, repairing, and etching, is crucial for achieving a flawless and long-lasting finish.
- Enhance the durability and aesthetics of your garage floor with epoxy paint and optional clear topcoat. Patience is key during the drying process, ensuring a strong and resilient finish that withstands daily use.
Read more: How To Remove Paint From Garage Floor
Step 1: Prepare the Garage Floor
Before you start painting your garage floor, it’s crucial to properly prepare the surface. This step ensures that the paint adheres well and creates a smooth and long-lasting finish. Here’s what you need to do:
- Clean the garage: Remove any items, tools, or debris from the floor. Sweep and vacuum the area to ensure it’s free from dust and dirt.
- Clear out oil stains: Use a degreaser or specially formulated oil stain remover to treat any oil or grease stains on the floor. Follow the manufacturer’s instructions and scrub the stains using a stiff brush if necessary. Rinse the area thoroughly and allow it to dry completely.
- Inspect for cracks or damage: Carefully examine the floor for any cracks, chips, or other damage. If you spot any, make note of their location as they will need to be repaired before painting.
- Remove existing paint or coatings: If there is any old paint or coatings on the floor, you’ll need to remove them before applying a fresh coat. Use a paint stripper or floor grinder to strip away the existing paint. Make sure to follow safety precautions and wear protective equipment.
- Repair cracks and damage: Once the floor is stripped of any old coatings, it’s time to repair the cracks and damage. Fill in the cracks using a concrete filler or epoxy compound, following the manufacturer’s instructions. Smooth out the surface with a putty knife and let it dry as recommended.
- Smooth uneven areas: If there are any uneven patches on the floor, you may need to use a self-leveling compound to create a smooth and even surface. Apply the compound according to the manufacturer’s instructions and allow it to dry completely.
By thoroughly preparing your garage floor, you’ll create a solid foundation for the paint to adhere to, ensuring a flawless and long-lasting finish. Take your time during this step, as the quality of the preparation will directly impact the overall outcome of the project. Once the floor is properly prepped, you’re ready to move on to the next step: cleaning the garage floor.
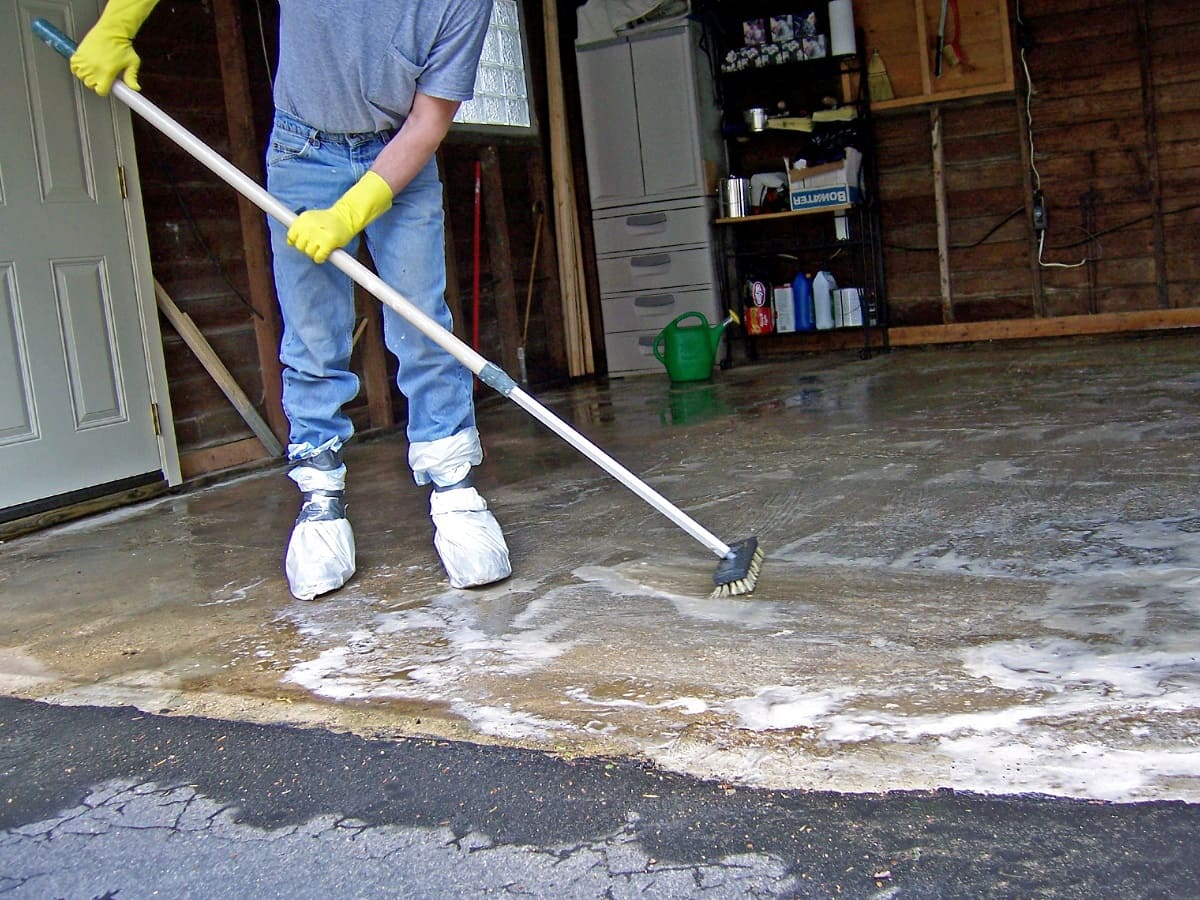
Step 2: Clean the Garage Floor
Before applying any paint or coatings to your garage floor, it’s essential to thoroughly clean the surface. This step ensures that the paint adheres properly and eliminates any dirt, dust, or debris that could affect the finish. Here’s how to clean your garage floor:
- Sweep or vacuum: Start by removing any loose dirt, dust, or debris from the floor using a broom or a vacuum cleaner with a hard floor attachment. Pay attention to corners, edges, and hard-to-reach areas.
- Scrub with a degreaser: Next, apply a good-quality degreaser or garage floor cleaner to the surface. Follow the instructions on the product and use a stiff brush or broom to scrub the floor thoroughly. This will remove any oil, grease, or other stubborn stains.
- Rinse with water: After scrubbing the floor, rinse it thoroughly with clean water. You can use a hose or a pressure washer to ensure all the cleaning solution and residue are completely washed away.
- Dry the floor: Allow the garage floor to dry completely before proceeding to the next step. Use fans or open windows and doors to improve air circulation and expedite the drying process. Make sure there is no moisture or dampness left on the floor.
Cleaning the garage floor is a critical step as it ensures a clean and smooth surface for the paint to adhere to. Removing dirt, grease, and debris will prevent any imperfections or inconsistencies in the final result. Take your time and ensure that the floor is completely dry before moving on to the next step.
Once the garage floor is clean and dry, you are now ready to repair any damage that may be present. This step will ensure that your floor is in the best possible condition before applying the paint or coating.
Step 3: Repair Any Damage
Before proceeding with painting your garage floor, it’s crucial to repair any cracks, chips, or other damage to ensure a smooth and even surface. Repairing these imperfections will not only enhance the appearance of the floor but also prevent further deterioration. Here’s how to repair any damage on your garage floor:
- Identify the damaged areas: Carefully inspect the floor for cracks, chips, or spalled areas. Mark them with a piece of chalk or tape to ensure you don’t miss any during the repair process.
- Clean the damaged areas: Before making any repairs, clean the identified damaged areas using a brush and a mild detergent solution. This will help remove any loose debris or dirt, allowing the repair material to adhere properly.
- Choose the appropriate repair material: Depending on the extent of the damage, you’ll need to select the right repair material. Epoxy-based patching compounds or concrete crack fillers are commonly used for minor cracks, while larger areas may require resurfacing or patching mixes.
- Follow the manufacturer’s instructions: Once you have the necessary repair material, carefully read and follow the manufacturer’s instructions. Mix the material according to the recommended ratios and consistency.
- Apply the repair material: Use a trowel or putty knife to apply the repair material to the damaged areas. Press it firmly into the cracks or spalled areas, ensuring that the surface is level and smooth. Feather the edges of the repair material to blend it seamlessly with the surrounding floor.
- Allow the repairs to cure: Ensure that the repaired areas are properly cured by following the manufacturer’s recommended drying time. Keep the repaired areas protected and avoid any foot or vehicular traffic during this curing period.
Repairing any damage on your garage floor is essential to create a solid and even surface for the paint or coating to adhere to. It will help prevent further deterioration of the floor and ensure a long-lasting finish. Take your time during this step and ensure that the repairs are properly cured before proceeding to the next step.
Once the repairs are completed, the next step is to etch the garage floor. This process will help to prepare the surface for optimal paint adhesion.
Step 4: Etch the Garage Floor
Etching the garage floor is a crucial step in the painting process as it creates a rough surface that allows the paint to adhere better. This step is particularly important for concrete floors as it helps remove any contaminants and opens up the pores of the concrete. Here’s how to etch your garage floor:
- Gather the necessary materials: You’ll need an etching solution, such as muriatic acid or a specially formulated concrete etching product. Additionally, make sure to wear protective gloves, goggles, and clothing to safeguard yourself from any potential hazards.
- Prepare the area: Ensure that the garage is well-ventilated by opening windows and doors or using fans. Remove any items or objects from the floor that you want to protect from the etching solution.
- Dilute the etching solution: If you’re using muriatic acid, dilute it according to the manufacturer’s instructions. If you’re using a concrete etching product, follow the guidelines provided.
- Apply the etching solution: Pour the diluted etching solution onto the floor, starting from one end and working your way towards the other end. Use a long-handled scrub brush or a mop to spread the solution evenly across the entire floor.
- Scrub the floor: Once the solution is applied, scrub the floor thoroughly using the scrub brush or mop. Pay extra attention to areas with stains or stubborn residues. Make sure the entire floor is covered with the solution and scrubbed properly.
- Rinse off the solution: After scrubbing, rinse the floor thoroughly with clean water. Use a hose or a pressure washer to remove any remaining etching solution. Be careful not to splash the solution onto yourself or other surfaces.
- Dry the floor: Allow the floor to dry completely before moving on to the next step. Use fans or open windows and doors to improve air circulation and expedite the drying process.
Etching the garage floor creates a rough and porous surface, enhancing the adhesion of the paint or coating. This step is especially important for concrete floors, as it removes any contaminants and opens up the pores, ensuring better paint penetration and durability. Once the floor is dry, you’re ready to move on to the next step: applying the primer.
Read more: How Much Does It Cost To Paint Garage Floor
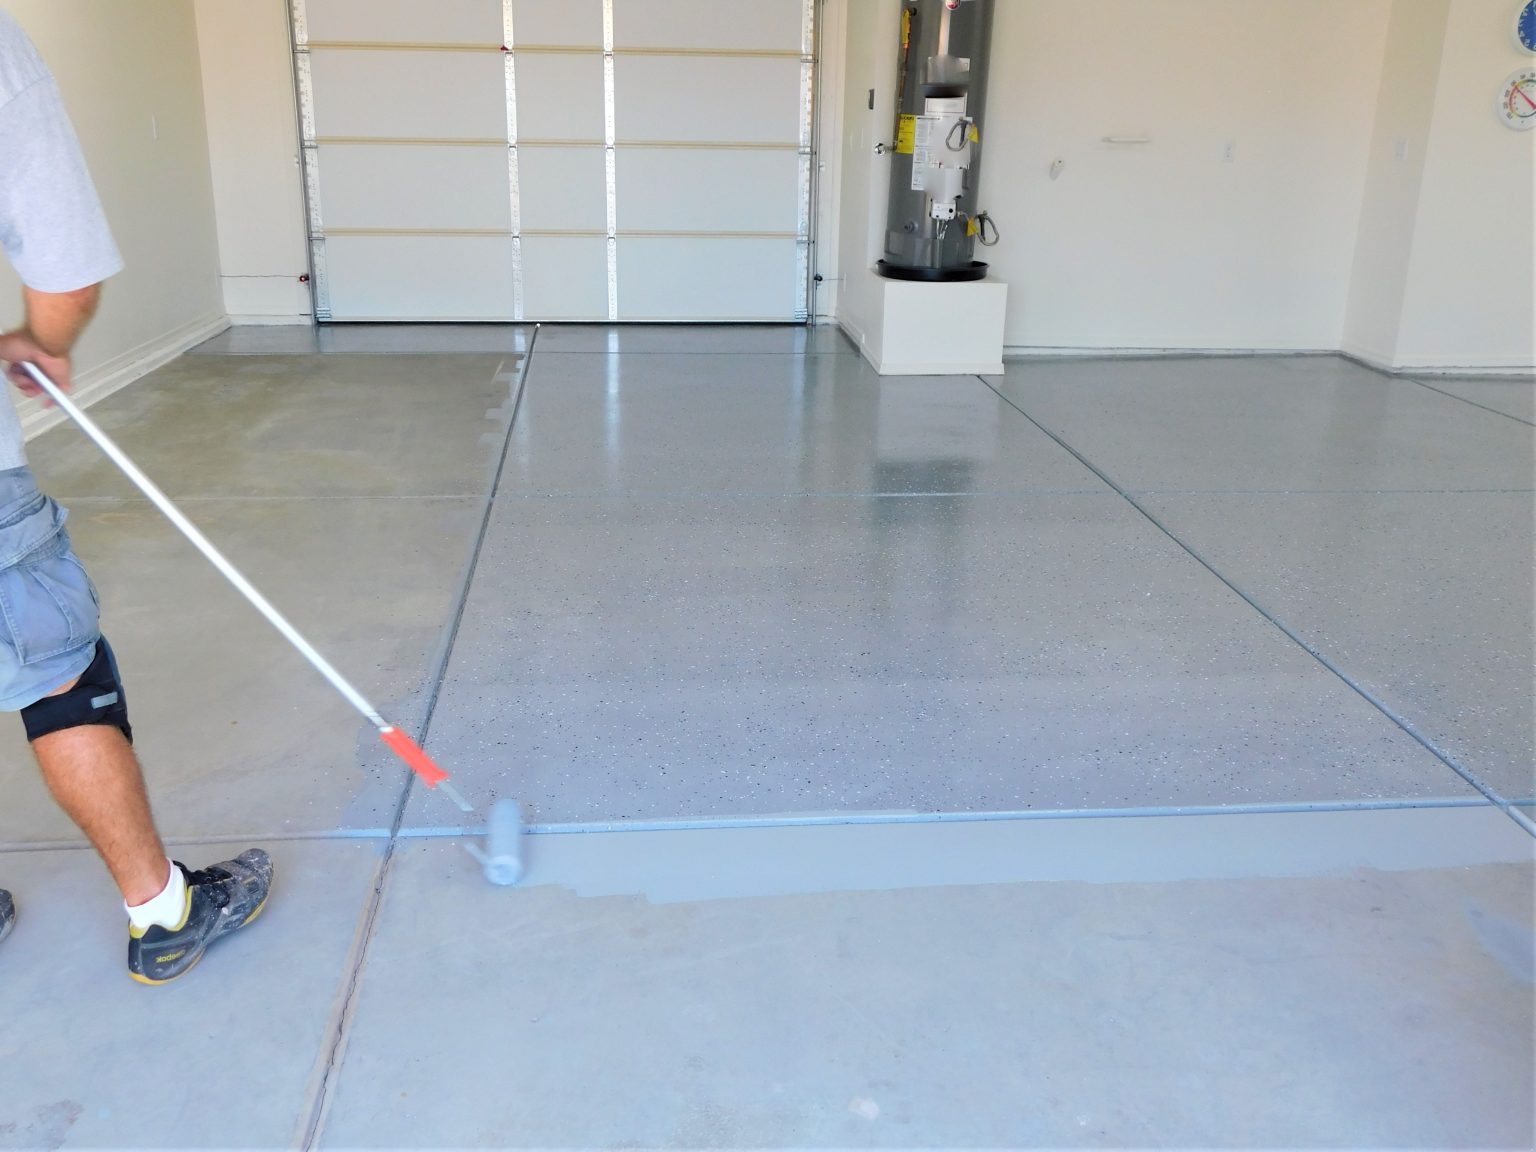
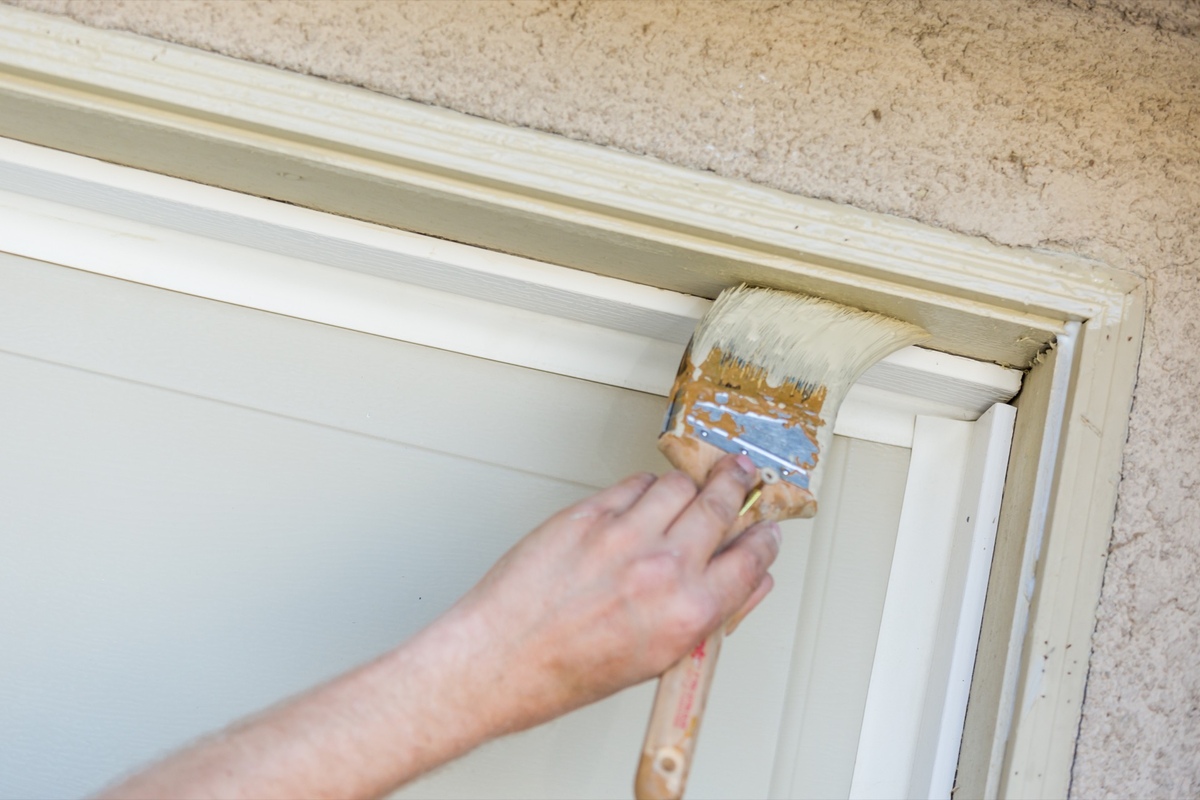
Step 5: Apply Primer
Applying a primer to your garage floor is an essential step that helps improve paint adhesion, enhances durability, and ensures a smooth and even finish. The primer creates a solid base for the paint to adhere to and helps seal the concrete, preventing moisture from penetrating the surface. Here’s how to apply primer to your garage floor:
- Choose the right primer: Select a primer specially formulated for concrete or garage floor surfaces. Check the manufacturer’s recommendations and make sure the primer is compatible with the type of paint or coating you will be using.
- Prepare the primer: Stir the primer thoroughly to ensure it is well-mixed. If necessary, thin the primer according to the manufacturer’s instructions. This step is essential to achieve the right consistency and ensure even coverage.
- Start from the back: Begin applying the primer from the back of the garage and work your way towards the exit. This will prevent you from painting yourself into a corner and allow for easy access and movement while applying the primer.
- Use a brush or roller: Depending on the size of your garage and personal preference, you can either use a brush or a roller to apply the primer. A roller is recommended for larger areas as it provides more even coverage.
- Apply in thin, even coats: Start by cutting in the edges and corners with a brush and then use a roller to apply the primer to the larger open areas. Apply the primer in thin, even coats, working in small sections at a time. This will ensure a consistent coverage without any drips or puddles.
- Allow drying time: Follow the instructions provided by the manufacturer to determine the drying time for the primer. It’s crucial to allow sufficient drying time before proceeding to the next step.
Applying a primer to your garage floor is an important step that prepares the surface for the paint or coating. It enhances adhesion, improves durability, and creates a uniform and professional-looking finish. Once the primer is dry, you’re ready to move on to the next step: applying the epoxy paint.
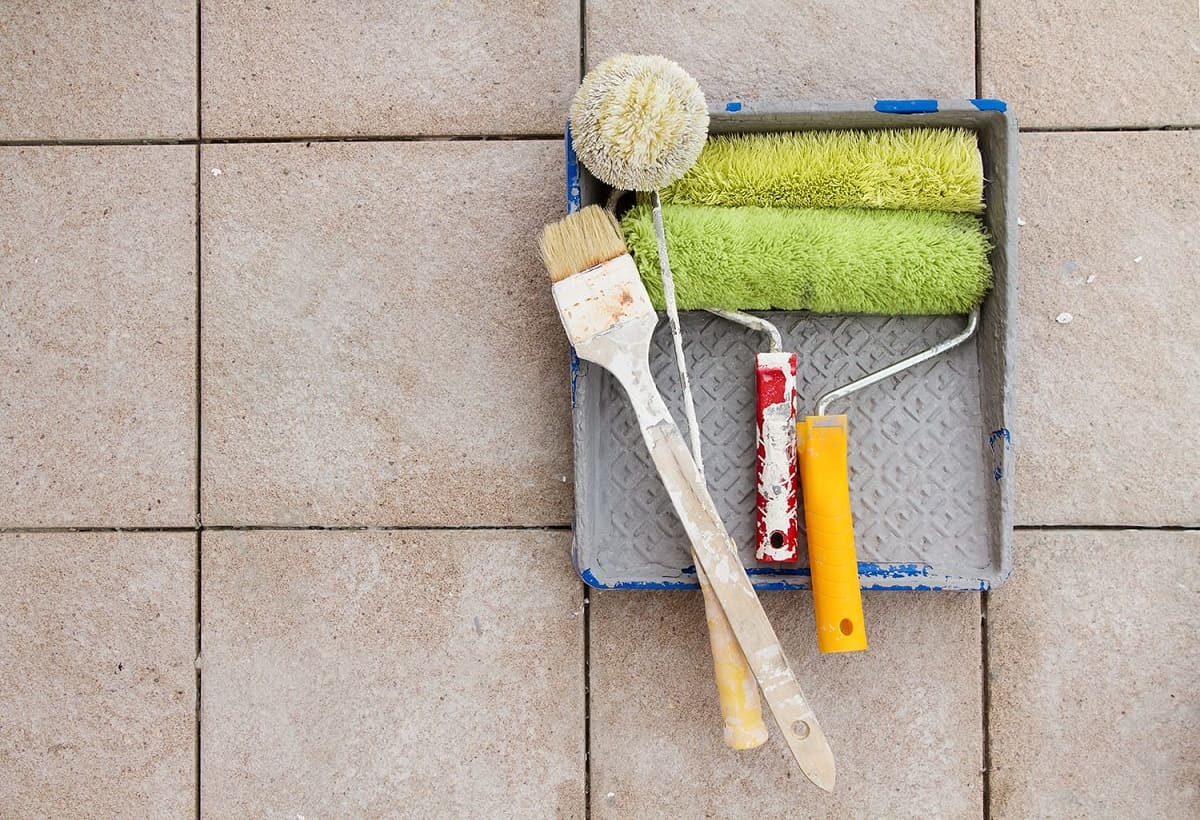
Before painting your garage floor, make sure to thoroughly clean and degrease the surface to ensure proper adhesion of the paint. Use a concrete etching solution to prepare the surface for better paint adhesion.
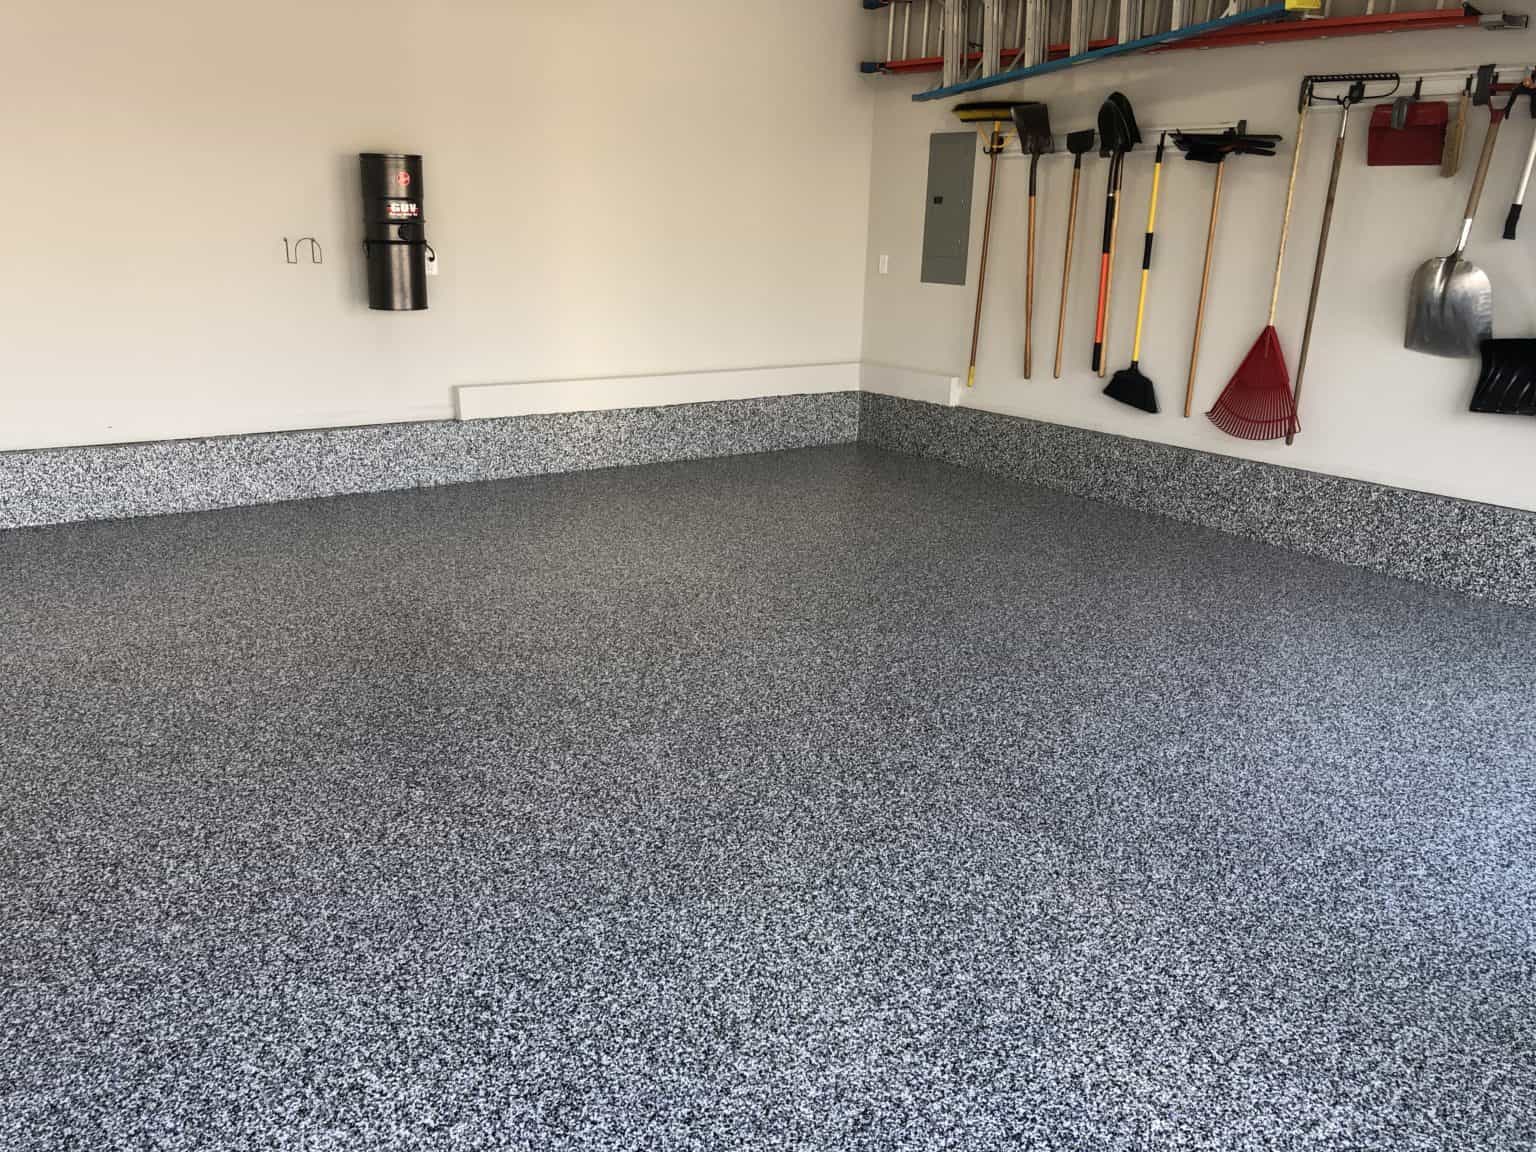
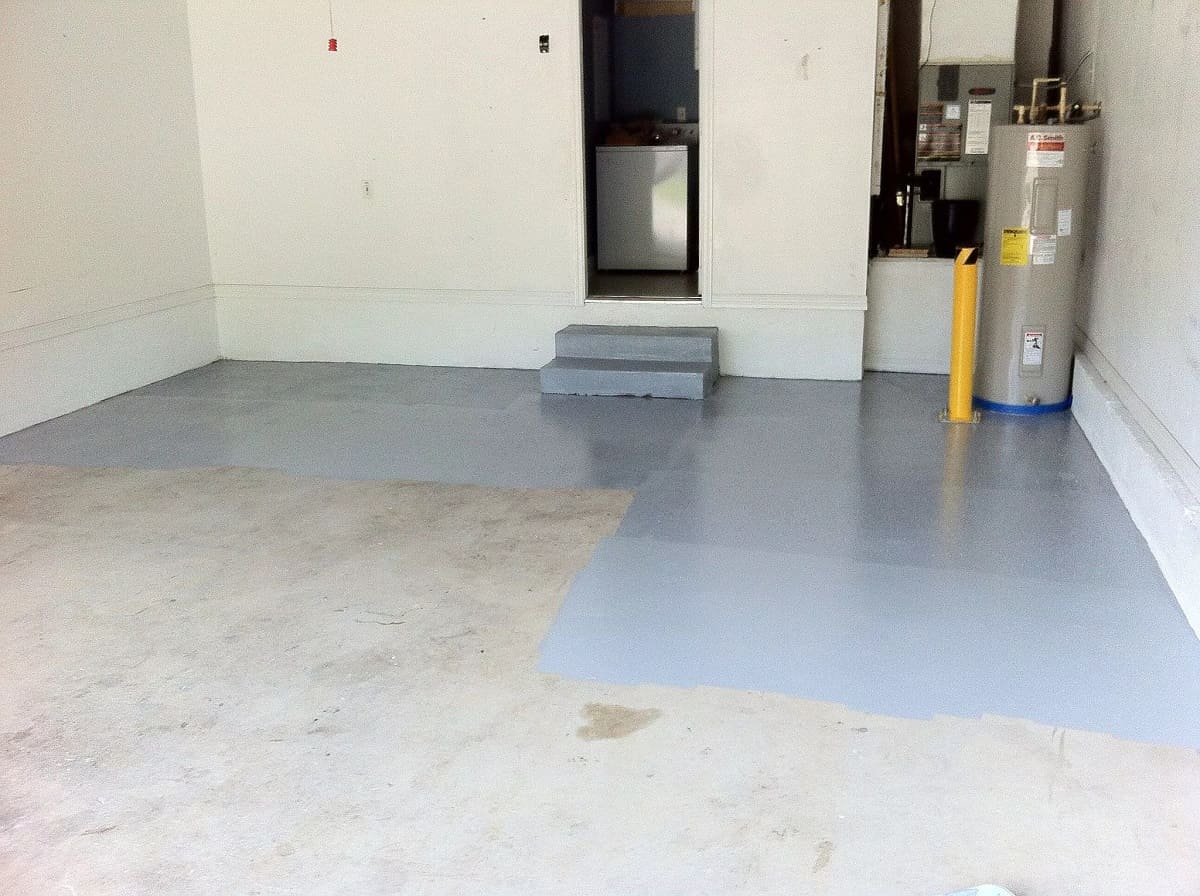
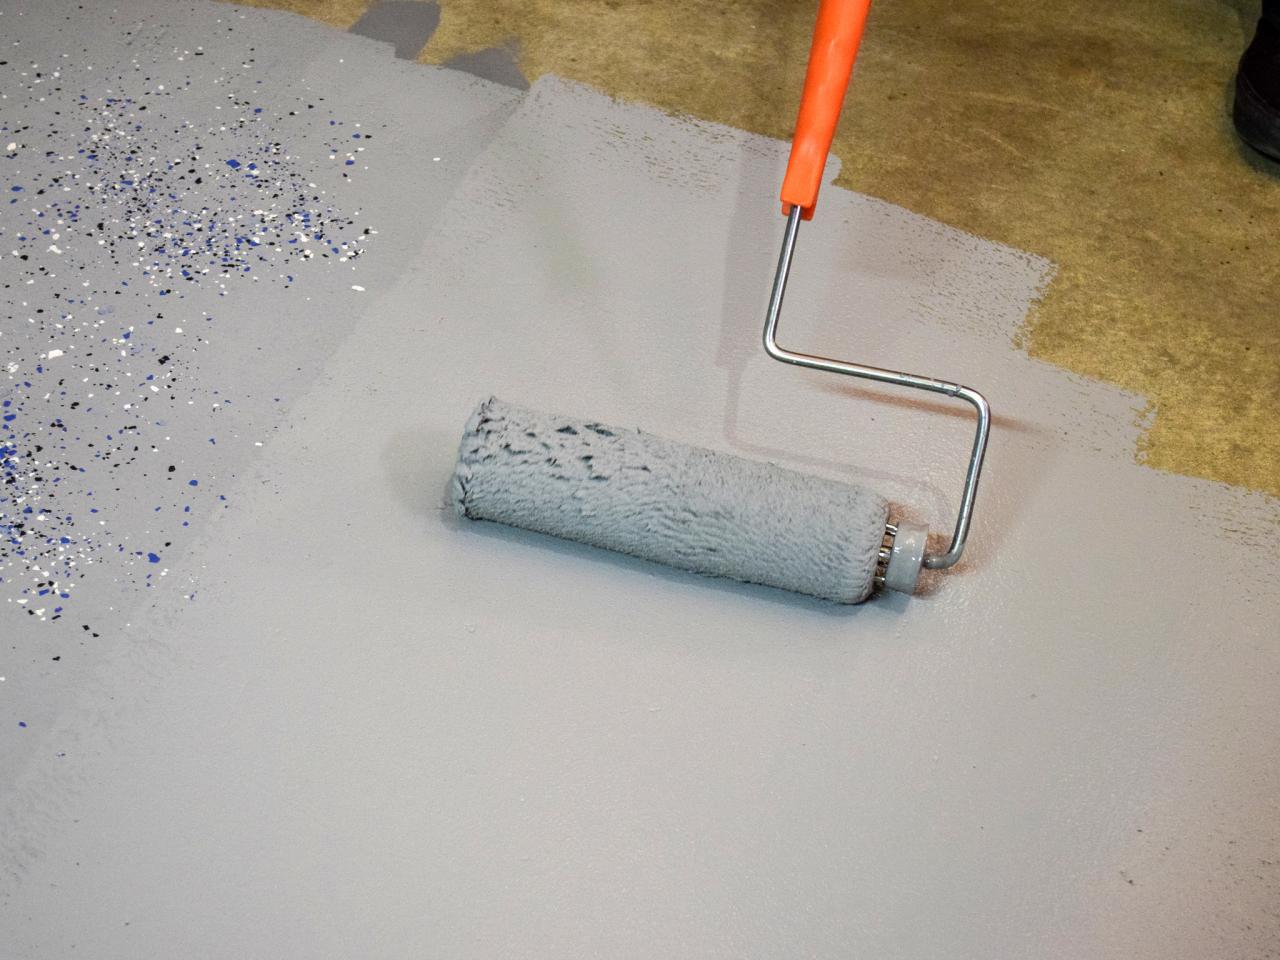
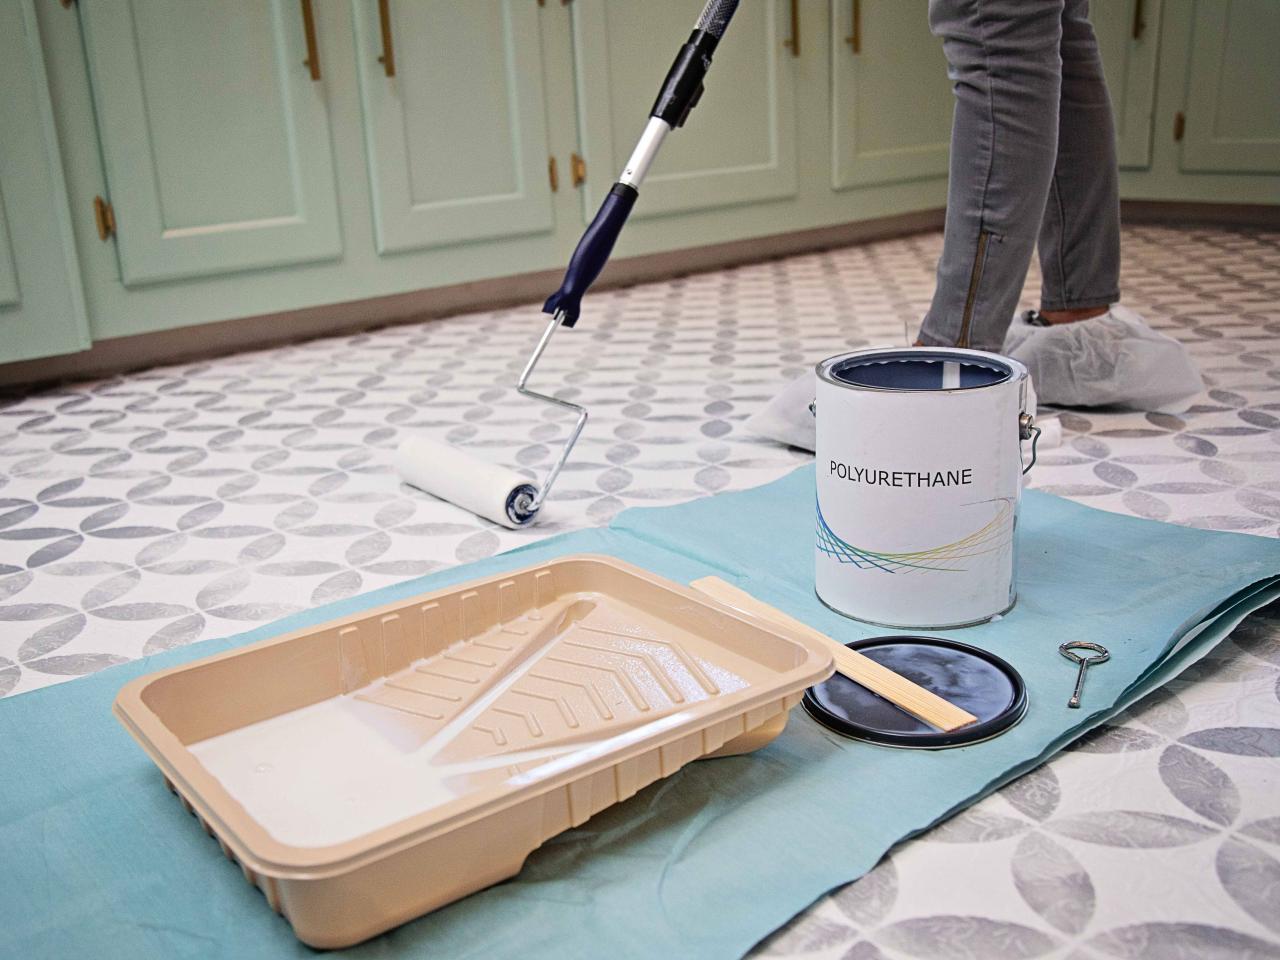
Step 6: Apply Epoxy Paint
Applying epoxy paint to your garage floor is a popular choice due to its durability, resistance to stains, chemicals, and wear. Epoxy creates a tough and glossy surface that not only enhances the aesthetics of your garage but also provides long-lasting protection. Here’s how to apply epoxy paint to your garage floor:
- Prepare the epoxy paint: Mix the epoxy paint according to the manufacturer’s instructions. Most epoxy paints come in two parts – a resin and a hardener. Thoroughly stir the two components together for the recommended time to ensure a proper mixture.
- Start from the back: Begin applying the epoxy paint from the back of the garage and work your way towards the exit. This will prevent you from stepping on the freshly painted surface and allow for easy movement while applying the paint.
- Use a roller: A roller is the most effective tool for applying epoxy paint to larger areas. Use a roller with a medium or long nap to ensure even coverage. Start by cutting in the edges and corners with a brush, then use the roller to apply the paint to the larger open areas.
- Apply in thin, even coats: Work in small sections at a time and apply the epoxy paint in thin, even coats. Avoid excessive buildup or puddles of paint, as this can lead to an uneven finish. Apply additional coats if necessary, following the manufacturer’s recommendations for drying time between coats.
- Create a decorative pattern (optional): If desired, you can create a decorative pattern on the epoxy paint by using decorative flakes or chips. Sprinkle the flakes onto the wet epoxy paint, making sure to distribute them evenly. Allow the paint to dry completely before proceeding to the next step.
Applying epoxy paint to your garage floor not only enhances its appearance but also provides a durable and long-lasting finish. It offers excellent resistance to stains, chemicals, and wear, making it an ideal choice for high-traffic areas. Once the epoxy paint is applied, it’s time to allow for drying time and move on to the next step: applying a second coat (if necessary).
Step 7: Allow Drying Time
After applying the epoxy paint to your garage floor, it’s crucial to allow for proper drying time. This step ensures that the paint cures and forms a strong bond with the surface, resulting in a durable and long-lasting finish. Here’s what you need to know about drying time:
- Follow manufacturer’s instructions: Different epoxy paints may have varying drying times, so it’s important to refer to the manufacturer’s guidelines. These instructions will provide you with the specific drying time required for the particular product you’ve used.
- Temperature and humidity: Both temperature and humidity can significantly affect the drying time of epoxy paint. Ensure that the room temperature is within the recommended range specified by the manufacturer. Likewise, maintain moderate humidity levels to prevent any adverse effects on the paint’s drying process.
- Avoid foot and vehicle traffic: To protect the newly painted floor, it is essential to avoid any foot or vehicle traffic during the drying period. This will help prevent any premature damage or marks on the surface.
- Provide good ventilation: Proper ventilation is crucial to facilitate the drying process. Open windows and doors, or use fans to improve air circulation in the garage. This will help expedite the evaporation of any solvent-based components in the epoxy paint.
- Patience is key: Be patient and allow sufficient time for the epoxy paint to dry completely. Rushing the process can compromise the quality and durability of the finish. It is better to wait a little longer to ensure optimal results.
The drying time for epoxy paint can vary depending on several factors, including temperature, humidity, and the specific product used. By following the manufacturer’s instructions and providing the necessary conditions for proper drying, you’ll ensure a strong and long-lasting finish on your garage floor. Once the epoxy paint has dried, you can assess whether a second coat is required or if you’re ready to move on to the next step: applying a clear topcoat.
Step 8: Apply a Second Coat (if necessary)
Applying a second coat of epoxy paint to your garage floor is an optional step that can further enhance the durability and appearance of the finish. A second coat helps to ensure even coverage and provides added protection against wear and tear. Here’s what you need to know about applying a second coat:
- Evaluate the coverage: After the first coat of epoxy paint has dried, assess the coverage and overall appearance of the floor. If you are satisfied with the results and there are no visible thin spots or areas of concern, you may choose to skip applying a second coat.
- Check manufacturer’s recommendations: Consult the manufacturer’s instructions or product label to determine if a second coat is recommended. Certain epoxy paints may require or suggest the application of multiple coats for optimal results.
- Prepare the floor: Before applying the second coat, ensure the floor is clean and free from any dust or debris. Sweep or vacuum the surface to remove any loose particles that might impact the adhesion of the paint.
- Apply the second coat: If you decide to apply a second coat, follow the same process as you did for the first coat. Start from the back of the garage and work your way towards the exit. Use a roller or brush to apply the epoxy paint in thin, even coats, ensuring complete coverage.
- Allow drying time: After applying the second coat, allow sufficient drying time as recommended by the manufacturer. This step is crucial to ensure the second coat cures properly and provides the desired level of durability and protection.
Applying a second coat of epoxy paint can provide additional strength, protection, and evenness to the finish of your garage floor. However, it’s important to evaluate the coverage and consult the manufacturer’s recommendations before deciding to proceed with the second coat. Once the drying time for the second coat is complete, you can move on to the final step: applying a clear topcoat (optional).
Read more: How To Paint A Floor
Step 9: Apply a Clear Topcoat (optional)
Applying a clear topcoat to your garage floor is an optional step that can provide an extra layer of protection and enhance the aesthetic appeal of the epoxy paint. A clear topcoat adds a glossy finish and helps safeguard the surface against stains, chemicals, and UV damage. Here’s what you need to know about applying a clear topcoat:
- Choose the right topcoat: Select a clear topcoat specifically designed for use on garage floors. Consult the manufacturer’s recommendations to ensure that the topcoat is compatible with the epoxy paint you’ve used.
- Prepare the topcoat: Thoroughly mix the clear topcoat according to the manufacturer’s instructions. Make sure to follow the specified ratios and stirring times to achieve a uniform mixture.
- Start from the back: Begin applying the clear topcoat from the back of the garage and work your way towards the exit. This will prevent you from walking on the freshly applied topcoat and ensure easy access and movement during the process.
- Use a roller or brush: Use a roller or brush to apply the clear topcoat to the floor. Ensure even coverage by applying the topcoat in thin, even coats. Pay attention to edges and corners, ensuring all areas are coated.
- Allow drying time: Follow the manufacturer’s instructions for drying time. Make sure to provide sufficient time for the clear topcoat to dry and cure properly. This will help achieve the desired level of protection and enhance the longevity of the garage floor.
Applying a clear topcoat is an optional step that can provide added protection, durability, and a glossy finish to your garage floor. It acts as a barrier against stains, chemicals, and UV damage, while also enhancing the overall appearance of the epoxy paint. Once the clear topcoat is dry and cured, you’re finished with this step-by-step guide to painting your garage floor.
Step 10: Allow Final Drying Time
After completing all the necessary steps to paint your garage floor, it’s crucial to allow for a final drying time. This step ensures that the paint and any optional topcoat have fully cured, providing a durable and long-lasting finish. Here’s what you need to know about allowing the final drying time:
- Refer to manufacturer’s instructions: Consult the manufacturer’s guidelines or product label for specific recommendations regarding the final drying time. Different types of paint and coatings may have varying drying times, so it’s important to follow the instructions provided.
- Consider temperature and humidity: Temperature and humidity can affect the drying time of paint and coatings. Ensure that the room temperature remains within the recommended range specified by the manufacturer. Likewise, moderate humidity levels are ideal to facilitate the drying process.
- Avoid foot and vehicle traffic: To protect the newly painted floor, it’s essential to avoid any foot or vehicle traffic during the final drying period. This will prevent any accidental damage to the surface and ensure that the paint fully cures without any disruptions.
- Provide good ventilation: Proper ventilation is crucial to facilitate the drying process. Keep windows and doors open or use fans to improve air circulation in the garage. This will help expedite the evaporation of any remaining solvents and ensure the paint fully cures.
- Exercise patience: As with any painting project, patience is key. Allow ample time for the paint and optional topcoat to dry and cure completely. Rushing the drying process can compromise the quality, durability, and appearance of the finish.
By allowing the final drying time, you ensure that the paint and any optional topcoat on your garage floor have properly cured. This step is crucial for achieving a strong and long-lasting finish that will withstand the demands of daily use. Once the paint is fully dry and cured, you can now enjoy your newly painted garage floor!
Conclusion
Painting your garage floor is a rewarding project that can transform the look and functionality of your space. By following the step-by-step guide outlined in this article, you can achieve professional and long-lasting results. From preparing the floor and repairing any damage to applying the epoxy paint and optional topcoat, each step plays a crucial role in the overall outcome.
Proper preparation is key to ensuring a flawless finish. By thoroughly cleaning the floor, repairing any damage, and etching the surface, you create an ideal foundation for paint adhesion. Applying a primer helps improve adhesion and durability, while the epoxy paint provides a tough and attractive finish. Optionally, a clear topcoat can enhance protection and aesthetics.
Throughout the painting process, remember to follow the manufacturer’s instructions and allow for appropriate drying times. Patience is key, as rushing the drying process can compromise the durability and quality of the finish. Once the final coat has dried and cured, your garage floor will have a fresh and vibrant appearance, along with enhanced resistance to stains, chemicals, and wear.
Remember, painting your garage floor is not just about improving its appearance. It also adds durability and protection, making it a more functional and enjoyable space. So, roll up your sleeves, gather the necessary materials, and embark on this exciting project. Transform your garage floor into a resilient and visually appealing surface that will withstand the demands of everyday use.
Frequently Asked Questions about How To Paint A Garage Floor
Was this page helpful?
At Storables.com, we guarantee accurate and reliable information. Our content, validated by Expert Board Contributors, is crafted following stringent Editorial Policies. We're committed to providing you with well-researched, expert-backed insights for all your informational needs.

0 thoughts on “How To Paint A Garage Floor”