Articles
How To Paint A Vinyl Floor
Modified: December 7, 2023
Learn how to paint a vinyl floor with these step-by-step articles. Transform your space with a fresh and affordable DIY project.
(Many of the links in this article redirect to a specific reviewed product. Your purchase of these products through affiliate links helps to generate commission for Storables.com, at no extra cost. Learn more)
Introduction
When it comes to home renovations, one area that is often overlooked is the flooring. While many homeowners opt for expensive options like hardwood or tile, there are affordable alternatives that can completely transform the look of a room. Vinyl flooring, for example, is a durable and budget-friendly choice that is commonly found in kitchens, bathrooms, and laundry rooms.
But what do you do if your vinyl flooring is outdated or worn out? Replacing it can be expensive and time-consuming. The good news is, you may not have to! With a little creativity and elbow grease, you can paint your vinyl floor to give it a fresh, new look. Not only will this save you money, but it can also breathe new life into your space.
In this article, we will walk you through the step-by-step process of painting a vinyl floor. By the end, you will have all the knowledge and confidence you need to tackle this DIY project with ease. So grab your paintbrushes and let’s get started!
Key Takeaways:
- Transform your space on a budget by painting your vinyl floor. With proper preparation, quality materials, and patience, you can achieve a professional-looking finish that breathes new life into any room.
- Embrace creativity and personal style by painting your vinyl floor. From bold colors to subtle designs, this DIY project offers a versatile and customizable solution to refresh and revitalize your space.
Read more: How To Clean Paint Off Vinyl Floor
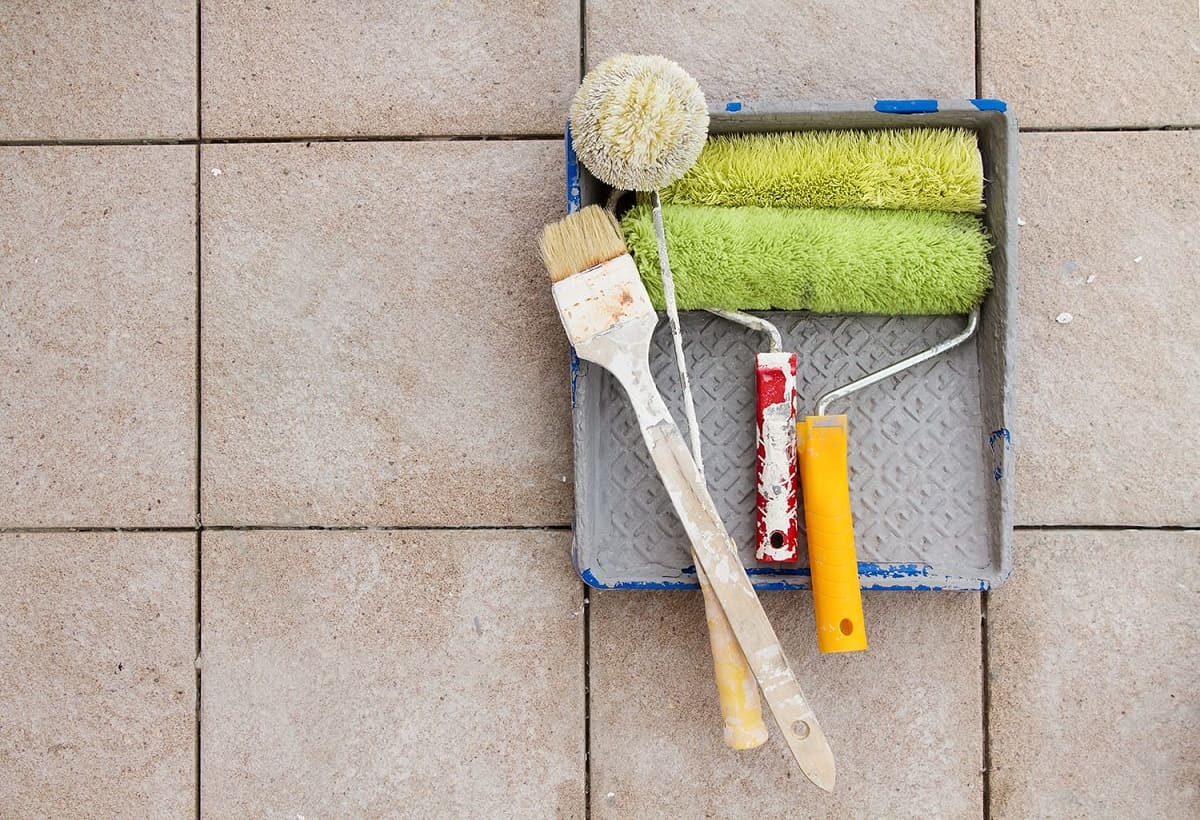
Materials Needed
Before you dive into painting your vinyl floor, it’s important to gather all the necessary materials. Here’s a list of what you’ll need:
- Painter’s tape
- Sandpaper or sanding block
- Primer specifically formulated for vinyl surfaces
- Paint roller and tray
- Paintbrushes (a small one for edges and corners, and a larger one for larger areas)
- High-quality acrylic or latex paint in your desired color
- Clear polyurethane sealant
- Drop cloths or plastic sheets to protect surrounding areas
- Clean rags or paper towels
- Mild detergent and water for cleaning
- Optional: decorative stencils or painter’s tape for creating patterns
Make sure you have all these materials on hand before you begin your project. This will ensure a smooth and efficient painting process.
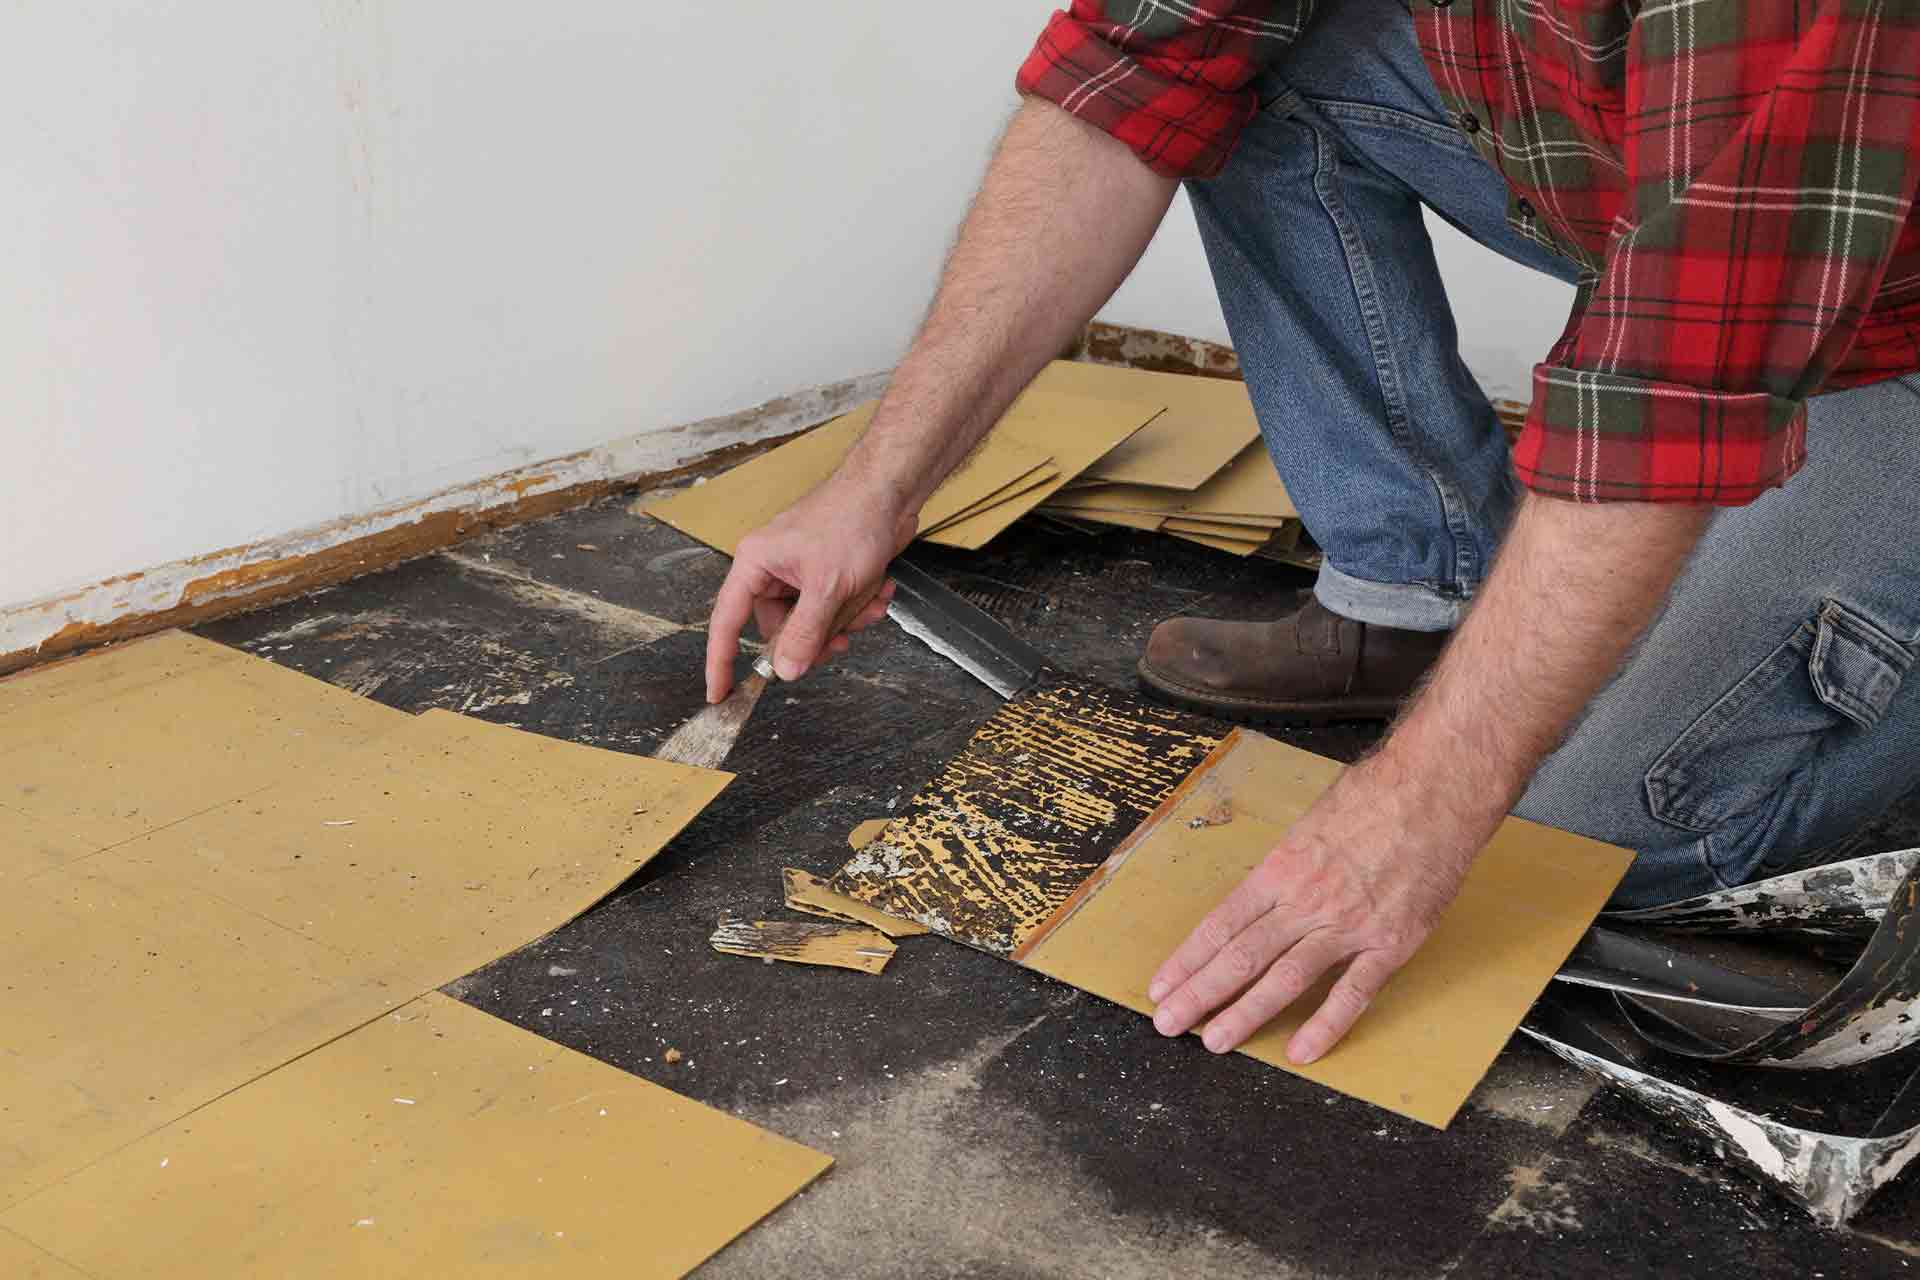
Step 1: Preparing the Floor
Proper preparation is key to achieving a successful paint job on your vinyl floor. Follow these steps to ensure your floor is ready for painting:
- Remove any furniture or objects from the room. This will give you clear access to the entire floor and make it easier to work.
- Thoroughly clean the floor to remove any dirt, dust, or debris. Sweep the floor to remove loose particles, and then use a mop or damp cloth with mild detergent and water to scrub away any stains or grime. Be sure to rinse the floor well and let it dry completely.
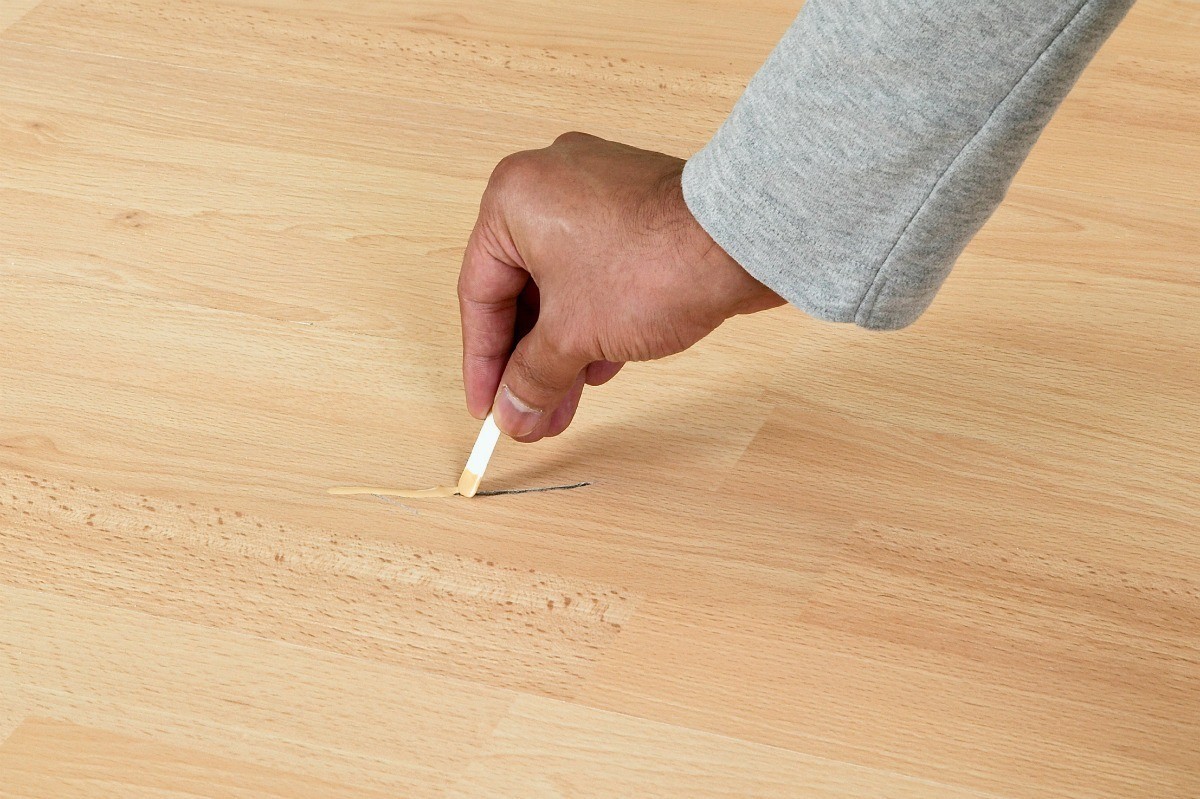
- Next, inspect the floor for any damages or imperfections. If there are any cracks, holes, or uneven areas, use a filler or putty to repair them. Allow the filler to dry completely and then sand it down until it is smooth.
- Use painter’s tape to tape off any areas you want to protect, such as baseboards, walls, or cabinets. This will prevent any paint from getting on surfaces where you don’t want it.
- If your vinyl floor has a glossy finish, lightly sand the surface with fine-grit sandpaper or a sanding block. This will help the primer and paint adhere better to the floor.
By properly preparing your floor, you will create a clean and smooth surface that is ready for painting. This will ensure the longevity and quality of your newly painted vinyl floor.
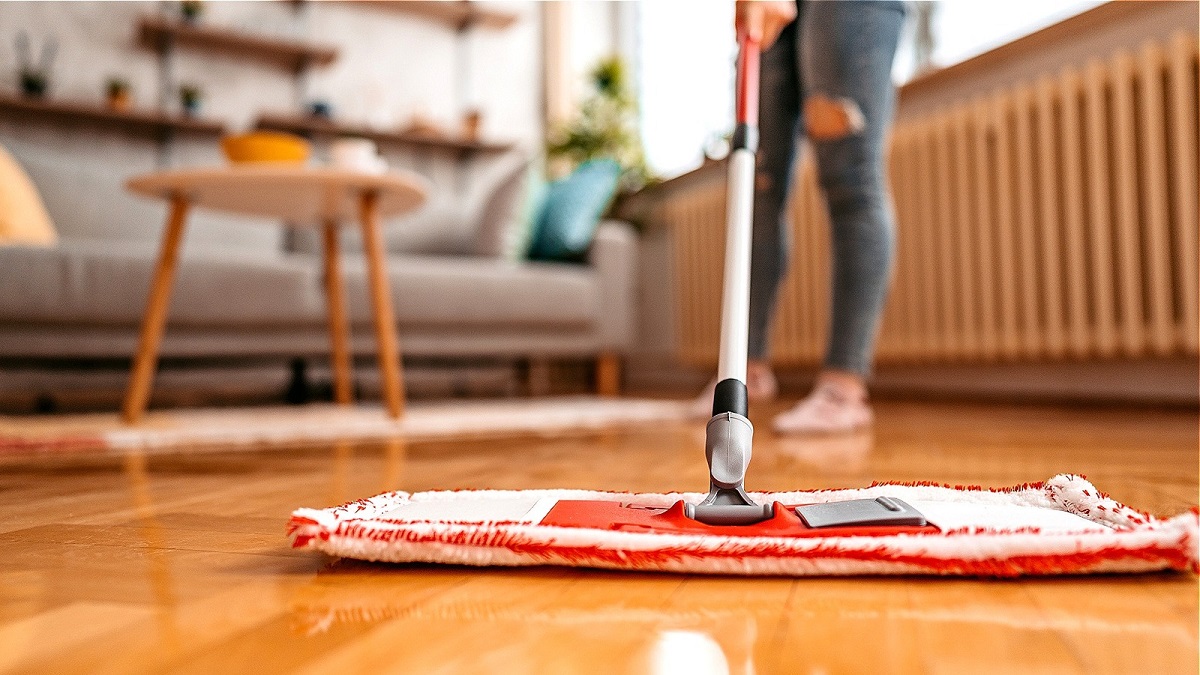
Step 2: Cleaning the Floor
Before you begin the painting process, it’s important to thoroughly clean the floor to ensure proper adhesion of the paint. Follow these steps to clean your vinyl floor:
- Start by sweeping or vacuuming the floor to remove any loose dirt or debris. This will prevent them from getting in the way while cleaning.
- Fill a bucket with warm water and add a few drops of mild detergent. Mix it well until it creates a soapy solution.
- Using a mop or a sponge, dip it into the soapy water and wring it out to remove excess liquid. Avoid soaking the floor with water as it can seep into the seams of the vinyl.
- Begin scrubbing the floor in small sections, applying gentle pressure. Focus on areas that have accumulated dirt or stains, using a circular motion to loosen and remove them.
- Once you have cleaned the entire floor, rinse the mop or sponge with clean water and go over the floor again to remove any soap residue.
- Dry the floor completely using a clean, dry mop or towel. Ensure that there is no moisture left on the floor before moving on to the next step.
Cleaning the floor thoroughly will ensure that the paint adheres properly and provides long-lasting results. It will also create a clean surface for the paint to bond with, resulting in a smooth and professional-looking finish.
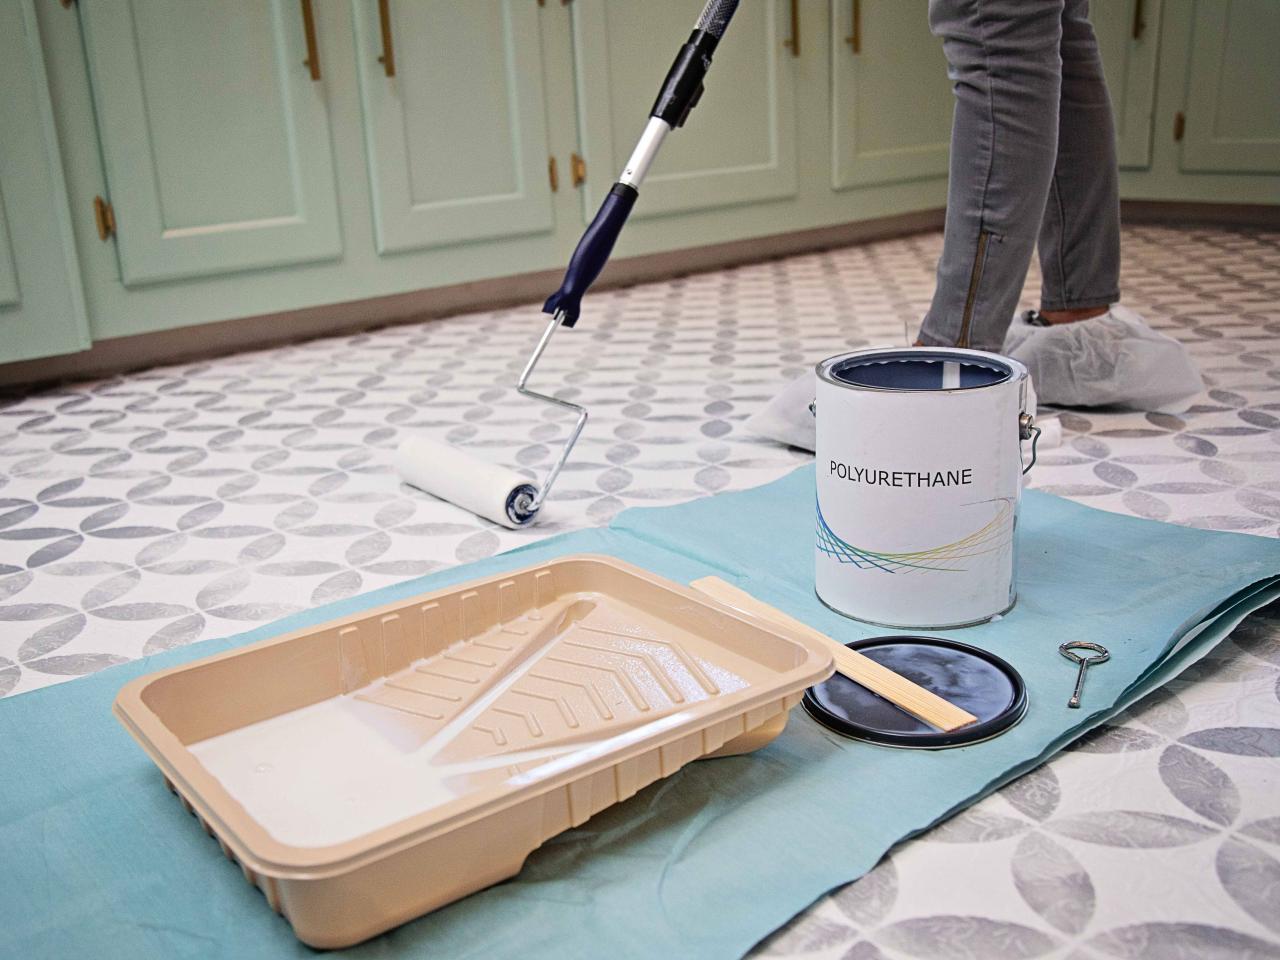
Step 3: Priming the Floor
Priming is an essential step when painting a vinyl floor as it helps the paint adhere better and provides a smooth and durable finish. Follow these steps to prime your floor:
- Start by selecting a primer that is specifically formulated for vinyl surfaces. This type of primer will have better adhesion to the vinyl and ensure a longer-lasting paint job.
- Use a paint roller and tray to apply the primer to the entire floor. Begin at the farthest corner of the room and work your way towards the exit, using long and even strokes.
- Make sure to apply the primer in a thin and even layer. Avoid applying it too thick as it can lead to an uneven surface and longer drying time.
- For edges and corners that may be difficult to reach with a roller, use a small paintbrush to apply the primer.
- Allow the primer to dry completely according to the manufacturer’s instructions. This typically takes a few hours, but it’s best to let it dry overnight to ensure it is fully cured.
- Inspect the primed floor for any uneven areas or imperfections. If necessary, lightly sand the surface with fine-grit sandpaper or a sanding block to smooth out any rough spots.
- Once the floor is smooth and even, use a dry cloth or broom to remove any dust or debris before proceeding to the next step.
Priming the floor is a crucial step that enhances the adhesion and longevity of the paint. It ensures a solid foundation for the paint to bond with and provides a professional-looking finish.
When painting a vinyl floor, make sure to thoroughly clean and prime the surface before applying the paint. This will help the paint adhere better and last longer.
Read more: How To Install Vinyl Floor
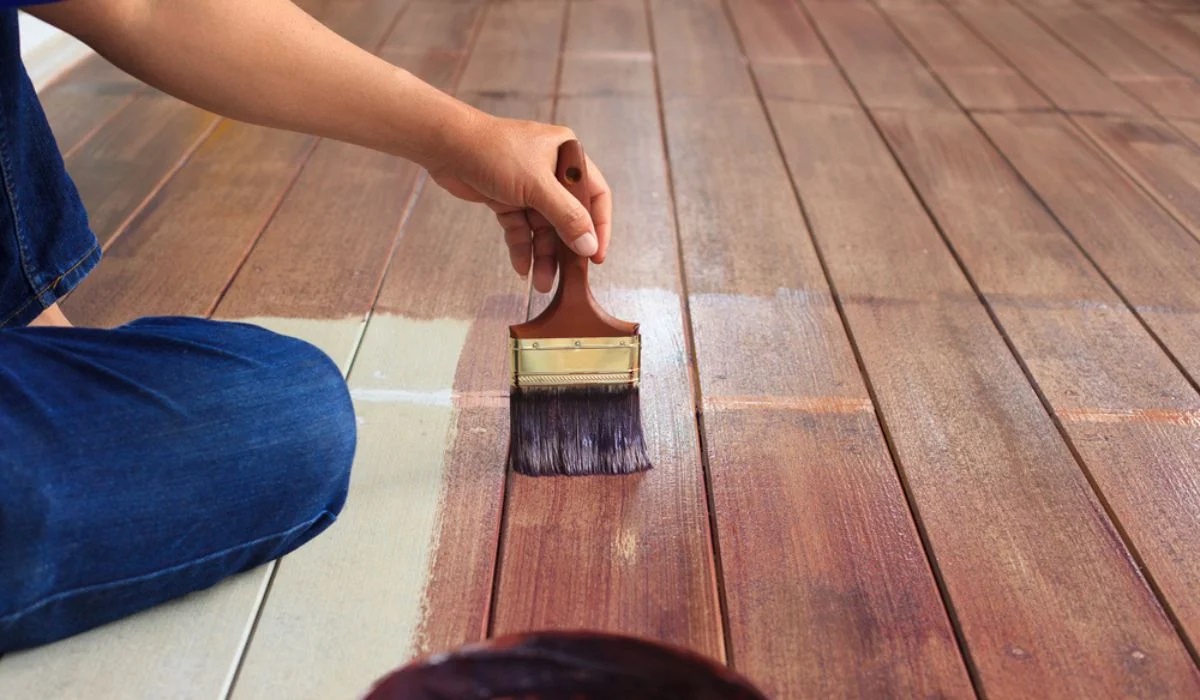
Step 4: Painting the Floor
Now that your floor is properly primed, it’s time to unleash your creativity and paint the floor with your desired color. Follow these steps to achieve a beautifully painted vinyl floor:
- Choose a high-quality acrylic or latex paint in the color of your choice. Opt for a paint specifically formulated for floors, as it will be more durable and resistant to wear and tear.
- Start by cutting in the edges and corners of the floor using a small paintbrush. This will help create clean lines and avoid overlapping with the roller.
- Next, using a paint roller, begin applying the paint in long and even strokes. Start from the farthest corner of the room and work your way towards the exit, overlapping each stroke slightly for a seamless finish.
- Keep the paint layer thin to avoid drips and ensure faster drying time. If desired, you can apply a second coat once the first coat has dried completely.
- If you want to add patterns or designs to your floor, you can use decorative stencils or painter’s tape to create your desired look. Remember to let the base coat dry completely before adding any additional designs.
- Allow the paint to dry according to the manufacturer’s instructions. This can take anywhere from a few hours to overnight, depending on the type of paint and the humidity level in the environment.
- Inspect the painted floor for any touch-ups or areas that require additional coverage. Use a small paintbrush to carefully touch up any imperfections.
Painting the floor allows you to express your personal style and transform the look of your space. Take your time, be patient, and enjoy the process of painting your vinyl floor to achieve stunning results.
Step 5: Applying a Sealant
After painting your vinyl floor, it’s important to apply a sealant to protect the paint and ensure its longevity. Follow these steps to apply a sealant to your newly painted floor:
- Choose a clear polyurethane sealant specifically formulated for floors. This type of sealant will provide a protective barrier and enhance the durability of the paint.
- Using a paint roller or brush, apply a thin and even layer of the sealant to the entire painted floor. Make sure to work in small sections to avoid overlapping or streaks.
- Be mindful of the drying time of the sealant and avoid walking on the floor until it is completely dry. This can take anywhere from a few hours to overnight, depending on the product and the ambient temperature.
- Once the first coat of sealant has dried, inspect the floor for any missed spots or areas that require additional coverage. Apply a second coat if necessary, following the same technique as before.
- Allow the sealant to dry completely according to the manufacturer’s instructions. This is crucial to ensure its effectiveness in protecting the painted floor.
- Once the sealant is fully dry, you can carefully remove the painter’s tape that was used to protect the surrounding areas.
The application of a sealant is an important final step in the painting process. It will help protect the paint from scratches, stains, and wear over time, ensuring that your newly painted vinyl floor remains vibrant and beautiful for years to come.
Step 6: Allowing the Paint to Cure
After completing the painting and sealing process, it’s crucial to allow the paint to fully cure before subjecting the floor to regular use. Follow these steps to ensure the paint has enough time to cure:
- Refer to the paint manufacturer’s instructions to determine the recommended curing time. This can typically range from a few days to a couple of weeks.
- Avoid placing any heavy furniture or objects on the painted floor during the curing period. This will help prevent any indentations or damage to the freshly painted surface.
- Avoid dragging or sliding objects on the floor to prevent scratching or scuffing the paint.
- Limit foot traffic on the painted floor as much as possible during the curing process. If necessary, place protective mats or rugs in high-traffic areas to help minimize wear and tear.
- Avoid cleaning the floor with harsh chemicals or abrasive cleaners during the curing period. Use a mild cleaner and a soft mop or sponge if cleaning is necessary.
- Keep the room well-ventilated to help expedite the curing process and allow any residual odors from the paint to dissipate.
- Once the paint is fully cured, you can resume regular use and maintenance of the painted floor. However, it’s still advisable to exercise caution and use gentle cleaning methods to ensure the longevity of the paint.
Allowing the paint to cure thoroughly will ensure its durability and resistance to daily wear and tear. Patience is key during this step, as it will contribute to the long-term success of your beautifully painted vinyl floor.
Conclusion
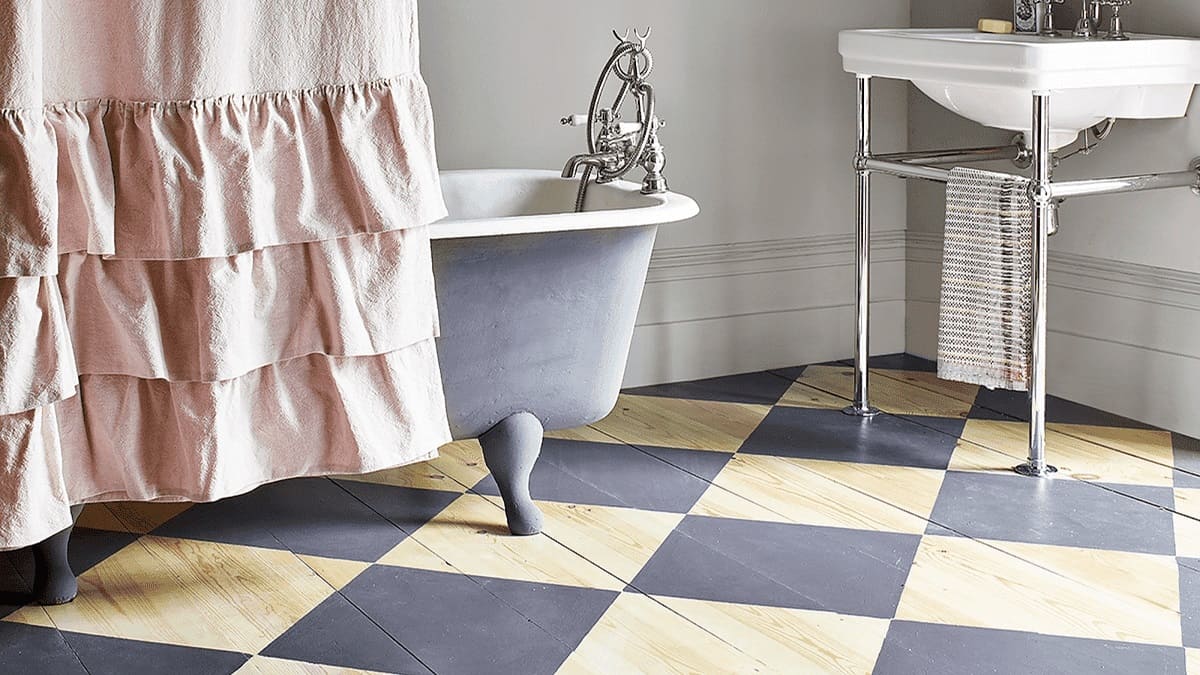
Painting a vinyl floor is a cost-effective and creative way to refresh and transform the look of your space. With the right materials, proper preparation, and careful execution, you can achieve stunning results that will breathe new life into your room.
Throughout this guide, we have outlined each step of the process, from preparing the floor to applying the final coat of sealant. By following these steps and using high-quality products, you can ensure a professional-looking finish that will stand the test of time.
Remember to take your time, pay attention to detail, and allow ample drying and curing time for each stage of the process. This will ensure the durability and longevity of your painted vinyl floor.
Whether you choose a bold and vibrant color or a subtle and neutral tone, painting your vinyl floor is a versatile and customizable solution that allows you to showcase your personal style. From kitchens and bathrooms to laundry rooms and basements, the possibilities are endless.
So, don’t neglect your old or worn vinyl floors any longer. Grab your supplies, unleash your creativity, and embark on the journey of transforming your space with a beautifully painted vinyl floor!
Frequently Asked Questions about How To Paint A Vinyl Floor
Was this page helpful?
At Storables.com, we guarantee accurate and reliable information. Our content, validated by Expert Board Contributors, is crafted following stringent Editorial Policies. We're committed to providing you with well-researched, expert-backed insights for all your informational needs.

0 thoughts on “How To Paint A Vinyl Floor”