
Articles
How To Prepare A Concrete Floor For Painting
Modified: August 31, 2024
Learn how to properly prepare a concrete floor for painting with our informative articles. Follow our step-by-step guide to achieve a seamless and long-lasting finish.
(Many of the links in this article redirect to a specific reviewed product. Your purchase of these products through affiliate links helps to generate commission for Storables.com, at no extra cost. Learn more)
Introduction
When it comes to renovating or finishing a concrete floor, painting is a popular choice. Not only does it enhance the appearance of the floor, but it also provides protection against stains and damage. However, before you start painting, it is crucial to prepare the concrete surface properly to ensure a long-lasting and flawless finish.
In this article, we will guide you through the step-by-step process of preparing a concrete floor for painting. From cleaning and repairing to filling cracks and priming, we’ll cover all the necessary steps to achieve a professional-looking painted floor.
But first, let’s gather the materials you’ll need for this project.
Key Takeaways:
- Properly preparing a concrete floor for painting involves thorough cleaning, repairing, smoothing, and priming. This process ensures optimal adhesion and a professional, long-lasting finish.
- Choosing the right materials and following each step carefully is crucial for transforming a dull concrete floor into a stunning, durable, and functional space.
Materials Needed
Before you begin preparing your concrete floor for painting, make sure you have the following materials:
- Protective gear: safety glasses, gloves, and a dust mask.
- Cleaning supplies: broom, dustpan, mop, bucket, and a mild detergent.
- Concrete repair products: such as concrete patching compound or epoxy filler.
- Crack and hole filler: acrylic caulk or concrete crack filler.
- Putty knife or trowel for filling cracks and holes.
- Sander or grinder: to smooth the surface of the concrete.
- Etching solution or acid wash: to prepare the surface for better paint adhesion.
- Concrete sealer: to protect the concrete and enhance paint adhesion.
- Concrete floor primer: specifically formulated for use on concrete surfaces.
- High-quality paint: designed for concrete floors.
- Paint roller, brushes, and a paint tray.
- Drop cloths or plastic sheets to protect surrounding areas from paint splatter.
- Tape for masking off any areas that you don’t want to paint.
- Ladder or step stool: for easy access to all parts of the floor.
- Optional: a floor buffer or polisher to achieve a polished finish.
Having these materials on hand will ensure that you have everything you need to properly prepare and paint your concrete floor.
Step 1: Clean the Floor
The first and most crucial step in preparing a concrete floor for painting is to thoroughly clean the surface. This ensures that the paint adheres properly and eliminates any dust, dirt, grease, or other contaminants that could affect the paint’s performance.
To clean the floor, follow these steps:
- Start by removing any loose debris or dirt from the surface using a broom and dustpan. Sweep the floor to ensure that you remove as much loose material as possible.
- Next, mop the floor with a mild detergent and warm water solution. This will help remove any remaining dirt or grime. Be sure to use a mop and bucket specifically designated for cleaning concrete to avoid contamination from other cleaning products.
- If there are any stubborn stains or grease spots on the floor, use a concrete cleaner or degreaser and scrub the area with a brush or sponge. Rinse the area thoroughly to remove any residue.
- Allow the floor to dry completely before moving on to the next step. This is important because painting on a damp surface can lead to poor adhesion and premature paint failure.
By taking the time to clean the concrete floor properly, you are setting the foundation for a successful paint job. The surface should be free from dirt, oil, and other contaminants, ensuring optimal adhesion of the paint.
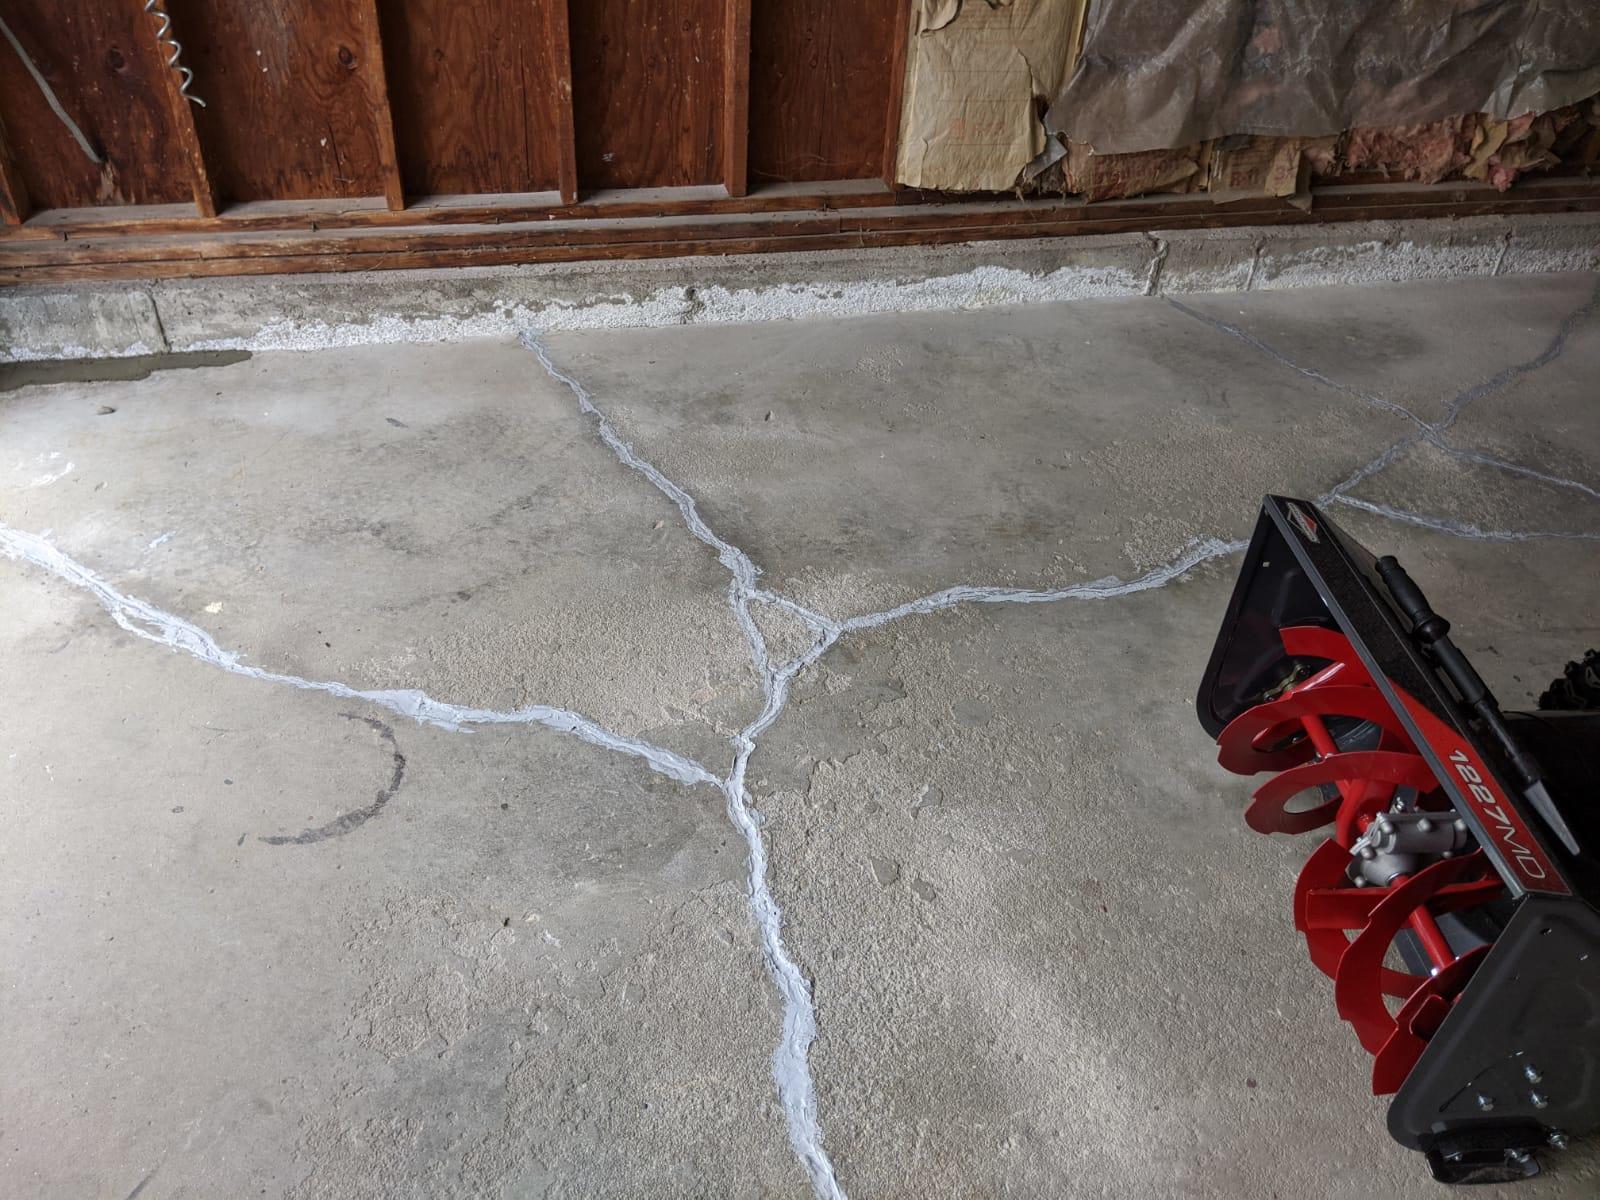
Step 2: Repair any Damages
Once the concrete floor is clean and dry, it’s essential to inspect for any damages such as cracks, chips, or spalled areas. Repairing these damages before painting will ensure a smooth and even surface and prevent further deterioration of the floor.
Here’s how you can repair any damages:
- Start by examining the floor closely for cracks. Use a flashlight if necessary to identify any small or hidden cracks.
- For small cracks, you can use a concrete crack filler or acrylic caulk to fill them. Apply the filler directly into the crack, smoothing it out with a putty knife or trowel, and remove any excess filler.
- If there are larger cracks or holes in the floor, you may need to use a concrete patching compound or epoxy filler. Follow the manufacturer’s instructions for mixing and applying the product. Fill the cracks or holes and level them with a putty knife or trowel.
- Allow the repairs to dry and cure according to the product instructions. This may take a few hours or days, depending on the product used.
- Once the repairs are dry, inspect the floor again to ensure that the repaired areas are smooth and level with the rest of the floor. If needed, you can sand or grind the repaired areas to achieve a uniform surface.
Repairing any damages on the concrete floor is crucial to create a seamless and durable painted finish. Taking the time to address these issues will enhance the overall appearance and longevity of the painted floor.
Step 3: Fill in Cracks and Holes
After inspecting and repairing any major damages, the next step in preparing a concrete floor for painting is to fill in any remaining cracks, holes, or divots. This ensures a smooth and even surface, promoting better paint adhesion and preventing unwanted imperfections.
Follow these steps to effectively fill in cracks and holes:
- Make sure the repaired areas from the previous step are fully cured and dry before proceeding.
- Using a putty knife or trowel, apply a concrete patching compound or epoxy filler to fill in any visible cracks or deep holes in the floor. Work the filler into the cracks, smoothing it out and ensuring it’s level with the surrounding surface. Remove any excess filler with the putty knife.
- If there are shallow indentations or small holes, you can use an acrylic caulk or a concrete crack filler. Apply the caulk or filler and smooth it out with a putty knife or trowel.
- Allow the filler to dry and cure as per the manufacturer’s instructions. This may take several hours or longer, depending on the product used.
- Once the filler is dry, inspect the filled areas to ensure they are smooth and even. You can use sandpaper or a concrete grinder to gently smooth any rough spots or high points.
Filling in cracks and holes helps to create a level and seamless surface for the paint application. This step is important for achieving a professional-looking finish that is free from visible imperfections.
Read more: How To Prepare A Floor For Tile
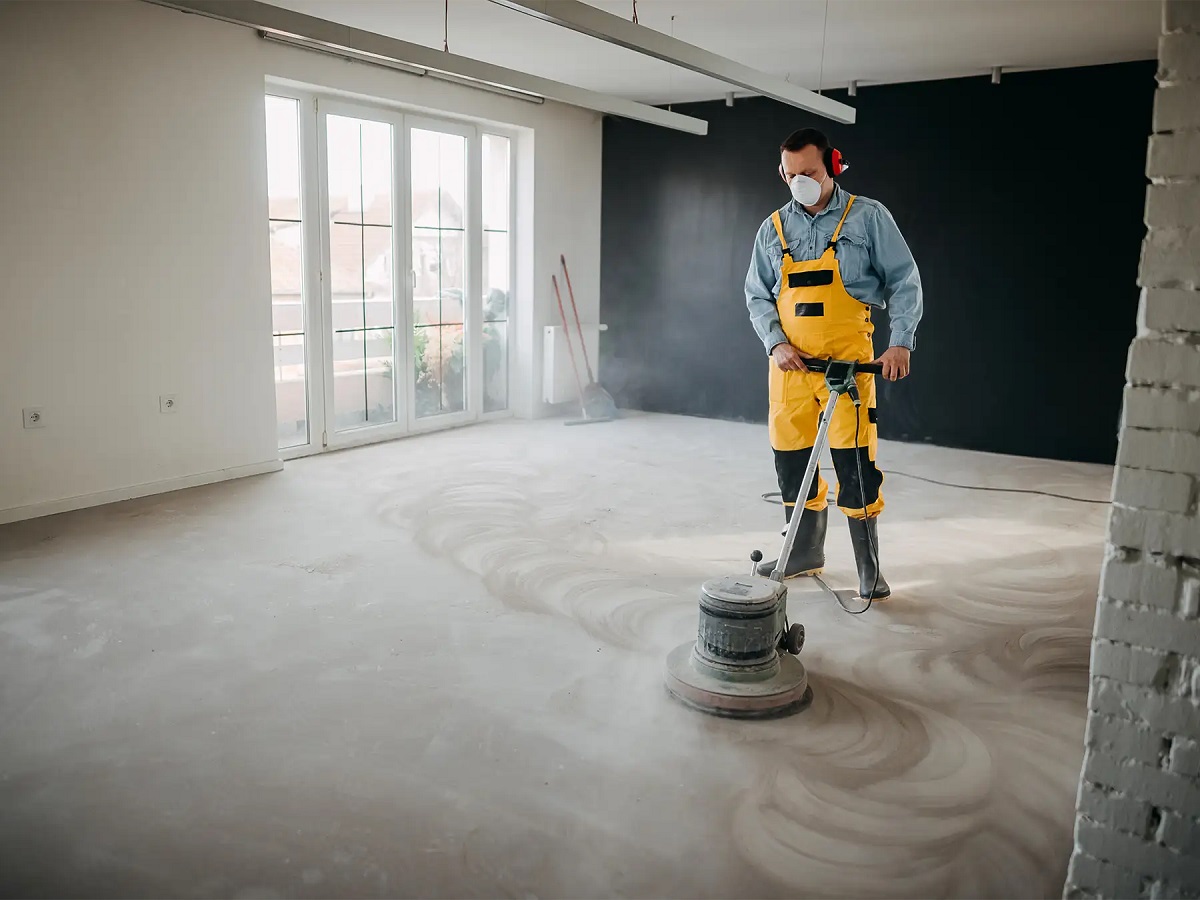
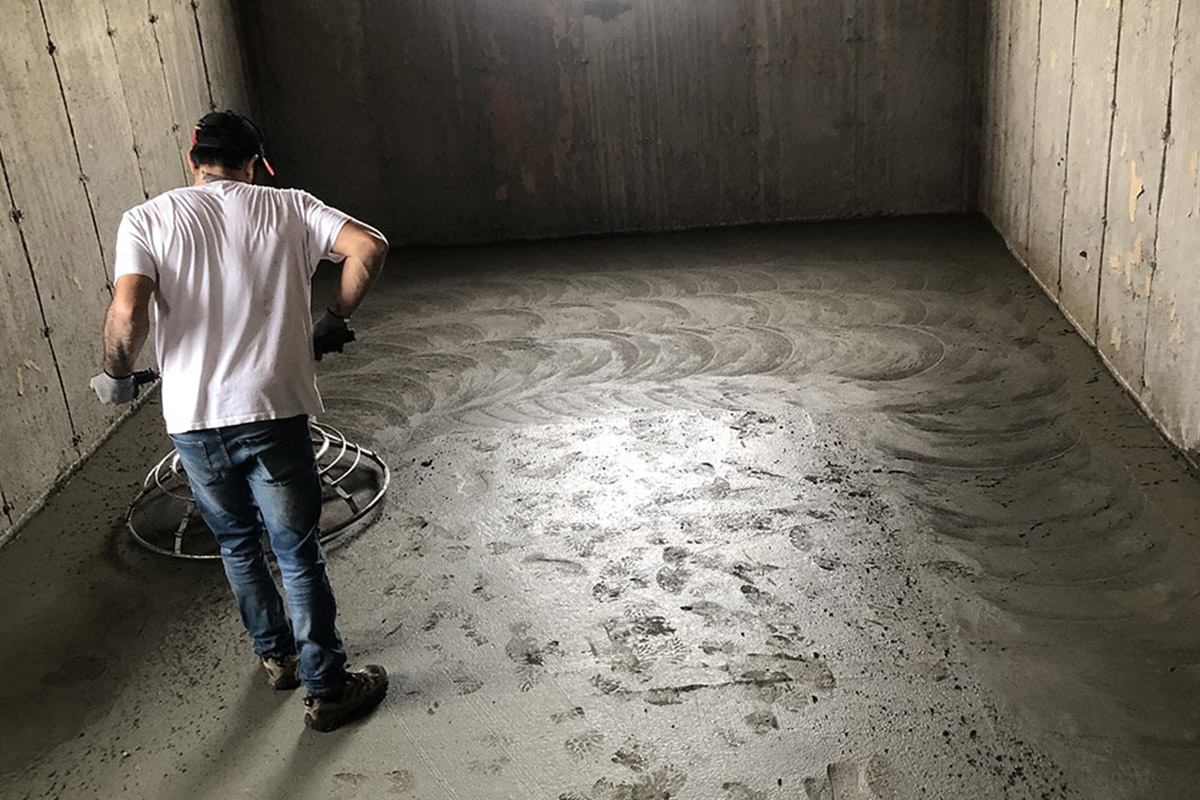
Step 4: Smooth the Surface
After filling in cracks and holes, the next step in preparing a concrete floor for painting is to smooth the surface. This step helps to ensure an even and uniform surface, minimizing any rough patches or inconsistencies that may affect the final paint finish.
Here’s how you can smooth the surface of the concrete floor:
- Begin by using a sander or grinder equipped with a diamond grinding pad. This tool will help to remove any uneven or rough areas on the floor.
- Start the machine and slowly move it across the entire surface of the floor, paying close attention to areas that may need more smoothing.
- Continue grinding until the entire floor is smooth and uniform. Take your time and make sure to overlap each pass to avoid missing any spots.
- Once you’ve finished grinding, use a broom or vacuum to remove any dust or debris from the surface.
- If there are any remaining rough spots or imperfections, you can go over them with a hand grinder or sandpaper to achieve a smoother finish.
Smoothing the surface of the concrete floor helps to create an optimal canvas for the paint. By removing any rough patches or inconsistencies, you’ll achieve a more professional-looking finish that enhances the overall aesthetic of the floor.
Before painting a concrete floor, make sure to thoroughly clean and degrease the surface. Fill any cracks or holes with a concrete patching compound and then etch the surface with a concrete etching solution to ensure proper adhesion of the paint.
Step 5: Etch or Acid Wash the Floor
Etching or acid washing is an important step in preparing a concrete floor for painting. This process helps to clean and slightly roughen the surface, creating better adhesion for the paint. It is especially crucial when painting smooth or sealed concrete surfaces.
Follow these steps to etch or acid wash the floor:
- Start by thoroughly cleaning the floor to remove any dust or debris.
- Prepare the etching or acid wash solution according to the manufacturer’s instructions. Typically, this involves diluting the solution with water in a clean bucket.
- Apply the solution to the floor using a mop or sprayer, working in small sections at a time.
- Allow the solution to sit on the floor for the recommended amount of time specified by the manufacturer. This time can vary depending on the product used.
- Using a scrub brush or a floor scrubbing machine, scrub the surface vigorously to ensure thorough coverage and to remove any stubborn stains or residues.
- Rinse the floor with clean water to remove the etching or acid wash solution. Use a wet vac or mop to collect the wastewater and dispose of it properly.
- Allow the floor to dry completely before moving on to the next step.
Etching or acid washing the floor creates a slightly roughened surface, which improves the adhesion of the paint. This step is particularly important for achieving long-lasting and durable painted concrete floors.
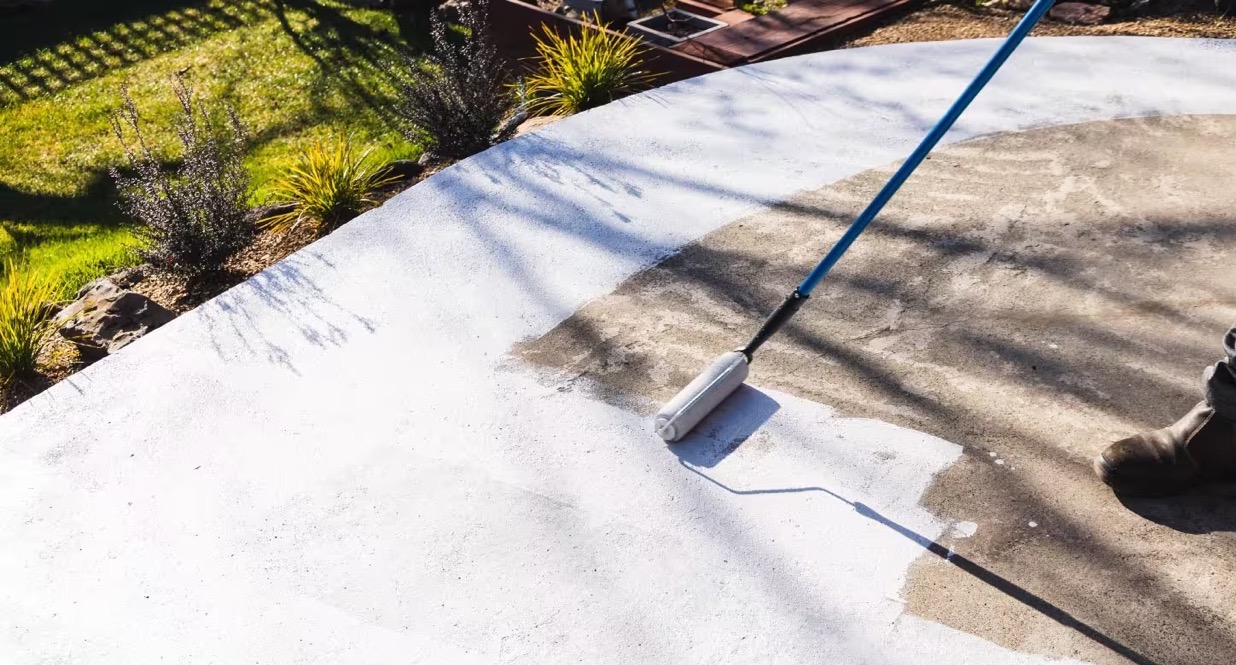
Step 6: Apply a Concrete Sealer
Applying a concrete sealer is an essential step in preparing a concrete floor for painting. The sealer not only helps to protect the concrete from moisture and stains but also enhances the adhesion of the paint, resulting in a more durable and long-lasting finish.
Here’s how you can apply a concrete sealer:
- Ensure that the floor is clean, dry, and free from any dust or debris.
- Choose a high-quality concrete sealer that is specifically formulated for use on interior floors. There are various types available, such as water-based or solvent-based sealers. Follow the manufacturer’s instructions for proper application and drying times.
- Using a paint roller or brush, apply the sealer to the floor in even and consistent strokes, working in small sections at a time.
- Be sure to coat the entire surface of the floor, including any repaired areas or filled cracks.
- Allow the sealer to dry according to the manufacturer’s instructions. This can take several hours or longer, depending on the type of sealer used.
- Once the initial coat is dry, you may need to apply a second or third coat for optimal protection and adhesion. Follow the manufacturer’s recommendations for the number of coats required.
- Allow the final coat of sealer to dry completely before moving on to the next step.
Applying a concrete sealer before painting not only enhances the durability of the painted floor but also provides a smooth and uniform surface to ensure better paint adhesion. This step is crucial for achieving a professional and long-lasting finish.
Step 7: Prime the Floor
Priming the floor is a vital step in the process of preparing a concrete floor for painting. Priming helps to create an optimal surface for the paint to adhere to, improves the paint’s coverage, and enhances the overall durability of the painted floor.
Follow these steps to prime the floor:
- Ensure that the floor is clean, dry, and free from any dust, debris, or sealer residue.
- Choose a high-quality concrete floor primer that is specifically designed for use on concrete surfaces. Read the manufacturer’s instructions for application and drying times.
- Using a paint roller or brush, apply the primer to the floor in even and consistent strokes, working in small sections at a time.
- Be thorough and ensure that the primer covers the entire surface of the floor, including any repaired areas or filled cracks.
- Allow the primer to dry according to the manufacturer’s instructions. This typically takes a few hours or overnight.
- Inspect the primed floor to ensure that the surface is smooth and ready for the final paint application.
Priming the floor creates a suitable base for the paint, improving its adhesion and ensuring a more uniform and long-lasting finish. It helps prevent the paint from peeling or chipping over time and enhances the overall durability of the painted floor.
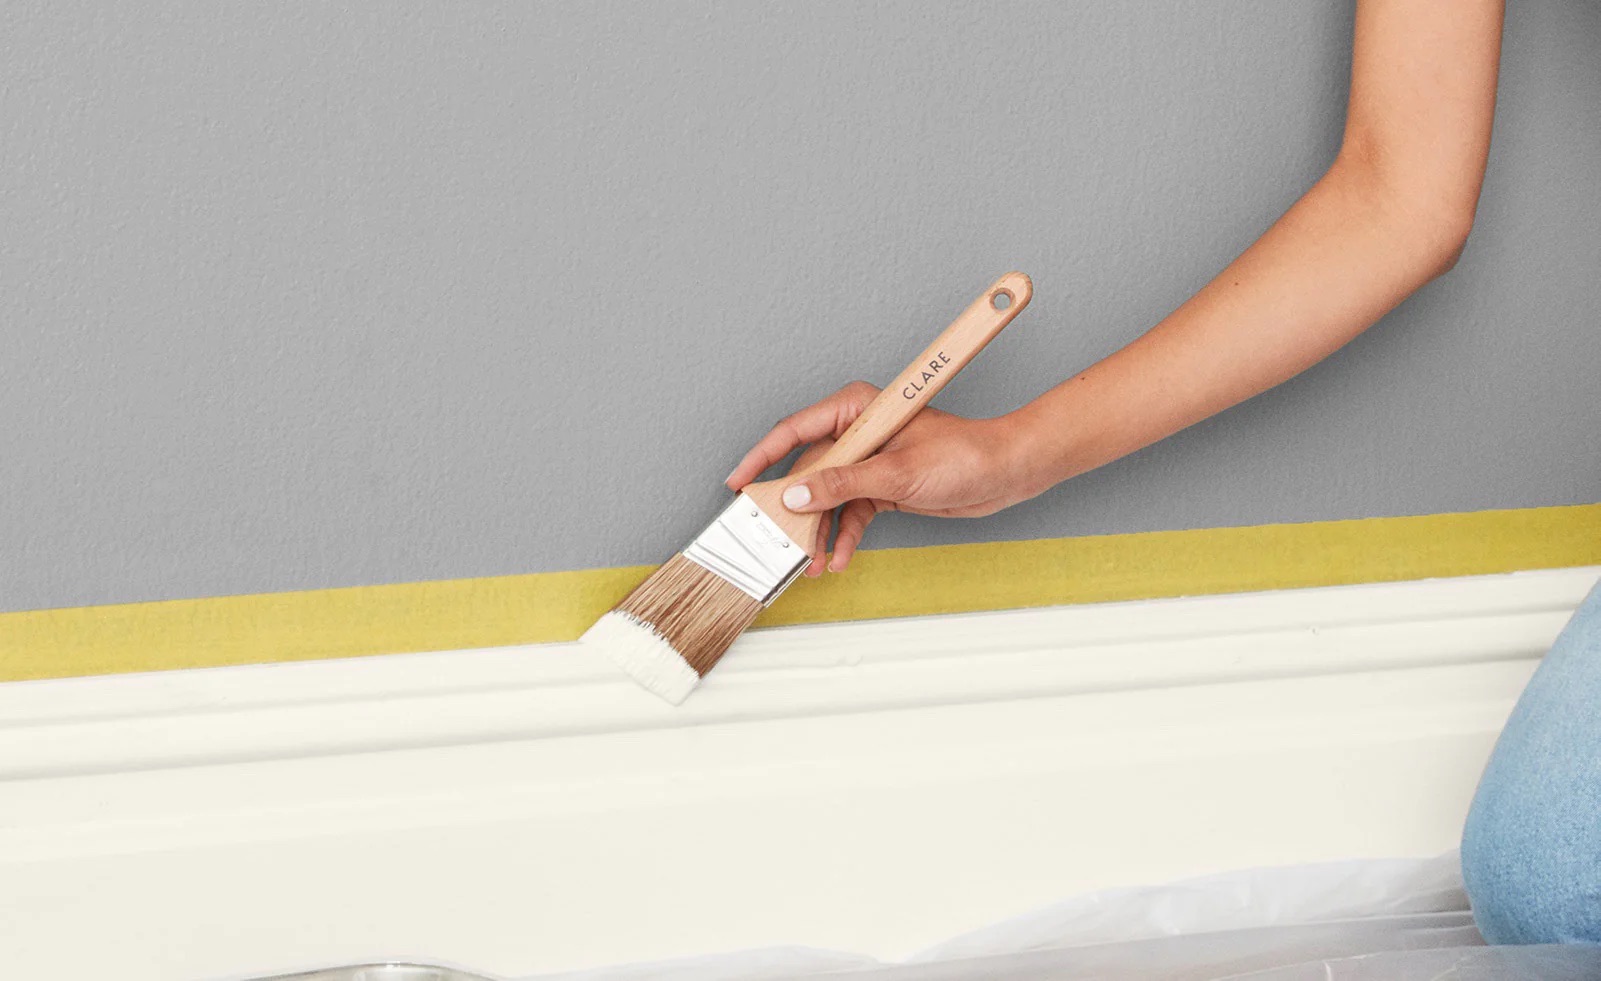
Read more: How To Prepare Exterior Walls For Painting
Step 8: Paint the Floor
The final step in the process of preparing a concrete floor for painting is to apply the paint. Painting the floor not only enhances its appearance but also provides a protective and durable finish that can withstand everyday wear and tear.
Follow these steps to paint the floor:
- Choose a high-quality paint designed specifically for concrete floors. Consider factors such as color, finish, and durability.
- Prepare the paint by following the manufacturer’s instructions. This may involve stirring or shaking the paint to ensure proper consistency.
- Use a paint roller or brush to apply the paint to the floor. Start in one corner of the room and work your way towards an exit, ensuring even coverage.
- Apply the paint in thin, even coats, avoiding excess buildup or drips. Allow each coat to dry before applying additional coats, following the manufacturer’s recommended drying times.
- If desired, you can create patterns or designs on the floor using stencils or masking tape, allowing for a more personalized touch.
- Carefully inspect the painted floor after each coat to ensure even color and coverage. Make any necessary touch-ups or corrections before proceeding.
- Allow the final coat of paint to dry completely according to the manufacturer’s instructions before walking on or placing any furniture on the floor. This may take several days.
Painting the floor provides the finishing touch to the preparation process, enhancing the appearance and durability of the concrete floor. Take your time and follow the manufacturer’s instructions for the best results.
Conclusion
Preparing a concrete floor for painting is a crucial step to ensure a professional-looking finish that is durable and long-lasting. By following the step-by-step process outlined in this article, you can effectively clean, repair, and prime the floor, resulting in better adhesion and a smoother surface for the paint.
Starting with a clean floor by thoroughly removing debris and dirt is essential. Repairing any damages, such as cracks and holes, is crucial to create a level surface. Smoothing the floor improves the overall appearance and removes any rough patches. Etching or acid washing the floor enhances the adhesion of the paint. Applying a concrete sealer adds an extra layer of protection and promotes better paint adhesion. Priming the floor ensures optimal coverage and durability. Finally, painting the floor with high-quality paint completes the process and adds the desired aesthetic touch.
Remember to choose the right materials for each step and follow the manufacturer’s instructions carefully. Take your time and be thorough in each stage to achieve the best possible results.
By properly preparing a concrete floor for painting, you can transform a dull and worn-out surface into a beautiful and functional space. Whether it’s a garage, basement, or a room in your home, a well-prepared and painted concrete floor can greatly enhance the overall look and feel of the space.
So roll up your sleeves, gather your materials, and get ready to transform your concrete floor into a stunning masterpiece!
Frequently Asked Questions about How To Prepare A Concrete Floor For Painting
Was this page helpful?
At Storables.com, we guarantee accurate and reliable information. Our content, validated by Expert Board Contributors, is crafted following stringent Editorial Policies. We're committed to providing you with well-researched, expert-backed insights for all your informational needs.


0 thoughts on “How To Prepare A Concrete Floor For Painting”