Articles
How To Paint A Porch Floor
Modified: October 20, 2024
Learn how to paint a porch floor with our informative articles. Get step-by-step instructions and expert tips for a flawless finish.
(Many of the links in this article redirect to a specific reviewed product. Your purchase of these products through affiliate links helps to generate commission for Storables.com, at no extra cost. Learn more)
Introduction
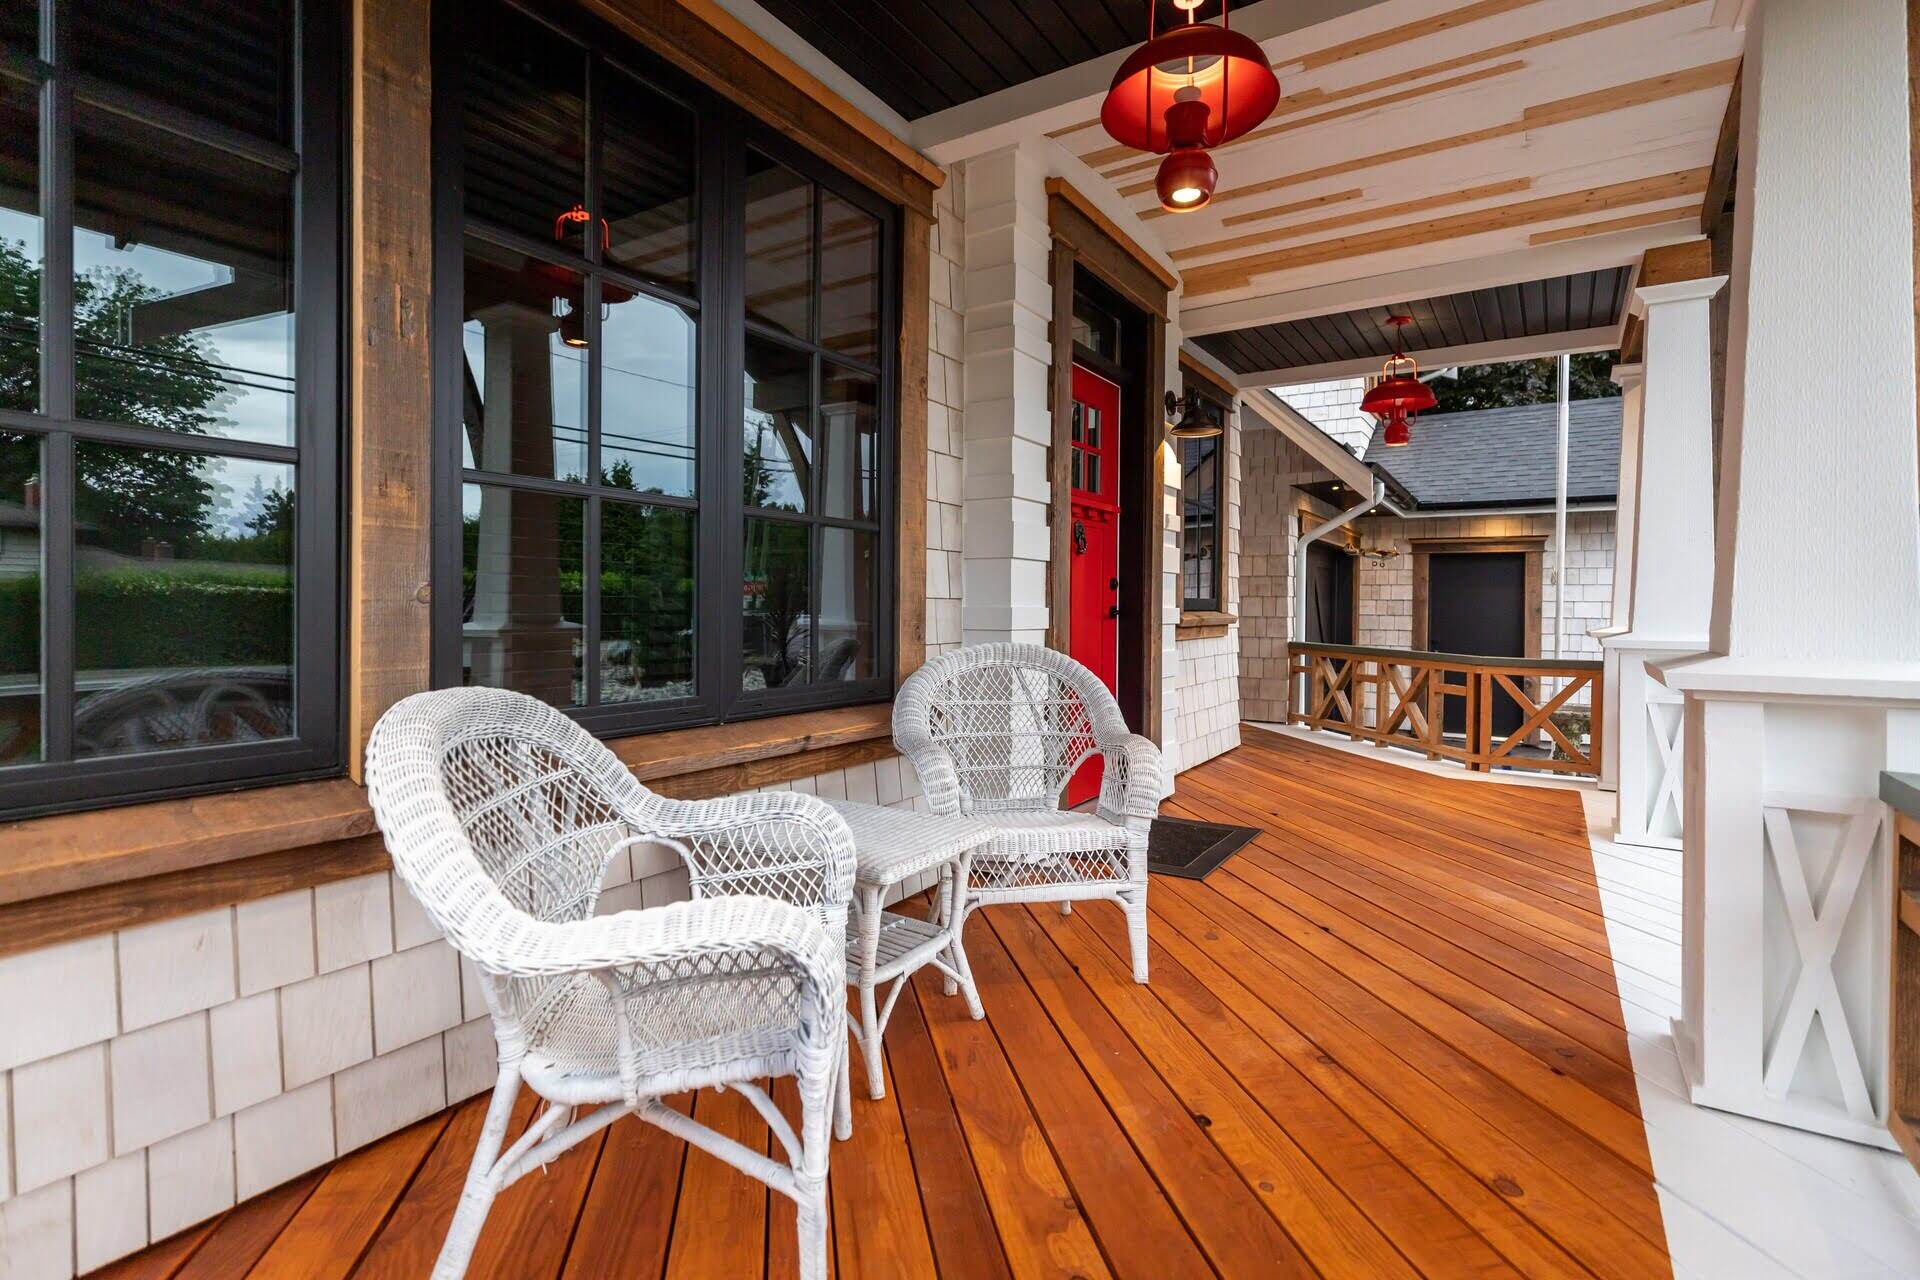
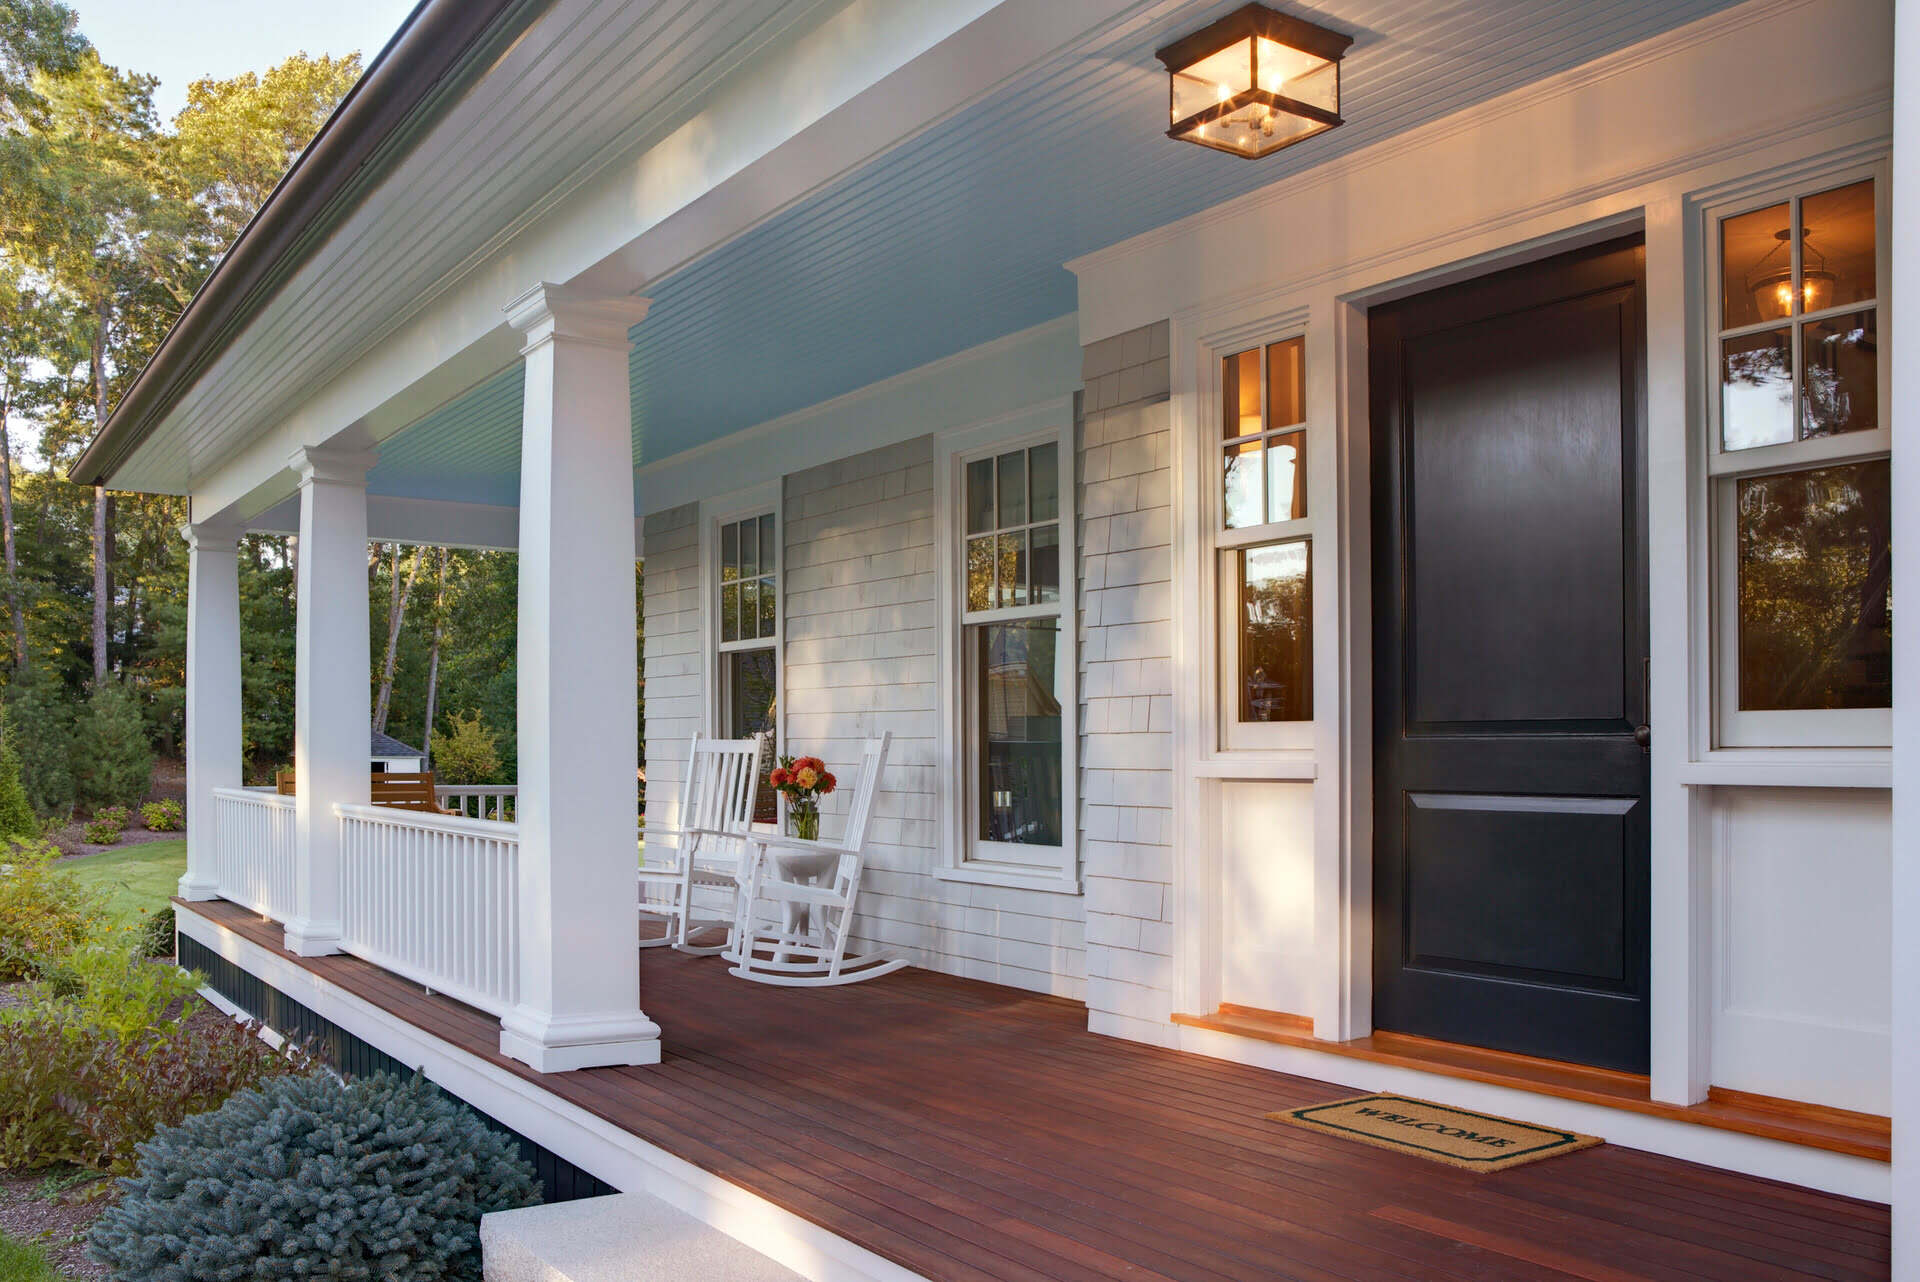
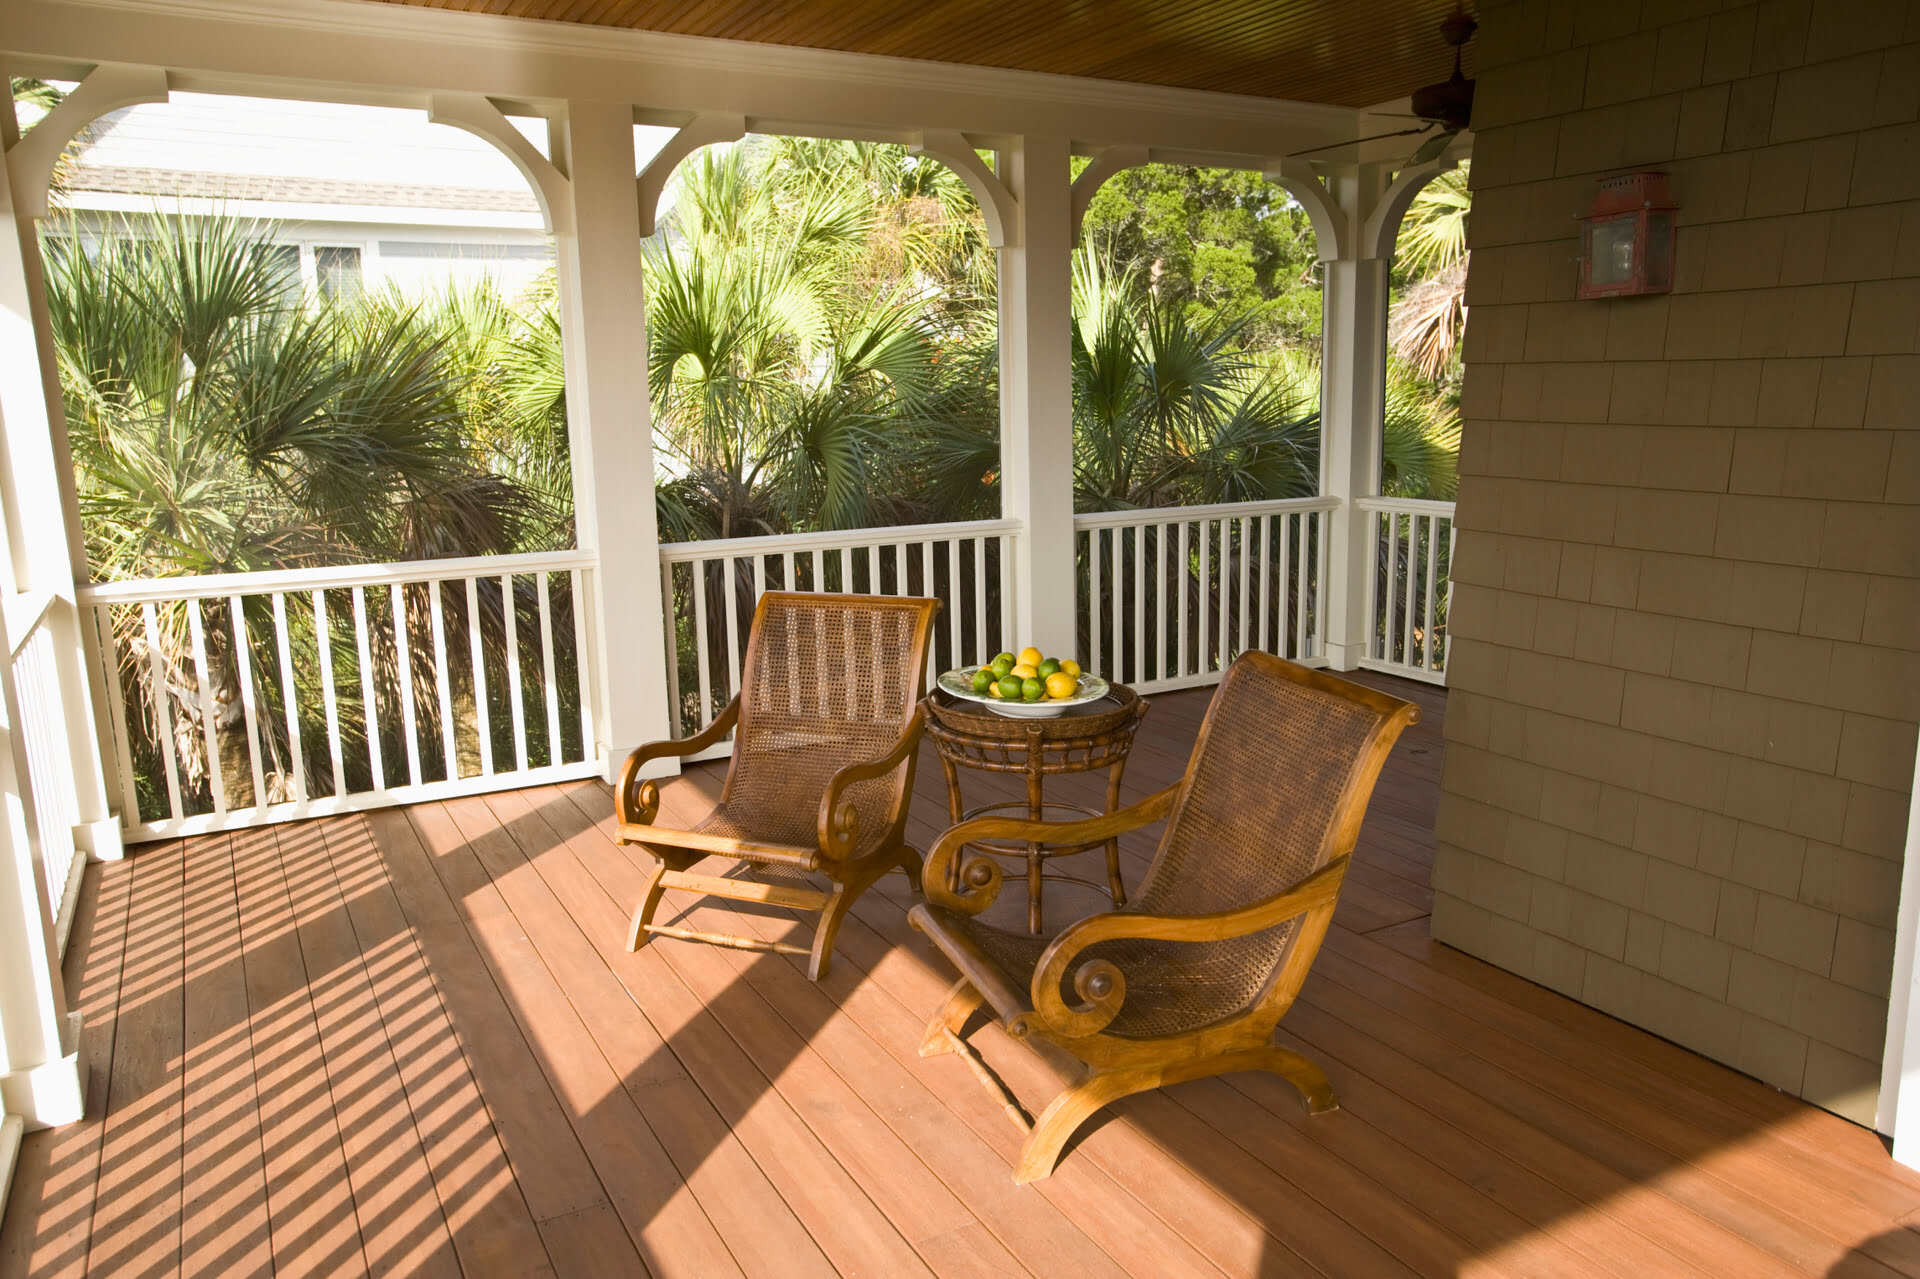
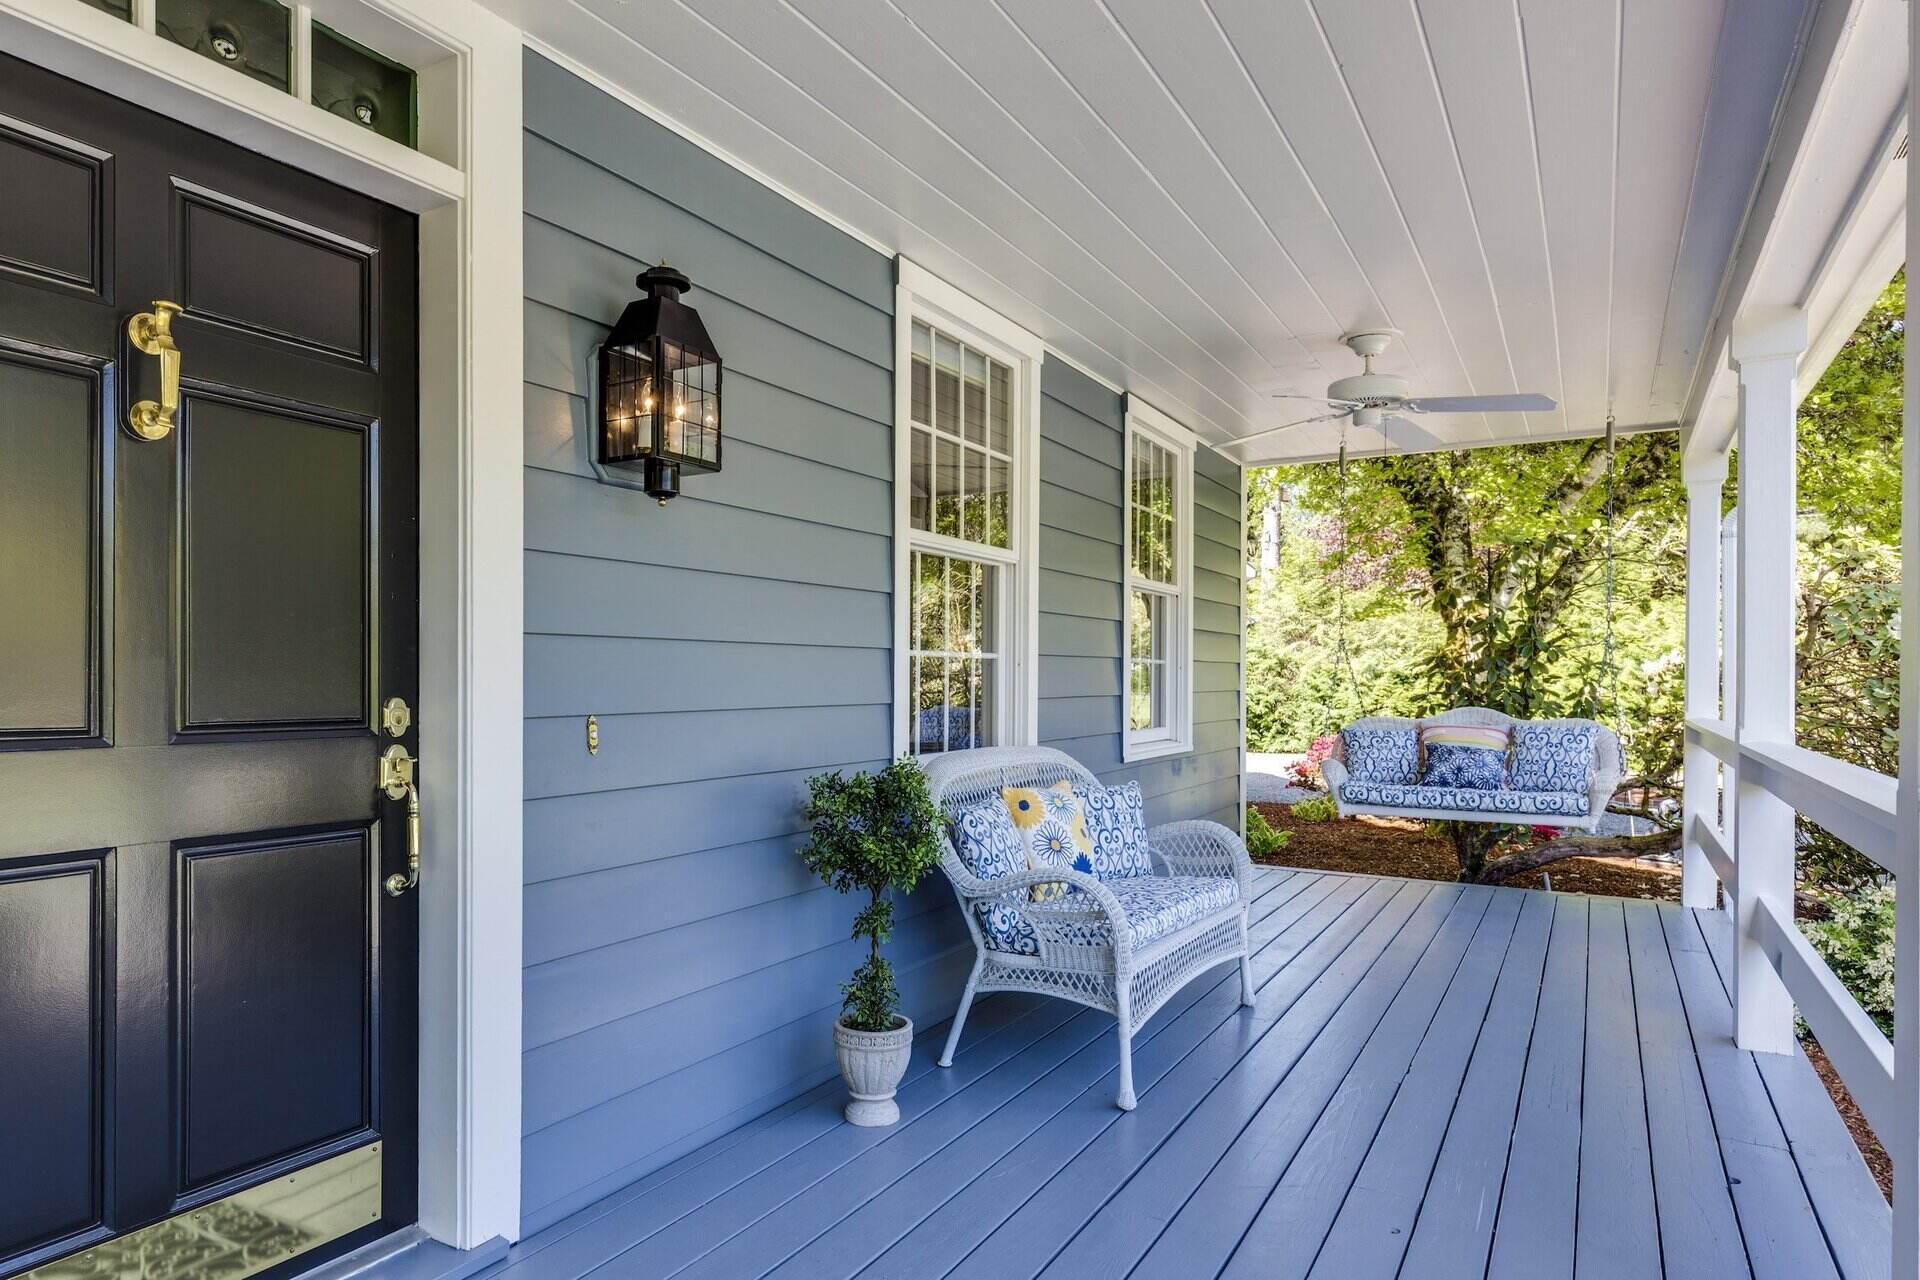
Welcome to the comprehensive guide on how to paint a porch floor! A fresh coat of paint on your porch floor can do wonders for enhancing its appearance and protecting it from the elements. Whether you’re looking to spruce up your porch or just give it a much-needed facelift, this article will provide you with step-by-step instructions on how to successfully paint your porch floor.
Painting a porch floor involves more than just slapping on a coat of paint. It requires careful preparation, the right materials, and proper application techniques to ensure a long-lasting and professional-looking finish. Throughout this guide, we will walk you through each step of the process, from cleaning and repairing the floor to applying the paint and adding a sealant for extra durability.
Before we dive into the details, let’s quickly go over the materials you will need for this project. Having everything prepared in advance will save you time and ensure a smooth painting process.
Key Takeaways:
- Transform your porch with a fresh coat of paint! Follow our step-by-step guide to achieve a professional finish, protect against the elements, and create an inviting outdoor space.
- Choose the right materials, prep meticulously, and apply paint with care for a vibrant, durable porch floor. Add a sealant for extra protection and enjoy your rejuvenated outdoor space.
Read more: What Is The Best Paint For Porch Floors?
Materials Needed
Before starting your porch floor painting project, gather the following materials:
- Painter’s tape: Use painter’s tape to protect any areas you don’t want to paint, such as the walls or steps adjacent to the floor.
- Drop cloths or plastic sheets: Cover the surrounding areas with drop cloths or plastic sheets to protect them from paint splatters.
- Safety goggles and gloves: Protect your eyes and hands while working with paint and other chemicals.
- Broom or brush: Sweep the porch floor thoroughly to remove any dirt, debris, or loose paint.
- Mild detergent: Mix a solution of mild detergent and water to clean the floor before painting.
- Stiff bristle brush or power washer: Use a brush or power washer to scrub away any stubborn stains or dirt on the porch floor.
- Patching compound: If there are any cracks or holes in the floor, patch them using a suitable patching compound.
- Sandpaper or sanding block: Use sandpaper or a sanding block to smooth the surface and remove any rough areas.
- Primer: Apply a primer to create a smooth and even surface for the paint to adhere to.
- Paint: Choose a paint specifically formulated for outdoor use, such as porch and floor paint or deck paint.
- Paint roller and paint tray: Use a paint roller and tray for large areas of the porch floor.
- Paintbrush: Use a paintbrush for edges, corners, and hard-to-reach areas.
- Second coat (optional): If necessary, plan for a second coat of paint for better coverage and durability.
- Sealant (optional): Consider applying a sealant to protect the painted surface from moisture and wear.
Having these materials on hand will make the painting process efficient and help you achieve the best results. Once you’ve gathered all the necessary materials, you’re ready to start prepping your porch floor for painting!
Step 1: Cleaning the Porch Floor
The first step in painting your porch floor is to ensure that it is clean and free of any dirt, dust, or debris. This will help the paint adhere properly and result in a smooth finish. Here’s how to clean your porch floor:
- Clear the area: Remove all furniture, plants, and decor from the porch to create a clear space for cleaning.
- Sweep the floor: Use a broom or brush to sweep away loose dirt and debris from the floor. Pay attention to corners and cracks.
- Mix a cleaning solution: In a bucket, mix a mild detergent with water according to the manufacturer’s instructions. Avoid using harsh chemicals that may damage the floor.
- Scrub the floor: Dip a stiff bristle brush or use a power washer to scrub the porch floor with the cleaning solution. Work in small sections and pay special attention to any stained areas.
- Rinse the floor: Use a hose or clean water to rinse off the cleaning solution and any remaining dirt. Ensure that all soap residue is removed.
- Dry the floor: Allow the porch floor to dry completely before proceeding to the next step. This may take a few hours or longer depending on the weather conditions.
By thoroughly cleaning your porch floor, you’ll create a clean and smooth surface for the paint to adhere to. It’s important to remove any dirt, grime, or old paint before moving on to the next steps for optimal results. Once the porch floor is dry, you’re ready to inspect for any damages and make necessary repairs in Step 2.
Step 2: Repairing any Damage
Before you paint your porch floor, it’s essential to address any damages such as cracks, holes, or uneven surfaces. Repairing these issues will ensure a smooth and durable paint application. Follow these steps to repair any damage:
- Inspect the floor: Carefully examine the porch floor for any cracks, holes, or areas that need repair. Pay attention to the edges and corners as they are prone to wear and damage.
- Fill cracks and holes: Use a suitable patching compound to fill any cracks or holes in the porch floor. Follow the manufacturer’s instructions for application and drying time.
- Smooth out uneven surfaces: If there are any uneven or rough areas on the floor, use sandpaper or a sanding block to smoothen them out. This will ensure a uniform surface for the paint.
- Clean the repaired areas: After applying the patching compound and allowing it to dry, clean the repaired areas to remove any dust or residue. Use a brush or a damp cloth for this step.
Repairing any damage to the porch floor is crucial for achieving a professional-looking finish. By patching cracks, holes, and uneven surfaces, you’ll create a solid and even base for the paint to adhere to. Once the repairs are complete, move on to Step 3 for the next preparation stage: sanding the surface.
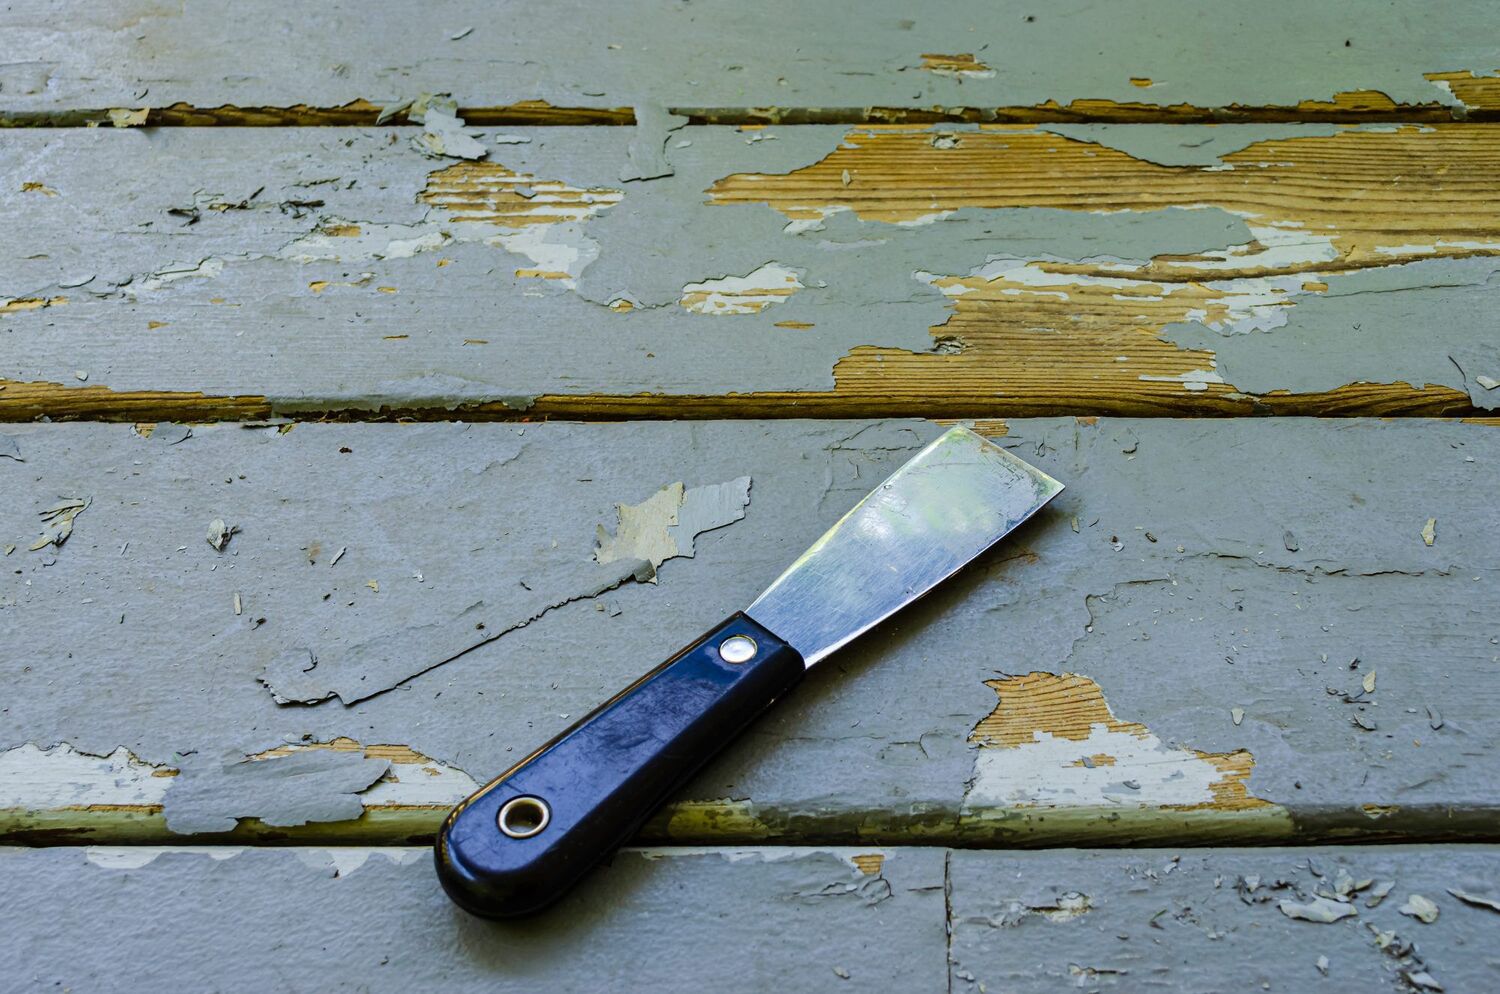
Step 3: Sanding the Surface
Sanding the porch floor is an important step to ensure a smooth and even surface for the paint. Sanding will help remove old paint, rough spots, and imperfections, allowing for better adhesion of the new paint. Follow these steps to sand the porch floor:
- Prepare the sanding tools: Choose a medium-grit sandpaper or sanding block, which is suitable for removing paint and smoothing the surface. Attach the sandpaper to a hand sander or wrap it around a sanding block for easier handling.
- Protect yourself: Wear safety goggles and a dust mask to protect your eyes and lungs from dust particles created during sanding.
- Sand the floor: Start sanding the porch floor, working in the direction of the wood grain or the floorboards. Apply even pressure and use long, smooth strokes. Focus on areas with flaking or peeling paint, rough spots, or imperfections. Continue sanding until the entire floor is smooth and any old paint is removed.
- Clean the surface: Once you have finished sanding, use a broom or brush to sweep away the sanding dust. You can also use a vacuum cleaner to ensure all the dust is removed.
Sanding the porch floor will help create a clean and smooth surface for the paint to adhere to. By removing old paint and smoothing out imperfections, you’ll achieve a professional-looking finish. After sanding, make sure to clean the surface thoroughly before proceeding to the next step.
Read more: How To Paint Porch Railing
Step 4: Priming the Porch Floor
Before applying the paint, it’s essential to apply a primer to the porch floor. Priming helps create a smooth and even surface, improves paint adhesion, and enhances the durability of the paint job. Follow these steps to prime your porch floor:
- Choose the right primer: Select a primer specifically designed for exterior surfaces, preferably one that is compatible with the type of paint you will be using. Check the manufacturer’s instructions for the recommended drying time.
- Prepare the primer: Stir the primer thoroughly before use to ensure proper consistency and optimal performance.
- Apply the primer: Use a paint roller or a brush to apply an even coat of primer to the porch floor. Start from one corner and work your way outward, following the grain of the wood or floorboards. Pay special attention to the edges and corners.
- Allow the primer to dry: Follow the manufacturer’s instructions for the drying time. It is recommended to wait at least 24 hours for the primer to dry completely before applying the paint.
- Inspect the primed surface: Once the primer is dry, inspect the porch floor for any missed spots or areas that may require touch-ups. If necessary, apply a second coat of primer for better coverage.
- Sand and clean (optional): If you notice any rough spots or imperfections after the primer has dried, lightly sand those areas with fine-grit sandpaper and clean the surface to remove any dust.
Priming the porch floor is a crucial step in achieving a long-lasting and professional-looking paint job. It prepares the surface for the paint, improves its adhesion, and helps the paint color appear more vibrant. Once the primer is dry and the surface is properly prepared, you’re ready to move on to the next step: choosing the paint color for your porch floor.
When painting a porch floor, make sure to thoroughly clean and sand the surface before applying any paint. This will help the paint adhere better and last longer.
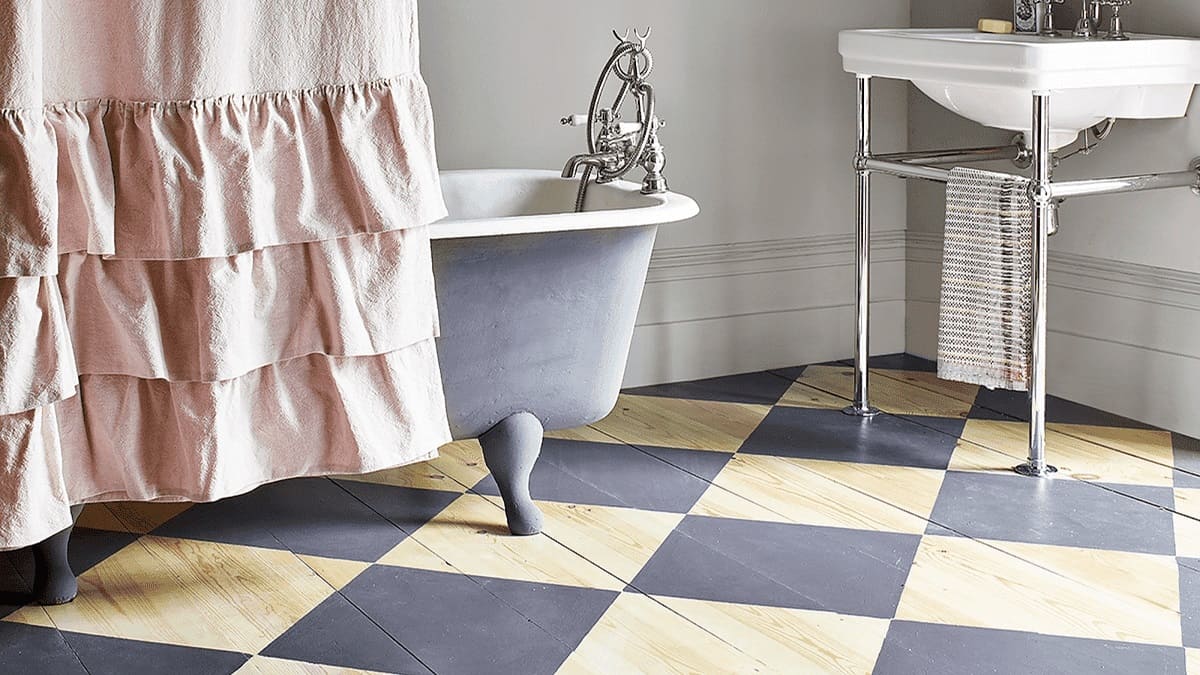
Step 5: Choosing the Paint
Choosing the right paint for your porch floor is essential to achieve the desired look and ensure long-lasting durability. Consider the following factors when selecting the paint for your project:
- Type of paint: Opt for a paint specifically formulated for outdoor use, such as porch and floor paint or deck paint. These types of paints are designed to withstand exposure to the elements and heavy foot traffic.
- Finish: Decide on the desired finish for your porch floor. Common options include gloss, satin, or semi-gloss. Glossy finishes are more durable and easier to clean, but they also tend to show imperfections more readily. Satin and semi-gloss finishes offer a good balance between durability and aesthetic appeal.
- Color: Choose a color that complements the overall design and style of your home. Consider factors such as the color of your house, the surrounding landscape, and personal preferences. Neutral tones are popular for porch floors as they create a timeless and versatile look.
- Quantity: Estimate the amount of paint you will need based on the square footage of your porch floor. Check the paint manufacturer’s recommendations for coverage per gallon to ensure you purchase enough paint for the job.
- Quality: Invest in a high-quality paint that is known for its durability and adherence to outdoor surfaces. The quality of the paint will contribute to the longevity of the finish and its resistance to chipping, cracking, and fading.
Consult with a paint specialist at your local home improvement store for further guidance and to explore the available options. They can provide valuable recommendations based on your specific needs and preferences.
Once you have selected the paint, you’re ready to move on to the exciting part: applying the paint to your porch floor. In Step 6, we will cover the proper techniques for a smooth and professional-looking paint job.
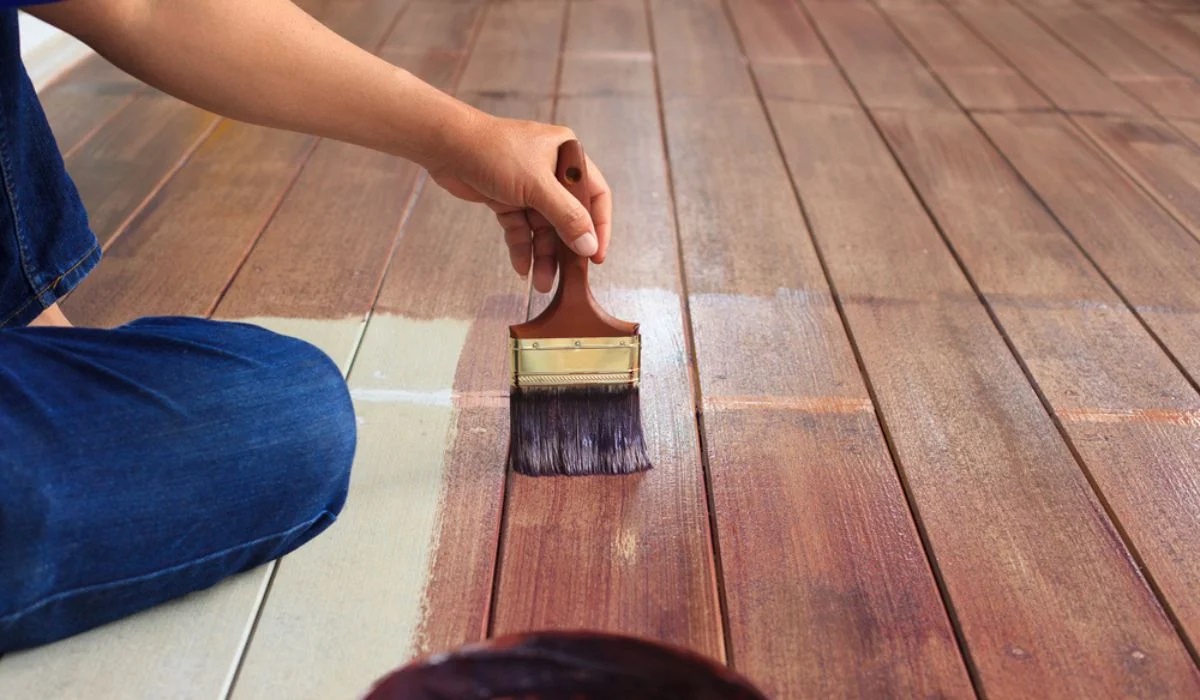
Step 6: Applying the Paint
Now that you’ve prepared the porch floor and chosen the right paint, it’s time to start applying the paint to achieve a beautiful and durable finish. Follow these steps to effectively apply the paint to your porch floor:
- Prepare the paint: Stir the paint thoroughly before use to ensure an even consistency and distribute any settled pigments. If using multiple cans of paint, mix them together in a larger container to ensure color consistency.
- Tape off edges: Use painter’s tape to protect any adjacent areas or surfaces that you don’t want to get paint on, such as walls, steps, or railings. Apply the tape along the edges, ensuring a clean and straight line.
- Start in a corner: Begin painting from a corner of the porch, working in sections. Use a brush or a paint roller, depending on the size of the area you are covering. If using a roller, choose a nap length suitable for your porch floor’s texture.
- Apply the paint: If using a brush, apply the paint in long, even strokes, following the grain of the wood or the direction of the floorboards. If using a roller, work in a “W” or “M” pattern, then go back over the area in straight, parallel strokes for an even application. Paint small sections at a time to ensure that the paint doesn’t dry before you can blend the strokes.
- Work systematically: Work in small, manageable sections, making sure to blend the edges to avoid visible lines or overlapping marks. Take breaks when needed to avoid fatigue and ensure consistent coverage.
- Paint the edges: Use a smaller brush to carefully paint the edges, corners, and hard-to-reach areas of the porch floor. Take your time to achieve clean and precise lines.
- Keep a wet edge: As you paint, always maintain a “wet edge” by slightly overlapping each stroke with the previous one. This will help prevent lap marks and ensure a seamless finish.
Remember to follow the paint manufacturer’s instructions, including recommended drying time between coats if applying multiple coats. It’s also important to work in a well-ventilated area and wear appropriate protective gear, such as gloves and goggles, while painting.
Once you have finished applying the paint, you can move on to Step 7: applying a second coat (if needed) to enhance the coverage and durability of the finish.
Step 7: Applying a Second Coat
Applying a second coat of paint to your porch floor is recommended to improve the coverage, color depth, and durability of the finish. Follow these steps to apply a second coat:
- Allow the first coat to dry: Before applying a second coat, make sure that the first coat is completely dry. Check the paint manufacturer’s instructions for the recommended drying time.
- Inspect the first coat: Take a close look at the first coat of paint to ensure that it has fully covered the surface and there are no areas showing through. If there are any visible thin spots or imperfections, the second coat will help to even them out.
- Prepare the paint: Stir the paint thoroughly to ensure consistency before applying the second coat. If needed, thin the paint according to the manufacturer’s instructions.
- Apply the second coat: Follow the same application techniques used for the first coat, including using a brush or roller and working in small sections. Apply the second coat evenly and smoothly, overlapping the strokes with the first coat to ensure a seamless finish.
- Blend the edges: Pay special attention to blending the edges of the second coat with the first coat to avoid visible lines or uneven color transitions.
- Allow the paint to dry: After applying the second coat, allow the paint to dry completely before walking on or placing furniture on the porch. This may take several hours or longer, depending on the paint type and environmental conditions.
Applying a second coat will help enhance the appearance and durability of your porch floor. It will provide better coverage and a more robust protective layer, ensuring that your painted porch floor will stand up to the elements and foot traffic for a longer period of time.
If you are satisfied with the coverage and appearance after the second coat, you can move on to Step 8: allowing the paint to dry fully before using the porch. However, if additional touch-ups or improvements are needed, feel free to apply additional coats until you achieve your desired results.
Read more: How Much To Paint A Porch
Step 8: Allowing the Paint to Dry
After applying the paint, it’s important to allow it to dry fully before using the porch or placing any furniture on the surface. Allowing the paint to dry properly will ensure the longevity and durability of the finish. Follow these steps to properly dry the paint on your porch floor:
- Check the paint manufacturer’s instructions: Different types of paint may have varying drying times. Refer to the paint can or the manufacturer’s instructions for the recommended drying time.
- Avoid foot traffic: It is crucial to avoid walking on the painted porch floor until the paint is fully dry. Even slight pressure can leave marks or smudges on the surface.
- Ensure proper ventilation: Adequate ventilation will help facilitate the drying process. Open windows or doors, and use fans or natural airflow to promote air circulation in the area.
- Protect against moisture: Prevent exposure to rain, dew, or any source of moisture during the drying process. Moisture can negatively impact the drying time and the finish of the paint.
- Consider the weather conditions: Humidity, temperature, and air circulation can affect the drying time of the paint. Choose a time when the weather is dry, mild, and without high humidity levels for optimal drying conditions.
- Allow sufficient drying time: Depending on the paint type, drying times can range from a few hours to several days. Be patient and give the paint ample time to cure before placing any items on the porch floor.
By allowing the paint to dry fully, you will prevent premature damage or smudging, and ensure that the paint adheres properly to the surface. Proper drying is crucial for a long-lasting and attractive porch floor finish. Once the paint is thoroughly dried, you can choose to move on to Step 9: adding a sealant for extra protection and longevity.
Step 9: Adding a Sealant (Optional)
Adding a sealant to your freshly painted porch floor is an optional but beneficial step that can provide additional protection and extend the lifespan of your paint job. A sealant acts as a protective barrier, shielding the paint from moisture, UV rays, and everyday wear and tear. Follow these steps to add a sealant to your porch floor:
- Choose the right sealant: Select a clear, exterior-grade sealant that is compatible with the type of paint you used on your porch floor. Make sure it is suitable for the level of foot traffic your porch receives.
- Clean the surface: Ensure that the porch floor is clean and free of any dust, debris, or loose particles. Use a broom or brush to sweep away any debris before applying the sealant.
- Apply the sealant: Use a clean paint roller or a brush to evenly apply the sealant to the porch floor. Start from one corner and work your way outward, covering the entire surface with a thin and even layer of sealant. Follow the manufacturer’s instructions for application techniques and drying time.
- Allow the sealant to dry: Give the sealant ample time to dry according to the manufacturer’s instructions. This can range from a few hours to a day or more, depending on the specific sealant used.
- Apply additional coats (if needed): Depending on the level of protection desired and the sealant’s instructions, you may choose to apply additional coats of sealant. Follow the manufacturer’s recommendations for additional coats and drying time.
Adding a sealant to your porch floor can help protect your paint job from moisture, UV rays, fading, and general wear. It creates a protective barrier that enhances the durability and longevity of the painted surface. However, keep in mind that sealant application may alter the appearance of your porch floor slightly, so test a small, inconspicuous area first if you’re unsure how it may affect the finish.
Once the sealant is fully dried, you can begin to enjoy your beautifully painted and protected porch floor! Take care to maintain the cleanliness of the surface by regularly sweeping away debris and cleaning up any spills to prolong the life of your paint job.
With the completion of Step 9, you have successfully painted and sealed your porch floor, giving it a fresh and rejuvenated look. Congratulations on a job well done!
Conclusion
Congratulations on successfully completing the process of painting your porch floor! By following the step-by-step guide outlined in this article, you have transformed your porch into a beautiful and inviting space. Here’s a quick recap of the steps involved in painting a porch floor:
- Cleaning the porch floor to remove dirt and debris.
- Repairing any cracks or damage to ensure a smooth surface.
- Sanding the surface to remove old paint and create an even texture.
- Applying a primer to promote paint adhesion and durability.
- Choosing the right paint color and type for your porch floor.
- Applying the paint using proper techniques, such as brush or roller application.
- Applying a second coat for better coverage and durability.
- Allowing the paint to dry fully before using the porch.
- Optional: Applying a sealant to protect and prolong the life of the paint job.
By following these steps with care and attention to detail, you have given your porch floor a fresh and vibrant new look while also protecting it from the elements. It’s important to note that maintaining your painted porch floor is key to preserving its beauty and longevity. Regular cleaning, proper care, and occasional touch-ups will go a long way in ensuring the durability of the finish.
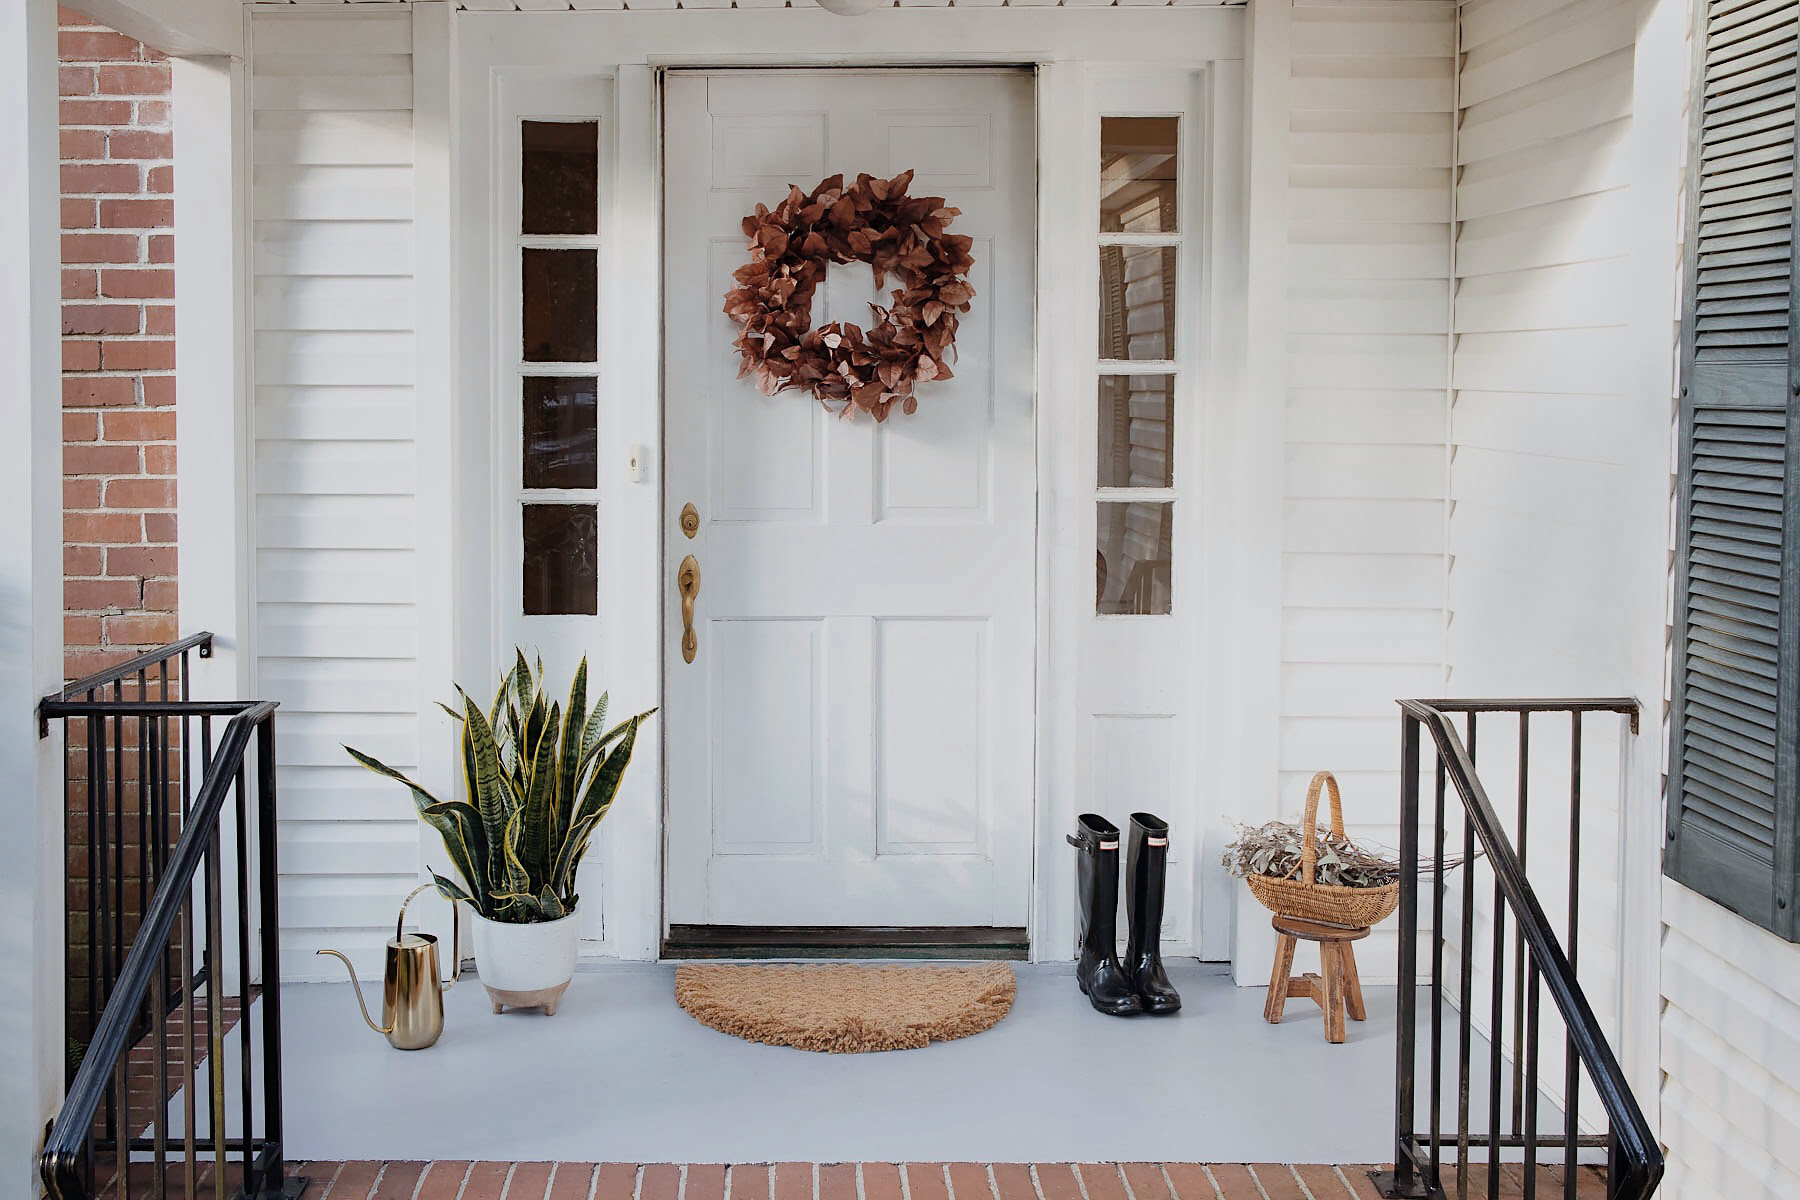
Remember, painting a porch floor is not just about improving its appearance; it’s also about creating a welcoming outdoor space that reflects your style and personality. Whether you choose a bold color or a classic neutral, your freshly painted porch floor is sure to impress your guests and provide a comfortable area for relaxation and enjoyment.
Thank you for following this comprehensive guide on how to paint a porch floor. We hope that this article has provided you with the knowledge and confidence to tackle your own porch floor painting project. Now, it’s time to sit back, relax, and bask in the beauty of your newly painted porch floor!
Frequently Asked Questions about How To Paint A Porch Floor
Was this page helpful?
At Storables.com, we guarantee accurate and reliable information. Our content, validated by Expert Board Contributors, is crafted following stringent Editorial Policies. We're committed to providing you with well-researched, expert-backed insights for all your informational needs.

0 thoughts on “How To Paint A Porch Floor”