Articles
How To Paint Metal Cabinet
Modified: October 18, 2024
Learn how to paint your metal cabinet with expert interior design tips and techniques. Transform your space with a fresh coat of paint and give your cabinet a modern makeover.
(Many of the links in this article redirect to a specific reviewed product. Your purchase of these products through affiliate links helps to generate commission for Storables.com, at no extra cost. Learn more)
Introduction
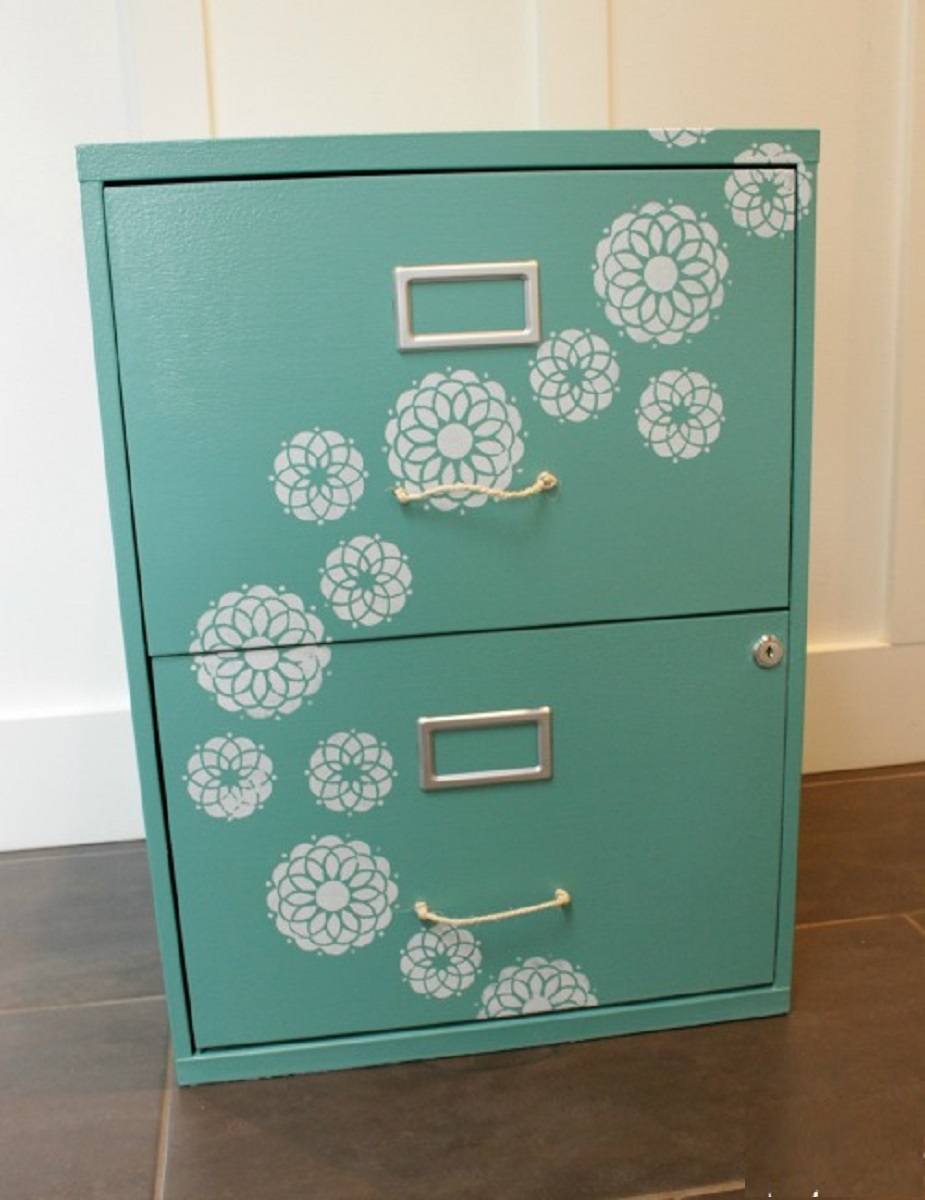
When it comes to updating the look of your metal cabinet, giving it a fresh coat of paint can work wonders. Whether you want to breathe new life into an old cabinet or customize a new one to match your decor, painting the metal cabinet is a great way to achieve the desired transformation. However, it’s essential to approach the task with the right techniques to ensure a professional and long-lasting finish.
In this guide, we will take you through the step-by-step process of painting a metal cabinet. From preparing the surface to applying the paint and adding the finishing touches, we will cover all the necessary steps to help you achieve a flawless paint job.
Before diving into the details, it’s important to remember that proper preparation is key. Taking the time to prepare the metal cabinet beforehand will ensure that the paint adheres well and the finish is smooth and durable. So let’s roll up our sleeves and get started on transforming your metal cabinet into a stunning piece that adds style and functionality to your space.
Key Takeaways:
- Transform your metal cabinet with a professional and durable finish by following the step-by-step process outlined in this guide. From preparation to finishing, achieve a stunning and long-lasting result with the right techniques.
- Choose the right paint, apply it effectively, and finish with a protective sealant to ensure your painted metal cabinet remains vibrant and beautiful for years to come. Regular cleaning and maintenance practices will preserve its appearance and functionality.
Read more: How To Paint A Metal Shed
Step 1: Preparing the Metal Cabinet
Before you begin painting your metal cabinet, it’s crucial to properly prepare the surface to achieve the best results. Here are the steps to follow:
- Clean the cabinet: Start by removing any dirt, dust, or grease from the cabinet’s surface. You can use a mild detergent mixed with water or a degreaser specifically designed for metal surfaces. Scrub the cabinet gently using a sponge or soft cloth.
- Sand the surface: Next, lightly sand the metal cabinet to create a rough texture that will help the paint adhere better. You can use a fine-grit sandpaper or a sanding block for this step. Be sure to sand in the direction of the grain to avoid scratching the surface.
- Remove hardware: If your metal cabinet has any removable hardware such as knobs or handles, it’s best to remove them before painting. This will make the painting process easier and ensure that you can reach all the nooks and crannies.
- Mask off any areas: If there are any areas of the cabinet that you don’t want to paint, use painter’s tape to mask them off. This can include hinges, locks, or other hardware that cannot be removed.
- Fill in any dents or scratches: If your metal cabinet has any dents or scratches, now is the time to fill them in. Use a metal filler or putty and follow the manufacturer’s instructions. Once the filler is dry, sand it down to create a smooth surface.
- Wipe down the cabinet: After completing the above steps, give the cabinet a final wipe-down to remove any dust or debris. Use a clean, damp cloth to ensure a clean surface for painting.
By taking the time to properly prepare the metal cabinet, you’ll ensure that the paint adheres well and the final result looks professional. Once you’ve completed the preparation steps, you’re ready to move on to the next stage: removing old paint or rust.
Step 2: Removing Old Paint or Rust
Before you can apply a fresh coat of paint to your metal cabinet, it’s important to remove any old paint or rust that may be present. This step will ensure a smooth and even surface for the new paint to adhere to. Here’s how to remove old paint or rust from your metal cabinet:
- Assess the condition: Start by examining your metal cabinet to determine the extent of the old paint or rust. If there are only a few small patches of old paint or rust, you may be able to remove them with sandpaper or a wire brush. However, if the paint or rust is more widespread, you may need to use a chemical paint stripper or rust remover.
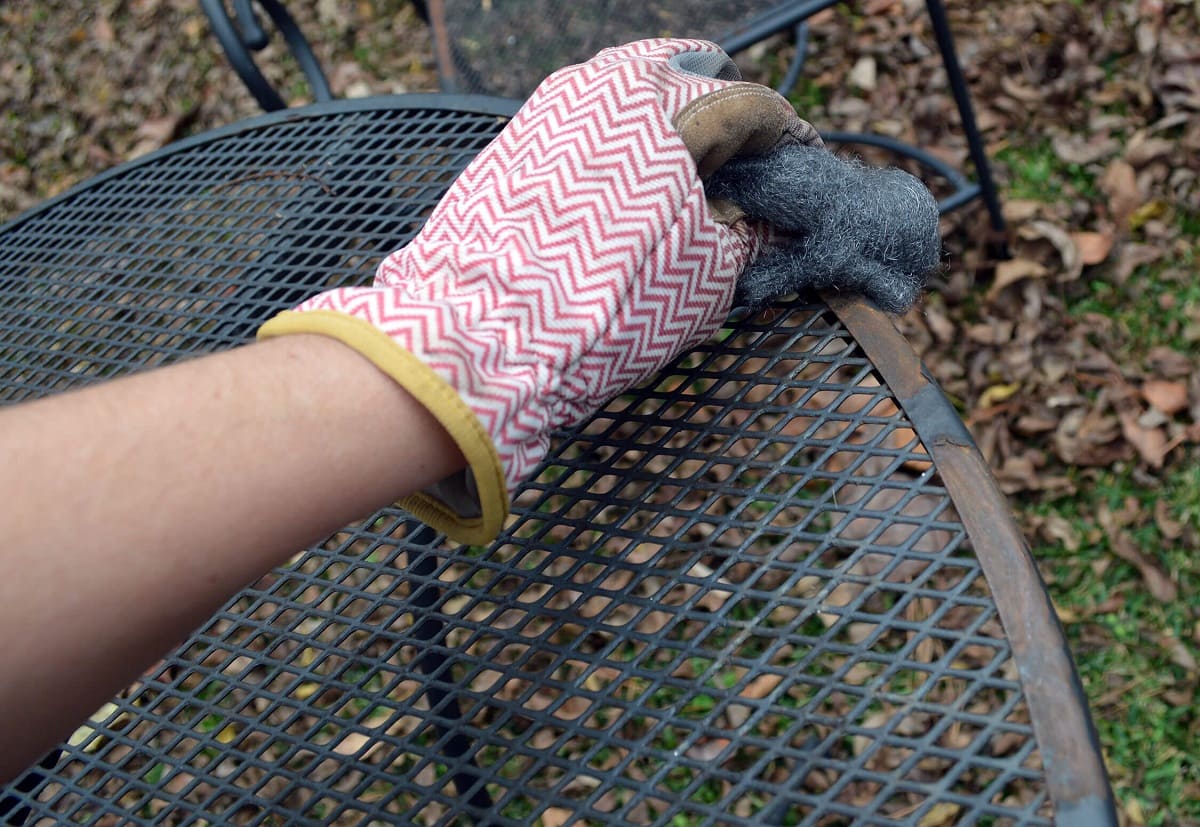
- Sand the surface: If you’re dealing with small patches of old paint or rust, begin by sanding the affected areas. Use a medium-grit sandpaper and sand in a circular motion until the old paint or rust is completely removed. Be sure to wear safety goggles and a mask to protect yourself from any debris.
- Use a chemical paint stripper: If the old paint or rust covers a larger area or is difficult to remove with sandpaper, a chemical paint stripper can be an effective solution. Follow the manufacturer’s instructions for applying the paint stripper and use a scraper or wire brush to remove the softened paint or rust.
- Apply a rust remover: If your metal cabinet has significant rust, it’s important to address it before painting. Apply a rust remover solution to the affected areas and use a wire brush or steel wool to scrub away the rust. Rinse the cabinet thoroughly with water and allow it to dry completely.
- Repeat if necessary: Depending on the condition of your metal cabinet, you may need to repeat the process of sanding, using a chemical paint stripper, or applying a rust remover to ensure that all old paint or rust is removed. Be patient and thorough to achieve the best results.
Removing old paint or rust from your metal cabinet may require some elbow grease, but it is a crucial step in the painting process. By taking the time to properly remove old paint or rust, you’ll create a clean and smooth surface for the new paint to adhere to. Once you have successfully removed the old paint or rust, it’s time to move on to the next step: cleaning the surface.
Step 3: Cleaning the Surface
Once you have removed any old paint or rust from your metal cabinet, it’s important to thoroughly clean the surface before proceeding with the painting process. Cleaning the surface will ensure that there is no residual debris or contaminants that could interfere with the adhesion of the new paint. Follow these steps to properly clean the surface of your metal cabinet:
- Use a mild detergent: Fill a bucket with warm water and add a small amount of mild detergent. Mix the solution until the detergent is fully dissolved.
- Dip a sponge or cloth in the soapy water: Take a sponge or a soft cloth and dip it into the soapy water. Wring out any excess water to prevent drips.
- Scrub the surface: Gently scrub the entire surface of the metal cabinet using the soapy sponge or cloth. Pay close attention to any areas that may still have residue from the paint removal or rust removal process.
- Rinse with clean water: Once you have thoroughly scrubbed the surface, rinse the cabinet with clean water to remove any soap residue. You can use a clean sponge or cloth dampened with water to ensure a thorough rinse.
- Dry the surface: After rinsing, use a clean and dry cloth to wipe down the surface of the metal cabinet. Make sure the surface is completely dry before moving on to the next step.
By taking the time to properly clean the surface of your metal cabinet, you’ll ensure that there is no debris or residue that could affect the adhesion of the new paint. A clean surface will provide the best foundation for a smooth and long-lasting paint finish. Once the surface is clean and dry, you’re ready to move on to the next step: applying a primer.
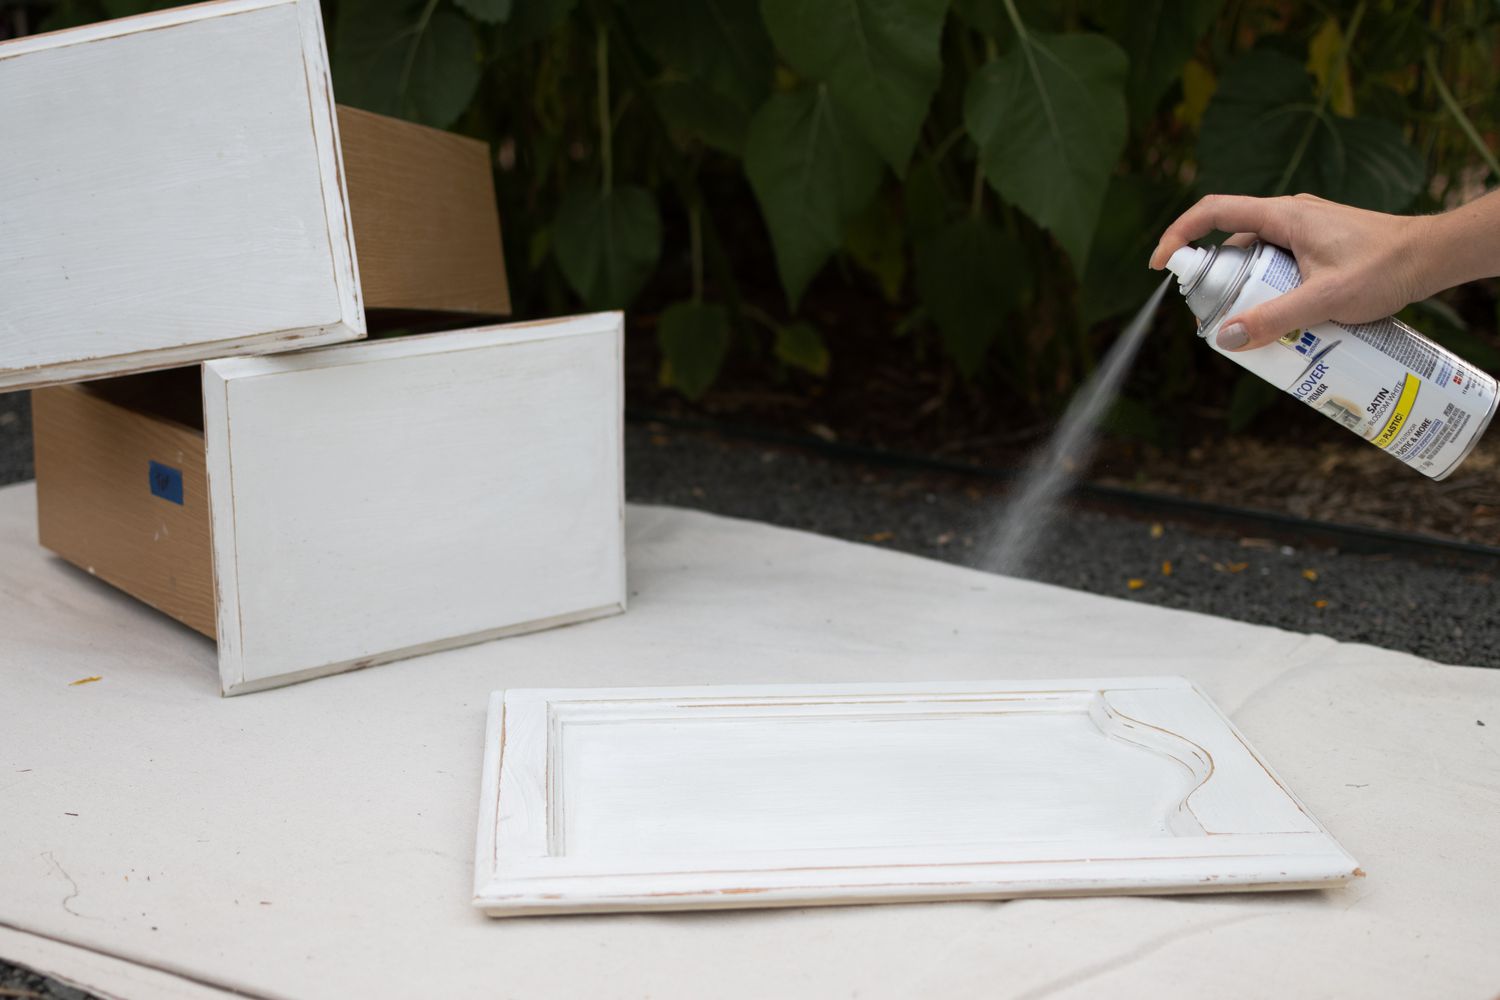
Step 4: Applying a Primer
Before you start applying the paint to your metal cabinet, it’s crucial to apply a primer. A primer helps to create a smooth and even surface, enhances the adhesion of the paint, and improves the durability of the final finish. Follow these steps to properly apply a primer to your metal cabinet:
- Select the right primer: Choose a primer that is specifically designed for metal surfaces. Look for a primer that provides good adhesion and is suitable for the type of paint you will be using.
- Prepare the primer: Read and follow the manufacturer’s instructions on how to prepare the primer for application. This may involve stirring or shaking the primer before use.
- Apply the primer: Use a brush or roller to apply an even coat of primer to the surface of the metal cabinet. Start with the flat areas and then move on to the edges and corners. Apply the primer in thin, even strokes, working in one direction.
- Allow the primer to dry: Follow the manufacturer’s instructions for the recommended drying time for the primer. Ensure that the primer is completely dry before moving on to the next step.
- Inspect the primer coat: Once the primer is dry, inspect the surface of the metal cabinet for any uneven areas or missed spots. If necessary, touch up these areas with additional primer and allow it to dry.
- Sand the primer coat (optional): If you notice any rough areas or imperfections on the primer coat, you can lightly sand them with fine-grit sandpaper. Be sure to wipe away any dust before proceeding.
Applying a primer to your metal cabinet is an essential step in the painting process. It helps to ensure smooth and even application of the paint, enhances adhesion, and improves the overall durability of the finish. Once the primer is dry and you are satisfied with the evenness of the surface, you’re ready to move on to the next step: choosing the right paint.
Read more: How To Paint A Metal Lamp
Step 5: Choosing the Right Paint
Choosing the right paint for your metal cabinet is crucial to achieve a professional and long-lasting finish. The type of paint you select will depend on factors such as the location of the cabinet, desired appearance, and level of durability required. Here are some considerations to keep in mind when choosing the right paint for your metal cabinet:
- Type of paint: Opt for a paint that is specifically formulated for metal surfaces. Look for paint labeled as “metal paint” or “metallic paint” to ensure proper adhesion and durability.
- Finish: Consider the desired finish for your metal cabinet. Common options include satin, semi-gloss, and high-gloss finishes. Satin finishes provide a more subtle and matte appearance, while gloss finishes offer a shiny and reflective surface. Choose a finish that complements your overall aesthetic.
- Indoor or outdoor use: If your metal cabinet will be placed outdoors, make sure to choose a paint that is suitable for outdoor use. Outdoor paints are designed to withstand weather conditions, UV rays, and other environmental factors.
- Durability: Determine the level of durability you need for your metal cabinet. If the cabinet will be subject to heavy use or frequent cleaning, opt for a paint that offers good durability, such as an epoxy or enamel paint.
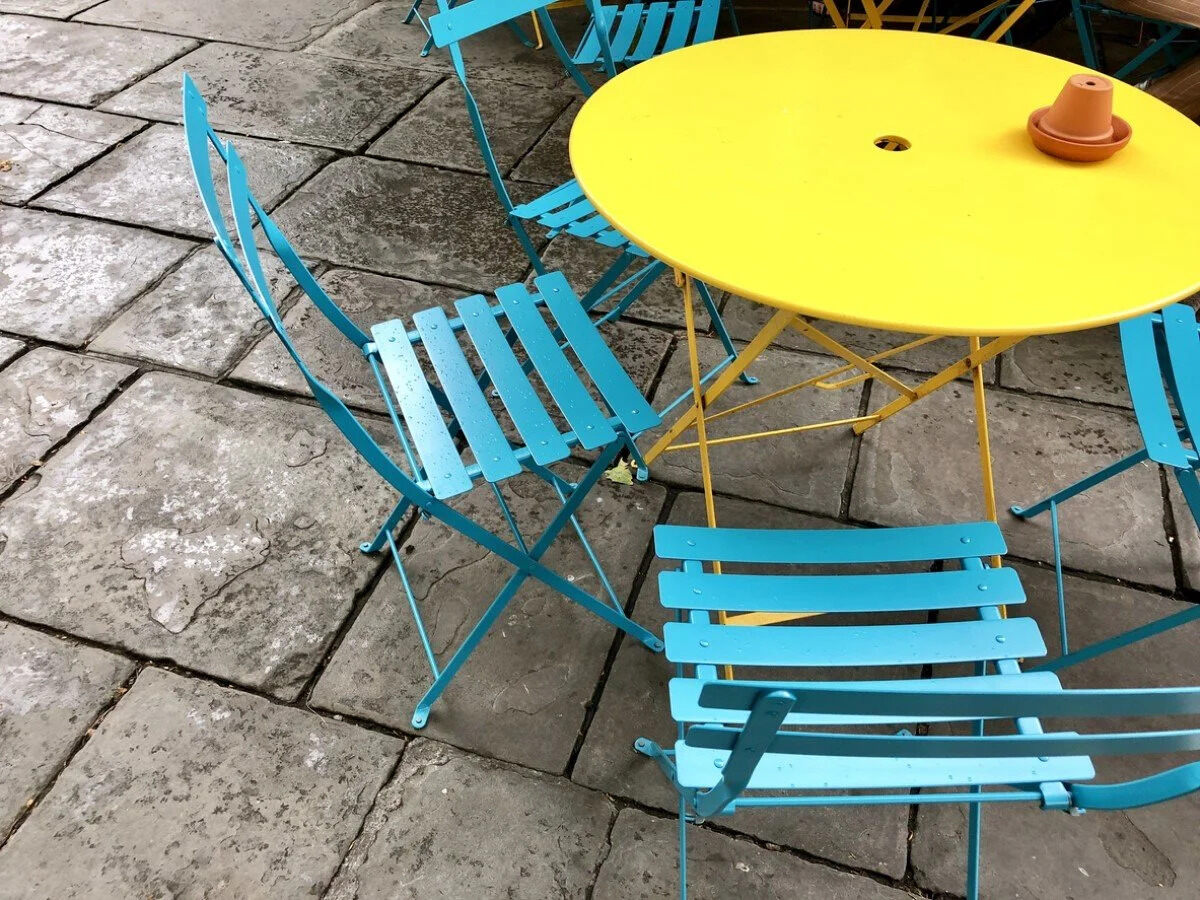
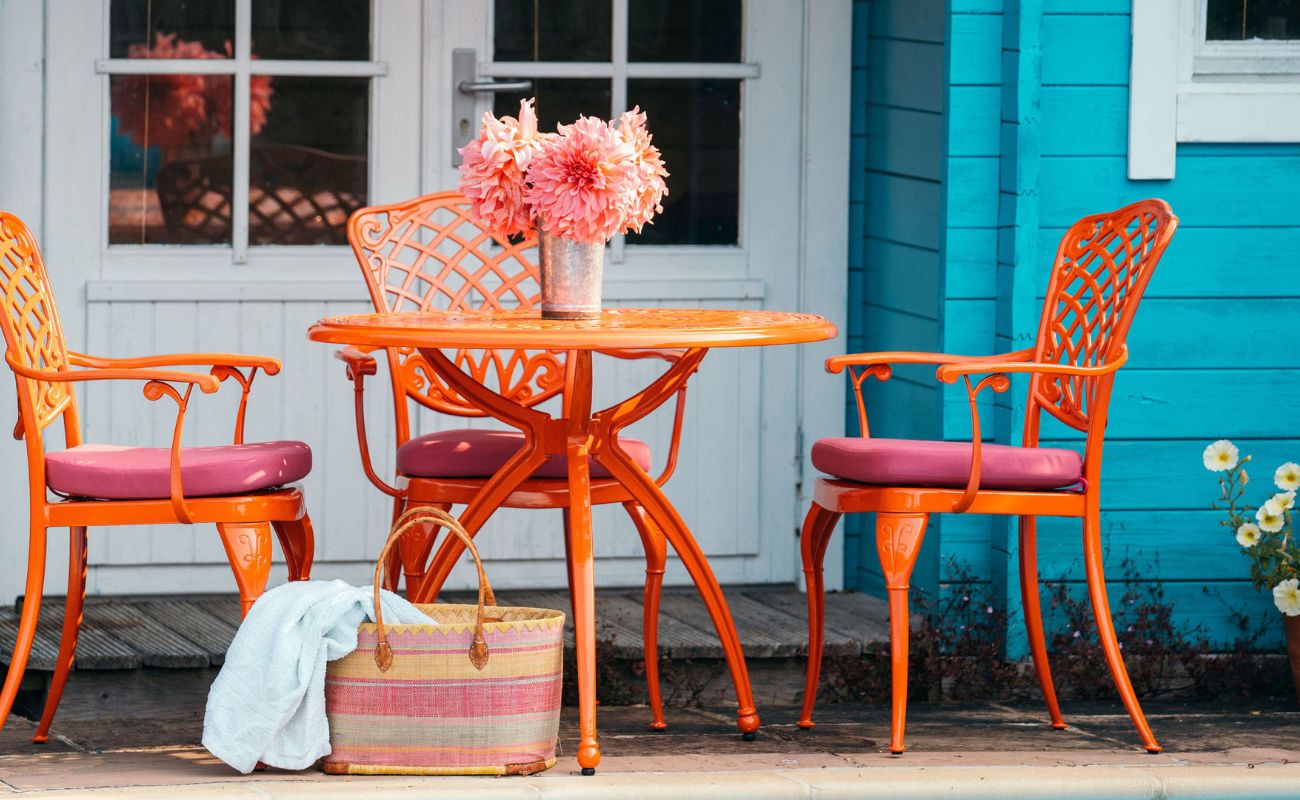
- Color selection: Consider the color scheme of the surrounding space and choose a paint color that complements or provides a striking contrast. Take into account your personal preferences and the overall aesthetic you wish to achieve.
- Primer compatibility: Check if the selected paint requires a specific type of primer or if it can be applied directly on the primed surface. Ensure that the primer and paint are compatible to ensure proper adhesion and a smooth finish.
By considering these factors and selecting the right paint for your metal cabinet, you will ensure a beautiful and durable finish. Take the time to research different paint options, read customer reviews, and consult with experts if needed. Once you have chosen the paint, you’re ready to proceed to the next step: applying the paint to your metal cabinet.
Before painting a metal cabinet, make sure to clean and sand the surface to remove any rust or old paint. Use a metal primer before applying the paint to ensure better adhesion and durability.
Step 6: Applying the Paint
Now that you have selected the right paint for your metal cabinet, it’s time to apply it and bring your project to life. Follow these steps for a smooth and even application of the paint:
- Prepare your workspace: Set up a well-ventilated area where you can work comfortably. Lay down drop cloths or newspapers to protect the surrounding surfaces from any potential paint spills or splatters.
- Stir the paint: Before you start painting, give the paint can a good stir to ensure that the color and consistency are well mixed. Follow the manufacturer’s instructions for stirring or shaking the paint.
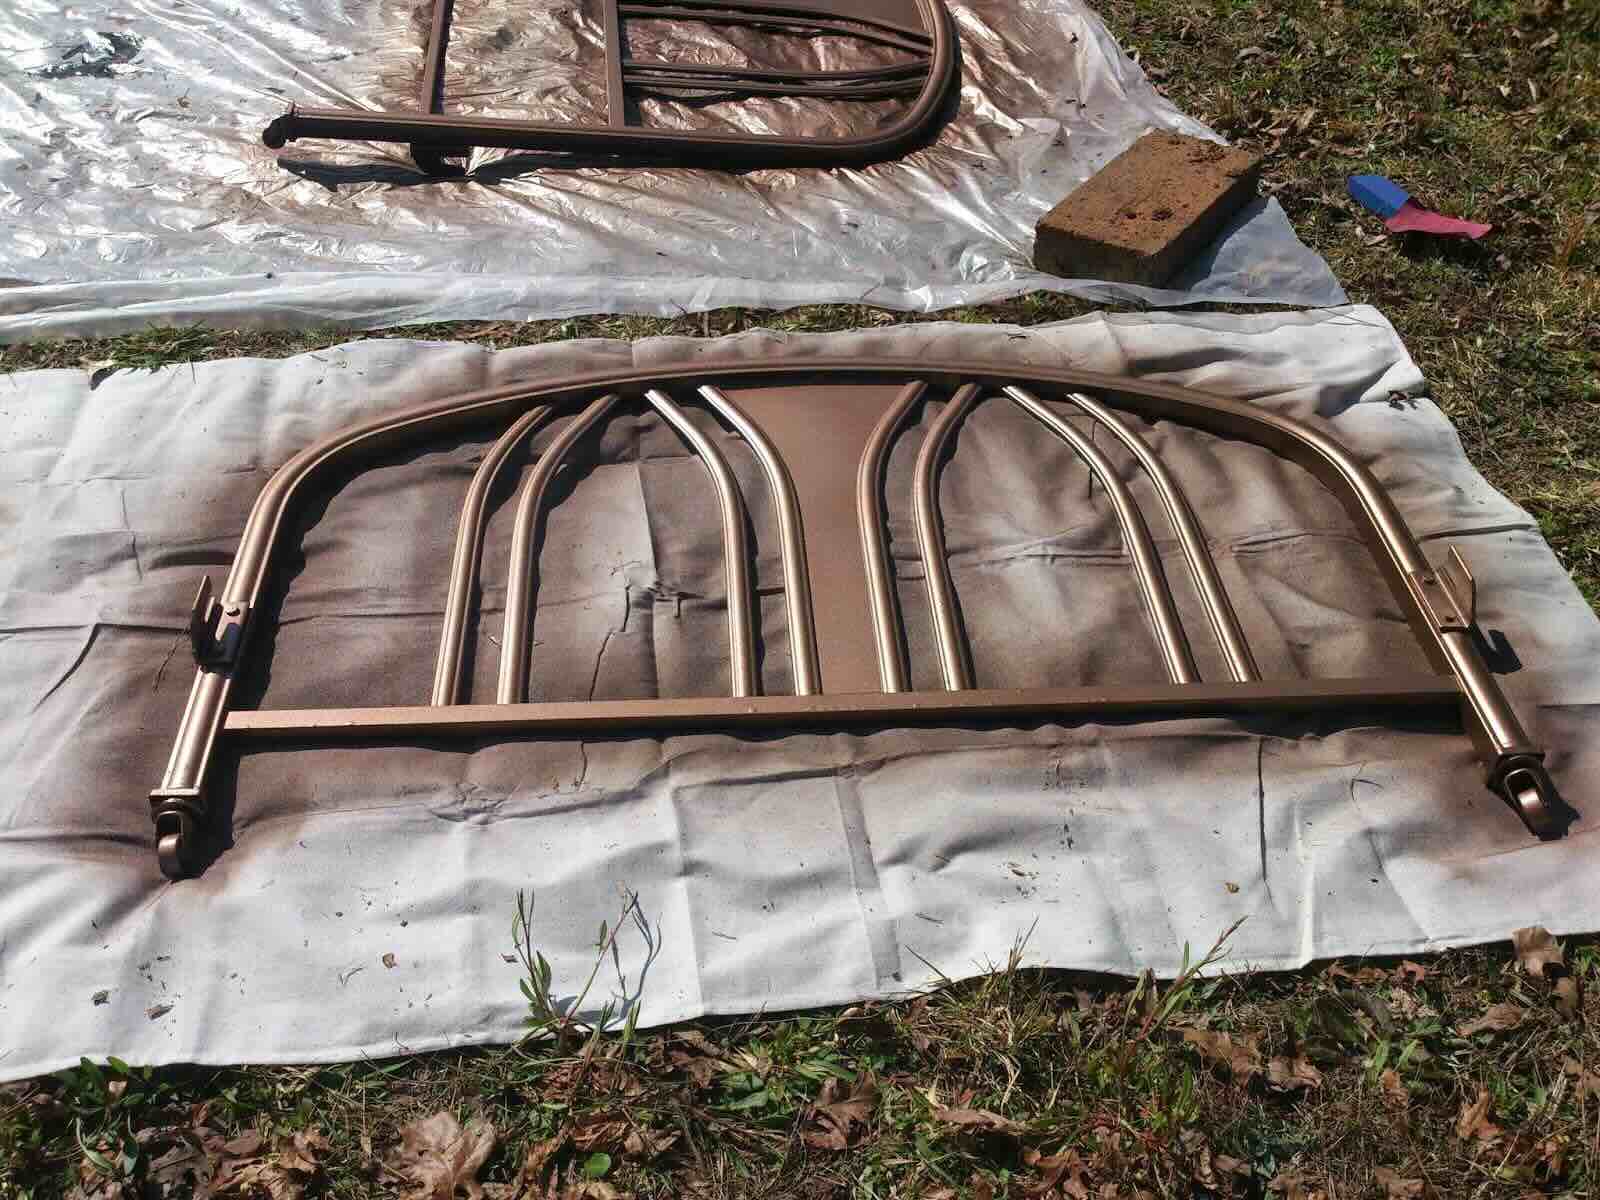
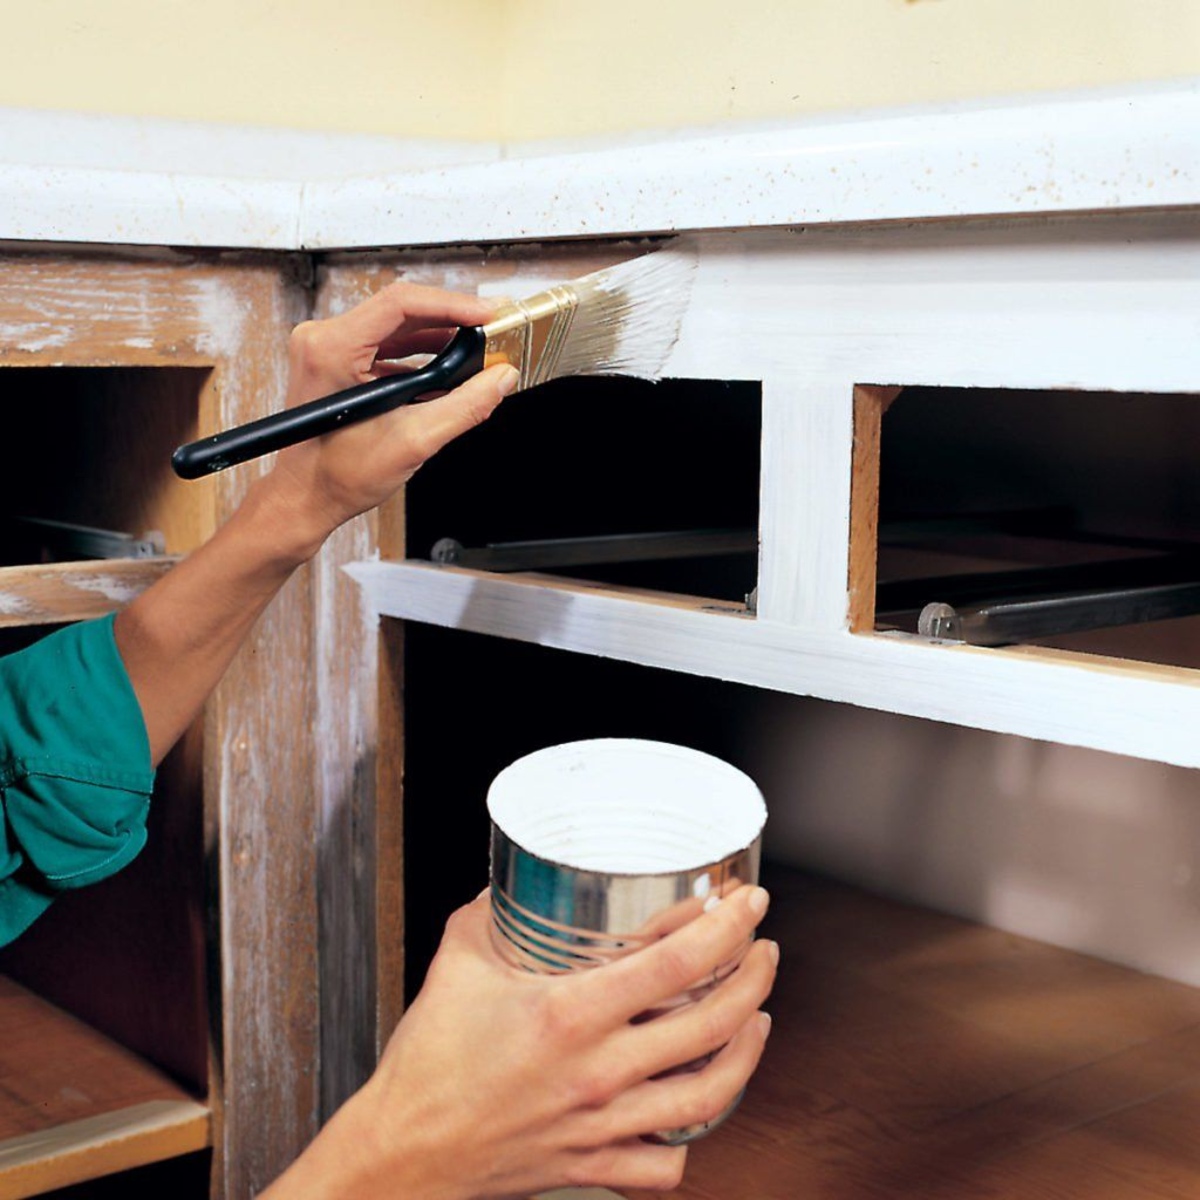
- Apply the paint: Use a brush or roller to apply the paint to the metal cabinet. Start with the flat areas and then move on to the edges and corners. Apply the paint in thin, even coats, working in one direction to minimize brush marks or roller lines.
- Overlap each stroke: When using a brush, slightly overlap each stroke to ensure a seamless finish. For a roller, use a consistent pressure and maintain a wet edge as you move across the surface.
- Allow for drying time: Follow the manufacturer’s instructions for the recommended drying time between coats. It’s important to allow each coat to dry completely before applying additional coats to avoid smudging or damaging the previous layer.
- Apply multiple coats if necessary: Depending on the desired color and finish, you may need to apply multiple coats of paint. Allow each coat to dry before applying the next, and make sure to inspect the surface for any missed spots or uneven coverage.
Remember to work systematically and be patient during the painting process. Take breaks if needed, and ensure that each coat is smooth and free of drips or excess paint. Once you are satisfied with the coverage and finish, you can move on to the next step: allowing sufficient drying time.
Step 7: Allowing Sufficient Drying Time
After applying the paint to your metal cabinet, it’s crucial to allow sufficient drying time to ensure a durable and flawless finish. Rushing the drying process can result in smudges, smears, and damage to the painted surface. Follow these guidelines to ensure proper drying of your metal cabinet:
- Consult the paint can: Refer to the instructions on the paint can for the recommended drying time. This can vary depending on factors such as humidity levels and the type of paint used. Typically, it takes between 24 to 48 hours for the paint to dry completely.
- Choose a well-ventilated area: Place your metal cabinet in a well-ventilated area with good air circulation. This will aid in the drying process and help prevent any moisture from becoming trapped between the layers of paint.
- Avoid touching the painted surface: During the drying time, avoid touching the painted surface as this can cause blemishes or leave fingerprints. If necessary, use a clean, lint-free cloth when handling the cabinet.
- Protect from dust and debris: Keep your metal cabinet in a dust-free environment while it is drying. This will help prevent any particles from settling on the surface and marring the finish. Cover with a clean cloth or plastic sheet if needed.
- Be patient: It’s important to exercise patience and allow the paint to fully cure. Rushing the drying process may lead to imperfections or a less durable finish. It’s better to wait a little longer than to risk compromising the quality of the paint job.
Remember to factor in the drying time when planning your project. Resist the temptation to use or handle the cabinet before it has fully dried. By allowing sufficient drying time, you’ll ensure a professional-looking and long-lasting paint finish. Once the paint has dried completely, you can move on to the next step: applying a second coat (optional).
Step 8: Applying a Second Coat (Optional)
Applying a second coat of paint to your metal cabinet is an optional step but can greatly enhance the overall finish and durability of the paint job. Adding a second coat helps provide better coverage, smooth out any inconsistencies, and create a more polished look. Follow these steps to apply a second coat effectively:
- Inspect the first coat: Before proceeding with the second coat, carefully inspect the surface of your metal cabinet. Look for any missed spots, uneven coverage, or visible brush strokes. If necessary, touch up those areas with a small brush before applying the second coat.
- Prepare the paint: Give the paint can a good stir to ensure proper consistency and color pigmentation. If needed, strain the paint to remove any impurities or lumps that may have formed.
- Apply the second coat: Using the same technique as the first coat, apply the second coat of paint to your metal cabinet. Work in thin, even strokes, and maintain a wet edge while overlapping each stroke slightly. This will help ensure a smooth and seamless finish.
- Allow for drying time: Follow the recommended drying time specified on the paint can before touching or handling the cabinet. It’s essential to allow each coat to dry completely to avoid any damage or smudging.
- Inspect the final result: Once the second coat is dry, thoroughly inspect the surface of your metal cabinet for any imperfections or areas that may need further touch-ups. If necessary, make any touch-ups with a small brush or by applying a third coat to achieve the desired appearance.
Applying a second coat of paint can make a noticeable difference in the final result of your metal cabinet’s appearance. It helps ensure full coverage and a more professional-looking finish. However, if you are satisfied with the coverage and appearance of the first coat, you may choose not to apply a second coat. Proceed to the next step: finishing and sealing the cabinet.
Read more: How To Paint A Metal Roof
Step 9: Finishing and Sealing the Cabinet
After applying the desired number of paint coats to your metal cabinet, it’s essential to finish and seal the surface to protect the paint and enhance its longevity. The finishing and sealing step will not only add a protective layer but also give your cabinet a polished and professional appearance. Follow these steps to effectively finish and seal your painted metal cabinet:
- Allow the final coat to cure: Before proceeding with the finishing and sealing, ensure that the final coat of paint has fully cured. Refer to the paint can instructions for the recommended curing time.
- Apply a clear topcoat: Consider applying a clear topcoat to the painted surface. Look for a clear sealant or protective finish that is suitable for use on metal. This will provide an extra layer of protection against scratches, moisture, and UV damage.
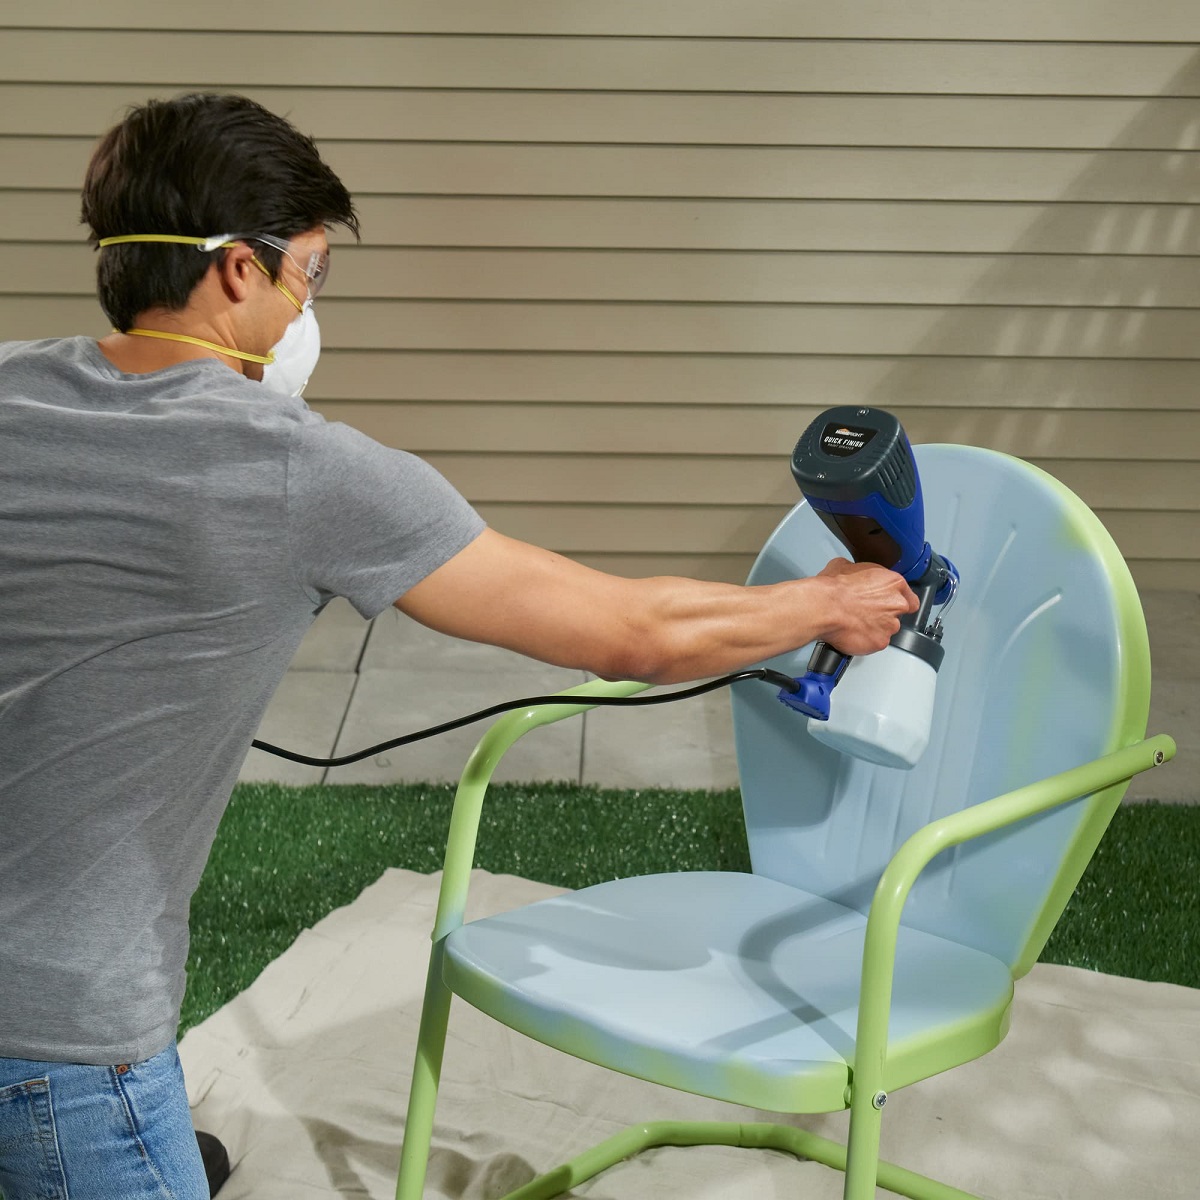
- Use a brush or sprayer: Depending on the type of topcoat you choose, follow the manufacturer’s instructions for application. You can use a brush for smaller areas or a paint sprayer for a more even and efficient application on larger surfaces.
- Apply in thin, even coats: When applying the topcoat, ensure that you apply it in thin, even coats, following the direction of the grain. Avoid heavy application, as it can lead to drips or an uneven finish.
- Allow proper drying and curing time: Follow the manufacturer’s instructions for the drying and curing time of the topcoat. It’s important to allow the recommended time for the topcoat to fully dry and cure for optimal protection and durability.
- Buff and polish (optional): Once the topcoat is completely dry, you can choose to buff and polish the painted surface to achieve a smooth and glossy finish. Use a fine-grit sandpaper or a polishing compound, following the manufacturer’s instructions.
Finishing and sealing your metal cabinet will not only protect the paint but also give it a professional and long-lasting appearance. The clear topcoat adds an extra layer of durability and enhances the overall aesthetic. Once the finishing and sealing process is complete, you’re ready to move on to the final step: cleaning and maintaining the painted metal cabinet.
Step 10: Cleaning and Maintaining the Painted Metal Cabinet
Now that you have successfully painted and finished your metal cabinet, it’s important to know how to properly clean and maintain it to preserve its appearance and durability. Follow these steps to keep your painted metal cabinet looking its best:
- Regular dusting: Dust your painted metal cabinet regularly using a soft cloth or microfiber duster. This will help prevent dust buildup and keep the surface clean.
- Gentle cleaning: If your painted metal cabinet needs more than just dusting, you can clean it with a mild solution of warm water and a gentle dish soap. Dip a soft cloth or sponge into the solution, wring out any excess moisture, and gently wipe the surface of the cabinet. Avoid abrasive cleaners or harsh chemicals that can damage the paint.
- Avoid excessive moisture: Be cautious when using water on your painted metal cabinet. Excessive moisture can cause the paint to peel or bubble. Wipe up any spills or splatters immediately to prevent water damage.
- Protect from direct sunlight: If your metal cabinet is exposed to direct sunlight, consider placing it in a shaded area or using curtains or blinds to minimize sun exposure. Prolonged exposure to sunlight can cause the paint to fade or discolor over time.
- Avoid heavy objects or sharp tools: Be mindful of placing heavy objects on your painted metal cabinet, as they can cause dents or scratches. Avoid using sharp tools or abrasive materials that can damage the paint surface.
- Touch up as needed: Over time, your painted metal cabinet may develop small chips or scratches. If this happens, touch up those areas with a small brush and matching paint to maintain a seamless finish.
- Regular inspections: Take the time to periodically inspect your painted metal cabinet for any signs of wear or damage. Address any issues promptly to prevent further deterioration.
By following these cleaning and maintenance practices, you can extend the lifespan of your painted metal cabinet and keep it looking fresh and vibrant. Remember, proper care will ensure that your cabinet remains a beautiful addition to your space for years to come.
With the completion of this final step, you have successfully painted, finished, and learned how to maintain your metal cabinet. Enjoy the transformation and the renewed functionality it brings to your space!
Conclusion
Painting a metal cabinet can be a rewarding and cost-effective way to update its appearance and breathe new life into your space. By following the step-by-step process outlined in this guide, you can achieve a professional-looking finish and enjoy a durable and long-lasting result.
From preparing the metal cabinet and removing old paint or rust, to cleaning the surface and applying a primer, each step plays a crucial role in ensuring a smooth and successful paint job. Choosing the right paint, applying it properly, and allowing sufficient drying time are also essential for a flawless finish.
Finishing and sealing the painted metal cabinet adds an extra layer of protection and enhances its overall appearance. Regular cleaning and maintenance are important to preserve the paint’s longevity, preventing damage and keeping it looking its best for years to come.
Remember, patience and attention to detail are key throughout the process. Take your time, follow the instructions, and don’t rush the drying or curing time. The extra effort and care you put into painting your metal cabinet will be evident in the final result.
So, whether you’re transforming an old metal cabinet or customizing a new one, this guide has provided you with the knowledge and steps needed to achieve a successful paint job. Embrace your creativity, enjoy the process, and revel in the satisfaction of seeing your metal cabinet transformed into a stunning piece that adds style and functionality to your space.
Frequently Asked Questions about How To Paint Metal Cabinet
Was this page helpful?
At Storables.com, we guarantee accurate and reliable information. Our content, validated by Expert Board Contributors, is crafted following stringent Editorial Policies. We're committed to providing you with well-researched, expert-backed insights for all your informational needs.

0 thoughts on “How To Paint Metal Cabinet”