Articles
How To Paint A Cabinet Door
Modified: January 9, 2024
Learn how to paint a cabinet door easily with our step-by-step guide. Enhance your home maintenance skills and give your cabinets a fresh new look.
(Many of the links in this article redirect to a specific reviewed product. Your purchase of these products through affiliate links helps to generate commission for Storables.com, at no extra cost. Learn more)
Introduction
Welcome to this step-by-step guide on how to paint a cabinet door. Giving your cabinets a fresh coat of paint can completely transform the look and feel of your kitchen or bathroom. Whether you want to update the color or simply refresh the existing paint, this DIY project is a cost-effective way to breathe new life into your space.
In this guide, we will walk you through the process of painting a cabinet door, from prepping the surface to choosing the right paint and applying it for a smooth finish. With the right materials, some patience, and a little bit of creativity, you can achieve professional-looking results. So, roll up your sleeves and let’s get started!
Key Takeaways:
- Transform your kitchen or bathroom with a fresh look by painting cabinet doors. Proper preparation, choosing the right paint, and applying multiple coats ensure a professional and durable finish.
- Enjoy the DIY journey of painting cabinet doors to revitalize your space. Take your time, prioritize safety, and unleash your creativity for stunning results.
Read more: How To Paint A Medicine Cabinet
Materials Needed
Before you begin painting your cabinet door, gather the following materials to ensure a smooth and successful project:
- Paintbrushes: Use high-quality brushes in different sizes to apply the primer and paint.
- Roller and tray: A roller is useful for larger surfaces, while a tray will help you evenly distribute the paint.
- Drop cloth or plastic sheet: Protect your work area from drips and spills by covering it with a drop cloth or plastic sheet.
- Sandpaper or sanding block: Choose sandpaper with a medium grit (around 120 to 150) to roughen the surface and create a suitable base for the paint to adhere to.
- Tack cloth: Wipe down the cabinet door after sanding to remove any residue and ensure a clean surface for painting.
- Primer: Opt for a high-quality primer specifically designed for use on wood cabinets.
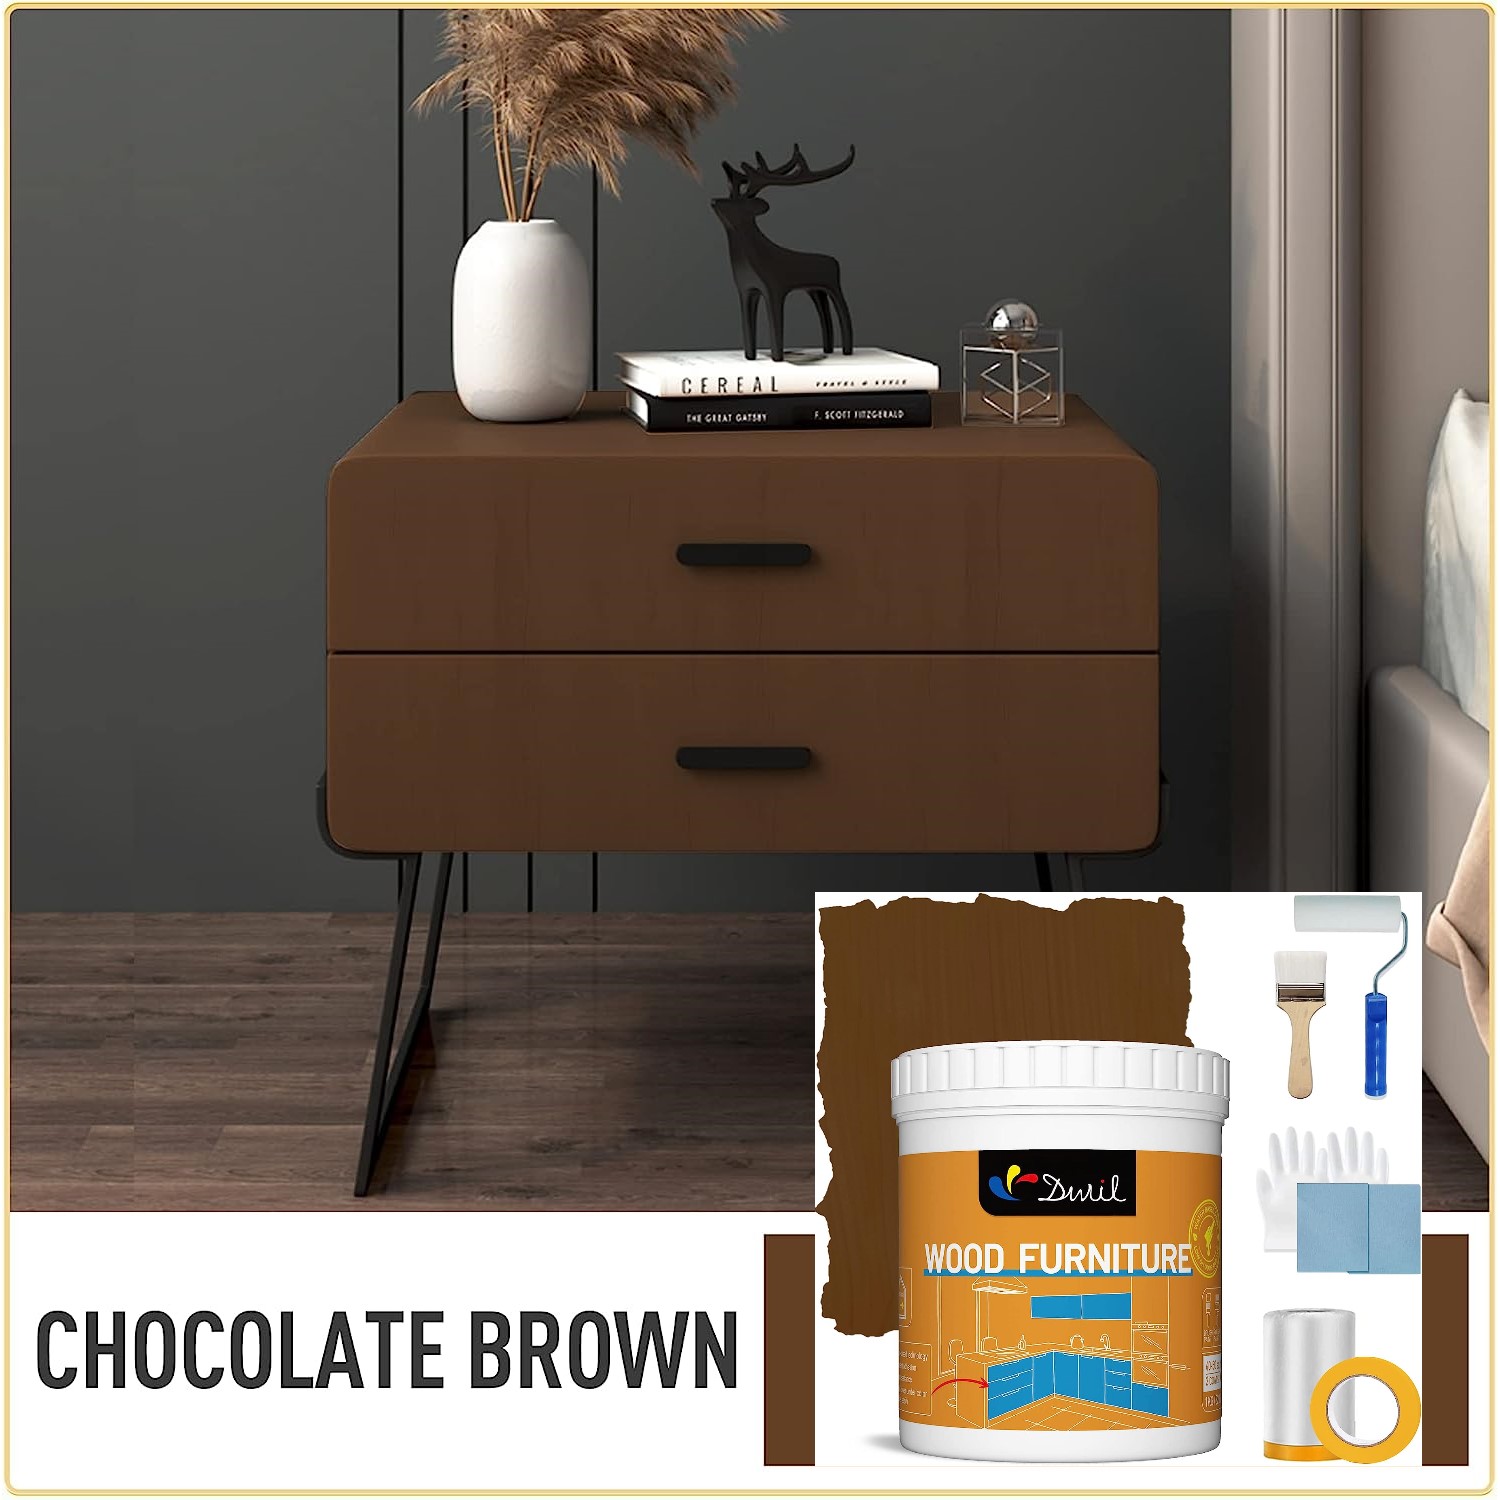
- Paint: Select a paint suitable for cabinets, such as a latex or oil-based paint. Consider the color and finish you desire, whether it’s matte, satin, or high-gloss.
- Painter’s tape: Use painter’s tape to protect any areas you don’t want to paint, such as hinges or hardware.
- Paint thinner or mineral spirits: These solvents are necessary for cleaning brushes and thinning paint if needed.
- Clean cloth: Keep a clean cloth handy for any spills or drips, as well as for wiping down the cabinet door between coats.
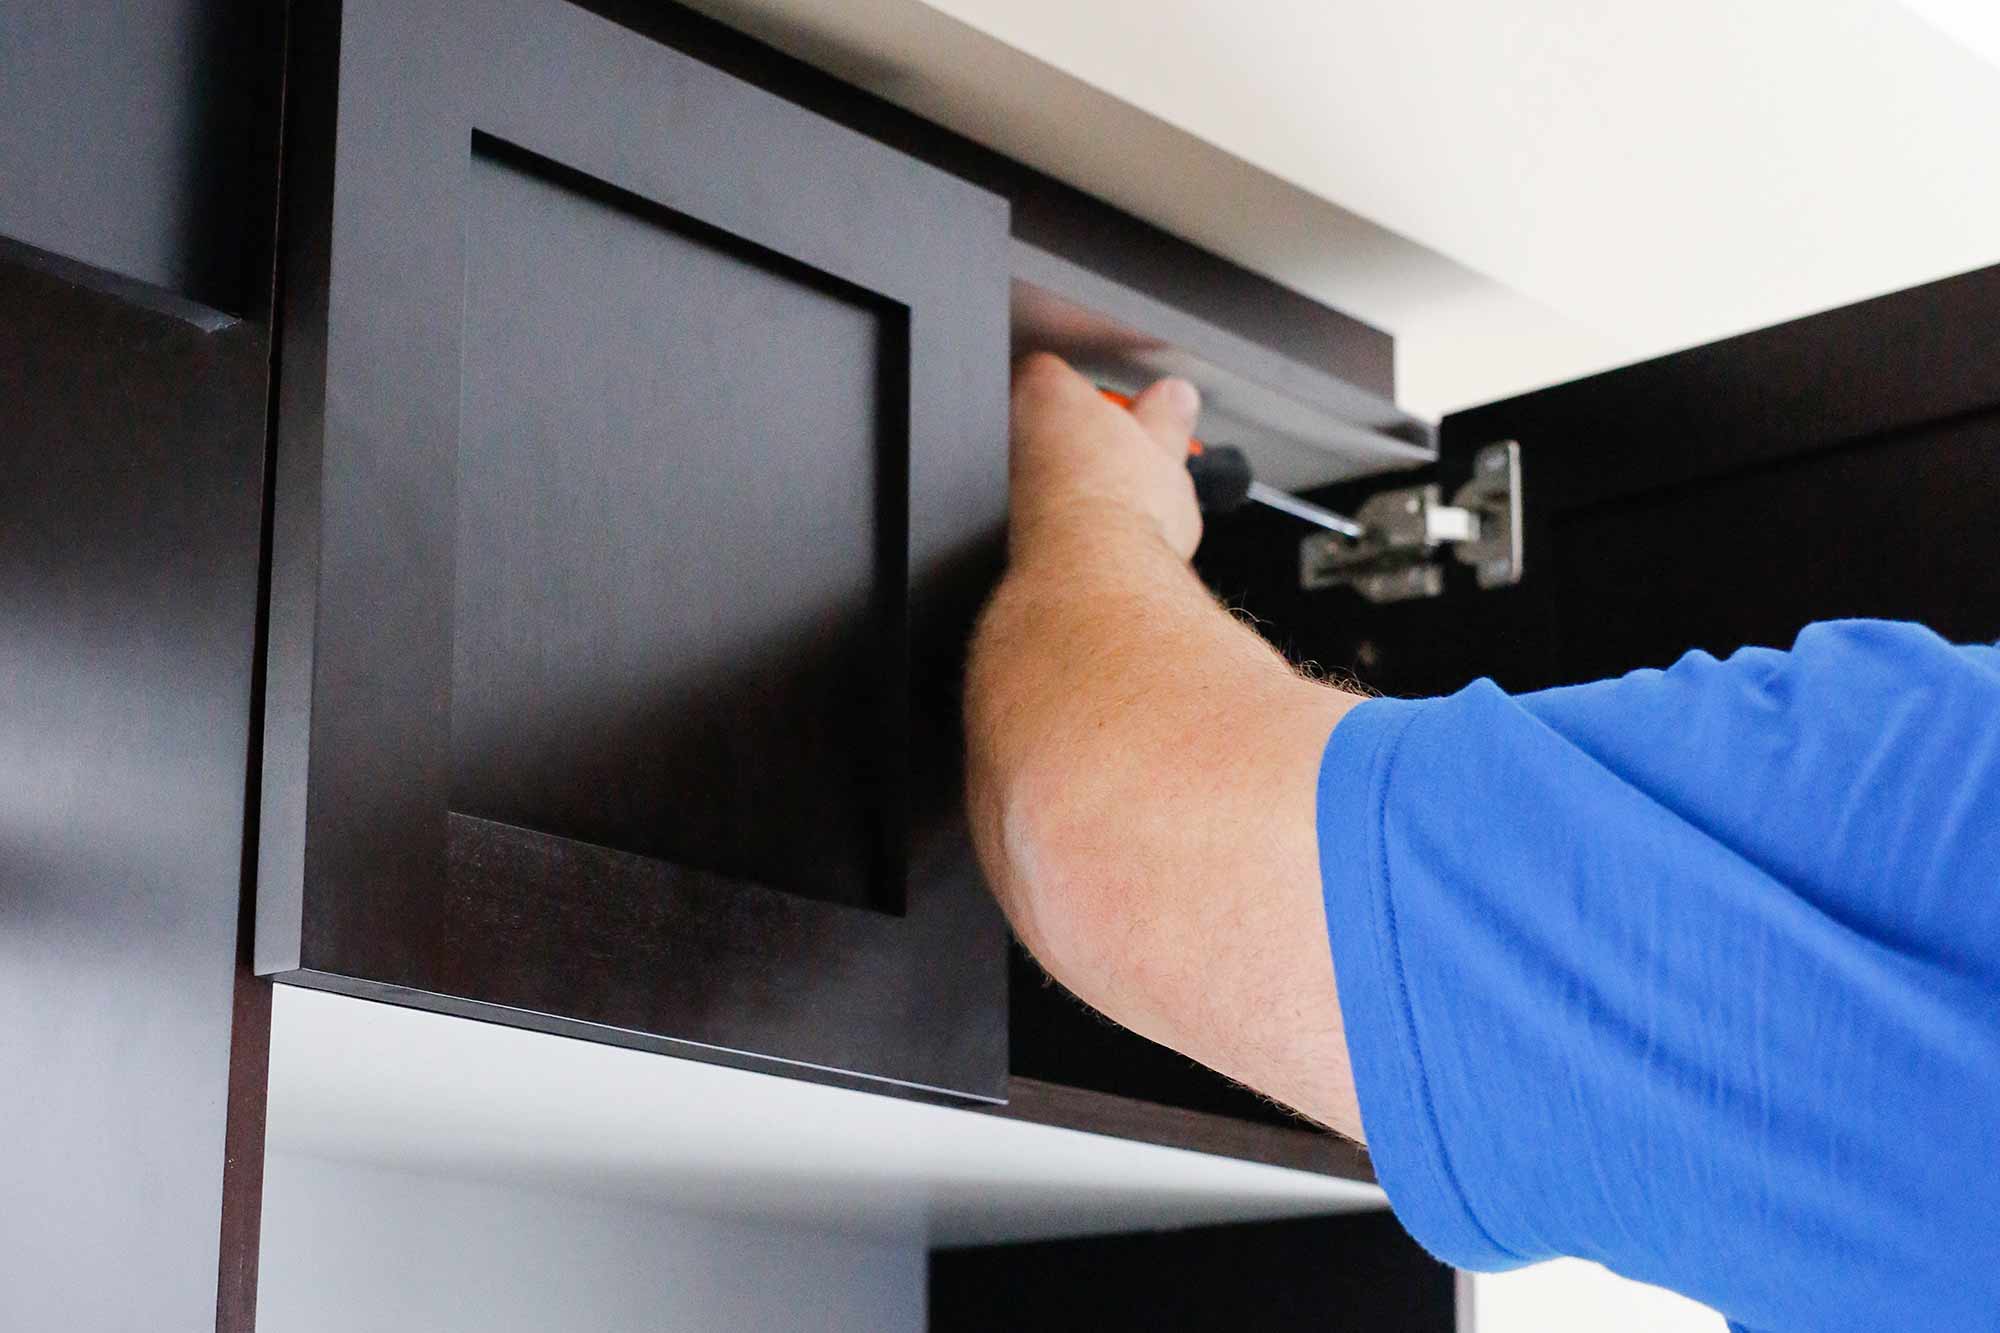
- Screwdriver: You’ll need a screwdriver to remove the cabinet door from its hinges before painting.
- Optional: If you prefer to spray paint your cabinet door, you’ll need a paint sprayer and appropriate safety equipment, such as a mask and goggles.
Having all the necessary materials at hand will help you work efficiently and achieve professional-looking results when painting your cabinet door.
Prepping the Cabinet Door
Preparation is key to achieving a flawless paint finish on your cabinet door. Follow these steps to properly prep the surface:
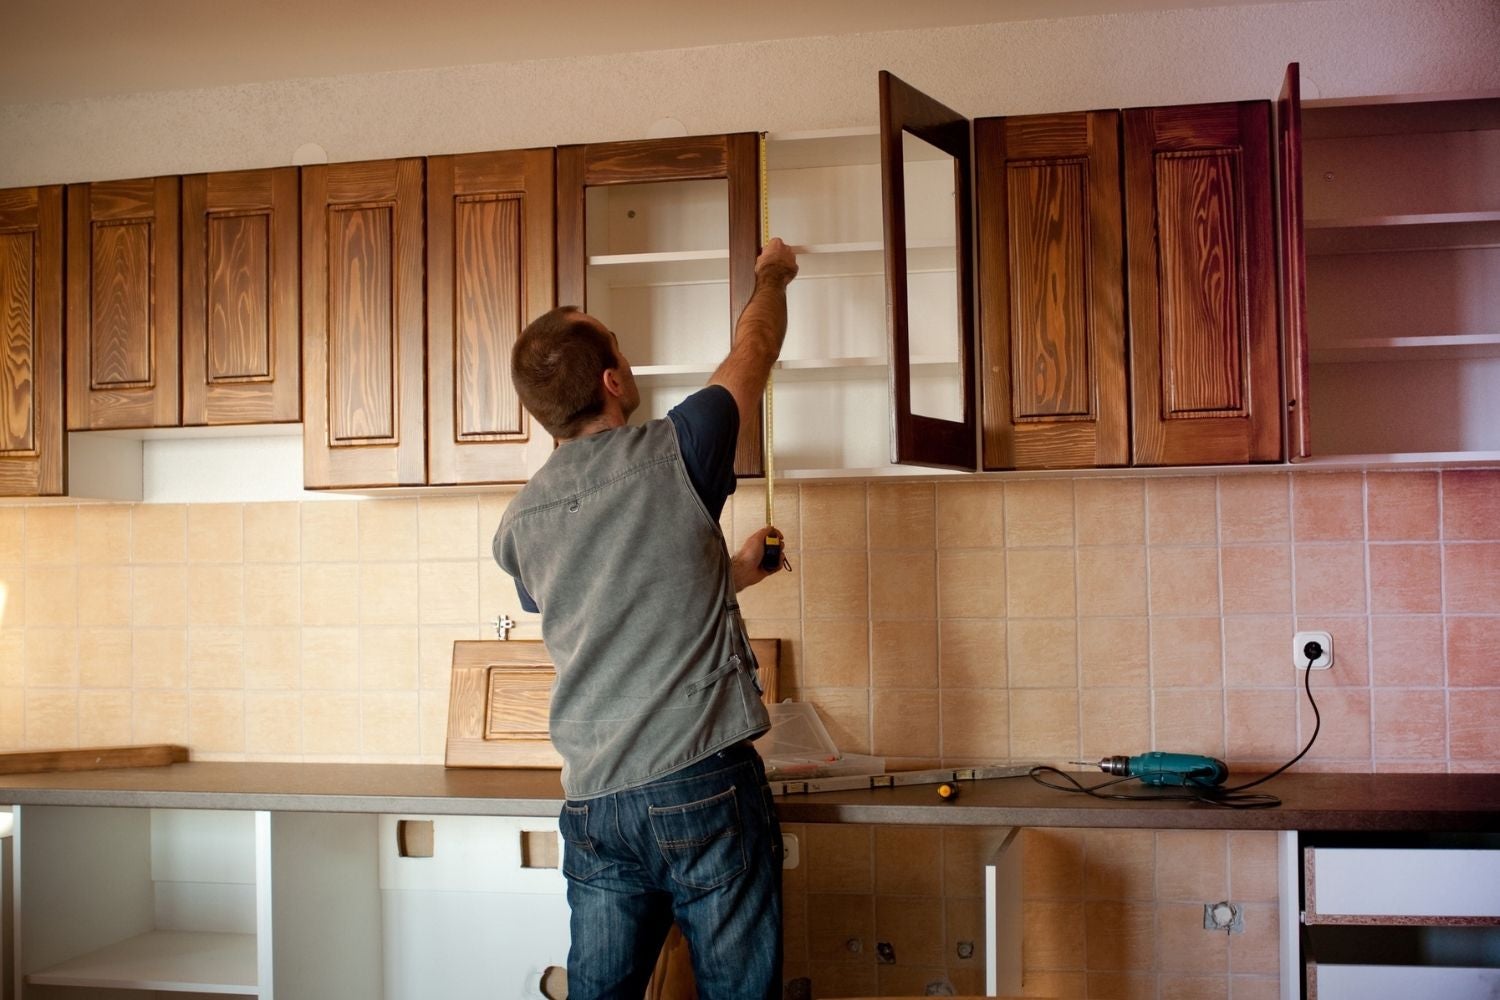
- Remove the cabinet door: Start by unscrewing the hinges using a screwdriver. Place the door on a stable work surface or sawhorses covered with a drop cloth or plastic sheet.
- Clean the surface: Use a mild detergent and warm water to clean the cabinet door. Remove any dirt, grime, or grease that may have accumulated over time. Rinse thoroughly and allow the door to dry completely.
- Protect surrounding areas: If you’re painting the cabinet door while it’s still attached to the cabinet frame, use painter’s tape to cover any adjacent surfaces, walls, or countertops to protect them from accidental paint splatters.
- Remove hardware: Take off any hardware, such as knobs or handles, from the cabinet door. Set them aside in a safe place for reinstallation later.
By properly prepping your cabinet door, you create a clean and smooth surface that promotes better adherence of the primer and paint, resulting in a professional-looking finish.
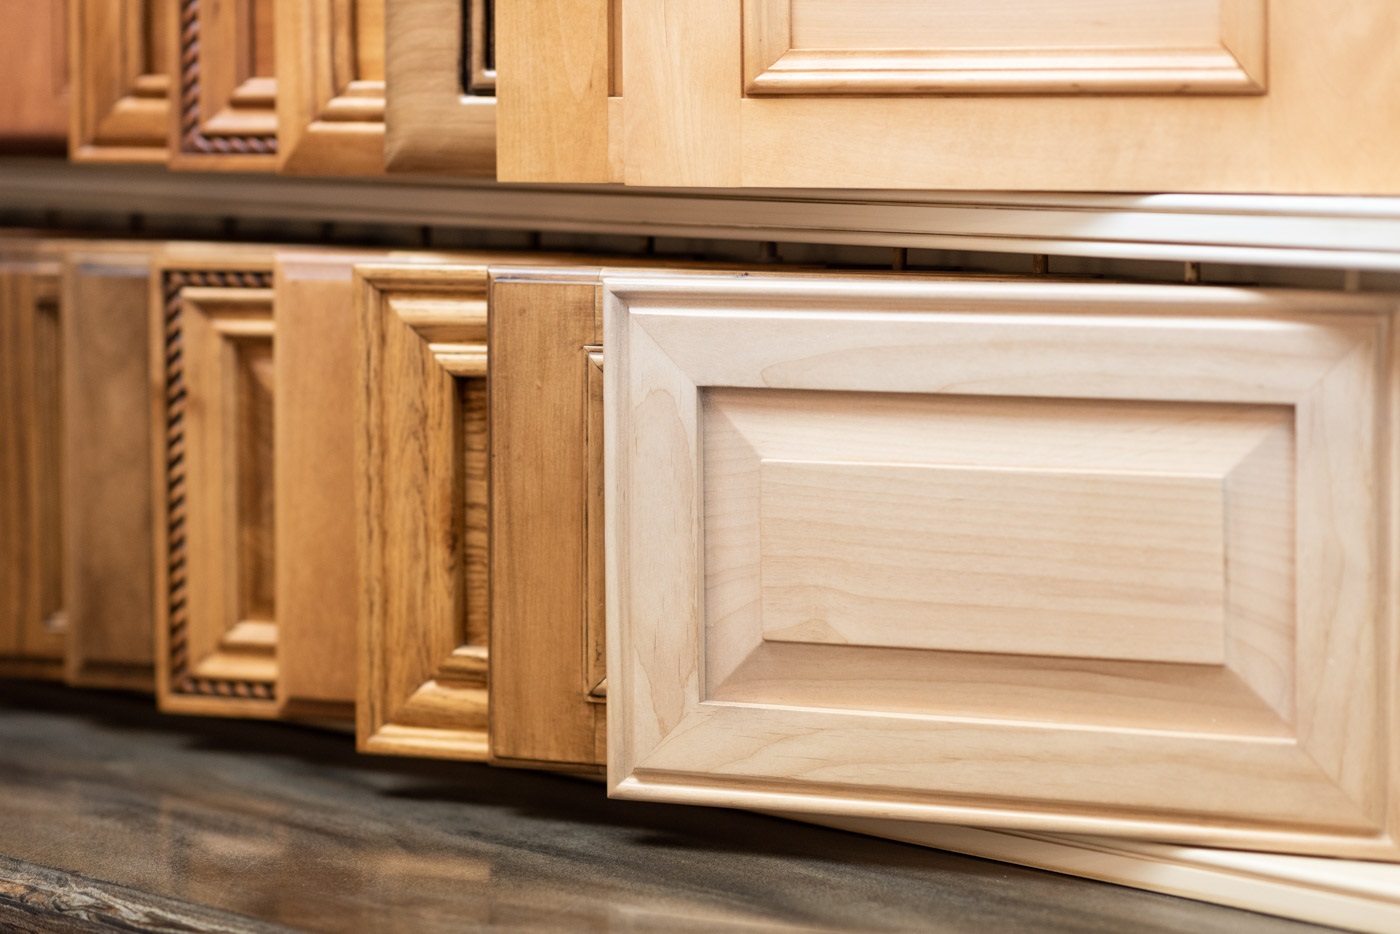
Sanding the Surface
Sanding the cabinet door is an essential step in the painting process. It helps to remove any existing finish, roughens the surface, and provides a better grip for the primer and paint. Follow these steps to sand the surface of your cabinet door:
- Choose the right sandpaper: Select sandpaper with a medium grit, around 120 to 150, for removing the existing finish and creating a suitable surface for paint adhesion.
- Sand in the direction of the grain: Use long, smooth strokes and sand in the direction of the wood grain. This helps to minimize visible scratches on the surface.
- Start with the edges and corners: Begin by sanding the edges and corners of the cabinet door, where paint tends to accumulate and chip over time. Pay attention to any imperfections and sand them down until smooth.
- Sand the flat surfaces: Move to sanding the flat surfaces of the door, working from one end to the other. Keep the sandpaper flat against the surface and apply even pressure as you sand. Be thorough and make sure to sand the entire door to ensure an even finish.
- Wipe off dust: After sanding, use a tack cloth or a clean, damp cloth to wipe away any dust or debris. This ensures a clean surface for the next step.
By sanding the surface of your cabinet door, you create a roughened texture that helps the primer and paint adhere properly. This step is crucial for a durable and long-lasting finish.
Applying Primer
Priming the cabinet door is an important step that helps create a smooth base for the paint and improves its adhesion to the surface. Follow these steps to apply primer to your cabinet door:
- Choose the right primer: Use a high-quality primer specifically designed for use on wood cabinets. Consider using a tinted primer that closely matches the color of your paint to help with coverage.
- Stir the primer: Before applying, thoroughly stir the primer to ensure consistent texture and color.
- Use a paintbrush or roller: Depending on the size of the cabinet door, you can use a paintbrush or roller to apply the primer. A brush gives you more control over corners and edges, while a roller is ideal for larger flat surfaces.
- Start with the edges: Begin by applying primer to the edges and corners of the cabinet door. Use long, smooth strokes and feather the edges to avoid visible brush or roller marks.
- Apply to the flat surfaces: Move on to the flat surfaces of the door, applying primer in thin, even coats. Work in small sections, overlapping each stroke slightly to ensure full coverage.
- Allow drying time: Follow the manufacturer’s instructions for drying time. Typically, primer needs at least 2-4 hours to dry completely before applying paint.
- Lightly sand if necessary: After the primer has dried, inspect the surface for any imperfections. Lightly sand any rough spots or drips using a fine-grit sandpaper, then wipe away dust with a tack cloth or clean cloth.
Applying primer provides a smooth and even surface for the paint to adhere to, ensuring better color coverage and durability. It also helps to prevent the wood grain from bleeding through the paint.
Read more: How To Paint A China Cabinet
Choosing the Right Paint
Choosing the right paint for your cabinet door is crucial for achieving a beautiful and long-lasting finish. Consider the following factors when selecting the paint:
- Type of paint: There are two main types of paint suitable for cabinet doors: latex paint and oil-based paint. Latex paint is water-based, dries faster, and has less odor. Oil-based paint provides a more durable and glossy finish but requires more ventilation during application.
- Finish: Decide on the desired finish for your cabinet door. Options include matte, satin, semi-gloss, and high-gloss. Consider the style of your space and personal preference when selecting the finish.
- Color: Choose a color that complements your overall kitchen or bathroom design. Take into account the existing color scheme and the ambiance you want to create. Don’t be afraid to experiment with bold or subtle hues to achieve your desired look.
- Quality: Invest in high-quality paint to ensure better coverage, durability, and resistance to chipping or peeling. Always read reviews or ask for recommendations when choosing a specific paint brand.
- Additional features: Some paints offer additional features like stain resistance, easy cleanability, or anti-microbial protection. Consider any special requirements or concerns you may have when making your selection.
It’s advisable to consult with a paint professional or visit a reputable paint store to discuss your specific project needs and get expert advice on the best paint option for your cabinet door.
When painting a cabinet door, be sure to sand the surface first to ensure the paint adheres properly. Use a high-quality primer and paint for a smooth and durable finish.
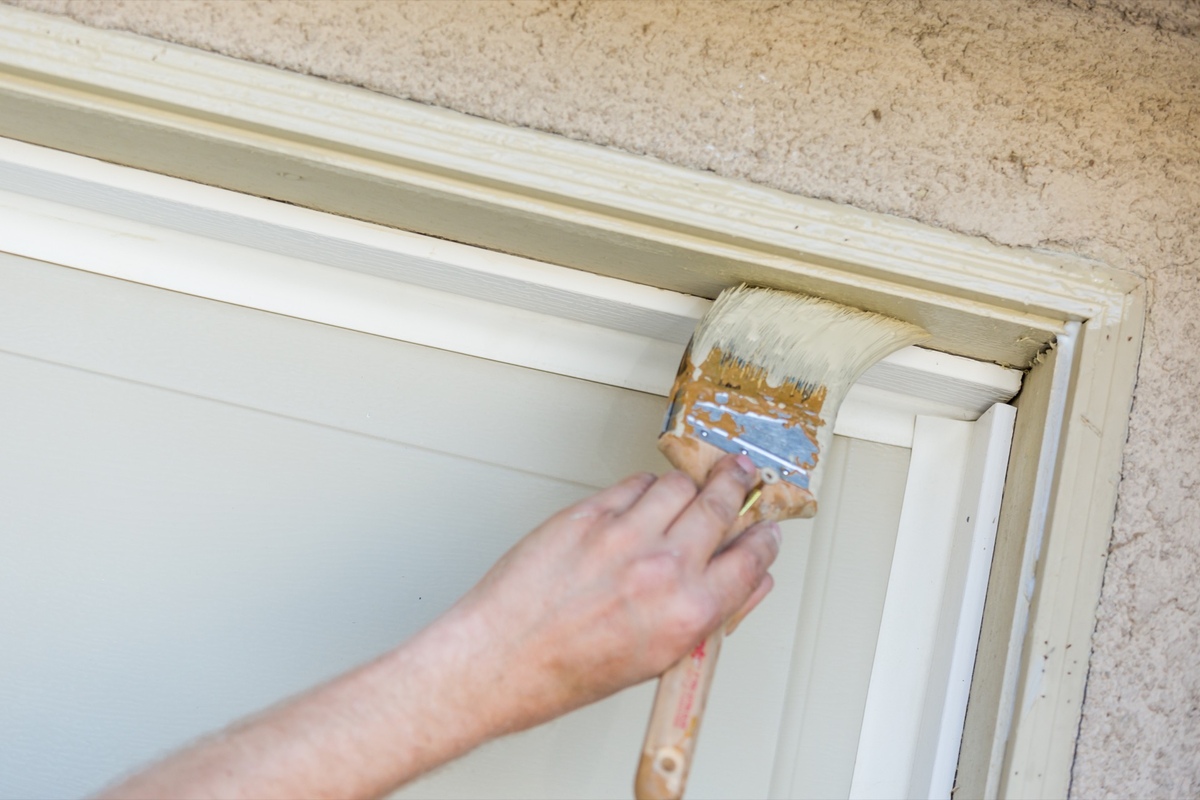
Painting the Cabinet Door
Now comes the exciting part – painting your cabinet door! Follow these steps for a smooth and successful painting process:
- Prepare your workspace: Set up a well-ventilated area with good lighting. Place the cabinet door on a stable work surface covered with a drop cloth or plastic sheet.
- Stir the paint: Give the paint a good stir before starting to ensure an even consistency and distribution of color.
- Start with the edges: Begin by painting the edges and corners of the cabinet door using a small paintbrush. Use long, smooth strokes and feather the edges to avoid visible brush marks.
- Paint the recessed areas: If your cabinet door has recessed panels, use a brush to paint these areas first. Apply paint evenly and work into the corners and crevices to ensure full coverage.
- Move to the flat surfaces: Use a roller or brush, depending on the size of the door, to apply paint to the flat surfaces. Work in small sections, using long, even strokes to achieve a smooth finish.
- Paint in one direction: For a consistent and professional-looking finish, try to paint in one direction, such as from top to bottom or side to side. This helps to minimize visible brush or roller marks.
- Apply thin coats: It’s better to apply multiple thin coats of paint rather than one thick coat. This helps to prevent drips, ensures better coverage, and allows for faster drying time between coats.
- Remove excess paint: Keep a clean, damp cloth or sponge nearby to immediately wipe off any excess paint or drips.
- Allow drying time: Follow the manufacturer’s instructions for drying time between coats. Typically, latex paint needs about 2-4 hours to dry, while oil-based paint may require a longer drying time.
Take your time and work patiently to achieve a professional-looking finish. Remember, proper application techniques and thin, even coats of paint will result in a smoother and more durable surface.
Applying Additional Coats
Applying multiple coats of paint is vital to achieve a flawless and long-lasting finish on your cabinet door. Follow these steps to ensure thorough coverage and a professional-looking result:
- Inspect the first coat: After the initial coat has dried, inspect the cabinet door for any uneven areas, thin spots, or visible brush or roller marks.
- Lightly sand if necessary: If you notice any imperfections, lightly sand the surface using fine-grit sandpaper. Wipe away any dust with a tack cloth or clean cloth.
- Apply subsequent coats: Start by applying a second coat of paint following the same techniques as before. Use long, even strokes and maintain a consistent application pressure.
- Allow drying time between coats: Follow the manufacturer’s recommended drying time between coats. This will help ensure proper curing and enhance the durability of the finish.
- Continue with additional coats if needed: Depending on the desired color intensity and coverage, you may need to apply additional coats of paint. Allow each coat to dry before proceeding.
- Check for consistency: After each coat, evaluate the color consistency and coverage. Ensure that the paint is evenly applied without any visible streaks or patches.
Remember, patience and attention to detail are key when applying multiple coats of paint. Building up the layers gradually will result in a more professional and uniform finish.
Drying and Curing
Proper drying and curing are essential to achieving a durable and long-lasting painted finish on your cabinet door. Follow these steps to ensure the paint is properly dried and cured:
- Follow manufacturer’s instructions: Consult the paint manufacturer’s guidelines for recommended drying and curing times. These guidelines can vary depending on the type and brand of paint you are using.
- Allow sufficient drying time: Be patient and allow the paint to dry completely between coats. This typically takes around 2-4 hours for latex paint, while oil-based paint may require longer drying times.
- Protect from dust and debris: While the paint is drying, make sure to keep the cabinet door in a clean and dust-free environment. Minimize foot traffic and avoid any potential sources of dust or debris.
- Avoid humidity and extreme temperatures: It’s important to ensure that the cabinet door is drying in an area with moderate humidity levels and temperatures. High humidity can cause the paint to dry slowly, while extreme temperatures can affect the curing process.
- Follow curing recommendations: Curing refers to the process of paint fully hardening and reaching its maximum durability. It often takes longer than drying, so be sure to follow the manufacturer’s recommended curing time, which can range from a few days to a few weeks.
- Handle with care: While the paint is drying and curing, be cautious when handling the cabinet door. Avoid touching or placing any objects on the painted surface to prevent smudges or marks.
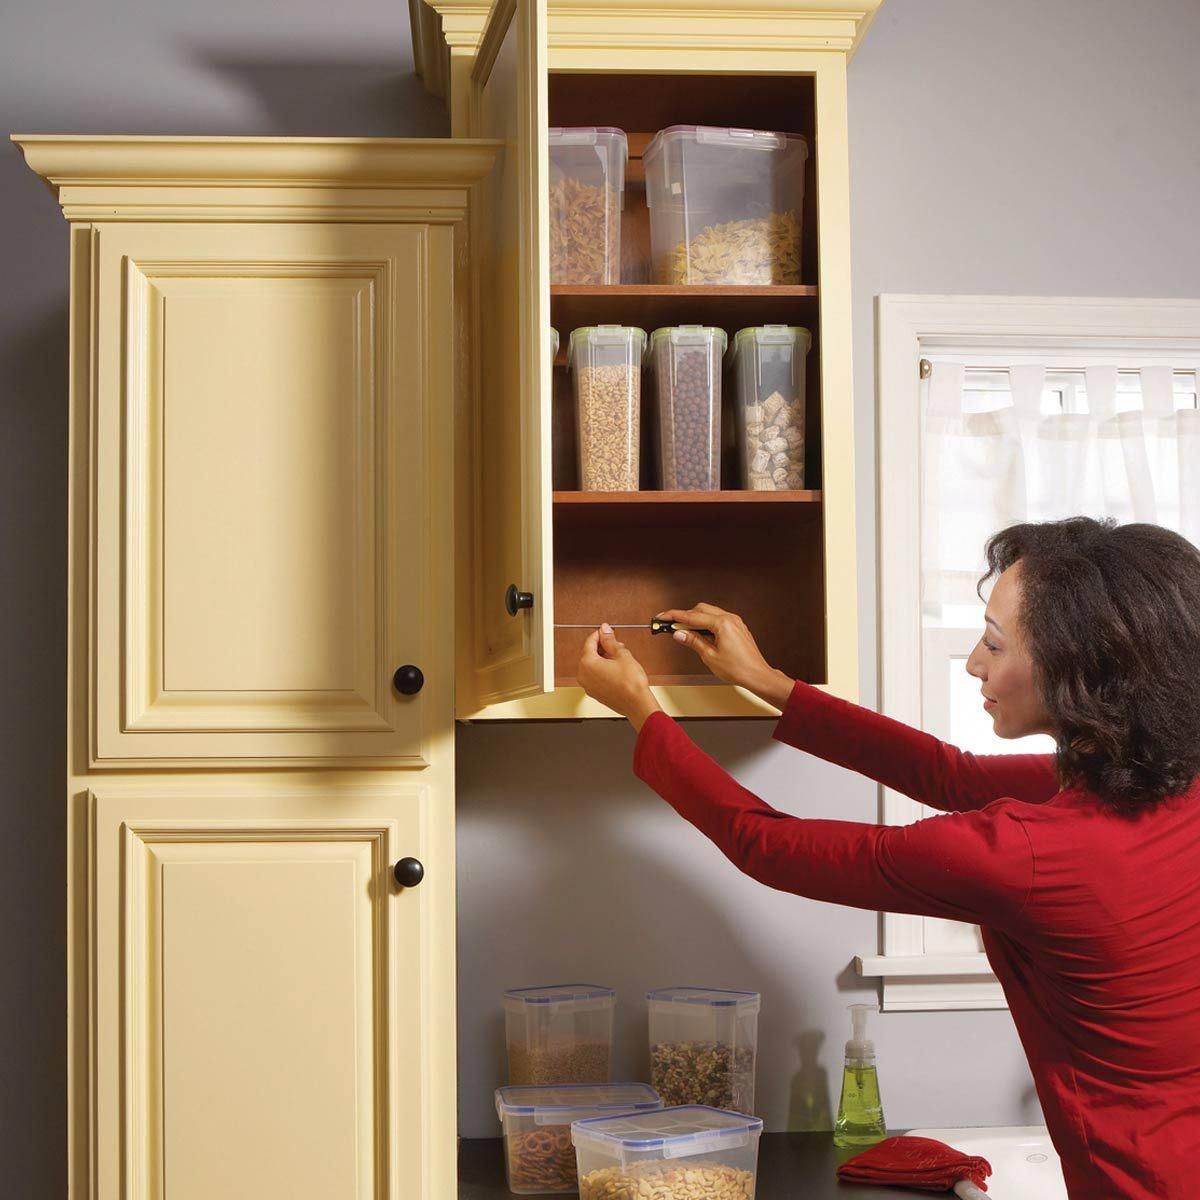
- Reinstall the cabinet door: Once the paint is fully dried and cured, carefully reattach the cabinet door using a screwdriver. Take care not to damage the newly painted surface during the installation process.
By allowing sufficient drying and curing time, you ensure that the paint properly sets and hardens, resulting in a durable and professional-looking finish on your cabinet door.
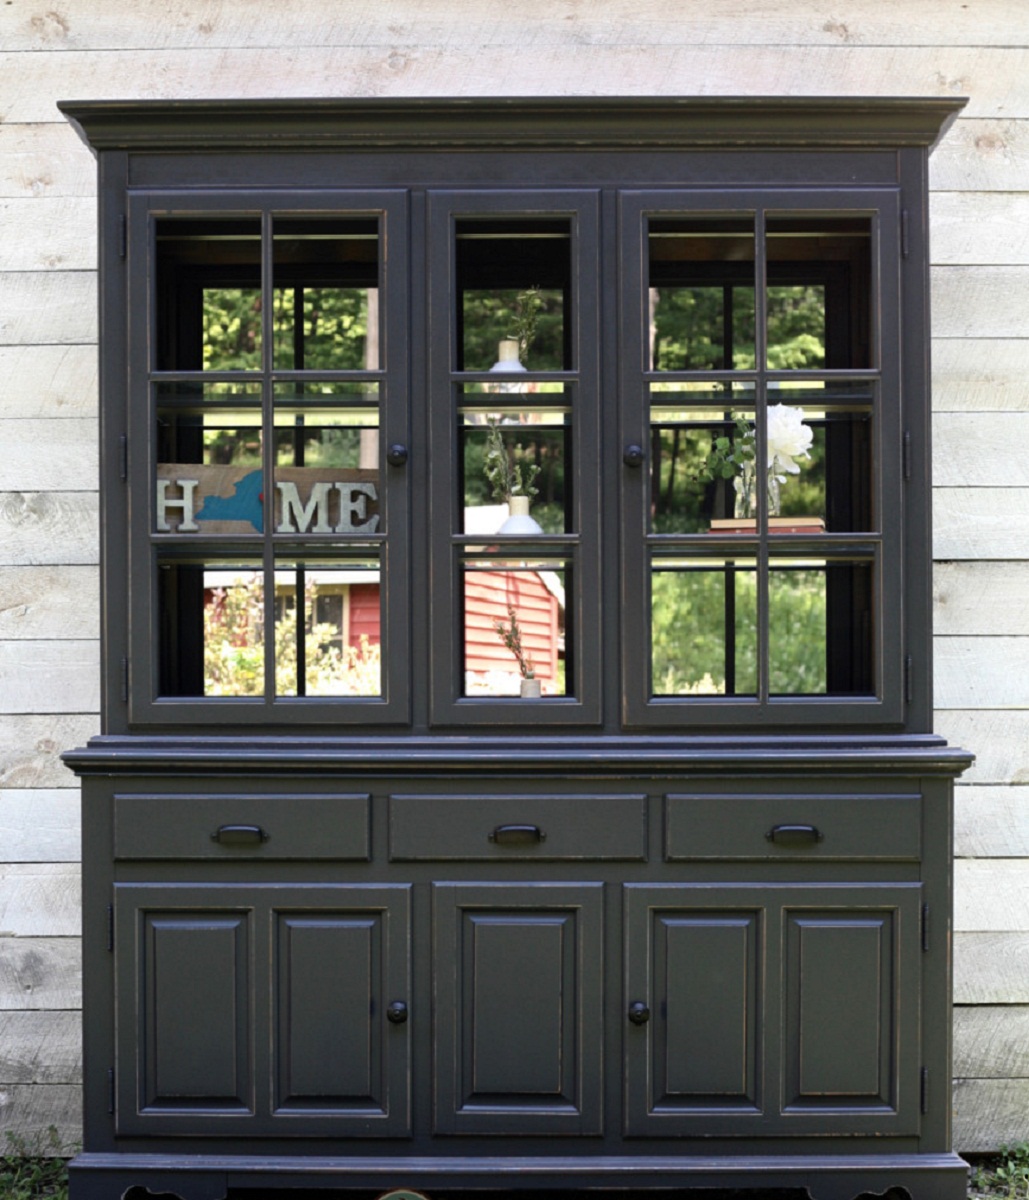
Read more: How To Paint A Wood Cabinet
Reattaching the Cabinet Door
After the paint on your cabinet door has fully dried and cured, it’s time to reattach it to the cabinet frame. Follow these steps to ensure a secure and proper reinstallation:
- Gather your tools: You’ll need a screwdriver for this step. Make sure you have the appropriate size and type for the screws that were originally used to attach the door to the cabinet frame.
- Align the hinges: Hold the cabinet door in place and align the hinges with the corresponding hinge plates on the cabinet frame. Ensure that the door is level and properly positioned.
- Attach the hinges: Using the screwdriver, secure the hinges to the cabinet frame by tightening the screws. Start with the top hinge and work your way down to the bottom hinge, ensuring that all screws are tightened securely.
- Check for smooth opening and closing: After reattaching the cabinet door, open and close it several times to check for any resistance or misalignment. Make any necessary adjustments to ensure a smooth and proper fit.
- Install hardware: Finally, reinstall any hardware, such as knobs or handles, onto the cabinet door. Use a screwdriver to securely fasten them in place.
Once the cabinet door is reattached and the hardware is installed, step back and admire your freshly painted cabinet. The transformation can be truly remarkable!
Remember, take your time and be careful when reattaching the cabinet door to avoid any accidental damage. A properly reinstalled door will ensure years of enjoyment from your beautifully painted cabinets.
Conclusion
Congratulations! You have successfully completed the process of painting a cabinet door. By following the steps outlined in this guide, you have transformed your kitchen or bathroom with a fresh and updated look. Painting your cabinet doors is a cost-effective way to revitalize your space and bring new life to your cabinetry.
Remember, proper preparation and attention to detail are key to achieving a professional-looking finish. Prepping the surface, sanding, and applying primer create a solid foundation for the paint to adhere to. Choosing the right paint, applying multiple coats, and allowing for proper drying and curing ensure a durable and long-lasting result.
Throughout the process, take your time and enjoy the journey. The transformation will be well worth the effort. Keep in mind that the techniques and materials used in this guide can be applied to painting other cabinet doors or furniture pieces as well.
Now that you have learned how to paint a cabinet door, you can apply this knowledge to refresh other areas of your home or even take on larger painting projects. Have fun exploring different colors and finishes to create the perfect aesthetic for your space.
Always remember to prioritize safety by working in a well-ventilated area and using appropriate safety equipment when necessary. Read and follow the instructions provided by paint manufacturers for best results.
Thank you for joining us on this DIY painting endeavor. We hope that this guide has empowered you to unleash your creativity and achieve stunning results in your home. Enjoy your beautifully painted cabinet doors!
Frequently Asked Questions about How To Paint A Cabinet Door
Was this page helpful?
At Storables.com, we guarantee accurate and reliable information. Our content, validated by Expert Board Contributors, is crafted following stringent Editorial Policies. We're committed to providing you with well-researched, expert-backed insights for all your informational needs.
0 thoughts on “How To Paint A Cabinet Door”