
Articles
How To Paint My Countertops
Modified: January 5, 2024
Learn how to paint your countertops with our informative articles. Transform your space with these DIY tips and tricks.
(Many of the links in this article redirect to a specific reviewed product. Your purchase of these products through affiliate links helps to generate commission for Storables.com, at no extra cost. Learn more)
Introduction
Are you tired of looking at your outdated or worn-out countertops? Do you dream of giving your kitchen or bathroom a fresh new look? Painting your countertops can be a cost-effective and creative way to transform the appearance of your space. Whether you want to update the color or create a faux stone finish, this step-by-step guide will help you achieve stunning results.
In this article, we will explore the materials needed, the preparation process, the selection of the right paint, and the steps involved in painting your countertops. We will also discuss techniques to create a faux marble finish and provide tips for maintaining and prolonging the lifespan of your painted countertops.
With a little bit of patience, creativity, and the right tools, you can give your countertops a fresh and stylish look without breaking the bank. Let’s get started!
Key Takeaways:
- Transform your kitchen or bathroom with a cost-effective countertop painting project. Follow the step-by-step guide for stunning results and unleash your creativity to achieve a personalized and stylish look.
- Achieve a luxurious faux marble finish and protect your painted countertops with the right materials, proper preparation, and high-quality sealant. Maintain their beauty with gentle cleaning and regular touch-ups for long-lasting durability.
Read more: How To Paint Formica Countertops
Materials Needed
Before you begin painting your countertops, it’s essential to gather all the necessary materials. Here’s a list of items you’ll need:
- Painter’s tape
- Plastic sheets or drop cloths
- Sanding block or sandpaper
- Trisodium phosphate (TSP) cleaner
- Primer specifically designed for countertops
- Paint suitable for countertops – acrylic or epoxy-based
- Paint brushes or foam rollers
- Sea sponges or feather dusters (for creating faux finishes)
- Sealer designed for countertops
- Protective gloves and goggles
- Lint-free cloth
- Paint tray
Make sure to choose high-quality products that are specifically designed for countertop painting. These materials will ensure durability and long-lasting results.
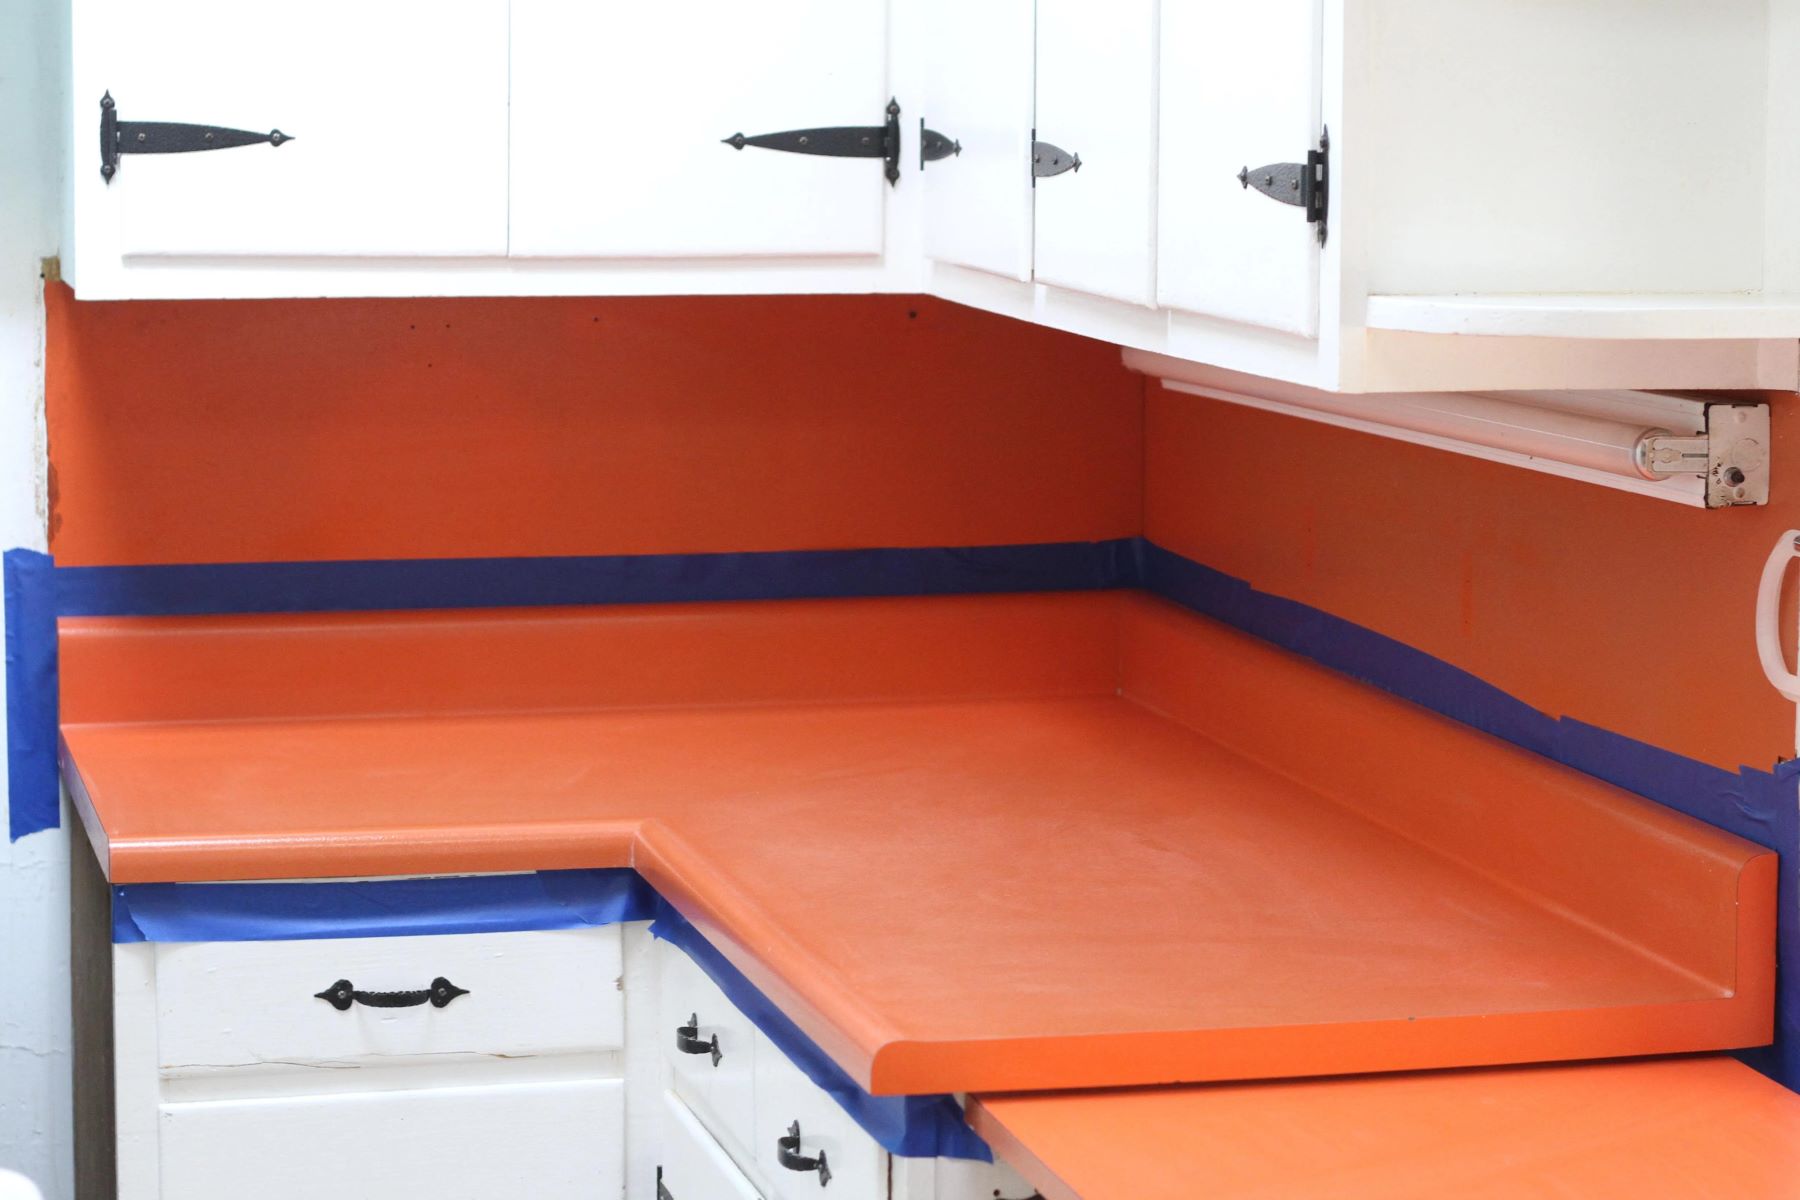
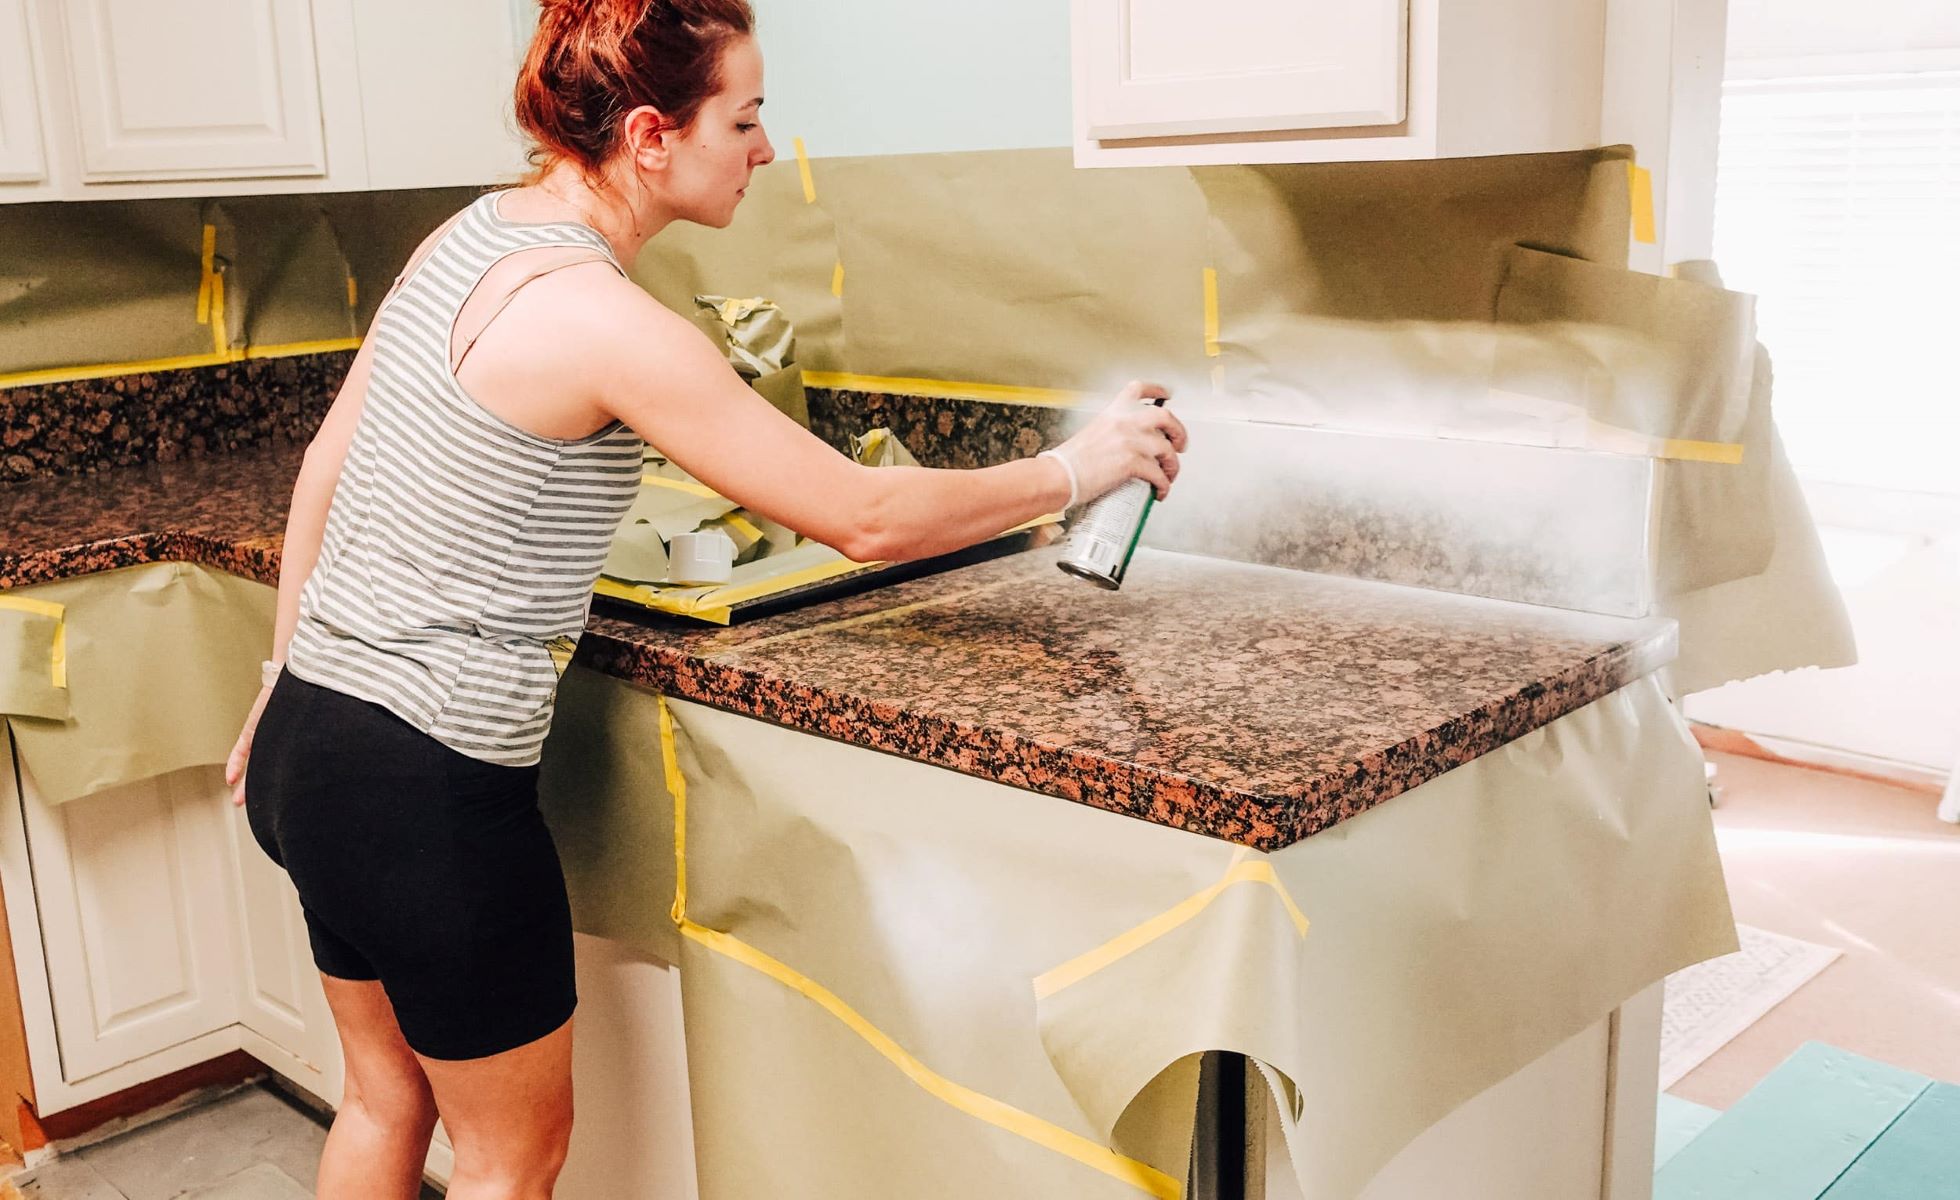
It’s also important to prepare your workspace. Cover the surrounding areas with plastic sheets or drop cloths to protect them from paint splatters. Use painter’s tape to secure the edges and prevent any accidental smudging.
Now that you have all the necessary materials ready, let’s move on to preparing the countertops for painting.
Preparing the Countertops
Properly preparing your countertops is crucial for a successful painting project. Follow these steps to ensure that the paint adheres well and lasts for a long time:
- Clean the countertops: Begin by thoroughly cleaning your countertops to remove any grease, dirt, or stains. Use a trisodium phosphate (TSP) cleaner, following the instructions on the packaging. This will ensure that the surface is free from any residue that could interfere with the paint adhesion.
- Sand the surface: Use a sanding block or sandpaper to roughen the surface of the countertops. This will create a better bond between the paint and the countertop. Make sure to sand in a circular motion, covering the entire surface evenly. After sanding, wipe away any dust with a damp cloth.
- Repair any damage: If there are any chips, cracks, or scratches on your countertops, now is the time to fix them. You can use a countertop repair kit or epoxy filler to fill in any imperfections. Follow the instructions provided by the manufacturer and allow the repairs to dry completely.
- Mask off the surrounding areas: Use painter’s tape to protect the walls, cabinets, and any other surfaces adjacent to the countertops. This will ensure clean and defined edges, preventing unwanted paint smudges.
By thoroughly cleaning, sanding, repairing, and masking off your countertops, you are setting the foundation for a smooth and professional-looking paint job. Now, it’s time to choose the right paint that will give your countertops the desired finish and durability.
Choosing the Right Paint
When it comes to painting countertops, selecting the right paint is essential for achieving a long-lasting and beautiful finish. Here are some factors to consider when choosing the paint:
- Countertop material: Different countertop materials may require specific types of paint. For example, laminate countertops may require a different kind of paint than granite or marble countertops. Research the recommended paint options for your specific countertop material.
- Durability: Look for paints that are specifically designed for countertops and offer durability, resistance to stains, and high traffic resilience. Acrylic or epoxy-based paints are popular choices for their durability and versatility.
- Color and finish: Consider the color scheme and overall design of your kitchen or bathroom. Choose a paint color that complements the space and creates the desired aesthetic. Additionally, think about the finish you want to achieve, whether it’s a solid color, faux marble, or a textured finish.
- Application method: Decide whether you prefer using paint brushes or foam rollers for application. Foam rollers generally provide a smoother finish, while brushes may be necessary for detailed areas or creating texture.
- Time and budget: Take into account the drying time and any additional costs associated with multiple coats or additional painting techniques. Consider your schedule and budget constraints when selecting the paint.
It’s also a good idea to read reviews and seek recommendations from professionals or experienced DIYers who have previously painted their countertops. They can provide valuable insights on specific brands and paint products that have yielded successful results.
Once you’ve chosen the right paint for your countertops, it’s time to move on to the next step: priming.
Priming the Countertops
Priming is a crucial step that prepares the surface of your countertops for painting. It enhances paint adhesion and ensures a smoother and more professional-looking finish. Follow these steps to prime your countertops:
- Read the instructions: Read the manufacturer’s instructions on the primer carefully to understand the application process and drying time.
- Prepare the primer: If your chosen primer requires mixing, follow the instructions to prepare the primer solution. Ensure that the primer is well-mixed for even application.
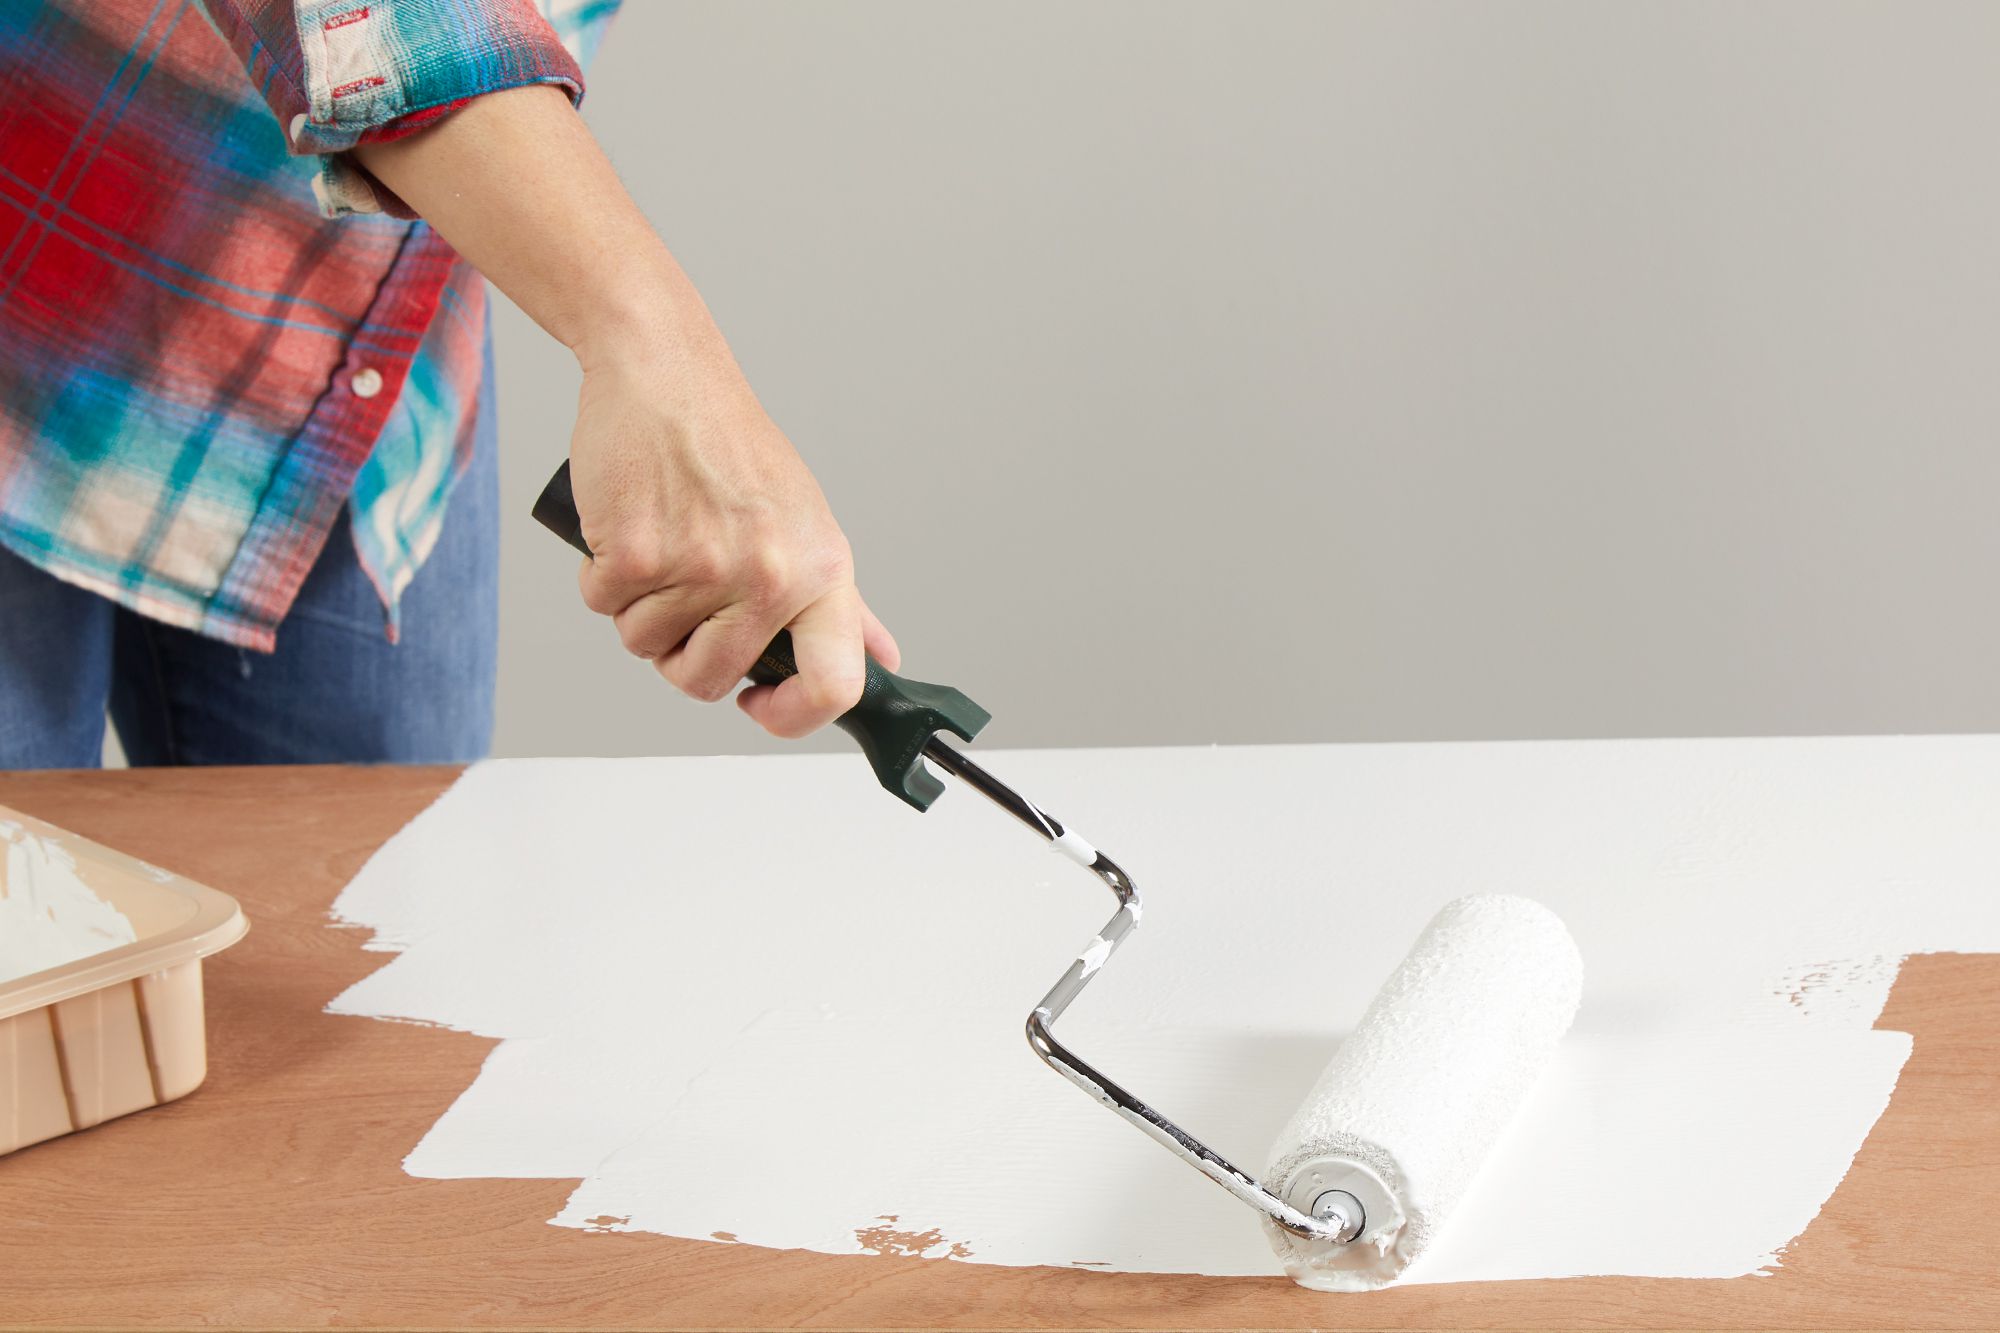
- Apply the primer: Use a paintbrush or foam roller to apply an even layer of primer to the countertop surface. Start from the edges and work your way towards the center, making sure to cover the entire surface. Apply the primer in thin and even coats, following the manufacturer’s recommended drying time between each coat.
- Sand the surface (optional): Depending on the type of primer you use, you may need to lightly sand the surface after the primer has dried. Sanding will smoothen the surface and create a better bond for the paint. Use a fine-grit sandpaper and wipe away any dust with a damp cloth afterward.
- Clean up: After priming, it’s crucial to clean up any primer spills or smudges immediately. Use a damp cloth or the recommended cleaning solution to remove any excess primer.
Priming creates a solid foundation for the paint to adhere to and helps achieve a more durable and long-lasting finish. Once the primer has dried completely and any necessary sanding is done, you can move on to the next step: applying the base coat.
Read more: How To Get Paint Off Countertops
Applying the Base Coat
After priming the countertops, it’s time to apply the base coat of paint. This step sets the tone for the overall color and appearance of your countertops. Follow these steps to achieve a smooth and even base coat:
- Prepare the paint: Read the instructions on the paint can or container to ensure proper mixing, if necessary. Some paints may require stirring to achieve a consistent color and texture.
- Start with the edges: Use a paintbrush to carefully paint the edges and corners of the countertops. This will allow for better control and precision in these areas.
- Apply the paint: Use a foam roller or paintbrush to apply an even coat of paint to the surface of the countertop. Start from one end and work your way towards the other, applying the paint in long, smooth strokes. Make sure to cover the entire surface evenly.
- Allow drying time: Follow the manufacturer’s instructions for the recommended drying time between coats. This will ensure that the base coat fully dries and provides a solid foundation for the subsequent layers.
- Apply additional coats (if necessary): Depending on the desired color and coverage, you may need to apply multiple coats of paint. Wait for each coat to dry completely before applying the next one. This will help achieve a more opaque and professional-looking finish.
Remember to clean up any paint spills or smudges promptly using a damp cloth. Ensure that the base coat is applied evenly and has a smooth finish. Once the base coat is dry, you can proceed to add multiple layers or create a faux marble finish, depending on your desired outcome.
Continue reading to learn more about adding multiple layers and creating a faux marble finish for your painted countertops.
When painting your countertops, make sure to thoroughly clean and sand the surface before applying a primer. This will help the paint adhere better and create a smoother finish.
Adding Multiple Layers
Adding multiple layers of paint to your countertops can enhance the depth and richness of the color, as well as increase durability. It can also help achieve a more even and professional finish. Here’s how to add multiple layers to your painted countertops:
- Ensure the base coat is completely dry: Before adding additional layers of paint, make sure that the base coat has dried completely. This will prevent any smudging or blending of colors.
- Lightly sand between layers (optional): If desired, you can lightly sand the surface between layers to create a smoother finish. Use a fine-grit sandpaper and wipe away any dust with a damp cloth before applying the next layer.
- Apply subsequent coats: Using a foam roller or paintbrush, apply another even coat of paint over the base coat. Work in long, smooth strokes to ensure even coverage. Allow each coat to dry completely before applying the next one. Depending on the desired color intensity and coverage, you may need to apply multiple coats.
- Inspect for any imperfections: After each layer has dried, inspect the surface for any imperfections, such as drips or bubbles. If necessary, lightly sand these areas and touch up with paint to maintain a smooth and uniform finish.
Adding multiple layers of paint can create a stunning and professional-looking result. It’s important to take your time and allow adequate drying time between each coat. Remember to clean up any paint spills or smudges promptly to ensure a clean and seamless appearance.
Once you are satisfied with the number of layers and the overall color intensity, you can move on to creating a faux marble finish, if desired.
Creating a Faux Marble Finish
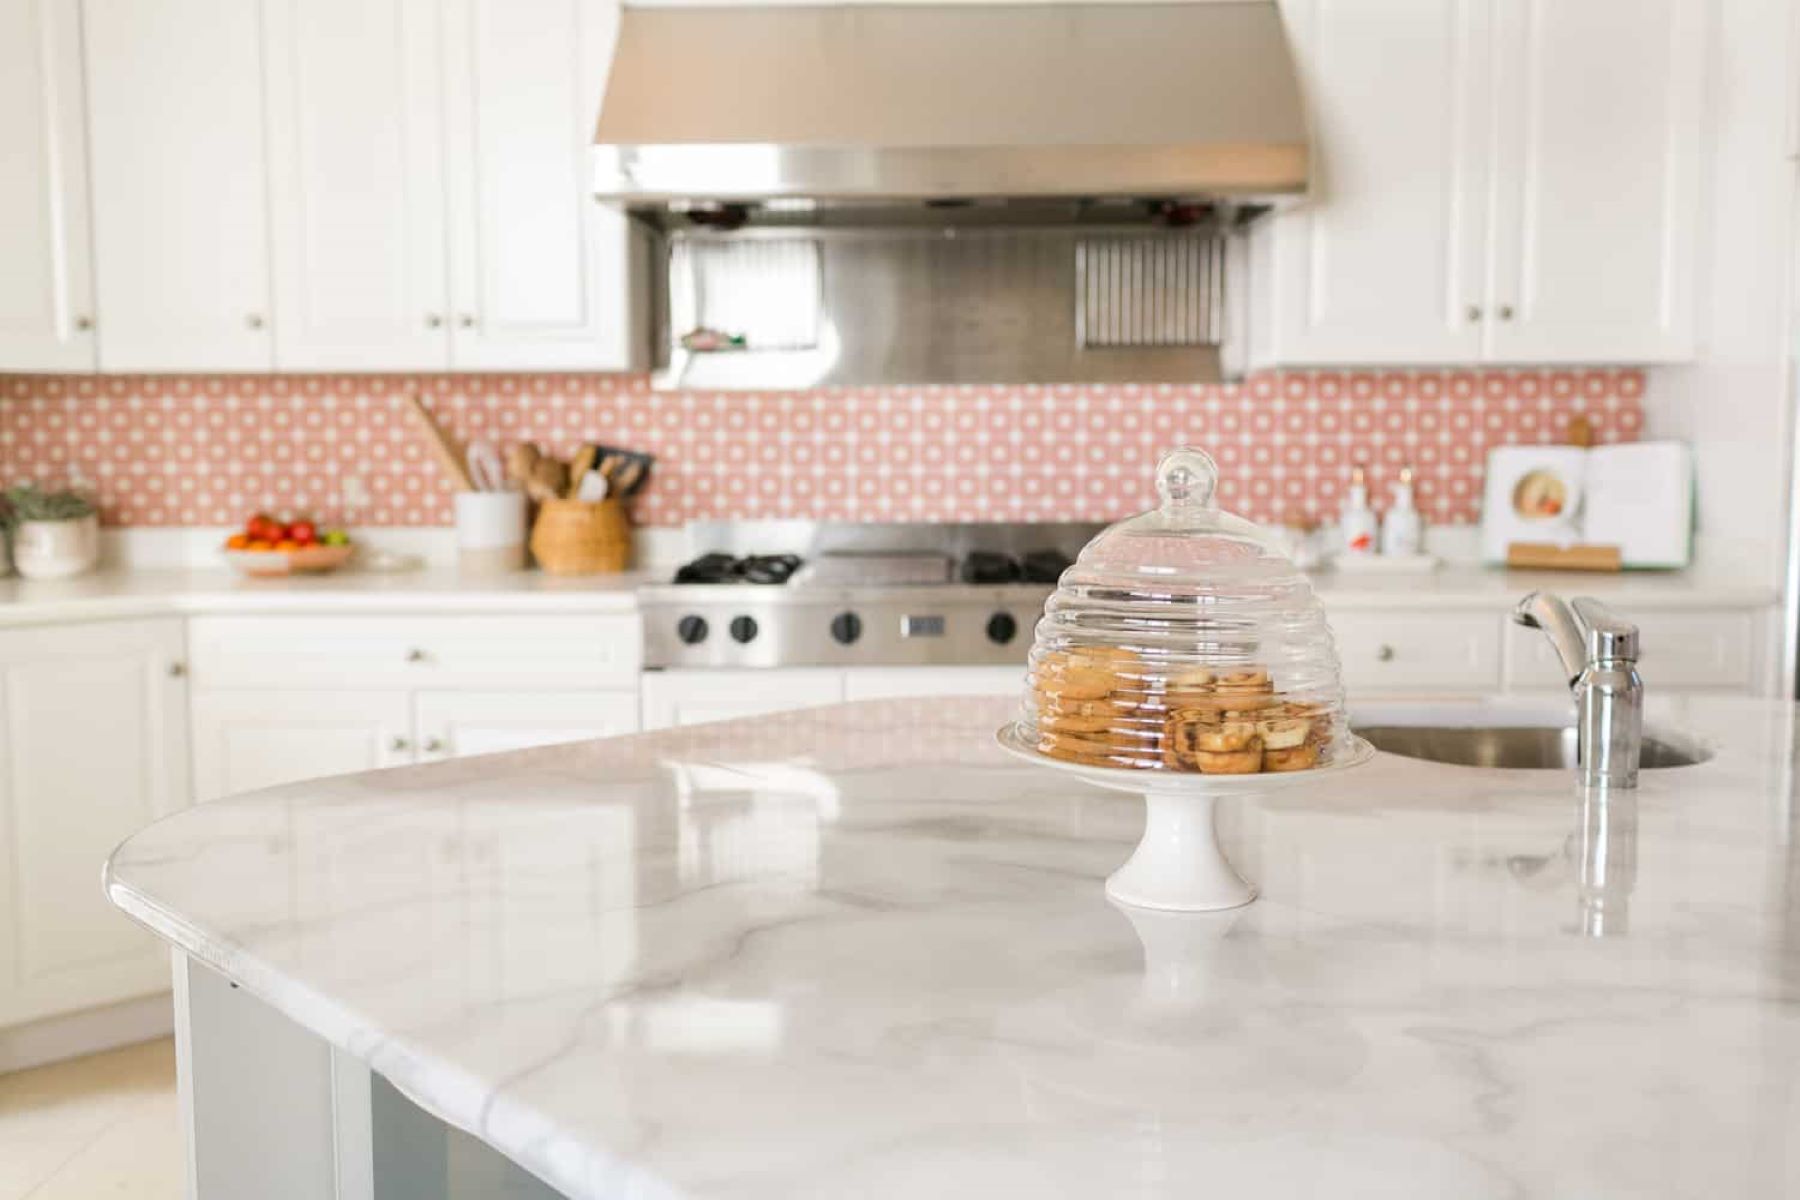
If you want to give your painted countertops a luxurious and sophisticated look, you can create a faux marble finish. This technique mimics the natural patterns and veining found in real marble, adding a touch of elegance to your space. Follow these steps to achieve a faux marble finish:
- Choose your colors: Select two or three shades of paint that resemble the colors of marble. Typically, you’ll need a base color that matches the background of the marble and one or two accent colors for the veining.
- Apply the base color: Use a foam roller or paintbrush to apply the base color evenly to the countertop surface. This will serve as the foundation for the faux marble effect. Allow the base color to dry completely before proceeding to the next step.
- Create the veining: Dip a sea sponge or feather duster into one of the accent colors, and lightly dab it onto the surface in a random pattern. This will create the veining effect. You can use a reference image of marble patterns for guidance, but remember that each piece of marble is unique, so don’t worry about perfection.
- Blend the colors: To create a more realistic marble effect, gently blend the colors using a clean sea sponge or feather duster. Lightly swirl the sponge over the surface, blending the base color and accent colors together. This will soften the lines and add depth to the veining.
- Touch up and refine: If necessary, use a fine-tip paintbrush to refine and add more details to the veining. You can also lightly dab the sponge with a bit of the base color to create subtle highlights or shadows. Experiment and have fun with the process until you achieve the desired marble effect.
Creating a faux marble finish requires patience and practice. It’s best to experiment on a small area or a practice surface before tackling your countertops. Remember, the beauty of faux marble lies in its imperfections, so don’t worry about making it look too uniform or precise.
Once you’re satisfied with the faux marble effect, it’s time to seal and protect your painted countertops.
Sealing the Countertops
After painting and creating your desired finish on the countertops, it’s crucial to seal them to protect the paint and ensure longevity. Sealing will provide an added layer of durability, enhance the appearance, and make the countertops easier to clean. Follow these steps to seal your painted countertops:
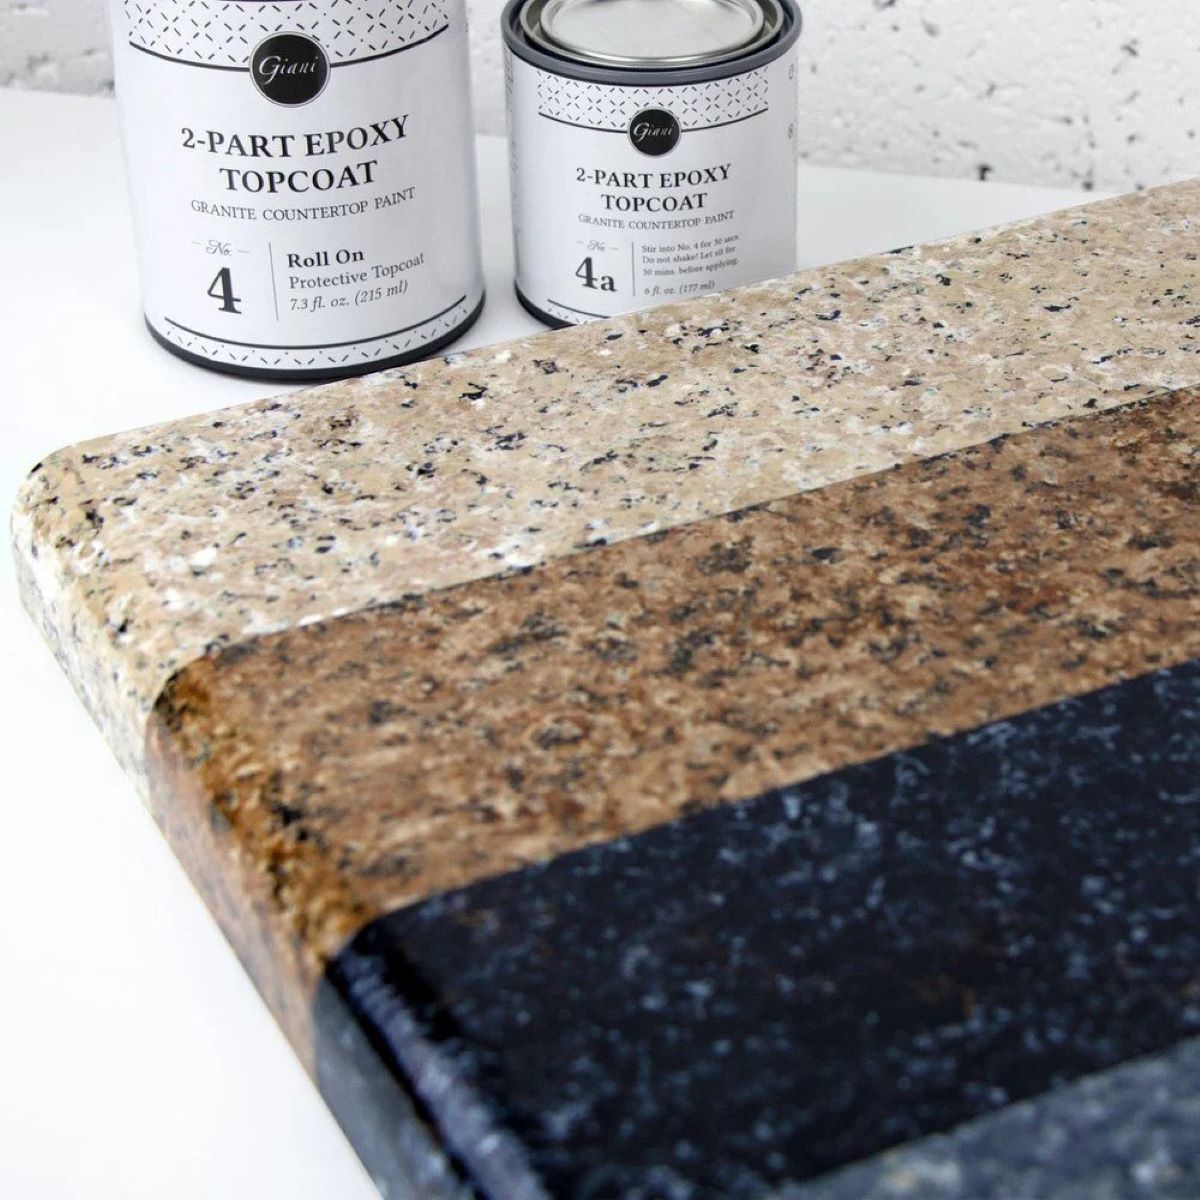
- Choose the right sealer: Select a high-quality sealer specifically designed for countertops. Look for a sealer that is compatible with the type of paint you used and provides protection against spills, stains, and heat. Read the product instructions thoroughly before applying.
- Prepare the countertops: Ensure that the painted surface is clean and free from any dust or debris. If necessary, lightly clean the countertops using a mild soap and water solution, and allow them to dry completely.
- Apply the sealer: Use a clean paintbrush or foam roller to apply a thin and even layer of sealer over the entire painted surface. Work in small sections, starting from one end and moving towards the other. Avoid overlapping or excessive application, as it can lead to uneven drying and a cloudy appearance.
- Allow drying time: Follow the manufacturer’s instructions for the recommended drying time between coats. Typically, you may need to apply two or more coats of sealer for optimal protection. Allow each coat to dry completely before applying the next one.
- Smooth out any imperfections: If you notice any bubbles or brush strokes in the sealer, gently brush over them with a clean, dry brush to smooth them out. This will ensure a more even and professional-looking finish.
Remember to work in a well-ventilated area during the sealing process and wear protective gloves and goggles as instructed by the product manufacturer. Once the final coat of sealer has dried, your countertops will be ready for use.
However, it’s important to keep in mind that even with a sealed surface, proper care and maintenance are vital to preserve the longevity of your painted countertops.
Read more: What Paint To Use On Countertops
Maintenance Tips
To keep your painted countertops looking their best and maintain their durability, there are a few key maintenance tips to follow:
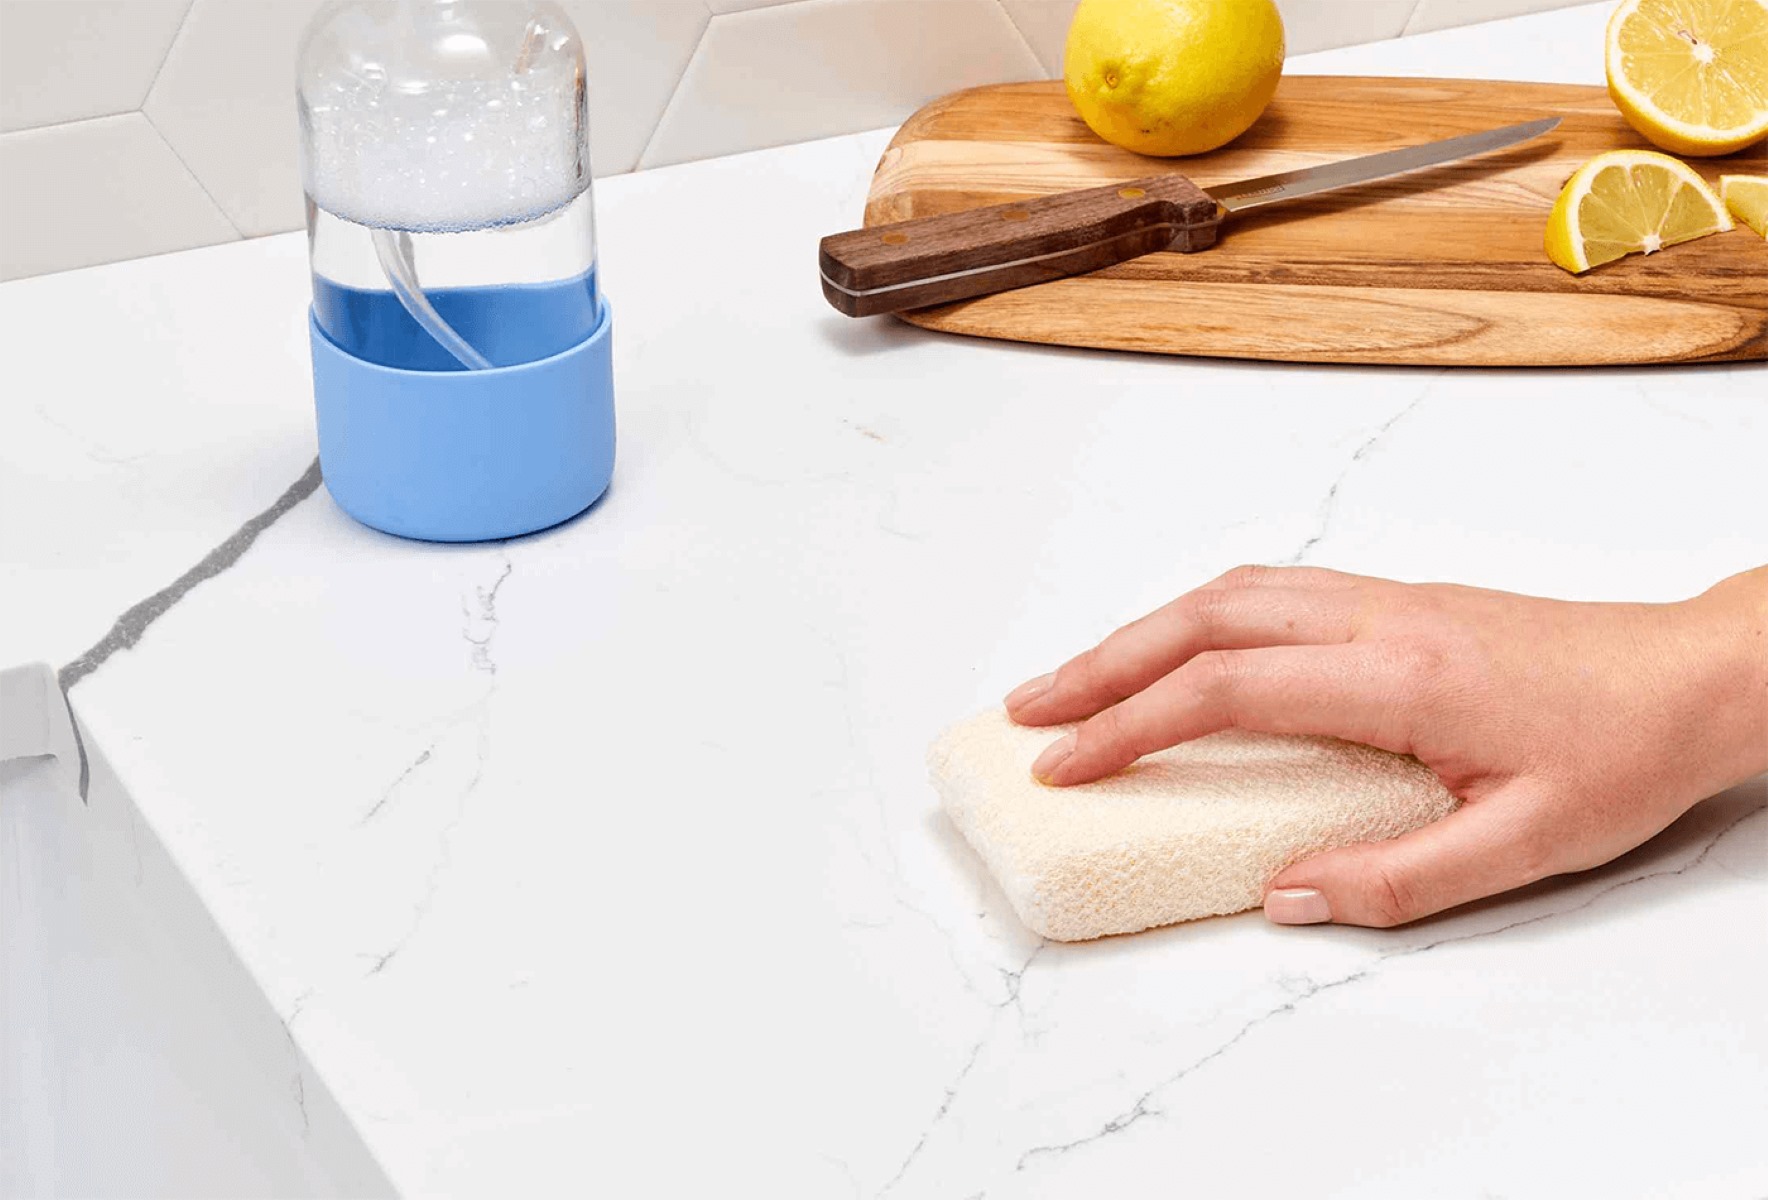
- Use gentle cleaning products: Avoid using harsh chemicals or abrasive cleaners that can damage the painted surface. Opt for mild soap and water or non-abrasive cleaners specifically designed for painted surfaces.
- Avoid cutting directly on the countertops: To prevent scratches or damage, always use cutting boards when preparing food on the painted countertops. Avoid placing hot pans or pots directly on the surface, as it may cause discoloration or damage to the paint.
- Wipe up spills immediately: Promptly clean up any spills to prevent staining or damage to the paint. Use a soft cloth or sponge to gently blot the spill and avoid scrubbing vigorously, as it can remove the paint or sealer.
- Avoid harsh impacts: While painted countertops are durable, they can still be susceptible to chipping or cracking from heavy impacts. Be cautious when handling heavy objects and avoid dropping or banging items onto the surface.
- Regularly inspect and touch up: Periodically inspect your countertops for any signs of wear or damage. If you notice any chips, scratches, or areas where the paint has worn off, touch them up with matching paint to maintain a seamless appearance.
By following these maintenance tips, you can extend the lifespan of your painted countertops and ensure that they continue to look beautiful for years to come.
Finally, let’s conclude with some final thoughts on the process of painting countertops and the impact it can have on transforming your kitchen or bathroom.
Final Thoughts
Painting your countertops can be a transformative and cost-effective way to update the look of your kitchen or bathroom. With the right materials, preparation, and technique, you can achieve stunning results that rival the appearance of expensive materials like marble or granite.
Throughout this article, we have discussed the materials needed, the preparation process, choosing the right paint, priming the countertops, applying the base coat, adding multiple layers, creating a faux marble finish, sealing the countertops, and important maintenance tips. By following these steps and tips, you can successfully complete a countertop painting project and enjoy the benefits of a fresh, new look.
Remember, patience is key when it comes to painting countertops. Take your time, follow the instructions, and allow adequate drying time between each step. Don’t be afraid to get creative and experiment with different techniques, such as creating a faux marble finish, to achieve a unique and personalized look.
Keep in mind that painted countertops may require occasional touch-ups and regular maintenance to keep them looking their best. By adopting gentle cleaning practices and taking precautions to prevent damage, you can preserve the beauty and durability of your painted countertops for years to come.
So go ahead, unleash your creativity, and transform your countertops into stunning focal points that breathe new life into your space. Enjoy the process, and revel in the satisfaction of a job well done!
Frequently Asked Questions about How To Paint My Countertops
Was this page helpful?
At Storables.com, we guarantee accurate and reliable information. Our content, validated by Expert Board Contributors, is crafted following stringent Editorial Policies. We're committed to providing you with well-researched, expert-backed insights for all your informational needs.







0 thoughts on “How To Paint My Countertops”