Articles
How To Paint Tile Kitchen Countertops
Modified: August 22, 2024
Learn how to transform your kitchen countertops with this step-by-step guide on painting tile. Find helpful articles and tips for a stunning kitchen makeover.
(Many of the links in this article redirect to a specific reviewed product. Your purchase of these products through affiliate links helps to generate commission for Storables.com, at no extra cost. Learn more)
Introduction
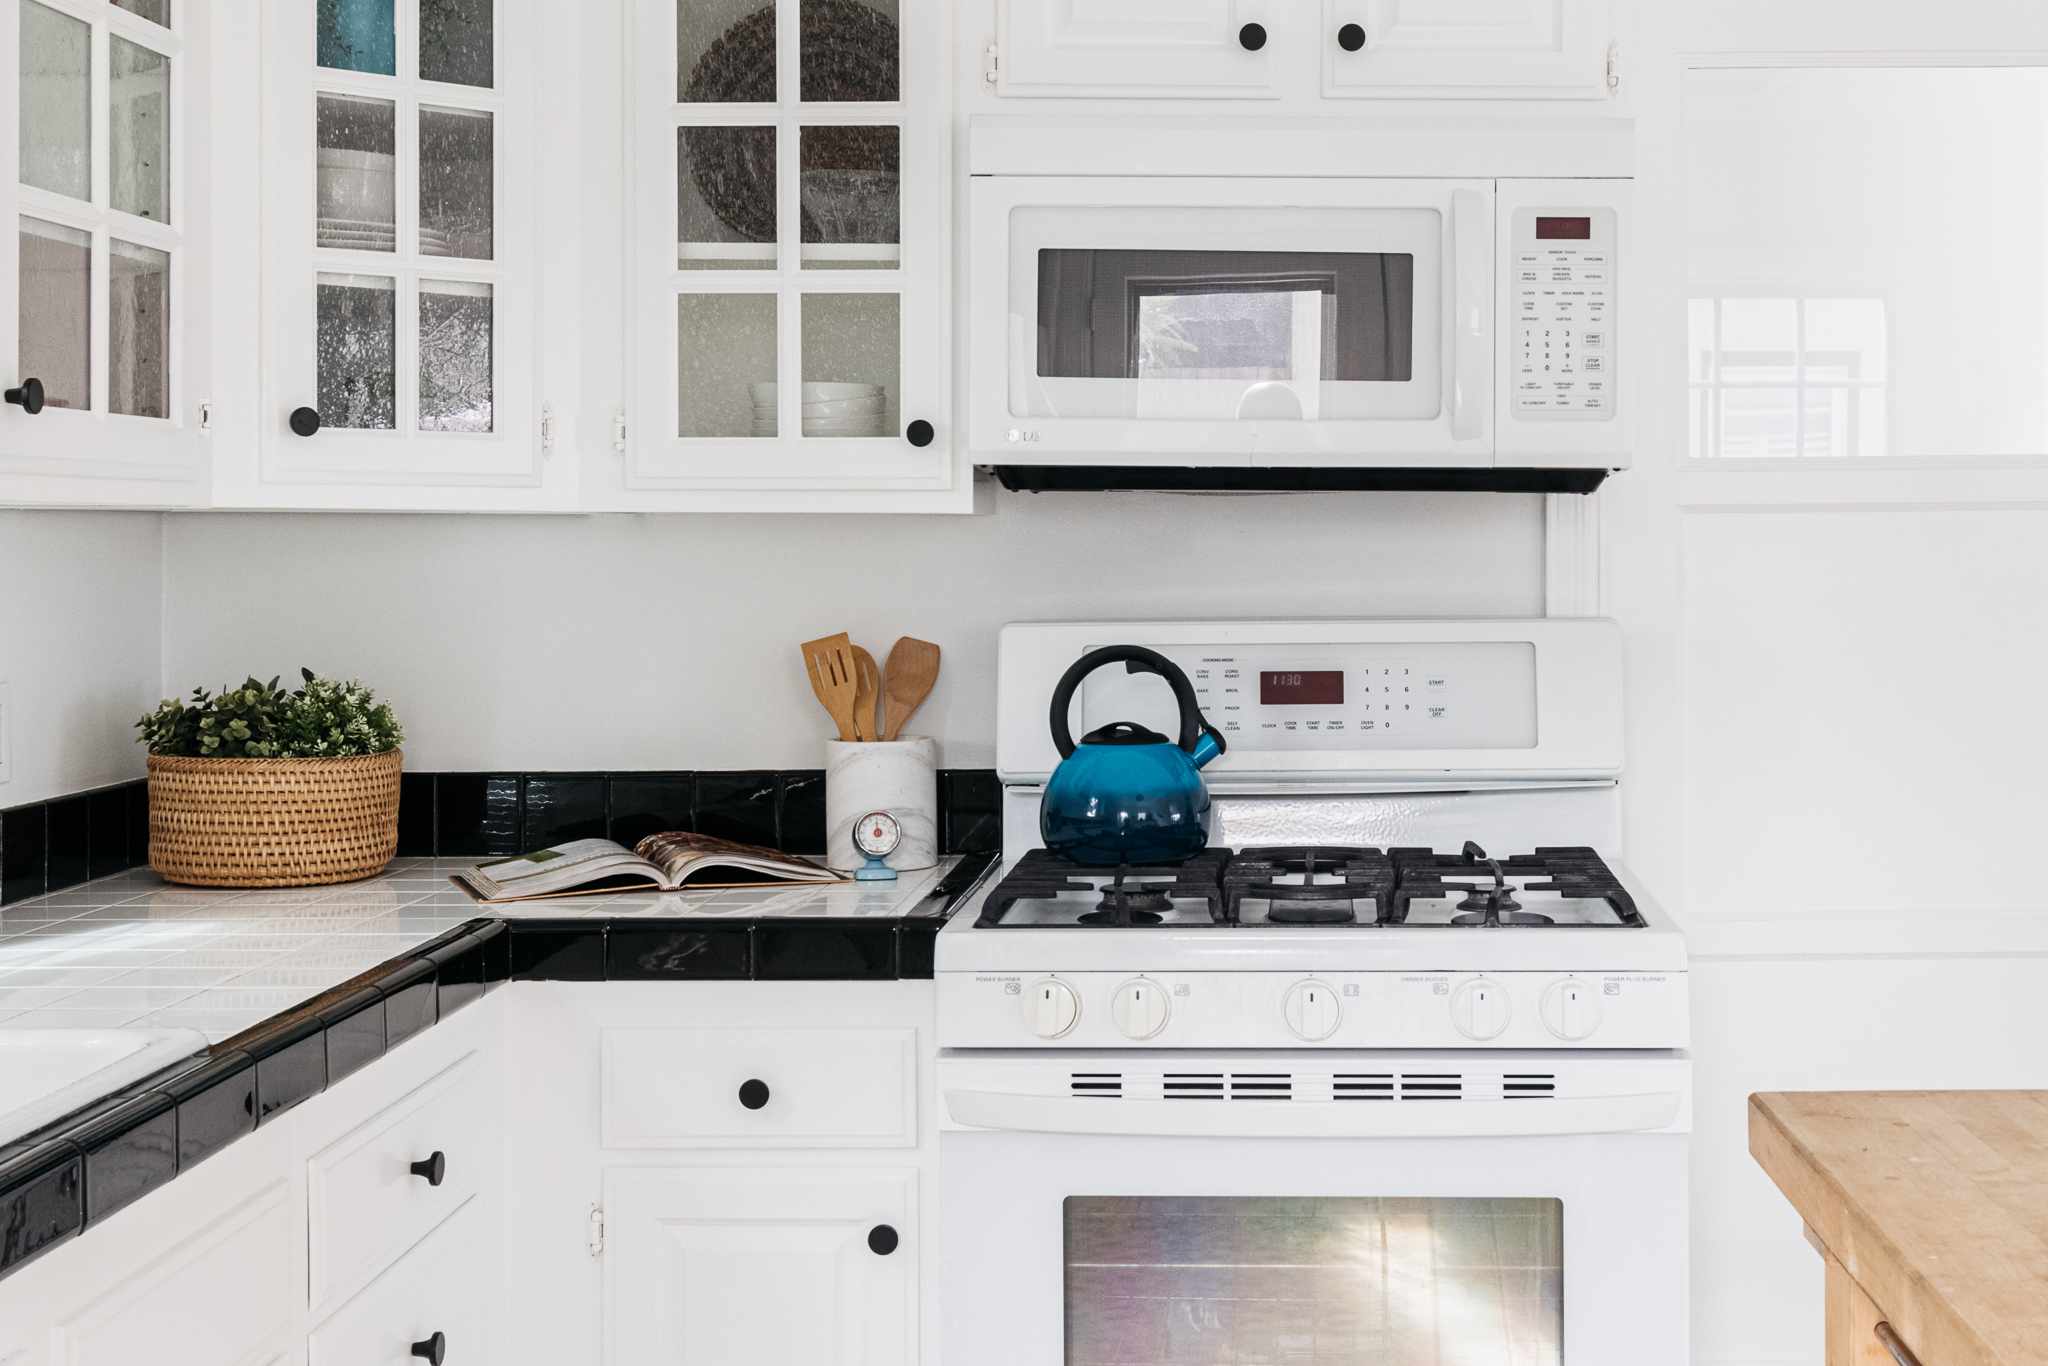
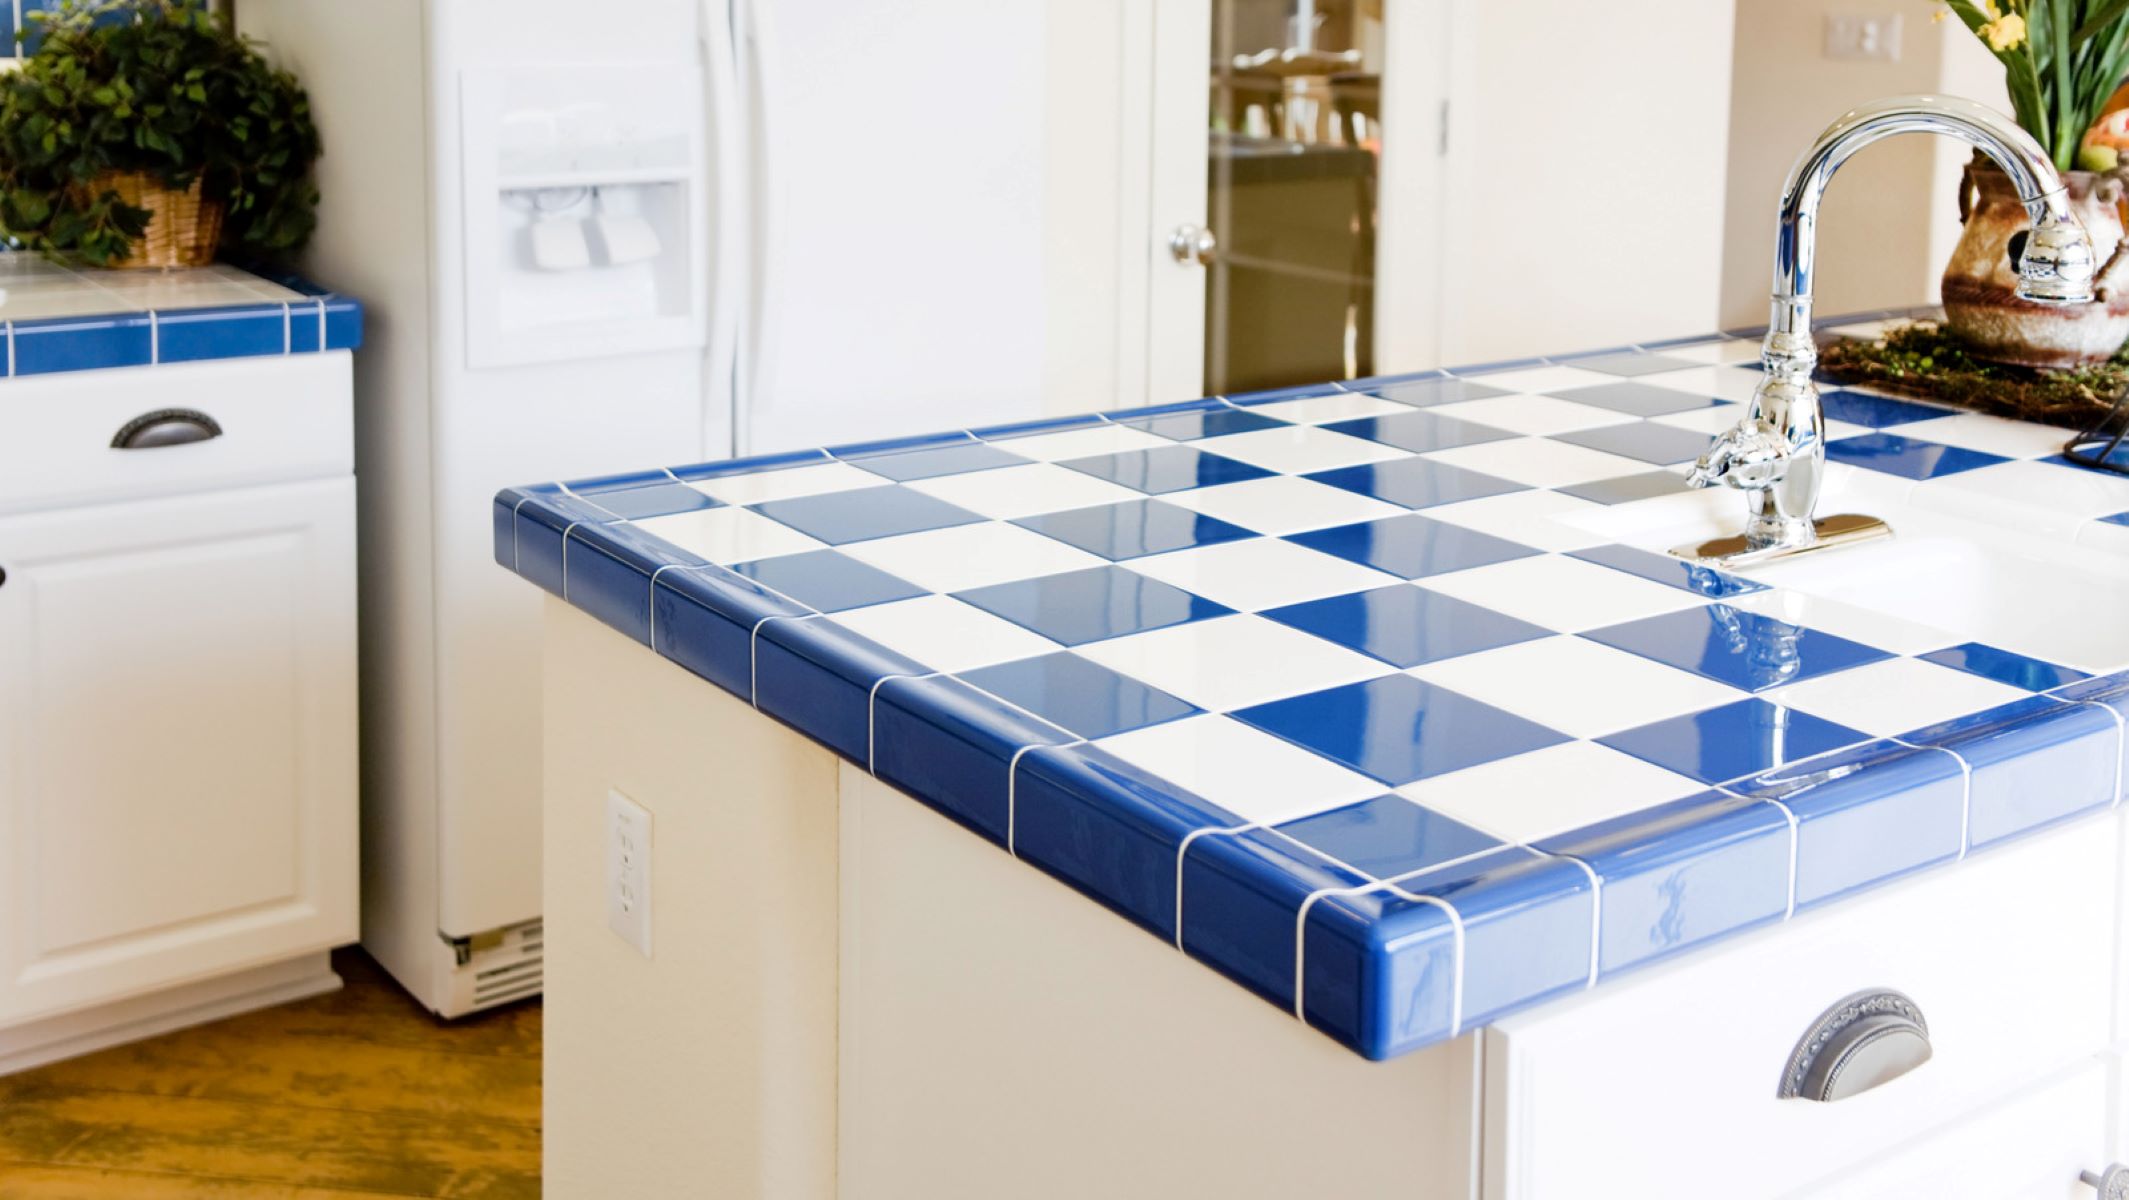
Are your kitchen countertops looking dull and outdated? If you’re looking for a cost-effective way to give your kitchen a fresh new look, painting your tile kitchen countertops might be the perfect solution. With just a few simple steps and the right materials, you can transform your countertops from drab to fab.
Painting tile kitchen countertops is a popular DIY project that can instantly update the look of your kitchen. Whether you want to change the color of your countertops or create a faux stone finish, painting can provide a budget-friendly alternative to replacing the entire countertop surface. Not only does it save you money, but it also allows you to exercise your creativity and customize your kitchen to suit your style.
In this article, we will guide you through the process of painting tile kitchen countertops, from preparing the surface to applying a clear coat for durability. We’ll also provide tips on maintaining your painted countertops to ensure they look their best for years to come.
Before we dive into the steps, let’s take a look at the materials you’ll need for this project.
Key Takeaways:
- Transform your kitchen with a budget-friendly and creative DIY project by painting your tile kitchen countertops. Follow the step-by-step guide to achieve a durable and personalized finish that complements your style and preferences.
- Ensure the longevity and vibrancy of your painted tile kitchen countertops by following proper maintenance tips. With regular care and caution, you can preserve the beauty of your countertops for years to come.
Materials Needed
Before you begin the process of painting your tile kitchen countertops, gather the following materials:
- Painter’s tape
- Drop cloths or plastic sheets
- Sandpaper or sanding block (220-grit)
- Tile and grout cleaner
- Primer suitable for tile surfaces
- Paint suitable for tile surfaces
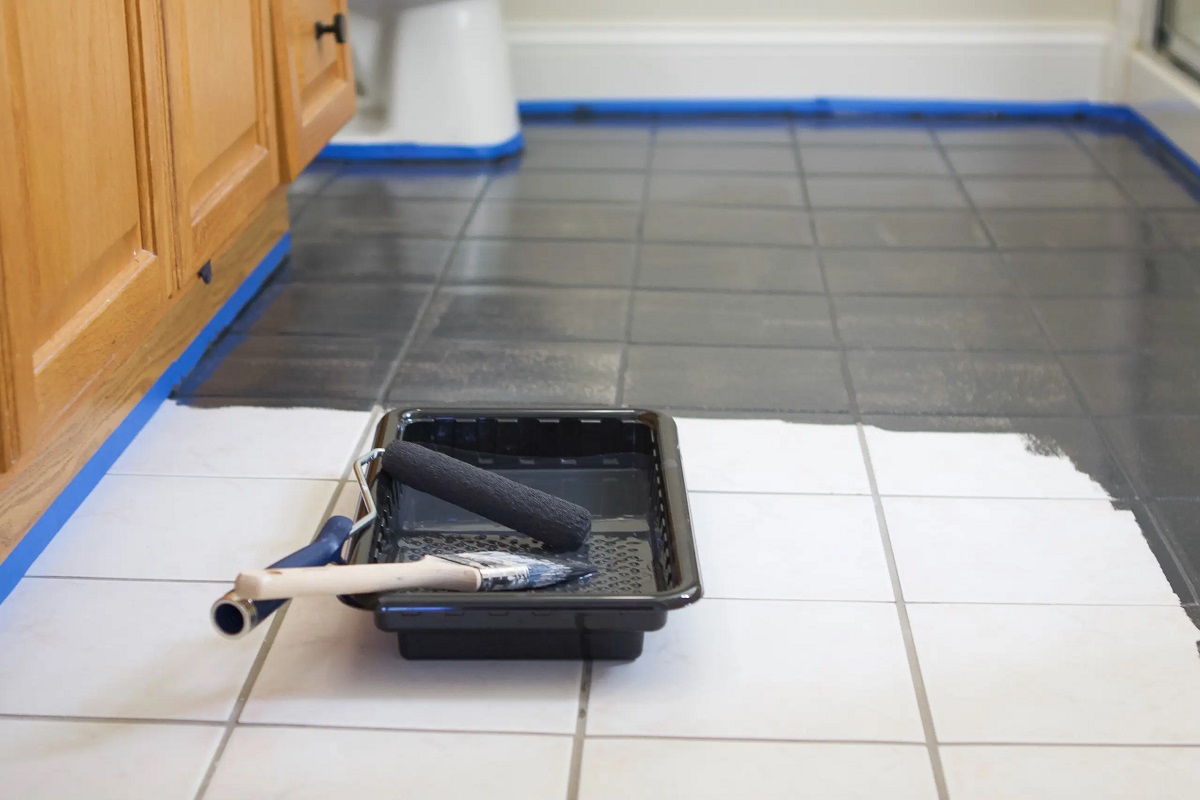
- Paintbrushes or foam rollers
- Clear coat sealant
- Lint-free cloth
- Protective gloves
- Masking or respirator mask
It’s important to choose paint and primer specifically designed for tile surfaces. These products are formulated to adhere well to the smooth and non-porous surface of tiles, ensuring durability and longevity.
Additionally, make sure to select a paint color that complements your kitchen décor and personal style. Consider the overall color scheme of your kitchen and choose a shade that will harmonize with the existing elements.
Now that you have all the necessary materials, let’s move on to preparing the countertops for painting.
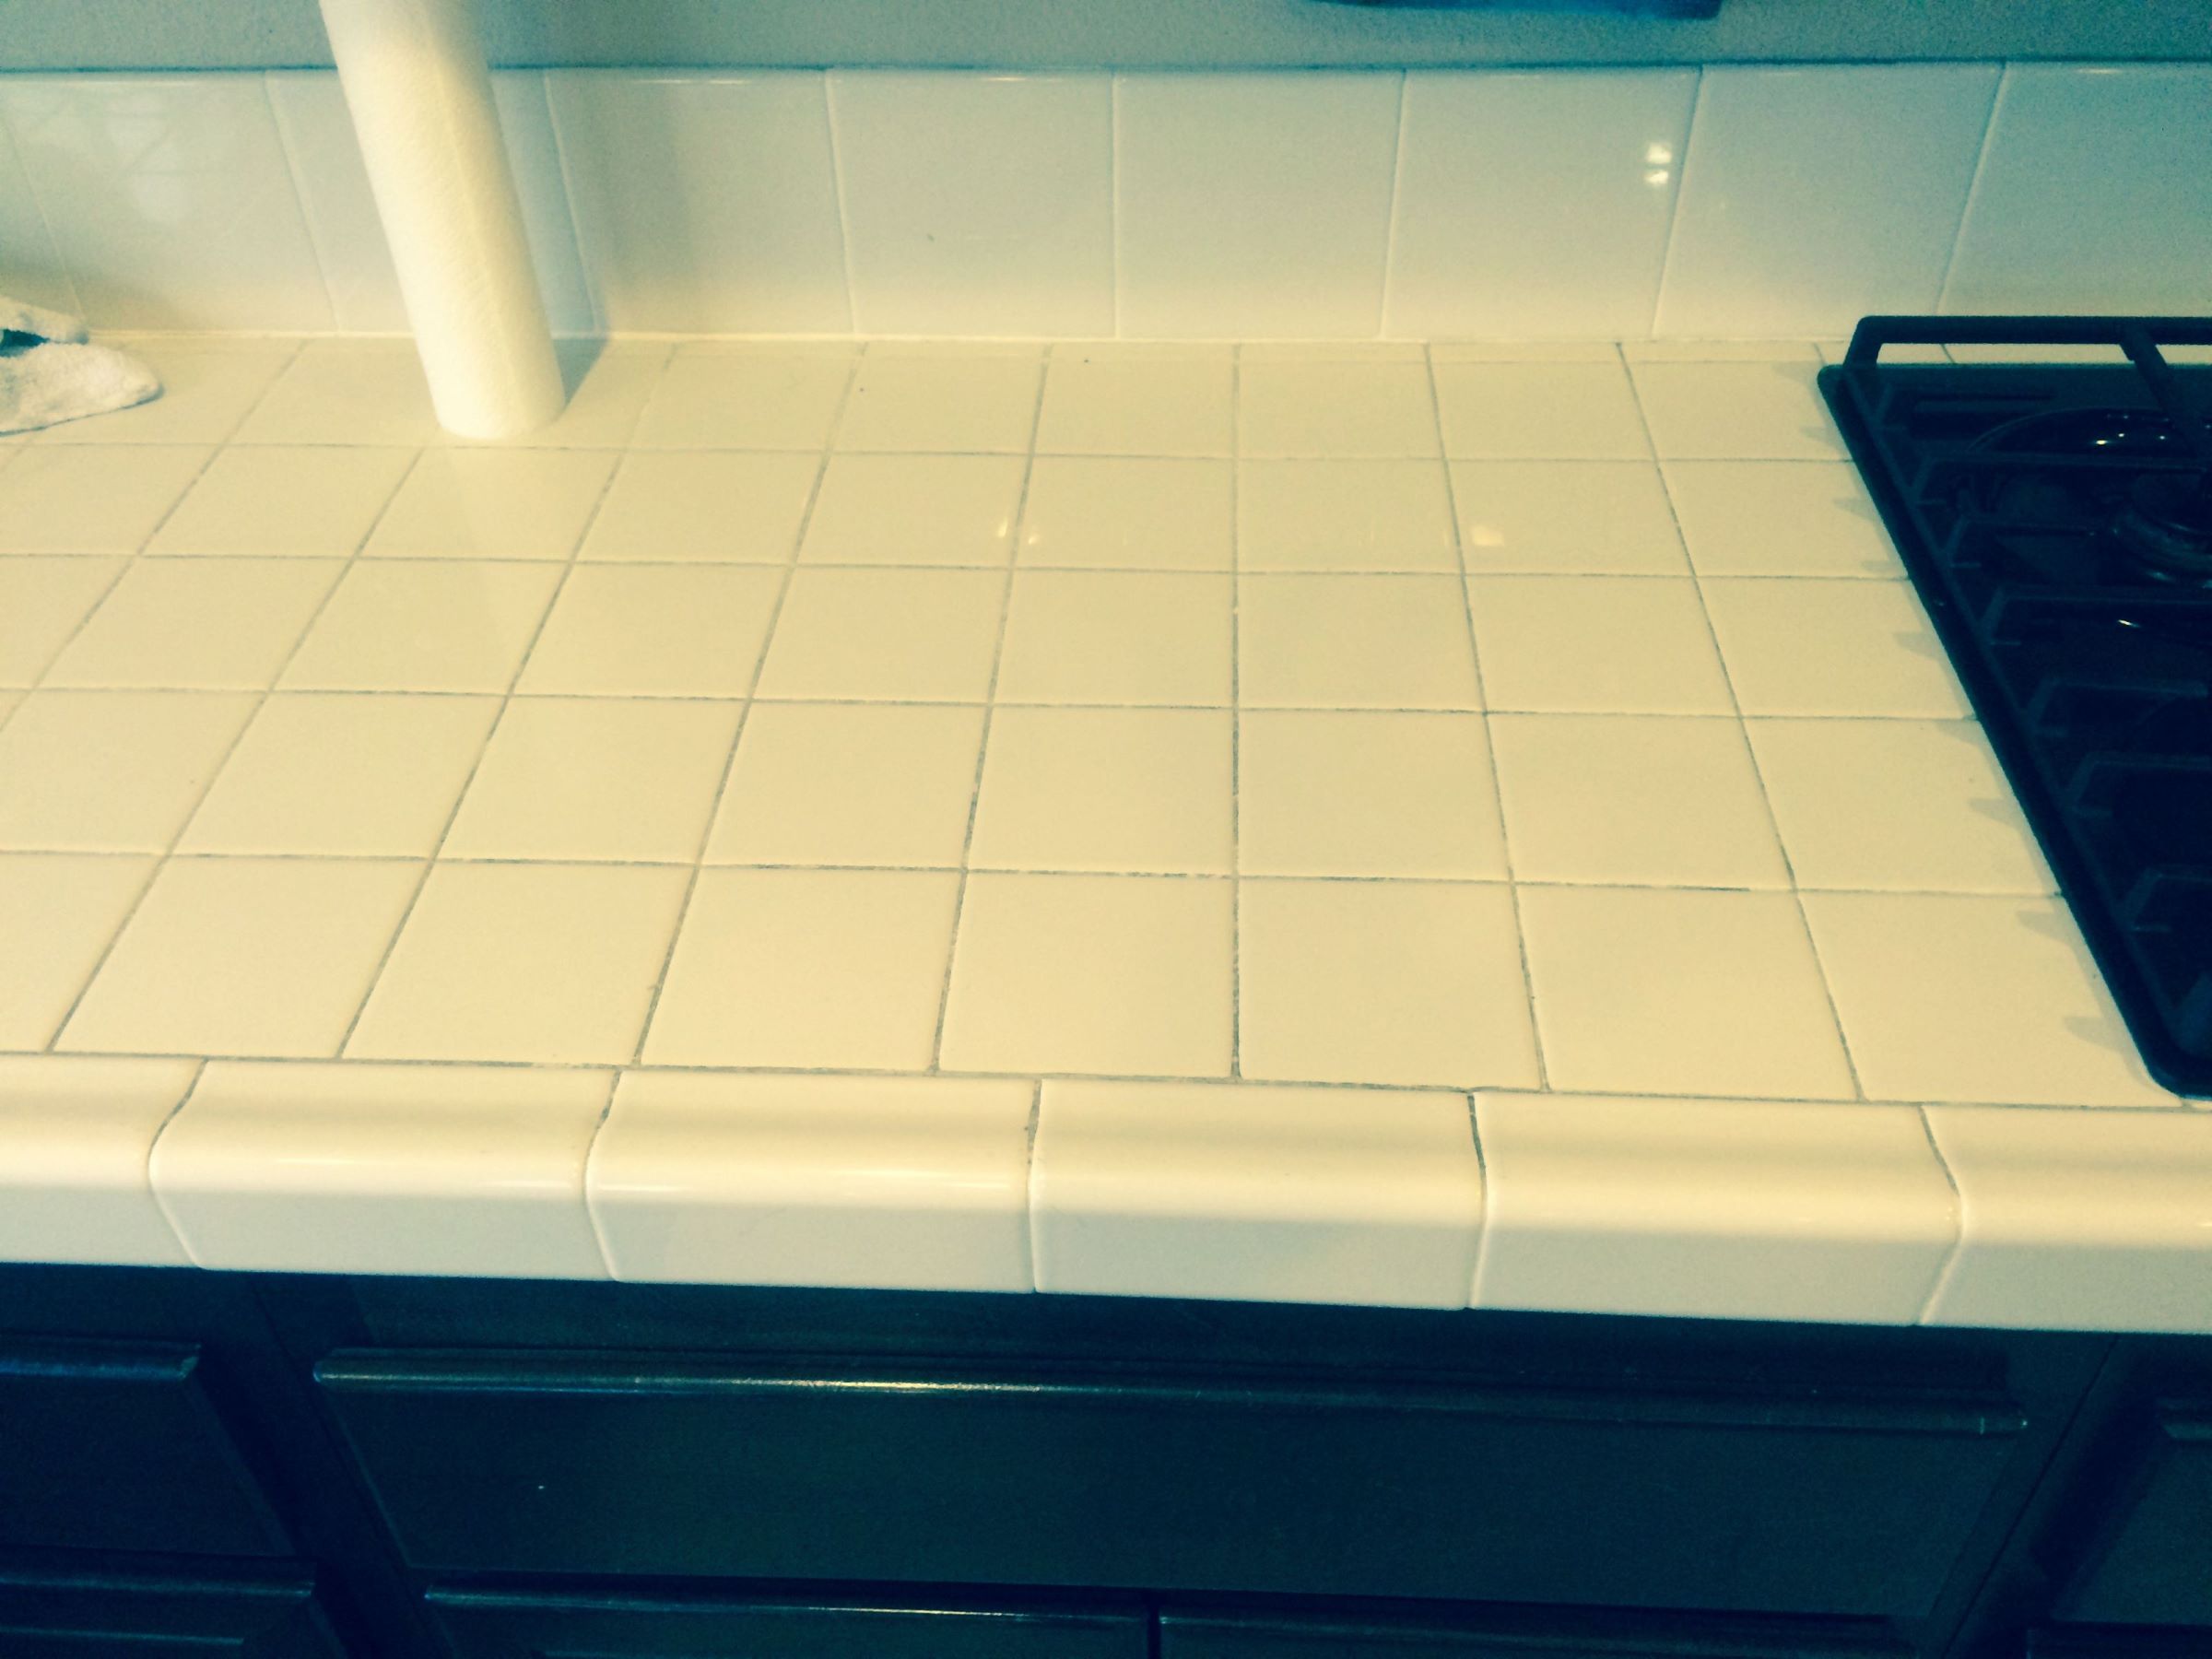
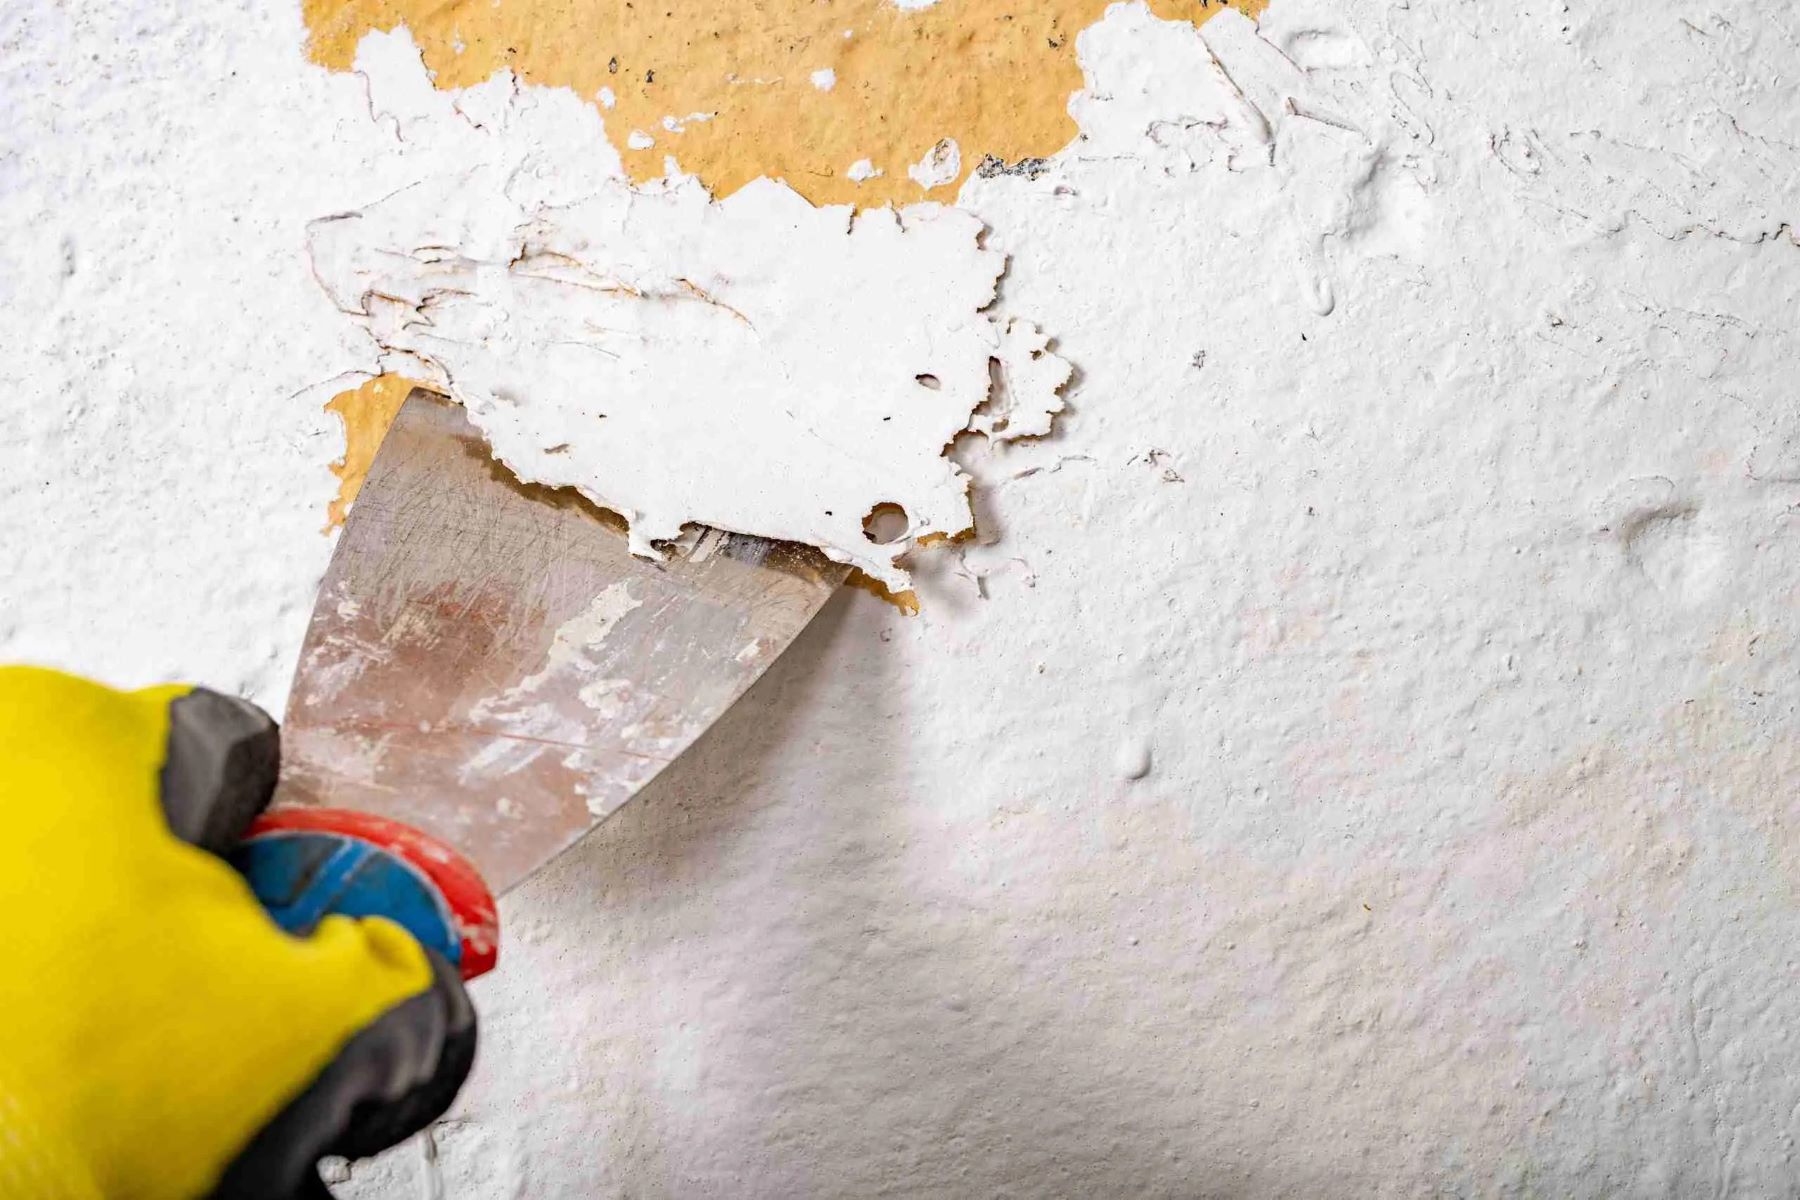
Preparing the Countertops
Proper surface preparation is crucial for a successful paint job on your tile kitchen countertops. Follow these steps to ensure your countertops are ready for the painting process:
- Clean the countertops: Begin by thoroughly cleaning the tile and grout using a tile and grout cleaner. Remove any grease, dirt, or stains from the surface. This will ensure that the paint adheres properly and provides a smooth finish.
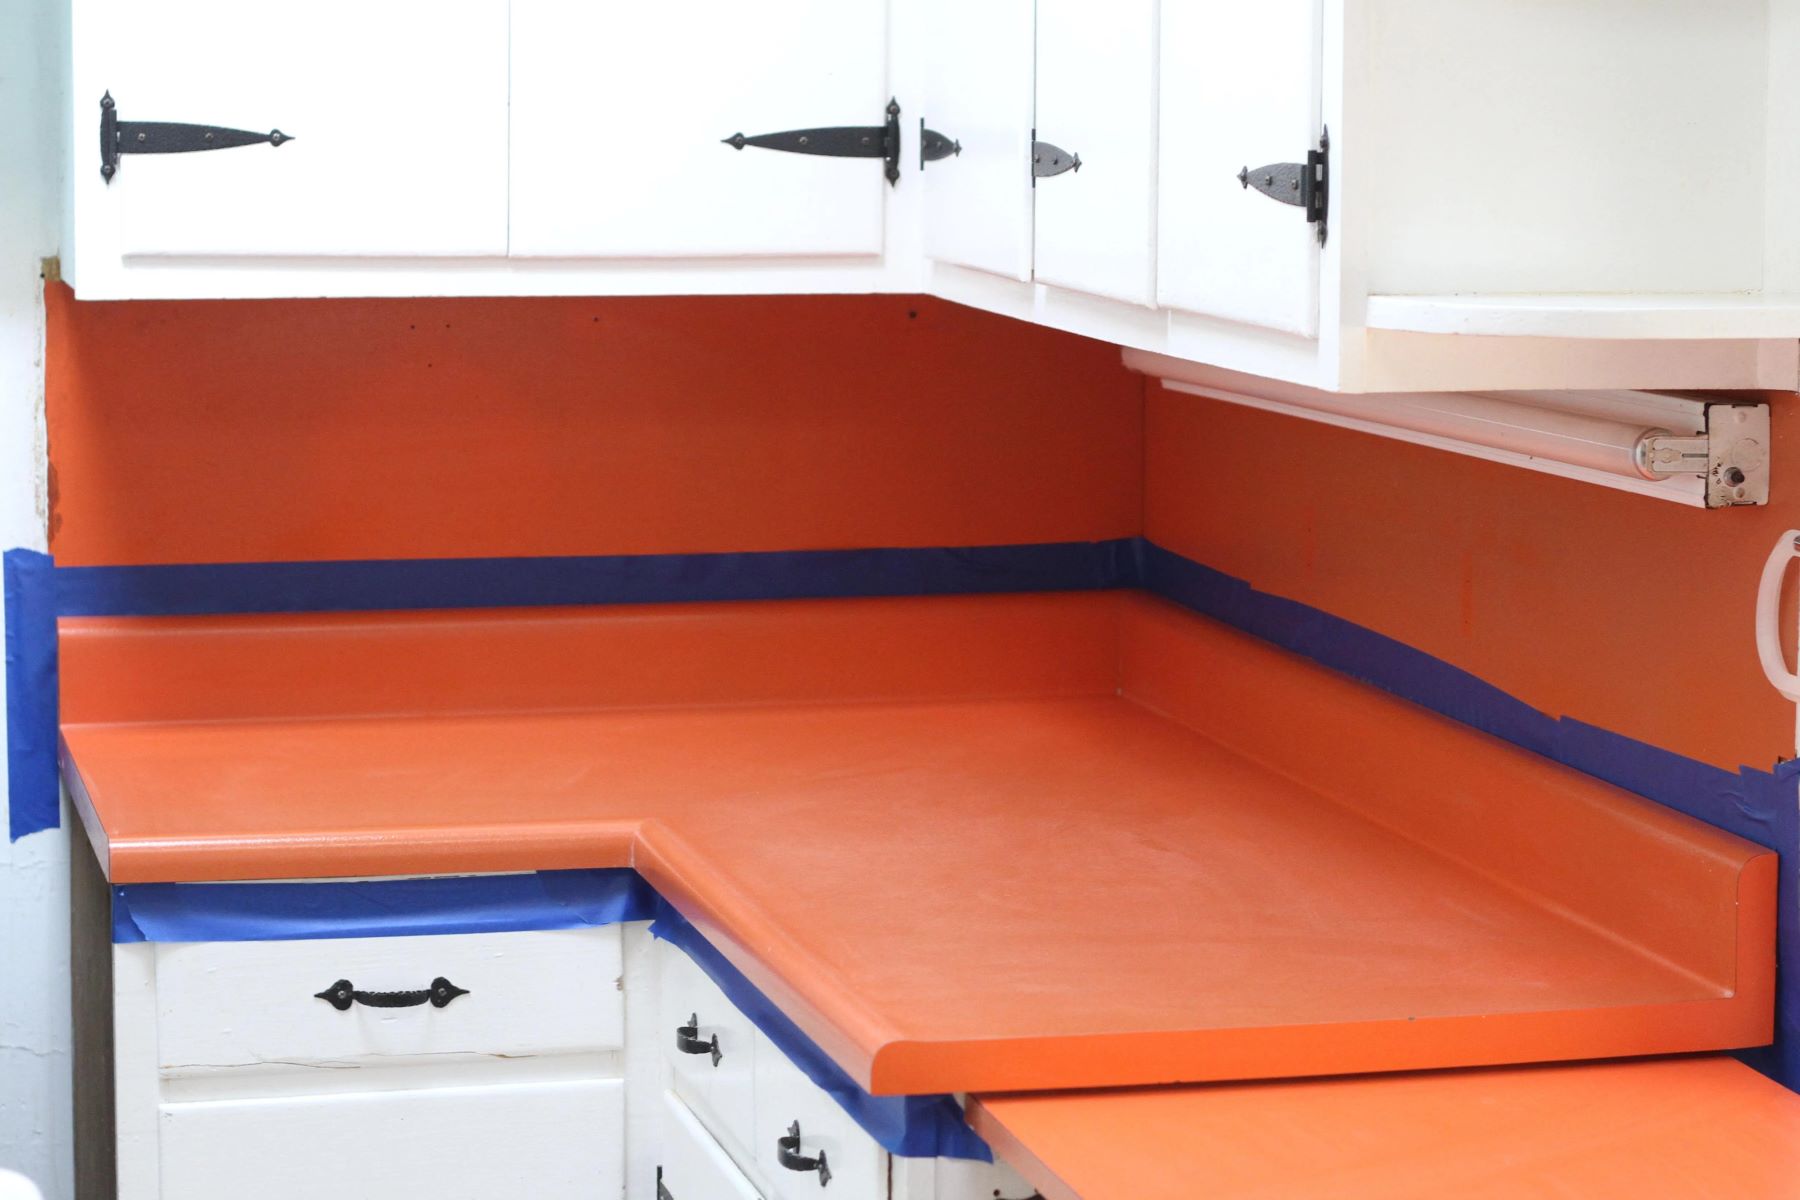
- Protect surrounding areas: Use painter’s tape to protect any adjacent surfaces that you don’t want to paint, such as the backsplash or cabinets. Cover the surrounding countertops and floor with drop cloths or plastic sheets to prevent any paint spills or splatters from damaging them.
- Sand the countertops: Lightly sand the tile surface with fine-grit sandpaper or a sanding block (around 220-grit). This step helps roughen up the surface and provides better adhesion for the primer and paint. Be sure to wipe away any sanding residue with a clean cloth.
- Remove any loose grout or caulk: Inspect the grout lines and any areas with loose or cracked grout. Use a grout removal tool or a small brush to clean out any loose grout or caulk. Repair any damaged grout lines or cracks before proceeding.
By taking the time to properly prepare the countertops, you’ll create a clean and smooth surface for the paint to adhere to. Next, we’ll move on to the priming step.
Priming the Tile
Priming is an essential step in the process of painting tile kitchen countertops. It helps create a smooth and uniform surface, promotes better adhesion of the paint, and improves the durability of the finished result. Follow these steps to prime your countertops:
- Ensure the countertops are clean and dry: Make sure the tile surface is free from any dust, debris, or moisture before applying the primer. Use a lint-free cloth to wipe away any remaining sanding residue or cleaning solution.
- Read the instructions: Different primers may have different application techniques and drying times. Read the instructions on the primer can carefully and follow the manufacturer’s recommendations for best results.
- Apply the primer: Use a paintbrush or foam roller to apply an even coat of primer to the tile surface. Start in one corner and work your way across the countertops, ensuring complete coverage. Pay special attention to the grout lines and any areas with damaged or repaired grout.
- Allow the primer to dry: Follow the recommended drying time specified on the primer can. It’s important to give the primer sufficient time to cure and create a strong bond with the tile surface.
- Sand the primed surface (optional): If you notice any imperfections or rough spots after the primer has dried, you can lightly sand the surface with fine-grit sandpaper (around 220-grit) and wipe away the dust with a clean cloth.
Priming the tile countertop prepares the surface for the paint and ensures better adhesion and longevity of the finish. Once the primer is dry, it’s time to move on to the exciting part – painting the tile!
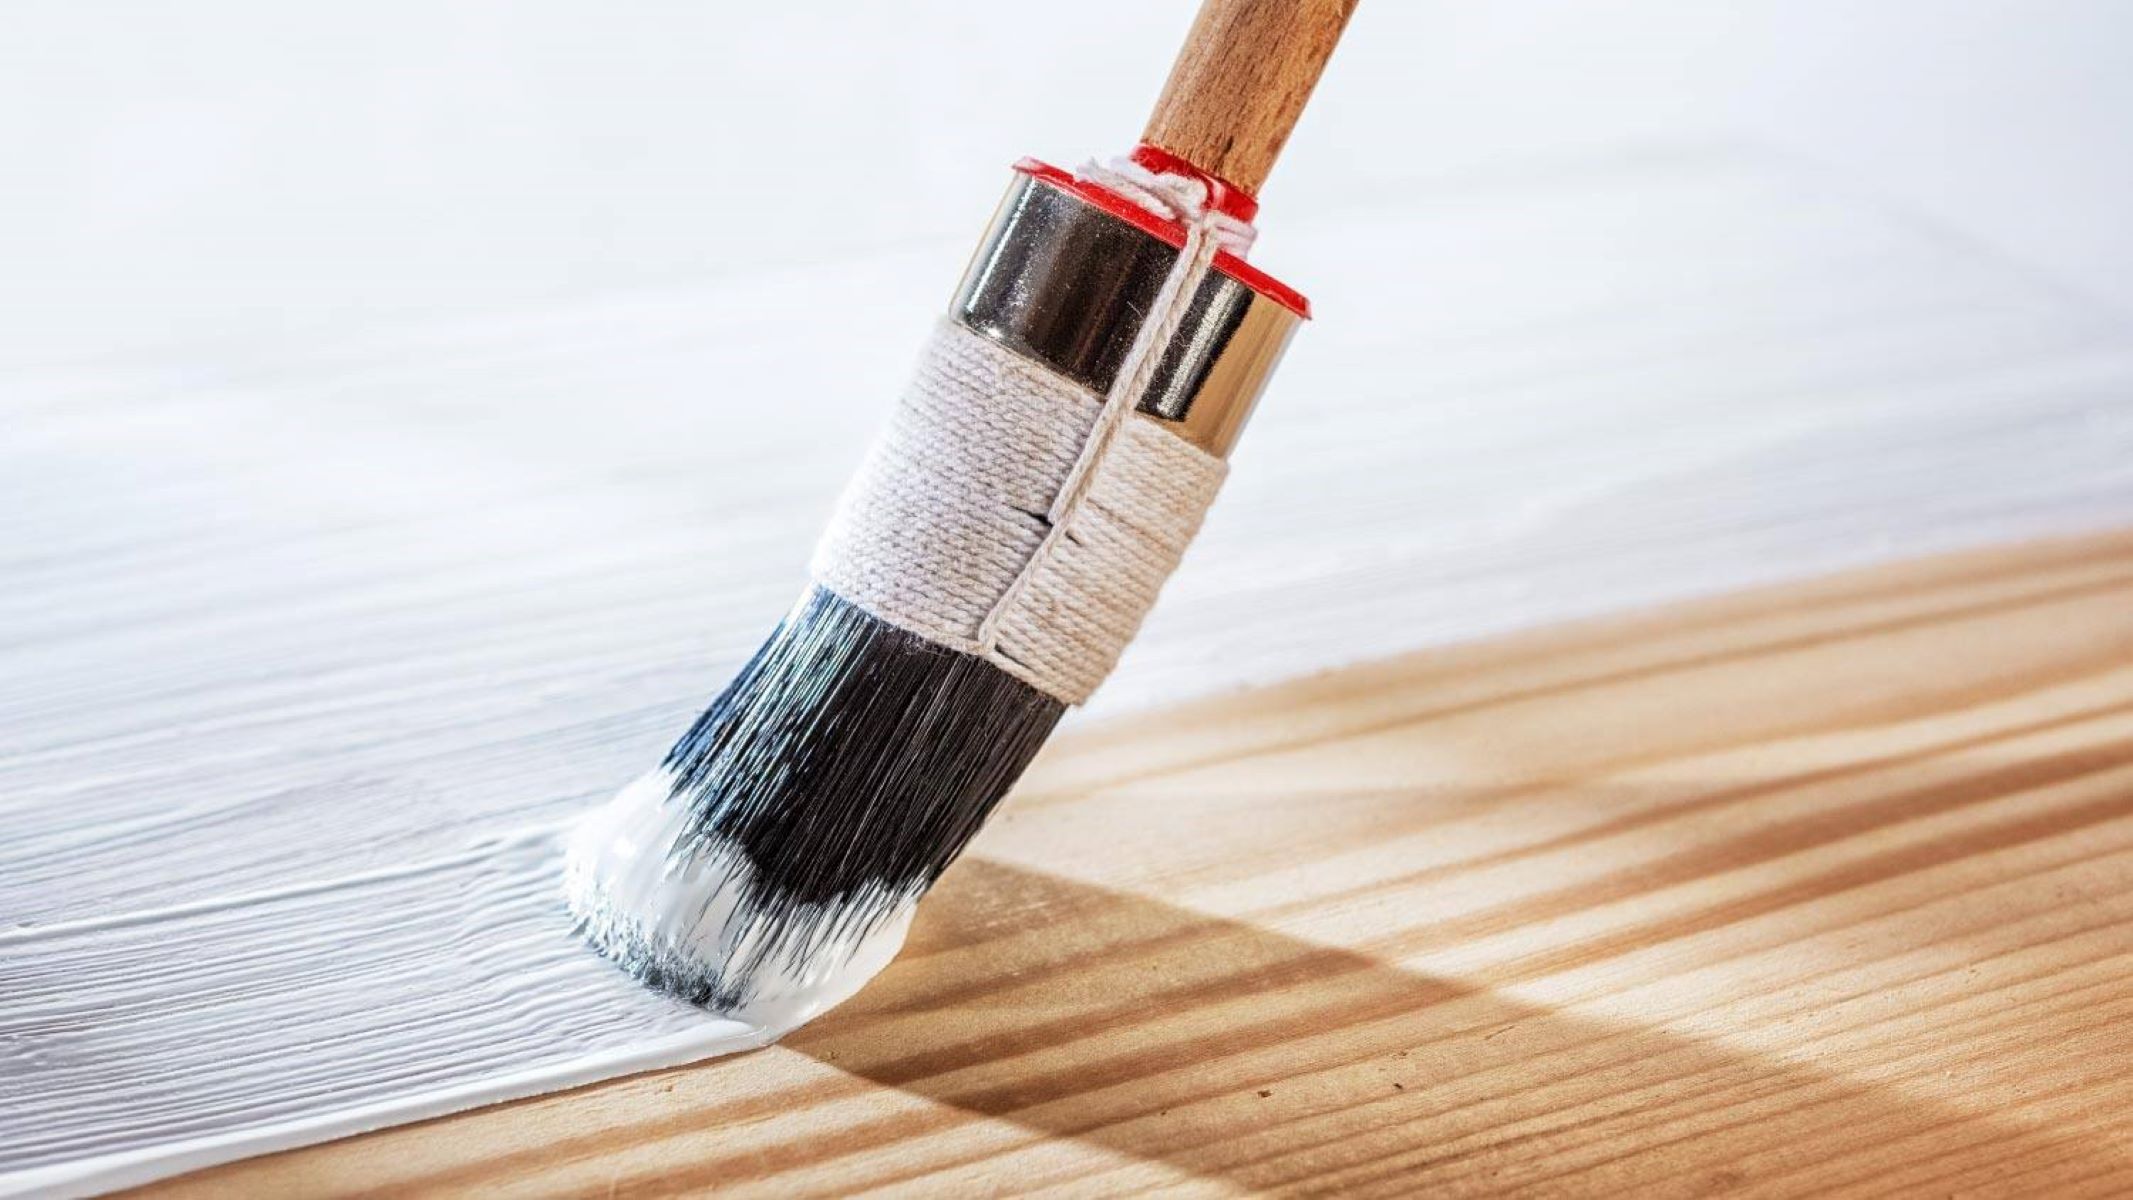
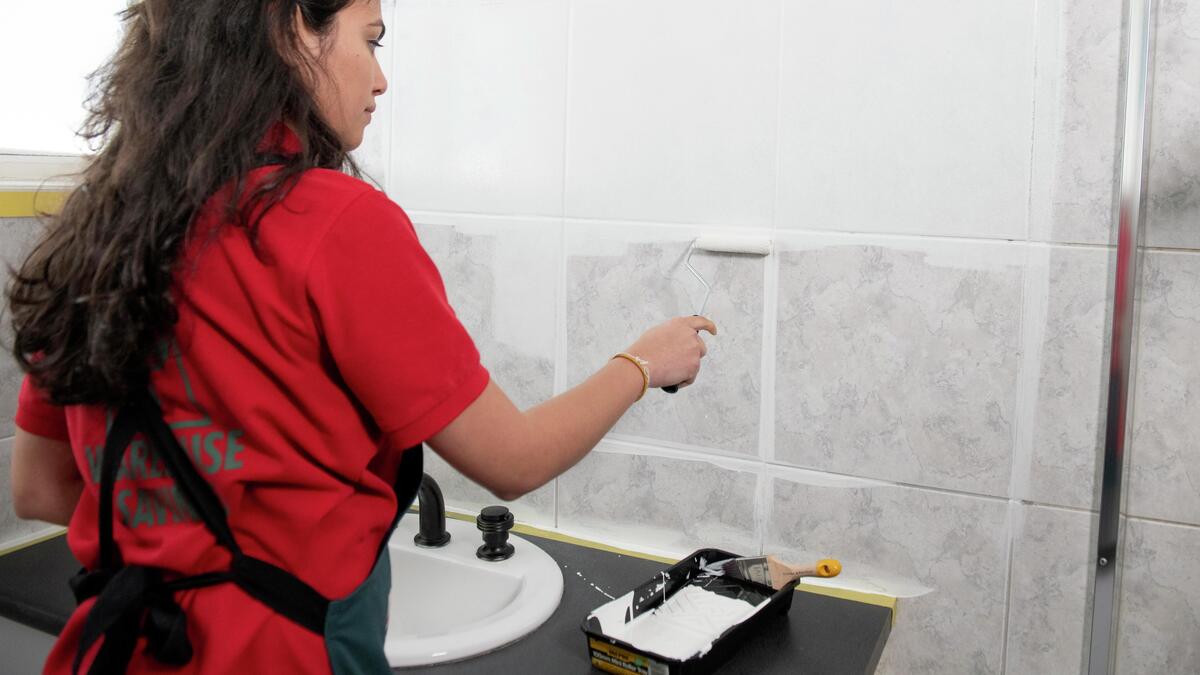
Painting the Tile
Now that your countertops are prepped and primed, it’s time to unleash your creativity and paint the tile! Follow these steps to achieve a professional-looking finish:
- Choose your paint color: Select a paint color that complements your kitchen decor and personal style. Consider the overall color scheme of your kitchen and choose a shade that will harmonize with the existing elements.
- Stir the paint: Before you begin painting, thoroughly stir the paint to ensure an even consistency. If using multiple cans of paint, pour them into a larger container and mix them together to ensure color consistency.
- Apply the paint: Use a paintbrush or foam roller to apply an even coat of paint to the tile surface. Start from one corner and work your way across the countertops, ensuring complete coverage. Pay attention to the grout lines and edges.
- Allow the first coat to dry: Follow the drying time specified on the paint can. It’s important to be patient and give the paint sufficient time to dry and cure.
- Apply additional coats (if needed): Depending on the coverage and desired finish, you may need to apply multiple coats of paint. Allow each coat to dry completely before applying the next one. Be sure to follow the manufacturer’s instructions for drying times.
- Inspect for touch-ups: Once the final coat is dry, carefully inspect the painted surface for any touch-ups or areas that require additional paint. Use a small brush to touch up any imperfections.
Painting the tile is the most exciting step in the process as it allows you to completely transform the look of your kitchen countertops. Once the paint is dry, we’ll move on to applying a clear coat for added protection.
When painting tile kitchen countertops, be sure to thoroughly clean and prime the surface before applying the paint. This will help the paint adhere better and result in a more durable finish.
Applying a Clear Coat
After you have painted the tile surface and it has dried, it’s time to apply a clear coat to protect and seal the paint. Follow these steps to ensure a durable and long-lasting finish:
- Choose a clear coat sealant: Select a clear coat sealant that is specifically designed for tile surfaces. Look for a product that is resistant to stains, water, and heat to provide maximum protection for your painted countertops.
- Read the instructions: Before applying the clear coat, carefully read the instructions provided by the manufacturer. Different sealants may have different application techniques and drying times.
- Apply the clear coat: Use a clean paintbrush or foam roller to apply an even layer of the clear coat sealant over the painted tile surface. Ensure that you cover the entire countertop, including the grout lines and edges.
- Allow the clear coat to dry: Follow the recommended drying time specified by the manufacturer. It’s important to allow the clear coat to cure properly to ensure maximum protection and durability.
- Apply additional coats (optional): Depending on the specific clear coat product and your desired level of protection, you may choose to apply multiple coats. Follow the manufacturer’s recommendations for the number of coats to achieve the best results.
The clear coat acts as a protective barrier over the painted tile, preventing scratches, stains, and moisture from damaging the finish. Once the clear coat is dry, it’s time to move on to the final steps of curing and sealing the paint.
Curing and Sealing the Paint
After applying the clear coat, it’s important to allow the paint to fully cure and then seal it to ensure its longevity. Follow these steps to properly cure and seal the paint on your tile kitchen countertops:
- Allow the paint to cure: Curing time can vary depending on the type of paint used, the humidity of your environment, and the manufacturer’s recommendations. Generally, it is recommended to wait at least 72 hours before placing any objects on the painted surface or exposing it to heavy use.
- Seal the paint surface: Once the paint has fully cured, it’s time to seal the surface. Choose a tile sealant that is suitable for painted surfaces and follow the manufacturer’s instructions for application. Apply the sealant evenly over the painted tile, ensuring complete coverage.
- Allow the sealant to dry: Follow the recommended drying time specified by the sealant manufacturer. It’s important to give the sealant sufficient time to dry and create a protective barrier over the paint.
- Perform a water test: To ensure the sealant has properly sealed the paint, perform a water test. Sprinkle some water on a small section of the countertop and observe if the water beads up or is absorbed. If the water beads up, the sealant is working effectively. If the water is absorbed, apply an additional coat of sealant.
By curing and sealing the paint, you enhance its durability and protect it from everyday wear and tear. It’s important to follow these steps to ensure a long-lasting and beautiful finish on your painted tile kitchen countertops.
Maintaining Painted Tile Countertops
Proper maintenance is key to preserving the beauty and durability of your painted tile countertops. By following these tips, you can ensure that your countertops continue to look their best for years to come:
- Regular cleaning: Clean your painted countertops regularly using a mild, non-abrasive cleaner. Avoid harsh chemicals or abrasive scrubbers, as they can damage the paint. Gently wipe the surface with a soft cloth or sponge to remove any dirt or spills.
- Avoid excessive moisture: While the sealant provides some protection against moisture, it’s important to avoid excessive exposure to water. Wipe up any spills promptly and avoid placing wet items directly on the countertop surface.
- Use cutting boards and trivets: To prevent scratches and heat damage, always use cutting boards and trivets. Avoid cutting or placing hot pans directly on the painted surface, as these actions can damage the paint and compromise the sealant.
- Be cautious with sharp objects: While the paint and sealant provide some level of protection, sharp objects can still potentially scratch the surface. Avoid dragging or scraping sharp utensils or objects across the countertops.
- Avoid harsh chemicals: Avoid using harsh or abrasive cleaners, bleach, or ammonia-based products, as they can damage the paint. Stick to gentle cleaners specifically designed for painted surfaces.
- Touch up as needed: Over time, minor chips or scratches may occur on the painted surface. Keep a small container of the original paint and touch up any imperfections as they arise to maintain the overall appearance of the countertops.
By following these maintenance tips, you can keep your painted tile kitchen countertops looking fresh and vibrant for years to come. Regular care and caution will ensure that your painted countertops remain a focal point of your kitchen.
Conclusion
Painting tile kitchen countertops can be a cost-effective and creative way to breathe new life into your kitchen. With the right materials and proper techniques, you can transform the look of your countertops without the need for a costly replacement. Whether you want to change the color or create a faux stone finish, painting your tile countertops allows you to customize your kitchen according to your style and preferences.
Throughout this article, we have provided a comprehensive guide to help you successfully paint your tile kitchen countertops. From preparing the surface and priming the tile to painting, applying a clear coat, and sealing the paint, each step is essential for achieving a durable and long-lasting finish. Additionally, we have provided tips on maintaining your painted countertops to ensure they look their best for years to come.
Remember, it’s important to choose the right materials specifically designed for tile surfaces. Use high-quality primer, paint, and sealant to ensure proper adhesion and durability. Take the time to properly prepare the countertops and follow the recommended drying times for each step. By doing so, you’ll achieve professional-looking results and enjoy the transformation of your kitchen.
So, why wait? Embrace your creativity and tackle this enjoyable DIY project to revitalize your kitchen. With a little time, effort, and attention to detail, you’ll be amazed at the difference painting your tile kitchen countertops can make!
Frequently Asked Questions about How To Paint Tile Kitchen Countertops
Was this page helpful?
At Storables.com, we guarantee accurate and reliable information. Our content, validated by Expert Board Contributors, is crafted following stringent Editorial Policies. We're committed to providing you with well-researched, expert-backed insights for all your informational needs.

0 thoughts on “How To Paint Tile Kitchen Countertops”