Articles
How To Paint Over Laminate Countertops
Modified: September 2, 2024
Discover the best articles on how to paint over laminate countertops and transform your kitchen. Step-by-step guides, expert tips, and product recommendations for a flawless finish.
(Many of the links in this article redirect to a specific reviewed product. Your purchase of these products through affiliate links helps to generate commission for Storables.com, at no extra cost. Learn more)
Introduction
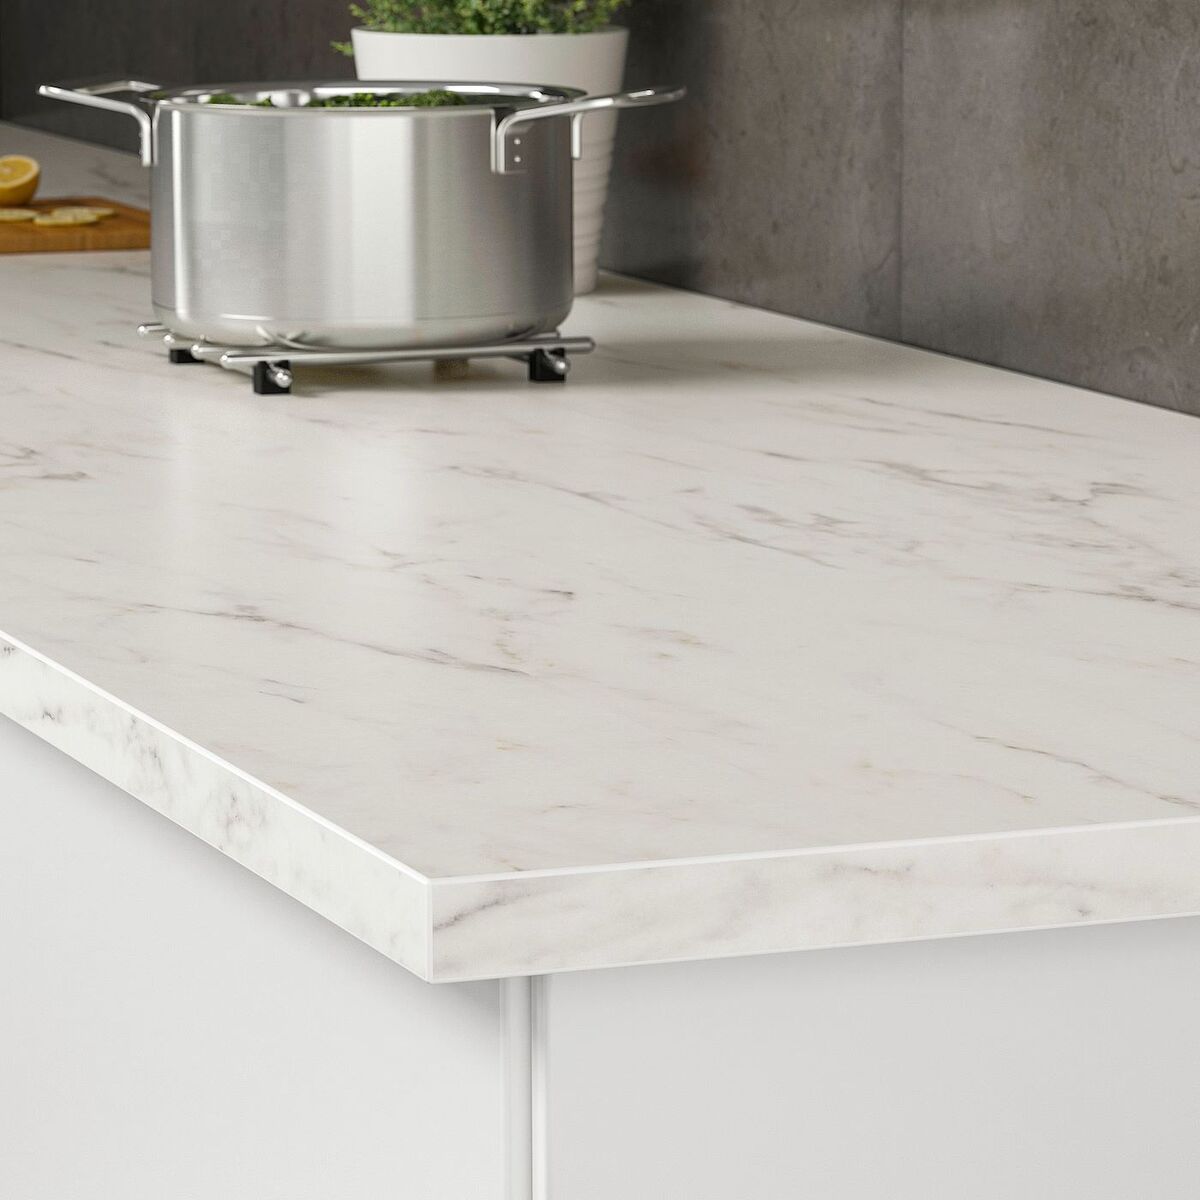
Are your laminate countertops looking outdated and worn out? Do you dream of giving your kitchen a fresh new look without breaking the bank? Well, you’re in luck! Painting over laminate countertops is a cost-effective way to transform the appearance of your kitchen and breathe new life into your space.
Laminate countertops are a popular choice due to their affordability and durability. However, they can become dated or show signs of wear and tear over time. Fortunately, with the right tools, materials, and techniques, you can easily paint over your laminate countertops and create a stunning, modern look.
In this step-by-step guide, we will walk you through the process of painting over laminate countertops. From preparation to applying a sealant, we’ll cover all the necessary steps to ensure a successful transformation of your kitchen surfaces.
But before we dive in, it’s important to note that while painting over laminate countertops is a budget-friendly alternative to replacing them entirely, it does require some time and effort. However, the end result will be well worth it, as you’ll have countertops that look completely refreshed and stylish!
Now, let’s roll up our sleeves and get started on transforming your laminate countertops!
Key Takeaways:
- Transform your outdated laminate countertops into a modern masterpiece with a budget-friendly paint job. Thorough preparation, quality materials, and patience will result in stunning, long-lasting surfaces that breathe new life into your kitchen.
- By following a step-by-step guide, you can achieve a professional finish when painting over laminate countertops. From cleaning and sanding to applying primer and sealant, each careful step contributes to a durable and stylish kitchen transformation.
Read more: What Are Laminate Countertops
Step 1: Preparation
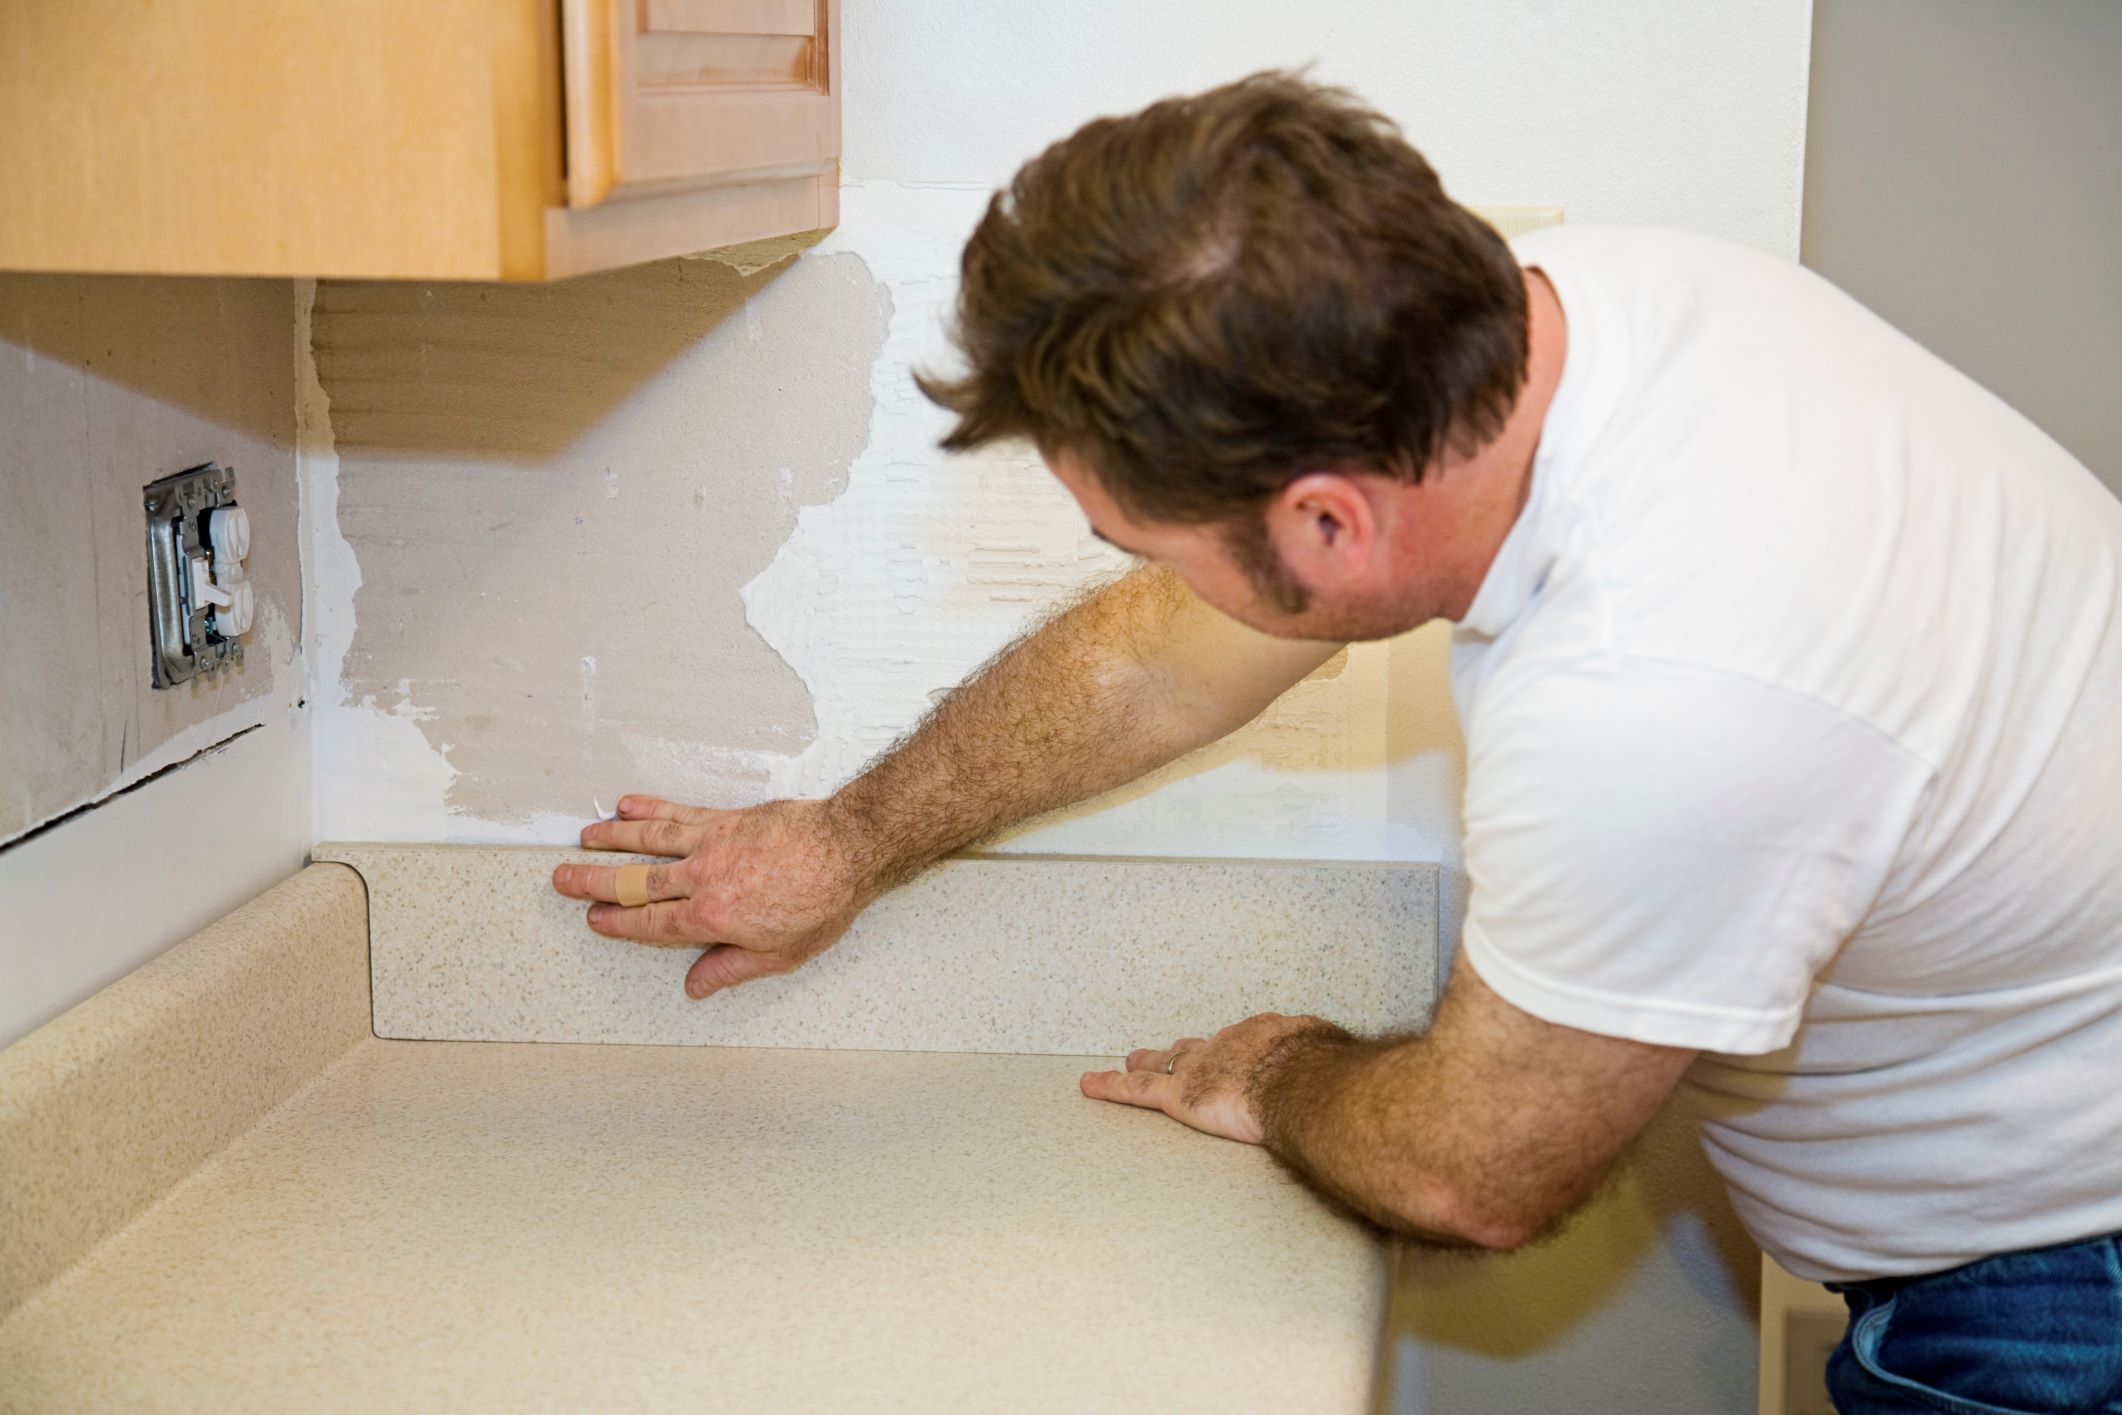
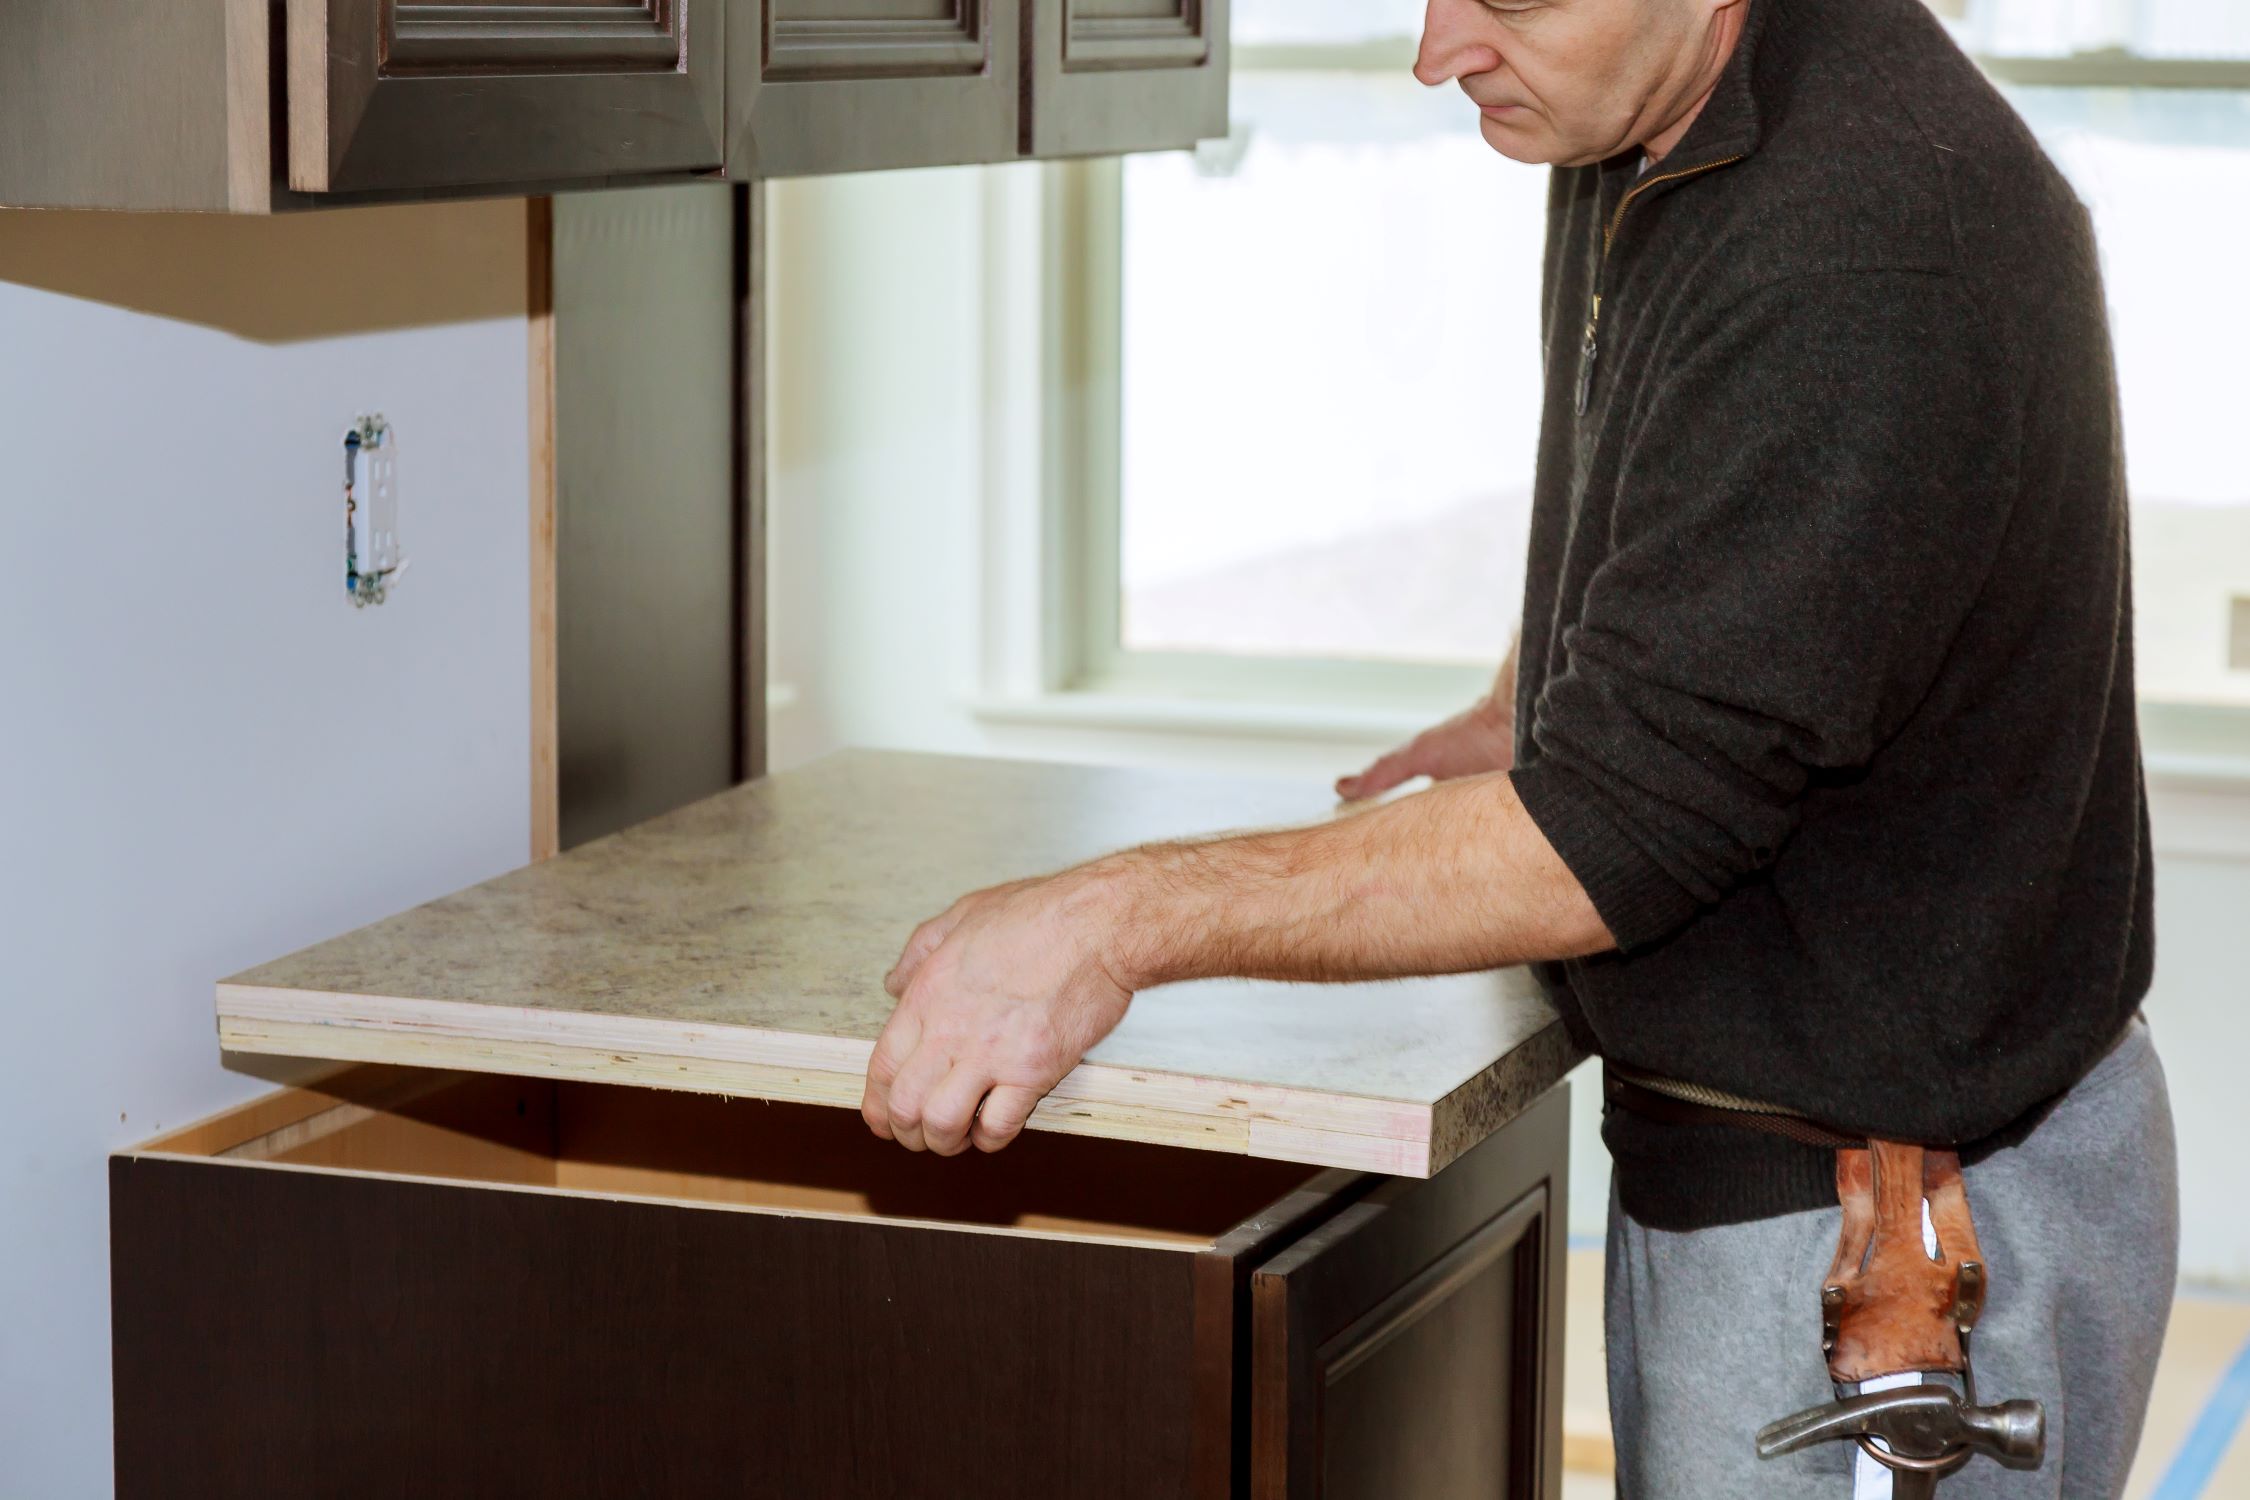
Before you begin the painting process, it’s crucial to properly prepare your laminate countertops. This step will ensure that the paint adheres well and that you achieve a smooth and long-lasting finish. Follow these essential preparation steps:
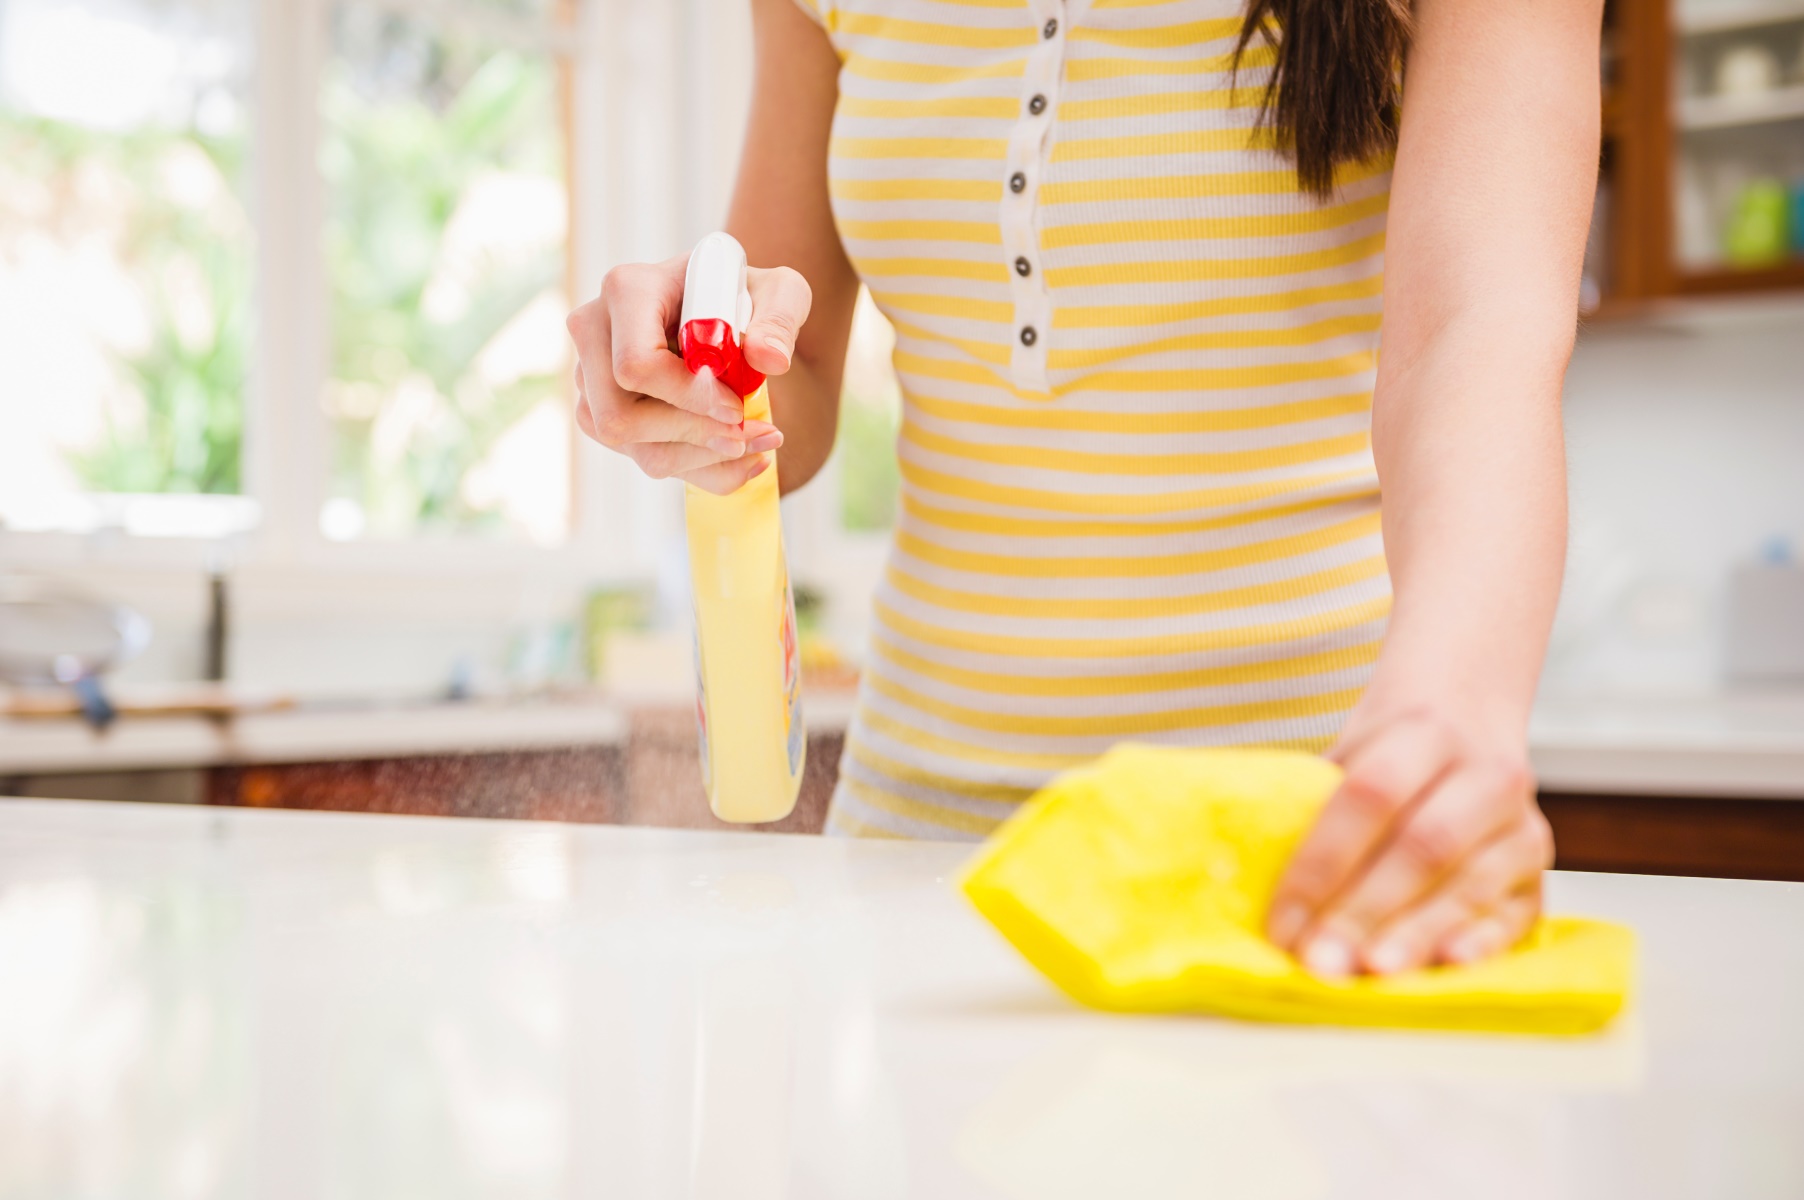
- Clean the countertops: Start by thoroughly cleaning the countertops with a mild detergent and warm water. Remove any dirt, grease, or grime that may be on the surface. Make sure to dry the countertops completely before moving on to the next step.
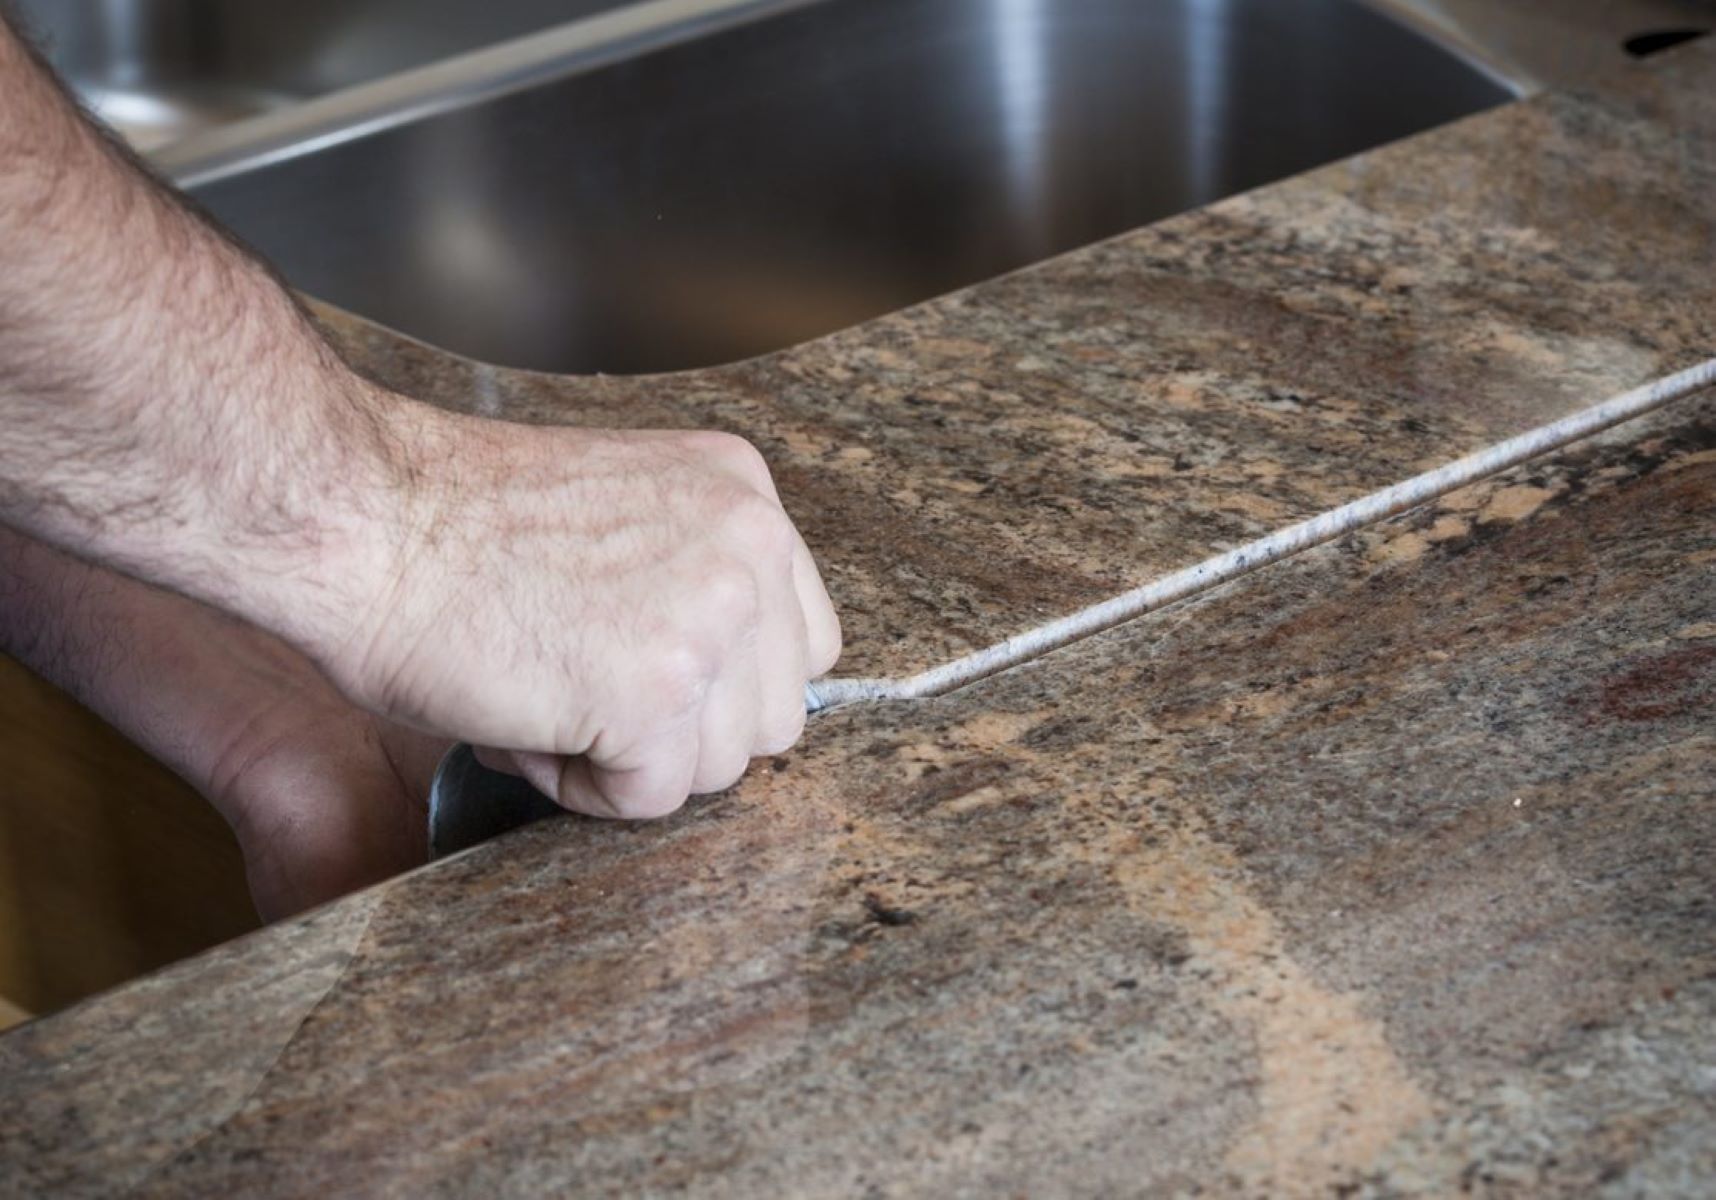
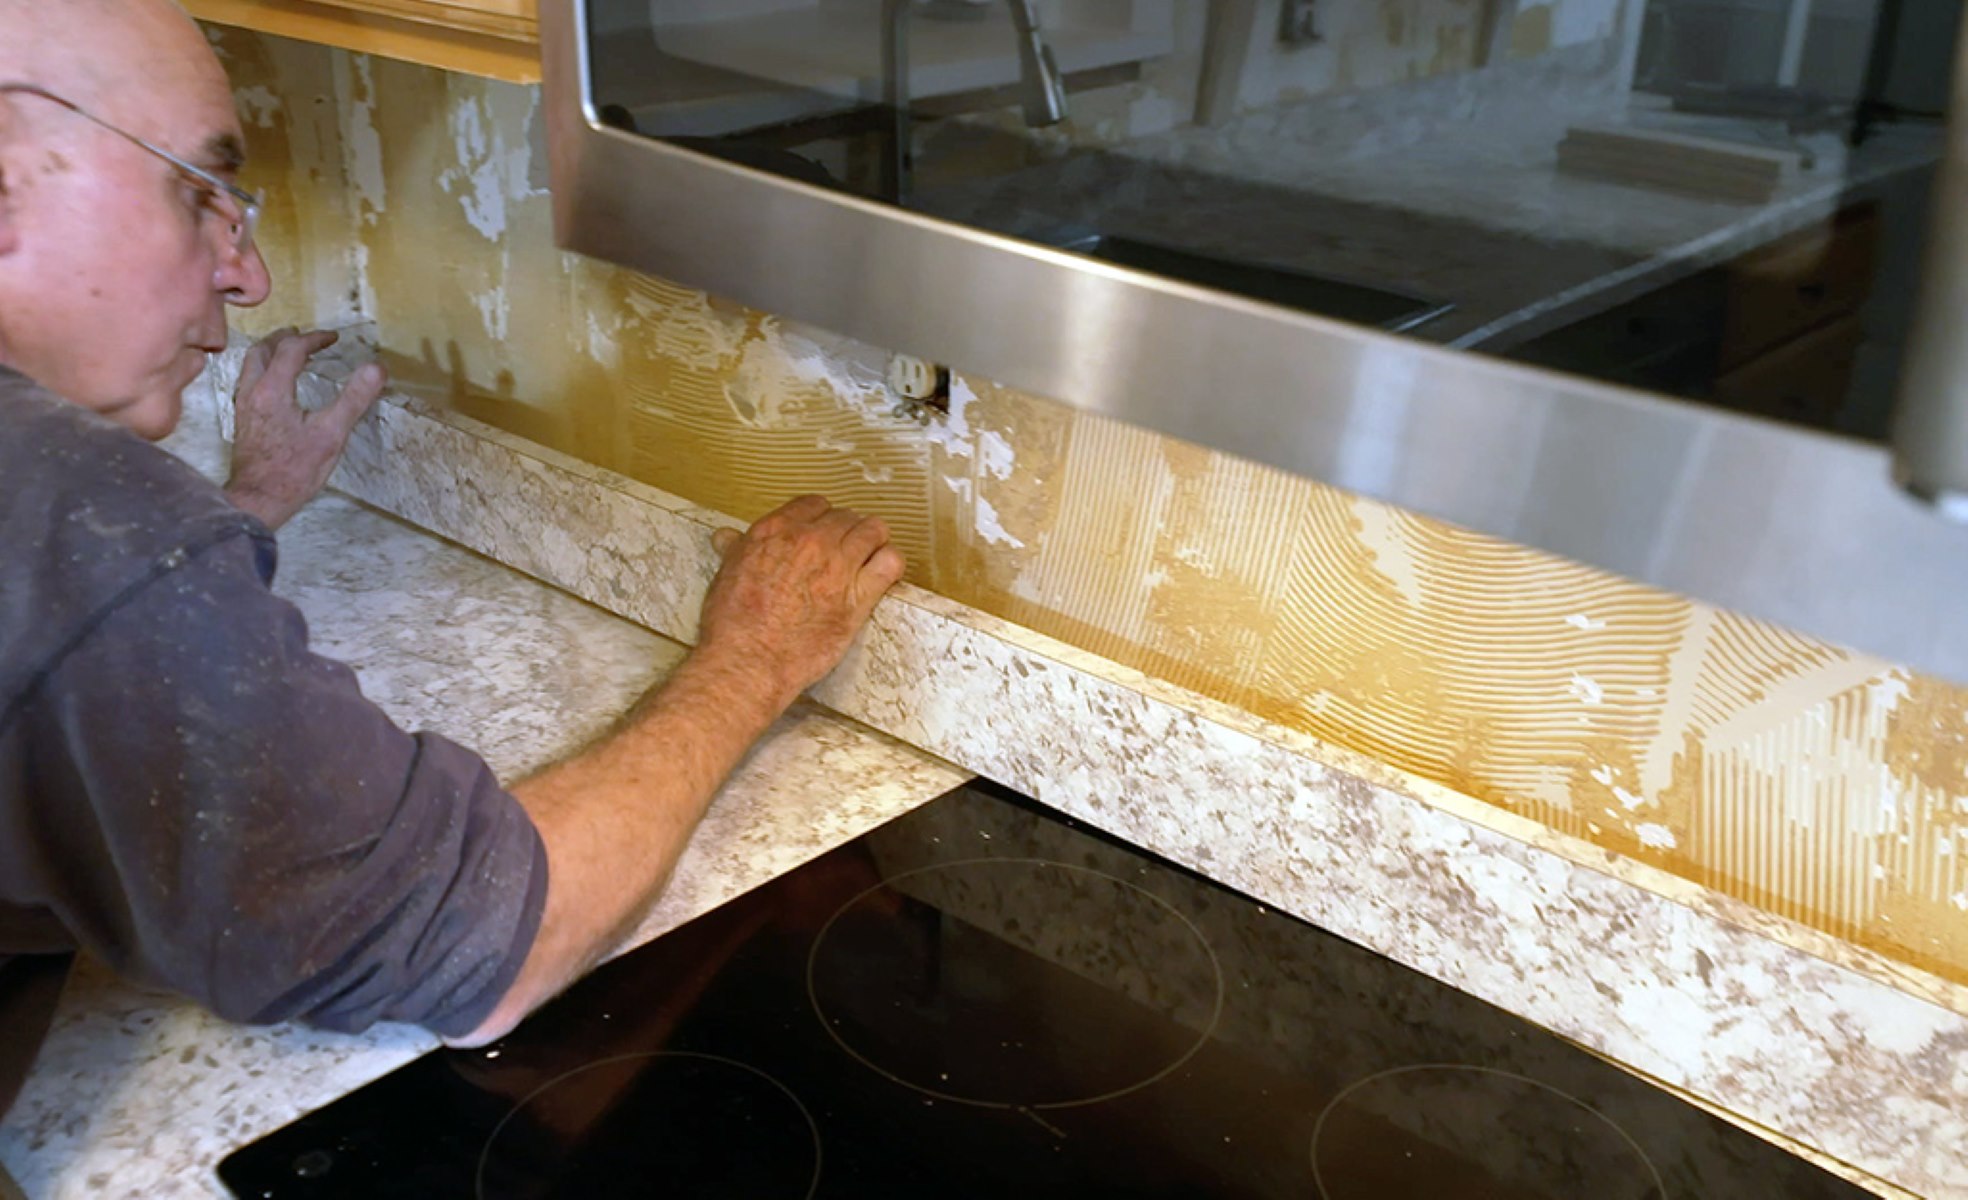
- Remove any loose or peeling laminate: Inspect the countertops for any loose or peeling laminate. Use a putty knife to gently scrape off any loose edges or pieces. It’s important to have a smooth and even surface before you begin painting.
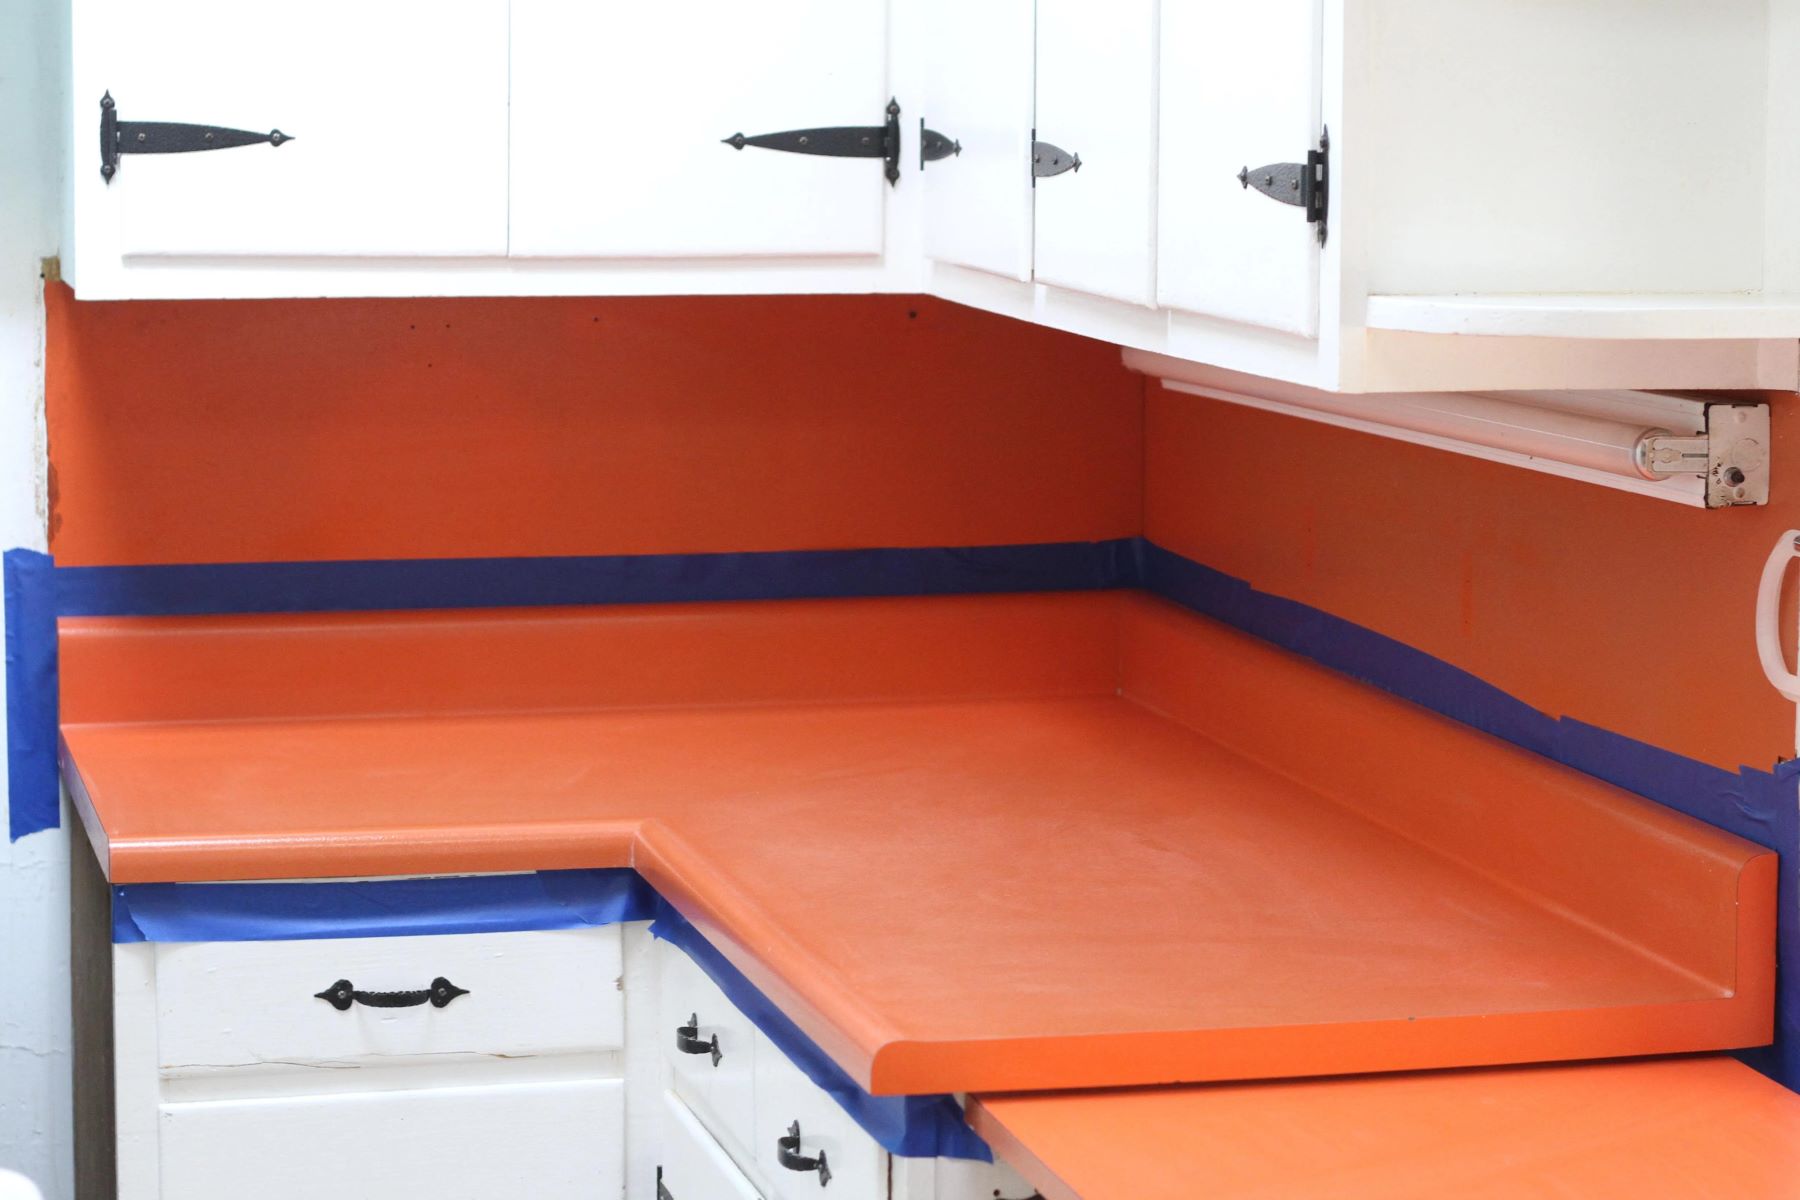
- Mask off surrounding areas: Protect the surrounding walls, cabinets, and appliances by covering them with tape and plastic sheeting. This will prevent any accidental paint splatters or spills from damaging these areas. Take your time to ensure everything is properly covered and secured.
- Sand the countertops: Lightly sand the surface of the countertops using fine-grit sandpaper. This step helps to create a rough texture on the laminate, allowing the paint to adhere better. Be sure to sand in a circular motion, covering the entire surface evenly. Wipe away any sanding dust with a damp cloth.
- Repair any imperfections: Inspect the countertops for any visible imperfections, such as scratches or chips. Use a good quality wood filler to fill in these areas and allow it to dry completely. Once dry, sand the filled areas gently to ensure a smooth and even surface.
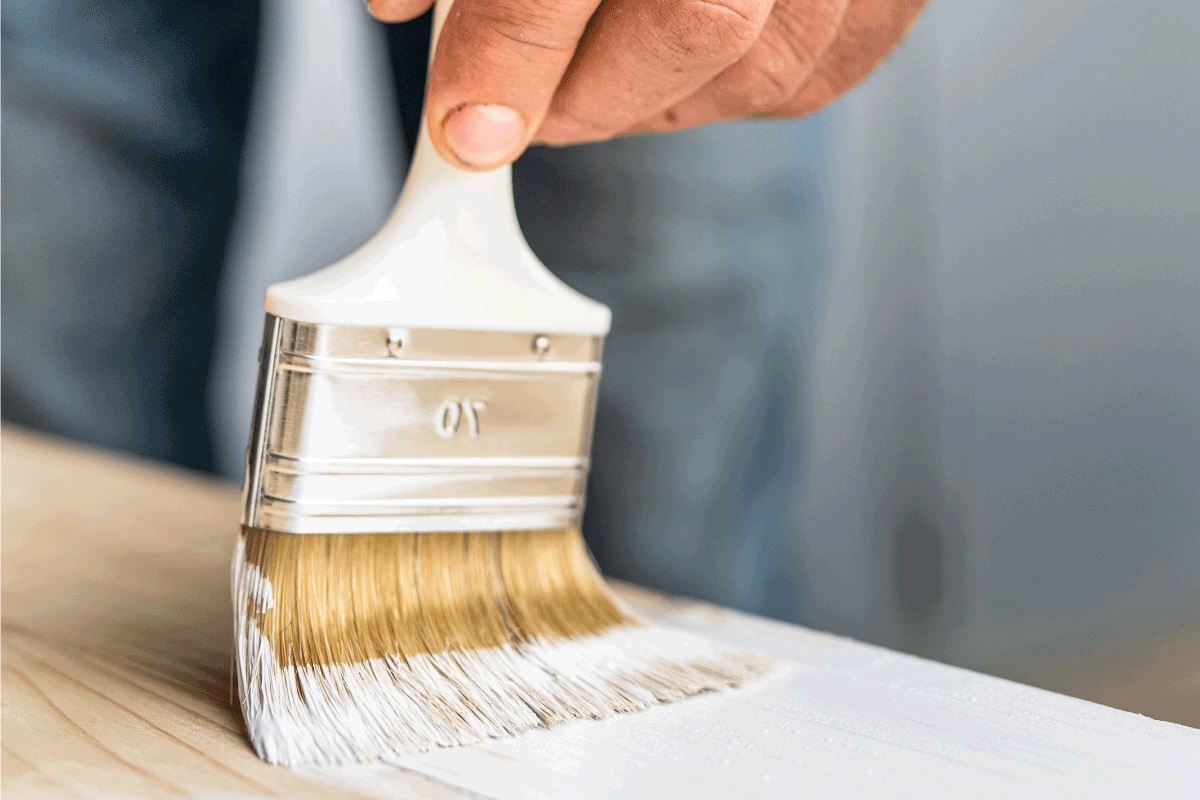
- Prime the countertops: To enhance the adhesion of the paint and create a solid base, apply a high-quality primer suitable for laminate surfaces. Use a brush or roller to evenly spread the primer over the countertops. Allow the primer to dry according to the manufacturer’s instructions.
By thoroughly preparing your laminate countertops, you’ll create the perfect foundation for a successful paint job. Taking the time to clean, repair, and prime will ensure that the paint adheres well and provides a beautiful and long-lasting finish. Now that your countertops are prepped and ready, it’s time to move on to the next step: cleaning and sanding!
Step 2: Cleaning and Sanding
Once you have completed the initial preparation steps, it’s time to focus on cleaning and sanding your laminate countertops. This step is crucial as it will help remove any remaining debris, smooth out the surface, and create a suitable texture for the paint to adhere to. Follow these steps to ensure a clean and well-prepared surface:
- Clean the countertops: Start by wiping down the countertops with a mild cleanser or degreaser to remove any lingering dirt or grease. Pay special attention to areas where food preparation takes place, as these areas may have more build-up. Rinse the countertops thoroughly with clean water and allow them to dry completely.
- Sand the countertops: Using a fine-grit sandpaper, gently sand the entire surface of the countertops. Sanding helps to roughen up the laminate and create a better bond with the paint. Sand in a circular motion, applying even pressure. Be cautious not to sand too heavily, as this can damage the laminate. Wipe away any dust with a damp cloth.
- Smooth out any imperfections: If you come across any visible imperfections, such as scratches or chips, use a finer-grit sandpaper and gently sand those areas. This will help to blend them in with the rest of the surface and create a smoother finish.
- Clean the countertops again: After sanding, it’s important to clean the countertops once more to remove any residual dust or debris. Use a damp cloth to wipe down the surface, ensuring it is completely clean and dry before moving on to the next step. Any remaining particles can negatively impact the finish of your painted countertops.
By thoroughly cleaning and sanding your laminate countertops, you are preparing them for optimal paint adhesion. This step helps to remove any remaining contaminants, smooth out the surface, and create a suitable texture for the paint. Once you have completed the cleaning and sanding process, you can proceed to the next step: applying primer to the countertops.
Step 3: Applying Primer
Now that your laminate countertops are clean and properly sanded, it’s time to apply a primer. Primer forms a crucial layer between the laminate surface and the paint, ensuring a smooth and durable finish. Follow these steps to apply the primer:
- Choose the right primer: Select a high-quality primer specifically designed for laminate surfaces. Look for a bonding primer or a primer specifically formulated for use on non-porous surfaces. This type of primer creates a strong adhesion and helps the paint adhere better to the laminate.
- Prepare the primer: Mix the primer thoroughly according to the manufacturer’s instructions. Ensure it is well-mixed to achieve a consistent application. If necessary, use a stir stick to blend the primer before applying it to the countertops.
- Apply the primer: Use a brush or a roller to apply the primer evenly to the laminate countertops. Begin with the edges and corners, working your way towards the center of the countertop surface. Apply a thin and even coat, making sure to cover the entire surface. Take your time to ensure a smooth application and avoid drips or excess primer.
- Allow the primer to dry: Check the drying time indicated on the primer product label. Most primers require at least 24 hours to fully dry and cure. Avoid touching or disturbing the primer during this drying period to ensure a strong and smooth base for the paint.
- Inspect for any imperfections: Once the primer has dried, carefully inspect the surface for any visible imperfections. In case you encounter rough areas or drips, lightly sand them with a fine-grit sandpaper to achieve a smooth finish. Wipe away any sanding dust with a clean, damp cloth.
Applying a primer is a crucial step in the process of painting laminate countertops. It creates a solid base for the paint, promoting better adhesion while enhancing the durability of the finished surface. Once the primer has dried, you’re ready to move on to the next exciting step: painting your countertops!
Use a high-quality bonding primer specifically designed for laminate surfaces to ensure proper adhesion. Sand the countertops lightly before applying the primer for better results.
Step 4: Painting the Countertops
Now that your laminate countertops are prepped, primed, and ready, it’s time to dive into the exciting part: painting! Follow these steps to ensure a successful and beautiful paint job:
- Choose the right paint: Select a high-quality paint specifically formulated for use on laminate surfaces. Look for paint that is durable, stain-resistant, and suitable for high-traffic areas. Consider using a paint with a satin or semi-gloss finish for a sleek and easy-to-clean surface.
- Prepare the paint: Thoroughly mix the paint using a stir stick to ensure it is well-blended. This will help achieve a consistent color and finish throughout the countertops. If needed, add a paint conditioner or extender to improve the flow and leveling of the paint.
- Apply the paint: Start by cutting in the edges and corners of the countertops using a brush. This will help you achieve a clean and precise finish. Once the edges are done, use a roller to apply the paint to the rest of the countertop surface. Work in smooth, even strokes, going in one direction. Avoid applying excessive pressure to prevent streaks or uneven coverage.
- Apply multiple thin coats: For optimal results, apply two to three thin coats of paint, allowing each coat to dry fully before applying the next. Thin coats ensure better adhesion and reduce the risk of paint pooling or running. Follow the drying time suggested by the paint manufacturer between each coat.
- Allow the final coat to dry and cure: After applying the final coat, allow the paint to dry and cure according to the paint manufacturer’s instructions. This curing period is crucial for the paint to fully harden and achieve maximum durability. Avoid placing any objects or heavy items on the countertops during this time.
By following these steps, you’ll achieve a smooth and flawless paint finish on your laminate countertops. Take your time, work systematically, and pay attention to detail. Painting your countertops not only gives them a fresh and modern look but also protects them from everyday wear and tear. Once the paint is dry and cured, it’s time to move on to the next step: applying a sealant to enhance the longevity of the finished surface!
Read more: How To Protect Laminate Countertops
Step 5: Applying a Sealant
After painting your laminate countertops, it’s important to apply a sealant to protect the painted surface and enhance its durability. The sealant acts as a protective layer, guarding against stains, moisture, and daily wear and tear. Follow these steps to properly apply a sealant to your painted countertops:
- Choose the right sealant: Select a high-quality, water-based polyurethane sealant specially designed for use on painted surfaces. Water-based sealants are typically easier to work with, dry faster, and emit fewer fumes than oil-based sealants. Make sure the sealant is compatible with your chosen paint type.
- Prepare the countertop: Ensure that the painted surface is clean, dry, and free from any dust or debris. If necessary, gently wipe down the countertops with a damp cloth to remove any residual particles. Allow the surface to dry completely before applying the sealant.
- Apply the sealant: Use a clean, high-quality brush or a synthetic bristle brush to apply the sealant. Start by cutting in the edges and corners of the countertops, then work your way across the rest of the surface. Apply a thin, even coat of sealant, making sure to cover the entire painted area. Avoid applying too much pressure to prevent brush marks or streaks.
- Allow the sealant to dry: Follow the drying time recommended by the manufacturer. Generally, water-based sealants dry faster than oil-based ones, typically within a few hours. Ensure that the countertops are in a well-ventilated area during the drying process to allow for proper air circulation. Avoid touching or placing objects on the sealed surface until it is fully dry.
- Apply additional coats if necessary: Depending on the desired level of protection, you may choose to apply multiple coats of sealant. Allow each coat to dry fully before applying the next. Two to three coats are typically sufficient to provide adequate protection for your painted countertops.
Applying a sealant is the final step in the process of painting laminate countertops. By sealing the surface, you protect the paint from stains, water damage, and general wear and tear, ensuring the longevity of your newly refreshed countertops. Once the sealant is dry, you can move on to the last step: allowing the countertops to cure before using them.
Step 6: Curing Time
After completing the painting and sealing process, it’s important to allow your newly transformed laminate countertops to go through a curing period. Curing allows the paint and sealant to fully harden and set, ensuring maximum durability and longevity. Follow these steps to ensure proper curing of your painted countertops:
- Check the manufacturer’s instructions: Refer to the paint and sealant manufacturer’s instructions for the recommended curing time. Different products may have different curing requirements, so it’s essential to follow the guidelines provided on the product labels.
- Avoid using the countertops: During the curing period, it’s important to avoid placing any objects or using the countertops for heavy-duty tasks. Even though the paint and sealant may feel dry after a few hours, they may not have fully cured. This could lead to premature damage or a compromised finish.
- Allow sufficient curing time: Generally, water-based paints and sealants require a shorter curing time compared to their oil-based counterparts. Water-based products usually cure within a few days, while oil-based ones may take up to a week or longer. Follow the recommended curing time to ensure the best results.
- Ensure proper ventilation: During the curing process, it’s important to keep the area well-ventilated to allow for proper airflow. This will aid in the drying and hardening of the paint and sealant. Open windows or use fans to help circulate the air and expedite the curing process.
- Test for hardness: After the recommended curing time has passed, gently test the hardness of the painted surface using a fingernail or a soft object. If the paint feels firmly set and doesn’t leave any indentations, it is likely fully cured and ready for regular use.
Properly allowing your painted laminate countertops to cure is essential for achieving a durable and long-lasting finish. Patience during the curing period will ensure that your countertops remain in pristine condition for years to come. Once the curing is complete, you can enjoy your newly transformed kitchen space with confidence!
Conclusion
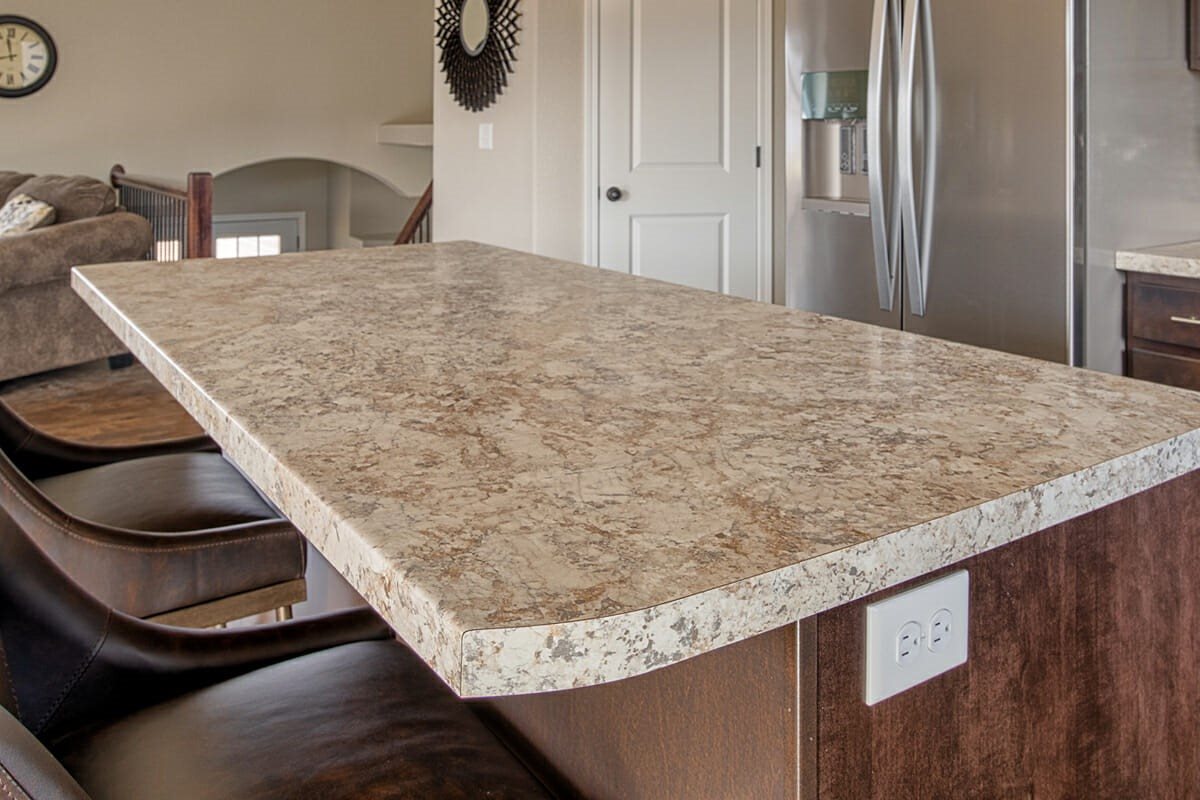
Painting over laminate countertops is an excellent way to refresh and revitalize your kitchen without the expense of replacing them. By following the step-by-step guide outlined in this article, you can achieve a stunning transformation that will give your countertops a brand-new look.
The key to a successful paint job lies in thorough preparation, including cleaning, sanding, and applying primer. This creates a solid foundation for the paint to adhere to and ensures a smooth and professional finish. Choosing the right paint and sealant, as well as allowing sufficient curing time, will further enhance the durability and longevity of your painted countertops.
Remember to take your time and follow the manufacturer’s instructions for each product used. It’s important to work in a well-ventilated area and protect the surrounding surfaces to prevent any accidental damage.
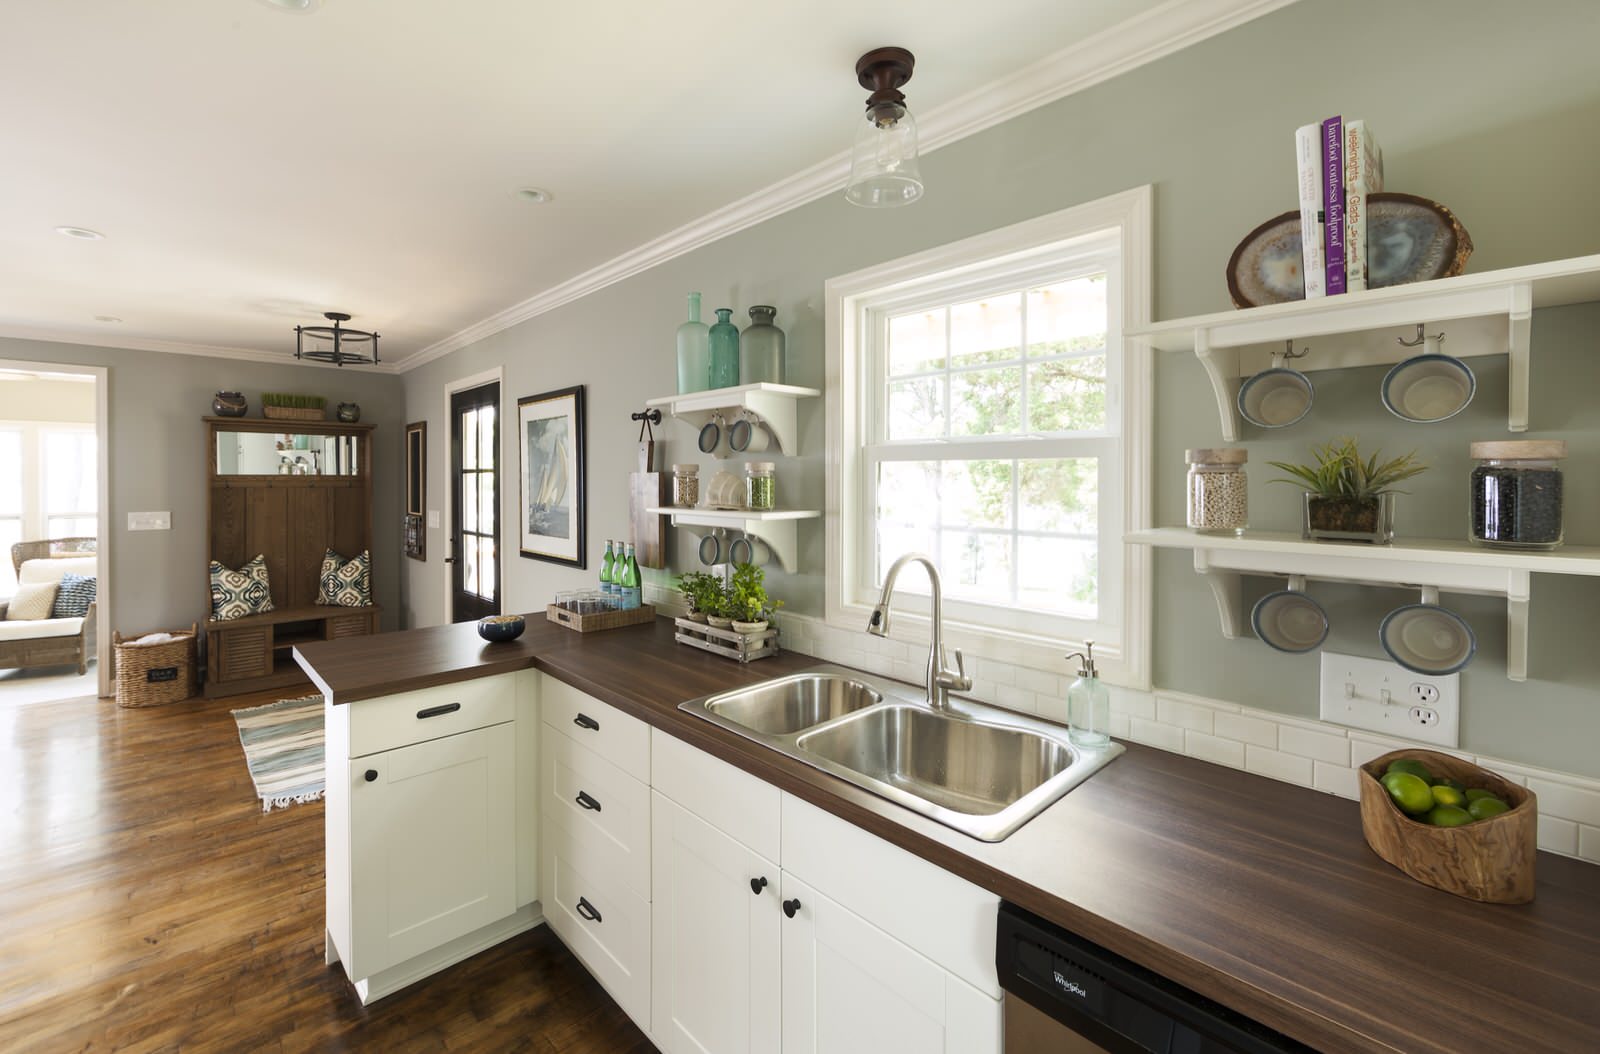
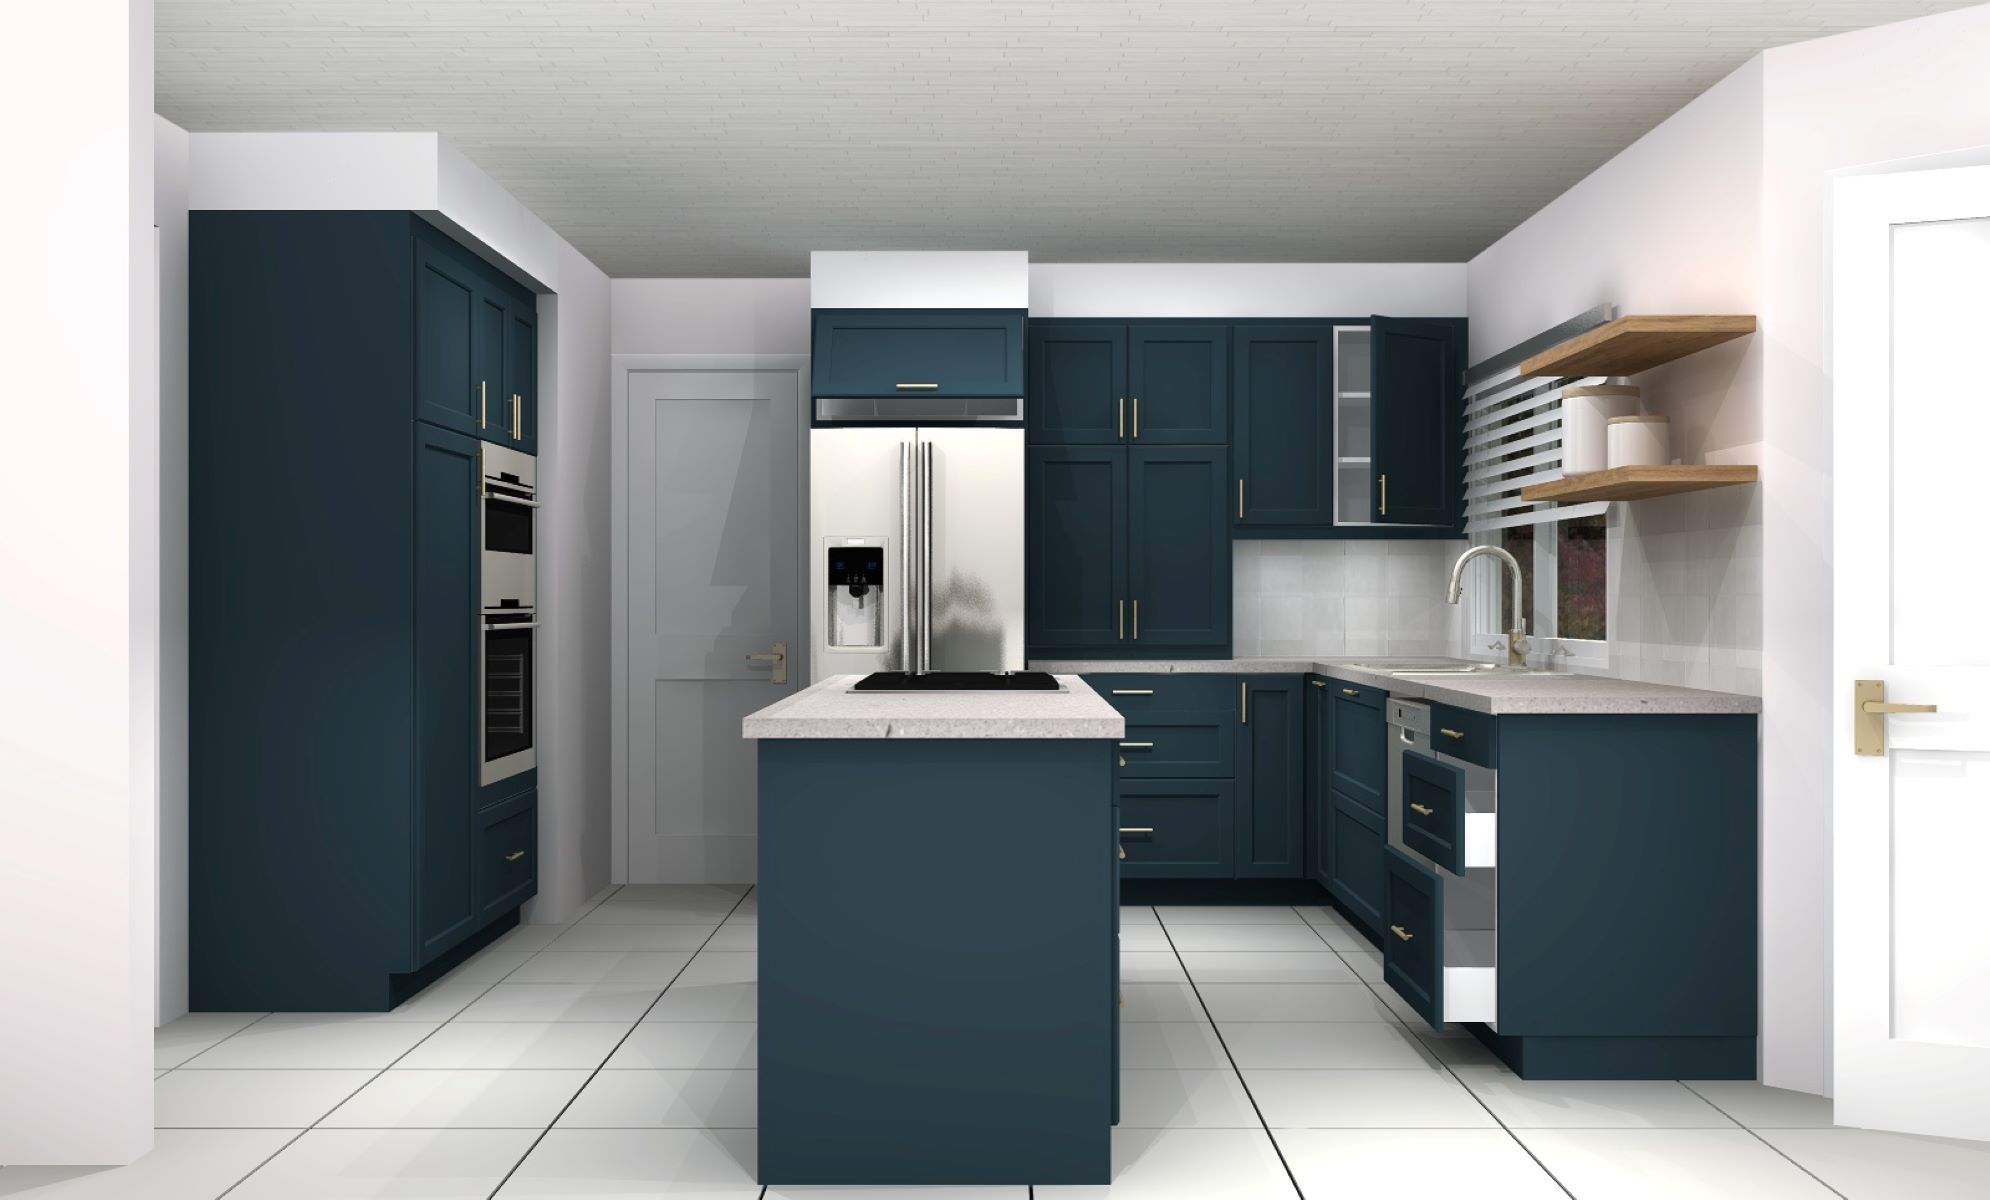
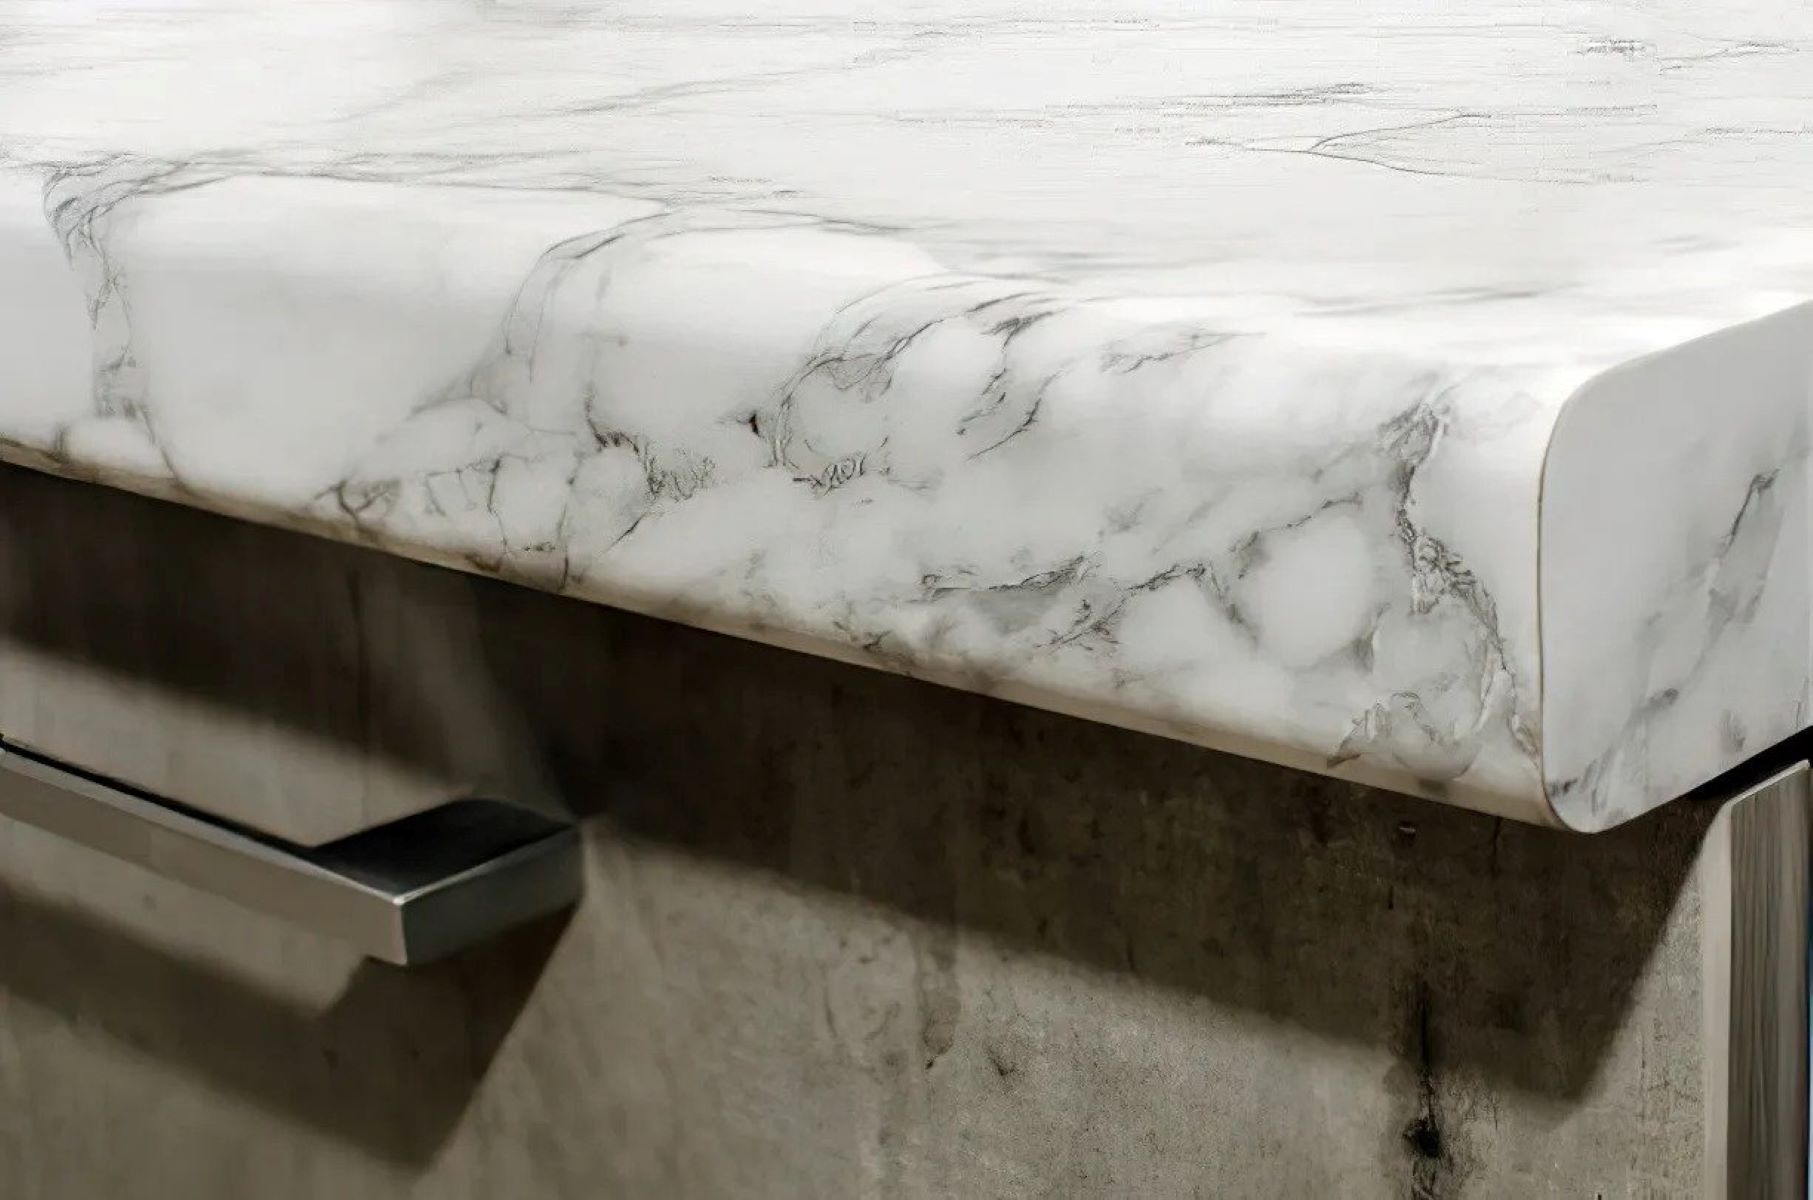
By painting your laminate countertops, you can transform your kitchen into a stylish and modern space that reflects your personal style. Whether you opt for a timeless white or a bold color, the painted countertops will make a significant impact on the overall aesthetic of your kitchen.
So, why wait? Take the plunge and give your laminate countertops a fresh new look by painting them. With careful preparation, the right materials, and a little bit of patience, you can achieve a remarkable transformation that will leave you with beautiful and long-lasting countertops.
Now, it’s time to get started on your painting project and enjoy the satisfaction of a kitchen makeover!
Frequently Asked Questions about How To Paint Over Laminate Countertops
Was this page helpful?
At Storables.com, we guarantee accurate and reliable information. Our content, validated by Expert Board Contributors, is crafted following stringent Editorial Policies. We're committed to providing you with well-researched, expert-backed insights for all your informational needs.


0 thoughts on “How To Paint Over Laminate Countertops”