Articles
How To Paint Formica Countertops
Modified: December 7, 2023
Learn how to paint Formica countertops with these step-by-step articles. Transform your kitchen or bathroom on a budget and achieve a fresh, updated look.
(Many of the links in this article redirect to a specific reviewed product. Your purchase of these products through affiliate links helps to generate commission for Storables.com, at no extra cost. Learn more)
Introduction
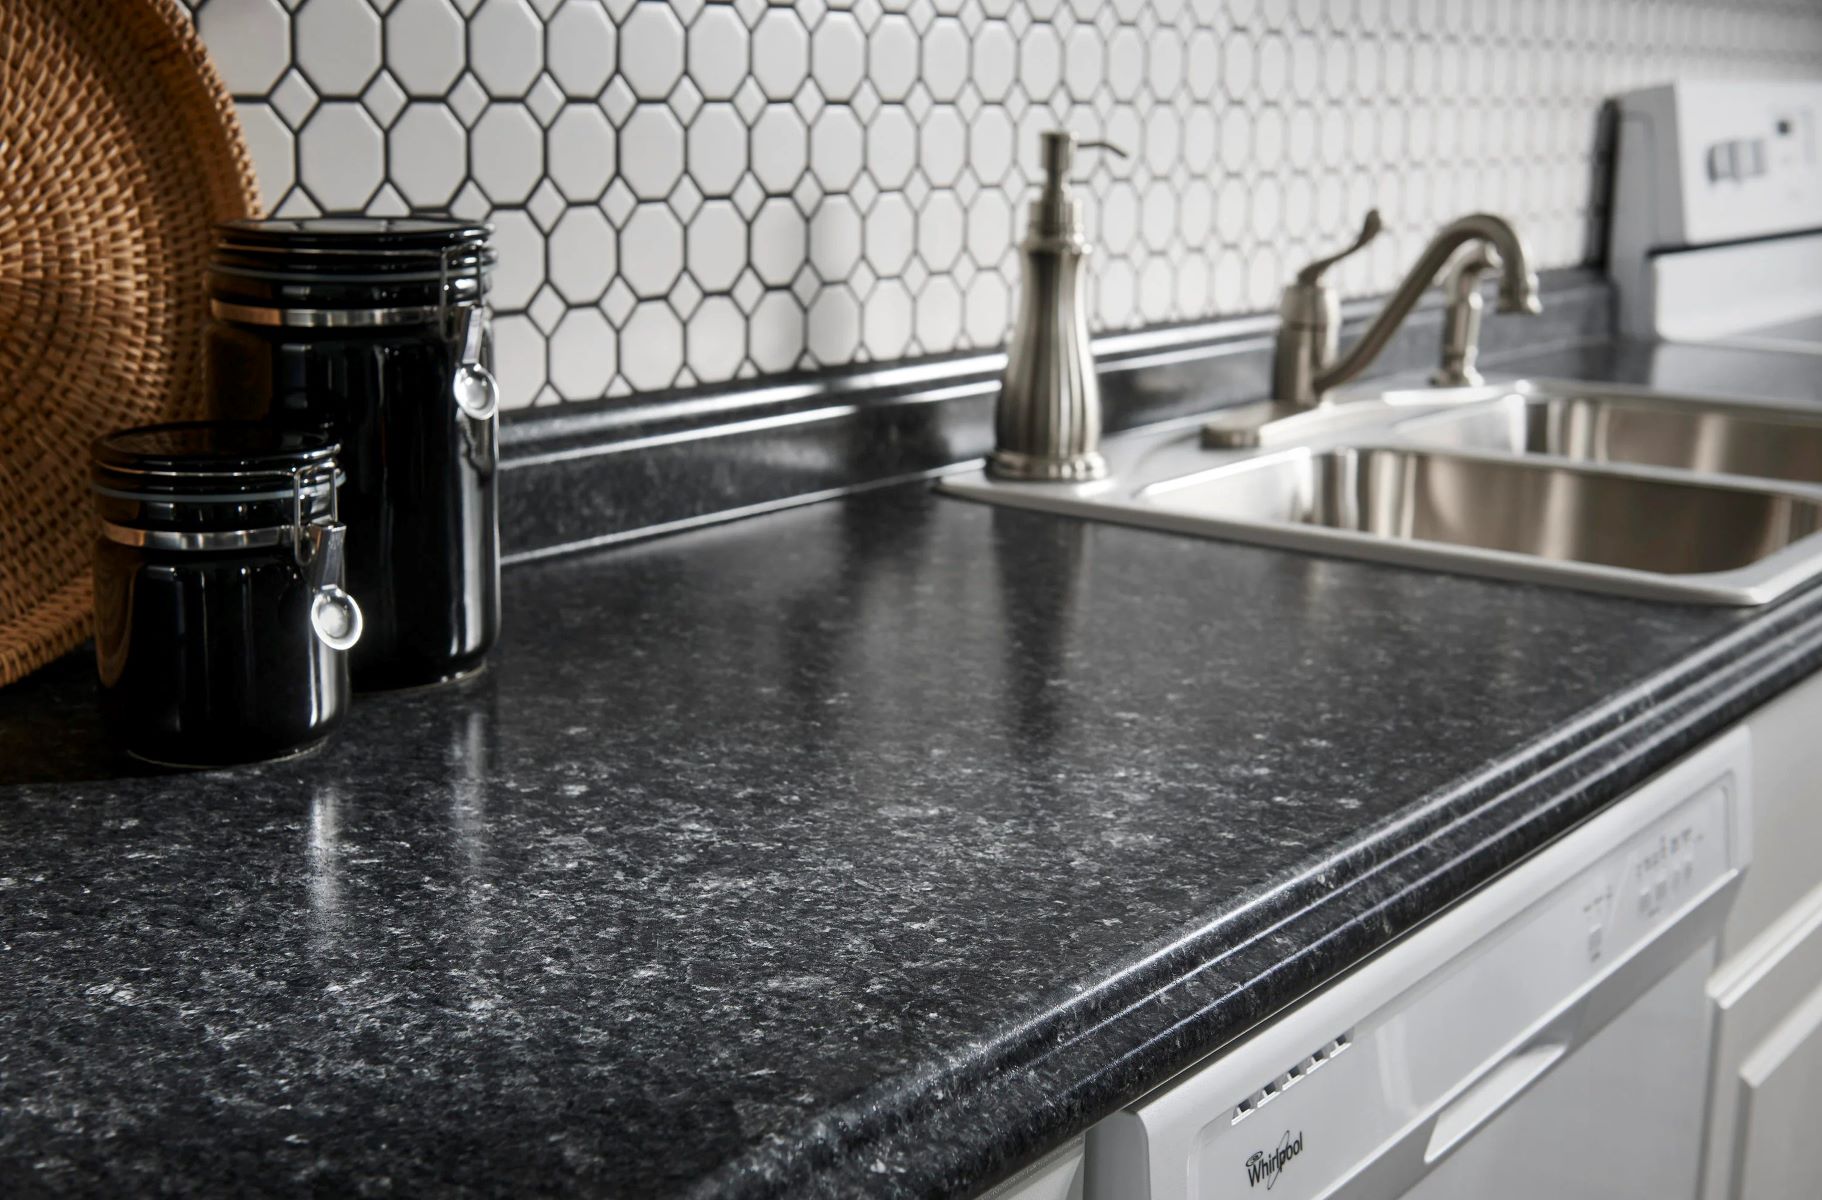
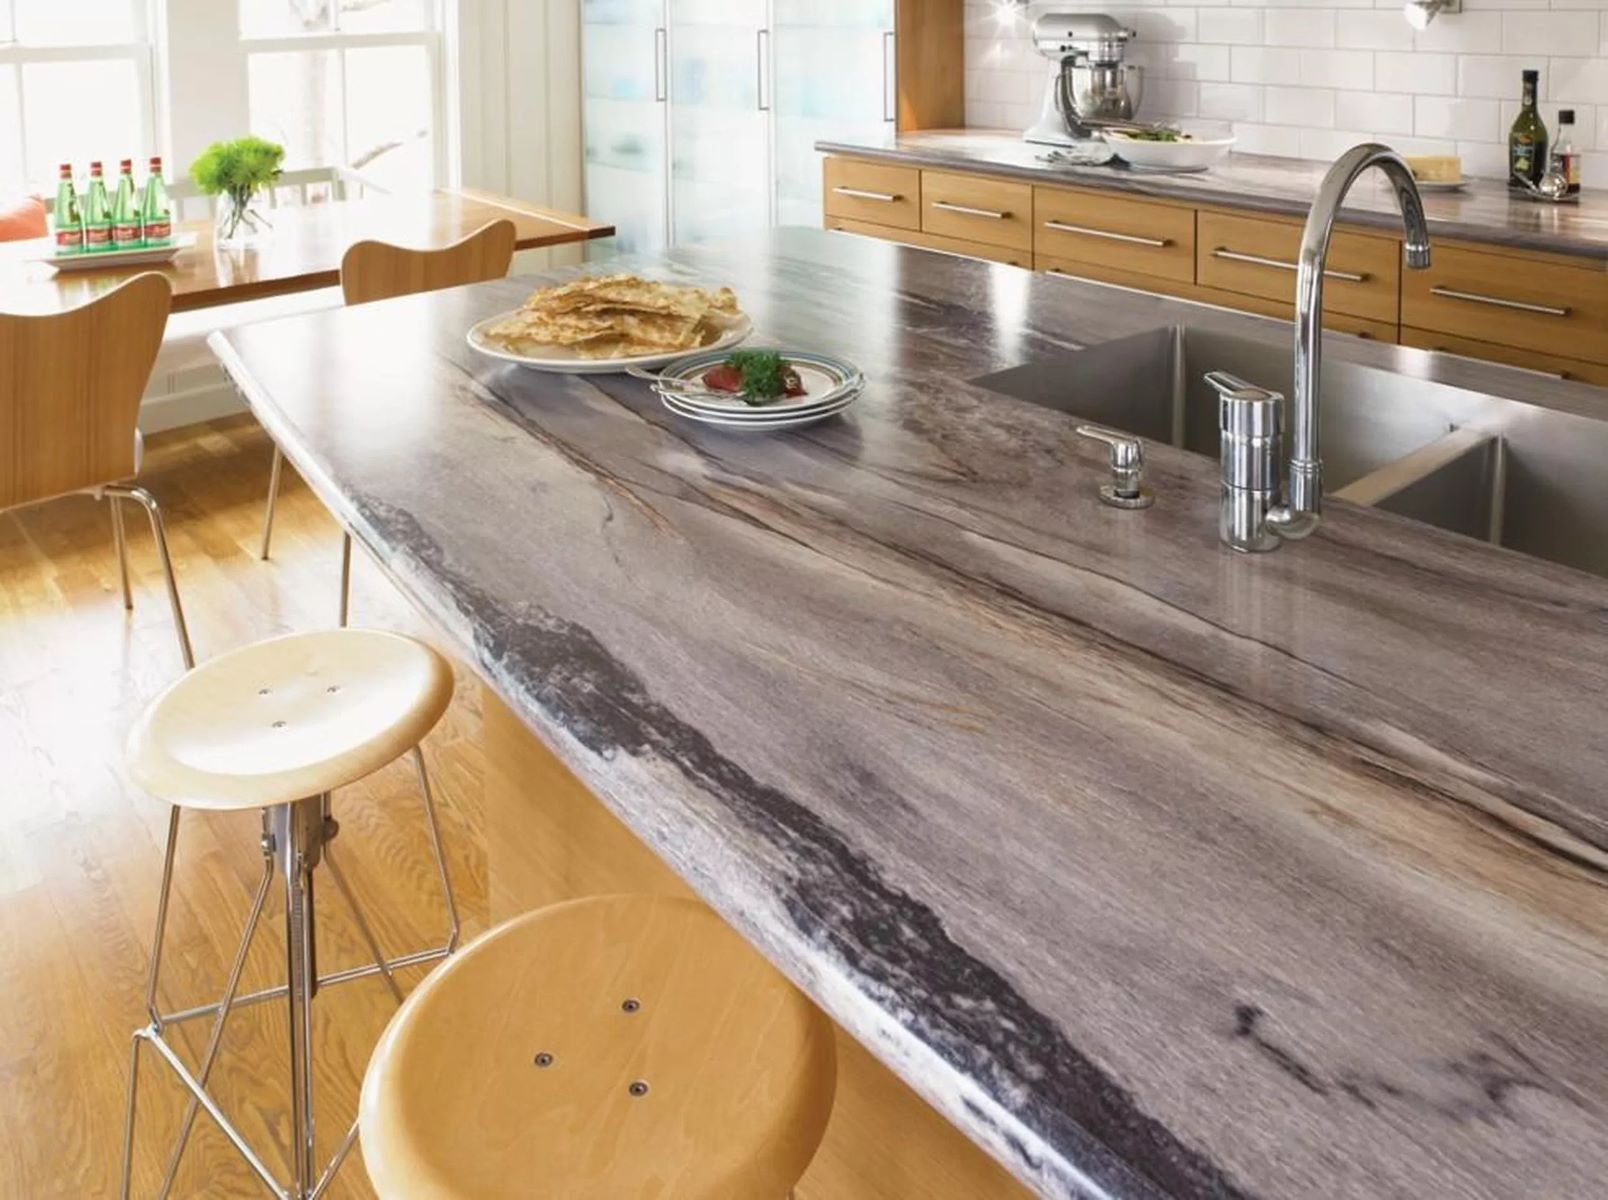
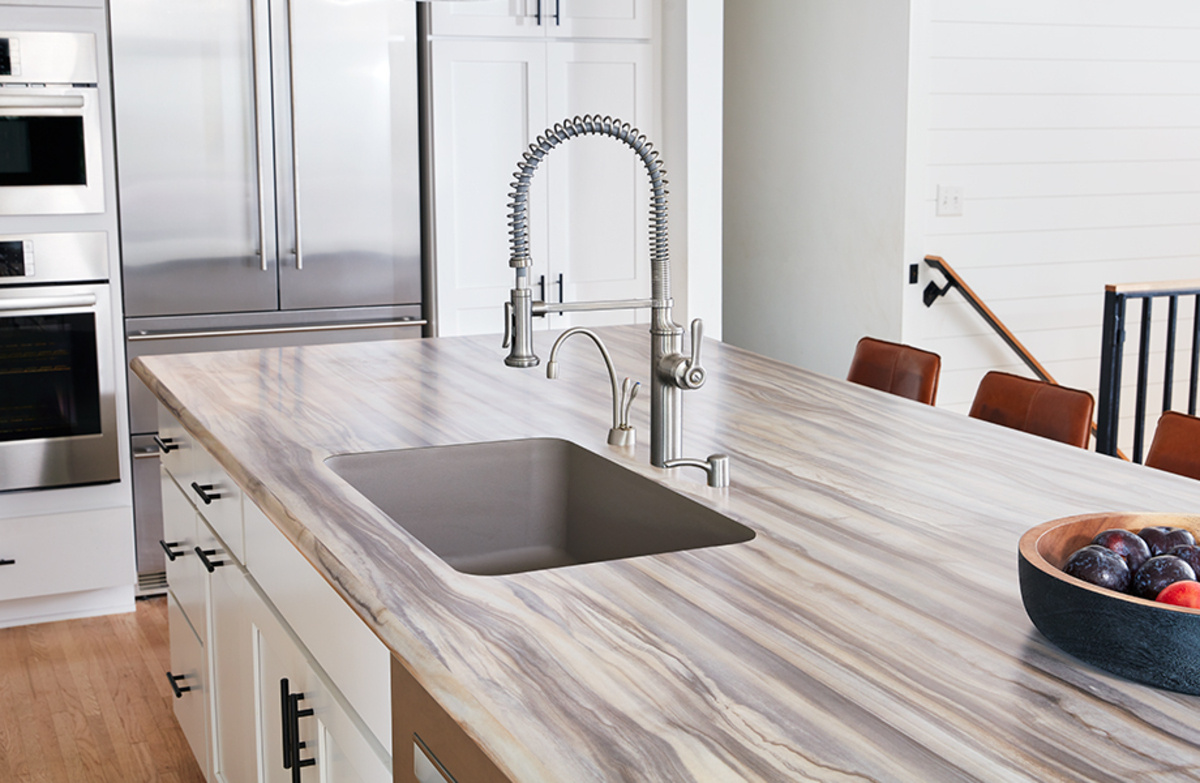
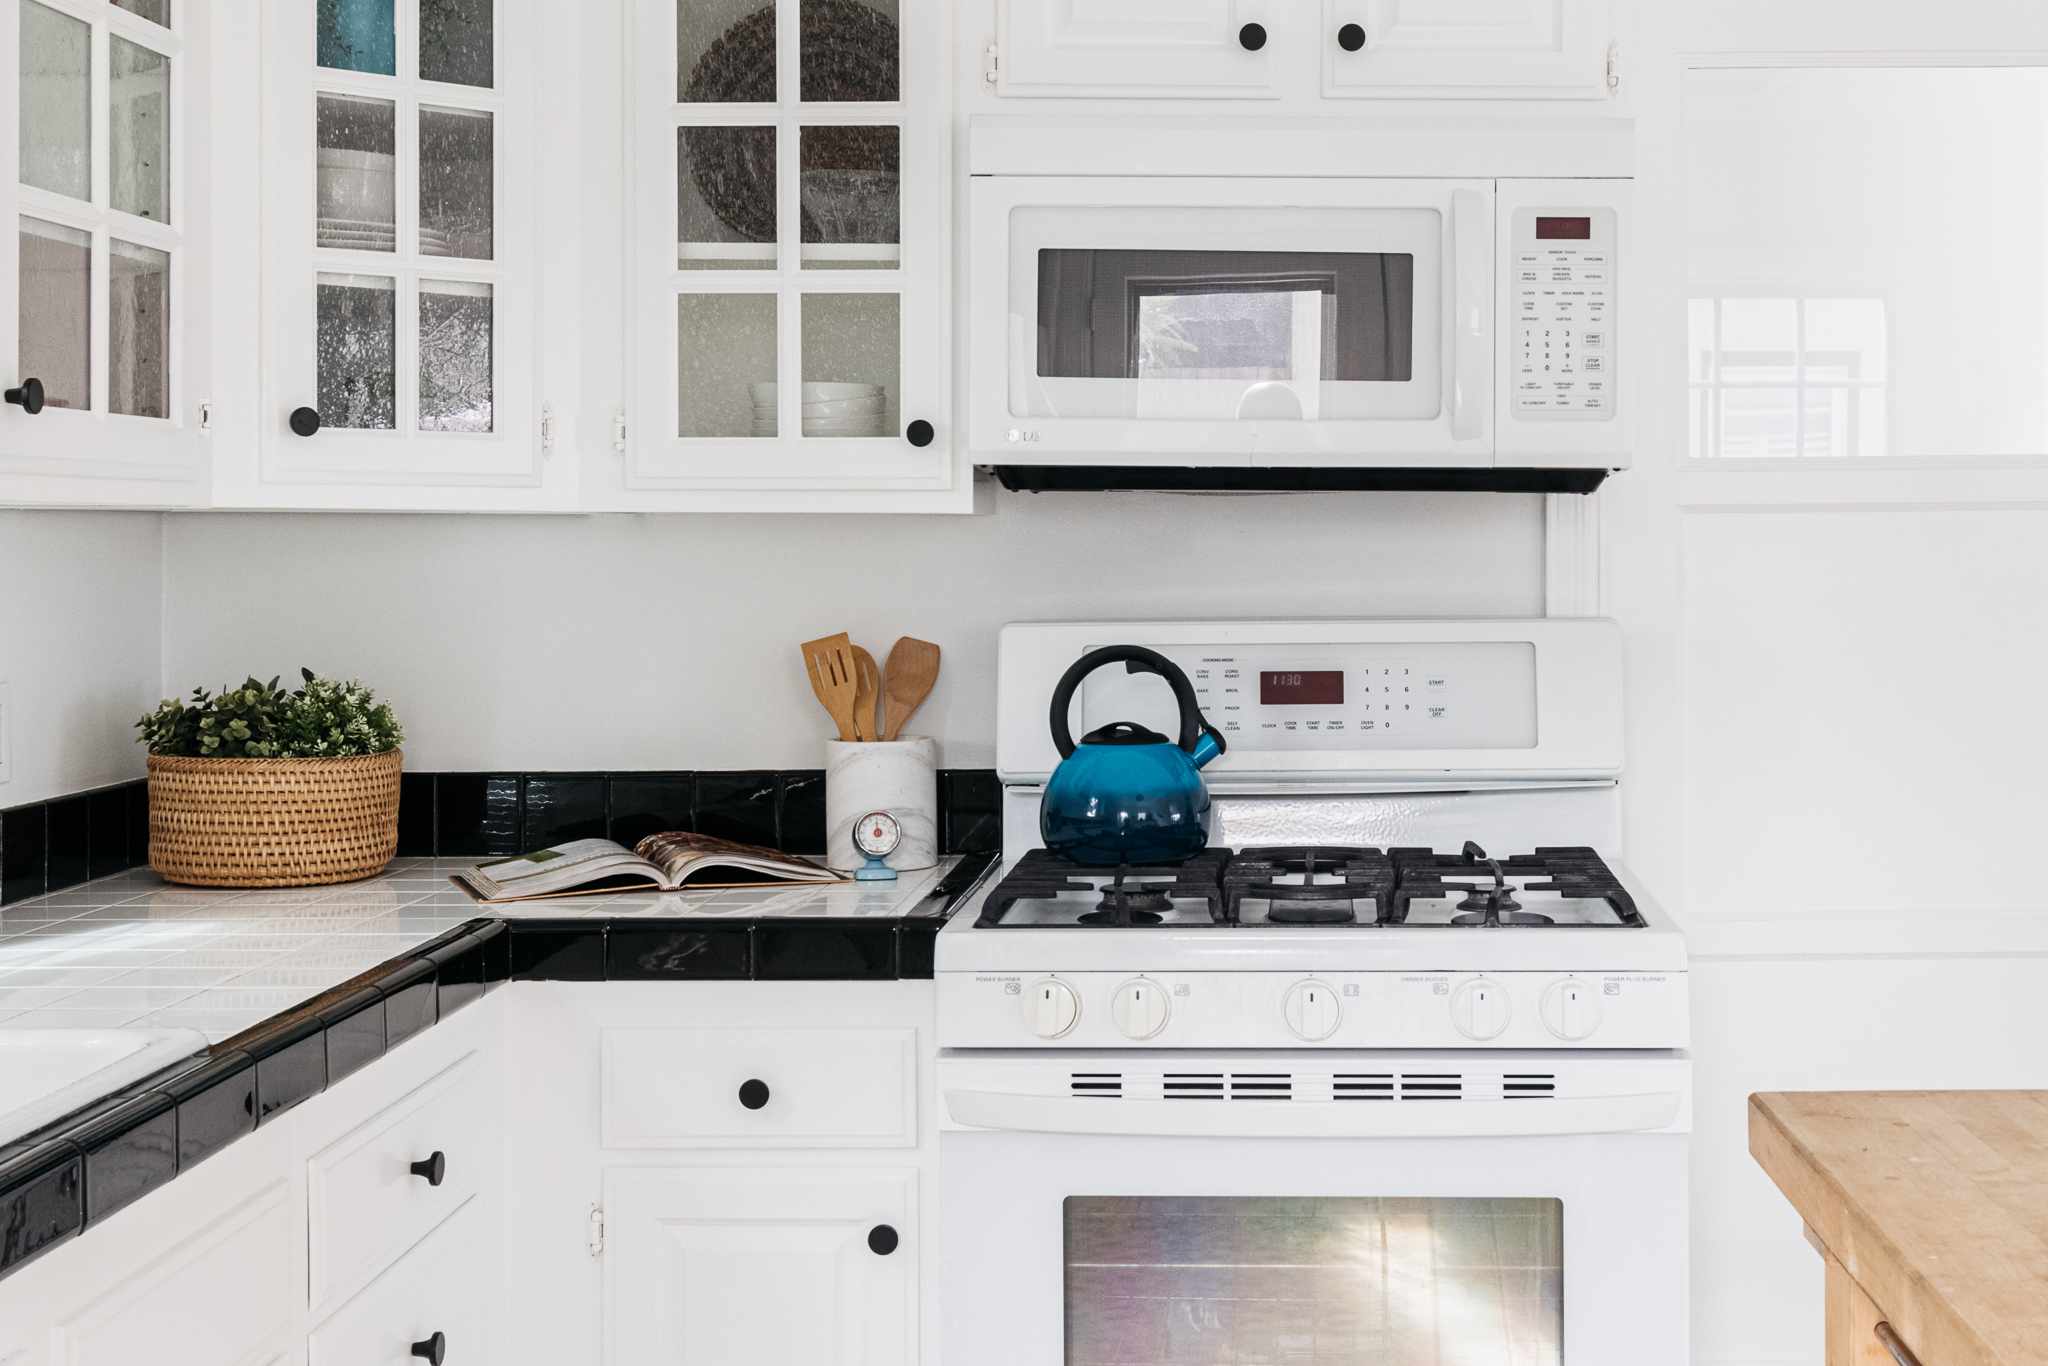
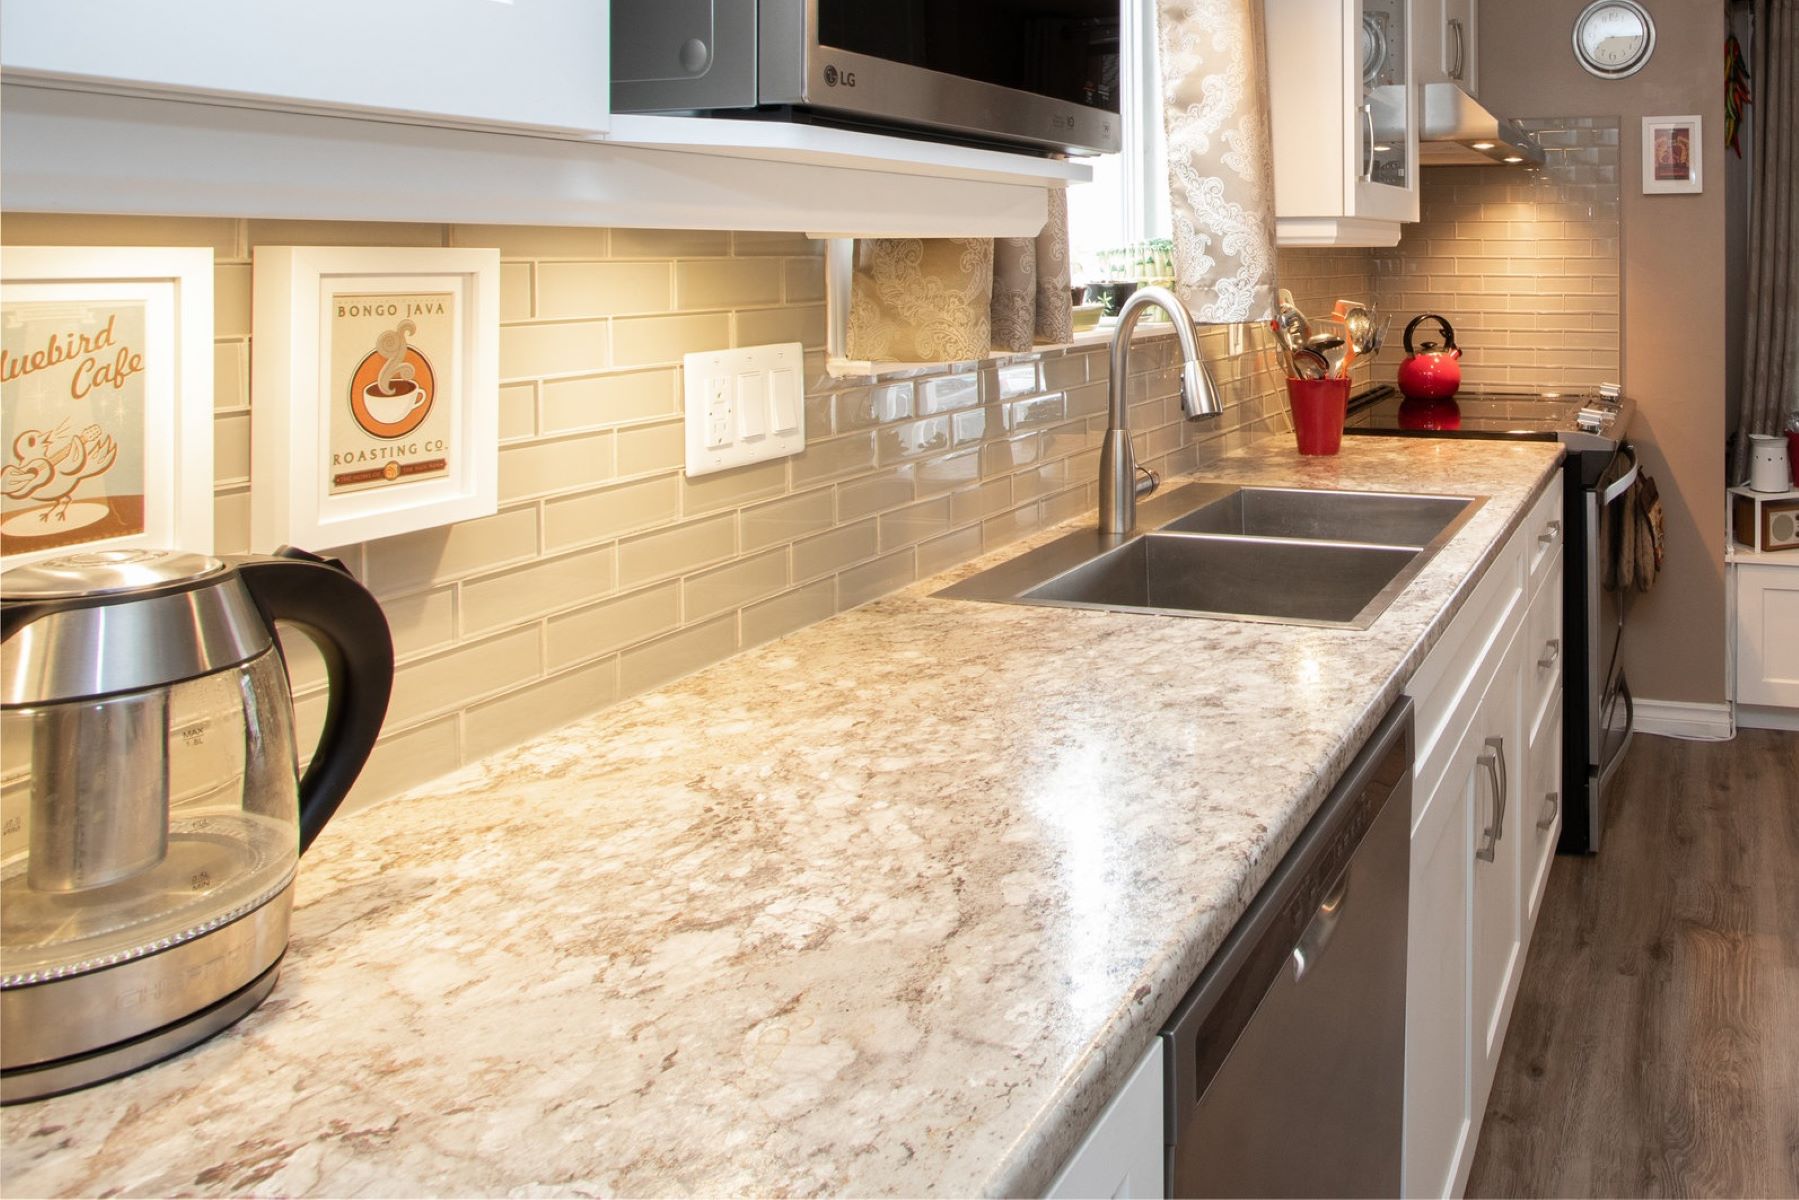
Welcome to the world of home improvement! If you’re looking for a budget-friendly way to upgrade your kitchen or bathroom, painting your formica countertops can be a game-changer. Formica countertops are popular due to their durability and affordability, but they often lack the aesthetic appeal that other countertop materials offer. Fortunately, with a little time and effort, you can transform your formica countertops into beautiful, custom creations that reflect your personal style.
In this comprehensive guide, we will walk you through the step-by-step process of painting formica countertops. Whether you want a sleek, modern look or a rustic, farmhouse feel, painting your formica countertops can give you the makeover you desire without breaking the bank.
Before diving into the project, it’s important to gather all the necessary materials. Investing in high-quality tools and paints will ensure a long-lasting and professional-looking finish. Remember, preparation is key, so make sure you have everything you need before you begin.
Now that you’re ready to give your formica countertops a fresh look, let’s dive into the exciting world of countertop painting!
Key Takeaways:
- Transform your formica countertops into personalized masterpieces with a budget-friendly painting project. Follow the step-by-step guide for professional-looking results and enjoy a fresh, customized look in your kitchen or bathroom.
- Prioritize safety, creativity, and proper care to achieve durable and stylish painted formica countertops. Embrace the satisfaction of a DIY home improvement project and enjoy the transformed appearance of your space.
Read more: What Are Formica Countertops
Materials Needed
Before you start painting your formica countertops, gather the following materials:
- Sandpaper or sanding block
- Primer specifically designed for laminate or formica surfaces
- Premium quality paint suitable for countertops
- Paintbrushes (foam and synthetic brushes are recommended)
- Roller brush or foam roller
- Painter’s tape
- Drop cloths or plastic sheets to protect surrounding areas
- Trisodium phosphate (TSP) cleaner
- Clean cloths or sponges
- Protective gloves, goggles, and a face mask
- Topcoat for extra protection
- Sanding sealer (if recommended by the paint manufacturer)
Having these materials on hand will ensure that you have a smooth and successful countertop painting experience. It’s important to use products specifically designed for painting formica or laminate surfaces to achieve the best results.
Remember, when working with any painting materials, it’s crucial to prioritize safety. Protect your eyes, skin, and respiratory system by wearing gloves, goggles, and a face mask. Additionally, make sure to work in a well-ventilated area to avoid inhaling fumes.
Now that you have all the necessary materials, it’s time to start transforming your formica countertops into a masterpiece!
Step 1: Preparing the Countertops
Before you begin painting your formica countertops, it’s essential to prepare the surface properly. This step ensures that the paint adheres well and provides a long-lasting finish. Here’s how to prepare your countertops:
- Clear the area: Start by removing any items from your countertops, such as appliances, cookware, and decorations. Place them in a safe location away from the work area.
- Protect surrounding areas: Cover the cabinets, backsplash, and floor with drop cloths or plastic sheets to prevent any paint splatters or drips from damaging them.
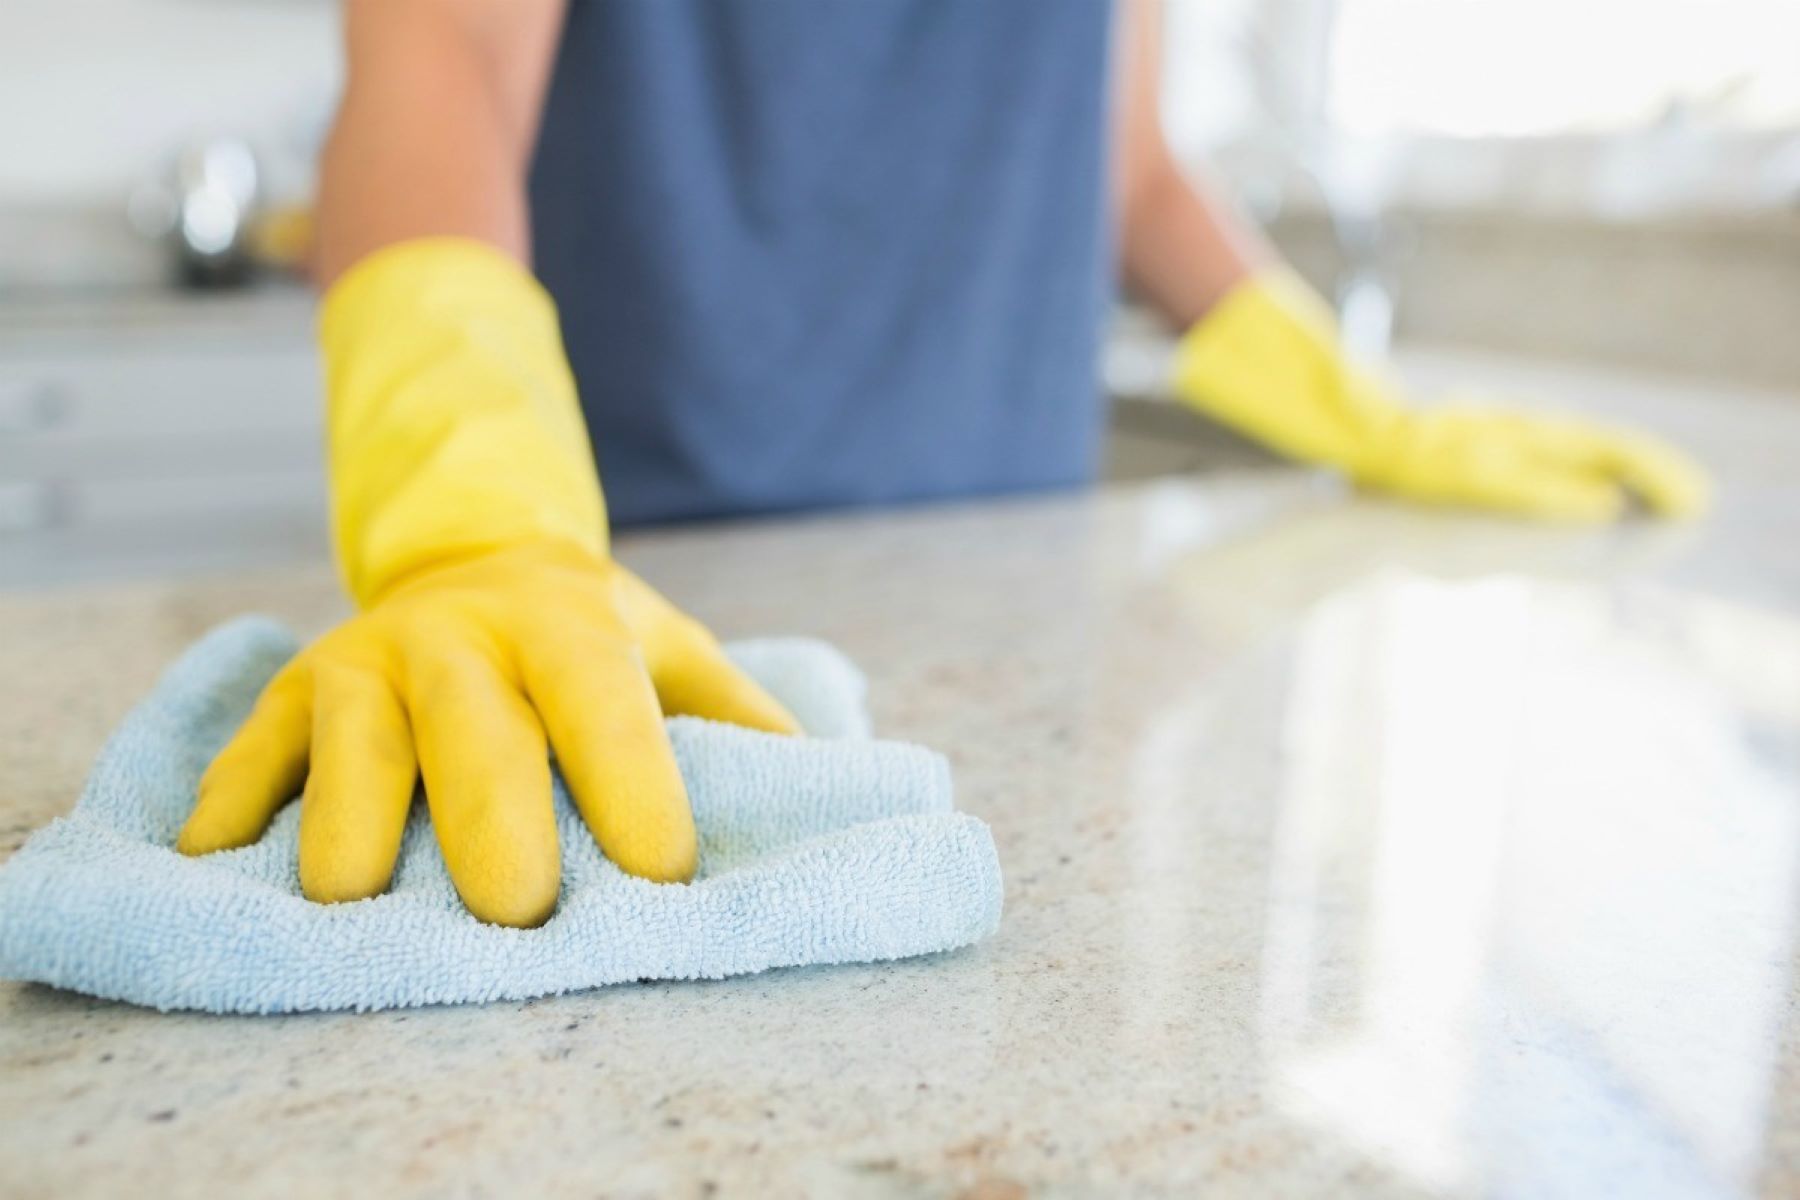
- Clean the countertops: Using a trisodium phosphate (TSP) cleaner, thoroughly clean the formica countertops to remove any dirt, grease, or residue. Follow the instructions on the cleaner’s packaging for proper dilution and application.
- Rinse and dry: After cleaning, rinse the countertops with clean water to remove any remaining residue. Use clean cloths or sponges to dry the surface completely. It’s important to ensure that the countertops are completely dry before proceeding.
- Remove hardware: If your countertops have any removable hardware, such as knobs or handles, remove them to avoid getting paint on them.
- Mask off edges: Use painter’s tape to mask off the edges of your countertops, protecting adjacent walls and surfaces from paint.
By following these initial steps, you’ll create a clean canvas for your painting project. Proper preparation is vital for achieving a professional-looking finish and ensuring the longevity of your painted formica countertops.
Now that your countertops are prepped and ready, it’s time to move on to the next step: sanding.
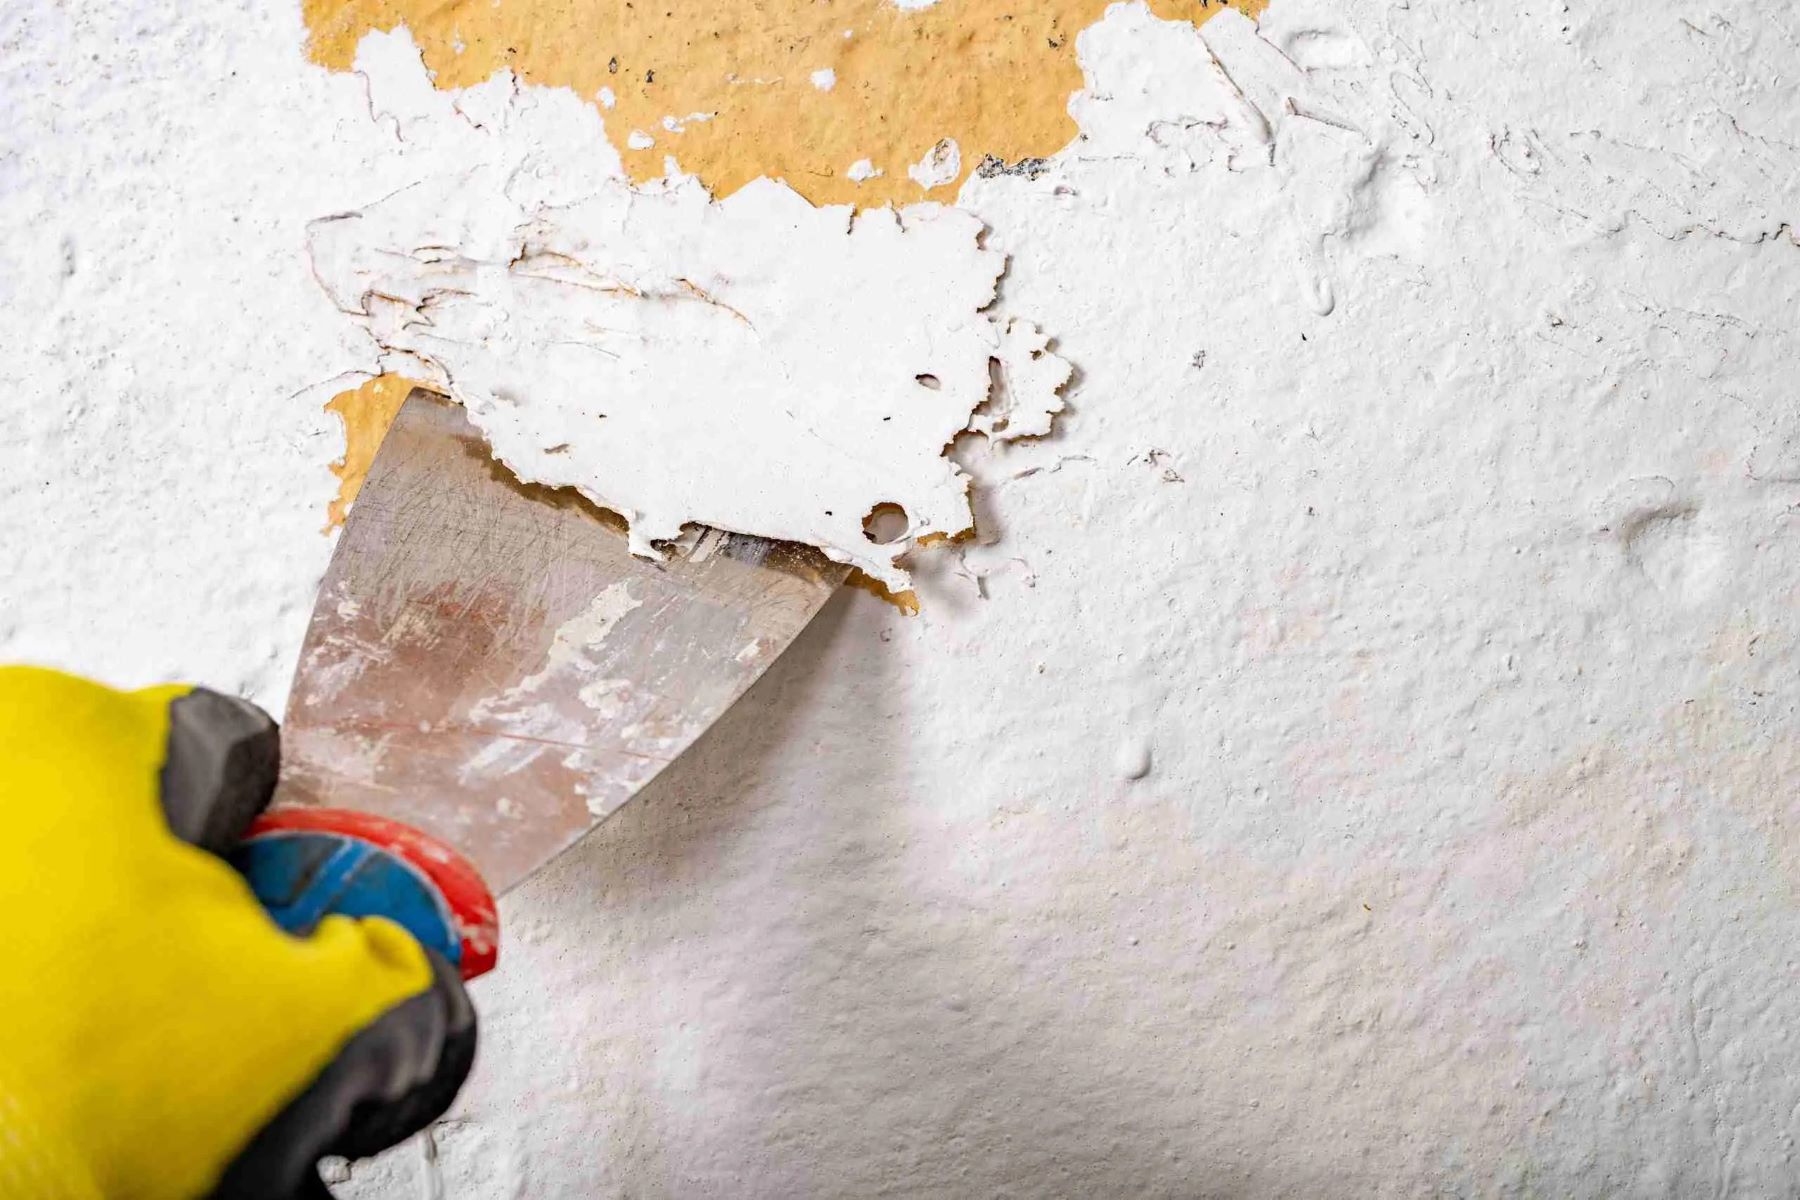
Step 2: Sanding the Countertops
Once the countertops are properly prepared, the next step in painting your formica countertops is to sand the surface. Sanding helps roughen up the formica and create a better bond between the paint and the countertop. Follow these steps to sand your countertops effectively:
- Select the right sandpaper: Choose a fine-grit sandpaper, such as 220 grit, for formica countertops. Avoid using a rougher grit as it may damage the surface.
- Start sanding: Gently sand the entire surface of the formica countertop in a circular or back-and-forth motion. The goal is to scuff up the surface and remove the gloss. Be sure to sand all edges and corners as well.
- Wipe off the dust: Use a clean cloth or sponge to wipe away any dust or debris created by sanding. It’s important to have a clean surface before moving on to the next step.
- Smooth out rough areas: If you come across any rough spots or imperfections, use a sanding block or a folded piece of sandpaper to smooth them out.
- Clean the countertops again: After sanding, clean the countertops once more with a TSP cleaner to remove any dust or residue left behind. Rinse thoroughly and dry completely before moving on.
Sanding helps create a textured surface that allows the primer and paint to adhere better to the formica countertop. It also helps to smoothen out any minor imperfections, ensuring a more polished finish.
Now that your countertops are sanded and cleaned, you’re ready to move on to the next step: applying primer.
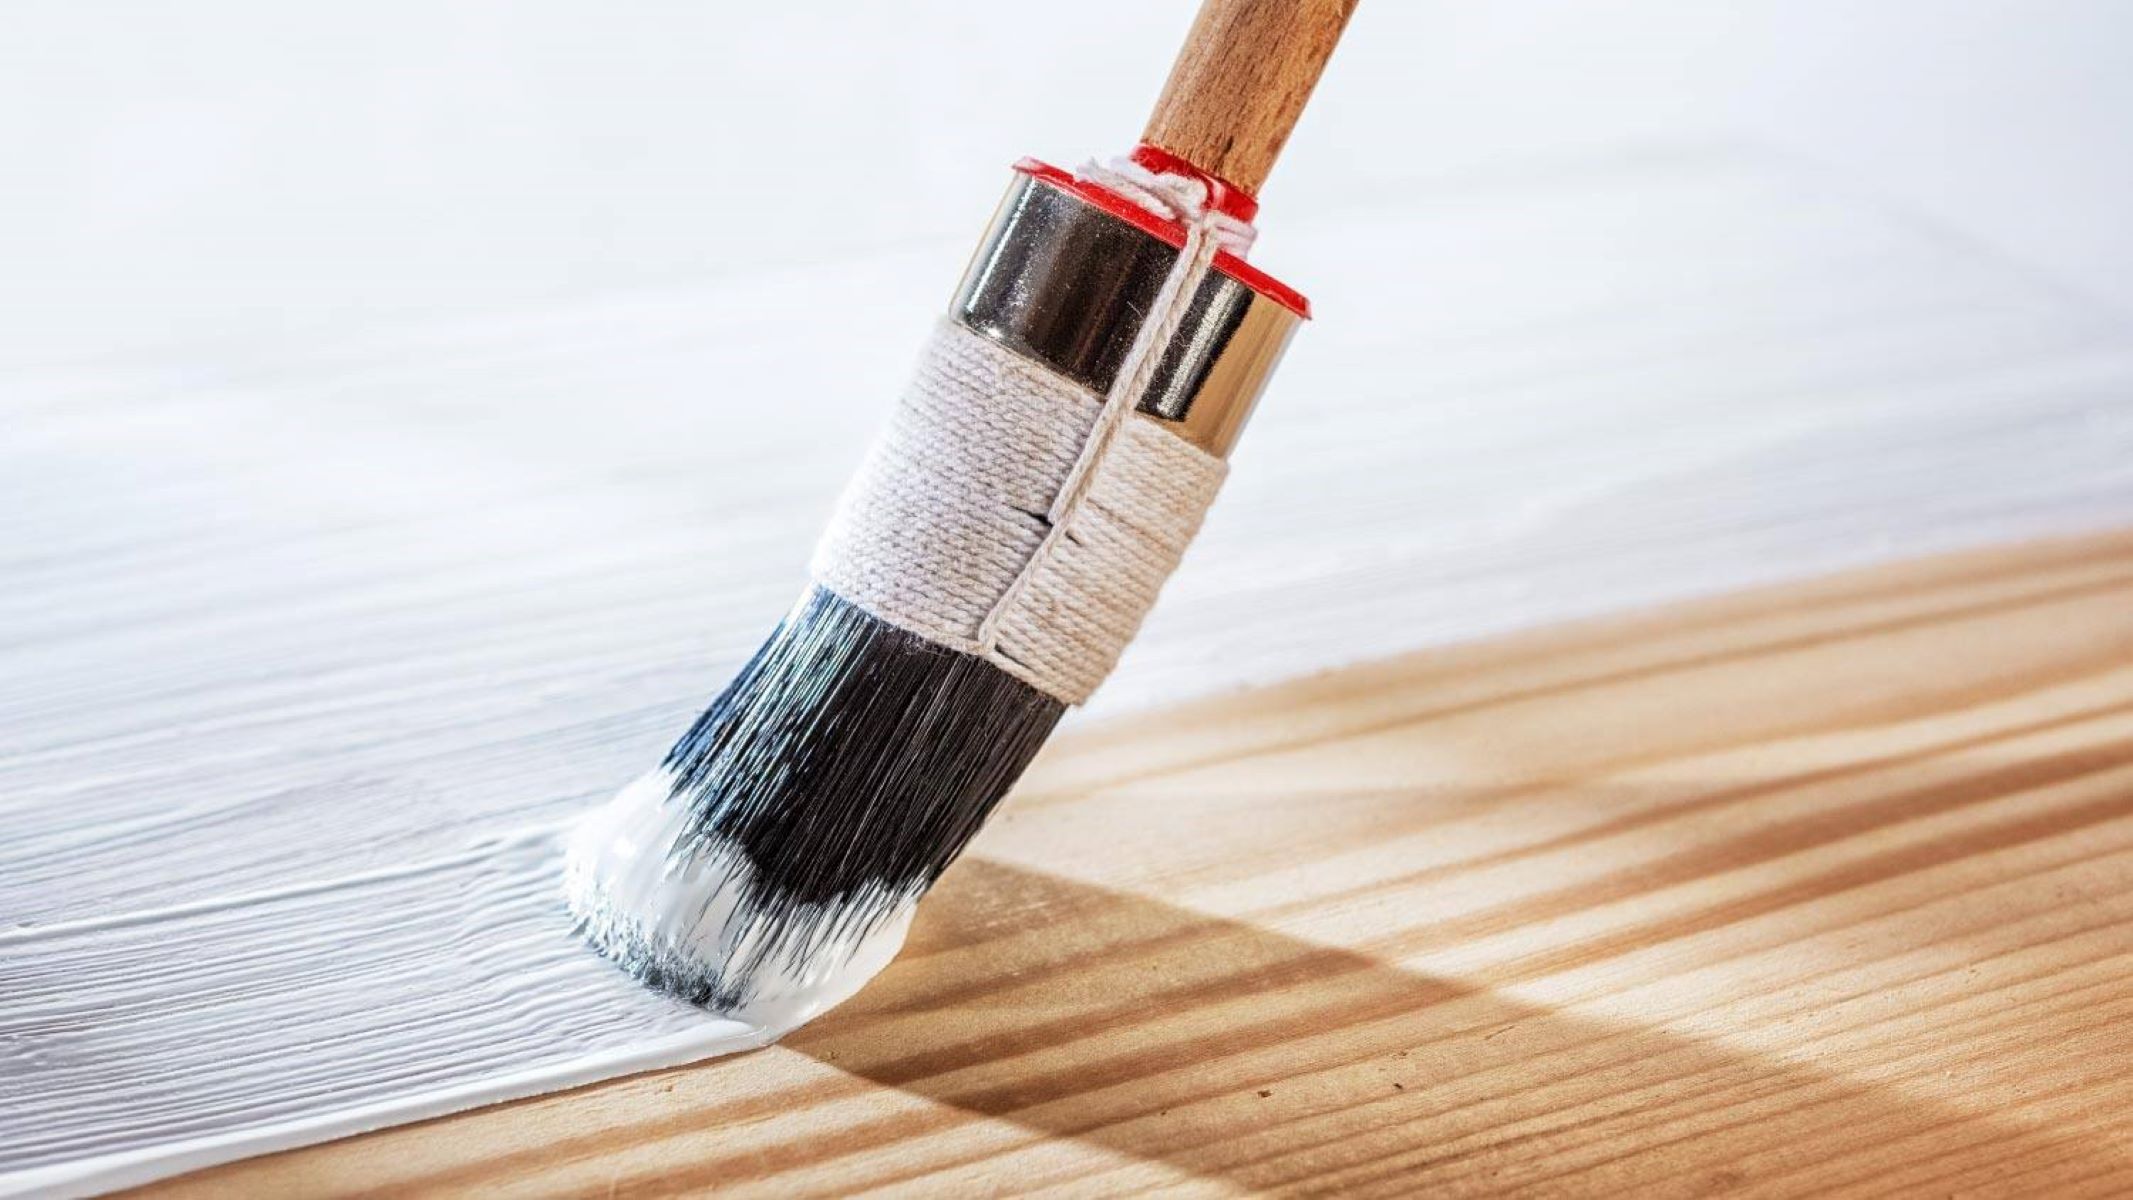
Step 3: Applying Primer
Priming is a crucial step in painting formica countertops as it provides a solid base for the paint to adhere to and ensures a smooth and durable finish. Follow these steps to apply primer to your countertops:
- Select the right primer: Choose a primer specifically designed for laminate or formica surfaces. Look for one that promotes adhesion and is compatible with the type of paint you’ll be using.
- Prepare the primer: Follow the manufacturer’s instructions to properly mix or prepare the primer for application. Some primers may require stirring or thinning before use.
- Start priming: Using a foam brush or synthetic brush, begin applying the primer to the formica countertops in smooth and even strokes. Work in small sections at a time to ensure complete coverage.
- Pay attention to edges and corners: Use a smaller brush or a foam brush to reach the edges and corners of the countertops, ensuring that all areas are properly primed.
- Allow the primer to dry: Follow the drying time specified by the primer manufacturer. Typically, it takes a few hours for the primer to dry completely. Ensure good ventilation in the area to speed up the drying process.
- Inspect the primed surface: Once the primer is dry, check for any imperfections or areas that may require additional priming. Sand down any rough spots or drips and clean the surface if necessary. Then, proceed to the next step.
Priming not only improves the adhesion of the paint but also helps to seal the formica countertop, preventing any stains or discoloration from bleeding through the paint. It creates a solid foundation for the final paint color to shine.
Now that your formica countertops are properly primed, it’s time to move on to the exciting step of painting!
When painting formica countertops, be sure to thoroughly clean and sand the surface before applying a bonding primer to ensure the paint adheres properly.
Read more: How To Repair Formica Countertops
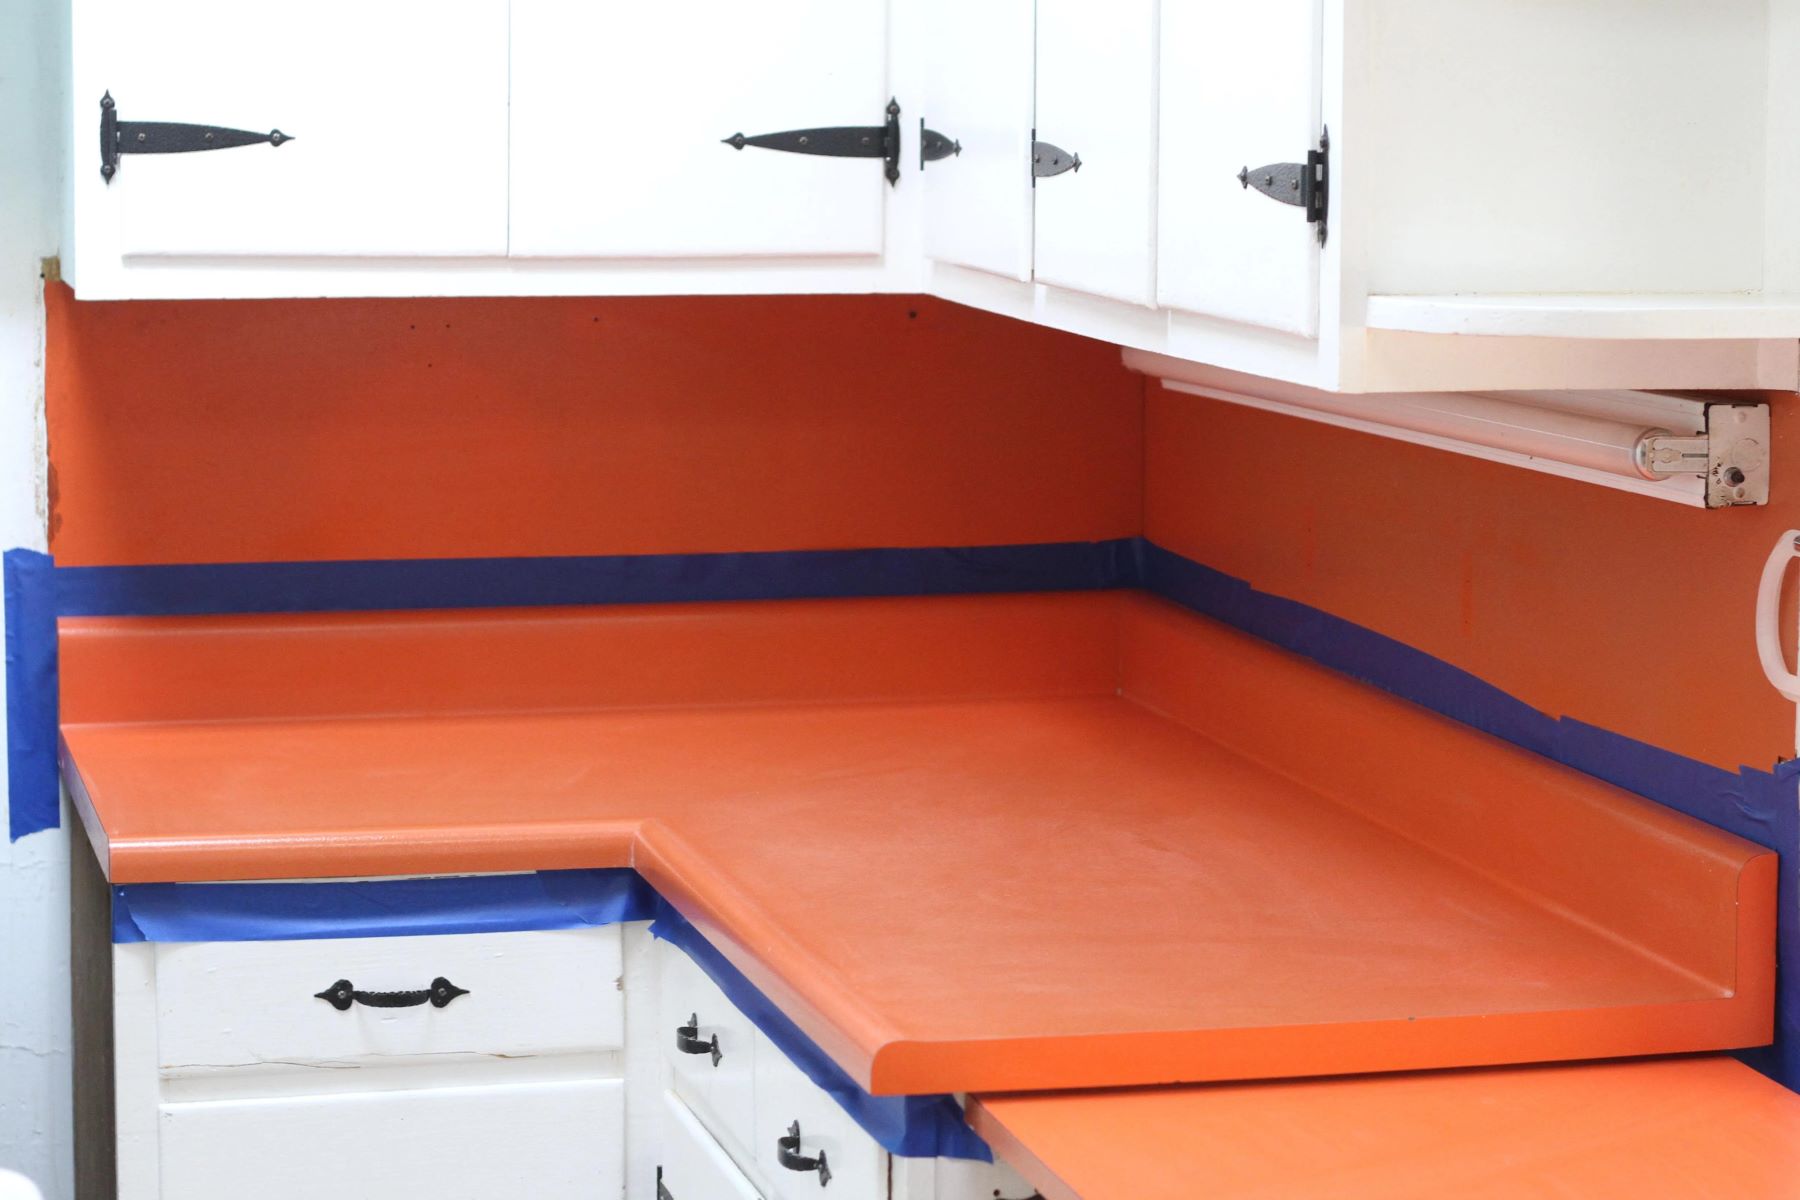
Step 4: Painting the Countertops
The moment has finally arrived to transform your formica countertops with a fresh coat of paint. This step allows you to unleash your creativity and bring your desired aesthetic to life. Follow these steps to achieve a beautifully painted finish:
- Select the right paint: Choose a premium quality paint that is specifically formulated for painting countertops. Opt for a paint that is durable, water-resistant, and designed to adhere to laminate or formica surfaces.
- Prepare the paint: Follow the manufacturer’s instructions for properly preparing the paint before application. Some paints may require stirring or thinning prior to use.
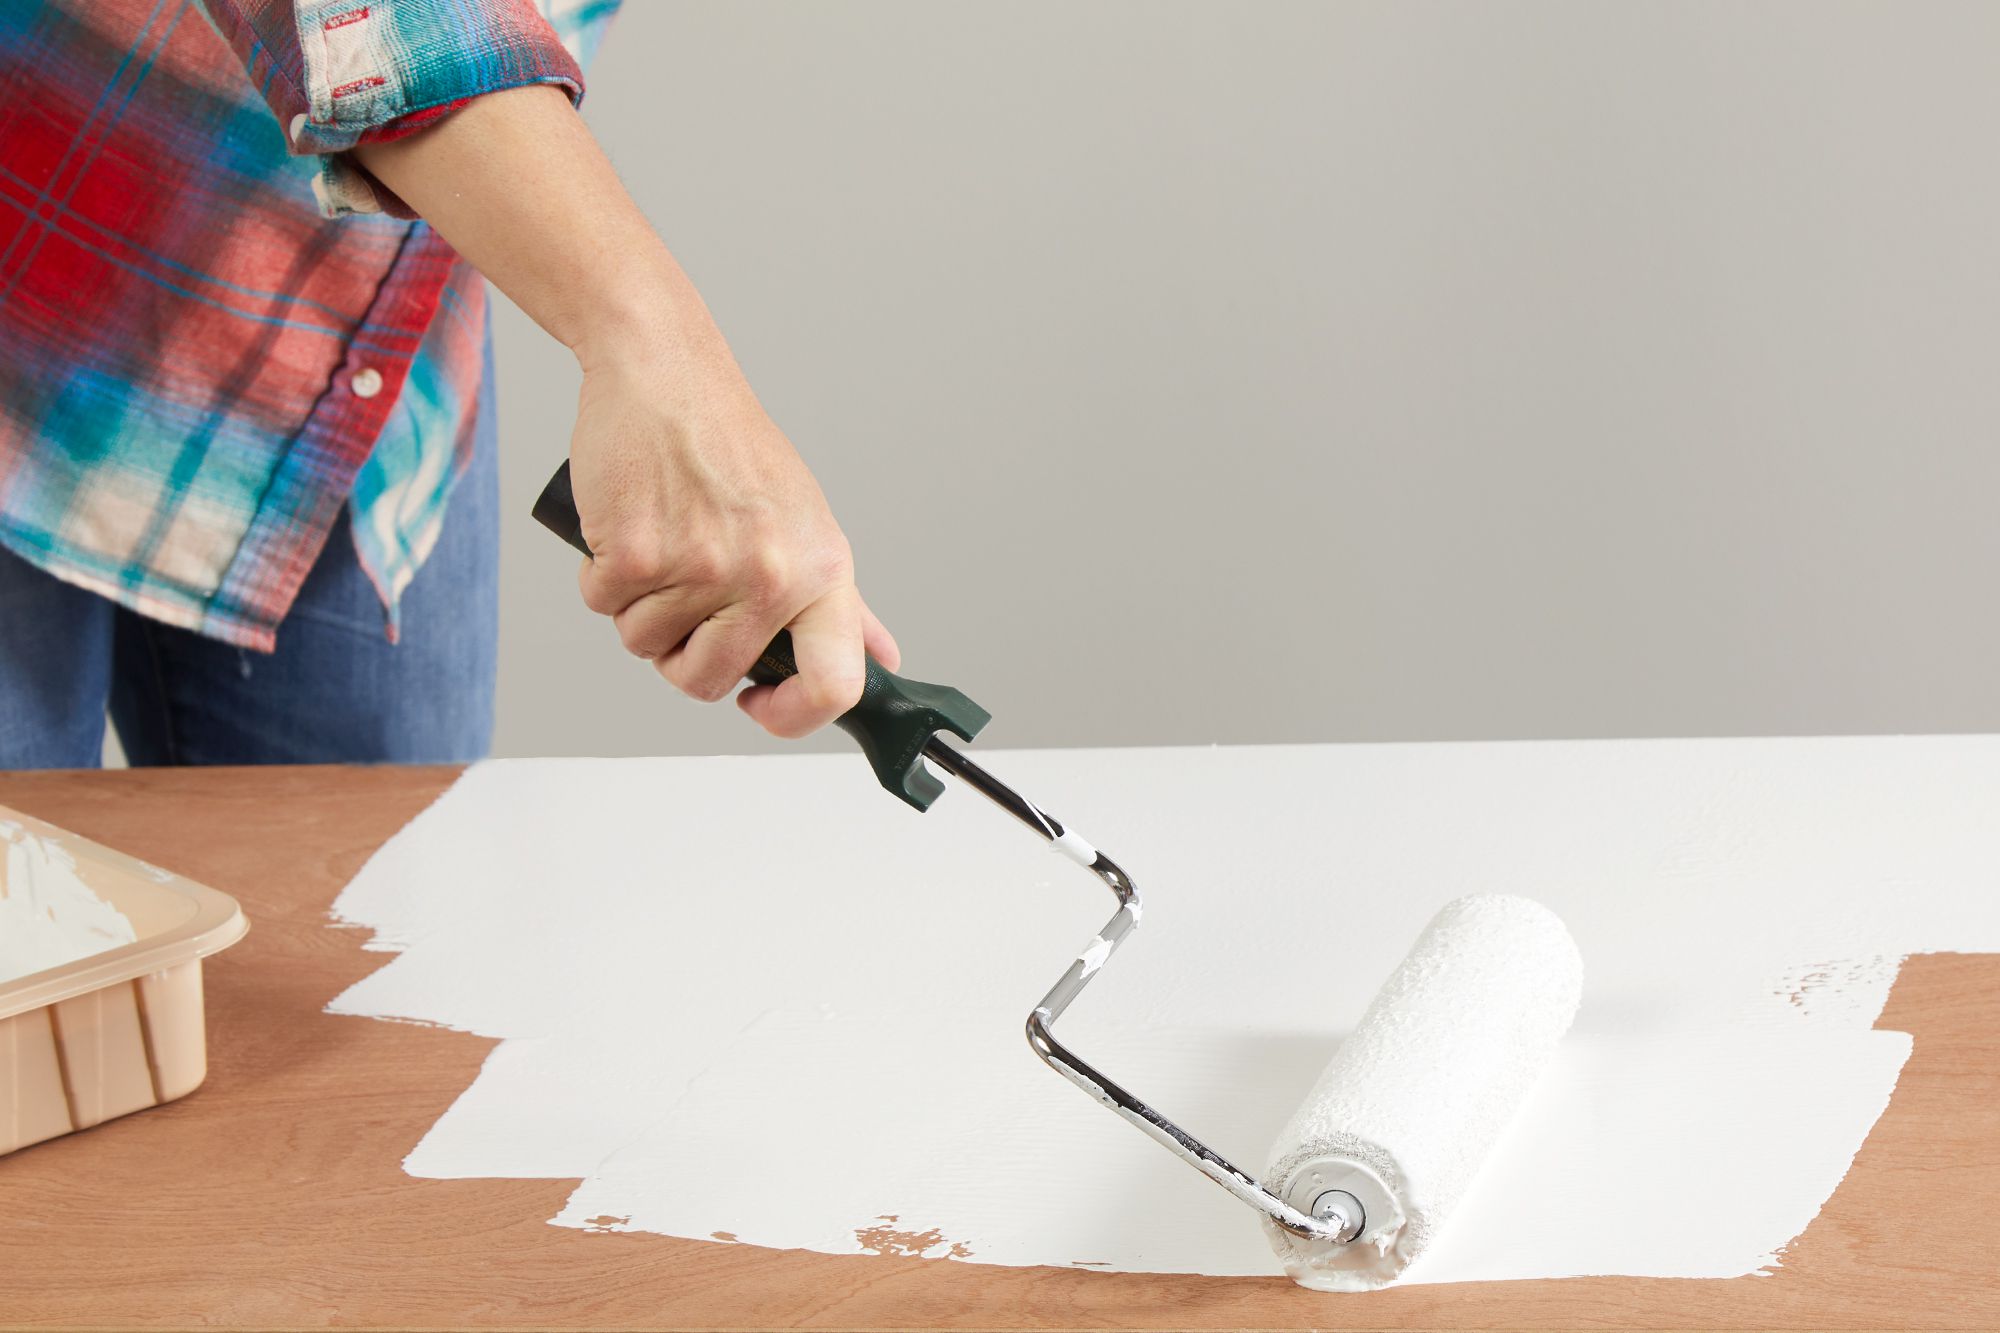
- Apply the first coat: Start by painting the formica countertops with a foam roller or synthetic brush. Begin in one corner and work your way across the surface in even, overlapping strokes. Be sure to avoid leaving any visible brush marks or streaks.
- Paint the edges and corners: Use a smaller brush or foam brush to reach the edges and corners of the countertops. Ensure that all areas are evenly coated with paint.
- Allow the first coat to dry: Follow the drying time specified by the paint manufacturer. Typically, it takes a few hours for the first coat to dry. Ensure good ventilation in the area for faster drying.
- Apply the second coat: Once the first coat is dry, apply a second coat of paint following the same technique as before. This second coat helps to ensure complete coverage and a more vibrant color.
- Inspect the painted surface: After the second coat is dry, carefully inspect the painted surface for any imperfections or areas that may require touch-ups. If needed, sand down any rough spots or drips and clean the surface before proceeding.
Remember to maintain a consistent and even application of paint to achieve a professional-looking finish. Take your time and be patient throughout the painting process for the best results.
Now that your formica countertops are beautifully painted, it’s time to add an extra layer of protection with a topcoat. This is the next step to ensure the longevity of your newly painted countertops.
Step 5: Applying a Topcoat
Applying a topcoat to your freshly painted formica countertops is an essential step to provide additional durability and protection to the surface. A topcoat acts as a shield, guarding against scratches, stains, and daily wear and tear. Follow these steps to apply a topcoat:
- Select the right topcoat: Choose a topcoat specifically designed for use on painted countertops. Look for a product that is water-resistant, stain-resistant, and provides a high-gloss or matte finish, according to your preference.
- Prepare the topcoat: Follow the manufacturer’s instructions to properly mix or prepare the topcoat for application. Some topcoats may require stirring or thinning before use.
- Apply the first coat of topcoat: Using a clean foam roller or synthetic brush, apply the topcoat in thin, even layers. Start from one corner and work your way across the surface, ensuring complete coverage. Avoid applying too much pressure or over-applying the topcoat, as it may lead to unevenness or streaks.
- Allow the first coat to dry: Refer to the drying time specified by the topcoat manufacturer. Typically, it takes a few hours for the first coat to dry. Maintain good ventilation in the area to expedite the drying process.
- Apply the second coat of topcoat: Once the first coat is dry, apply a second coat of topcoat following the same technique. This second coat helps to ensure maximum protection and enhances the durability of the painted surface.
- Allow the topcoat to cure: After applying the final coat of topcoat, allow the surface to cure for the recommended amount of time provided by the manufacturer. This curing period allows the topcoat to fully harden and provide optimal protection.
Applying a topcoat ensures that your painted formica countertops can withstand everyday use, including meal preparation, cleaning, and regular wear and tear. It enhances the longevity and beauty of your countertops, giving you peace of mind.
Now that your countertops are primed, painted, and protected with a topcoat, it’s time to move on to the final step: curing and caring for the countertops.
Step 6: Curing and Caring for the Countertops
After putting in the effort to paint your formica countertops, it’s important to properly cure and care for them to ensure their longevity and maintain their beautiful appearance. Follow these steps to properly cure and care for your newly painted countertops:
- Allow for curing time: After applying the topcoat, it’s crucial to allow for proper curing time before using the countertops. Follow the manufacturer’s instructions for the recommended curing period. Typically, it can range from a few days to a week.
- Avoid placing heavy objects: During the initial curing period, avoid placing heavy objects on the countertops to prevent any denting or damage to the newly painted surface.
- Use cutting boards and hot pads: To protect your countertops from scratches and heat damage, always use cutting boards when preparing food and use hot pads when placing hot pots or pans on the surface.
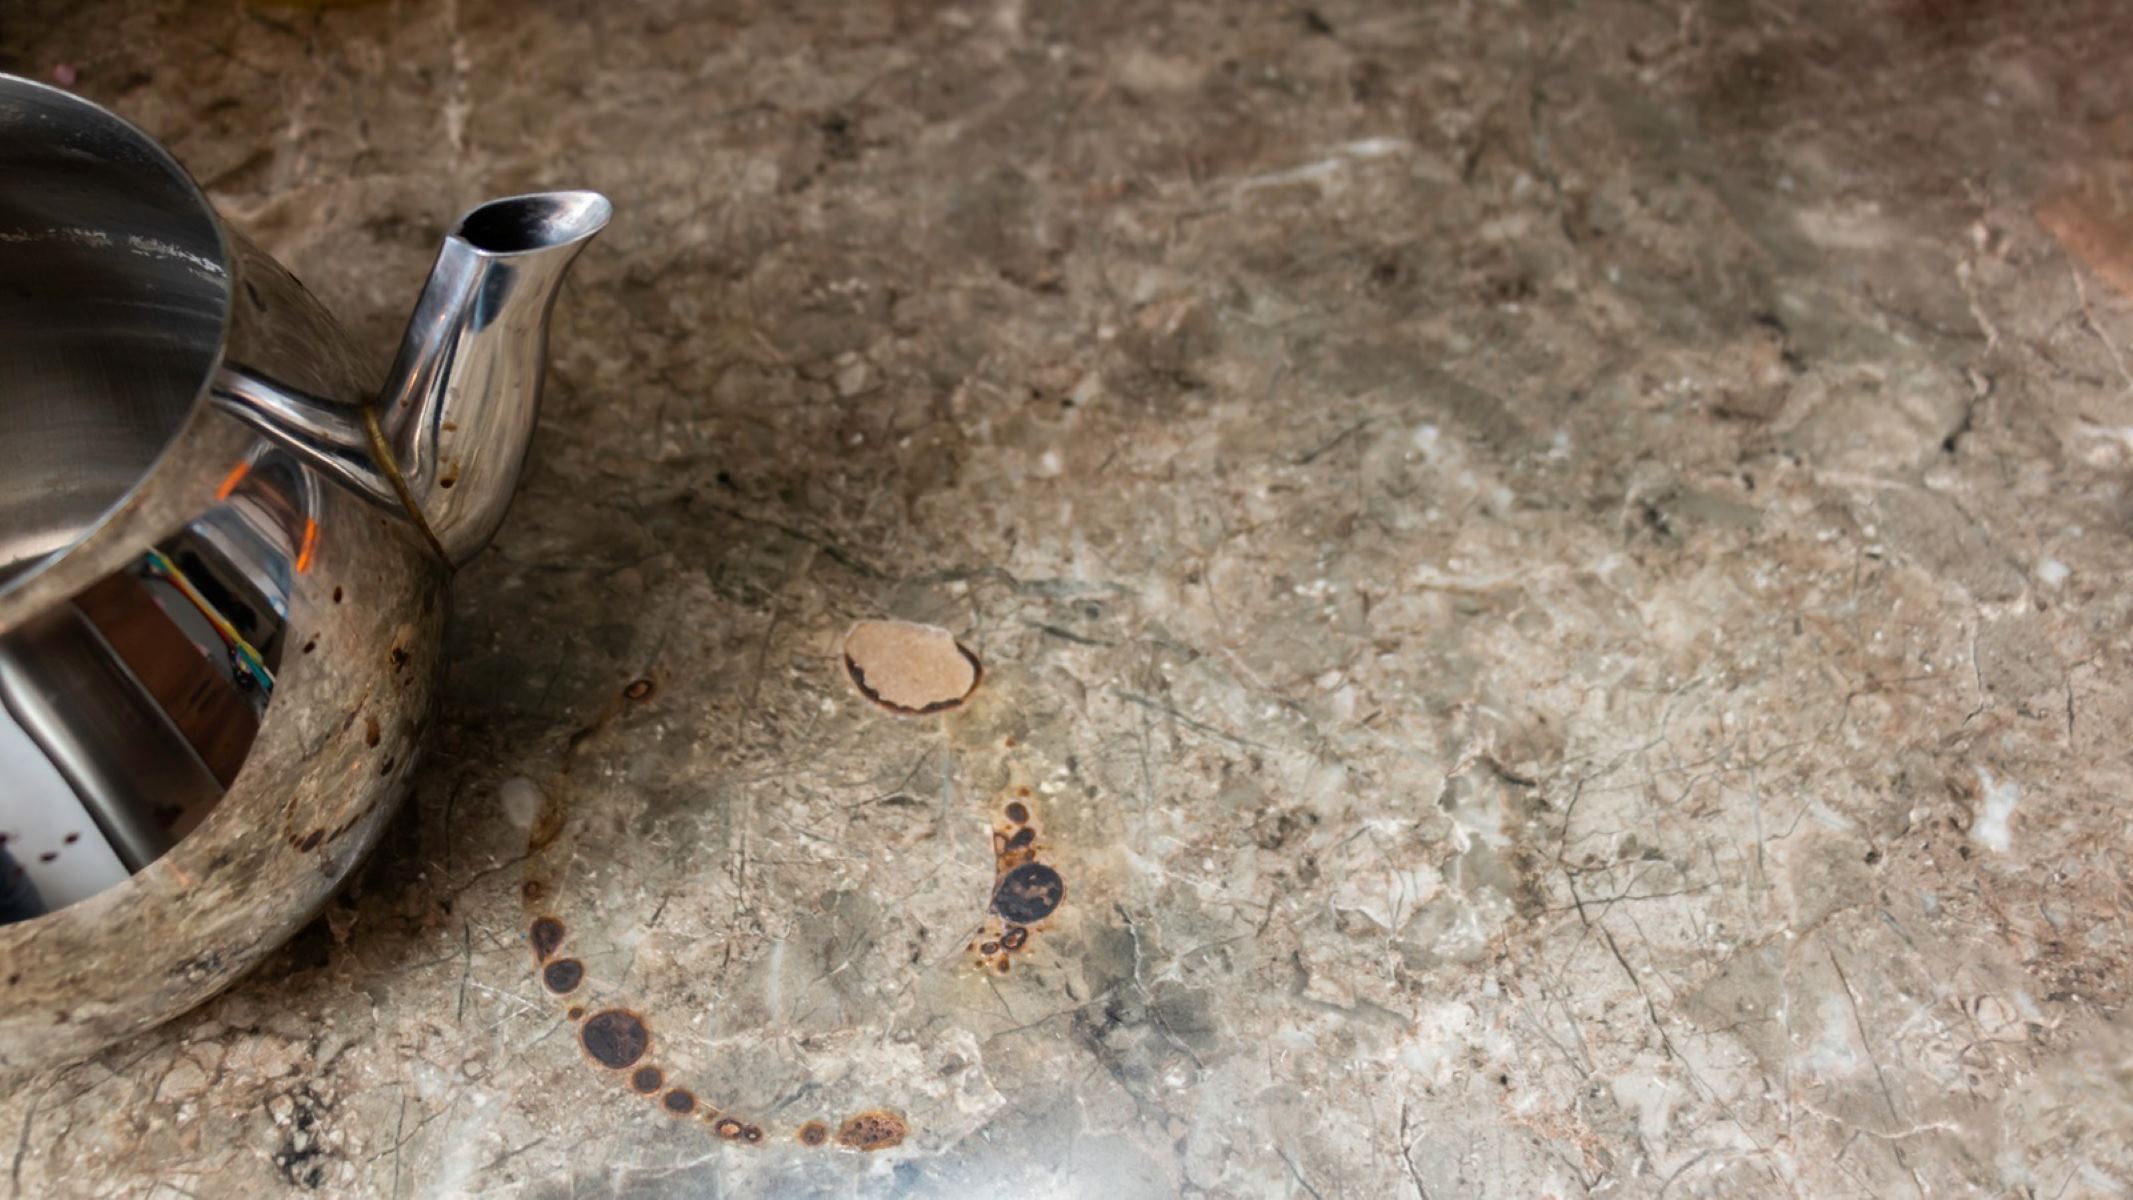
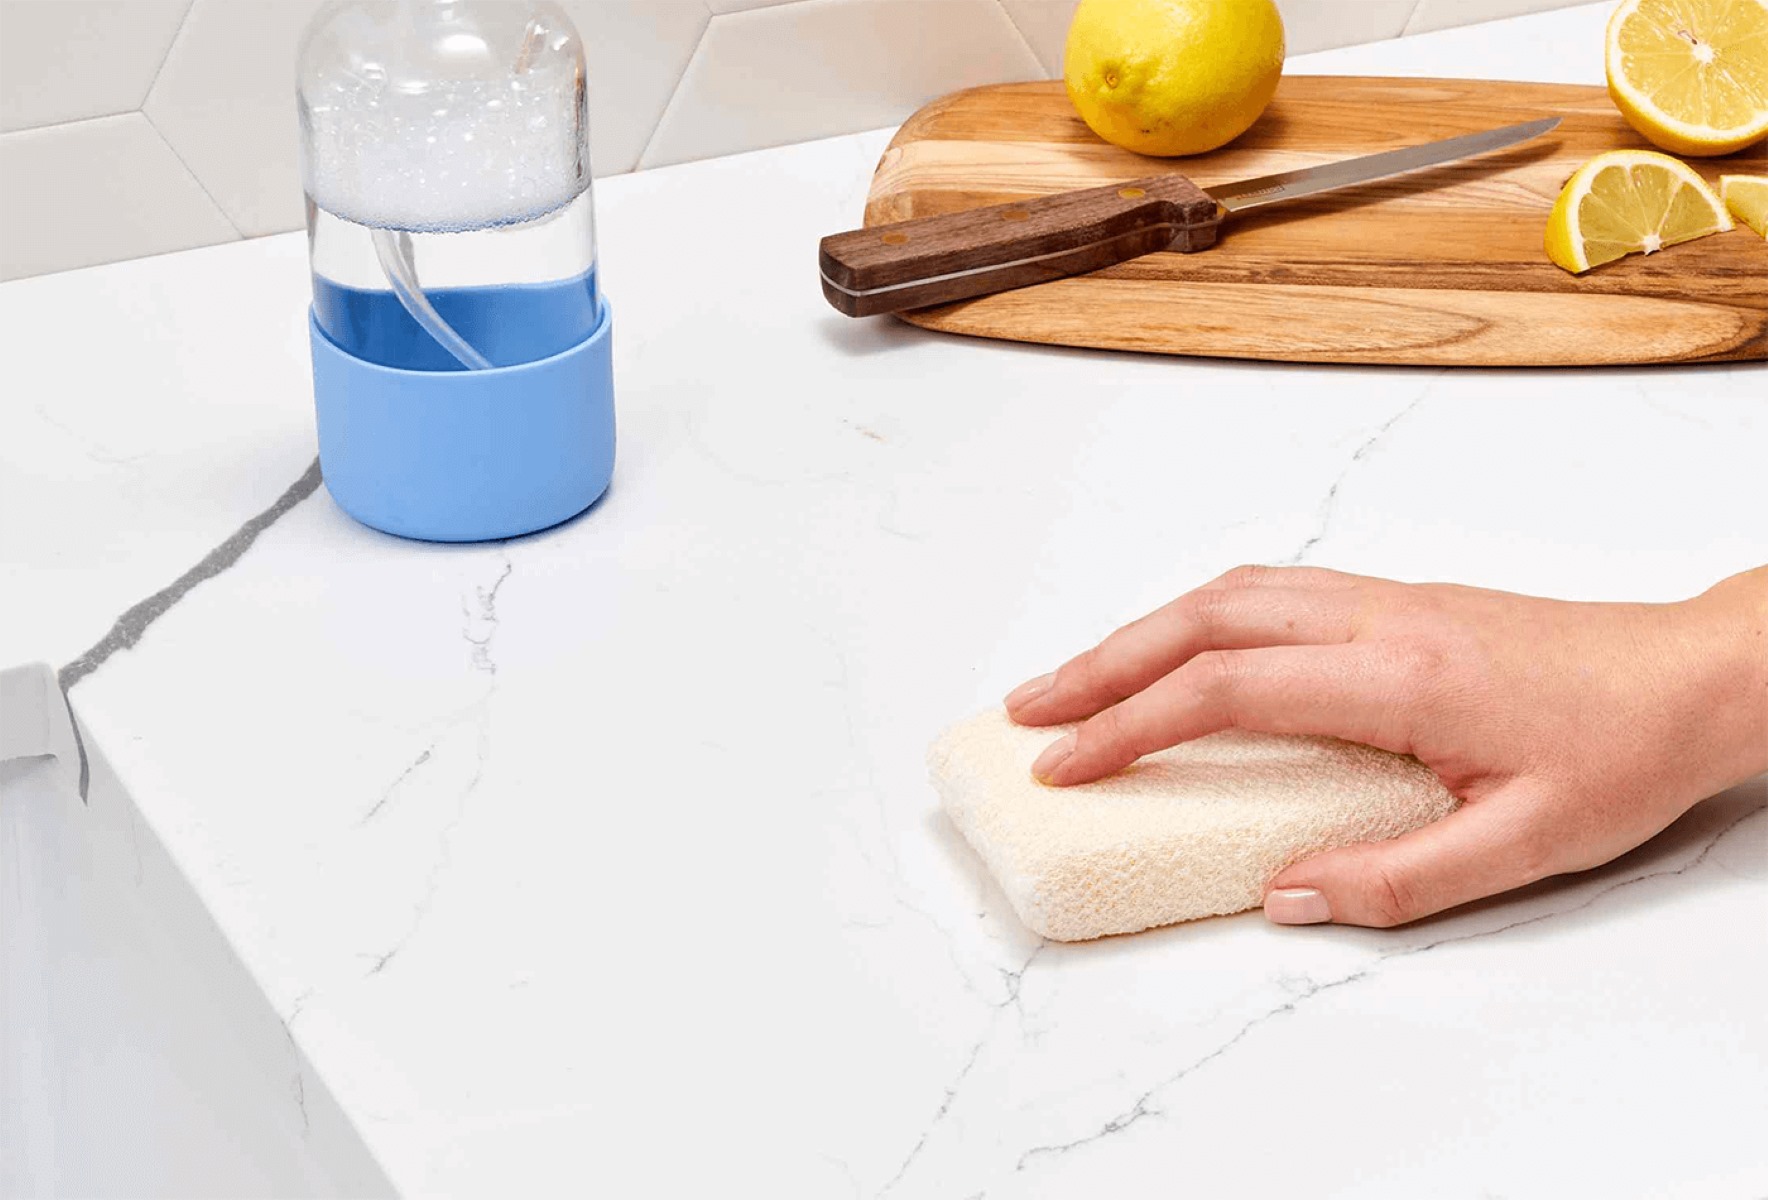
- Clean with mild products: Use a mild, non-abrasive cleaner and a soft cloth or sponge to clean your countertops. Avoid harsh chemicals or abrasive scrubbing that can damage the painted finish. Regularly wipe up spills to prevent staining.
- Avoid abrasive cleaners and tools: Stay away from scrub brushes, steel wool, or abrasive cleaners when cleaning your countertops. These can scratch or dull the painted surface.
- Be mindful of sharp objects: While the paint provides a protective layer, it’s important to be cautious with sharp objects, such as knives or pointed utensils, to prevent any scratching or chipping of the painted surface.
- Reapply topcoat as needed: Over time, the topcoat may wear down. If you notice signs of wear, such as scratches or dullness, you can reapply a fresh coat of topcoat to restore the protection and shine.
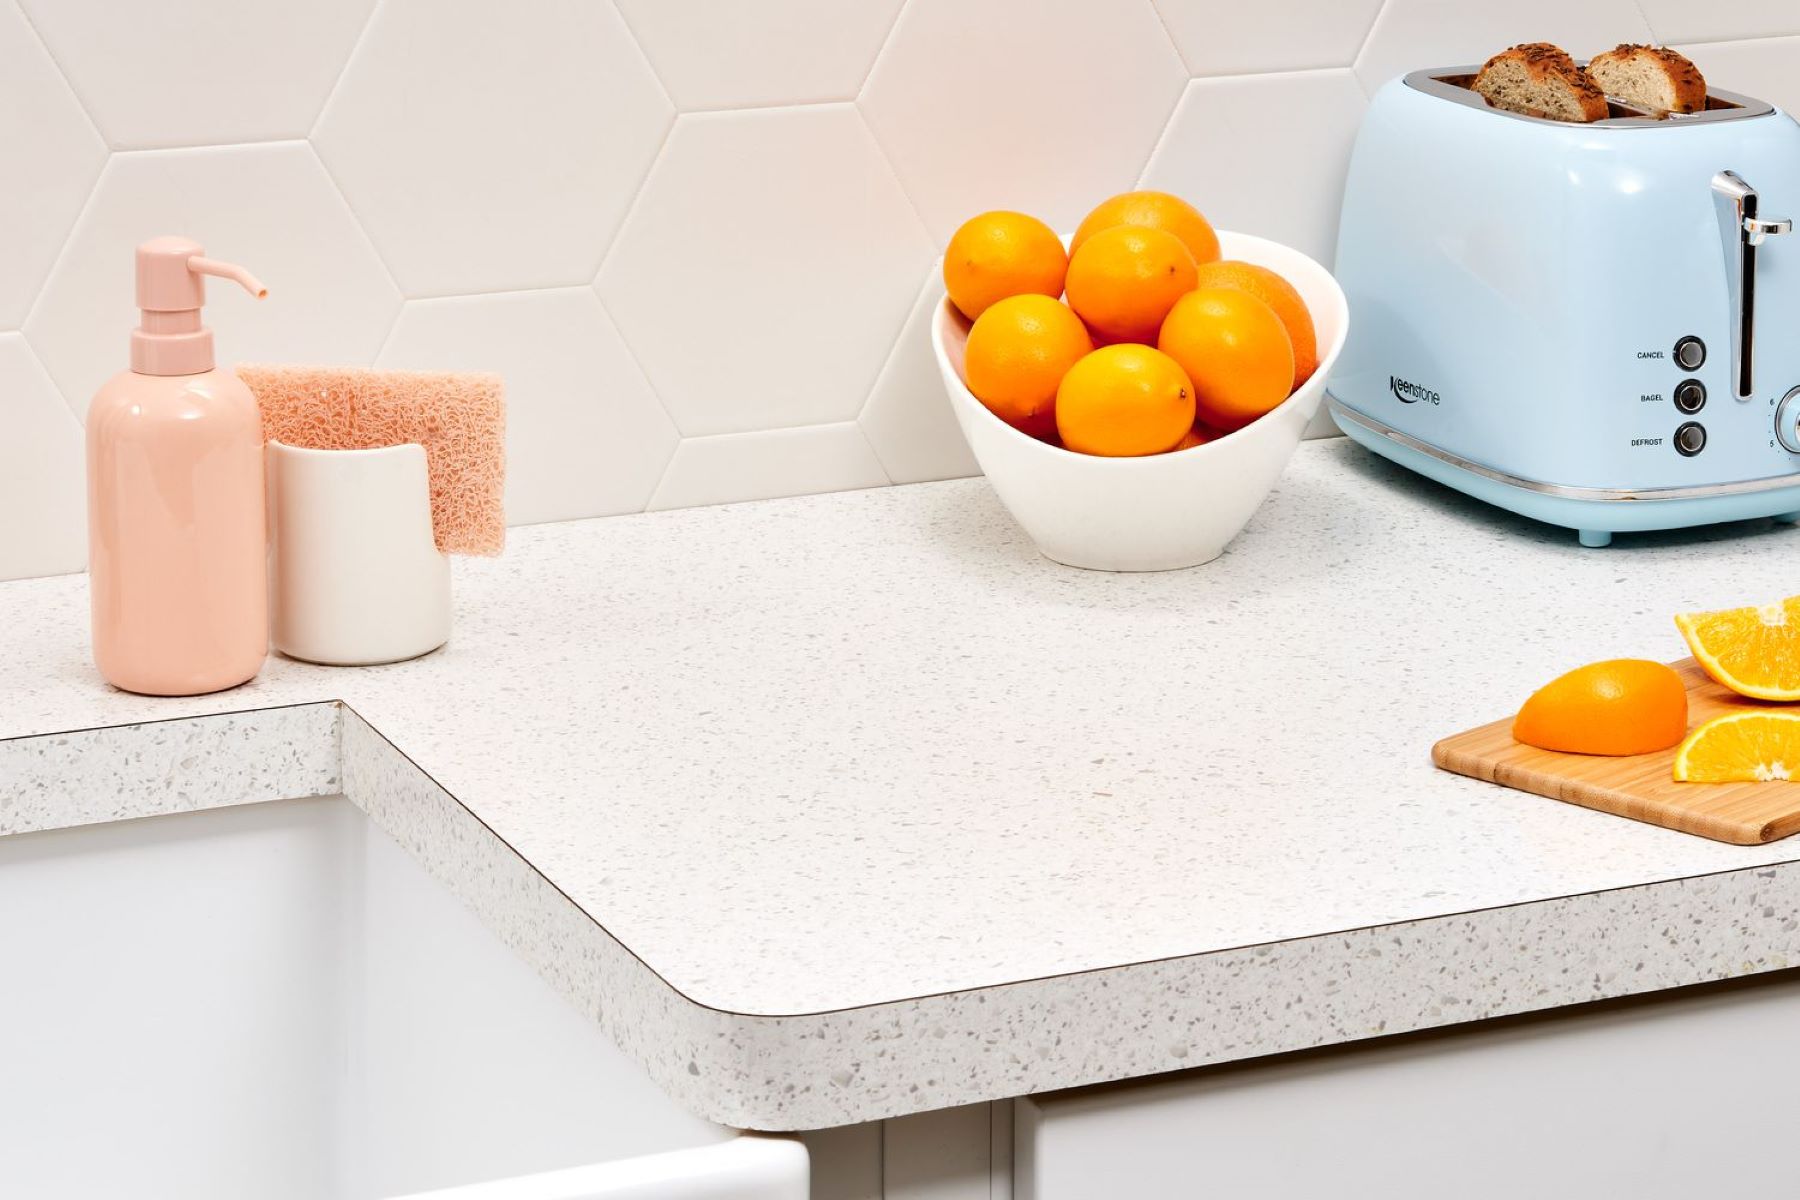
By following these steps, you can ensure that your newly painted formica countertops maintain their beauty and durability over time. With proper care, your countertops will withstand daily use and continue to be a stylish focal point in your kitchen or bathroom.
Congratulations on successfully painting and caring for your formica countertops! Enjoy the transformed look and the satisfaction of a budget-friendly home improvement project.
For any further questions or concerns, consult the specific instructions provided by the manufacturer of the paint and topcoat products you used.
Happy cooking and happy countertop makeover!
Conclusion
Painting your formica countertops can be a rewarding and cost-effective way to give your kitchen or bathroom a fresh and personalized look. By following the steps outlined in this comprehensive guide and using the right materials, you can achieve professional-looking results that will transform the appearance of your countertops.
From preparing the countertops and sanding to applying primer, paint, and a protective topcoat, each step plays a crucial role in ensuring a durable and long-lasting finish. Taking the time to properly prepare and care for your painted countertops will help maintain their beauty and functionality for years to come.
Remember, safety should always be a top priority when undertaking any home improvement project. Wear protective gear such as gloves, goggles, and a face mask, and ensure proper ventilation in your workspace.
As you embark on this painting adventure, let your creativity shine and choose colors and finishes that reflect your personal style and complement your overall design aesthetic. Whether you prefer a sleek and modern look or a cozy and rustic feel, painting your formica countertops allows you to customize your space to fit your unique taste.
Transforming your formica countertops is not only a cost-effective alternative to replacing them but also a fun and rewarding DIY project. The sense of accomplishment and satisfaction you’ll feel as you admire your newly painted countertops cannot be understated.
So, gather your materials, follow the steps outlined in this guide, and embark on your countertop makeover journey. Enjoy the process, and relish in the transformed look of your kitchen or bathroom.
Happy painting!
Frequently Asked Questions about How To Paint Formica Countertops
Was this page helpful?
At Storables.com, we guarantee accurate and reliable information. Our content, validated by Expert Board Contributors, is crafted following stringent Editorial Policies. We're committed to providing you with well-researched, expert-backed insights for all your informational needs.
0 thoughts on “How To Paint Formica Countertops”