Articles
How To Paint Tall Walls Without A Ladder
Modified: November 1, 2024
Discover the best techniques and tools for painting tall walls without the need for a ladder. Our expert articles provide step-by-step instructions to help you achieve professional-looking results.
(Many of the links in this article redirect to a specific reviewed product. Your purchase of these products through affiliate links helps to generate commission for Storables.com, at no extra cost. Learn more)
Introduction
Painting tall walls can be a challenging task, especially when you don’t have a ladder at your disposal. However, with the right tools, techniques, and a bit of creativity, it is entirely possible to transform your walls without the need for a cumbersome ladder.
In this article, we will guide you through the process of painting tall walls without a ladder. From selecting the right tools to maintaining a steady hand, we will provide you with the necessary tips and tricks to achieve a professional-looking finish.
By following these steps, you can save both time and effort while still achieving outstanding results. So, let’s get started on our journey to painting tall walls without a ladder.
Key Takeaways:
- Transform your walls without a ladder by selecting the right tools, preparing the room, and working in sections. Achieve professional results with patience and the right techniques.
- Use extension poles effectively, maintain a steady hand, and touch up any areas for a polished finish. Tackle tall walls with confidence and enjoy the sense of accomplishment.
Read more: How Tall Is Little Giant Ladder
Selecting the Right Tools
Before you begin painting tall walls without a ladder, it is crucial to have the right tools at your disposal. These tools will not only help you reach higher areas but also ensure a smooth and efficient painting process.
Here are the essential tools you will need:
- Extension Pole: An extension pole is a must-have tool when painting tall walls. It is an adjustable rod that attaches to your paint roller, allowing you to reach higher areas without the need for a ladder. Choose an extension pole that is sturdy and can be easily extended to reach the desired height.
- Paint Roller: When painting tall walls, a paint roller with a long handle is ideal. Look for a roller with a nap length suitable for your wall surface, and consider using one with a higher quality cover to ensure smooth and even paint application.
- Paint Tray: A paint tray is essential for dipping your roller and evenly distributing the paint. Opt for a tray that is wide enough to accommodate your roller, and consider using liners for easy cleanup.
- Cutting-in Brush: While an extension pole works great for large areas, a cutting-in brush is essential for precision work around edges, corners, and trim. Choose a brush with angled bristles for better control and clean lines.
- Drop Cloths and Painter’s Tape: To protect your floors and furniture from accidental spills, use drop cloths to cover the area. Additionally, painter’s tape will help you achieve clean and straight edges along the trim and ceiling.
By ensuring you have these tools before you begin, you will be well-equipped to tackle the task of painting tall walls without a ladder effectively.
Preparing the Room
Properly preparing the room before you start painting is crucial for achieving a flawless finish and minimizing any potential damage. Here are the essential steps to prepare the room:
- Clean the Walls: Start by cleaning the walls thoroughly to remove any dirt, dust, or grease. Use a mild detergent and warm water solution, and scrub gently with a sponge or a soft cloth. Allow the walls to dry completely before proceeding.
- Remove Furniture and Decorations: Clear the room of any furniture, decor, and other obstacles. It is easier to paint when the space is empty, and you won’t have to worry about accidentally splattering paint on your valuables.
- Protect the Floors and Trim: Lay down drop cloths to protect your floors from any paint drips or spills. Use painter’s tape to cover the baseboards, trim, outlet covers, and any other areas you want to keep paint-free. This will help you achieve clean lines and minimize touch-up work.
- Fill and Repair: Inspect the walls for any holes, cracks, or imperfections. Fill them with spackle or a lightweight patching compound, and smooth it out with a putty knife. Allow the patching material to dry completely and sand it down until it is smooth and level with the surrounding wall surface.
- Prime the Walls: If you are painting over a darker color or if the walls have stains or discoloration, applying a coat of primer is recommended. Primer helps to create a smooth and uniform surface for the paint to adhere to, ensuring better coverage and color accuracy.
By taking the time to properly prepare the room, you will set yourself up for success and achieve professional-looking results when painting tall walls without a ladder. Remember, preparation is key to a smooth and efficient painting process.
Choosing the Right Paint
Choosing the right paint for your tall walls is essential for achieving a beautiful and long-lasting finish. Here are some factors to consider when selecting the paint:
- Paint Finish: Decide on the desired finish for your walls. Common options include matte, eggshell, satin, semi-gloss, and high-gloss. Each finish has its own advantages and aesthetic appeal, so choose one that suits your preference and the style of the room.
- Quality: Invest in high-quality paint to ensure better coverage, durability, and color retention. Premium paints are often formulated with higher-quality pigments and binders, resulting in a more vibrant and long-lasting finish.
- Color: Consider the color scheme and lighting in the room when selecting the paint color. Lighter colors can make a small room appear larger, while darker colors can add depth and drama to larger spaces. Take into account the overall ambiance you want to create.
- Sheen: Different sheens have different levels of shine and reflectivity. Consider the practicality of the sheen in relation to the room’s functionality. For example, high-traffic areas may benefit from a higher sheen, as it is easier to clean and more resistant to stains.
- Environmentally-Friendly Options: If you are conscious about the environmental impact, consider choosing paint with low volatile organic compound (VOC) content. These paints have reduced emissions and are better for indoor air quality.
It is also recommended to consult with experts at your local paint store for personalized advice and recommendations based on your specific needs and preferences. Remember, selecting the right paint is crucial for achieving a beautiful and durable finish on your tall walls.
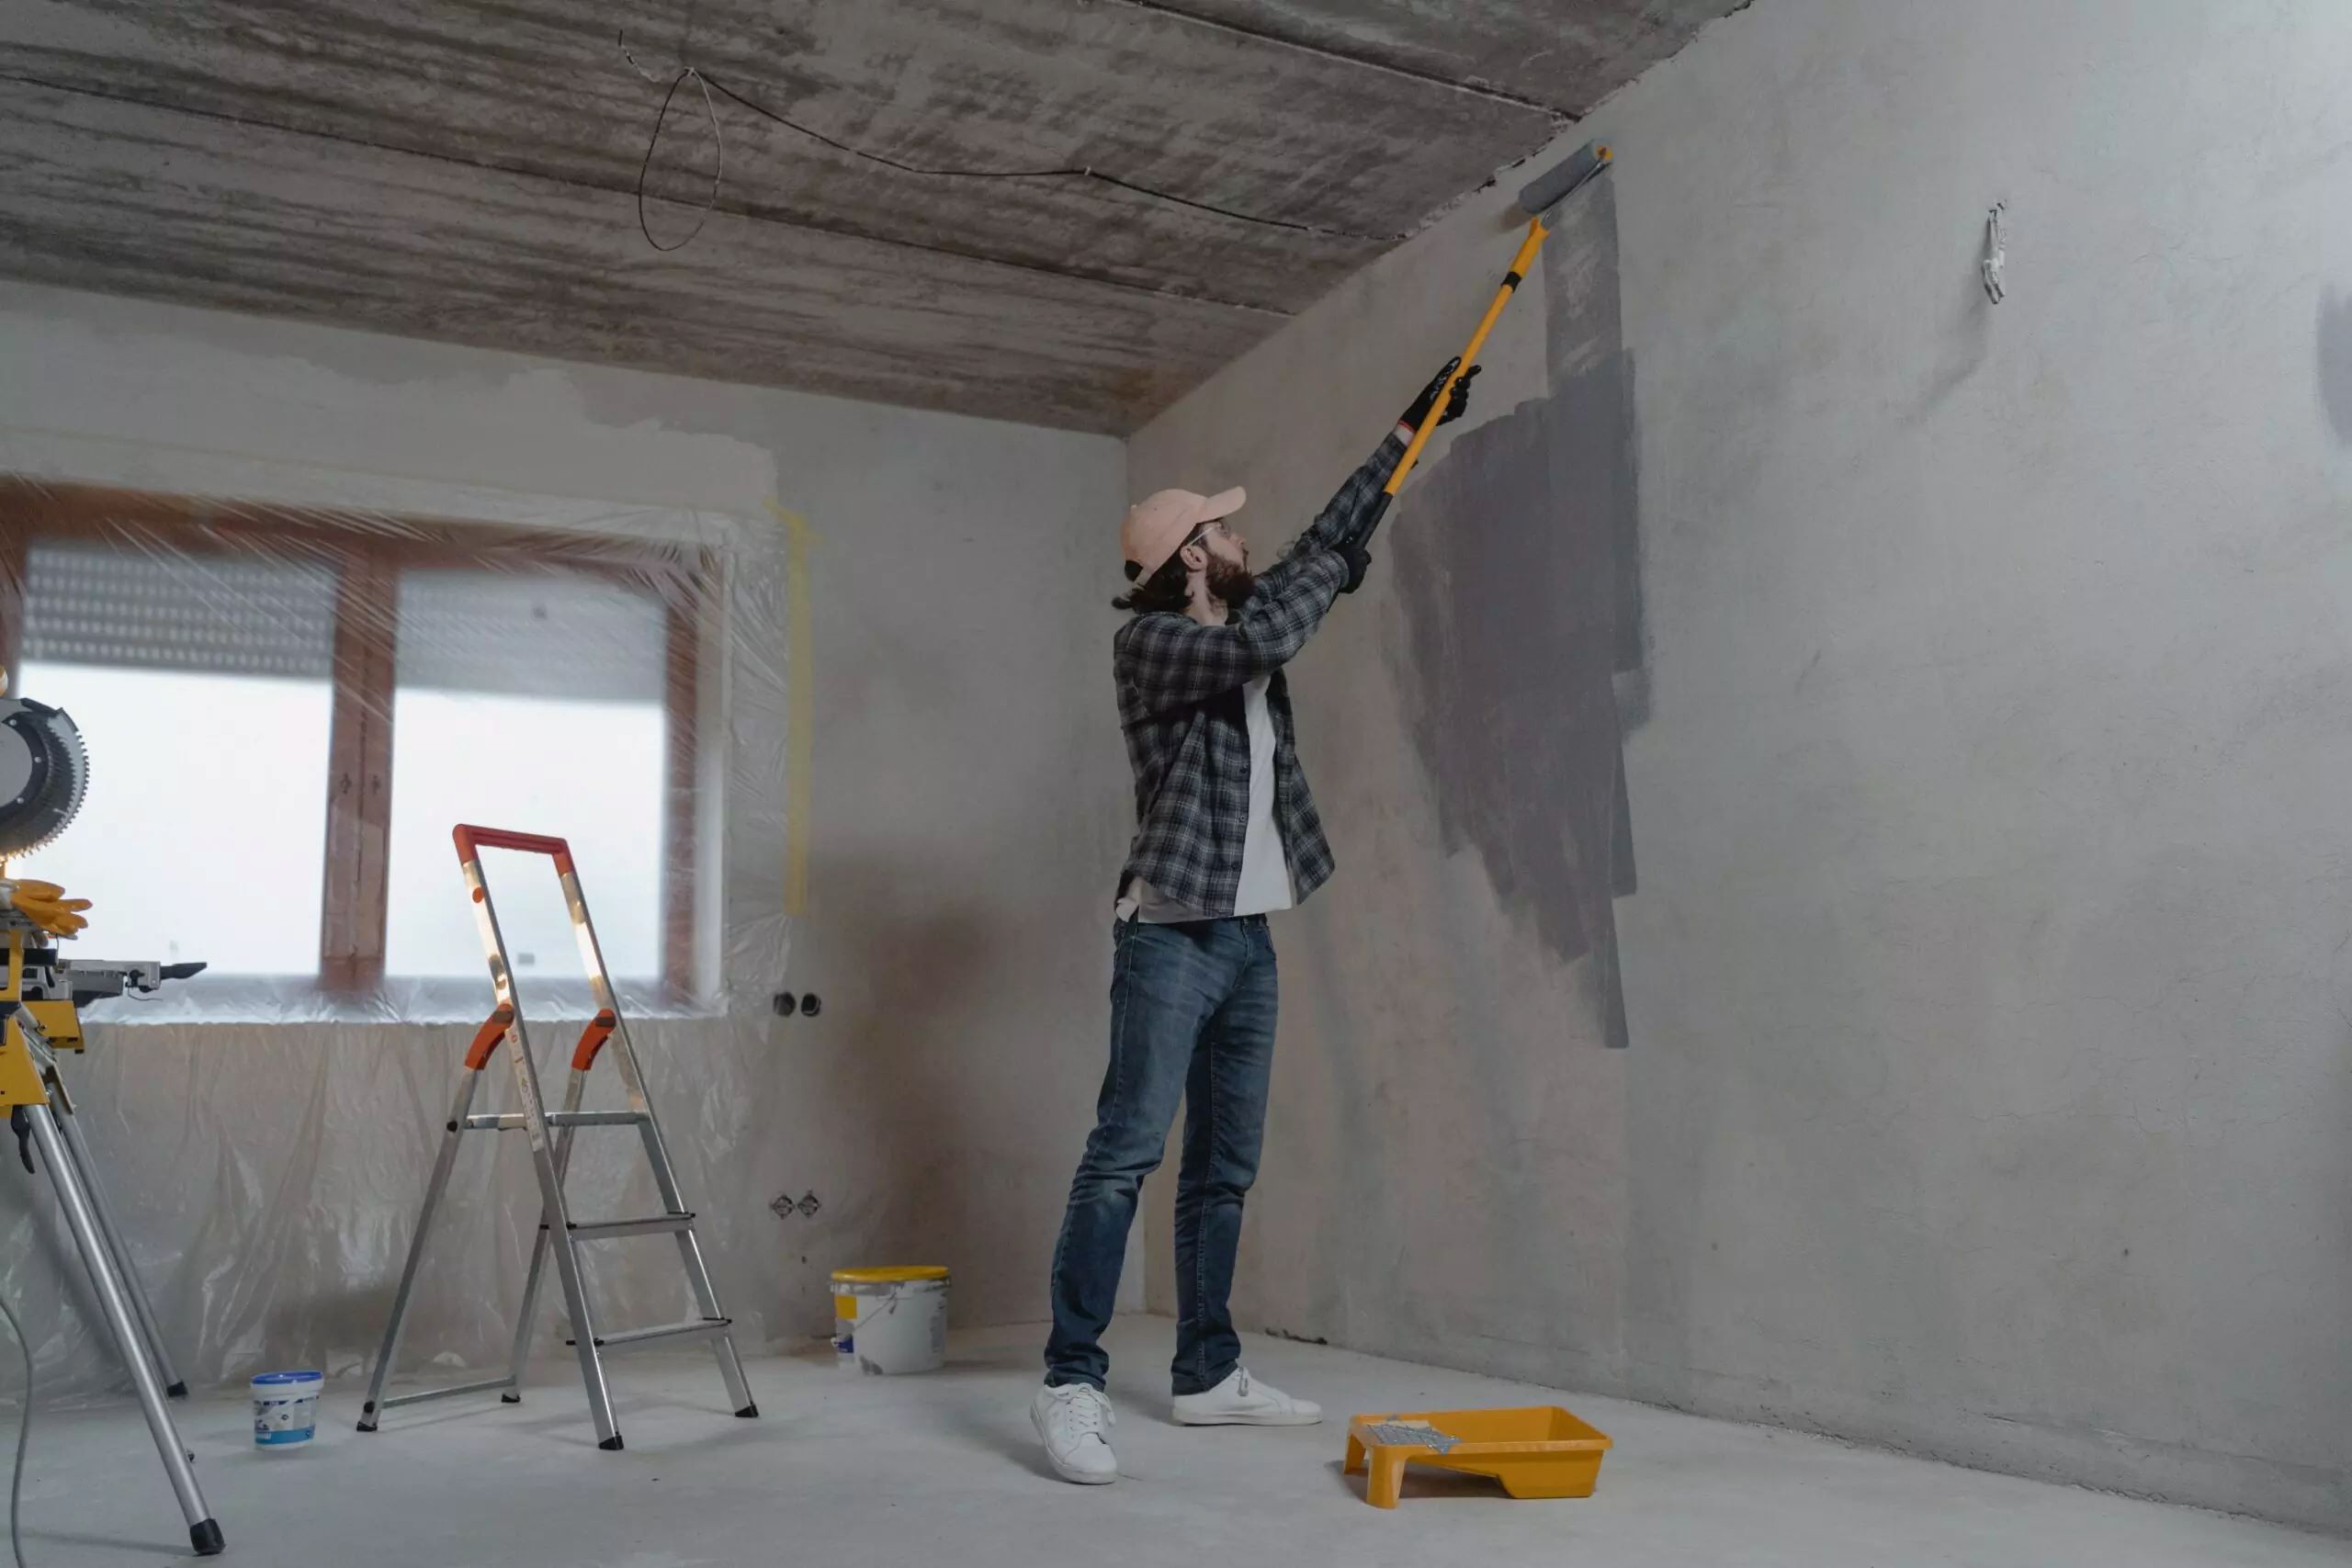
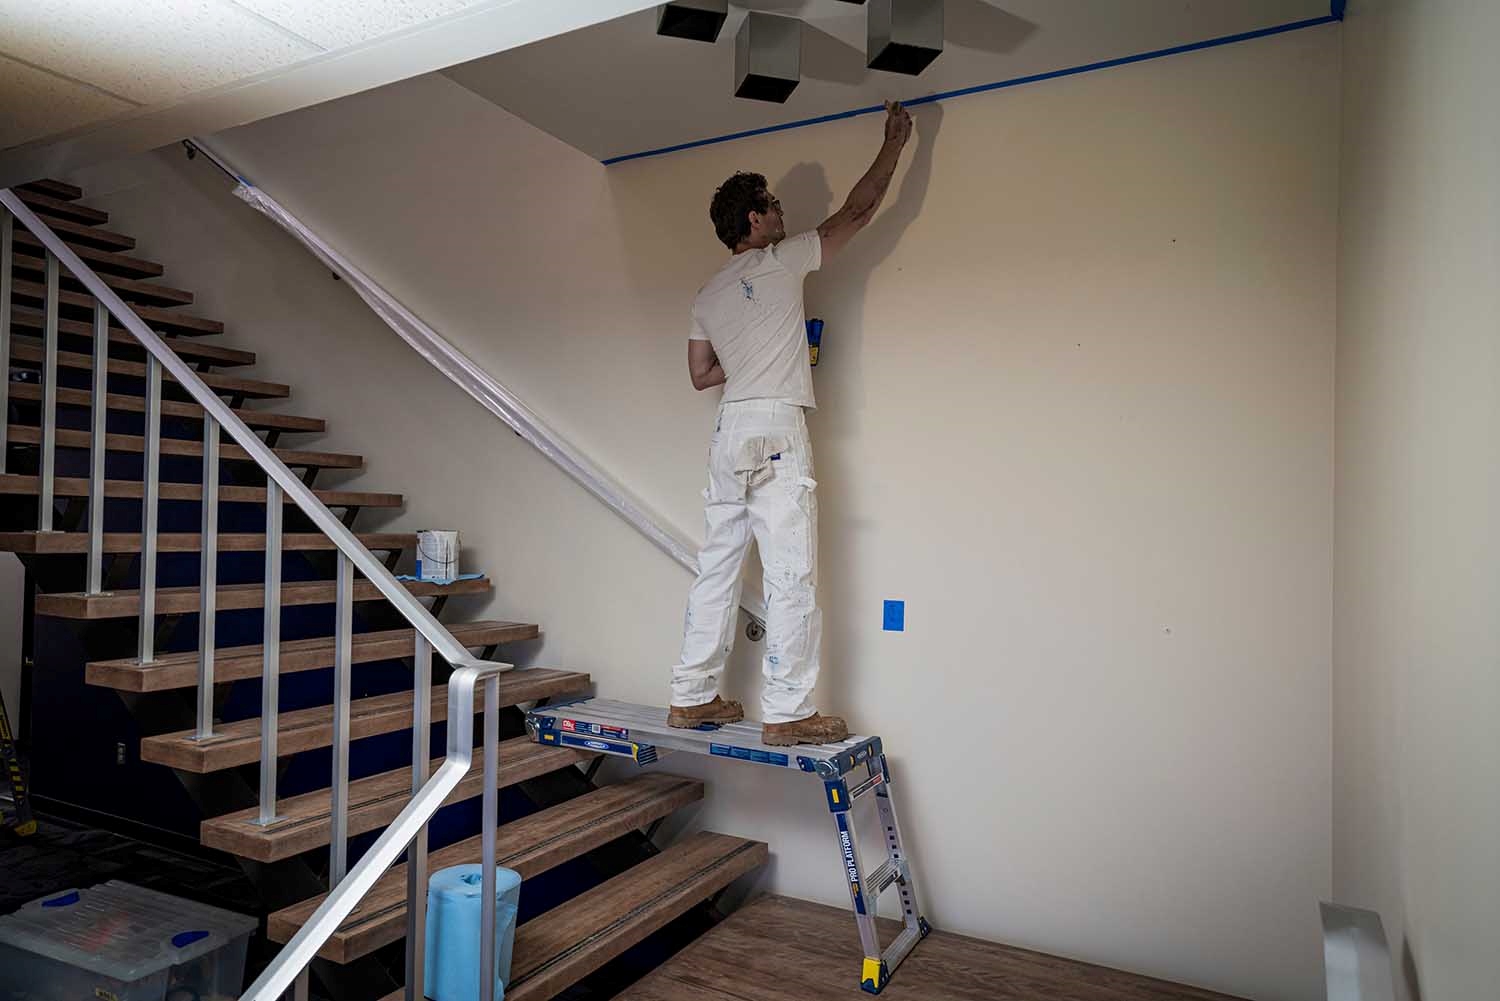
Starting from the Top
When painting tall walls without a ladder, it is important to start from the top and work your way down. This method ensures that any drips or splatters from the upper sections won’t ruin the freshly painted areas below. Here’s how to approach painting from the top:
- Begin with the Ceiling: Start by cutting in around the edges of the ceiling using a cutting-in brush. Use long, smooth strokes to achieve clean lines. Once the edges are done, switch to a roller with an extension pole to paint the rest of the ceiling. Work in small sections, overlapping slightly to blend the paint.
- Move to the Upper Walls: Once the ceiling is completed, focus on the upper section of the walls. Use the extension pole and roller to paint from the ceiling down to about halfway down the wall. Work in vertical sections, using long, even strokes to ensure consistent coverage.
- Blend the Paint: To blend the edges where the upper and lower sections meet, use a technique called “feathering.” Lightly roll the roller over the transition area without applying much pressure. This will help blend the wet paint and create a seamless finish.
- Paint the Lower Walls: After the upper walls are finished, move on to the lower section. Use the same technique with the roller and extension pole to paint from the halfway point down to the floor. Again, work in vertical sections and blend the paint as you go.
Remember to take breaks periodically to allow the paint to dry and assess the coverage. If necessary, apply a second coat to ensure a smooth and even finish.
By starting from the top and working your way down, you’ll have better control over the paint application and reduce the risk of ruining any sections below. This method ensures a professional-looking paint job without the need for a ladder.
Read more: How Tall Of Ladder Do I Need
Using Extension Poles
An extension pole is an invaluable tool when it comes to painting tall walls without a ladder. It allows you to reach high areas with ease and ensures a consistent paint application throughout. Here are some tips for effectively using extension poles:
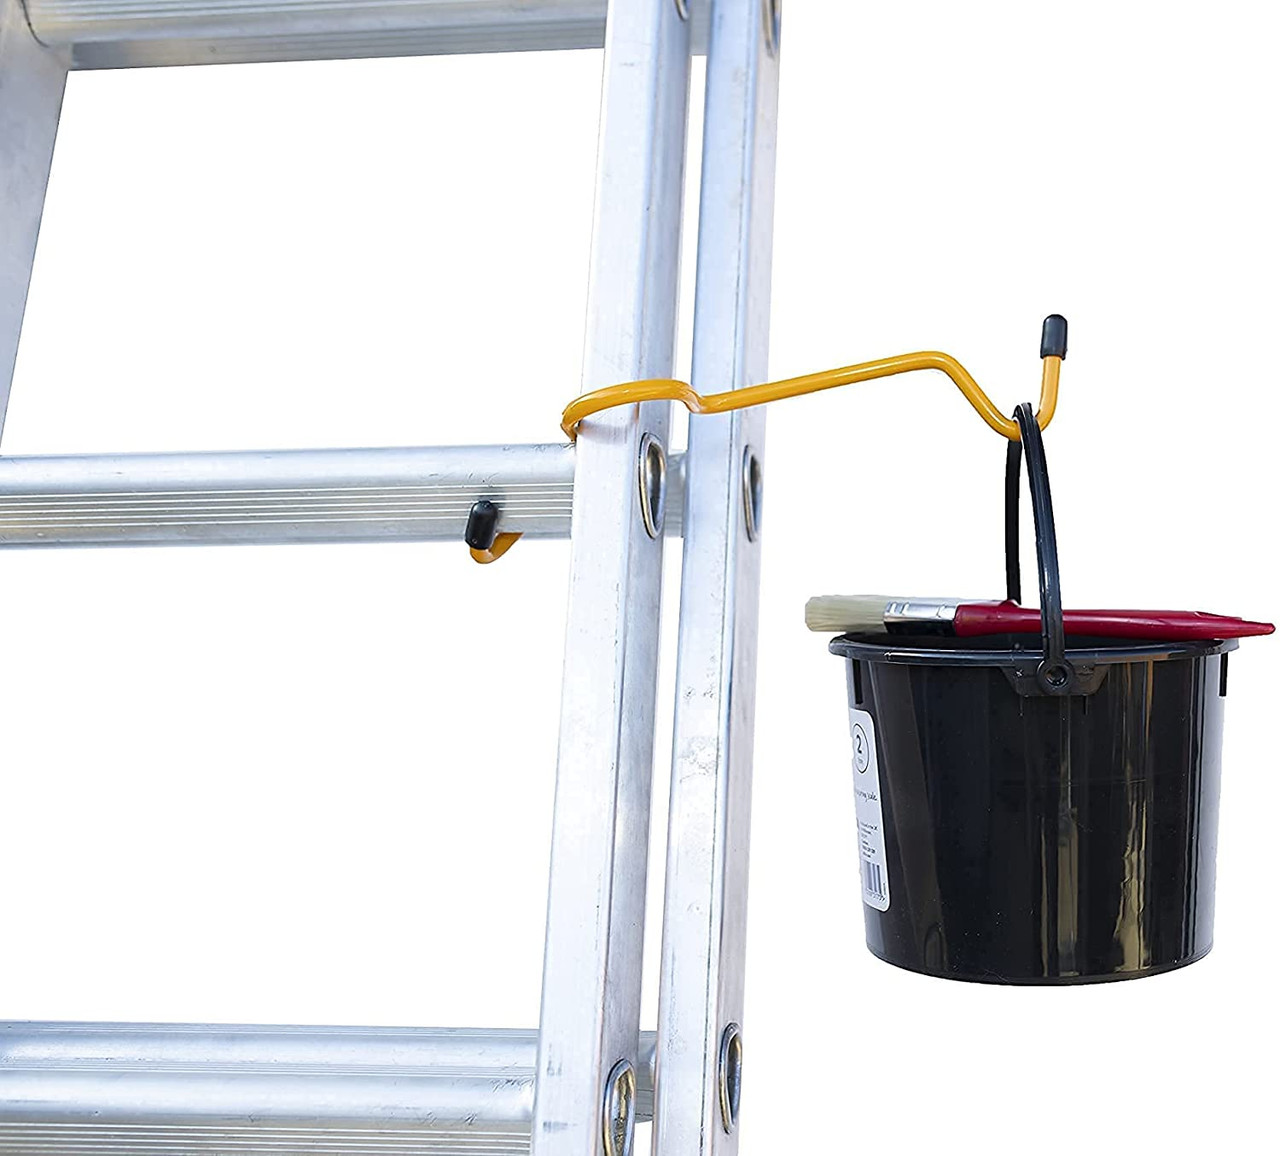
- Choose the Right Extension Pole: Select an extension pole that is sturdy, lightweight, and adjustable. Look for one that has a comfortable grip and allows for easy attachment of your painting tools, such as a roller or a cutting-in brush.
- Securely Attach Your Tools: Make sure to attach your paint roller or cutting-in brush securely to the extension pole. This will prevent any accidental detachment while painting, ensuring a smooth and uninterrupted workflow.
- Start with Small Sections: When using an extension pole with a roller, start by working in small sections rather than trying to cover a large area at once. This will allow for better control and prevent the paint from drying too quickly.
- Apply Even Pressure: Apply even pressure on the roller as you move it up and down the wall. This will help distribute the paint evenly and avoid any streaks or uneven coverage. If you notice any drips or excess paint, use the roller to lightly go over them and smooth them out.
- Overlap Strokes: To ensure consistent coverage, overlap each stroke slightly with the previous one. This will help blend the paint seamlessly and eliminate any visible lines or gaps. Take your time and work methodically to achieve a professional-looking finish.
- Be Mindful of Your Surroundings: While using an extension pole, be aware of your surroundings to avoid accidentally hitting furniture, walls, or other objects. Take care when navigating corners and tight spaces, and ensure that you have enough clearance to move comfortably.
By using extension poles effectively, you can reach high areas safely and efficiently. This tool is a game-changer when it comes to painting tall walls without a ladder, providing you with the flexibility and control needed to achieve a flawless finish.
Use an extension pole with a roller to reach high walls without a ladder. Start from the top and work your way down for even coverage.
Working in Sections
When painting tall walls without a ladder, breaking the project down into manageable sections is key to maintaining a consistent and efficient workflow. Here are some tips for working in sections:
- Divide the Wall: Mentally divide the wall into smaller sections, preferably vertically. This will help you stay organized and ensure that you cover the entire wall without missing any spots.
- Focus on One Section at a Time: Start by applying paint to one section, either from top to bottom or vice versa. This will help you maintain a consistent paint application and prevent any visible lines or uneven coverage at the transition point between sections.
- Maintain a Wet Edge: When using a roller, work quickly and efficiently to maintain a “wet edge.” This means ensuring that the paint you apply overlaps with the wet paint you previously applied. This technique helps create a seamless finish and minimizes the appearance of brush or roller marks.
- Avoid Drying Time: Try to complete each section without taking long breaks in between. This will prevent the paint from drying partially and causing visible lines or color variations when overlapping. If necessary, have a helper assist you by painting adjacent sections while you work on the current one.
- Blend the Sections: To create a seamless transition between sections, use the “feathering” technique. Before moving on to the next section, use a roller or brush to lightly blend the edges of the current section into the adjacent one. This will help create a smooth and even transition that is virtually undetectable.
- Assess and Touch Up: After completing each section, step back and assess the paint coverage. Look for any areas that may require touch-ups or additional coats. It’s easier to address these issues while the paint is still wet, ensuring a consistent and uniform finish.
By working in sections, you can maintain control over the paint application and achieve a professional-looking finish on your tall walls. It allows you to focus on each area individually, ensuring that no spots are missed and minimizing any visible lines or uneven coverage.
Cutting In with a Brush
When painting tall walls without a ladder, using a brush to “cut in” around the edges, corners, and trim is crucial for achieving clean and precise lines. Here are some tips for cutting in with a brush:
- Select the Right Brush: Choose a high-quality angled cutting-in brush that has fine bristles for better control and accuracy. Avoid using a brush that is too large or too small for the job, as it can make cutting in more challenging.
- Load the Brush with Paint: Dip the brush about a third of the way into the paint, tapping off any excess on the side of the can or the paint tray. This will prevent the paint from dripping or causing blobs on the wall as you cut in.
- Start with the Ceilings and Edges: Begin by cutting in along the ceiling line, using light, smooth strokes. Take your time to achieve a clean, straight line. Then, move to the corners and edges of the walls, carefully painting up to and around the trim.
- Work in Small Sections: Rather than cutting in the entire room at once, work in small sections, usually about 2-3 feet wide. This will help you maintain control over the brush and prevent the paint from drying before you blend it with the roller.
- Feather the Edges: To create a seamless transition between the cut-in areas and the rolled sections, use a technique called “feathering.” Before the paint dries, go back with a dry brush and lightly blend the edges where the two areas meet. This will help create a smooth, gradual transition and eliminate any visible lines.
- Take Your Time: Cutting in requires precision and attention to detail. Take your time to ensure that the lines are clean and the paint is applied evenly. If needed, use a steady hand by bracing your forearm against the wall or using a painter’s tool to guide your brush strokes.
- Inspect and Touch Up: Once you have finished cutting in, step back and inspect your work. Look for any areas that may require touch-ups or additional coats. Use a smaller brush or a paint touch-up pen to fix any imperfections.
By mastering the technique of cutting in with a brush, you can achieve sharp and professional-looking lines when painting tall walls without a ladder. It may take some practice and patience, but the result will be well worth the effort.
Maintaining a Steady Hand
When painting tall walls without a ladder, it is essential to maintain a steady hand to ensure clean, even strokes and a professional-looking finish. Here are some tips to help you maintain a steady hand while painting:
- Position Yourself Correctly: Stand or position yourself in a way that allows you to have a comfortable and stable stance. Keep your feet shoulder-width apart and distribute your weight evenly.
- Brace Yourself: Use your non-painting hand to brace against a nearby wall or furniture for added stability. This will help prevent any unnecessary movement or shaking while you paint.
- Slow Down: Take your time when applying the paint. Rushing can lead to uneven strokes and mistakes. Slow and deliberate movements will result in cleaner and more consistent coverage.
- Breathe and Relax: Deep breathing exercises can help you relax and steady your hand. Take a few deep breaths before starting to paint, and periodically throughout the project, to keep yourself calm and focused.
- Use Light Pressure: Apply light pressure to the brush or roller as you paint. Pressing too hard can cause the brush to bounce or create uneven lines. Let the bristles or roller do the work for you.
- Opt for Smaller Brushes: In areas that require precise detail work, such as edges or corners, use smaller brushes. They offer better control and allow you to maintain a steady hand more easily.
- Take Breaks: Painting for extended periods can cause fatigue and lead to shakiness. Take regular breaks to rest your hand and regain your composure. It’s better to paint in short, focused bursts rather than trying to paint for hours at a time.
- Practice on Smaller Surfaces: If you’re feeling unsure about your ability to maintain a steady hand, practice on smaller surfaces or test patches before tackling the entire wall. This will help you build confidence and refine your technique.
Remember, maintaining a steady hand takes practice and patience. By implementing these tips and techniques, you can paint tall walls without a ladder with precision and achieve a smooth and professional finish.
Read more: How To Hang Ladder On Wall
Touching Up and Finishing
After completing the main painting process on tall walls without a ladder, it’s time to focus on touching up any areas that may require additional attention. Here are some steps to ensure a smooth finishing touch:
- Inspect the Entire Wall: Step back and carefully inspect the entire wall for any areas that need touch-ups. Look for uneven coverage, missed spots, or any visible brush or roller marks.
- Address Uneven Coverage: If you notice any areas with uneven paint coverage, apply a light coat of paint to those sections. Use a brush or roller, depending on the size of the area, and blend the paint with the surrounding painted surface to create a seamless finish.
- Fix Missed Spots: If you come across any missed spots or areas where the paint didn’t reach, use a brush or roller to fill in those gaps. Make sure to blend the new paint with the rest of the wall for a consistent look.
- Smooth Out Brush or Roller Marks: If you notice any visible brush or roller marks, lightly sand those areas with fine-grit sandpaper. Wipe away the dust with a damp cloth before applying a thin coat of paint to even out the surface.
- Pay Attention to Edges and Corners: Take extra care when touching up edges and corners. Use a small brush to feather the paint in those areas, ensuring a seamless transition between the touched-up section and the rest of the wall.
- Allow for Sufficient Drying Time: Give the touch-ups enough time to dry completely before assessing the final result. This will allow you to see any inconsistencies or imperfections that may require further attention.
- Step Back and Evaluate: Once everything is dry, step back and evaluate the overall appearance of the wall. Look for any remaining touch-up areas or any other imperfections that need to be addressed.
- Final Cleanup: Remove any painter’s tape carefully and clean up any spilled or dripped paint using a damp cloth or sponge. Clean your brushes and rollers according to the paint manufacturer’s instructions.
By taking the time to touch up and finish properly, your tall walls will have a polished and professional look. Remember, attention to detail and patience are essential during this stage to achieve the desired results.
Conclusion
Painting tall walls without a ladder may seem daunting at first, but with the right tools, techniques, and a little bit of patience, it is definitely achievable. By following the steps outlined in this article, you can transform your walls and give your space a fresh and updated look.
Start by selecting the right tools, such as extension poles, paint rollers, brushes, and drop cloths. These tools will not only help you reach high areas but also ensure smooth and even paint application. Properly preparing the room, choosing the right paint, and working in sections are crucial steps to achieve professional results.
When cutting in with a brush, maintain a steady hand and take your time to achieve clean and precise lines. Use extension poles effectively to reach high areas without compromising on the quality of your work. Working in sections and blending the paint transitions will help you achieve a seamless finish.
Finally, don’t forget to touch up any areas that require extra attention and thoroughly assess the final result before considering the project complete. Take pride in your work and enjoy the transformation you have achieved without the need for a ladder.
Remember, practice makes perfect, so don’t be discouraged if it takes a bit of time and effort to master the techniques needed for painting tall walls without a ladder. With each project, you will gain more confidence and refine your skills.
Now that you have all the knowledge and guidance necessary, go ahead and tackle those tall walls. Get creative, have fun, and enjoy the sense of accomplishment that comes with transforming your space through your own handiwork.
Frequently Asked Questions about How To Paint Tall Walls Without A Ladder
Was this page helpful?
At Storables.com, we guarantee accurate and reliable information. Our content, validated by Expert Board Contributors, is crafted following stringent Editorial Policies. We're committed to providing you with well-researched, expert-backed insights for all your informational needs.

0 thoughts on “How To Paint Tall Walls Without A Ladder”