Articles
How To Clean Ceiling Fan Without Ladder
Modified: October 20, 2024
Looking for articles on how to clean a ceiling fan without a ladder? Find helpful tips and step-by-step guides in this comprehensive article.
(Many of the links in this article redirect to a specific reviewed product. Your purchase of these products through affiliate links helps to generate commission for Storables.com, at no extra cost. Learn more)
Introduction
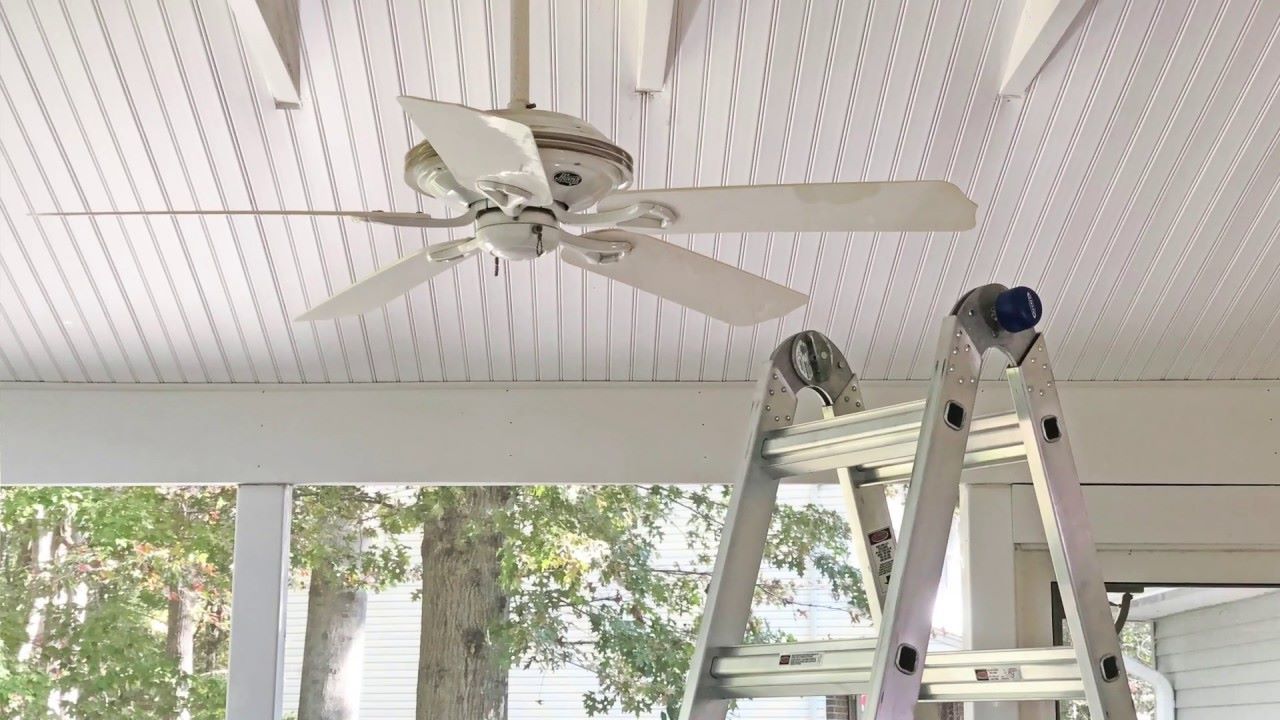
Ceiling fans are a great addition to any home, providing not only a cooling breeze but also a stylish element to the room. However, over time, they can accumulate dust and dirt, turning them into an eyesore and potentially affecting their performance. Cleaning ceiling fans can be a daunting task, especially if you don’t have a ladder or are afraid of heights.
In this article, we will share step-by-step instructions on how to clean your ceiling fan without the need for a ladder. With the right tools and techniques, you can easily restore your ceiling fan to its former glory and keep it looking and functioning at its best.
So, gather your cleaning supplies and let’s get started!
Key Takeaways:
- Easily clean your ceiling fan without a ladder using simple tools like an extendable duster, vacuum cleaner, and homemade cleaning solution. Keep your fan looking fresh and functioning at its best with these step-by-step instructions.
- Regularly cleaning your ceiling fan not only improves its performance and extends its lifespan but also helps maintain optimal air quality in your living space. Prioritize safety and enjoy a clean and efficient ceiling fan that keeps your space cool, comfortable, and visually appealing.
Step 1: Gather necessary materials
Before you begin cleaning your ceiling fan, it’s important to gather all the necessary materials to ensure a thorough and efficient cleaning process. Here’s a list of items you’ll need:
- Microfiber cloth or duster
- Extendable duster or long-handled brush
- Vacuum cleaner with attachment
- Homemade cleaning solution (optional)
- Ladder or step stool (if needed)
Microfiber cloths or dusters are ideal for cleaning ceiling fans as they effectively capture dust and dirt without leaving any residue behind. An extendable duster or a long-handled brush will help you reach high places without the need for a ladder.
A vacuum cleaner with a brush attachment is useful for sucking up any loose dust or debris from the fan blades and housing. If you prefer using a homemade cleaning solution, prepare it beforehand by mixing equal parts of water and mild dish soap or a gentle all-purpose cleaner.
If your ceiling fan is too high to reach without assistance, make sure to have a stable ladder or step stool to ensure your safety while cleaning. Always follow proper ladder safety guidelines and take extra precautions when working at heights.
Once you have gathered all the necessary materials, you’re ready to move on to the next step: preparing the area.
Step 2: Prepare the area
Before you start cleaning the ceiling fan, it’s essential to take a few minutes to prepare the area to avoid any mess or damage to your furniture or flooring. Here are some steps to follow:
- Remove any valuable or delicate items from the vicinity of the ceiling fan. This includes furniture, lamps, decorative pieces, or anything that could be accidentally knocked over or damaged during the cleaning process.
- Lay a plastic drop cloth or old bedsheet on the floor directly below the fan to catch any falling dust or debris. This will make the cleanup easier and protect your flooring from scratches or stains.
- Secure any loose items in the room. Close windows and doors to prevent a draft that could disperse dust particles throughout the house.
- For added protection, you may want to wear a dust mask or goggles to shield your face from falling dust and allergens.
Once you’ve taken these precautions, you can proceed with confidence, knowing that your surroundings are protected, and the cleaning process will be smooth and hassle-free.
Now that the area is prepared, it’s time to move on to the next step: using an extendable duster.
Step 3: Use an extendable duster
An extendable duster is an excellent tool for cleaning ceiling fans without the need for a ladder. The long handle allows you to reach high places and effectively remove dust and dirt from the fan blades and housing. Here’s how to use an extendable duster:
- Extend the handle of the duster to its full length, ensuring it is secure and stable.
- Stand directly below the ceiling fan, making sure you have a firm grip on the duster handle.
- Start by dusting the top of the fan blades, working your way from one blade to the next.
- Apply gentle pressure to the duster as you move along the blades to effectively capture the dust. Avoid pressing too hard, as it could cause the blades to bend or snap.
- Continue dusting each blade until you have covered the entire fan.
- Next, focus on the fan housing. Extend the duster to reach the housing, and gently dust around it, removing any accumulated dust or dirt.
- For stubborn dirt or grime, you may need to use a damp microfiber cloth or a homemade cleaning solution to wipe the blades and housing thoroughly.
Remember to pay attention to both sides of the fan blades and the areas where the blades connect to the housing, as these are often overlooked but can collect a significant amount of dust.
Using an extendable duster is a quick and efficient way to clean your ceiling fan, and it keeps you safely on the ground. However, depending on the level of dirt or if you prefer a more thorough cleaning, you may want to complement this step with the use of a vacuum cleaner, as we will discuss in the next step.
Once you have finished dusting with the extendable duster, it’s time to move on to step 4: utilizing a vacuum cleaner with an attachment.
Step 4: Utilize a vacuum cleaner with attachment
Using a vacuum cleaner with an attachment is a great way to ensure a deep cleaning of your ceiling fan. It helps to remove any stubborn dust, dirt, or pet hair that may be clinging to the fan blades and housing. Follow these steps to effectively utilize a vacuum cleaner with an attachment:
- Attach a soft brush or upholstery attachment to the hose of your vacuum cleaner. This will prevent any scratches or damage to the fan blades or housing.
- Ensure that your vacuum cleaner is set to a low suction power to avoid any damage to the delicate components of the fan.
- Hold the vacuum cleaner hose close to the fan blades, starting from the top and working your way down. Move the attachment along the length of each blade, capturing any loose dust or debris.
- Pay special attention to the areas where the blades connect to the housing, as these can accumulate a significant amount of dust. Use the attachment to carefully clean around these areas.
- Continue vacuuming each blade, ensuring that all sides are thoroughly cleaned.
- Once you have finished vacuuming the blades, move on to the fan housing. Use the attachment to gently vacuum the surface of the housing, removing any remaining dust or dirt.
- For any persistent dirt or stains on the housing, you can use a damp microfiber cloth with a mild cleaning solution to wipe it clean.
Utilizing a vacuum cleaner with an attachment after using an extendable duster ensures a more comprehensive cleaning of your ceiling fan. The combination of these two steps will leave your fan looking fresh and free from dust and dirt.
Now that you have effectively used a vacuum cleaner with an attachment, let’s move on to step 5: using a long-handled brush or broom.
Read more: How To Turn On Ceiling Fan Without Remote
Step 5: Use a long-handled brush or broom
If you don’t have access to an extendable duster or a vacuum cleaner, using a long-handled brush or broom can be an effective alternative for cleaning your ceiling fan. This method allows you to reach high places without the need for a ladder. Here’s how to use a long-handled brush or broom:
- Choose a long-handled brush or broom with soft bristles. Avoid using brushes with stiff bristles as they can scratch or damage the fan blades.
- Stand directly below the ceiling fan and hold the brush or broom with both hands for better control.
- Starting from the top, gently sweep the bristles of the brush or broom across the fan blades, removing any dust or debris.
- Move along the length of each blade, applying light pressure to dislodge and collect the dust.
- Continue this sweeping motion until you have gone through all the fan blades.
- Next, focus on the fan housing. Use the brush or broom to clean the surface of the housing, removing any accumulated dust or dirt.
- If necessary, you can dampen a microfiber cloth with a mild cleaning solution to wipe down the fan blades and housing for a more thorough cleaning.
Using a long-handled brush or broom is a simple and effective method for cleaning your ceiling fan. It allows you to safely reach high places and remove dust without the need for a ladder or specialized tools.
Now that you have learned how to clean your fan using a long-handled brush or broom, let’s move on to step 6: making a homemade cleaning solution.
Use a long-handled duster or a microfiber cloth attached to a pole to gently wipe the fan blades. You can also use a pillowcase to cover the blade and wipe off the dust.
Step 6: Make a homemade cleaning solution
While dusting and vacuuming can effectively remove most dirt and dust from your ceiling fan, sometimes you may encounter stubborn stains or grease buildup. In such cases, a homemade cleaning solution can come in handy. Here’s how you can make a simple and effective homemade cleaning solution:
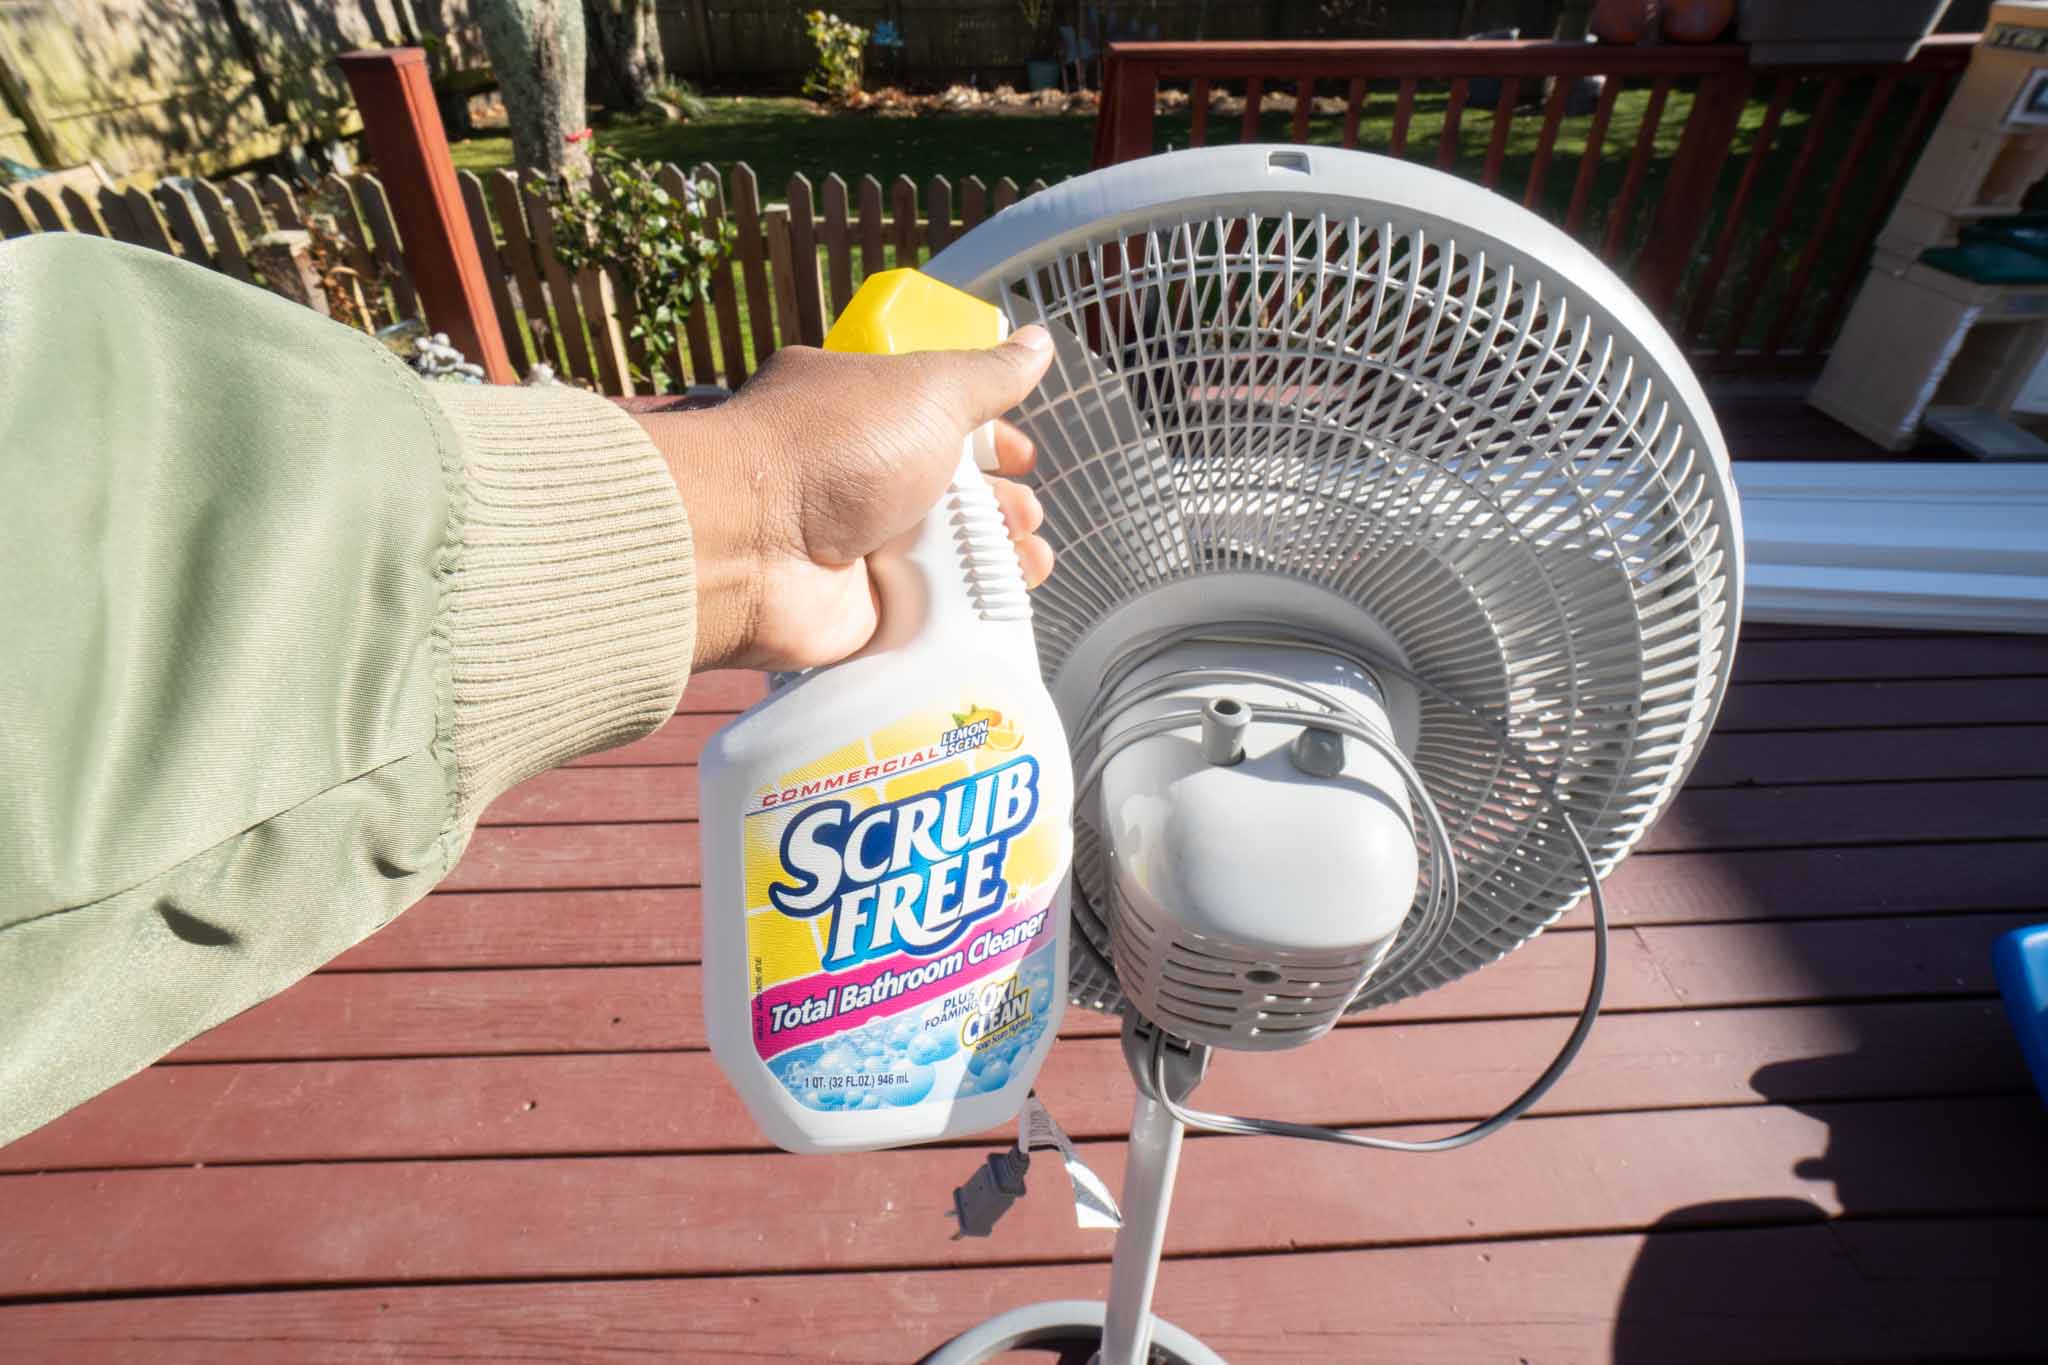
- In a spray bottle, mix equal parts of water and mild dish soap or a gentle all-purpose cleaner.
- Shake the bottle well to ensure that the soap or cleaner is thoroughly mixed with the water.
- If desired, you can add a few drops of essential oil to give the cleaning solution a pleasant fragrance.
This homemade cleaning solution is safe to use on most ceiling fan surfaces and doesn’t leave behind any residue. It’s effective in removing stains, grease, and other tough spots that regular dusting might not eliminate.
To use this cleaning solution, simply spray it onto a microfiber cloth or directly onto the fan blades and housing. Gently wipe the surface, applying slight pressure to remove any stains or grime. For any hard-to-reach areas, a soft-bristled brush or an old toothbrush can be used to scrub the surface.
Remember to use the cleaning solution sparingly and avoid getting excess liquid on electrical components. Always ensure that the fan is turned off and unplugged before applying any cleaning solution.
Now that you have your homemade cleaning solution ready, it’s time to move on to step 7: using a microfiber cloth or duster with an angled head.
Step 7: Use a microfiber cloth or duster with an angled head
A microfiber cloth or duster with an angled head is a versatile tool that allows you to reach and clean difficult areas on your ceiling fan. The soft and absorbent nature of microfiber helps in capturing and trapping dust particles effectively. Here’s how you can use a microfiber cloth or duster with an angled head:
- Choose a microfiber cloth or duster with a flexible and angled head. This design allows you to easily maneuver around the fan blades and housing.
- If using a microfiber cloth, slightly dampen it with water or the homemade cleaning solution you prepared in the previous step.
- Stand directly below the ceiling fan and position the microfiber cloth or duster at a slight angle against the fan blades.
- Gently wipe the surface of each blade, moving the cloth or duster along its length to remove any remaining dust or dirt.
- Take care to clean both sides of the fan blades thoroughly.
- Next, focus on cleaning the fan housing. Use the angled head of the microfiber cloth or duster to navigate around the curves and contours of the housing.
- Apply light pressure to ensure that you are capturing as much dust as possible.
- If necessary, reposition the microfiber cloth or duster to access hard-to-reach areas, such as the top or bottom of the fan blades or corners of the housing.
- Continue cleaning until you have covered all fan blades and the housing.
Using a microfiber cloth or duster with an angled head allows for precise and thorough cleaning of your ceiling fan. The soft and lint-free nature of microfiber ensures that you won’t leave any residue or scratches behind.
Once you have completed this step, it’s time to move on to step 8: removing and cleaning fan blades, if applicable.
Step 8: Remove and clean fan blades
In some cases, fan blades can be easily removed for a more thorough cleaning. If your ceiling fan allows for blade removal, follow these steps to safely remove and clean the fan blades:
- Ensure that the fan is turned off and unplugged before attempting to remove the blades.
- Locate the screws or fasteners that secure the blades to the fan motor. These are usually located on the top or bottom of each blade near the motor housing.
- Using a screwdriver or the appropriate tool, carefully loosen and remove the screws or fasteners from each blade.
- Gently slide the blades out of their slots or attachment points on the fan motor.
- Place the removed blades on a soft surface or towel to prevent any scratching or damage.
- Fill a basin or sink with warm water and a small amount of mild dish soap.
- Submerge the fan blades in the soapy water and allow them to soak for a few minutes.
- Using a soft sponge or cloth, gently scrub each blade to remove any dirt or grime.
- Rinse the blades with clean water to remove any soap residue.
- Allow the blades to air dry completely before reattaching them to the fan motor.
It’s important to note that not all ceiling fans have easily removable blades. If your fan blades cannot be taken off or if you’re unsure about the process, it’s best to consult the manufacturer’s instructions or seek assistance from a professional.
Once the fan blades have dried completely, you can proceed to the next step: wiping down the fan housing.
Read more: How To Clean High Windows Without A Ladder
Step 9: Wipe down fan housing
After cleaning the blades, it’s time to move on to cleaning the fan housing. The fan housing is the part that attaches the fan blades to the motor and can accumulate dust and dirt over time. Here’s how you can effectively wipe down the fan housing:
- Ensure that the fan is turned off and unplugged before cleaning the housing.
- Take a clean microfiber cloth or sponge and dampen it slightly with either water or a mild cleaning solution.
- Gently wipe the surface of the fan housing, starting from the top and working your way down.
- Pay extra attention to any areas that have accumulated more dirt or grease, such as the motor housing or around the screws.
- If there are stubborn stains or sticky residue on the housing, you can use a soft-bristled brush or an old toothbrush dipped in the cleaning solution to gently scrub the affected areas.
- Be careful not to apply excessive pressure or allow liquid to enter the motor or other electrical components.
- Once you have wiped down the entire housing, use a dry microfiber cloth to remove any excess moisture.
- Ensure that the housing is completely dry before reattaching the fan blades or turning the fan back on.
Regularly wiping down the fan housing not only keeps it looking clean and well-maintained, but also ensures optimal performance and longevity of the fan.
Now that you have cleaned the fan housing, it’s time for the final step: touch-ups and finishing touches.
Step 10: Final touch-ups
After completing the cleaning process, it’s time for the final touch-ups to ensure your ceiling fan looks its best. Here are some additional steps you can take for those finishing touches:
- Inspect the fan blades and housing for any remaining dust or dirt. Use a microfiber cloth or duster to spot-clean any areas that need attention.
- If you notice any streaks or residue on the fan blades or housing, you can gently buff them with a dry microfiber cloth to restore their shine.
- Double-check the area around the fan and remove any drop cloths, plastic sheets, or protective covers that were used during the cleaning process.
- Replace any furniture or decorative items that were temporarily moved out of the way.
- Take a step back and admire your clean and refreshed ceiling fan!
By going the extra mile with these final touch-ups, you can ensure that your ceiling fan not only functions optimally but also looks visually appealing in your space. Regularly cleaning your ceiling fan will help maintain its performance, improve air quality, and prolong its lifespan.
Now that you’ve completed all the steps, you can enjoy the cool breeze and clean aesthetics of your freshly cleaned ceiling fan.
Cleaning a ceiling fan without a ladder is a simple and achievable task with the right tools and techniques. Regular maintenance and proper cleaning will extend the life of your fan and keep it looking great year-round.
Remember to always prioritize safety when cleaning your ceiling fan. If you feel uncomfortable or unsure about any step of the cleaning process, it’s best to consult the manufacturer’s instructions or seek professional assistance.
With a clean and well-maintained ceiling fan, you can enjoy optimal performance, improved air circulation, and a more inviting atmosphere in your home.
Happy cleaning!
Conclusion
Cleaning your ceiling fan without the need for a ladder is a manageable task that can be accomplished with the right tools and techniques. By following the steps outlined in this guide, you can effectively remove dust, dirt, and grime from your fan blades and housing, ensuring a fresh and well-maintained ceiling fan in your home.
Starting with gathering the necessary materials, preparing the area, and utilizing an extendable duster or a vacuum cleaner with an attachment, you can easily remove dust and debris from your ceiling fan while staying safely on the ground. Making a homemade cleaning solution and using a microfiber cloth or duster with an angled head allows you to tackle stubborn stains or sticky residue.
If your fan allows for blade removal, taking the time to remove and clean the fan blades provides a more thorough cleaning. Wiping down the fan housing and adding final touch-ups will leave your ceiling fan looking its best.
Regularly cleaning your ceiling fan not only improves its performance and extends its lifespan but also helps maintain optimal air quality in your living space. Dust and dirt accumulation on fan blades can be redistributed into the room when the fan is turned on, so keeping your fan clean will contribute to a healthier home environment.
Remember to always prioritize safety when cleaning your ceiling fan. If you are uncomfortable with any step of the process or if your fan requires special attention, refer to the manufacturer’s instructions or seek assistance from a professional.
By following these steps and implementing a regular cleaning routine, you can enjoy a clean and efficient ceiling fan that keeps your space cool, comfortable, and visually appealing.
So, gather your cleaning supplies, follow the steps outlined in this guide, and let your ceiling fan shine with renewed freshness!
Frequently Asked Questions about How To Clean Ceiling Fan Without Ladder
Was this page helpful?
At Storables.com, we guarantee accurate and reliable information. Our content, validated by Expert Board Contributors, is crafted following stringent Editorial Policies. We're committed to providing you with well-researched, expert-backed insights for all your informational needs.


0 thoughts on “How To Clean Ceiling Fan Without Ladder”