Home>Interior Design>The Best Paint Finishes For Trim: How To Get A Professional Look
Interior Design
The Best Paint Finishes For Trim: How To Get A Professional Look
Modified: January 5, 2024
Enhance the interior design of your space with the best paint finishes for trim. Achieve a professional look with these expert tips and techniques.
(Many of the links in this article redirect to a specific reviewed product. Your purchase of these products through affiliate links helps to generate commission for Storables.com, at no extra cost. Learn more)
Introduction
Welcome to our comprehensive guide on paint finishes for trim. When it comes to interior design, the details make all the difference, and one often overlooked detail is the paint finish used on trim. The right paint finish can enhance the overall look and add a professional touch to any room.
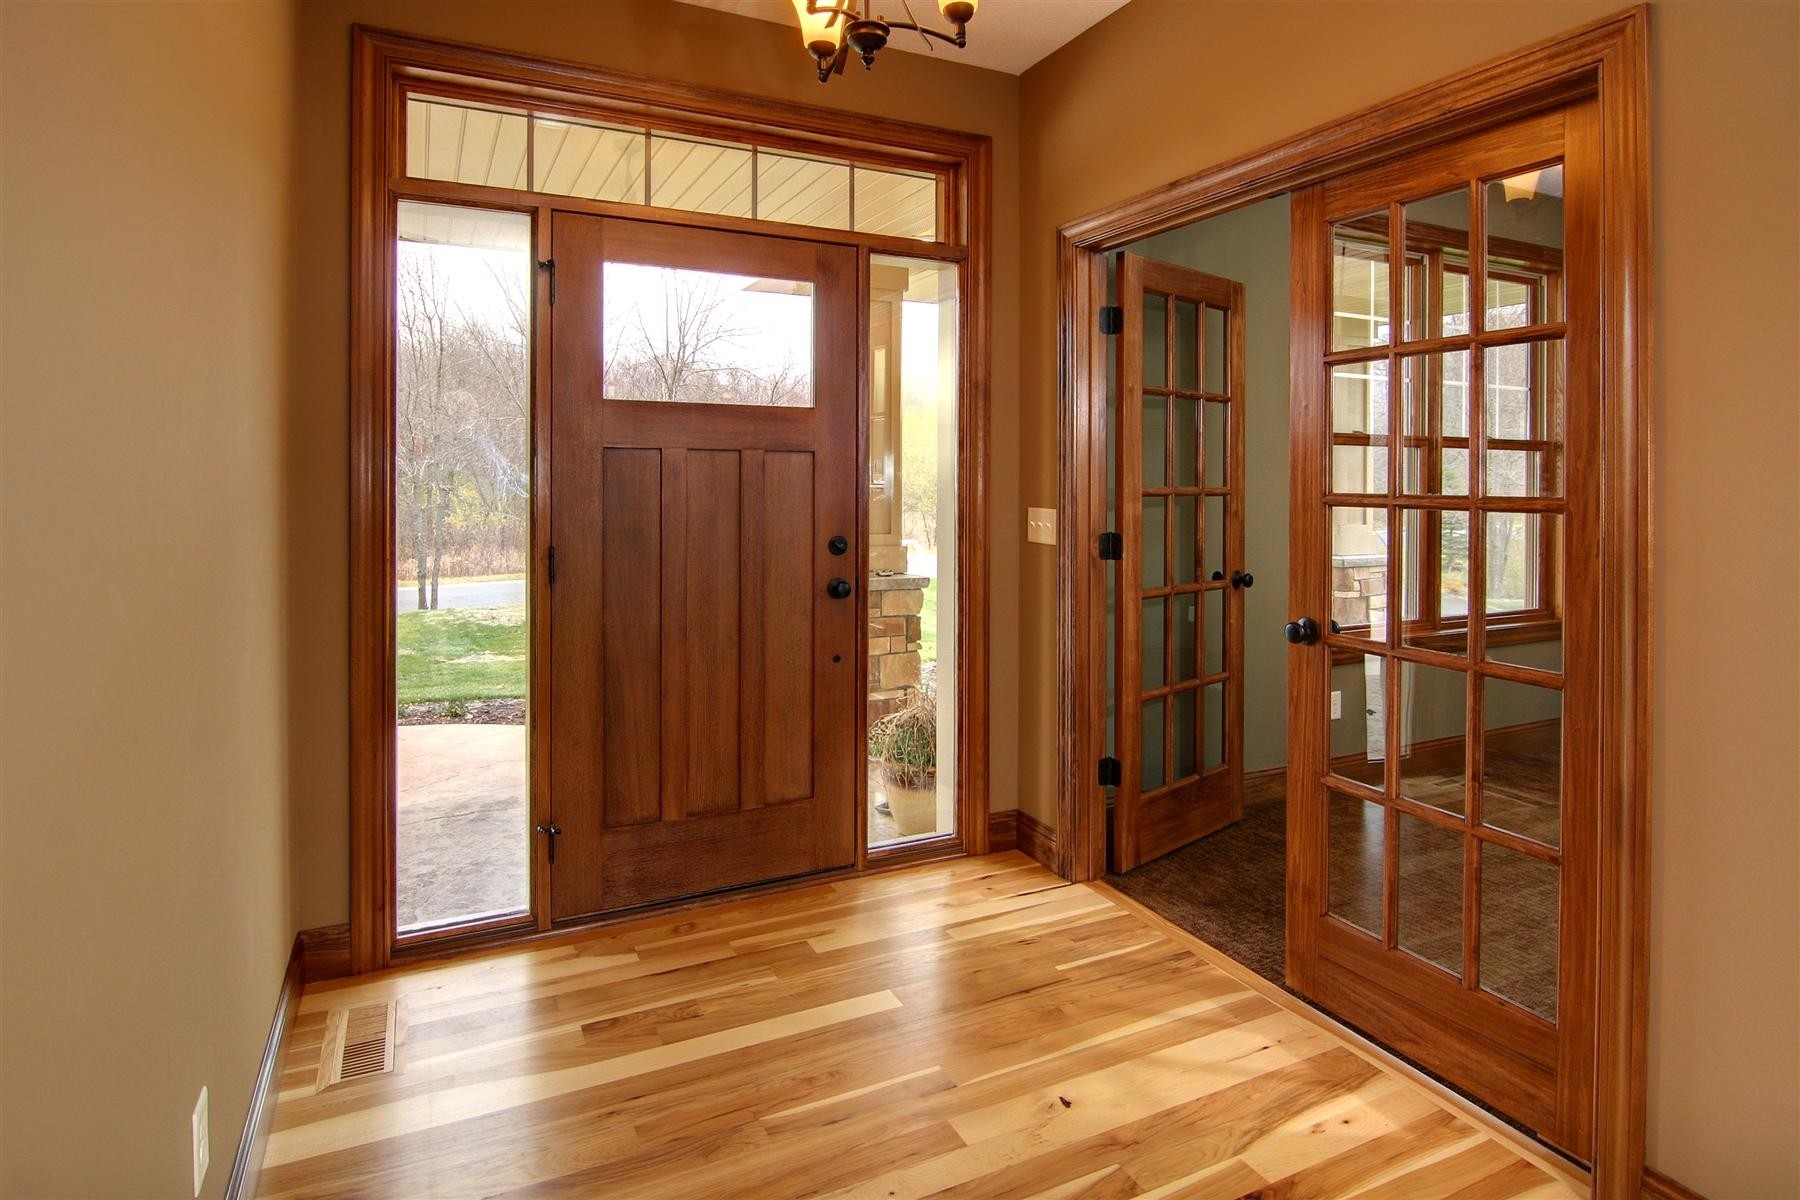
Trim, which includes baseboards, crown molding, door casings, and window frames, plays a vital role in defining the architectural style of a space. It provides a finished look and helps create a cohesive design aesthetic. And while choosing the perfect color for your trim is important, selecting the right paint finish is equally crucial.
Paint finishes not only affect the appearance of the trim but also impact its durability and maintenance. Different finishes offer different levels of shine, smoothness, and resistance to wear and tear. Understanding the various types of paint finishes available and their characteristics will help you make an informed decision for your trim.
In this guide, we will explore the different types of paint finishes for trim, discuss the factors to consider when choosing the ideal finish, and provide some useful tips and tricks for achieving a professional look. Whether you are embarking on a complete interior renovation or simply looking to freshen up your space, this guide will help you make the right choice.
So let’s dive in and discover how the right paint finish can elevate the look of your trim and create a stunning visual impact in your home.
Key Takeaways:
- Choose the right paint finish for your trim based on room size, style, and durability needs. From glossy to matte, each finish offers unique benefits to enhance the overall look and feel of your space.
- Achieve a professional look by preparing the surface, using high-quality tools, and applying thin, even coats of paint. Follow specific techniques for each finish to transform your trim into a stunning focal point.
Understanding the Importance of Paint Finishes for Trim
When it comes to interior design, the importance of paint finishes for trim cannot be overstated. Trim, which includes baseboards, crown molding, door casings, and window frames, serves both functional and aesthetic purposes. It not only frames the architectural features of a room but also protects the walls and adds a finished touch to any space.
Choosing the right paint finish for your trim is crucial for several reasons:
- Enhanced aesthetic appeal: The right paint finish can enhance the overall look and feel of your trim. It adds depth and dimension and complements the surrounding walls. Whether you prefer a glossy sheen or a more subtle matte finish, the paint finish you choose will significantly impact the visual appeal of your trim.
- Protection against wear and tear: Trim is subject to daily wear and tear, from scuff marks to moisture exposure. The paint finish you select needs to be durable and resistant to damage. A high-quality finish will provide a protective layer that shields the trim from scratches, stains, and fading.
- Easier maintenance: Different paint finishes have varying levels of sheen and smoothness. Glossy finishes, for example, tend to be easier to clean and maintain as they repel dirt and grime more effectively. Matte finishes, on the other hand, may require more frequent touch-ups and cleaning. Considering your maintenance preferences and the high-traffic nature of trim in your home is crucial.
- Consistency in design: The paint finish you choose for your trim should be consistent with the overall design aesthetic of the room. It should complement other design elements, such as wall colors, flooring, and furniture. A carefully selected paint finish will create a seamless and cohesive look throughout the space.
By understanding the importance of paint finishes for trim, you can make an informed decision that complements your design style and meets your practical needs. Let’s explore the factors you should consider when choosing paint finishes for your trim to achieve the desired look and functionality.
Factors to Consider When Choosing Paint Finishes for Trim
Choosing the right paint finish for your trim involves careful consideration of several factors. By taking these factors into account, you can select a paint finish that not only enhances the aesthetic appeal of your trim but also meets your practical requirements. Here are some key factors to consider:
- Room and trim size: The size of the room and the trim itself can influence the choice of paint finish. In smaller rooms or spaces with narrow trim, a gloss or semi-gloss finish can help reflect light and create an illusion of larger space. In larger rooms with wider trim, a matte or satin finish can provide a more balanced and sophisticated look.
- Style and design aesthetic: Consider the overall style and design aesthetic of the room. If you want to achieve a more traditional or formal look, a glossy finish can add a touch of elegance. On the other hand, if you prefer a more contemporary or understated look, a matte or satin finish might be more suitable.
- Functionality and durability: Evaluate the functionality and durability requirements of the trim. High-traffic areas such as hallways, entryways, and staircases will benefit from a more durable and resistant finish, such as semi-gloss or satin. Areas with less frequent use, such as bedrooms, may allow for a more delicate finish, such as matte.
- Color and contrast: Consider the color of the trim and how it contrasts with the surrounding walls. A higher sheen finish can create a striking contrast, especially when the trim color differs significantly from the wall color. If you prefer a more subtle and cohesive look, a lower sheen finish can provide a smoother transition between the trim and the walls.
- Lighting conditions: Take into account the natural and artificial lighting in the room. Glossy finishes tend to reflect more light and can create a brighter and more vibrant atmosphere. However, they may also highlight imperfections or uneven textures. Matte or satin finishes, on the other hand, can be more forgiving under different lighting conditions.
By considering these factors, you can narrow down your options and choose a paint finish that best suits your preferences and the specific requirements of your trim. Keep in mind that there is no one-size-fits-all solution, and the right choice will depend on a combination of these factors. In the next section, we will delve into the different types of paint finishes available for trim, helping you understand their characteristics and determine which one is right for you.
Different Types of Paint Finishes for Trim
When it comes to paint finishes for trim, there are several options to choose from. Each type of finish offers unique characteristics that can significantly impact the overall look and feel of your trim. Understanding the different types of finishes will help you make an informed decision. Here are the most common types of paint finishes for trim:
- Gloss finish: A gloss finish is the shiniest and most reflective of all paint finishes. It offers a high sheen and creates a polished and luxurious look. Gloss finishes are highly durable and easy to clean, making them suitable for high-traffic areas. However, they can also highlight imperfections and require more meticulous surface preparation.
- Semi-gloss finish: A semi-gloss finish offers a slightly less shiny appearance compared to gloss finishes. It has a smooth, reflective surface that is more forgiving of imperfections. Semi-gloss finishes are highly durable and resistant to moisture, making them ideal for trim in kitchens, bathrooms, and other areas prone to humidity. They are also easy to clean, making them a popular choice for busy households.
- Satin finish: Satin finishes have a soft and velvety appearance, offering a subtle sheen that falls between gloss and matte finishes. They provide a smooth and elegant look that is versatile and suitable for a range of design styles. Satin finishes are durable and easy to clean, making them a popular choice for both trim and walls.
- Eggshell finish: Eggshell finishes have a minimal sheen, offering a more subdued and matte-like appearance. They provide a smooth and velvety texture that is ideal for creating a sophisticated and relaxed atmosphere. Eggshell finishes are less reflective, making them excellent for camouflaging minor imperfections on trim surfaces.
- Matte finish: Matte finishes have the least amount of sheen, providing a flat and non-reflective appearance. They offer a smooth and velvety texture that creates a subtle and understated look. Matte finishes are forgiving of surface imperfections and are typically used for trim in bedrooms, living rooms, and other areas where a muted and calming atmosphere is desired.
Each of these paint finishes offers unique characteristics that can greatly impact the overall aesthetics and functionality of your trim. Consider the style of your space, the desired level of shine, and the level of durability and maintenance required when choosing the right paint finish for your trim.
In the next section, we will explore how you can achieve a professional look with paint finishes for trim, providing you with tips and tricks to ensure a successful paint job.
Gloss Finish
A gloss finish is the shiniest and most reflective of all paint finishes for trim. It offers a sleek and polished look that can elevate the overall aesthetics of any room. The high gloss sheen creates a sense of luxury and elegance, making it a popular choice for creating a dramatic impact.
The advantages of using a gloss finish for trim extend beyond its visual appeal. Here are some key benefits:
- Durability: Gloss finishes are highly durable and resistant to wear and tear. They can withstand frequent cleaning and are less prone to chipping and peeling, making them suitable for high-traffic areas.
- Easy to clean: The smooth surface of a gloss finish makes it easy to wipe away dirt, dust, and fingerprints. A damp cloth or sponge is usually sufficient to restore its shine.
- Light reflection: The reflective nature of a gloss finish helps bounce light around the room, making it appear brighter and more spacious. This is particularly advantageous in smaller rooms or spaces with limited natural light.
- Affordable option: Gloss finishes are often more affordable compared to other paint finishes. They can provide an impressive and professional look without breaking the bank.
However, there are a few considerations to keep in mind when using a gloss finish for trim:
- Surface preparation: Gloss finishes tend to highlight imperfections and flaws on the surface of the trim. It’s crucial to properly prepare the surface by sanding, filling any gaps or cracks, and ensuring a smooth base for the paint to adhere to.
- Reflective properties: While the reflective properties of a gloss finish can enhance the aesthetics, they can also draw attention to any unevenness or irregularities in the trim. It’s important to carefully evaluate the condition of the trim before applying a gloss finish.
- Style considerations: Gloss finishes often work best in more formal or traditional settings. They can add a touch of elegance to crown molding, door trim, and other architectural details. Consider the overall design style of the room and whether a gloss finish aligns with your aesthetic goals.
When applying a gloss finish, it’s essential to use high-quality paint and brushes specifically designed for trim work. Apply thin, even coats, allowing each coat to dry completely before applying the next. This will help achieve a smooth and flawless finish.
With the use of a gloss finish, your trim can become a focal point in your space, adding a touch of sophistication and glamour. Consider the advantages and considerations mentioned above to decide if a gloss finish is the right choice for your trim.
Semi-Gloss Finish
A semi-gloss finish is a popular choice for trim, striking a balance between the high sheen of a gloss finish and the more subtle appearance of other paint finishes. It offers a smooth and reflective surface that adds a touch of sophistication to any room. The semi-gloss finish provides several benefits that make it a versatile option for trim painting.
Here are the advantages of using a semi-gloss finish for trim:
- Durability: Semi-gloss finishes are highly durable, making them resistant to scratches, stains, and moisture. This durability makes them suitable for high-traffic areas that are prone to wear and tear, such as hallways, entryways, and baseboards.
- Ease of maintenance: The smooth surface of a semi-gloss finish makes it easy to clean. It can withstand regular wiping and can be easily washed with a mild detergent and water. This is especially important for areas that are exposed to dirt and moisture.
- Light reflection: Similar to a gloss finish, a semi-gloss finish reflects light, which can brighten up the room and create a more spacious feel. This makes it an excellent choice for smaller or darker rooms that could benefit from added brightness.
- Enhanced appearance: The reflective nature of a semi-gloss finish can enhance the beauty of architectural details, such as crown molding, door casings, and window frames. It adds a subtle sheen that brings out the character of the trim and draws attention to its craftsmanship.
While a semi-gloss finish offers many advantages, there are a few considerations to keep in mind:
- Surface preparation: Proper surface preparation is essential for achieving a smooth and flawless semi-gloss finish. Ensure that the trim is clean, dry, and free from any dirt, dust, or imperfections. Fill in any gaps or cracks and sand the surface to create a smooth base for the paint.
- Reflective properties: The reflective properties of a semi-gloss finish, although visually appealing, can amplify any surface imperfections. It’s important to carefully inspect and prepare the trim surface to ensure a flawless and professional look.
- Style considerations: Semi-gloss finishes are versatile and work well in various design styles. However, they are often used in more traditional or formal settings, where a polished and elegant look is desired. Consider the overall style and aesthetic of the room to ensure that a semi-gloss finish aligns with your design goals.
When applying a semi-gloss finish, use high-quality paint and brushes specifically designed for trim work. Apply thin and even coats, allowing sufficient drying time between each coat. This will ensure a smooth and long-lasting finish.
With its combination of durability, easy maintenance, and enhanced appearance, a semi-gloss finish is an excellent choice for adding a touch of elegance to your trim. Consider the advantages and considerations mentioned above to determine if a semi-gloss finish is the right fit for your trim painting project.
Satin Finish
A satin finish is a versatile and popular choice for trim painting. It offers a smooth and velvety appearance, striking a balance between a glossy sheen and a matte finish. Satin finishes provide a subtle shine that adds elegance and sophistication to any room without being too overpowering. Choosing a satin finish for your trim offers several advantages that make it a favored option among homeowners.
Here are the key advantages of using a satin finish for trim:
- Smooth and elegant look: Satin finishes provide a smooth texture and a low-to-medium sheen, creating an elegant and sophisticated look. It offers a slightly reflective surface that adds a touch of refinement to your trim.
- Easy maintenance: Satin finishes are relatively easy to maintain. They are more forgiving in terms of hiding dust, fingerprints, and minor wear and tear compared to gloss finishes. Regular dusting and occasional light cleaning with a damp cloth are typically sufficient to keep the trim looking its best.
- Versatility: Satin finishes work well in a variety of design styles, from traditional to contemporary. They provide a timeless appeal that can complement a range of colors and materials, making them a safe and versatile choice for trim painting.
- Conceals imperfections: The subtle sheen of a satin finish helps to camouflage minor imperfections, such as small dents or uneven textures on the trim surface. This makes a satin finish a great option for older homes or trim that may not be in perfect condition.
While a satin finish offers many advantages, there are a few considerations to keep in mind:
- Surface preparation: Proper surface preparation is essential for any paint finish, including satin. Thoroughly clean and prepare the trim surface, ensuring it is free from dirt, dust, and any imperfections that may affect the final result.
- Reflective properties: Although not as reflective as gloss finishes, satin finishes still have some sheen that can highlight surface imperfections. It’s important to inspect the trim closely and address any issues before applying the paint.
- Color and lighting: Consider the color of your trim and how it interacts with the lighting in the room. Satin finishes can subtly alter the appearance of the color, so it’s a good idea to test the paint on a small section of the trim to ensure it complements the overall design and lighting conditions of the space.
When applying a satin finish, use high-quality paint specifically formulated for trim work. Apply thin, even coats, allowing each coat to dry completely before applying the next. This will ensure a smooth and flawless finish.
A satin finish is an excellent choice when you want to add a touch of elegance and sophistication to your trim. Consider the advantages and considerations mentioned above to determine if a satin finish is the right fit for your trim painting project.
Eggshell Finish
An eggshell finish offers a subtle and sophisticated look for trim. It falls between a matte and a satin finish, providing a delicate sheen that adds depth and character to your trim. Eggshell finishes are named after the texture and appearance of an eggshell, which they mimic with their slight sheen and smooth texture. Using an eggshell finish for your trim offers several advantages that make it a popular choice among homeowners.
Here are the key advantages of using an eggshell finish for trim:
- Subtle sheen: The eggshell finish provides a soft and subtle sheen that enhances the appearance of your trim. It adds a touch of sophistication without being overly shiny or reflective, making it suitable for a range of design styles.
- Camouflages imperfections: Eggshell finishes are excellent at hiding minor imperfections or blemishes on the trim. The slight texture and sheen help minimize the visibility of surface irregularities, creating a seamless look.
- Easy maintenance: Like satin finishes, eggshell finishes are relatively easy to clean and maintain. They are less prone to showing smudges or fingerprints compared to higher gloss finishes. Regular dusting and occasional spot cleaning are usually sufficient to keep the trim looking its best.
- Versatility: Eggshell finishes work well in a variety of design styles, from contemporary to traditional. They are suitable for both light and dark trim colors, making them a flexible option for any room.
While an eggshell finish offers many advantages, there are a few considerations to keep in mind:
- Surface preparation: Proper surface preparation is crucial before applying an eggshell finish. Ensure that the trim surface is clean, dry, and free from any dust, dirt, or imperfections. Smooth out any rough spots or fill in gaps and cracks to achieve a smooth and flawless finish.
- Compromised durability: Compared to higher gloss finishes, eggshell finishes may not be as durable or resistant to wear and tear. They are more susceptible to marking, especially in high-traffic areas. Consider the level of durability required for your specific trim and adjust your expectations accordingly.
- Color variation: The sheen of an eggshell finish can slightly alter the appearance of the trim color. It’s a good idea to test the paint in a small inconspicuous area before applying it to the entire trim to ensure that the color is consistent with your expectations.
When applying an eggshell finish, choose high-quality paint specifically formulated for trim work. Apply thin, even coats, allowing sufficient drying time between each coat. This will help achieve a smooth and professional-looking finish.
An eggshell finish can provide a subtle yet elegant touch to your trim. Consider the advantages and considerations mentioned above to determine if an eggshell finish is the right fit for your trim painting project.
Matte Finish
A matte finish is a popular choice for trim when you want to achieve a more understated and subtle look. It offers a flat and non-reflective appearance, adding a touch of sophistication and elegance to your trim. Matte finishes have gained popularity in recent years, as they provide a smooth and modern aesthetic. Choosing a matte finish for your trim offers several advantages that make it a versatile option in interior design.
Here are the key advantages of using a matte finish for trim:
- Minimal sheen: A matte finish provides a low-to-no sheen, giving your trim a modern and understated look. It creates a smooth, velvety texture that can add depth and character to your space.
- Conceals imperfections: One of the main benefits of a matte finish is its ability to hide surface imperfections. The lack of sheen helps to minimize the visibility of minor flaws or uneven textures on your trim, creating a clean and seamless look.
- Subtle elegance: Matte finishes offer a subtle elegance that can enhance a variety of design styles. Whether you’re going for a minimalist, Scandinavian, or contemporary look, a matte finish on your trim can provide a sleek and refined appearance.
- Reduced glare: Matte finishes reduce surface glare, making them an excellent choice for spaces that receive a lot of natural light or have bright lighting fixtures. This helps create a more comfortable and easy-on-the-eyes environment.
While a matte finish offers many advantages, it’s important to consider a few factors:
- Surface preparation: Proper surface preparation is crucial when using a matte finish. Ensure that the trim surface is clean, dry, and free from any dust, dirt, or imperfections. Correct any rough spots or fill in gaps and cracks to achieve a smooth and flawless finish.
- Less durability: Matte finishes are generally less durable and more susceptible to marks and scuffs compared to higher gloss finishes. They may require more frequent touch-ups and careful maintenance to keep them looking pristine. Consider the level of durability you require for your specific trim and adjust your expectations accordingly.
- Color appearance: The absence of sheen in a matte finish can slightly alter the appearance of the trim color. It’s recommended to test the paint in a small inconspicuous area to ensure that the color remains consistent with your expectations.
When applying a matte finish, use high-quality paint specifically formulated for trim work. Apply thin, even coats, allowing sufficient drying time between each coat. This will help achieve a smooth and professional-looking finish.
A matte finish can bring a contemporary and refined feel to your trim. Consider the advantages and considerations mentioned above to determine if a matte finish is the right fit for your trim painting project.
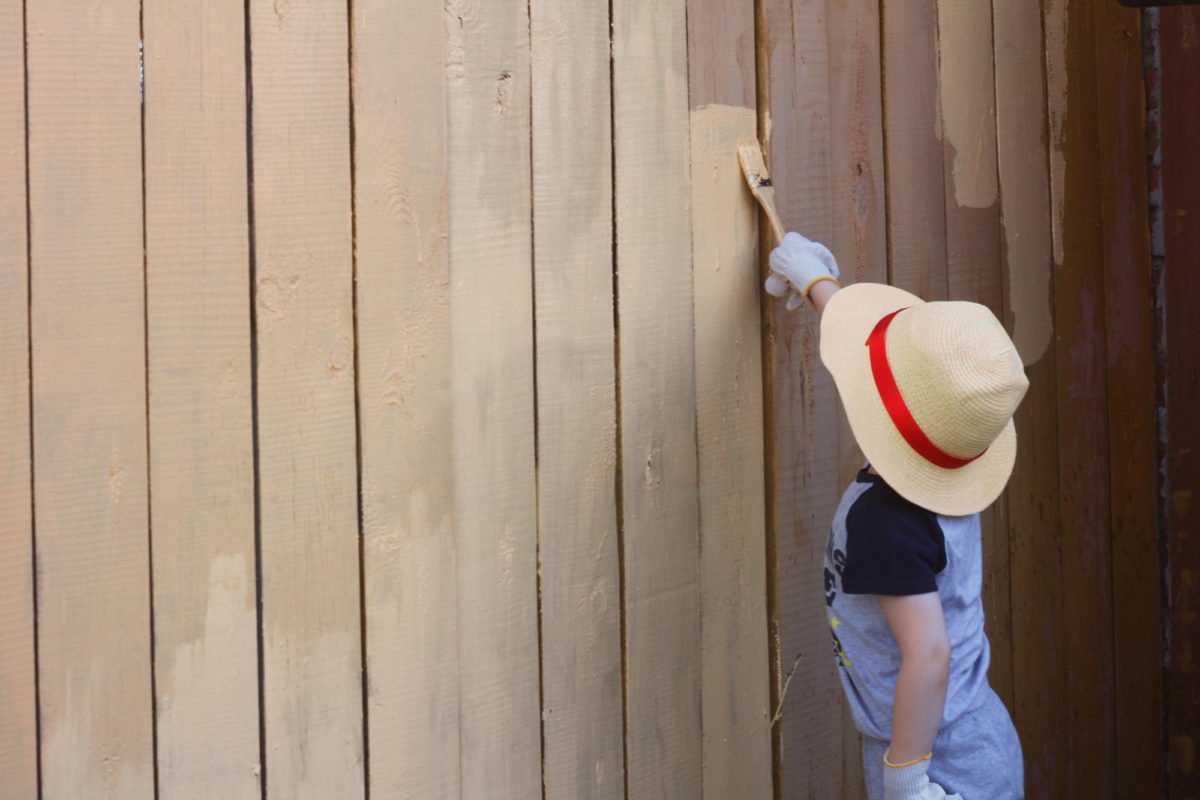
When choosing a paint finish for trim, opt for a semi-gloss or high-gloss finish for a professional look. These finishes are durable and easy to clean, making them perfect for high-traffic areas.
How to Achieve a Professional Look with Paint Finishes for Trim
Now that you have a better understanding of the different types of paint finishes for trim, it’s important to know how to achieve a professional look when applying these finishes. Here are some tips and techniques to help you achieve a flawless and polished result:
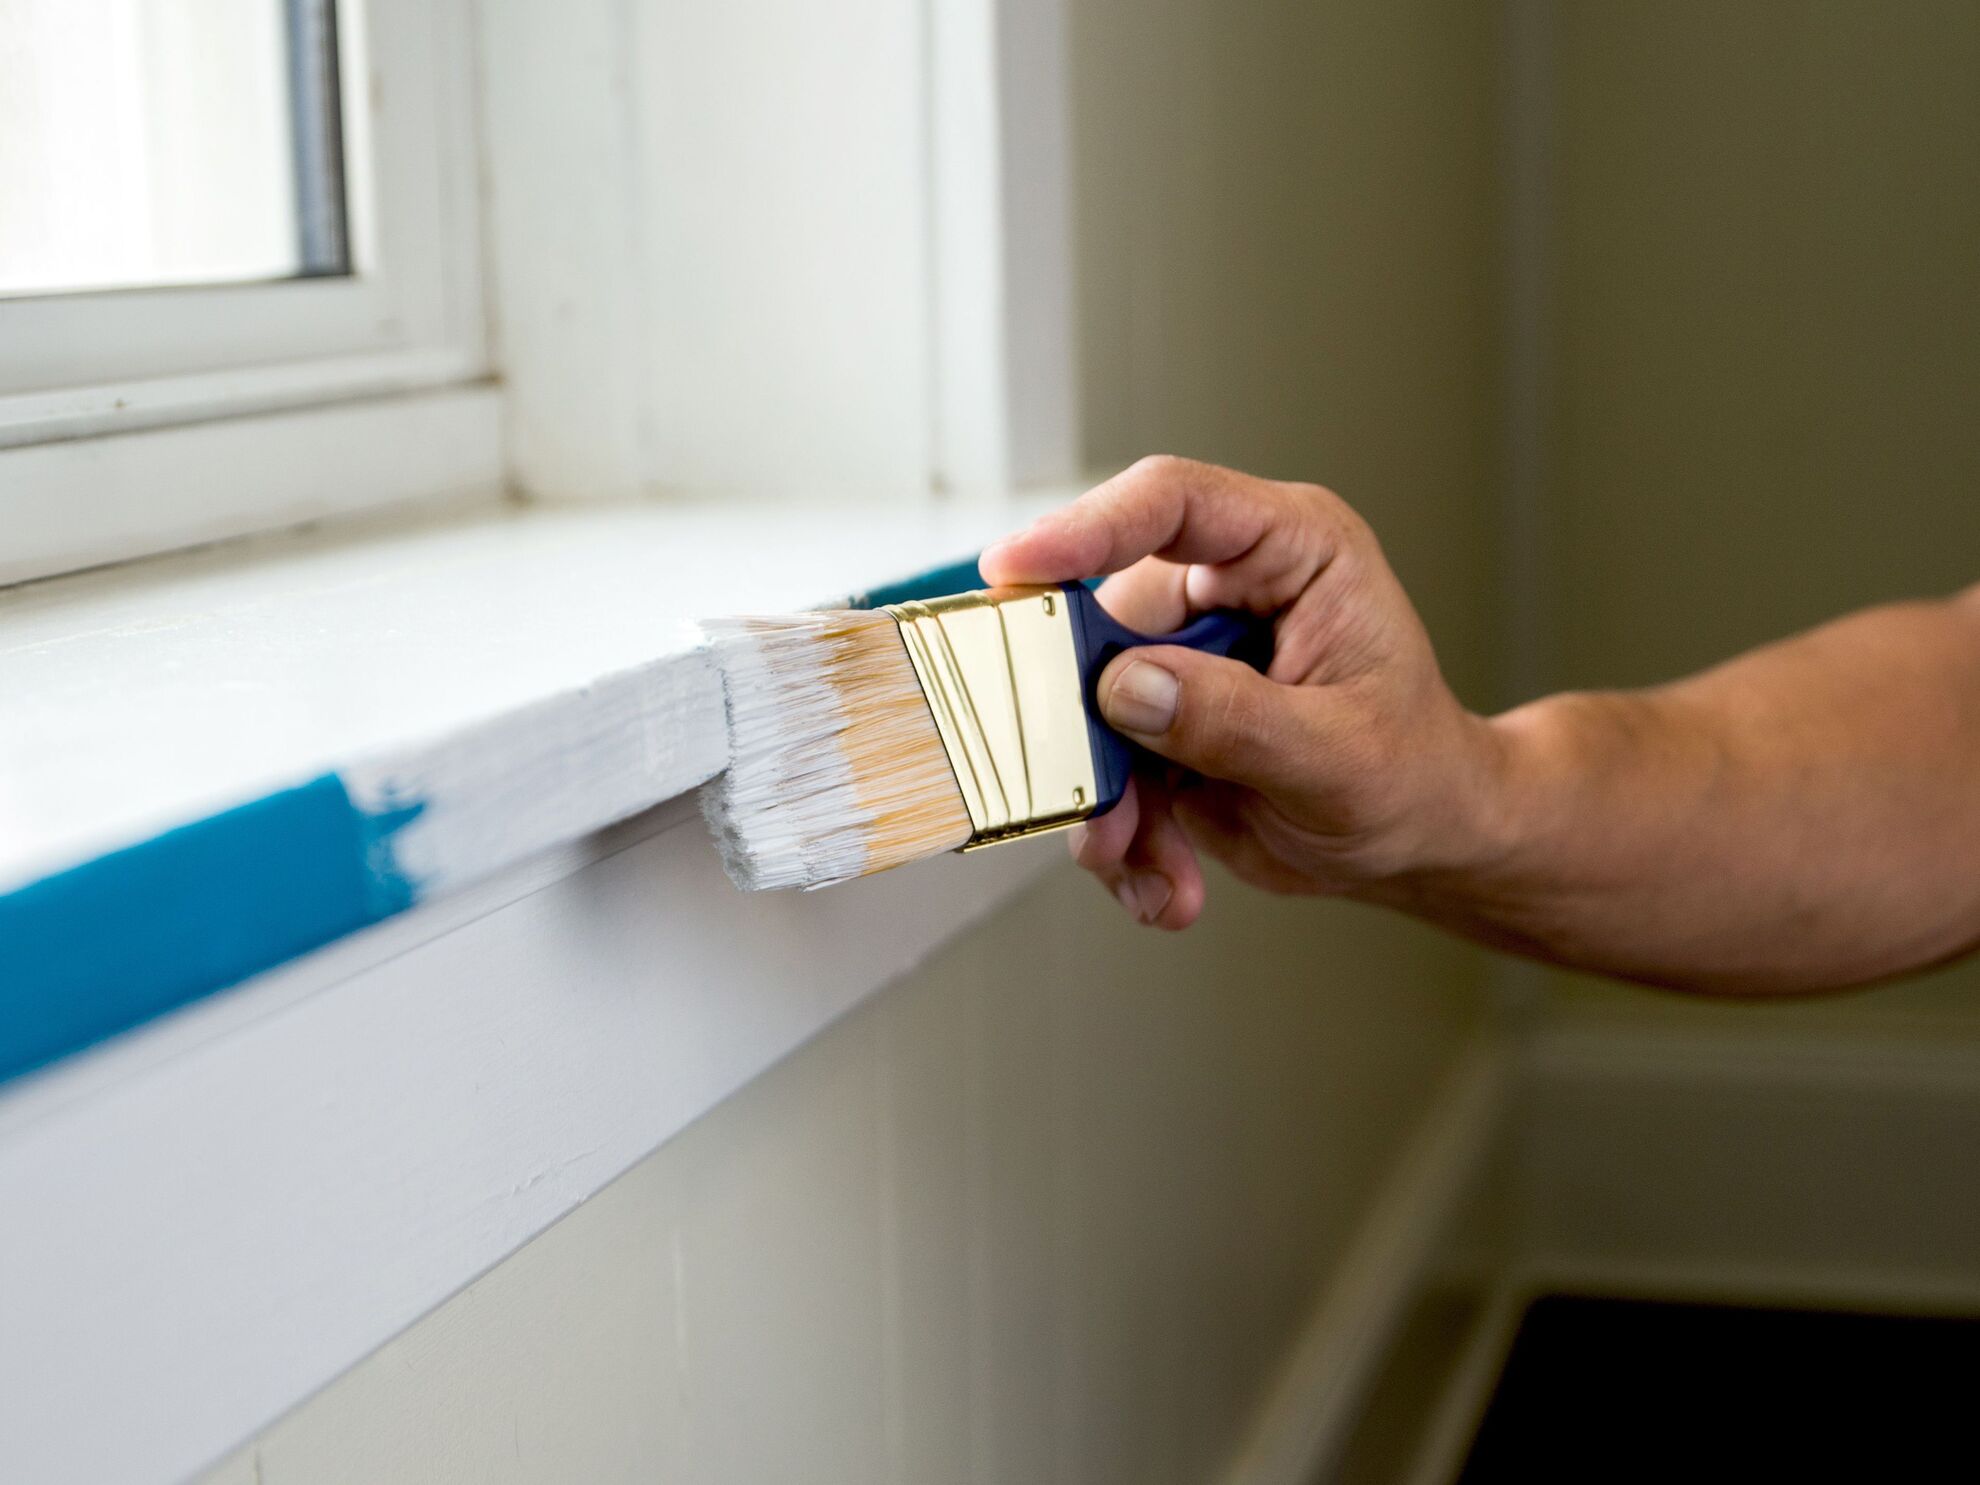
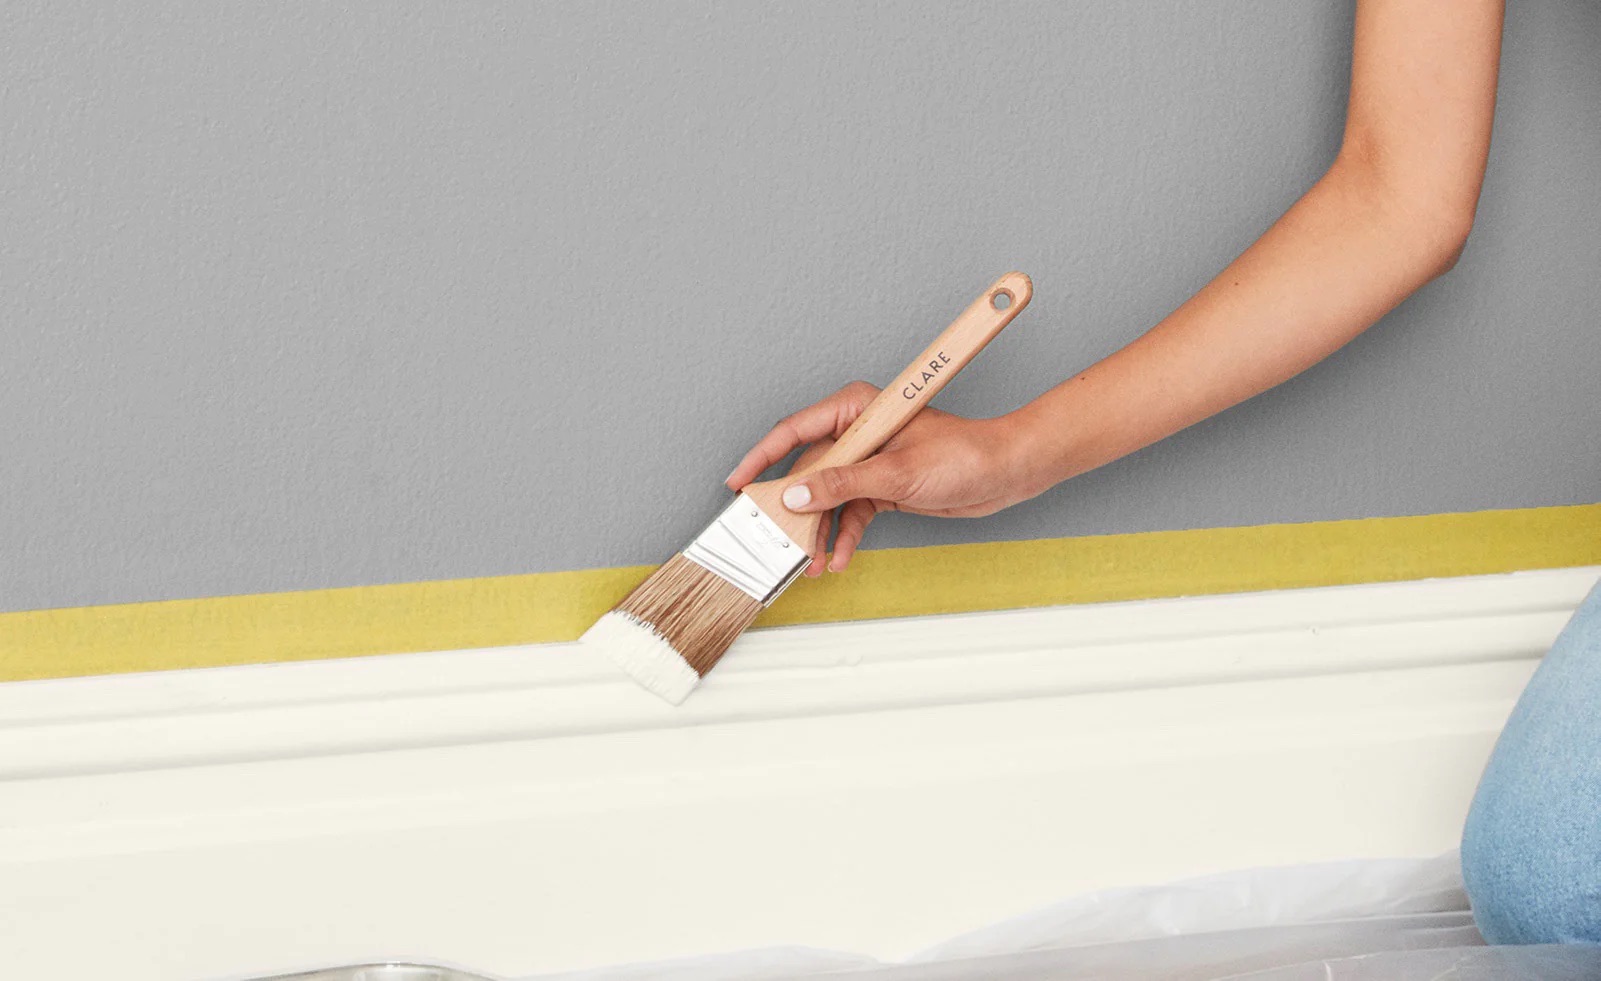
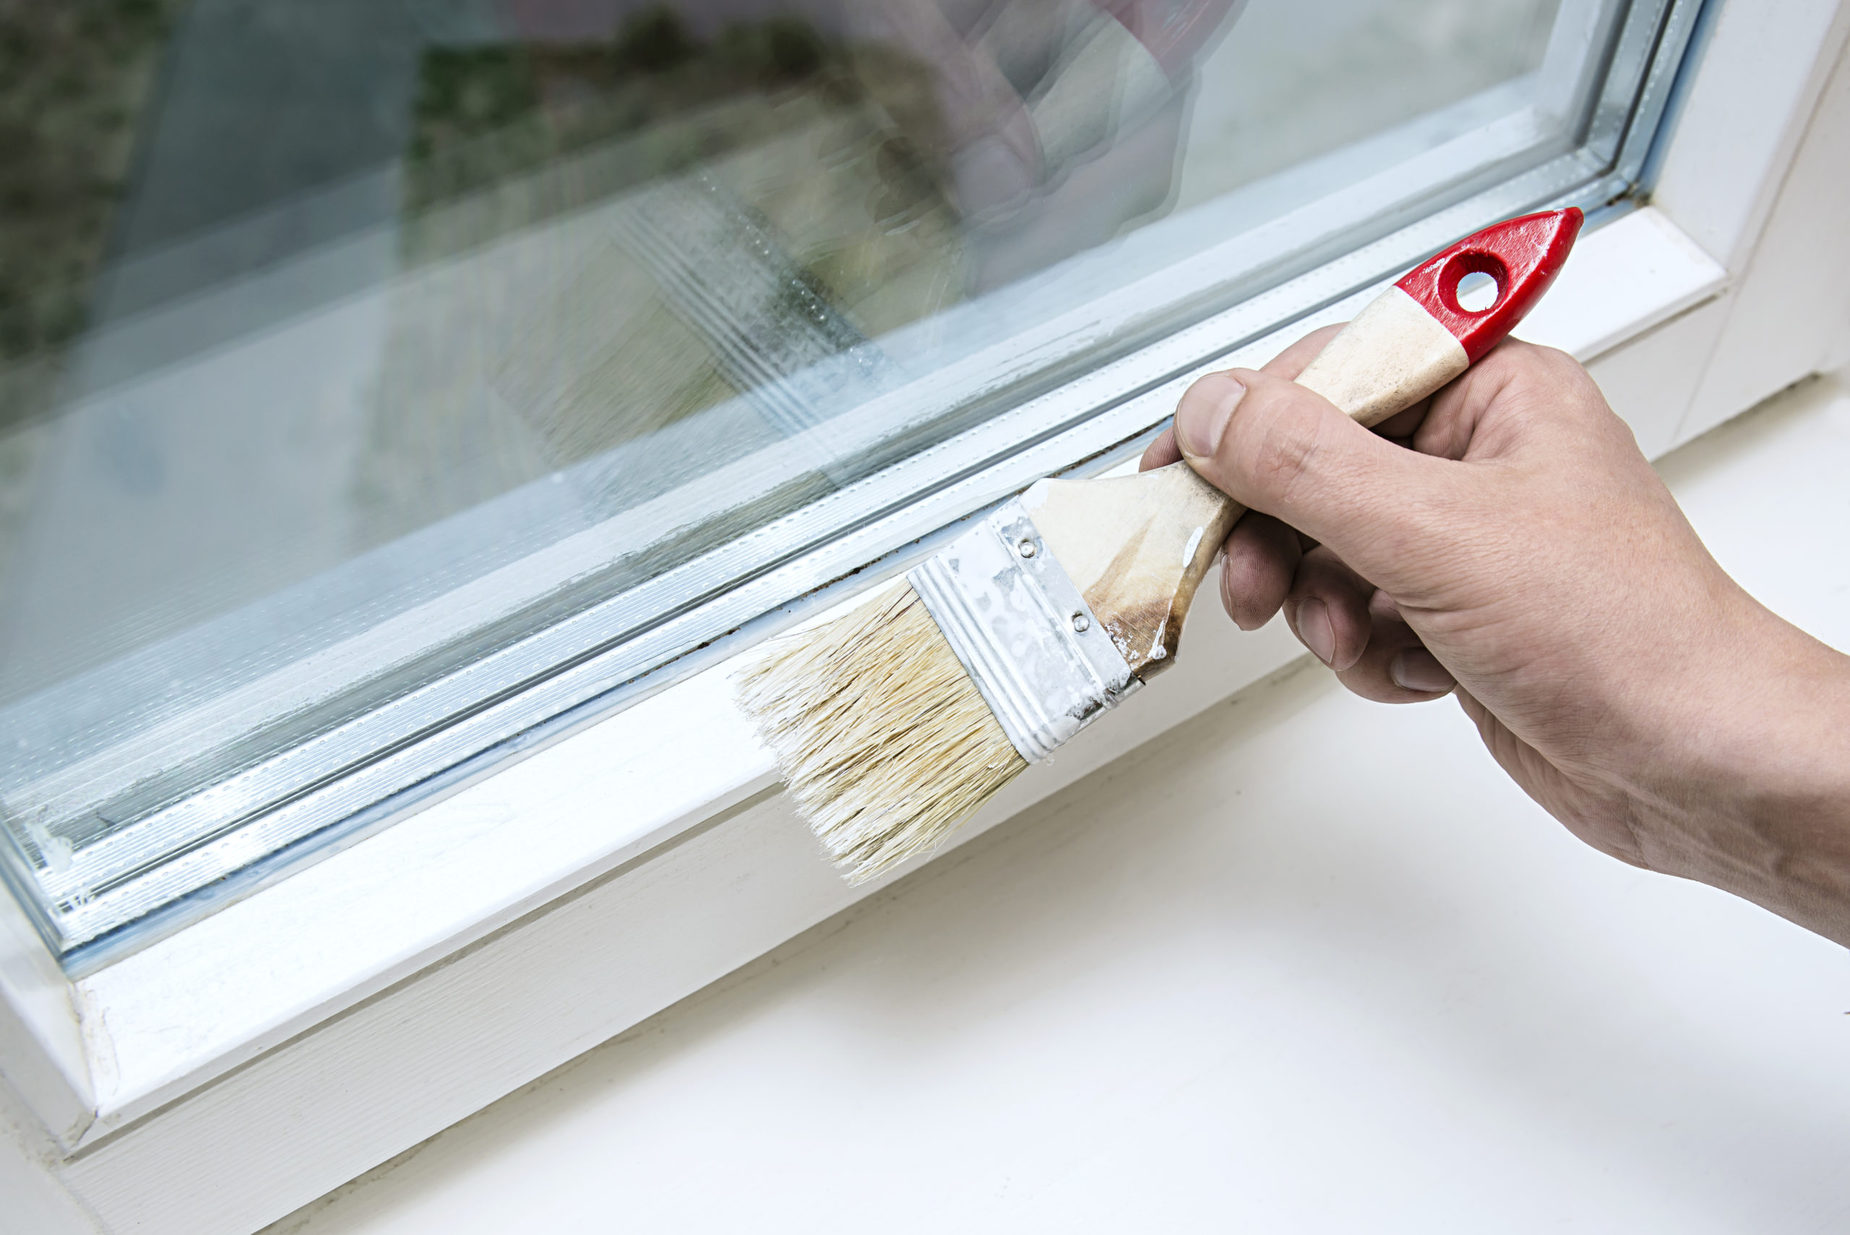
- Prepare the surface: Proper surface preparation is crucial for a professional-looking paint job. Clean the trim thoroughly, removing any dirt, dust, or grease. Sand the surface to create a smooth and even base for the paint. Fill in any gaps, cracks, or imperfections with putty or caulk, and sand again for a seamless finish.
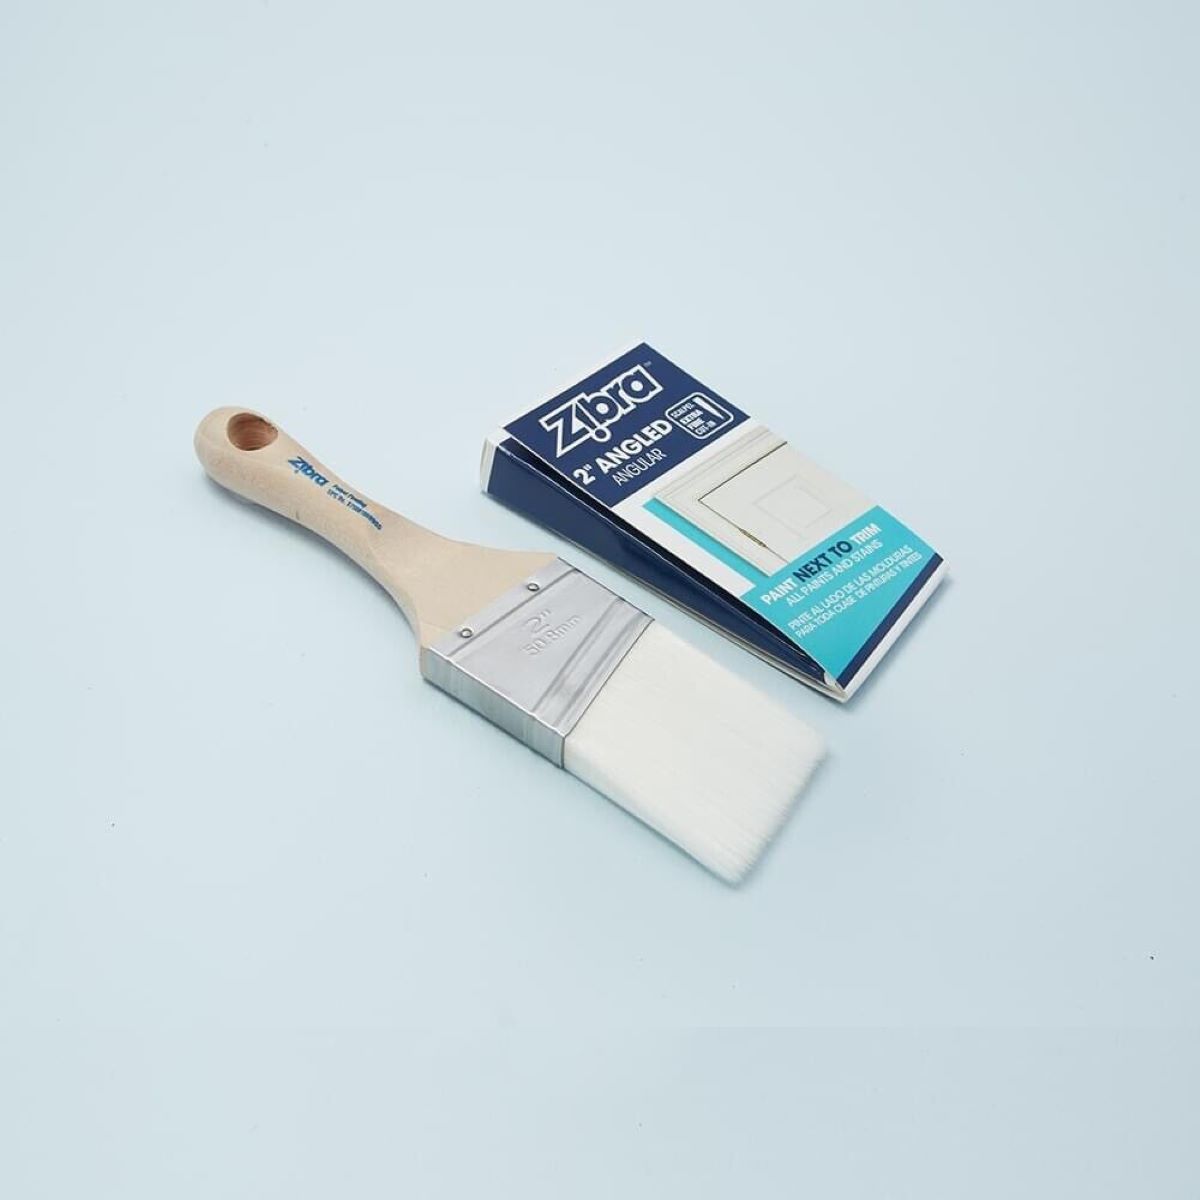
- Use high-quality tools and materials: Invest in high-quality paint, brushes, and rollers specifically designed for trim work. Quality tools will ensure smooth application and a professional result. Use smaller brushes for intricate details and larger brushes or rollers for larger areas.
- Prime the trim: Priming the trim before painting is essential, especially if you are changing the color or covering a darker color. Primer helps the paint adhere better to the surface, improves coverage, and enhances the durability of the finish.
- Apply thin, even coats: When applying the paint, use thin and even coats to achieve a smooth and even finish. Avoid overloading the brush or roller with too much paint, as it can lead to drips and uneven application. Allow each coat to dry completely before applying the next one.
- Pay attention to details: Trim often has intricate details that require careful attention. Take your time to paint along edges, corners, and crevices, ensuring that the paint covers all surfaces evenly. Use a smaller brush or a detail brush for precision work.
- Consider the direction and brush strokes: Pay attention to the direction and consistency of your brush strokes. For a smooth and professional look, paint in the direction of the grain or contour of the trim. Feather out any visible brush marks for a seamless finish.
- Allow for proper drying time: Patience is key when painting trim. Allow each coat to dry thoroughly according to the paint manufacturer’s instructions before applying the next coat or performing any touch-ups. Rushing the process can result in a less durable and less professional-looking finish.
- Protect surrounding surfaces: To achieve a clean and professional look, protect the surrounding surfaces, such as walls or flooring, from paint drips or splatters. Use painters’ tape or drop cloths to create a barrier and ensure a neat and tidy finish.
- Touch up and clean: Once the paint is fully dry, inspect the trim for any missed spots or imperfections. Touch up any areas that need additional coverage or correction. Finally, remove any tape, clean your tools thoroughly, and enjoy your freshly painted and professionally finished trim!
By following these tips and techniques, you can achieve a professional look with paint finishes for trim. Remember to take your time, pay attention to the details, and use high-quality materials. The effort and attention to detail will result in a beautifully finished trim that enhances the overall aesthetics and adds a touch of sophistication to your space.
Now that you know how to achieve a professional look, it’s time to put your knowledge into practice and transform your trim into a stunning focal point of your interior design.
Tips and Tricks for Painting Trim with Various Finishes
Painting trim with different finishes requires careful attention to detail and specific techniques. Here are some tips and tricks to help you achieve a flawless and professional result when working with various paint finishes for trim:
Gloss Finish:
- Ensure proper surface preparation to minimize imperfections, as gloss finishes highlight flaws.
- Apply thin, even coats using a high-quality brush or roller designed for trim work.
- When using a brush, use long, smooth strokes to minimize visible brush marks.
- Allow sufficient drying time between coats to achieve a smooth and durable finish.
- Consider using a foam brush or mini roller for smaller or intricate trim details to ensure even coverage.
Semi-Gloss Finish:
- Prime the trim to improve paint adhesion and coverage.
- Apply the semi-gloss paint using a high-quality brush or roller, using thin and even coats.
- When using a brush, use angled strokes to ensure even coverage on intricate edges and corners.
- Avoid overloading the brush or roller with paint to prevent drips and runs.
- Allow ample drying time between coats for a smooth and durable finish.
Satin Finish:
- Ensure the trim surface is clean, smooth, and properly primed before applying the satin finish.
- Apply the paint using a high-quality brush or roller, using smooth and even strokes.
- For a smoother finish, lightly sand the trim between coats to remove any imperfections.
- Avoid excessive brushing to prevent visible brush marks, especially on larger surfaces.
- Allow each coat to dry completely before applying subsequent coats.
Eggshell Finish:
- Prepare the trim surface, filling in any gaps or cracks for a smooth result.
- Apply the eggshell finish using a high-quality brush or roller, using thin and even coats.
- When using a brush, apply the paint in long, smooth strokes to reduce visible brush marks.
- Avoid overworking the paint to prevent streaks or uneven application.
- Allow sufficient drying time between coats to achieve a consistent and flawless finish.
Matte Finish:
- Clean and properly prepare the trim surface, ensuring it is free from dust and imperfections.
- Apply the matte finish using a high-quality brush or roller, using smooth and even strokes.
- Avoid excessive brushing or rolling to minimize visible brush or roller marks.
- Consider applying an additional coat to achieve a more solid and uniform color.
- Allow ample drying time between coats and avoid touching the surface too soon to prevent smudges or fingerprints.
Remember to always read and follow the manufacturer’s instructions for the specific paint product you are using. Use high-quality tools and materials, take your time, and pay attention to the details to ensure a professional-looking finish for your trim.
By implementing these tips and tricks, you can confidently paint your trim with various finishes and achieve a flawless and visually appealing result that enhances the overall look and feel of your space.
Conclusion
Paint finishes for trim play a vital role in enhancing the overall look and feel of any space. From gloss to matte, each finish has its own unique characteristics that can significantly impact the aesthetics and functionality of your trim. By understanding these finishes and considering key factors such as room size, style, and durability requirements, you can make an informed decision on the best paint finish for your trim.
Gloss finishes offer a luxurious and reflective sheen, ideal for creating a dramatic impact in traditional or formal settings. Semi-gloss finishes strike a balance between shine and subtlety, providing durability and easy maintenance. Satin finishes offer a smooth and velvety appearance that works well with various design styles. Eggshell finishes provide a gentle sheen that helps hide imperfections on trim, while matte finishes lend a modern and understated elegance.
To achieve a professional look when painting trim, ensure proper surface preparation, use high-quality tools and materials, and apply thin, even coats of paint. Pay attention to the direction and consistency of brush strokes, allowing ample drying time between coats. By following these tips and techniques, you can transform your trim into a stunning focal point, adding sophistication and refinement to your space.
Ultimately, the choice of paint finish for your trim should align with your design vision and functional requirements. Consider the style, lighting conditions, and maintenance preferences of the room. Whether you choose a glossy, semi-gloss, satin, eggshell, or matte finish, remember to follow the recommended application techniques to achieve a professional result.
Now armed with knowledge of paint finishes for trim and an array of tips and tricks, you can confidently embark on your trim painting journey. Embrace the transformative power of paint finishes and create a space with beautifully finished trim that enhances the overall aesthetics and elevates your interior design.
Frequently Asked Questions about The Best Paint Finishes For Trim: How To Get A Professional Look
Was this page helpful?
At Storables.com, we guarantee accurate and reliable information. Our content, validated by Expert Board Contributors, is crafted following stringent Editorial Policies. We're committed to providing you with well-researched, expert-backed insights for all your informational needs.


0 thoughts on “The Best Paint Finishes For Trim: How To Get A Professional Look”