Articles
How To Paint Attic Walls
Modified: October 19, 2024
Discover expert tips and tricks on how to paint attic walls in our informative articles. Transform your attic into a stunning space with our easy-to-follow guides.
(Many of the links in this article redirect to a specific reviewed product. Your purchase of these products through affiliate links helps to generate commission for Storables.com, at no extra cost. Learn more)
Introduction
Painting attic walls can be a daunting task, but with proper preparation and the right techniques, it can be a rewarding project that adds beauty and value to your home. Whether you’re planning to convert your attic into a living space or just want to freshen up the walls, this guide will provide you with the necessary steps to achieve a professional-looking finish.
Before you begin, it’s important to note that attic walls often present unique challenges due to their proximity to the roof, limited accessibility, and potential for moisture issues. It’s essential to address any underlying problems and choose the right materials and techniques to ensure a successful paint job that withstands the test of time.
In this article, we’ll walk you through the process of preparing the attic space, cleaning and repairing the walls, selecting the appropriate paint and tools, priming the surfaces, applying the paint, and finishing the project. By following these steps, you’ll be able to transform your attic walls into a beautiful and inviting space.
So, let’s dive in and learn how to paint attic walls like a pro!
Key Takeaways:
- Proper preparation, including clearing the space, protecting surfaces, and addressing any underlying issues, is crucial for achieving a professional-looking finish when painting attic walls.
- Choosing the right paint type, finish, color, and tools, as well as properly priming the walls, are essential steps in achieving a visually appealing and long-lasting paint job for your attic walls.
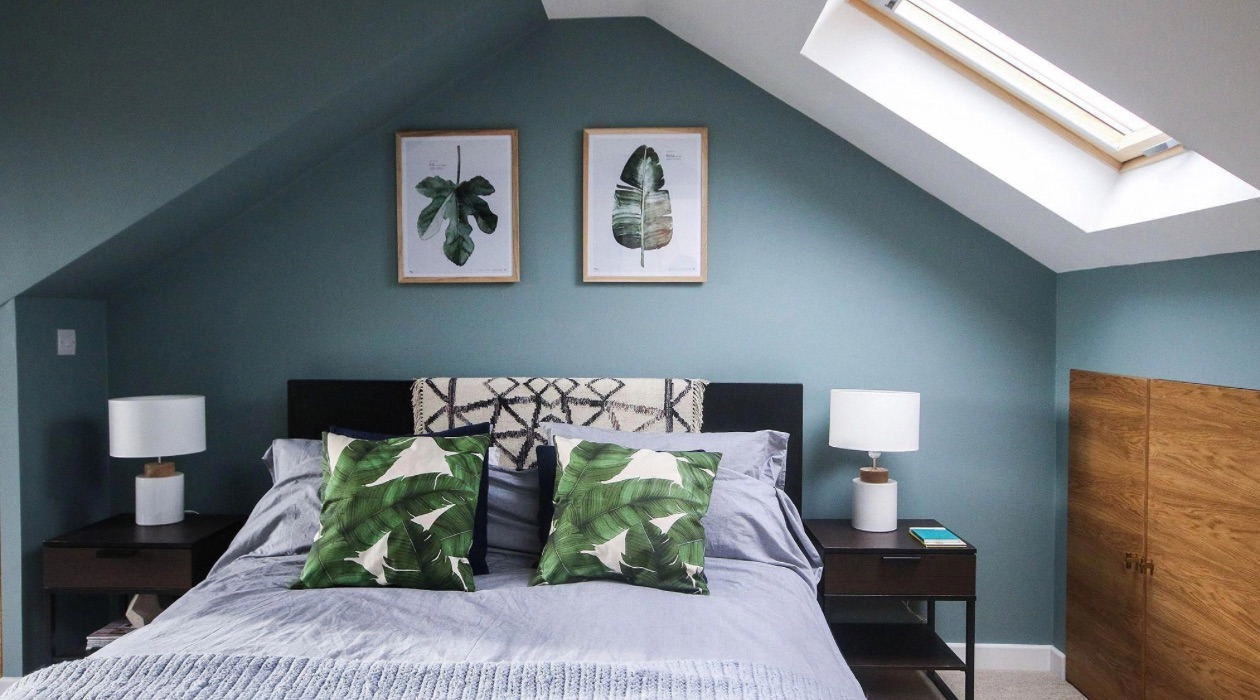
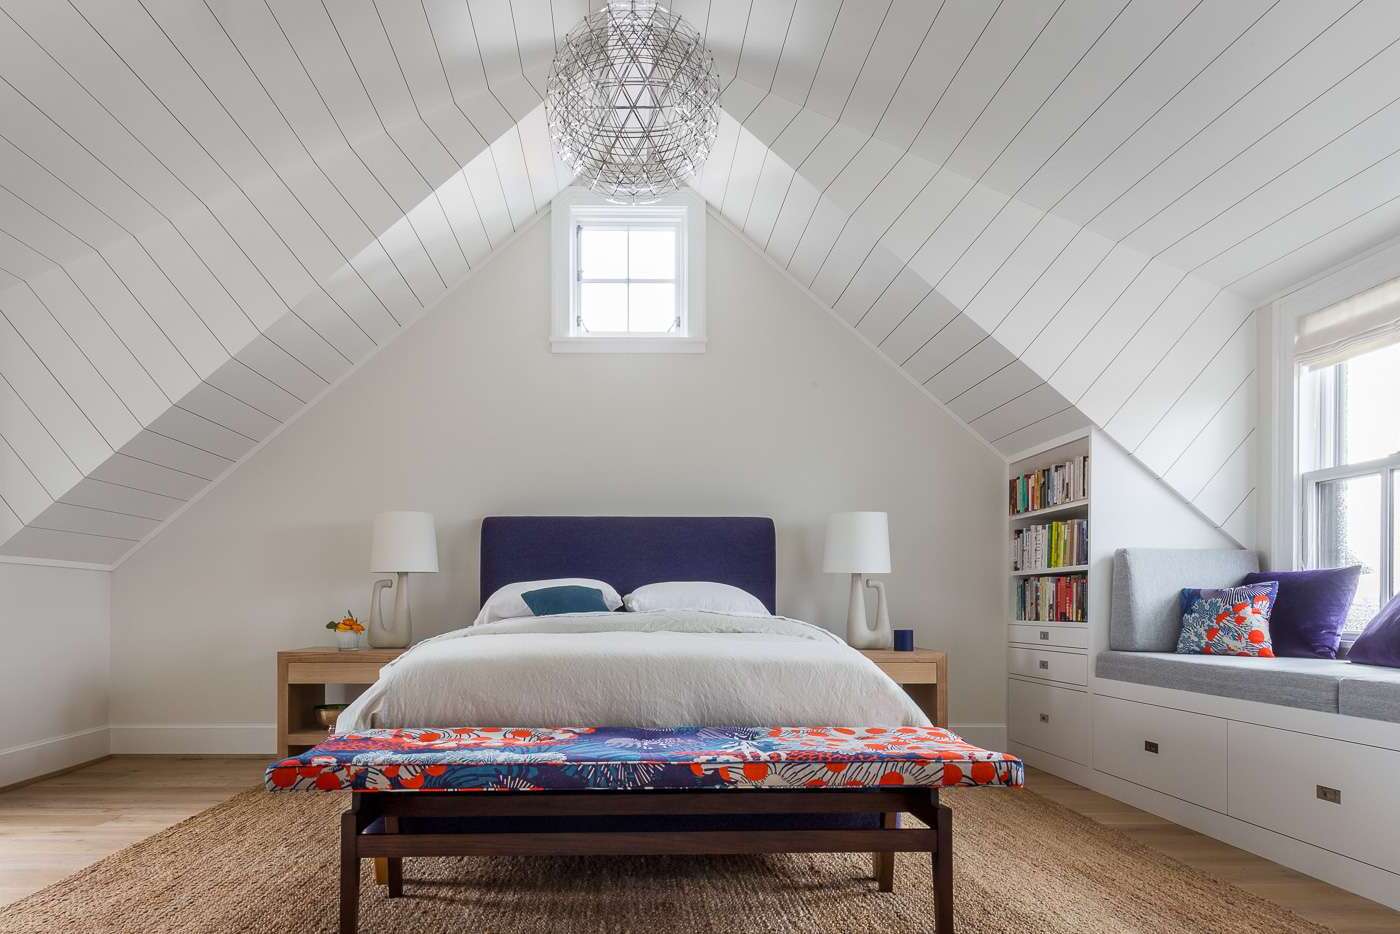
Read more: How To Decorate Slanted Attic Walls
Step 1: Prepare the Attic Space
The first step in painting attic walls is to prepare the space. This involves clearing out any furniture, storage items, and debris that may be present in the attic. It’s important to create a clean and empty workspace to ensure easy access to the walls and prevent any damage to your belongings.
Next, you’ll want to protect the floor and any exposed surfaces. Lay down drop cloths or old sheets to catch any paint drips or splatters. Cover any electrical outlets, switches, and light fixtures with painter’s tape to prevent them from being accidentally painted.
Additionally, consider the ventilation in your attic. Since painting can release fumes and odors, make sure you have proper airflow by opening windows or installing fans. This will help to dissipate any unpleasant smells and improve air quality during the painting process.
Another crucial step in preparing the attic space is to assess the condition of the walls. Inspect for any signs of mold, mildew, or water damage. If you notice any of these issues, it’s important to address them before proceeding with painting. Clean and treat any mold or mildew with a mixture of water and bleach, or a specialized mold and mildew cleaner. Repair any water damage by fixing the source of the problem and ensuring the walls are dry before moving forward.
Finally, dust and vacuum the attic walls to remove any dirt, cobwebs, or loose debris. This will create a clean surface for the paint to adhere to and ensure a smooth and even finish.
By following these preparation steps, you’ll create an ideal environment for painting attic walls, setting the stage for a successful and professional-looking result.
Step 2: Clean and Repair the Walls
Once the attic space is prepared, the next step is to thoroughly clean and repair the walls. This is essential to ensure that the paint adheres properly and the finished result is smooth and flawless.
Start by using a damp cloth or sponge to remove any surface dust and dirt from the walls. Be sure to pay attention to corners, crevices, and any areas that may have accumulated grime over time. If you encounter any stubborn stains or marks, a mild detergent solution can be used to gently scrub the walls clean.
After cleaning, it’s important to inspect the walls for any cracks, holes, or imperfections. Patching and repairing these blemishes will help to create a seamless and professional-looking finish. Use a spackling compound or filler to fill in any small holes or cracks. Smooth the compound with a putty knife and allow it to dry completely.
For larger holes or damaged areas, you may need to use a patching material such as a self-adhesive drywall patch or joint compound. Follow the manufacturer’s instructions for application and drying time, and sand the patched areas until they are level with the surrounding wall.
Furthermore, if there are any peeling or flaking paint on the walls, it’s crucial to remove them before painting. Use a scraper or sandpaper to gently scrape away the loose paint. Sand the edges of the remaining paint to create a smooth transition between the old and new layers.
Once the walls are clean and repaired, it’s recommended to give them a final wipe down with a clean, damp cloth to remove any dust or debris that may have accumulated during the repair process. This will ensure a clean and solid foundation for the next steps of painting.
By taking the time to clean and repair the walls, you’ll be able to achieve a professional-looking finish and enhance the overall appearance of your attic space.
Step 3: Choose the Right Paint and Tools
Selecting the right paint and tools for your attic walls is crucial to achieve a long-lasting and visually appealing finish. Here are some factors to consider when making these choices:
- Paint Type: Choose a paint that is suitable for attic walls. Look for paints labeled as “interior” or “wall and ceiling” paints, as they are specifically formulated to withstand the conditions typically found in attics.
- Finish: Consider the desired finish for your attic walls. Common options include flat, eggshell, satin, and semi-gloss. Flat finishes tend to hide imperfections but can be less durable, while semi-gloss finishes provide a more reflective surface but can highlight flaws.
- Colors: Select colors that suit your preferred aesthetic and the purpose of the attic space. Light and neutral tones can help create a sense of openness and brightness, while bold and vibrant colors can add personality and interest.
- Quantity: Calculate the amount of paint you’ll need based on the square footage of your attic walls. It’s always better to have a little more than not enough to avoid running out in the middle of the project.
- Tools: Gather the necessary tools for painting, including brushes, rollers, paint trays, drop cloths, painter’s tape, and a ladder or scaffolding if needed. Choose high-quality tools that will provide smooth and even coverage.
When it comes to painting attic walls, it’s important to consider the unique challenges and limitations of the space. For example, due to the height and sloped ceilings often found in attics, an extension pole for your roller may be necessary to reach high areas comfortably.
Additionally, ensure that your selected paint and tools are suitable for the type of surface you are working with. Attic walls are typically made of drywall, but in some cases, they may be wooden or have a textured finish. Select products that are designed to work well on your specific wall material to achieve the best results.
By carefully choosing the right paint type, finish, color, and tools, you’ll set yourself up for a successful painting project in your attic space.
Step 4: Prime the Walls
Before applying the paint, it’s crucial to prime the attic walls. Priming serves several purposes, including sealing the surface, ensuring proper paint adhesion, and providing a consistent base for the topcoat.
Start by selecting a high-quality primer specifically designed for the type of surface you are working on. Attic walls are often made of drywall, so a drywall primer is usually the best choice. However, if your walls are made of wood or have a different texture, select a primer that is suitable for that specific material.
Begin the priming process by thoroughly stirring the primer to ensure proper consistency. Use a quality brush or roller to apply the primer evenly to the attic walls. Work in small sections, starting from the top and moving downwards.
Pay extra attention to corners, edges, and any areas that require special handling, such as patches or repairs. It’s important to apply the primer evenly, avoiding excessive buildup or pooling on the surface. This will help to achieve a smooth and uniform foundation for the paint.
Allow the primer to dry according to the manufacturer’s instructions. Typically, this can take anywhere from 2 to 4 hours. Ensure proper ventilation in the attic during this time to aid in the drying process.
After the primer has completely dried, inspect the walls for any imperfections. If you notice any unevenness or areas that may require additional priming, lightly sand those areas and apply a second coat of primer as needed.
Priming is a crucial step in the painting process, as it helps to enhance the durability and longevity of the paint job. It also ensures that the final color appears true and vibrant.
By properly priming the attic walls, you’ll create a solid foundation for the paint and be one step closer to achieving a professional-looking finish.
When painting attic walls, be sure to use a primer to seal any stains or odors. This will ensure better adhesion and a more professional finish.
Read more: How To Spray Paint Interior Walls
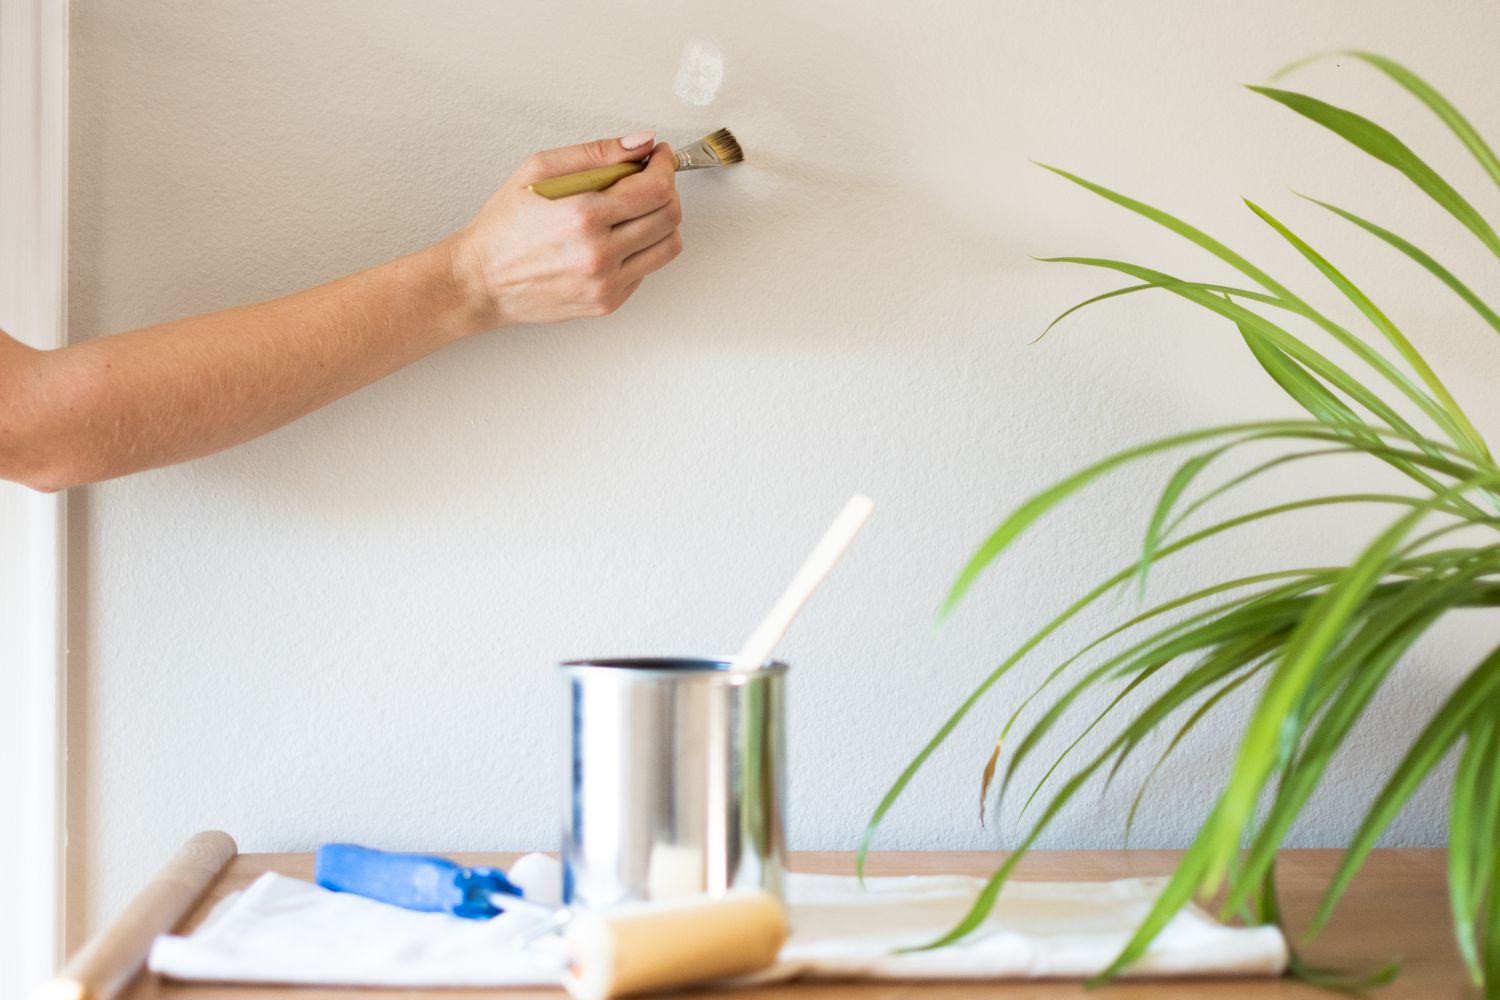
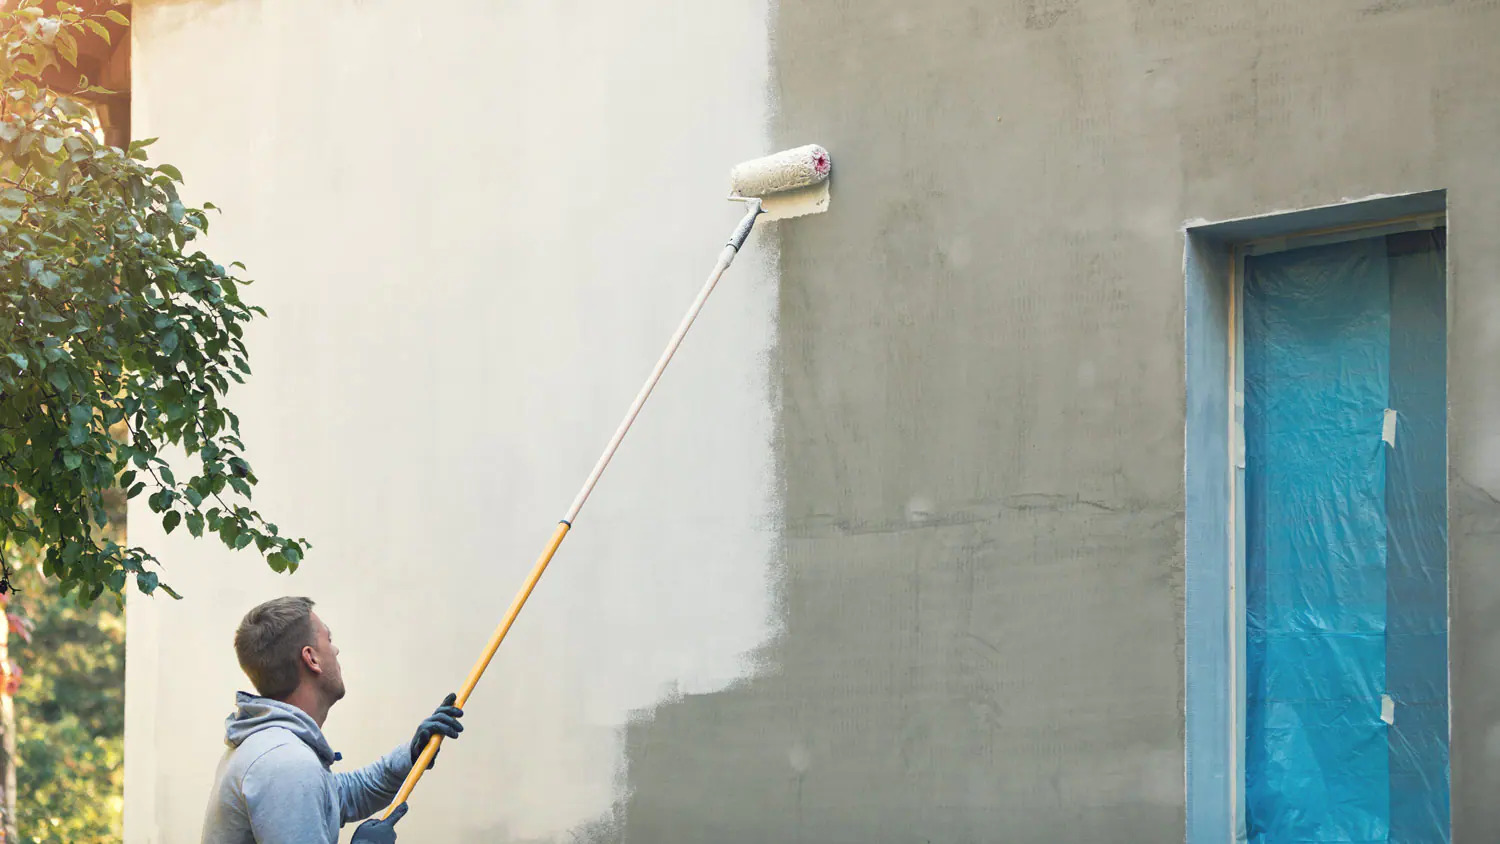
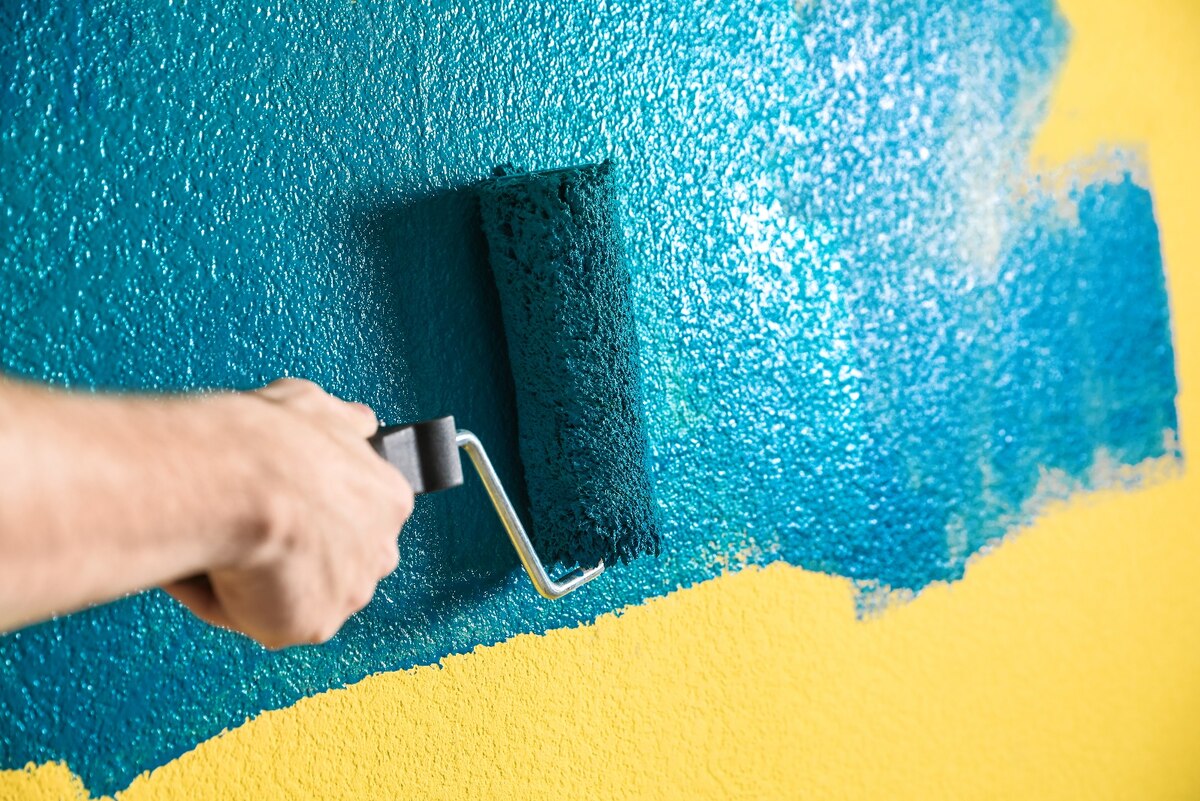
Step 5: Start Painting
With the walls primed and ready, it’s time to start painting your attic walls. Follow these steps to achieve a smooth and beautiful finish:
- Prepare the paint: Give the paint a thorough stir to ensure it is well-mixed. Pour a sufficient amount of paint into a paint tray, making sure not to overfill it.
- Cut in around edges: Start by cutting in around the edges of the walls, using a brush. This means painting a 2-3 inch strip along the edges where the roller may not reach easily. Take your time and be careful to create clean and even lines.
- Roll on the paint: Use a roller to apply the paint to the larger areas of the walls. Start from the top of the wall and work your way down in overlapping sections. Apply even pressure and maintain a consistent speed to ensure a uniform coat.
- Work in small sections: Paint the walls in small sections to avoid the paint drying too quickly before you can blend the edges. Aim to paint in a “W” or “M” motion rather than straight up and down to blend the paint more effectively.
- To blend the paint: After applying the paint, use a dry brush or roller without additional paint to lightly blend the edges between the freshly painted section and the previous section. This technique helps achieve a seamless and professional look.
- Watch for drips and uneven areas: Pay attention to the paint application and watch out for any drips, runs, or areas with uneven coverage. Smooth them out immediately with a brush or roller to avoid noticeable flaws in the final result.
- Allow the paint to dry: Follow the drying time specified by the paint manufacturer. This can typically range from 2 to 4 hours. Ensure proper ventilation in the attic while the paint is drying.
Remember, multiple thin coats of paint are better than applying one thick coat. If a second coat is necessary, allow the first coat to dry completely before applying the next. This will help achieve a more even and professional finish.
Take breaks as needed to rest and evaluate your progress. Step back from the walls occasionally to check for any missed spots or uneven coverage.
By following these steps and taking your time with each coat, you’ll be on your way to achieving beautifully painted attic walls.
Step 6: Apply Additional Coats, if Needed
After the initial coat of paint has dried, it’s important to assess whether additional coats are necessary for your attic walls. Applying multiple coats can help improve the coverage, color intensity, and overall durability of the paint job.
Here are some factors to consider when deciding whether to apply additional coats:
- Coverage: Inspect the walls under different lighting conditions to ensure that the paint has covered the previous color completely. If you notice any areas where the previous color is still visible or the coverage appears uneven, applying another coat of paint will help achieve a more uniform finish.
- Color intensity: Depending on the paint color you’ve chosen and the desired color saturation, applying additional coats may be necessary to achieve the desired intensity. Darker or vibrant colors often require more coats to reach their full potential.
- Overall finish: Evaluate the walls’ overall appearance and consider if additional coats will enhance the smoothness and texture of the finish. Some paint sheens, such as satin or semi-gloss, may benefit from an extra layer to create a more even and lustrous look.
If you decide to apply additional coats of paint, follow the same painting process outlined in step 5. Cut in around the edges and then use a roller to cover the larger areas of the walls.
When applying additional coats, ensure that the previous one is completely dry before proceeding. This will prevent any issues with the paint layers mixing or getting marred during the application.
Remember to blend the paint and check for any drips, runs, or uneven areas as you go. Take your time and maintain a consistent technique to achieve a smooth and professional finish.
Keep in mind that the number of coats needed can depend on the quality of the paint, the color choice, the type of surface, and personal preference. It’s always a good idea to consult the paint manufacturer’s recommendations for optimal coverage.
By assessing the coverage, color intensity, and overall appearance of the first coat, you’ll be able to determine if additional coats are necessary to achieve the desired result for your attic walls.
Step 7: Finish and Clean Up
Completing the final steps of the painting process involves carefully finishing the project and cleaning up any mess. Follow these guidelines to ensure a successful finish and leave your attic space looking pristine:
- Inspect the walls: Once you have applied all the necessary coats and allowed them to dry completely, inspect the walls for any touch-ups or missed spots. Use a brush or roller to address any minor imperfections and ensure a flawless finish.
- Remove painter’s tape: If you used painter’s tape to protect electrical outlets, switches, or fixtures, carefully remove it before it becomes too difficult to peel off. Slowly and gently pull the tape away at a 45-degree angle to avoid damaging the paint or leaving any residue behind.
- Clean your tools: Thoroughly clean your paint brushes, rollers, and other tools used for the project. Follow the manufacturer’s instructions for cleaning specific tools and use appropriate cleaning solutions. Properly cleaning your tools will help extend their lifespan and ensure they’re ready for future use.
- Dispose of paint cans and waste: Properly dispose of any empty paint cans and dispose of any unused paint according to local regulations. Store any remaining paint properly for future touch-ups or projects. Dispose of any painting waste, such as used drop cloths or paper towels, responsibly and according to local guidelines.
- Restore the attic: Once all painting supplies are cleaned and put away, restore the attic to its original condition. Put back any furniture or belongings that were temporarily moved or covered during the painting process. Vacuum the floor and remove any remaining dust or debris.
- Enjoy your newly painted attic: Take a moment to appreciate your hard work and enjoy the transformed space. Step back and admire the fresh and vibrant walls that add charm and value to your attic.
By carefully completing these final steps, you’ll ensure a professional finish and have a clean and organized attic space to be proud of.
Remember, proper cleaning and maintenance of your painted walls will help preserve their beauty and extend their lifespan. Regular dusting and gentle cleaning with a mild detergent solution will keep your attic walls looking fresh and vibrant for years to come.
Congratulations on successfully painting your attic walls! Now you can sit back, relax, and enjoy the refreshed ambiance of your attic space.
Conclusion
Painting attic walls can be a rewarding project that adds beauty and value to your home. By following the steps outlined in this guide, you have learned how to properly prepare the attic space, clean and repair the walls, choose the right paint and tools, prime the walls, apply the paint, and finish the project with precision and care.
Remember that proper preparation is key to achieving a professional-looking finish. Clearing the attic space, protecting surfaces, and addressing any underlying issues such as mold or water damage will ensure the best results. Cleaning and repairing the walls thoroughly will provide a solid foundation for the paint.
Choosing the right paint type, finish, color, and tools is crucial for achieving your desired outcome. Properly priming the walls will enhance the durability, adhesion, and color vibrancy of the paint. Applying multiple thin coats of paint, blending the edges, and addressing any touch-ups will leave your attic walls looking flawless.
When you have finished painting, take the time to clean up and properly store your tools. Dispose of any waste and restore the attic space to its original condition. Admire your work and enjoy the renewed ambiance your newly painted walls bring to the space.
With the knowledge and skills gained through this guide, you have the foundation to tackle your attic painting project with confidence. So go ahead, unleash your creativity, and transform your attic into a beautiful and inviting space that reflects your personal style and adds value to your home.
Happy painting!
Freshening up your attic with a new coat of paint is just the beginning. Wondering about the rest of your home? Consider whether consistent hues throughout every room would enhance your living space. If you're curious about maintaining harmony in your home's color scheme, our next article offers insights on whether all walls should echo the same shade.
Frequently Asked Questions about How To Paint Attic Walls
Was this page helpful?
At Storables.com, we guarantee accurate and reliable information. Our content, validated by Expert Board Contributors, is crafted following stringent Editorial Policies. We're committed to providing you with well-researched, expert-backed insights for all your informational needs.


0 thoughts on “How To Paint Attic Walls”