
Articles
How To Polish Slate Countertops
Modified: December 7, 2023
Learn how to polish slate countertops with our informative articles. Discover the best techniques and products to give your countertops a stunning shine.
(Many of the links in this article redirect to a specific reviewed product. Your purchase of these products through affiliate links helps to generate commission for Storables.com, at no extra cost. Learn more)
Introduction
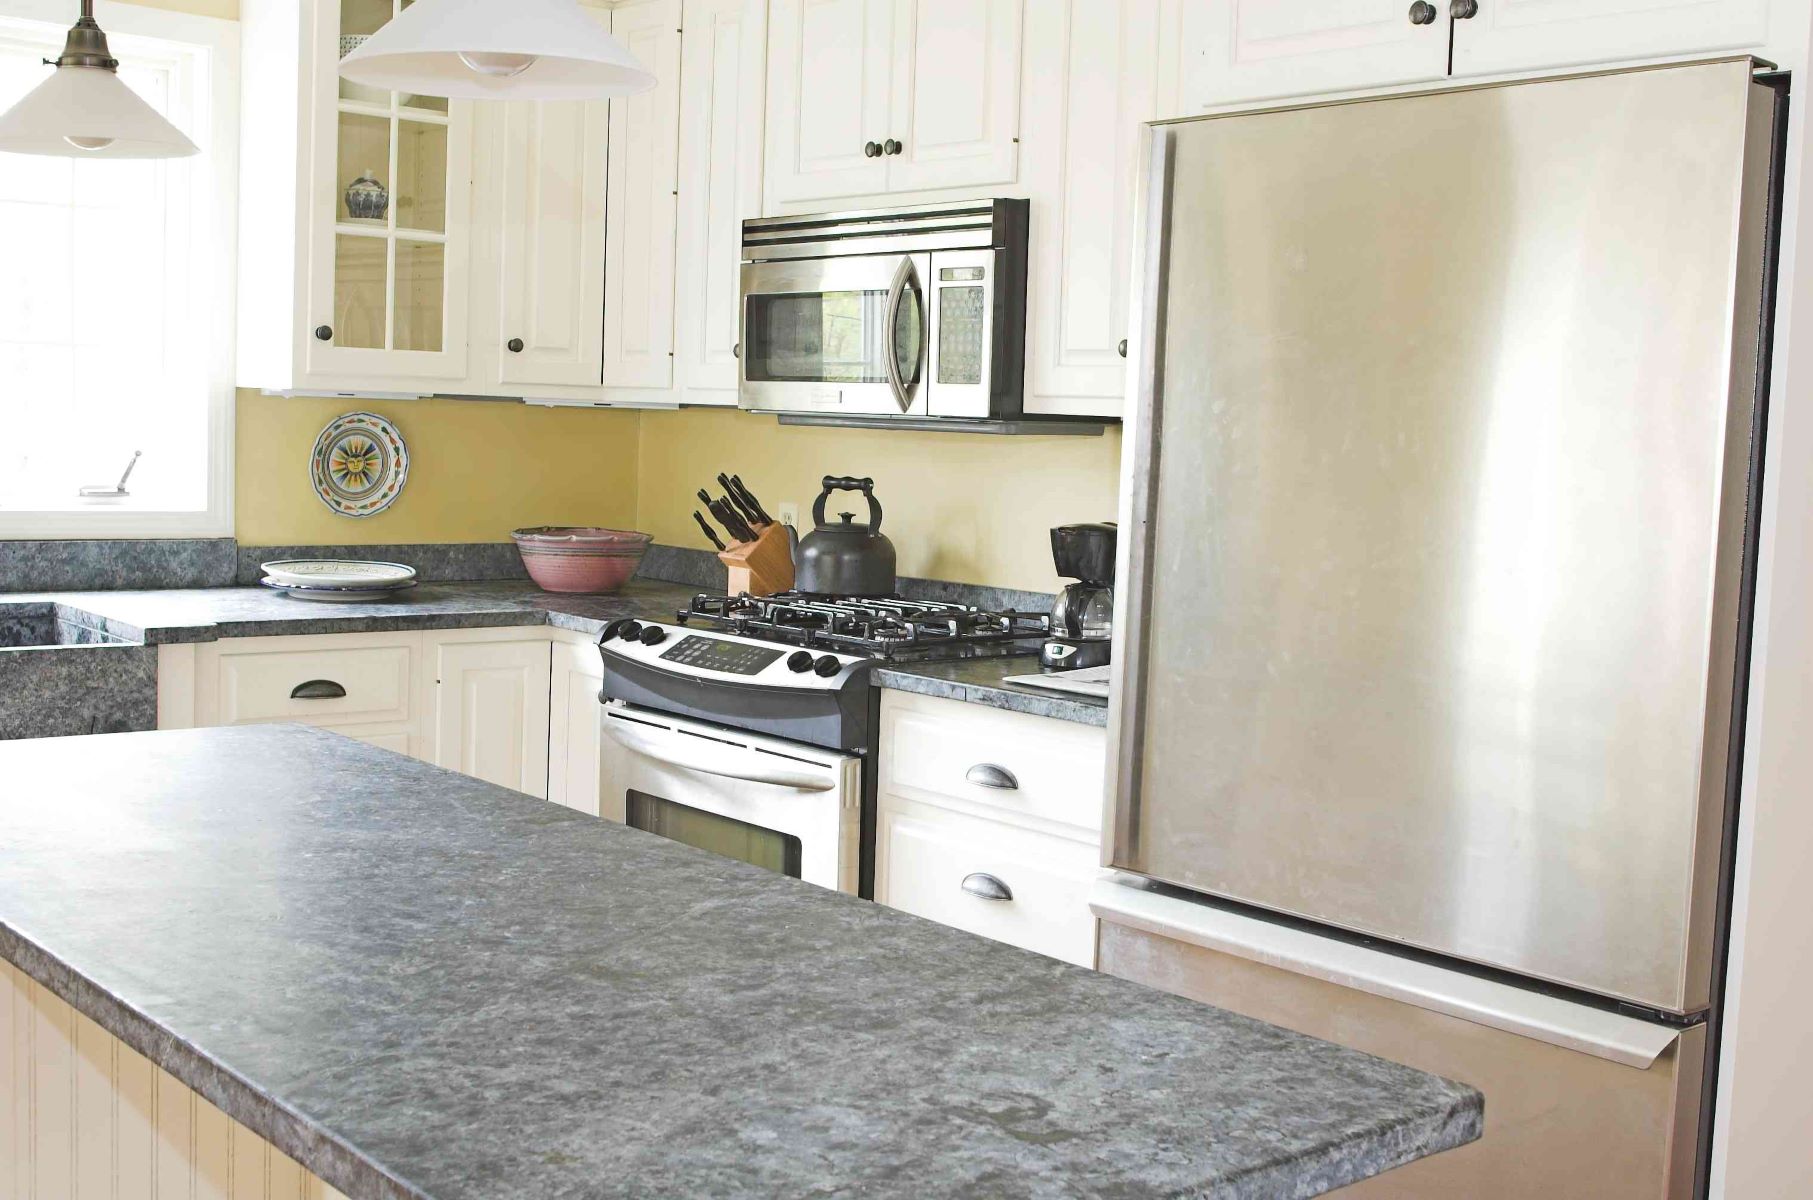
When it comes to creating a stunning and durable kitchen or bathroom countertop, slate is an excellent choice. Its natural beauty, intricate patterns, and durability make it a popular option for homeowners. However, over time, slate countertops may start to lose their luster and develop scratches or stains. If you find yourself in this situation, don’t fret – you can easily restore and polish your slate countertops to their former glory with just a few simple steps.
Polishing slate countertops not only enhances their appearance but also helps to protect the surface from further damage. Whether you’re dealing with minor scratches, water spots, or general wear and tear, a thorough polishing process can revitalize your slate countertops and give them a fresh, glossy finish.
To achieve the best results, it’s important to follow a step-by-step process and gather the necessary supplies. In this article, we will guide you through the entire process of polishing your slate countertops, providing tips and techniques to ensure a successful outcome.
Before we begin, note that the specific cleaning and polishing methods may vary depending on the type of slate and its condition. It’s always a good idea to consult with a professional or refer to the manufacturer’s guidelines if you have any concerns or if your countertop has specific care instructions. With that said, let’s dive into the process of polishing your slate countertops and restoring their natural beauty.
Key Takeaways:
- Restore the natural beauty of your slate countertops by following a step-by-step polishing process using gentle cleaning solutions, proper drying techniques, and the application of slate polish for a lustrous finish.
- Maintain the longevity of your polished slate countertops by applying protective sealers, using cutting boards and trivets, cleaning spills promptly, avoiding harsh cleaners, and regularly maintaining and repolishing the surface.
Read more: How To Polish Formica Countertops
Supplies Needed
Before you start polishing your slate countertops, make sure you have all the necessary supplies on hand. Here’s a list of items you’ll need:
- Soft-bristle brush or sponge: A soft-bristle brush or sponge will be used to scrub the surface of the countertop. Make sure to choose a brush or sponge that won’t scratch the slate.
- Warm water: You’ll need warm water to create the cleaning solution and rinse off the countertop afterward. Avoid using hot water, as it may damage the slate.
- Neutral pH stone cleaner: Look for a stone cleaner specifically designed for use on slate or natural stone surfaces. Make sure the cleaner has a neutral pH level to avoid any potential damage to the slate.
- Microfiber cloth or towel: To dry the countertop after cleaning and rinsing, a microfiber cloth or towel is recommended. These materials are gentle on the surface and help prevent streaks or lint from being left behind.
- Slate polish: To achieve that beautiful, glossy finish, you’ll need a slate polish. Choose a polish specifically formulated for use on slate countertops. Avoid using generic polish or wax, as they may not be suitable for slate and could leave a residue.
- Buffing pad or cloth: A buffing pad or cloth will be used to apply the polish and buff the surface of the countertop. Look for a soft and non-abrasive pad or cloth to avoid scratching the slate.
- Protective gloves: It’s always a good idea to protect your hands while handling cleaning products or chemicals. Wear protective gloves to prevent any potential skin irritation.
- Eye protection: In case of any splashes or spills, it’s important to wear eye protection such as goggles or safety glasses to protect your eyes.
Make sure you have all these supplies ready before you begin the polishing process. This will ensure a smooth and efficient task without any interruptions. Now that you’re prepared, let’s move on to the next step: clearing the countertop.
Step 1: Clear the Countertop
Before you begin the polishing process, it’s essential to clear the slate countertop of any items or debris. Remove any appliances, decorations, or kitchen utensils from the surface. This will provide you with a clean and clutter-free workspace, allowing you to focus on the task at hand.
Additionally, make sure to wipe away any loose dirt, dust, or crumbs from the surface using a soft cloth or paper towel. This step will prevent these particles from getting trapped in the cleaning solution or scratching the slate during the polishing process.
If there are any stubborn stains or dried-on spills, you can gently scrape them off using a plastic putty knife. Be careful not to apply excessive pressure or use a metal scraper, as this can damage the slate surface. Once the countertop is cleared and free from debris, you’re ready to move on to the next step: preparing the cleaning solution.
Step 2: Prepare the Cleaning Solution
Preparing the right cleaning solution is crucial to effectively clean and prepare your slate countertop for polishing. It’s important to choose a neutral pH stone cleaner specifically designed for use on slate or natural stone surfaces. This will ensure that the cleaning solution is safe and gentle on the slate, preventing any potential damage.
Follow the instructions on the stone cleaner bottle to determine the appropriate dilution ratio. In general, you’ll need to mix the cleaner with warm water. Fill a bucket or basin with the recommended amount of warm water and add the appropriate amount of stone cleaner. Stir the solution gently to ensure it is well mixed.
It’s important to use warm water rather than hot water when preparing the cleaning solution. Hot water can potentially damage or alter the structure of the slate. Using warm water will help loosen dirt, grease, and stains without causing any harm.
Once the cleaning solution is prepared, you’re ready to move on to the next step: applying the cleaning solution to the countertop.
Step 3: Apply the Cleaning Solution
Now that your cleaning solution is ready, it’s time to apply it to the slate countertop. Begin by dipping a soft-bristle brush or sponge into the cleaning solution. Make sure the brush or sponge is damp but not dripping wet.
Gently scrub the surface of the countertop using small, circular motions. Pay extra attention to any stained or soiled areas, applying a bit more pressure if necessary. The goal is to loosen dirt, grease, and stains without scratching the slate.
Continue scrubbing the entire surface of the countertop, working your way from one end to the other. Be thorough, but don’t rush – take your time to ensure that you cover every inch of the slate.
If you’re working with a large countertop, you may need to replenish the cleaning solution as it becomes dirty. Simply empty the dirty solution and make a fresh batch, following the same dilution ratio as before.
As you scrub the countertop, you may notice that the cleaning solution becomes discolored, indicating that it is lifting dirt and grime from the slate. This is a good sign that the cleaning process is working.
Once you’ve thoroughly scrubbed the countertop and are satisfied with the cleanliness, it’s time to move on to the next step: rinsing the countertop to remove the cleaning solution.
Read more: How To Polish Quartz Countertops
Step 4: Scrub Gently
When applying the cleaning solution to your slate countertop, it’s important to scrub gently to avoid causing any damage to the surface. Remember, slate is a natural stone and can be sensitive to harsh scrubbing or abrasive materials.
Start by dampening a soft-bristle brush or sponge with the cleaning solution. You want it to be wet enough to effectively clean, but not soaked or dripping. Begin scrubbing the countertop in small, circular motions. Apply gentle pressure and let the cleaning solution do most of the work.
Focus on areas that are stained or have built-up grime. Use the brush to agitate and lift the dirt, allowing the cleaning solution to penetrate and dissolve it. Take your time and work systematically to ensure you cover every part of the countertop.
If you come across any stubborn stains or hardened spills, you can apply a bit more pressure or use a plastic putty knife to help loosen and remove them. However, be cautious not to apply too much force or use sharp utensils that could scratch the slate.
Continue scrubbing the entire surface of the countertop, paying attention to corners, edges, and any intricate patterns. The goal is to remove dirt, grime, and any residual residue from previous cleaning products.
Once you’ve completed the gentle scrubbing process and are satisfied with the cleanliness of the slate countertop, it’s time to move on to the next step: rinsing the countertop to remove the cleaning solution.
Use a pH-neutral cleaner and a soft cloth to clean slate countertops. Avoid using acidic or abrasive cleaners, as they can damage the surface. Apply a stone sealer to protect the slate from stains and spills.
Step 5: Rinse the Countertop
After scrubbing the countertop with the cleaning solution, it’s important to thoroughly rinse off any residue. This step will ensure that no cleaning solution or dirt is left behind, which could potentially dull the appearance of your slate countertop.
Begin by rinsing a clean sponge or cloth with warm water. Make sure the sponge or cloth is damp but not overly saturated. Start at one end of the countertop and work your way across, gently wiping the surface to remove any remaining cleaning solution.
Be thorough in your rinsing process, ensuring that you cover every inch of the slate. Pay particular attention to corners, edges, and any crevices where cleaning solution might have accumulated.
As you rinse, periodically rinse out the sponge or cloth to remove any dirt or residue. This will prevent it from redepositing onto the countertop and hindering the polishing process.
Continue rinsing until you are confident that all traces of the cleaning solution have been removed. You can test this by running your hand across the countertop – it should feel clean and free from any soapy residue.
Once the countertop is thoroughly rinsed, it’s crucial to dry it properly before moving on to the next steps. Excess moisture left on the slate can hinder the effectiveness of the polishing process.
In the next step, we’ll discuss how to dry the countertop effectively before applying the polish.
Step 6: Dry the Countertop
Properly drying your slate countertop is an essential step before moving on to the polishing process. Removing excess moisture ensures that the polish adheres evenly and produces a smooth, glossy finish.
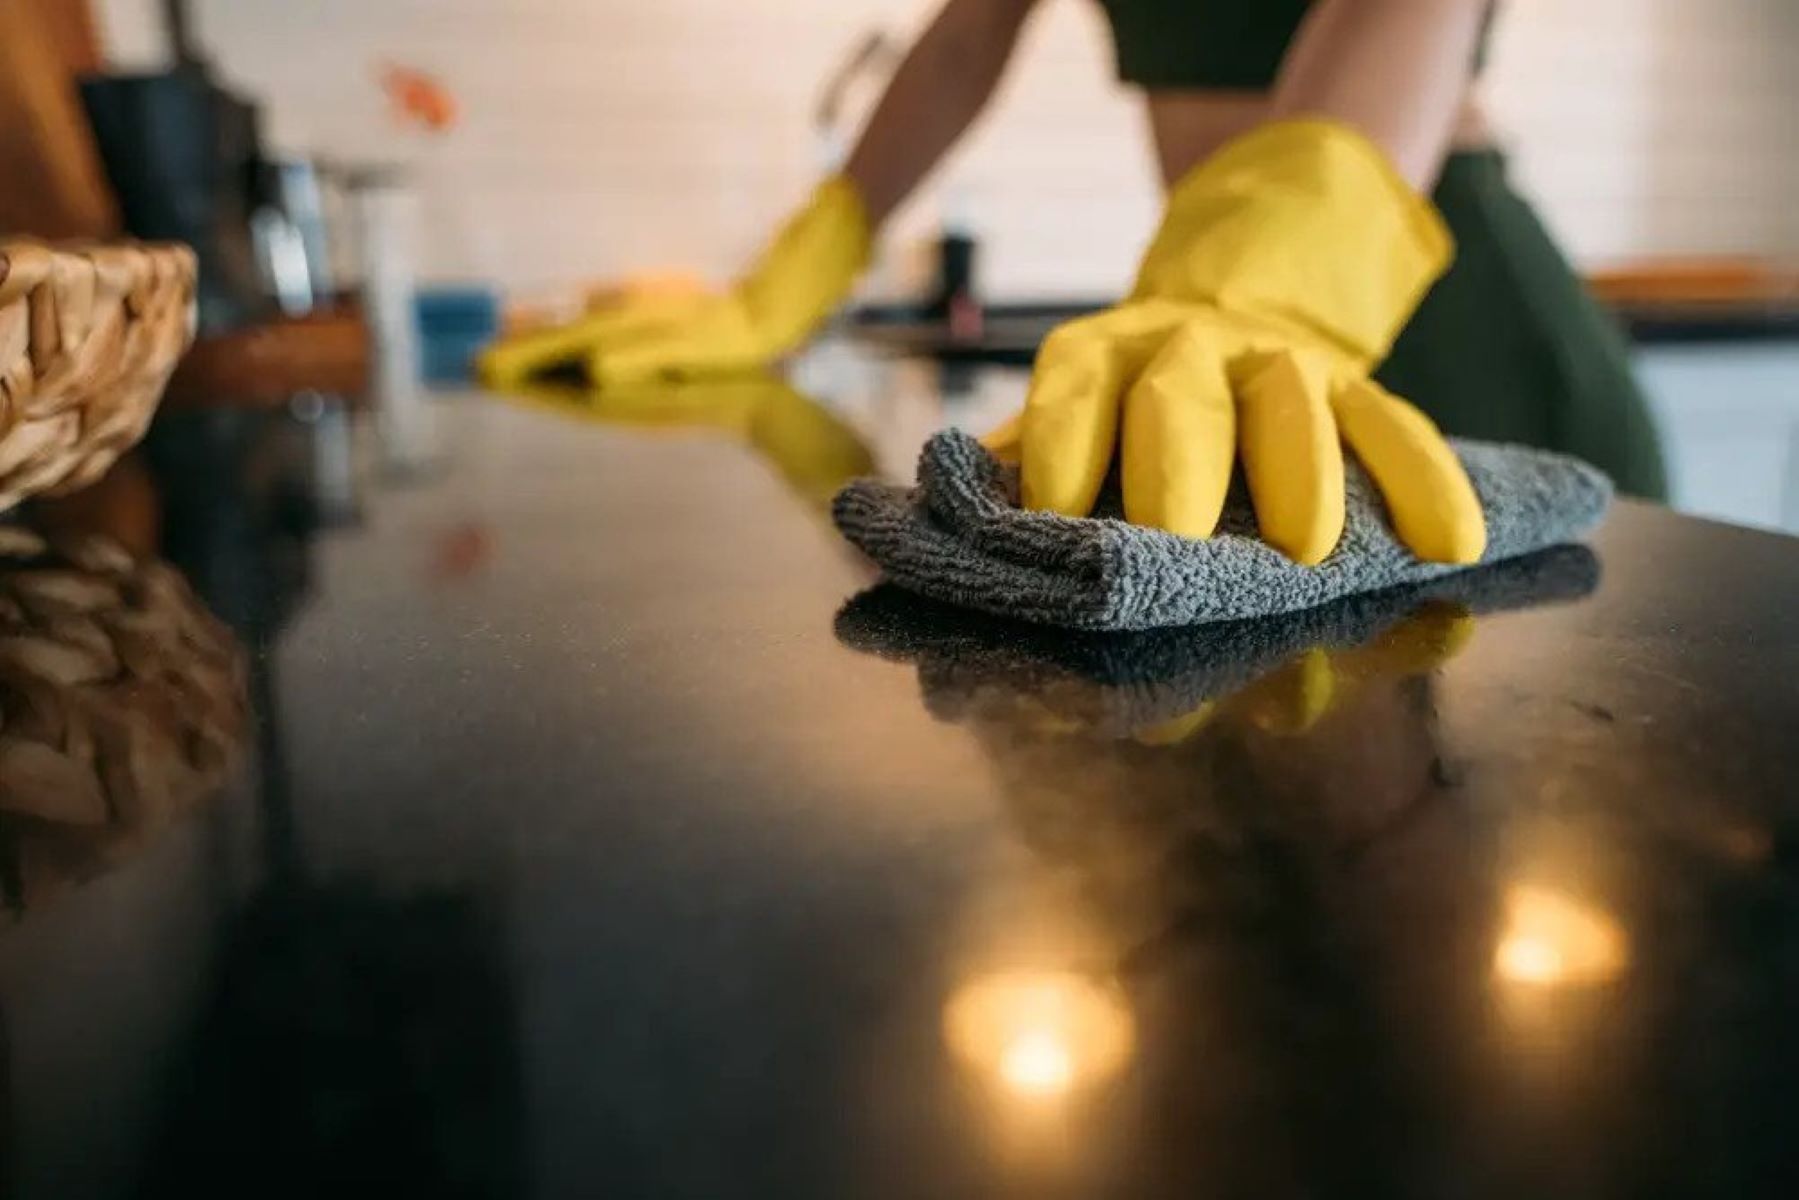
To dry the countertop, start by using a clean and absorbent microfiber cloth or towel. These materials are gentle on the surface and help prevent streaks or lint from being left behind.
Begin at one end of the countertop and work your way across, carefully patting the surface dry. Avoid rubbing or scrubbing vigorously, as this could potentially scratch the slate. Instead, use a gentle patting motion, allowing the cloth to absorb the moisture.
Pay extra attention to corners, edges, and any areas with intricate patterns. These areas tend to trap more moisture, so be sure to thoroughly dry them.
If you find that the cloth or towel becomes saturated with water, have a few extra ones on hand to switch to. Using a dry cloth ensures that you are effectively removing the moisture from the countertop.
Continue drying until the countertop feels dry to the touch and no longer appears damp. If necessary, allow the slate to air dry for a few minutes to ensure that all moisture has evaporated.
Once the countertop is completely dry, you’re ready to move on to the next step: applying the polish to restore its natural shine.
Step 7: Apply Polish
Now that your slate countertop is clean and dry, it’s time to apply the polish to restore its natural shine. The polish not only enhances the appearance of the slate but also provides a protective layer that helps to prevent stains and scratches.
Before you begin, ensure that you have a slate polish specifically formulated for use on countertops. Generic polish or wax may not be suitable for slate and could leave a residue or damage the surface.
Start by applying a small amount of polish onto a soft cloth or a specially designed buffing pad. Begin at one end of the countertop, and in a circular motion, gently spread the polish onto the slate surface. Be cautious not to apply too much pressure to avoid scratching the slate.
Work your way across the entire countertop, ensuring you cover every inch of the slate. Pay attention to corners, edges, and any intricate patterns. The polish will help revive the natural colors and bring out the unique characteristics of the slate.
If you notice any excess polish or uneven application, use a clean, dry cloth to buff and evenly distribute the polish. This step helps to ensure an even and glossy finish.
Remember to follow the manufacturer’s instructions regarding the amount of polish to use and any specific application techniques. Some polishes require multiple coats or specific drying times between applications. It’s critical to adhere to these guidelines for the best results.
Once you’ve applied the polish to the entire countertop, allow it to dry as directed by the manufacturer. This drying period allows the polish to bond with the slate surface and achieve its full shine.
In the next step, we’ll discuss how to buff the countertop to further enhance its shine and achieve a smooth, polished finish.
Read more: How To Polish Travertine Countertops
Step 8: Buff the Countertop
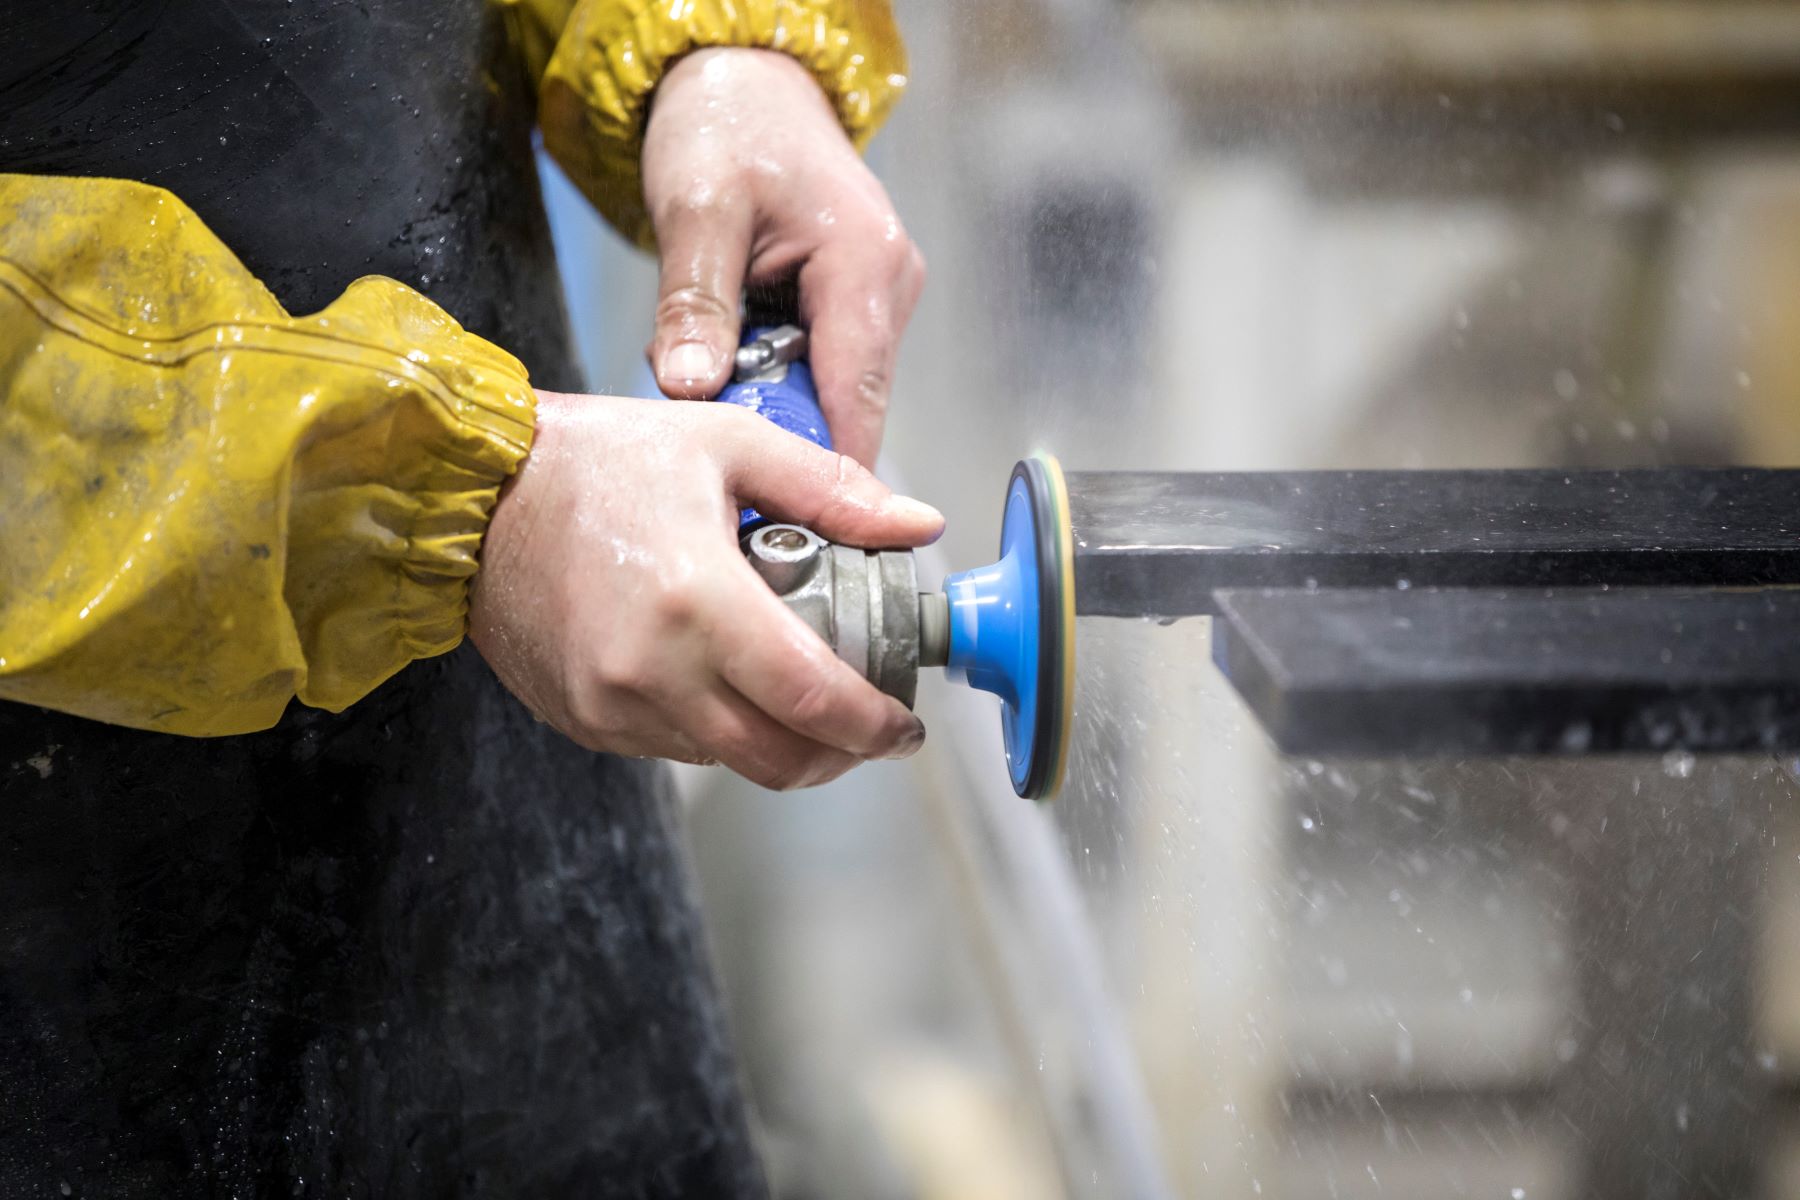
After the polish has dried, it’s time to give your slate countertop a final touch by buffing it. Buffing helps to further enhance the shine and smooth out any uneven areas, resulting in a polished and lustrous finish.
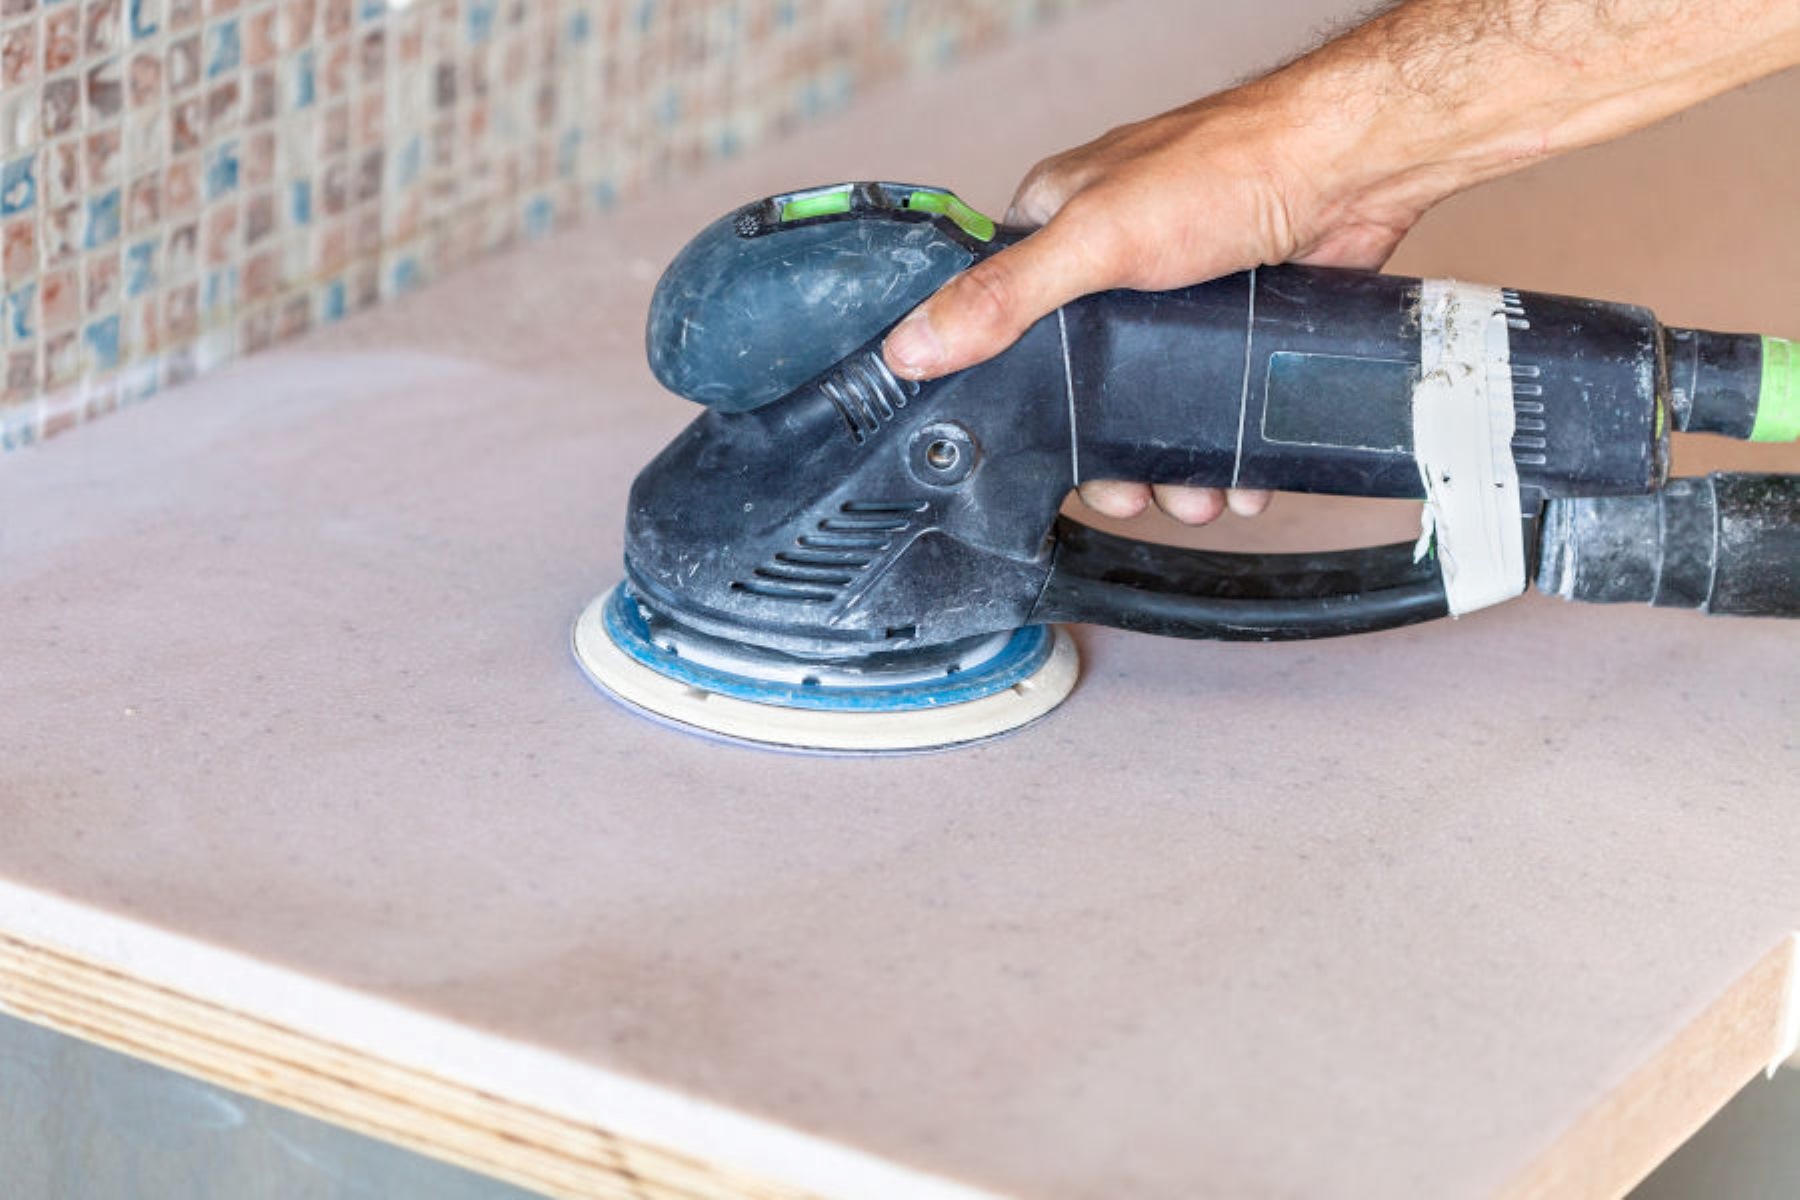
To buff the countertop, you’ll need a clean and soft cloth or a designated buffing pad. Take the cloth or pad and gently rub it in circular motions across the entire surface of the countertop.
Apply light to moderate pressure to ensure a thorough buffing without damaging the slate. Pay special attention to any areas that may appear less shiny or have a slightly dull finish – these are the spots that will benefit the most from buffing.
Continue buffing the countertop until you achieve the desired level of shine and smoothness. Take your time and be patient, as this step is essential to achieving a flawless finish.
As you’re buffing, periodically check the cloth or pad for any buildup of polish residue. If there is a significant amount of residue, switch to a clean cloth or pad to avoid redepositing it onto the countertop.
Remember to focus on corners, edges, and any intricate patterns, ensuring that they receive the same amount of attention during the buffing process.
Once you’ve completed the buffing process, step back and admire the beautiful, polished appearance of your slate countertop. The hard work you’ve put into cleaning and polishing has paid off, and your countertop should now be restored to its former glory.
In the final step, we’ll discuss some additional touches you can apply to ensure the longevity of your polished slate countertop.
Step 9: Final Touches
Congratulations! You’ve successfully polished your slate countertop to restore its natural beauty. However, there are a few final touches you can apply to ensure the longevity and ongoing maintenance of your countertop.
1. Seal the Slate: Consider applying a sealer specially formulated for slate countertops. This will provide an extra layer of protection against stains, water damage, and general wear and tear. Follow the manufacturer’s instructions for proper application and reapplication frequency.
2. Use Cutting Boards and Trivets: To prevent scratches and damage, always use cutting boards and trivets when placing hot pans or dishes on your countertop. This simple practice will help preserve the polished finish and prevent unnecessary wear and tear.
3. Clean Spills Immediately: Accidents happen, but it’s crucial to clean up spills promptly to prevent stains from setting into the slate. Use a soft cloth or paper towel to blot the spilled liquid and avoid rubbing, which can spread the stain or damage the surface.
4. Avoid Harsh Cleaners: When cleaning your polished slate countertop in the future, avoid using harsh or abrasive cleaners. Stick to neutral pH stone cleaners specifically designed for slate or natural stone surfaces. Harsh chemicals can dull the polish and damage the slate over time.
5. Regularly Maintain and Repolish: Over time, your polished slate countertop may experience some wear and lose its shine. Regular maintenance, such as gentle cleaning and periodic reapplication of polish, can help keep it looking pristine. Follow the same steps outlined in this guide to maintain and repolish your countertop as needed.
By following these final touches, you can help extend the life of your polished slate countertop and continue enjoying its radiant beauty for years to come.
With proper care and maintenance, your slate countertop will remain a stunning centerpiece in your kitchen or bathroom. The effort you’ve invested in polishing and maintaining it will undoubtedly pay off, providing you with a durable and visually appealing surface that you can be proud of.
Enjoy the beauty and functionality of your newly polished slate countertop!
Conclusion
Polishing slate countertops is a fantastic way to restore their natural beauty, remove scratches, and protect the surface from further damage. By following the step-by-step process outlined in this guide, you can easily bring back the lustrous shine of your slate countertop.
Remember to gather all the necessary supplies, including a soft-bristle brush or sponge, warm water, neutral pH stone cleaner, microfiber cloth or towel, slate polish, buffing pad or cloth, protective gloves, and eye protection.
Clearing the countertop and preparing the cleaning solution are the first steps. Next, scrub gently using small, circular motions to remove dirt and grime. Rinse the countertop thoroughly to ensure all cleaning solution residue is removed.
Drying the countertop and applying the slate polish will bring out the natural beauty of the slate. Lastly, buffing the countertop will give it a polished and lustrous finish.
Remember to follow any additional recommendations provided by the manufacturer and consider applying a slate sealer for added protection. Use cutting boards and trivets to prevent scratches and clean spills promptly to avoid stains from setting in.
With regular maintenance and occasional reapplication of polish, your slate countertop will continue to shine and impress for many years to come.
So get ready to enjoy the beauty and elegance of your polished slate countertop. Whether in the kitchen or bathroom, it will undoubtedly become a focal point that enhances the overall aesthetic appeal of your space.
Now it’s time to put these steps into action and witness the transformation of your slate countertop. Enjoy the process and relish in the satisfaction of bringing back the vibrant beauty of your slate surfaces.
Frequently Asked Questions about How To Polish Slate Countertops
Was this page helpful?
At Storables.com, we guarantee accurate and reliable information. Our content, validated by Expert Board Contributors, is crafted following stringent Editorial Policies. We're committed to providing you with well-researched, expert-backed insights for all your informational needs.

0 thoughts on “How To Polish Slate Countertops”