Home>Furniture & Design>Bathroom Accessories>How To Polish A Bathtub
Bathroom Accessories
How To Polish A Bathtub
Published: February 20, 2024
Learn how to polish a bathtub and restore its shine with our expert tips and techniques. Keep your bathroom accessories looking like new with our simple and effective methods.
(Many of the links in this article redirect to a specific reviewed product. Your purchase of these products through affiliate links helps to generate commission for Storables.com, at no extra cost. Learn more)
Introduction
When it comes to creating a relaxing and inviting bathroom space, every detail matters. From the elegant fixtures to the soothing color scheme, every element contributes to the overall ambiance. However, one often overlooked aspect of a luxurious bathroom is the bathtub. A polished and gleaming bathtub not only adds a touch of sophistication to the space but also elevates the bathing experience.
Over time, bathtubs can lose their luster due to soap scum, hard water stains, and general wear and tear. This can leave the surface looking dull and lackluster, detracting from the overall appeal of the bathroom. Fortunately, with the right techniques and a bit of elbow grease, it's possible to restore the bathtub to its former glory.
In this comprehensive guide, we will delve into the art of polishing a bathtub to perfection. Whether you have a classic porcelain tub, a modern acrylic model, or a luxurious stone bathtub, the principles of polishing remain the same. By following the step-by-step instructions outlined in this guide, you can breathe new life into your bathtub and transform your bathing space into a sanctuary of relaxation and elegance.
So, roll up your sleeves, gather your supplies, and get ready to embark on a journey to rejuvenate your bathtub. With the right approach and a little dedication, you can achieve a sparkling, polished bathtub that will become the centerpiece of your bathroom oasis. Let's dive in and discover the secrets to achieving a bathtub that exudes timeless beauty and charm.
Key Takeaways:
- Transform your bathtub into a sparkling centerpiece by using gentle cleaning agents and a high-quality polish. With the right supplies and techniques, you can restore its shine and elevate your bathing experience.
- Maintain the polished finish by incorporating decorative elements, regular cleaning, and periodic re-polishing. These simple steps will preserve the bathtub’s allure, creating a luxurious and inviting bathing space.
Read more: How To Polish An Acrylic Bathtub
Step 1: Gather Your Supplies
Before embarking on the journey to polish your bathtub, it's essential to gather all the necessary supplies. Having the right tools and products at your disposal will streamline the process and ensure that you achieve optimal results. Here's a comprehensive list of supplies you'll need:
1. Cleaning Agents:
- Mild Cleanser: Choose a gentle, non-abrasive cleanser specifically formulated for bathtubs. Avoid harsh chemicals that can damage the surface.
- White Vinegar: An effective natural cleaner for removing hard water stains and mineral deposits.
- Baking Soda: Ideal for tackling tough stains and grime without scratching the bathtub surface.
2. Polishing Compound:
- Bathtub Polish: Select a high-quality bathtub polish or wax designed to restore shine and luster to the surface. Ensure that the product is suitable for the material of your bathtub, whether it's porcelain, acrylic, fiberglass, or another material.
3. Cleaning Tools:
- Soft Sponge or Cloth: Use a soft sponge or microfiber cloth to apply the cleaning agents and polish without causing scratches.
- Old Toothbrush: Handy for reaching tight corners and crevices where grime tends to accumulate.
- Rubber Gloves: Protect your hands from cleaning agents and polish.
Read more: How To Polish Glassware
4. Buffing Materials:
- Microfiber Towels: These are excellent for buffing and polishing the bathtub surface to a brilliant shine.
- Buffing Pad or Polishing Cloth: If using a polishing compound, a dedicated buffing pad or cloth will aid in achieving a smooth and glossy finish.
5. Protective Gear:
- Safety Goggles: Recommended when working with cleaning agents to protect your eyes from splashes.
- Ventilation: Ensure adequate ventilation in the bathroom to disperse fumes from cleaning agents.
6. Optional Accessories:
- Rubber Squeegee: Useful for removing excess water after cleaning to prevent water spots.
- Aromatherapy Candles or Essential Oils: Create a relaxing ambiance to accompany your bathtub polishing session.
By assembling these supplies, you'll be well-equipped to tackle the task of polishing your bathtub with confidence and precision. With the right tools at your disposal, you're ready to move on to the next step in the process: cleaning the bathtub surface to prepare it for polishing.
Remember, the key to a successful bathtub polishing endeavor lies in the meticulous selection of supplies and the commitment to using gentle yet effective cleaning and polishing agents. With these essentials in hand, you're poised to transform your bathtub into a glistening focal point within your bathroom sanctuary.
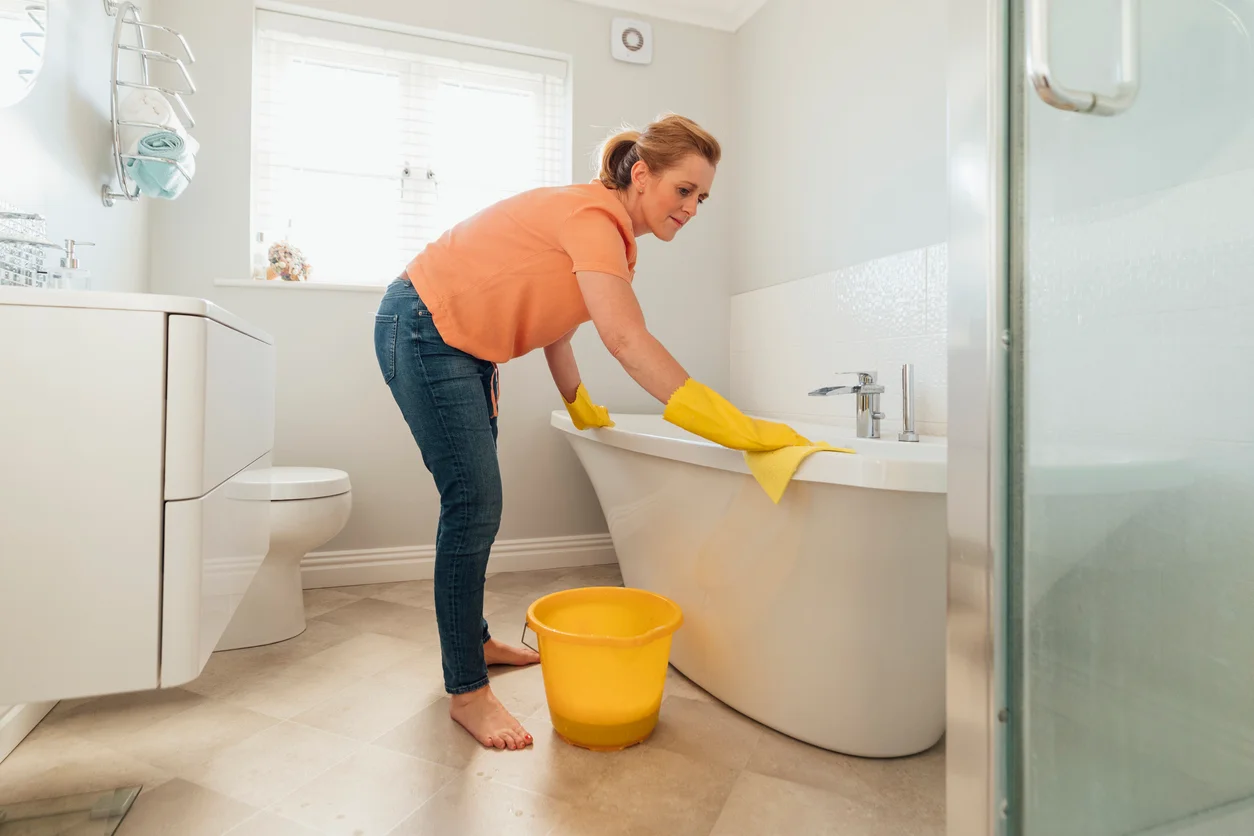
Step 2: Clean the Bathtub
Cleaning the bathtub is a crucial preparatory step before applying the polish. Over time, soap scum, hard water stains, and grime can accumulate on the surface, diminishing its luster. To restore the bathtub to its former glory, it's essential to thoroughly clean the surface using gentle yet effective cleaning agents.
Read more: How To Polish Glass
Preparing the Cleaning Solution
Begin by preparing a cleaning solution using mild cleanser, white vinegar, and baking soda. These natural and non-abrasive ingredients are highly effective in removing dirt and stains without causing damage to the bathtub surface. Mix a small amount of mild cleanser with water to create a soapy solution. For tough stains and hard water deposits, create a paste using baking soda and water. Additionally, white vinegar can be used on its own to tackle mineral deposits and soap scum.
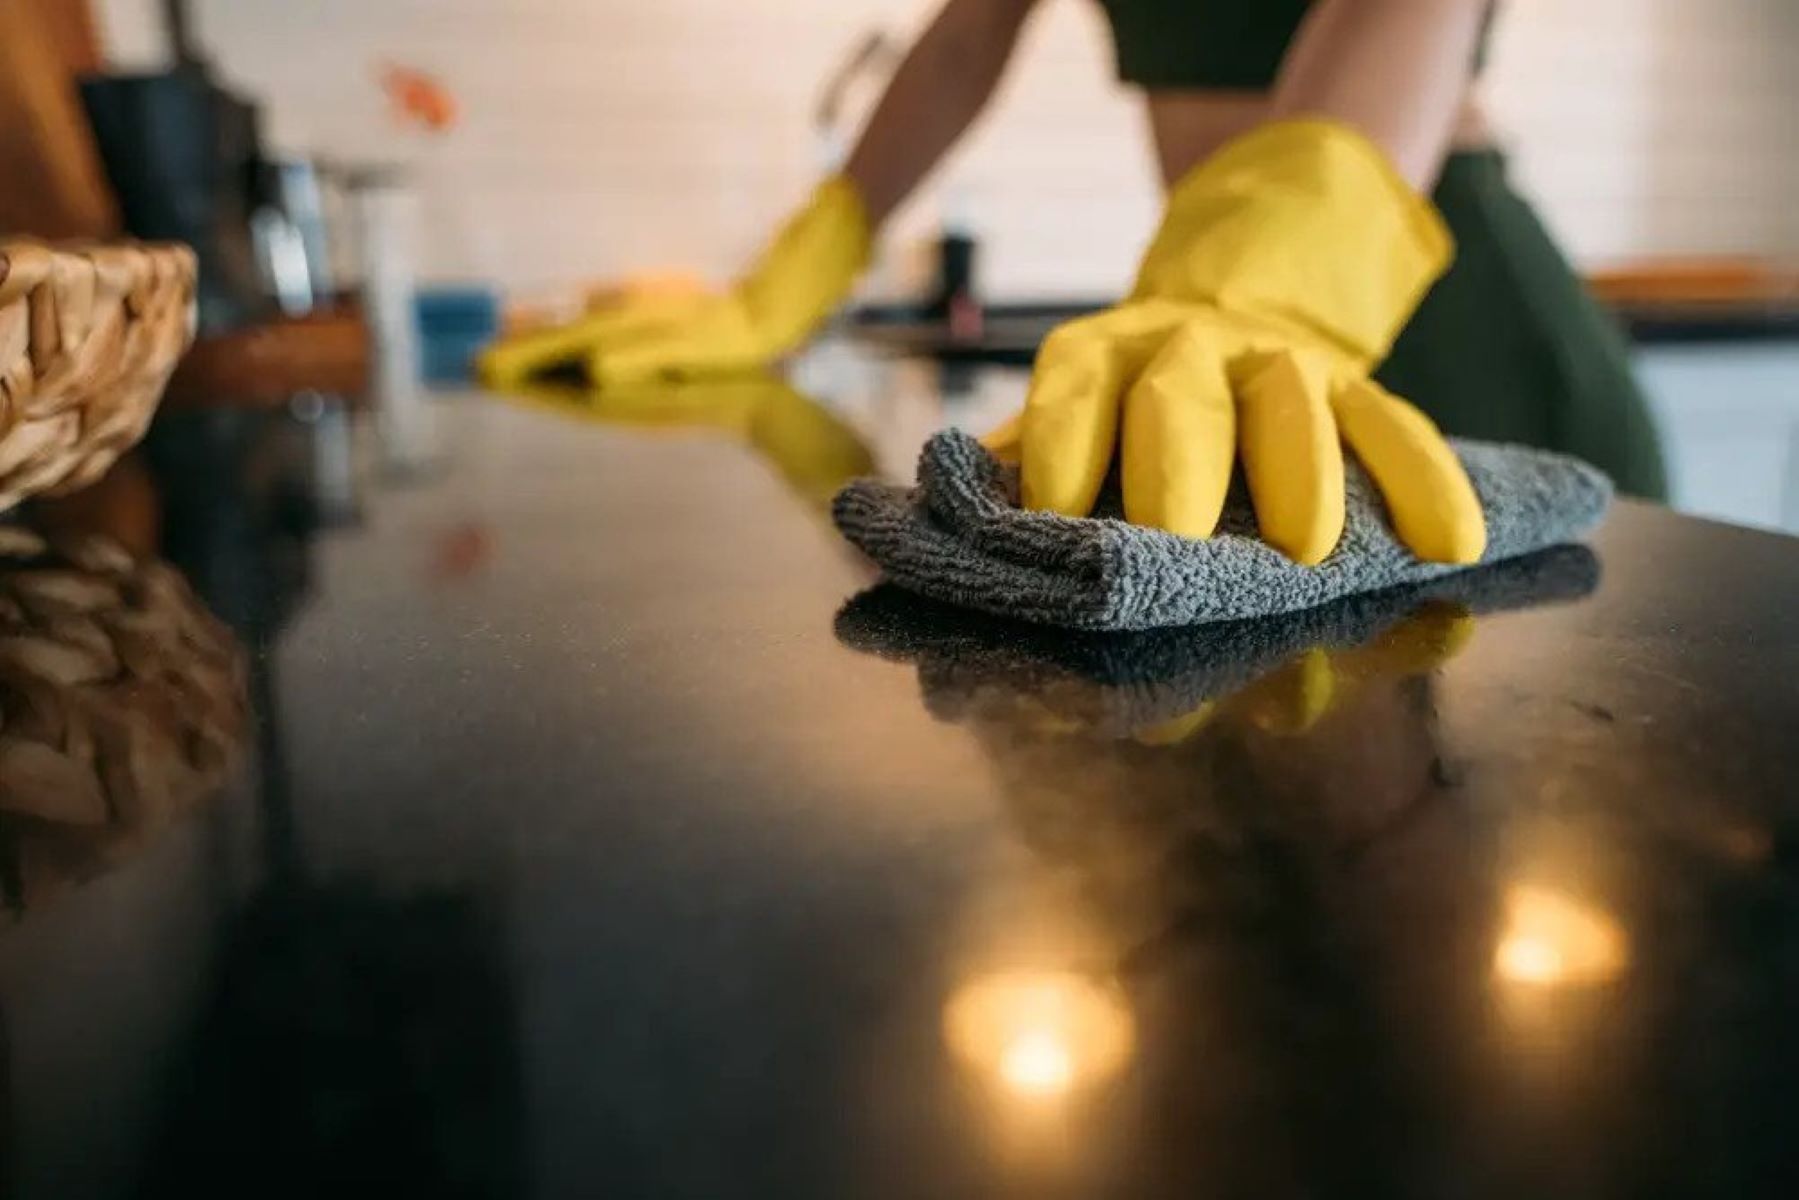
Application and Scrubbing
Dip a soft sponge or microfiber cloth into the cleaning solution and gently scrub the entire surface of the bathtub. Pay close attention to areas where soap scum and stains are most prevalent, such as around the drain, faucet, and along the waterline. For hard-to-reach areas and tight corners, an old toothbrush can be used to dislodge stubborn grime.
Addressing Stubborn Stains
For particularly stubborn stains, apply the baking soda paste directly to the affected areas and let it sit for a few minutes to loosen the grime. Then, use the sponge or cloth to scrub the stained areas, applying gentle pressure to lift the stains without scratching the surface.
Rinse and Dry
Once the entire surface has been thoroughly scrubbed, rinse the bathtub with clean water to remove any remaining cleaning solution. Use a rubber squeegee to remove excess water and prevent water spots from forming. Finally, dry the bathtub with a clean microfiber towel to ensure a pristine surface for the next step.
By diligently cleaning the bathtub using these gentle yet effective methods, you'll ensure that the surface is free from dirt, grime, and stains, setting the stage for the next phase of the polishing process. With the bathtub now clean and refreshed, you're ready to proceed to the next step: applying the polish to restore its natural shine and luster.
Read more: How To Polish A Cement Floor
Step 3: Apply the Polish
With the bathtub thoroughly cleaned and free from dirt and grime, it's time to apply the polish to restore its natural shine and luster. The application of a high-quality bathtub polish is a critical step in the process of rejuvenating the surface and enhancing its visual appeal. Whether your bathtub is made of porcelain, acrylic, fiberglass, or another material, the application of the polish will breathe new life into the surface, creating a luxurious and inviting bathing space.
Before applying the polish, ensure that the bathtub surface is completely dry to allow the polish to adhere effectively. Using a microfiber towel, carefully remove any remaining moisture to prepare the surface for the polishing process. Once the surface is dry, it's time to apply the bathtub polish using a soft sponge or cloth.
When selecting a bathtub polish, opt for a product specifically formulated for the material of your bathtub. Whether it's a porcelain tub, an acrylic model, or a fiberglass bathtub, choosing a polish tailored to the specific material will ensure optimal results. Additionally, consider whether you prefer a liquid polish, a wax, or a polishing compound, as each type offers unique benefits in terms of application and finish.
Apply a small amount of the bathtub polish to the sponge or cloth, then gently and evenly spread it across the entire surface of the bathtub. Work in small sections to ensure thorough coverage and prevent the polish from drying before it can be buffed. Pay special attention to any areas that may have lost their shine or exhibit minor imperfections, as the polish will help to conceal these blemishes and restore a uniform luster to the surface.
As you apply the polish, use smooth and circular motions to work the product into the bathtub surface. This technique will ensure even distribution and promote a consistent shine across the entire bathtub. Take care to avoid applying excessive pressure, as a gentle touch will suffice to achieve the desired results without causing damage to the surface.
Once the entire bathtub surface has been coated with the polish, allow the product to set according to the manufacturer's instructions. This will typically involve letting the polish dry to a haze or a specified period before proceeding to the next step. During this waiting period, take the opportunity to prepare the buffing materials, such as a clean microfiber towel or a dedicated buffing pad.
After the polish has set, it's time to buff the bathtub surface to reveal the radiant shine beneath the dried polish. Using a clean microfiber towel or a buffing pad, gently buff the surface in circular motions to remove the dried polish and reveal the glossy finish underneath. As you buff, the luster of the bathtub will gradually emerge, transforming the surface into a gleaming focal point within your bathroom.
By meticulously applying the bathtub polish and buffing the surface to perfection, you'll witness the remarkable transformation of your bathtub from a dull and lackluster appearance to a radiant and inviting centerpiece within your bathroom. The application of the polish is a pivotal step in the process of polishing a bathtub, and when executed with care and precision, it will yield stunning results that elevate the overall ambiance of your bathing space.
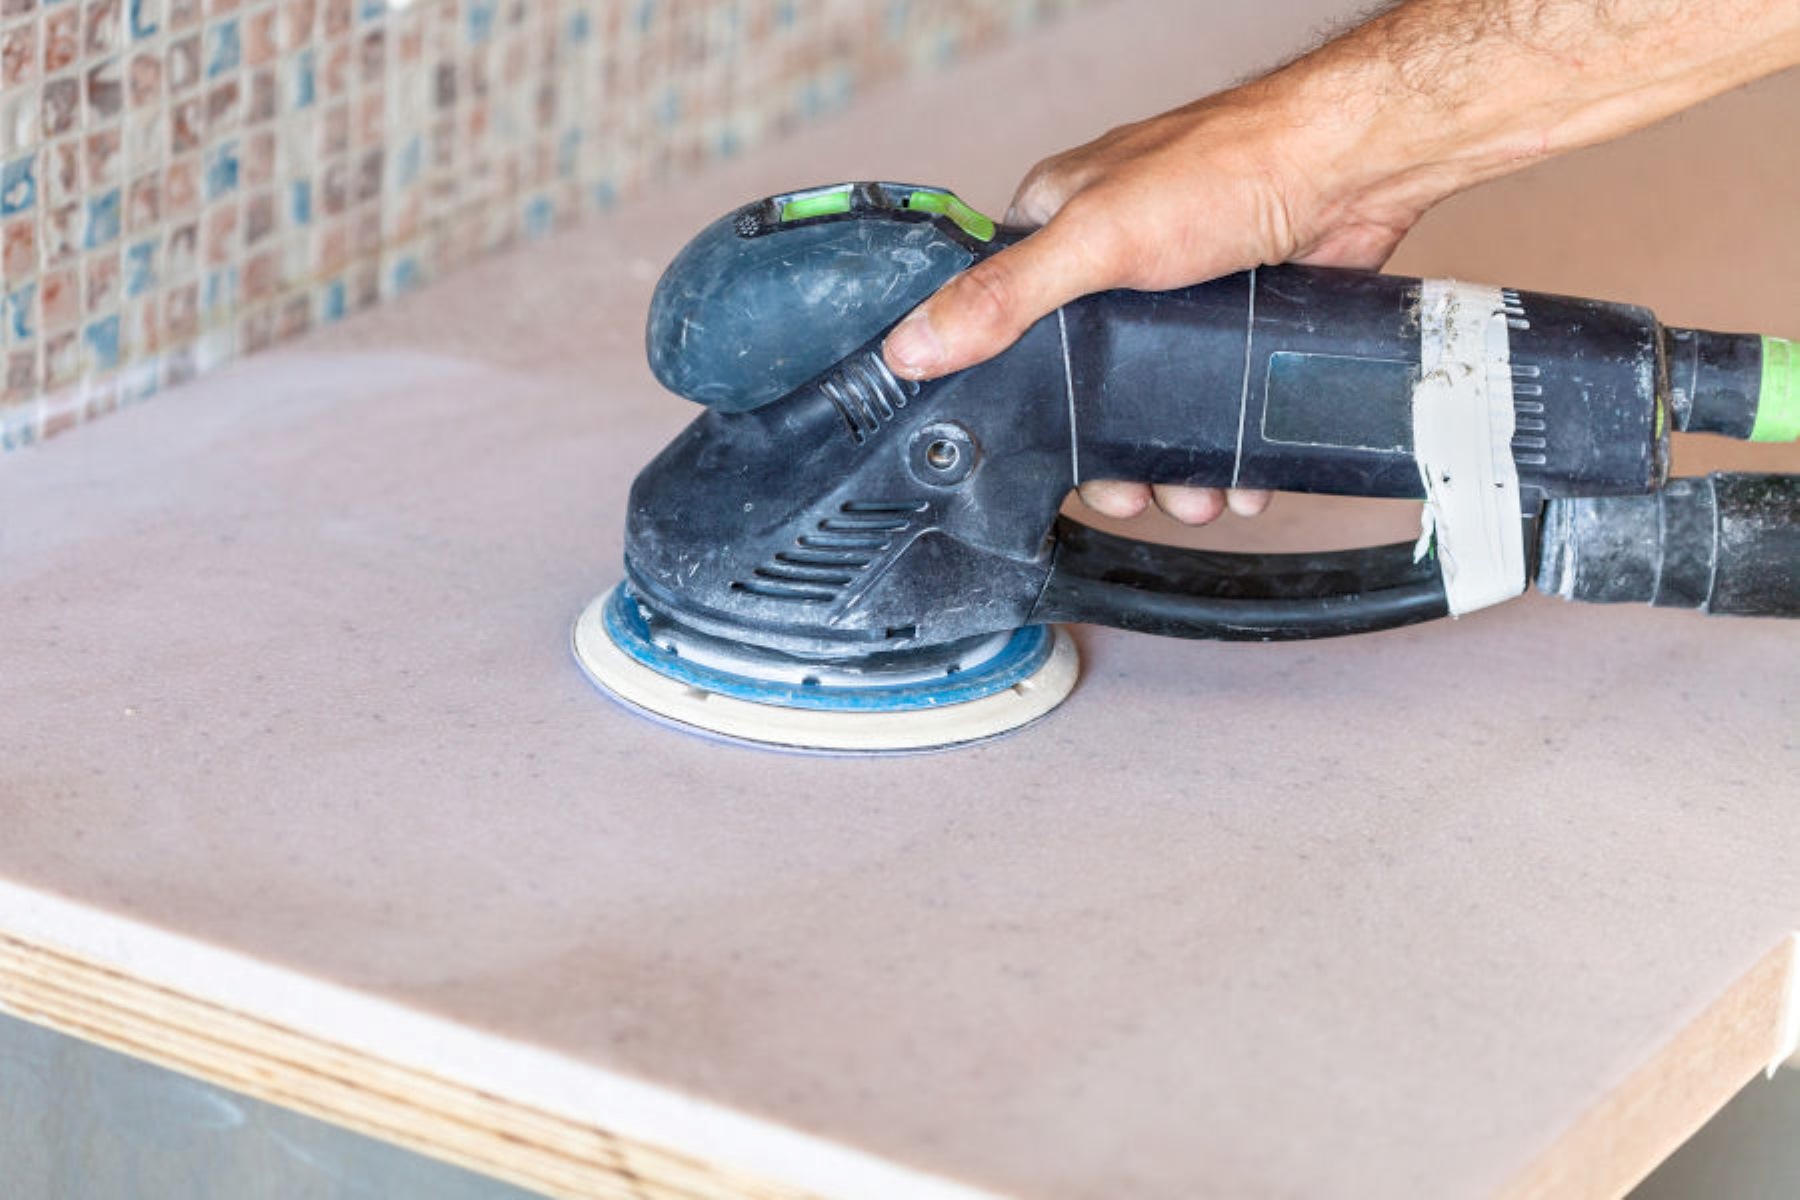
Step 4: Buff the Surface
With the bathtub polish applied and the surface adorned with a thin, dried layer, the next crucial step is to buff the surface to reveal the radiant shine beneath. This transformative process involves the gentle removal of the dried polish, unveiling a glossy and lustrous finish that will elevate the aesthetic appeal of the bathtub.
To commence the buffing process, prepare a clean microfiber towel or a dedicated buffing pad. These materials are essential for achieving a smooth and brilliant finish while safeguarding the delicate surface of the bathtub. The choice of a microfiber towel or a buffing pad is pivotal, as it ensures that the buffing action is gentle and effective, imparting a stunning sheen to the bathtub without causing any damage.
As you embark on the buffing phase, adopt a meticulous and methodical approach. Using the prepared microfiber towel or buffing pad, gently buff the bathtub surface in circular motions. This technique allows for even and consistent buffing, ensuring that the shine is uniformly restored across the entire bathtub. The circular motions facilitate the gradual removal of the dried polish, unveiling the captivating luster beneath.
Throughout the buffing process, maintain a gentle touch to safeguard the surface from any potential abrasions. The goal is to delicately lift the dried polish, allowing the natural brilliance of the bathtub to emerge. As you continue to buff, the transformation of the surface becomes increasingly apparent, with the luster intensifying with each circular motion.
As the buffing nears completion, take a moment to admire the remarkable metamorphosis of the bathtub. The once lackluster surface has now been revitalized, exuding a captivating radiance that enhances the entire bathing space. The buffing process has not only restored the shine but has also imparted a luxurious and inviting allure to the bathtub, elevating it to a focal point of timeless elegance within the bathroom.
Upon completing the buffing process, take a step back and revel in the resplendent beauty of the polished bathtub. The meticulous application of the polish and the gentle buffing have culminated in a stunning transformation, breathing new life into the bathtub and infusing the bathing space with an aura of sophistication and charm. The buffed surface now stands as a testament to the meticulous care and dedication invested in the polishing process, radiating a timeless allure that enriches the entire bathroom environment.
Step 5: Final Touches and Maintenance Tips
With the bathtub now gleaming with renewed radiance, it's time to add the final touches and glean valuable maintenance tips to preserve its pristine allure. These concluding steps will not only enhance the visual appeal of the bathtub but also ensure that its luster endures for an extended period, allowing you to relish the luxurious ambiance it imparts to your bathing space.
Adding a Personal Touch
To elevate the aesthetic charm of the polished bathtub, consider incorporating decorative elements that complement the overall bathroom decor. Adorn the surrounding area with lush potted plants, scented candles, or decorative accents to create a serene and inviting ambiance. Additionally, indulging in aromatic bath salts or essential oils can further enhance the sensory experience, transforming each bath into a rejuvenating retreat.
Read more: How To Polish Formica Countertops
Regular Maintenance Practices
To preserve the pristine finish of the polished bathtub, it's essential to adopt regular maintenance practices. After each use, rinse the bathtub with warm water to remove any residual soap or bath products. Using a rubber squeegee to eliminate excess water can prevent water spots and mineral deposits from forming on the surface. Furthermore, periodically applying a mild cleanser and gently scrubbing the bathtub will help prevent the accumulation of grime and maintain its lustrous appearance.
Protective Measures
Implementing protective measures can safeguard the polished surface of the bathtub. Placing a soft, non-abrasive mat inside the tub can prevent scratches and minimize wear caused by frequent use. Additionally, using caution when handling bath products and avoiding abrasive cleaning tools will help preserve the pristine finish of the bathtub, ensuring that its allure remains undiminished over time.
Periodic Re-Polishing
Over time, the luster of the bathtub may diminish due to regular use and exposure to environmental factors. Periodically reapplying the bathtub polish or wax will revitalize the surface, restoring its brilliance and ensuring that it continues to exude timeless elegance. This proactive approach to maintenance will prolong the lifespan of the polished finish, allowing you to relish the captivating allure of the bathtub for years to come.
By incorporating these final touches and embracing proactive maintenance practices, you can savor the enduring beauty of the polished bathtub, transforming your bathing space into a sanctuary of relaxation and refinement. With these valuable tips at your disposal, the polished bathtub will stand as a testament to your dedication to preserving its timeless allure, enriching your daily bathing rituals with an aura of sophistication and luxury.
Frequently Asked Questions about How To Polish A Bathtub
Was this page helpful?
At Storables.com, we guarantee accurate and reliable information. Our content, validated by Expert Board Contributors, is crafted following stringent Editorial Policies. We're committed to providing you with well-researched, expert-backed insights for all your informational needs.
0 thoughts on “How To Polish A Bathtub”