
Articles
How To Polish A Cement Floor
Modified: August 27, 2024
Learn articles on how to polish a cement floor with our step-by-step guide. Achieve a glossy finish and bring new life to your space.
(Many of the links in this article redirect to a specific reviewed product. Your purchase of these products through affiliate links helps to generate commission for Storables.com, at no extra cost. Learn more)
Introduction
Welcome to our guide on how to polish a cement floor. Cement floors are a popular choice for many homeowners and businesses due to their durability and low maintenance. However, over time, they can lose their shine and become dull and worn-looking. Polishing a cement floor is a great way to restore its luster and bring back its original beauty.
In this article, we will provide you with a step-by-step guide on how to polish a cement floor, from cleaning and repairing the surface to applying the polish and achieving a glossy finish. So, let’s dive in and transform your dull cement floor into a stunning focal point of your space.
Key Takeaways:
- Transform your dull cement floor into a stunning focal point by following our step-by-step guide to polishing. Achieve a glossy, professional finish and enhance the overall aesthetic of your space.
- Learn the importance of proper cleaning, repairing damaged areas, and applying polish systematically. Optional steps like buffing and a second coat of polish allow you to tailor the level of shine and durability to your preferences.
Read more: How To Polish Vinyl Floor
Materials and Equipment Needed
Before we begin, let’s gather all the materials and equipment you will need for the project:
- Dust mop
- Broom
- Bucket
- Clean water
- All-purpose cleaner
- Patching compound
- Putty knife
- Concrete or cement polish
- Microfiber mop
- Concrete buffer or polisher
- Protective gear (gloves, safety glasses, and mask)
Make sure to gather all these items before starting the polishing process to ensure a smooth workflow.
Key Takeaways:
- Transform your dull cement floor into a stunning focal point by following our step-by-step guide to polishing. Achieve a glossy, professional finish and enhance the overall aesthetic of your space.
- Learn the importance of proper cleaning, repairing damaged areas, and applying polish systematically. Optional steps like buffing and a second coat of polish allow you to tailor the level of shine and durability to your preferences.
Read more: How To Polish Vinyl Floor
Materials and Equipment Needed
Before we begin, it’s important to gather all the necessary materials and equipment to ensure a successful cement floor polishing project. Here’s a list of what you’ll need:
- Dust mop: This will be used to remove any loose dirt and debris from the surface of the floor.
- Broom: Use a broom to sweep the entire floor, removing larger particles and sweeping them into a dustpan.
- Bucket: You’ll need a bucket to mix the cleaning solution and to hold clean water for rinsing.
- Clean water: Make sure you have access to clean water, as it will be used to rinse the floor and remove any cleaning agents.
- All-purpose cleaner: Choose an all-purpose cleaner suitable for cement floors. This will help remove stubborn stains and dirt buildup.
- Patching compound: If there are any cracks, holes, or uneven areas on the floor, you’ll need a patching compound to repair them before polishing.
- Putty knife: Use a putty knife to apply the patching compound and smooth it out for a seamless finish.
- Concrete or cement polish: Select a high-quality concrete or cement polish that is specifically designed for the type of floor you have.
- Microfiber mop: A microfiber mop is ideal for applying the polish to the floor. It helps distribute the polish evenly and leaves behind a streak-free shine.
- Concrete buffer or polisher: To achieve a professional-looking finish, you’ll need a concrete buffer or polisher. This machine will help you buff the floor and bring out its natural sheen.
- Protective gear: Safety should always be a priority. Wear gloves, safety glasses, and a mask to protect yourself from any harmful chemicals or dust particles during the cleaning and polishing process.
Having all these materials and equipment ready will make the cement floor polishing process more efficient and ensure you achieve the desired results. Now that you’re prepared, let’s move on to the next step: cleaning the floor.
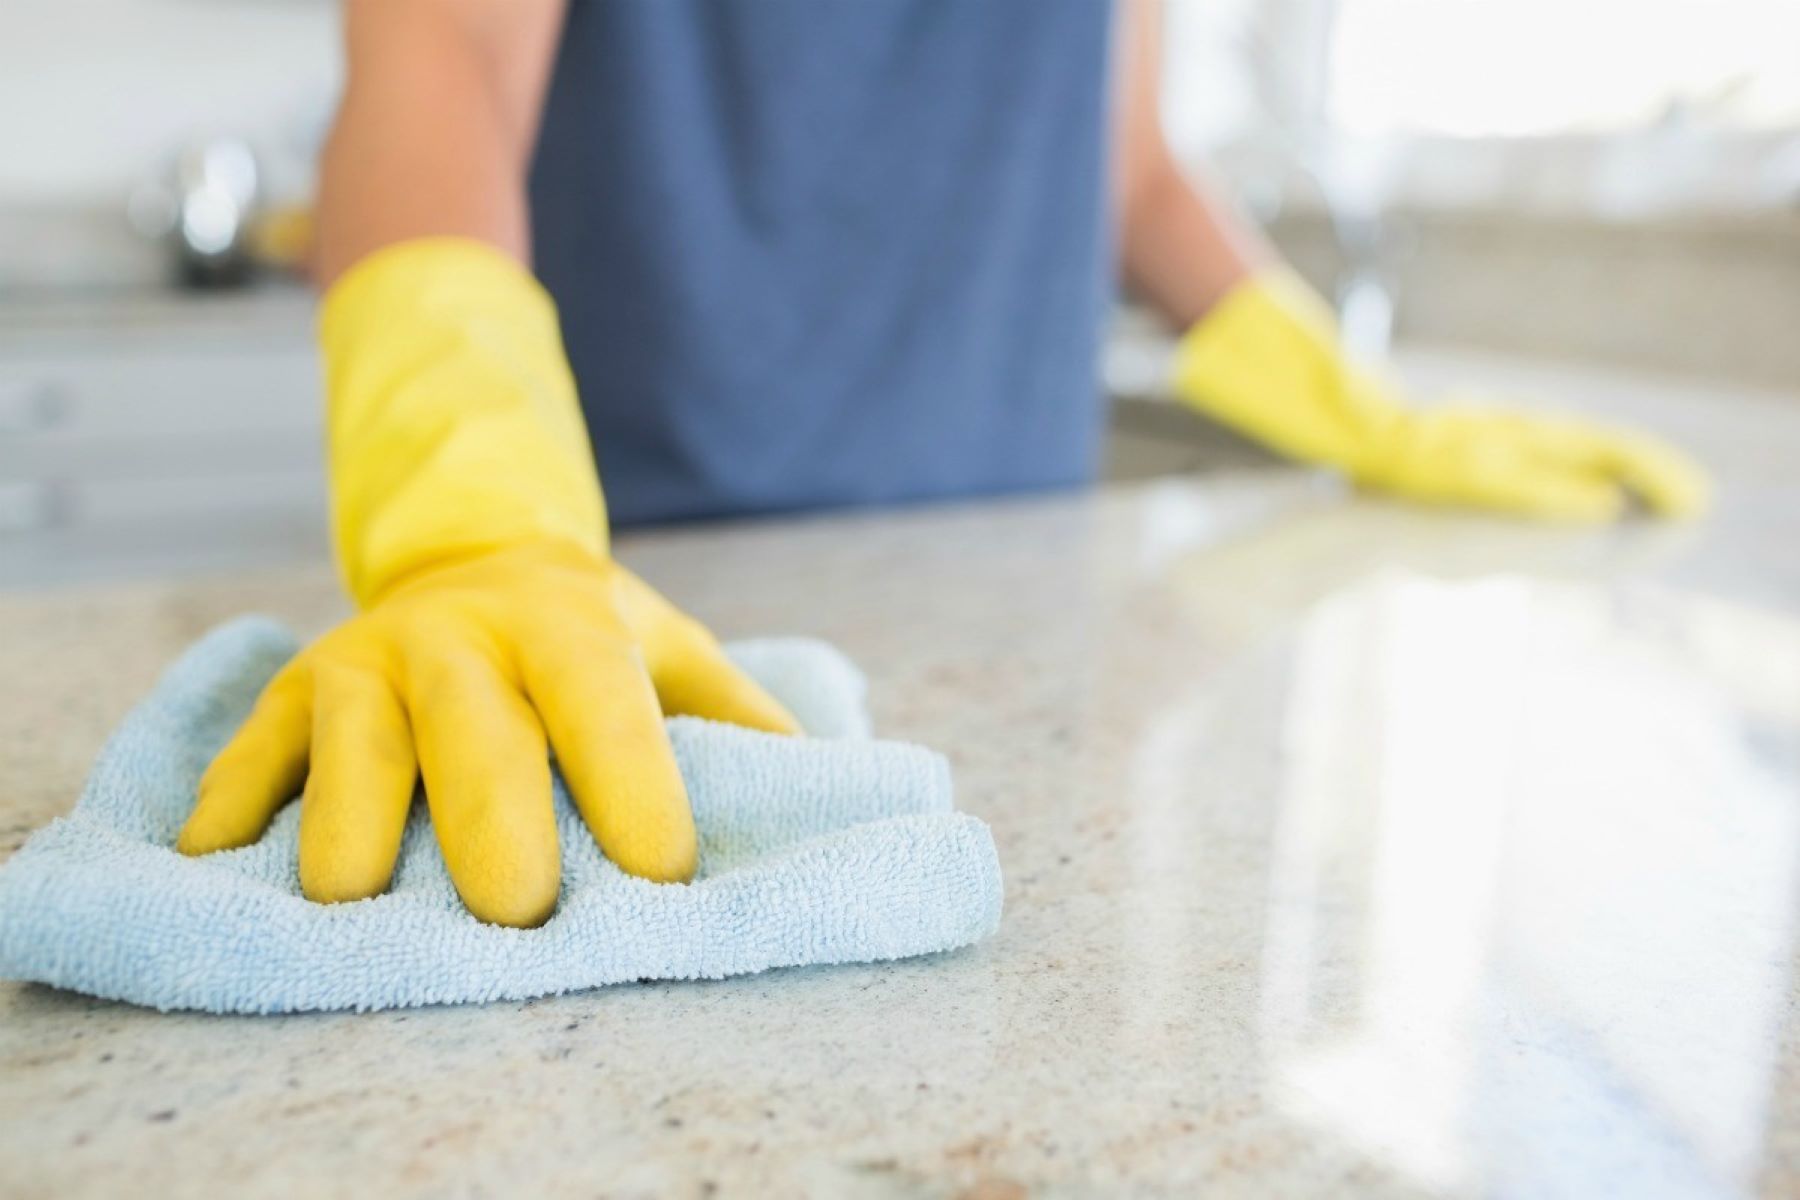
Step 1: Clean the Floor
The first step in polishing a cement floor is to thoroughly clean the surface. This will remove any dirt, dust, or stains that may hinder the polishing process. Follow these steps to ensure a clean and debris-free floor:
- Dust mop: Begin by using a dust mop to remove loose dirt and debris from the surface of the floor. Start from one corner and work your way towards the exit, sweeping in a gentle back-and-forth motion.
- Broom: Next, take a broom and sweep the entire floor to collect any larger particles. Make sure to sweep them into a dustpan and dispose of them properly.
- All-purpose cleaner: Mix an all-purpose cleaner with water according to the manufacturer’s instructions. Dip a mop or sponge into the cleaning solution and wring out any excess liquid. Thoroughly mop the entire floor, paying extra attention to areas with visible stains or dirt buildup.
- Scrubbing: For stubborn stains or grime, use a scrub brush or scrubbing pad to agitate the cleaning solution and gently scrub the affected areas. Be careful not to scrub too hard, as this may damage the surface of the floor.
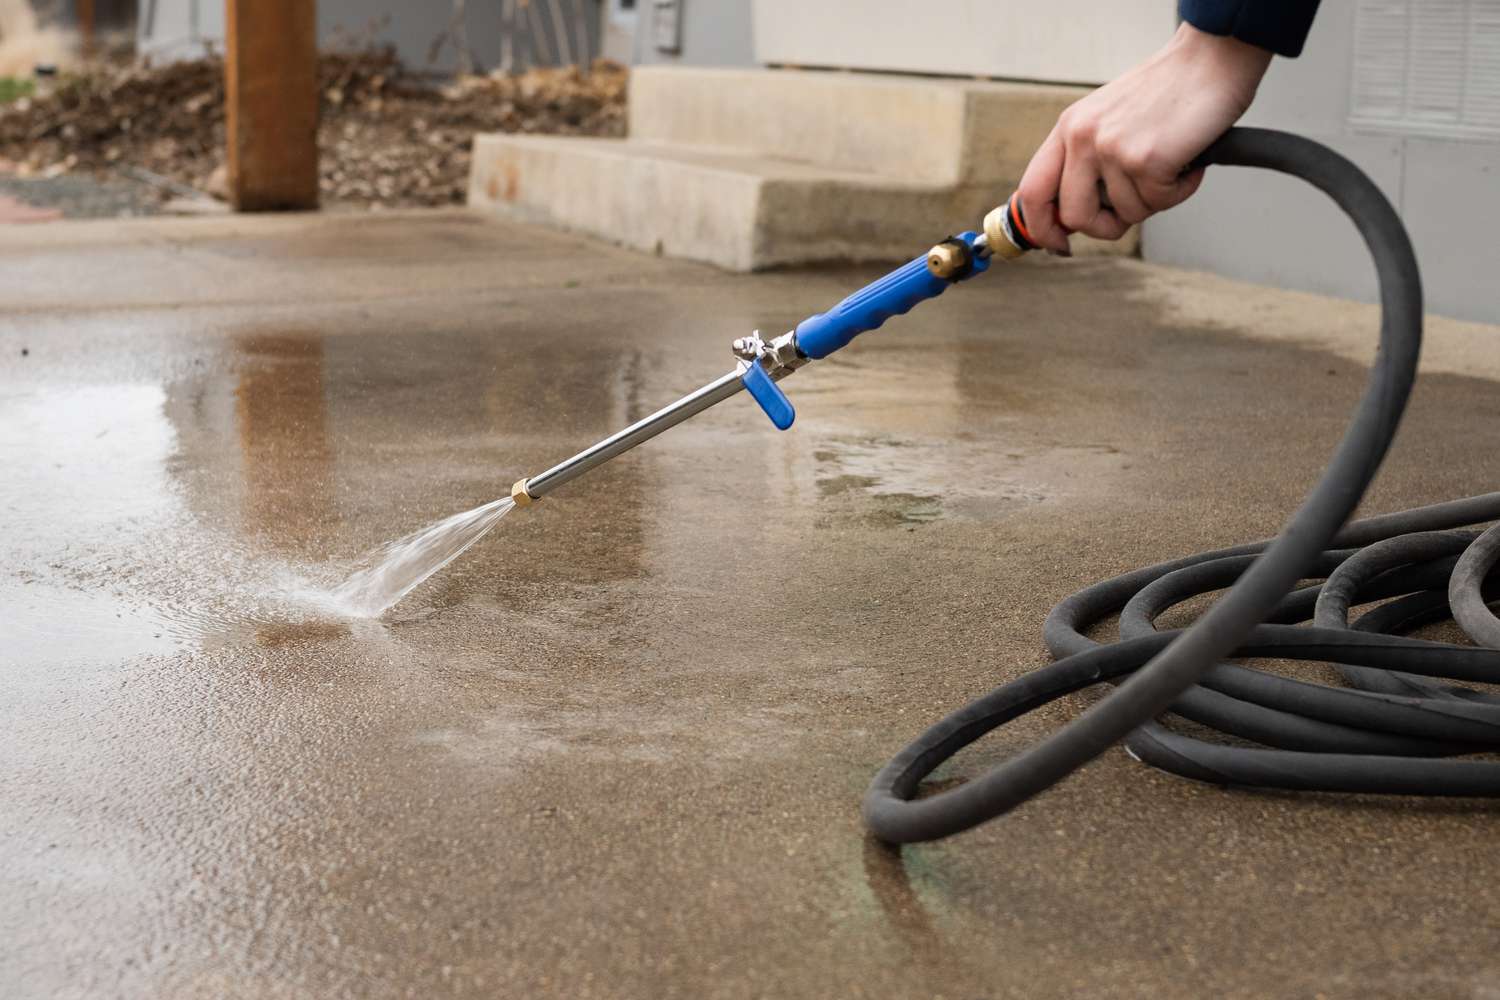
- Rinsing: After cleaning, rinse the floor with clean water to remove any remaining cleaning agents. You can either use a mop or a bucket of clean water to do this. Make sure to change the water frequently to prevent spreading dirt or residue.
- Drying: Allow the floor to air dry completely before proceeding to the next step. This may take a few hours, depending on the humidity and airflow in the room.
By thoroughly cleaning the cement floor, you are preparing it for the next steps of the polishing process. Removing dirt and stains will ensure that the polish adheres properly and gives you a smooth and glossy finish. Now that the floor is clean and dry, we can move on to step two: repairing any damaged areas.
Step 2: Repair Any Damaged Areas
Before proceeding with polishing a cement floor, it’s essential to inspect the surface for any cracks, holes, or uneven areas. Repairing these damaged areas will ensure a smooth and uniform finish. Here’s how you can repair any imperfections on your cement floor:
- Inspect the floor: Carefully examine the entire floor for any cracks, holes, or uneven spots. Take note of the size and location of each damaged area.
- Clean the damaged areas: Using a broom or a vacuum cleaner, remove any loose debris or dust from the damaged areas. This will help the patching compound adhere properly.
- Mix the patching compound: Follow the manufacturer’s instructions to mix the patching compound. Use a bucket or a mixing container to create a smooth and workable consistency.
- Apply the patching compound: Take a putty knife and apply a generous amount of the patching compound to the damaged areas. Smooth out the compound with the putty knife, ensuring it is level with the surrounding floor. Repeat this process for all the damaged areas.
- Allow the compound to dry: Give the patching compound enough time to dry and cure. The drying time may vary depending on the product, so refer to the manufacturer’s instructions for guidance.
- Sand and smooth the repaired areas: Once the patching compound is fully dry, use sandpaper or an abrasive pad to sand down the repaired areas. This will help create a smooth and seamless surface.
- Clean the floor: After sanding, use a dust mop or vacuum cleaner to remove any dust or debris that may have accumulated during the repair process.
By repairing any damaged areas on your cement floor, you are ensuring a uniform and aesthetically pleasing end result. Once the repaired areas are dry and the floor is clean, we can move on to the next step: applying the polish.
When polishing a cement floor, start by thoroughly cleaning the surface to remove any dirt or debris. Use a concrete grinder to smooth out any rough areas, then apply a concrete sealer to protect and enhance the finish.
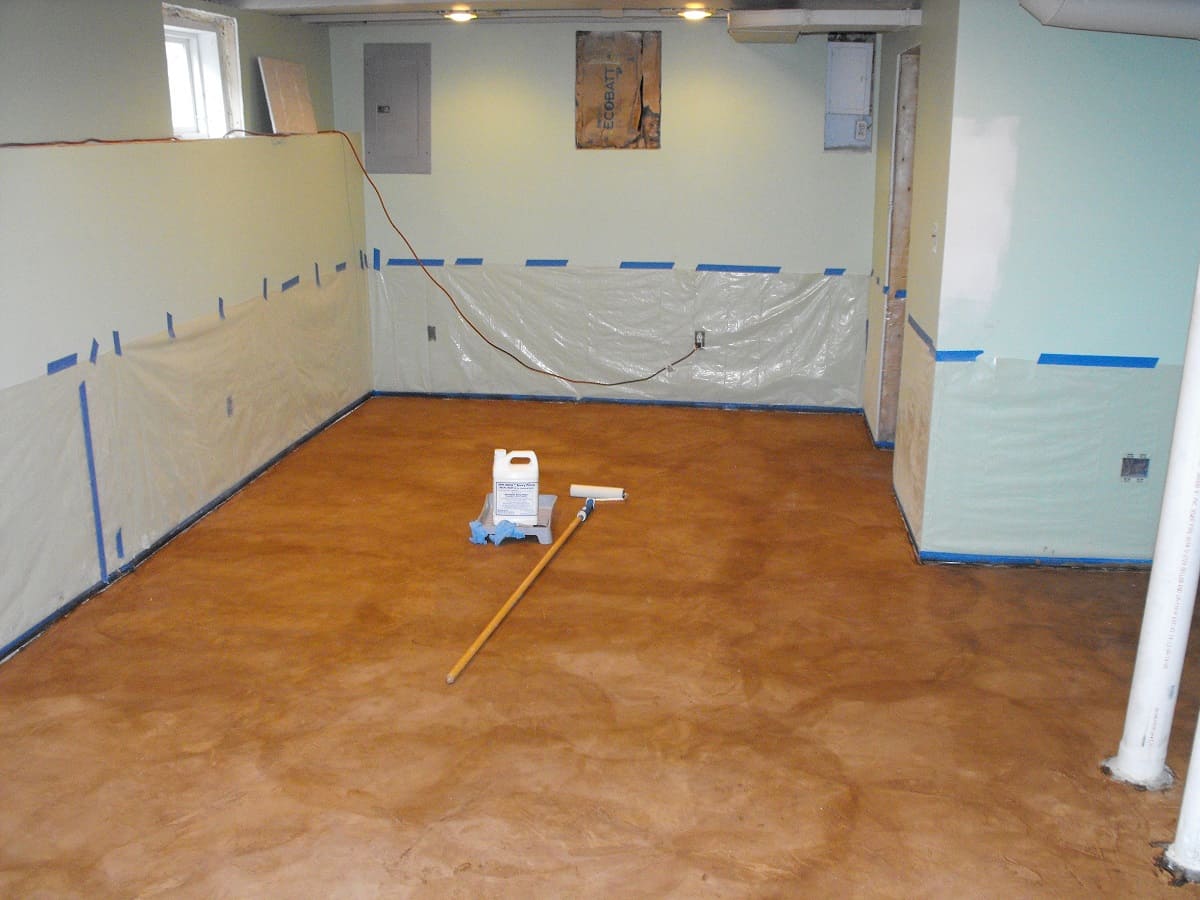
Step 3: Apply the Polish
Now that the cement floor is clean and any damaged areas have been repaired, it’s time to apply the polish. The polish will give the floor a glossy and professional-looking finish. Follow these steps to apply the polish:
- Read the instructions: Before starting, carefully read the instructions provided by the polish manufacturer. Each product may have specific application guidelines and drying times.
- Prepare the polish: If the polish needs to be mixed or diluted, follow the instructions to ensure the correct ratio of polish to water. Mix the polish thoroughly in a bucket or container.
- Start at a corner: Begin applying the polish at a corner of the room. Pour a small amount of polish onto the floor and spread it evenly using a microfiber mop. Work in small sections to ensure even coverage.
- Apply with overlapping strokes: Use the microfiber mop to apply the polish onto the floor using overlapping strokes. This will help distribute the polish evenly and prevent streaks or uneven spots.
- Work towards the exit: Continue applying the polish, moving towards the exit of the room. Avoid stepping on the wet polish to prevent smudges or footprints.
- Allow drying time: After applying the polish, follow the manufacturer’s instructions for the recommended drying time. This may vary depending on the product and environmental conditions. Ensure that the floor is completely dry before proceeding to the next step.
By applying the polish to the cement floor, you are adding a protective layer and enhancing its appearance. The polish will give your floor a glossy finish and make it easier to maintain. Remember to follow the instructions provided by the polish manufacturer for the best results. Now that the polish is applied and dried, let’s move on to step four: buffing the floor.
Step 4: Buff the Floor
After applying the polish to the cement floor and allowing it to dry, the next step is to buff the floor. Buffing will enhance the shine and smoothness of the surface, giving it a professional and polished look. Follow these steps to buff the floor:
- Prepare the buffer: If you are using a concrete buffer or polisher, familiarize yourself with its operation and attach a polishing pad suitable for the type of floor. Make sure the pad is clean and free from any debris.
- Start at a corner: Begin buffing the floor at a corner of the room, working in small sections. Hold the buffer with a firm grip and start it in a slow and controlled manner.
- Overlap the strokes: Move the buffer in overlapping strokes, ensuring even coverage across the entire floor. This will help distribute the polish and bring out the shine.
- Keep the buffer level: Maintain a level position with the buffer as you move it across the floor. This will prevent unevenness and ensure a consistent polish on the surface.
- Work towards the exit: Continue buffing the floor, gradually moving towards the exit of the room. Take your time and pay attention to any areas that may require additional buffing.
- Inspect the results: After buffing the entire floor, inspect the results. If you notice any uneven spots or areas that require further attention, repeat the buffing process in those areas.
- Clean the floor: Once you are satisfied with the buffing results, use a dust mop or vacuum cleaner to remove any debris or dust that may have accumulated during the process.
Buffing the cement floor will help bring out its natural shine and smooth out any imperfections. The polishing process, combined with the buffing, will create a stunning and professional-looking floor. Now that the floor is buffed, you can choose to proceed to the optional step five: applying a second coat of polish.
Step 5: Apply a Second Coat (Optional)
Applying a second coat of polish to your cement floor can further enhance its shine and durability. While this step is optional, it can provide an extra layer of protection and make the floor even more resilient. If you decide to proceed with a second coat, follow these steps:
- Ensure the first coat is dry: Make sure that the first coat of polish is completely dry before applying the second coat. Refer to the manufacturer’s instructions for the recommended drying time.
- Prepare the polish: If required, mix or dilute the second coat of polish as per the manufacturer’s instructions. Thoroughly stir the polish to ensure it is well-mixed.
- Apply the second coat: Start at a corner of the room and pour a small amount of polish onto the floor. Use a microfiber mop to spread the polish evenly, following the same overlapping strokes technique as before.
- Work in small sections: Divide the floor into manageable sections and apply the second coat of polish in a systematic manner. This will help maintain consistency and prevent any missed areas.
- Allow drying time: Once the second coat of polish is applied, allow it to dry completely. Follow the manufacturer’s instructions for the recommended drying time.
- Inspect the results: Once the second coat is dry, inspect the floor to ensure a smooth and glossy finish. If any touch-ups are needed, you can apply another thin layer of polish to those specific areas.
- Clean the floor: After completing the entire process, including the optional second coat, take the time to clean the floor and remove any traces of polish or debris.
Applying a second coat of polish can provide added protection and enhance the overall appearance of your cement floor. However, if you are satisfied with the results after the first coat, you can skip this step. Now that you’ve completed the polishing process, take a moment to admire your beautifully polished cement floor.
Conclusion
Congratulations! You’ve successfully learned how to polish a cement floor and transform it into a stunning centerpiece of your space. By following the steps outlined in this guide, you have achieved a glossy and professional-looking finish that will impress and enhance the overall aesthetic of your home or business.
Throughout the process, you learned the importance of properly cleaning the floor, repairing any damaged areas, and applying the polish in a systematic manner. Remember to always read and follow the instructions provided by the polish manufacturer to ensure the best results.
Buffing the floor added an extra touch of brilliance and smoothness, while applying a second coat of polish can provide additional protection and durability. These optional steps allow you to tailor the level of shine and longevity based on your preferences and requirements.
It’s worth noting that maintaining the beauty of your newly polished cement floor is crucial. Regular cleaning using a dust mop or soft broom, and occasional damp mopping with a neutral cleaner, will help preserve its shine and cleanliness for years to come.
Now, enjoy your polished cement floor and take pride in the way it enhances the overall atmosphere of your space. Whether it’s a home, office, or retail establishment, the elegance and durability of a polished cement floor will undoubtedly leave a lasting impression.
Thank you for choosing our guide and happy polishing!
Frequently Asked Questions about How To Polish A Cement Floor
Was this page helpful?
At Storables.com, we guarantee accurate and reliable information. Our content, validated by Expert Board Contributors, is crafted following stringent Editorial Policies. We're committed to providing you with well-researched, expert-backed insights for all your informational needs.


0 thoughts on “How To Polish A Cement Floor”