Tableware
How To Engrave Slate Coasters
Modified: October 30, 2024
Learn how to engrave slate coasters and add a personalized touch to your tableware. Discover easy step-by-step instructions for creating unique and stylish designs.
(Many of the links in this article redirect to a specific reviewed product. Your purchase of these products through affiliate links helps to generate commission for Storables.com, at no extra cost. Learn more)
Introduction
Welcome to our comprehensive guide on how to engrave slate coasters! If you’re looking to add a personal touch to your tableware or create unique and customized gifts, engraving slate coasters is a fantastic option. Not only does it allow you to showcase your creativity, but it also adds a touch of elegance and sophistication to any home or office.
Slate, a fine-grained rock formed from clay and volcanic ash, is an excellent material for engraving due to its durability and smooth surface. By following the step-by-step process we’ll outline in this article, you’ll be able to engrave slate coasters with precision and create beautiful designs that will impress your friends and family.
Whether you’re an experienced engraver or a beginner, this guide caters to all skill levels. We’ll start by discussing the materials you’ll need for the engraving process, including the tools and equipment required. Then, we’ll dive into the step-by-step instructions, ensuring you have a clear understanding of each stage of the process.
But before we jump into the practical aspects of engraving, let’s take a moment to explore the possibilities and benefits of engraving slate coasters. From personalized wedding favors to custom-made corporate gifts, there are countless reasons to embrace this art form.
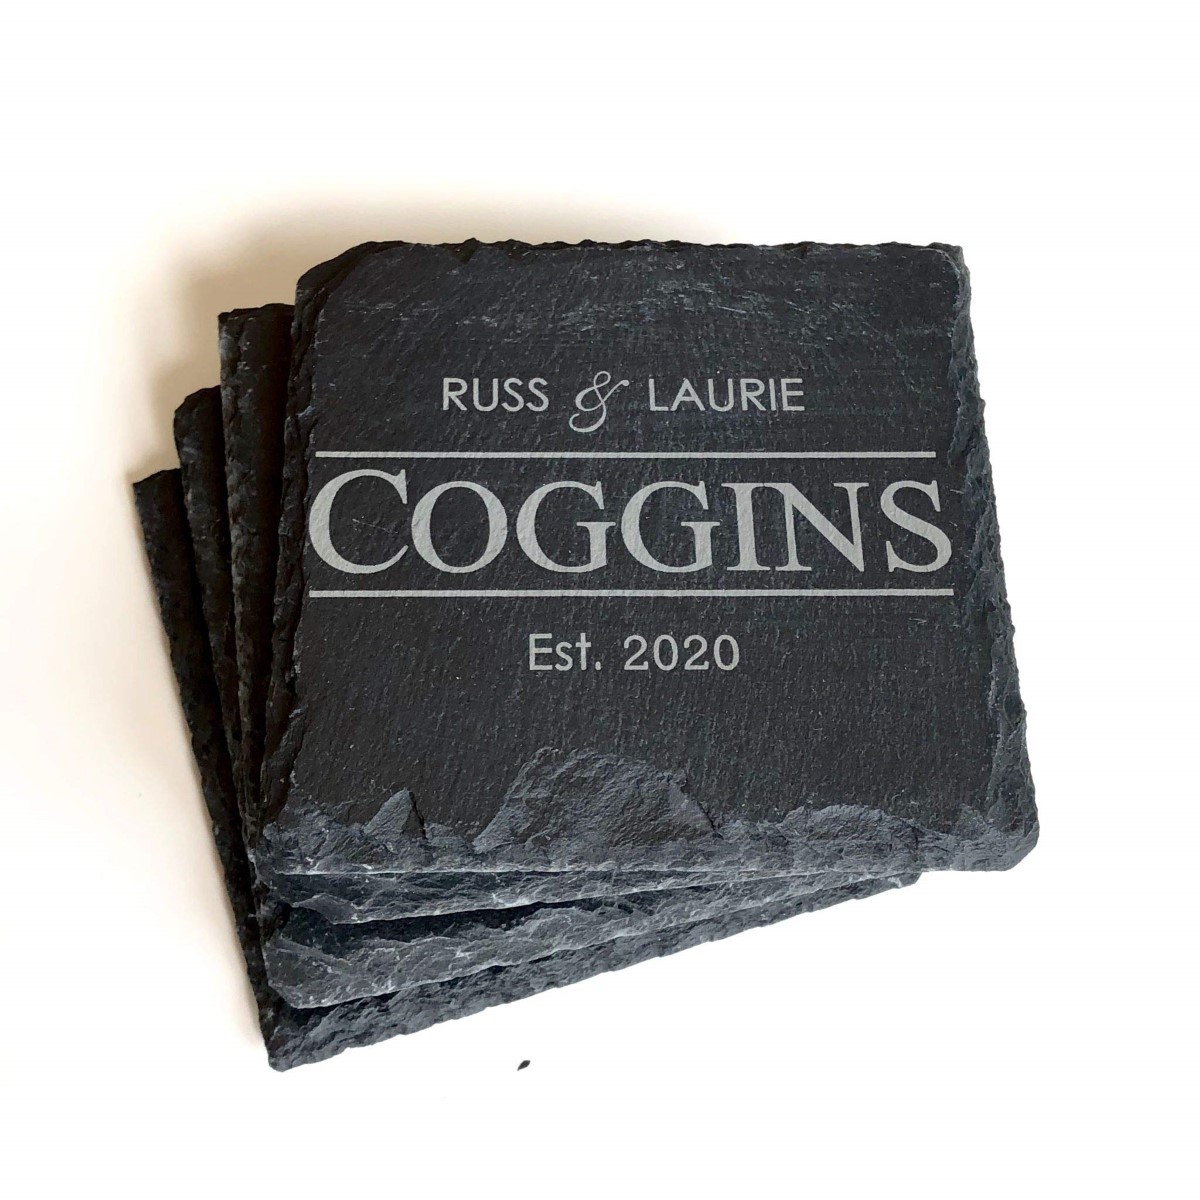
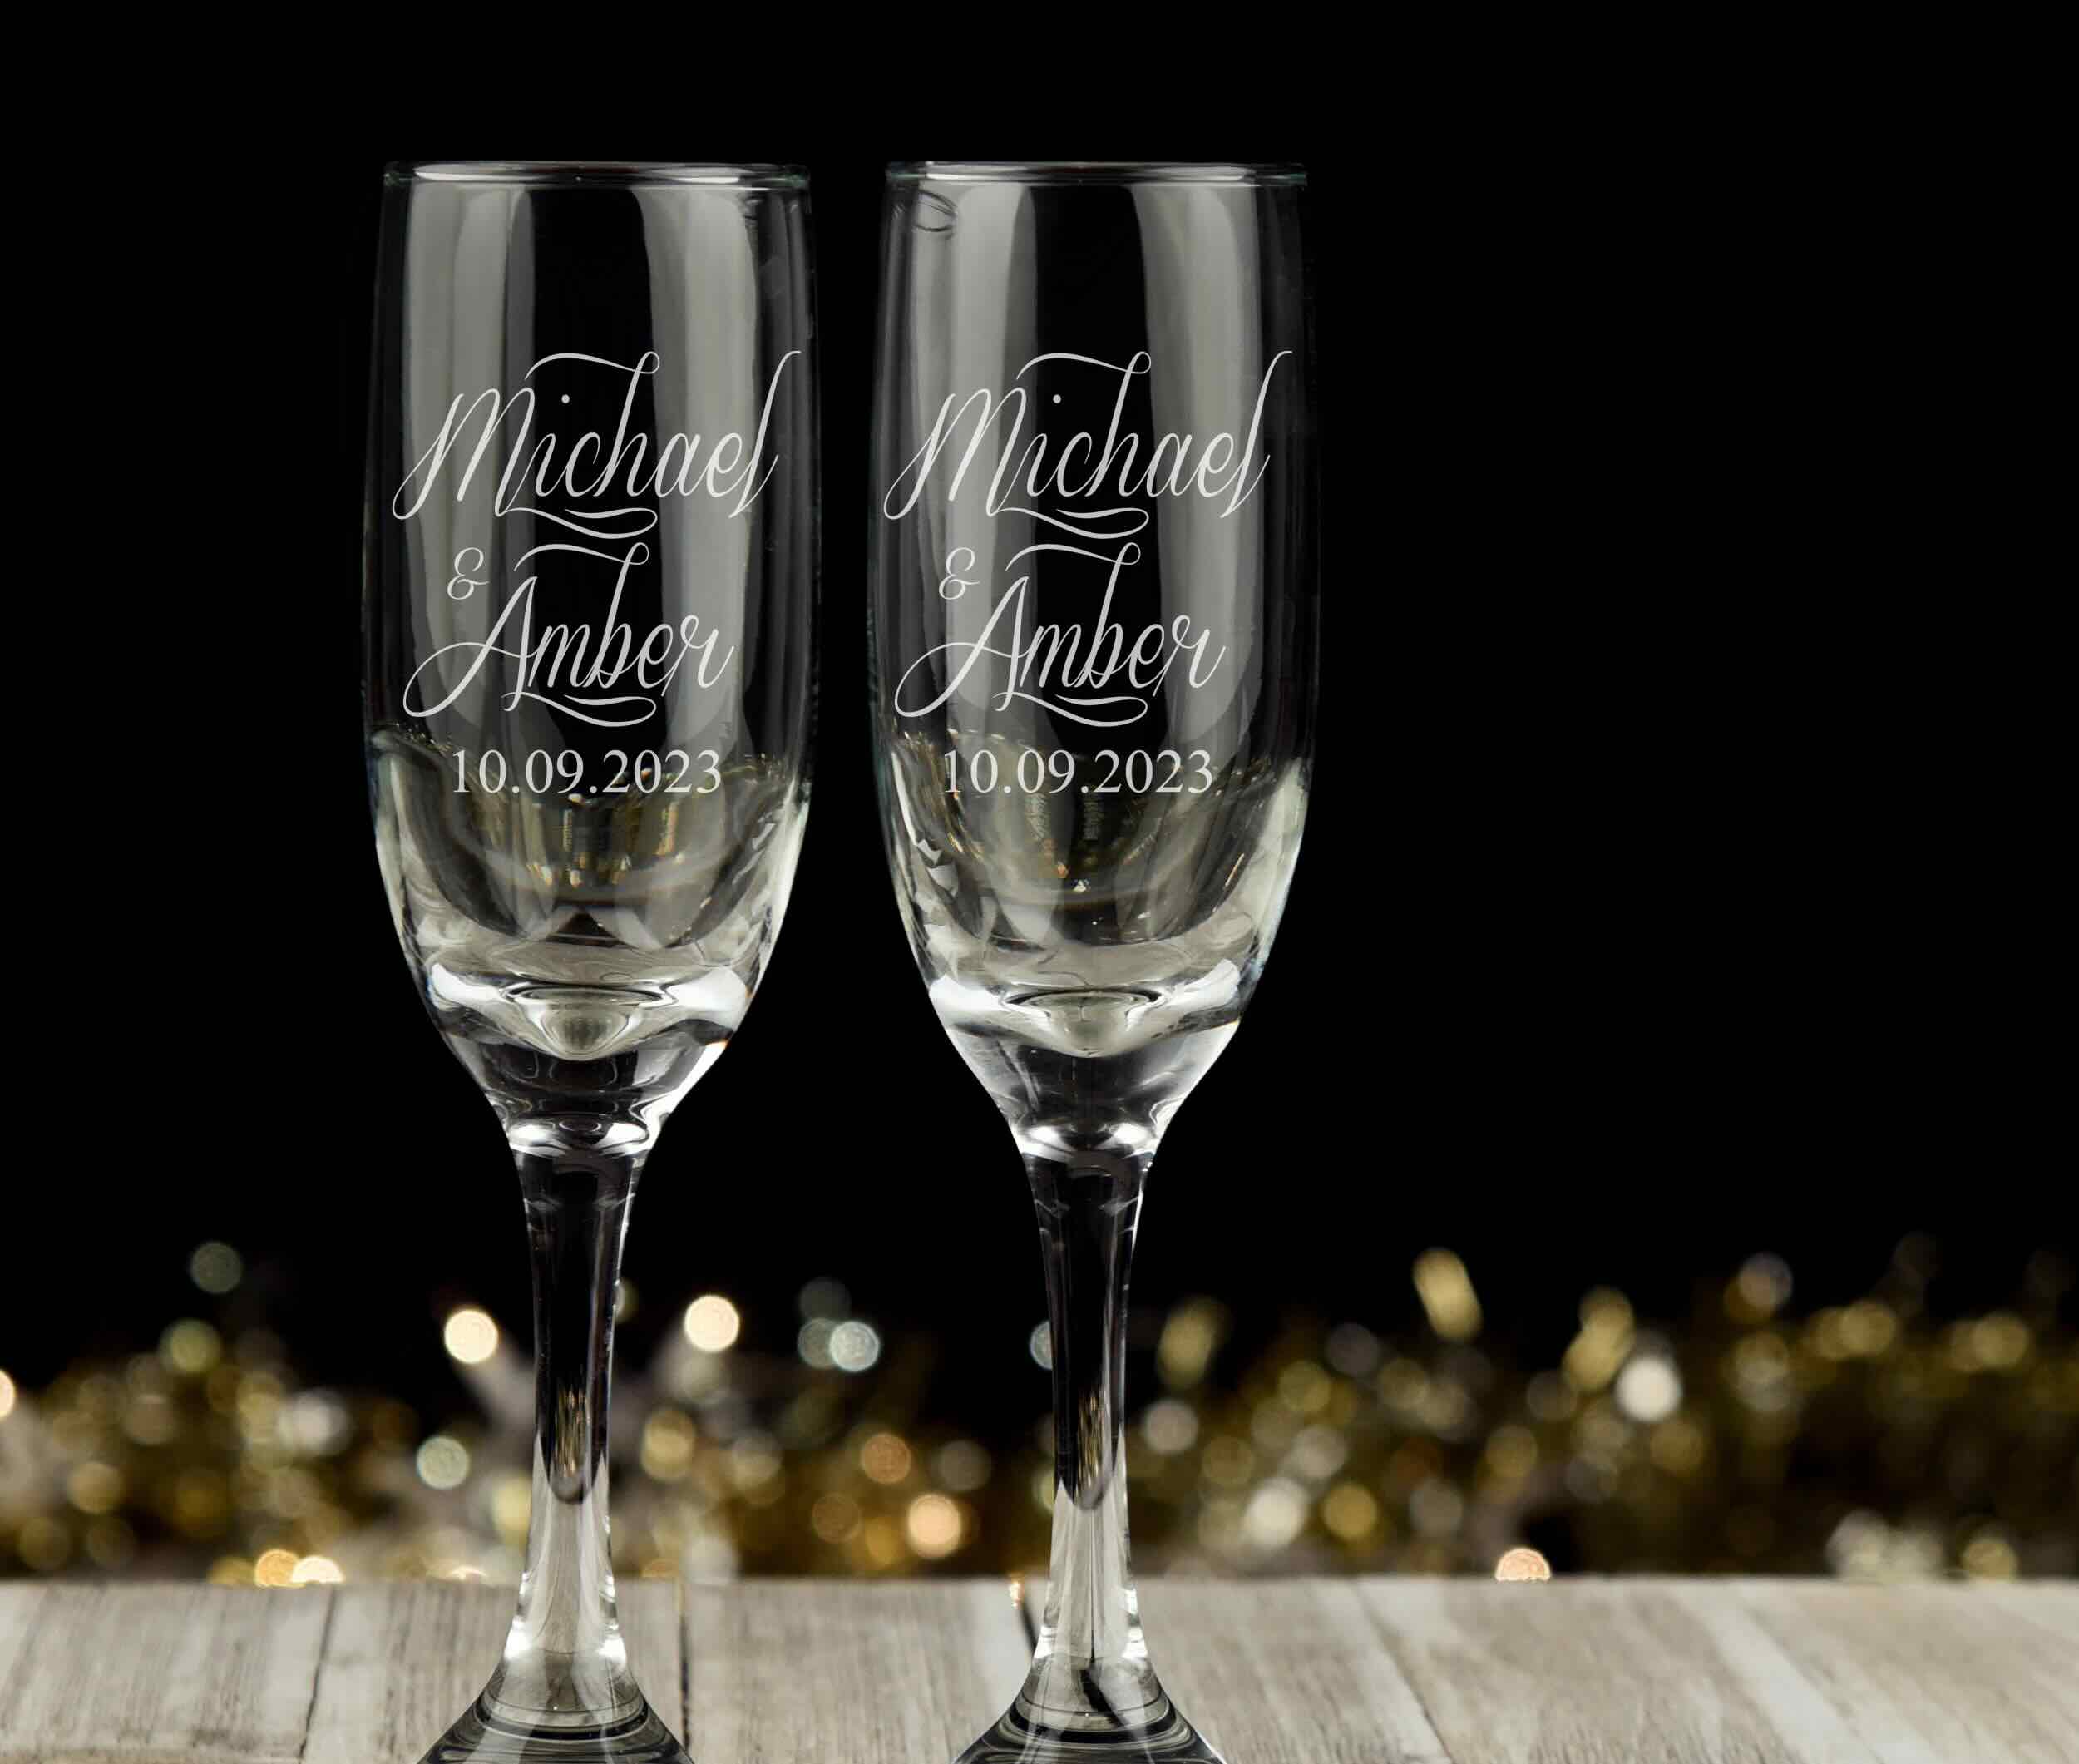
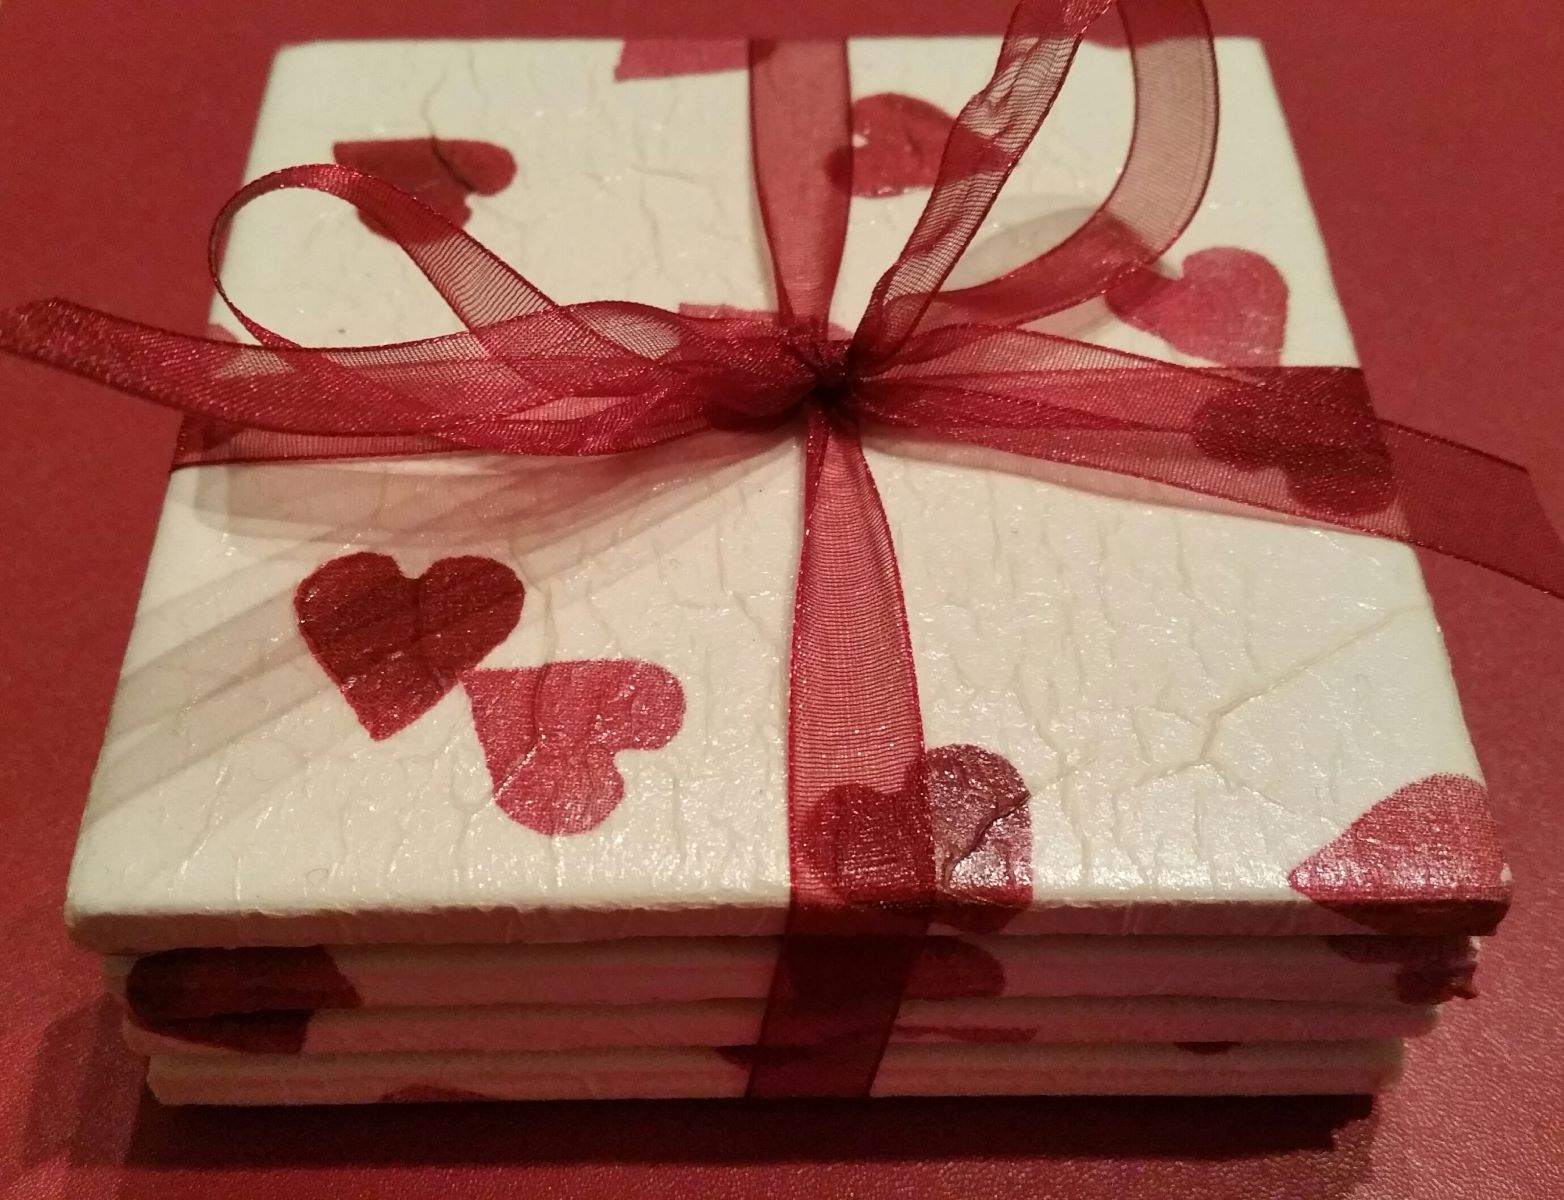
Engraved slate coasters make perfect wedding or housewarming presents. By engraving the names of the couple or the new homeowners, you add a unique and thoughtful touch to their special day. Engraved slate coasters can also be used as promotional items for businesses. Customize them with your company logo and use them as giveaways at trade shows or events.
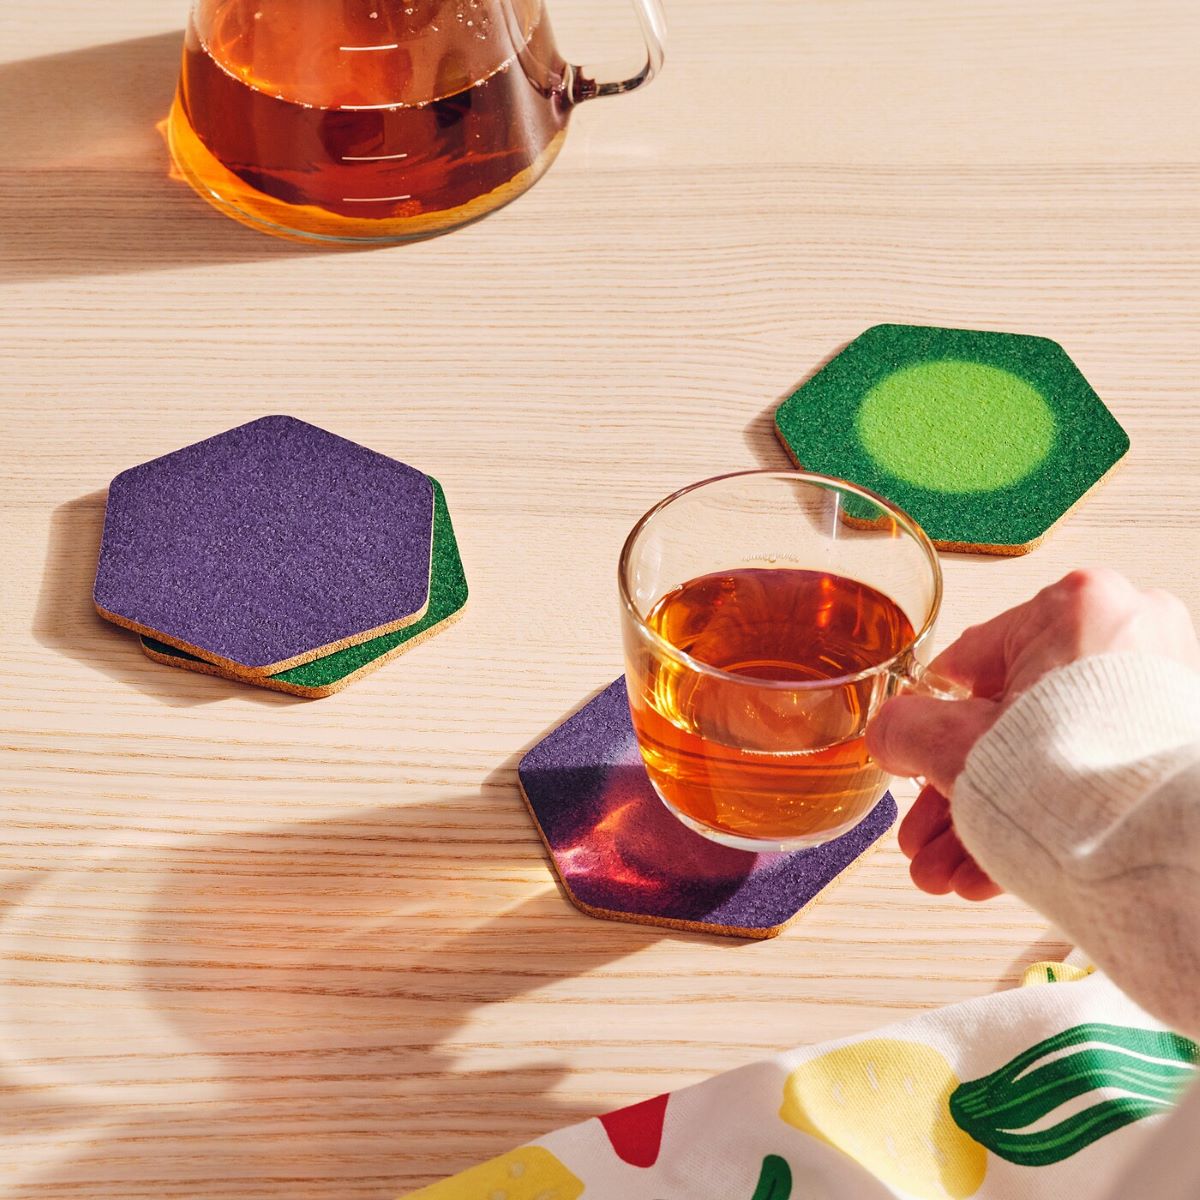
In addition to their aesthetic appeal, engraved slate coasters are functional too. Slate’s natural thermal properties help to keep drinks cold and prevent condensation from seeping onto the tabletop. This makes them not only a stylish addition to your home decor but also a practical tool for protecting your furniture.
So, let’s roll up our sleeves and get ready to embark on this creative journey of engraving slate coasters. With a bit of practice and patience, you’ll soon master the art and be able to create stunning designs that will leave a lasting impression.
Key Takeaways:
- Personalized and functional, engraved slate coasters make perfect gifts and stylish additions to any home. Showcase your creativity and elevate your tableware with this versatile and rewarding craft.
- From preparing the surface to adding finishing touches, mastering the art of engraving slate coasters allows you to express your personal style and create one-of-a-kind pieces that will be cherished for years to come.
Read more: How To Engrave Glass
Materials Needed
Before you begin engraving slate coasters, it’s important to gather all the necessary materials and tools. Here’s a list of what you’ll need:
- Slate coasters: You can purchase pre-cut slate coasters or cut them yourself from a larger slate slab. Ensure that the coasters are thick enough to withstand engraving without cracking.
- Engraving tool: There are various types of engraving tools available, including electric engravers, rotary tools, or handheld chisels. Choose the tool that best suits your comfort level and the intricacy of your design.
- Design template: Whether it’s a hand-drawn sketch or a printed design, having a template will help guide your engraving process. Ensure the template fits the size of your coaster and is easy to transfer onto the slate.
- Masking tape: This will be used to secure the design template onto the coaster and prevent it from shifting while engraving.
- Etching cream (optional): If you want to add depth and texture to your design, etching cream can be used after engraving. This is especially useful for creating contrasting colors and shadows in your artwork.
- Safety goggles: Protect your eyes from any debris or particles that may be produced during the engraving process.
- Dust mask: To prevent inhalation of dust particles, wear a dust mask to keep your lungs safe.
- Protective gloves: Engraving tools can be sharp, so wearing gloves will keep your hands protected from any potential cuts or injuries.
- Soft cloth: This will be used to clean the coasters after engraving and to remove any excess dust or debris.
These are the essential materials needed to engrave slate coasters. However, feel free to explore additional tools and supplies that may enhance your engraving experience, such as different types of chisels or diamond burrs for more intricate designs.
Now that you’ve gathered all the necessary materials, it’s time to move on to the step-by-step process of preparing and engraving the slate coasters.
Step 1: Preparing the Slate Coasters
Before you begin the engraving process, it’s essential to prepare the slate coasters properly. This step ensures that you have a clean and smooth surface to work on, which will result in better engraving quality. Follow these steps to prepare the coasters:
- Start by cleaning the coasters: Use a soft cloth or brush to gently remove any dust or debris from the surface of the coasters. This will ensure that no particles interfere with the engraving process.
- If there are any rough edges or sharp corners on the coasters, use sandpaper to smooth them out. Be careful not to sand too aggressively, as you don’t want to alter the overall shape or thickness of the coasters.
- Once the coasters are clean and smooth, consider applying a coat of slate sealant. This step is optional but recommended, as it helps to protect the coasters and enhances the natural beauty of the slate.
- If you’re using pre-cut coasters, ensure that they are properly leveled. Place them on a flat surface and check if any wobbling occurs. If needed, use a piece of sandpaper to level the bottom of the coasters to ensure stability.
- Lastly, set up your workspace. Engraving can be a messy process, so make sure you have a clean and well-ventilated area. Place a protective covering on your work surface to catch any debris or dust that may be produced during engraving.
By carefully preparing the slate coasters, you’re setting the foundation for successful and visually appealing engravings. Once the coasters are cleaned, leveled, and sealed (if desired), you’re ready to move on to the next step: designing the engraving.
Step 2: Designing the Engraving
Designing the engraving is an important step that requires careful thought and consideration. It’s the opportunity to unleash your creativity and showcase your personal style. Follow these steps to create a design that will make a lasting impression:
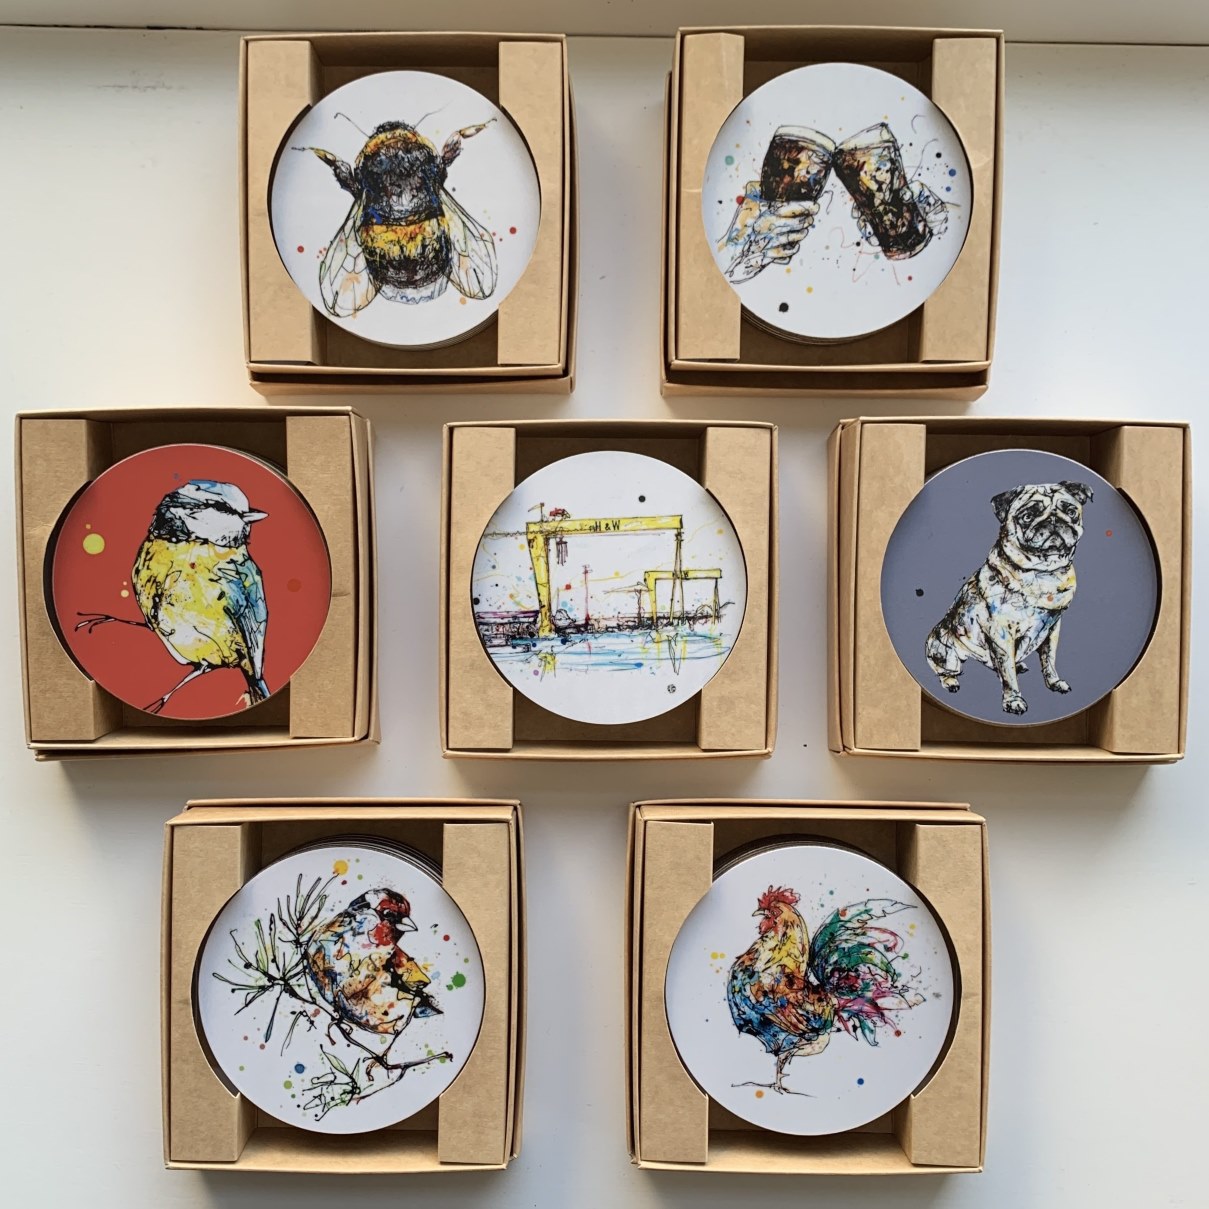
- Choose your motif: Decide on the theme or motif you want to engrave on the slate coasters. It could be anything from intricate patterns to monograms, quotes, or even nature-inspired designs. Consider the intended purpose of the coasters and the preferences of the recipients if they’re meant as gifts.
- Sketch your design: Take a pencil and paper, and sketch out your design ideas. Play around with different shapes, patterns, and arrangements until you find a concept that speaks to you. Pay attention to the size of the coasters and ensure that your design will fit well within the available space.
- Refine and finalize the design: Once you’re satisfied with your initial sketches, refine the design by adding more details and making any necessary adjustments. Consider factors like line thickness, negative space, and the overall balance of the composition.
- If you’re not confident in your drawing skills, you can find design templates online or use clipart as inspiration. Print or trace your chosen design onto a piece of paper that fits the size of the coaster.
- Experiment with different fonts: If your design includes text, take the time to explore different fonts and lettering styles. Fonts can significantly impact the overall look and feel of your engraving, so choose one that complements your design and reflects the desired aesthetic.
- Arrange the design on the coaster: Place the design template on top of the prepared slate coaster and secure it in place with masking tape. Ensure that the design is centered and aligned as desired, and that there is no movement during the engraving process.
By taking the time to carefully plan and design your engraving, you’re setting the stage for a visually appealing and personalized result. Once you have your design template securely in place, you’re ready to move on to the next step: transferring the design onto the coasters.
When engraving slate coasters, use a high-quality diamond-tipped engraving tool to ensure clean and precise lines. Make sure to practice on a scrap piece of slate first to get a feel for the tool and the pressure needed.
Step 3: Transferring the Design onto the Coasters
Now that you have your design finalized, it’s time to transfer it onto the slate coasters. This step ensures that you have accurate guidelines to follow during the engraving process. Follow these steps to transfer your design onto the coasters:
- Place the design template on top of the coaster, ensuring it is centered and aligned as desired.
- Secure the template in place using masking tape. Make sure it is firmly adhered to the slate, as you don’t want it to shift or move during engraving.
- Using a pencil or a fine-point marker, trace the outline of the design onto the surface of the coaster. Apply moderate pressure to ensure that the design transfers onto the slate.
- Once you have traced the entire design, carefully remove the masking tape and lift the template off the coaster.
- Inspect the transferred design on the coaster to ensure that all the necessary details are visible and clear. If needed, go over any faint or incomplete lines with a pencil or marker to make them more visible.
Transferring the design onto the coasters provides you with a precise guide to follow during the engraving process. Make sure that the transferred lines are visible and well-defined so that you can achieve accurate and satisfying results.
With the design successfully transferred onto the coasters, you’re now ready to move on to the exciting part—engraving the coasters. Stay tuned for Step 4, where we’ll explore the engraving process in detail.
Read more: How Much Is A Slate Roof
Step 4: Engraving the Coasters
Now comes the moment you’ve been waiting for—the engraving process. This step requires precision, patience, and a steady hand. Follow these steps to engrave your design onto the slate coasters:
- Put on your safety goggles, dust mask, and protective gloves to ensure your safety during the engraving process.
- Choose the appropriate engraving tool for your desired design and level of detail. If you’re using an electric engraver or rotary tool, adjust the speed and depth settings according to your preferences.
- Start by engraving the main outlines of your design, following the traced lines on the coaster. Use a light touch and steady hand to create clean and precise lines. Take your time and work slowly, ensuring the depth and consistency of the engraving.
- If your design involves intricate details or shading, use smaller and more precise engraving tools to achieve the desired effect. Experiment with different techniques and depths to create depth and texture in your engraving.
- Continuously clean the slate dust and debris that accumulate during the engraving process. Use a soft cloth or brush to gently remove the excess particles, ensuring that they don’t obstruct your view or affect the quality of the engraving.
- Take breaks as needed to rest your hand and prevent fatigue. Engraving can be a meticulous and time-consuming process, so it’s important to pace yourself.
- As you progress with the engraving, periodically stop to evaluate your work and make any necessary adjustments. Smooth out any rough or uneven lines, and ensure that the overall design looks cohesive and well-defined.
- Once you have completed the engraving to your satisfaction, inspect the coasters for any remaining dust or debris. Clean them thoroughly with a soft cloth or brush, making sure that the engraved lines are free from any residue.
The engraving process requires concentration, attention to detail, and a steady hand. By following these steps and taking your time, you’ll be able to create beautifully engraved designs on your slate coasters. Now, it’s time to move on to the final step: cleaning and finishing touches.
Step 5: Cleaning and Finishing Touches
After the engraving process is complete, it’s important to clean the slate coasters and add any finishing touches that will enhance their appearance. Follow these steps to ensure your engraved slate coasters are ready to be showcased:
- Using a soft cloth or brush, gently wipe away any remaining dust or debris from the coasters. Pay close attention to the engraved lines, ensuring they are clean and clear.
- If you want to add depth and contrast to your engraved design, consider applying etching cream. Follow the instructions provided with the etching cream to achieve the desired effect. Typically, you’ll apply the cream to the engraved lines, let it sit for a specified amount of time, and then rinse it off. Make sure to wear gloves and protect your work surface during this process.
- Once the coasters are clean and dry, inspect the engraving for any imperfections or areas that may need touch-ups. Use a small chisel or engraving tool to smooth out any rough lines or fill in shallow areas. Take your time to ensure the final result is polished and refined.
- Consider applying a slate sealant to protect the engraved design and enhance the natural beauty of the slate. Follow the instructions on the sealant and allow it to dry completely before handling the coasters.
- Finally, give your engraved slate coasters a final wipe down with a soft cloth to remove any fingerprints or smudges.
With the cleaning and finishing touches completed, your engraved slate coasters are now ready to be used or gifted. Admire your craftsmanship and enjoy the satisfaction of creating one-of-a-kind tableware that showcases your creativity.
Remember, the more you practice the art of engraving, the more confident and skilled you will become. So, don’t be afraid to experiment with different designs and techniques, and continue exploring new ways to expand your engraving skills.
Now that you’ve mastered the process of engraving slate coasters, you can apply your newfound expertise to other slate items as well. From personalized signs to decorative plates, the possibilities are endless.
So go ahead, showcase your creativity, and create exquisite engraved designs on slate coasters that will impress everyone who lays eyes on them!
Conclusion
Congratulations, you have reached the end of our comprehensive guide on how to engrave slate coasters! You have gained the knowledge and skills necessary to create beautiful and personalized tableware that will add a touch of elegance to any setting.
Throughout this guide, we covered the step-by-step process of engraving slate coasters, from preparing the surface to transferring the design and finally, engraving the slate. We also discussed the importance of cleaning and adding finishing touches to ensure a polished final product.
Engraving slate coasters allows you to showcase your creativity and express your personal style. Whether you’re creating unique gifts for loved ones or adding a personalized touch to your home decor, engraving slate coasters is a versatile and rewarding craft.
Remember to gather the necessary materials, take the time to design your engraving, and transfer it accurately onto the coasters. Be patient and meticulous during the engraving process, and don’t forget to add those final cleaning and finishing touches to bring your artwork to life.
With practice and experience, you’ll continue to refine your skills and explore new techniques in slate engraving. Don’t be afraid to experiment with different designs, fonts, and engraving tools to create truly unique and stunning coasters.
So, what are you waiting for? Grab your engraving tools, gather some slate coasters, and let your creativity soar as you embark on this exciting journey of engraving slate coasters. Enjoy the process, and most importantly, have fun!
By following this guide, you’ll be able to create engraved slate coasters that will be cherished and admired for years to come. Whether you’re making them as gifts or for yourself, these personalized pieces of tableware will surely leave a lasting impression.
Thank you for joining us on this engraving adventure. Happy engraving!
Frequently Asked Questions about How To Engrave Slate Coasters
Was this page helpful?
At Storables.com, we guarantee accurate and reliable information. Our content, validated by Expert Board Contributors, is crafted following stringent Editorial Policies. We're committed to providing you with well-researched, expert-backed insights for all your informational needs.
0 thoughts on “How To Engrave Slate Coasters”