Articles
How To Pour Concrete Countertops In Place
Modified: February 24, 2024
Learn the step-by-step process of pouring concrete countertops in place with our informative articles. Get expert tips and achieve professional results.
(Many of the links in this article redirect to a specific reviewed product. Your purchase of these products through affiliate links helps to generate commission for Storables.com, at no extra cost. Learn more)
Introduction
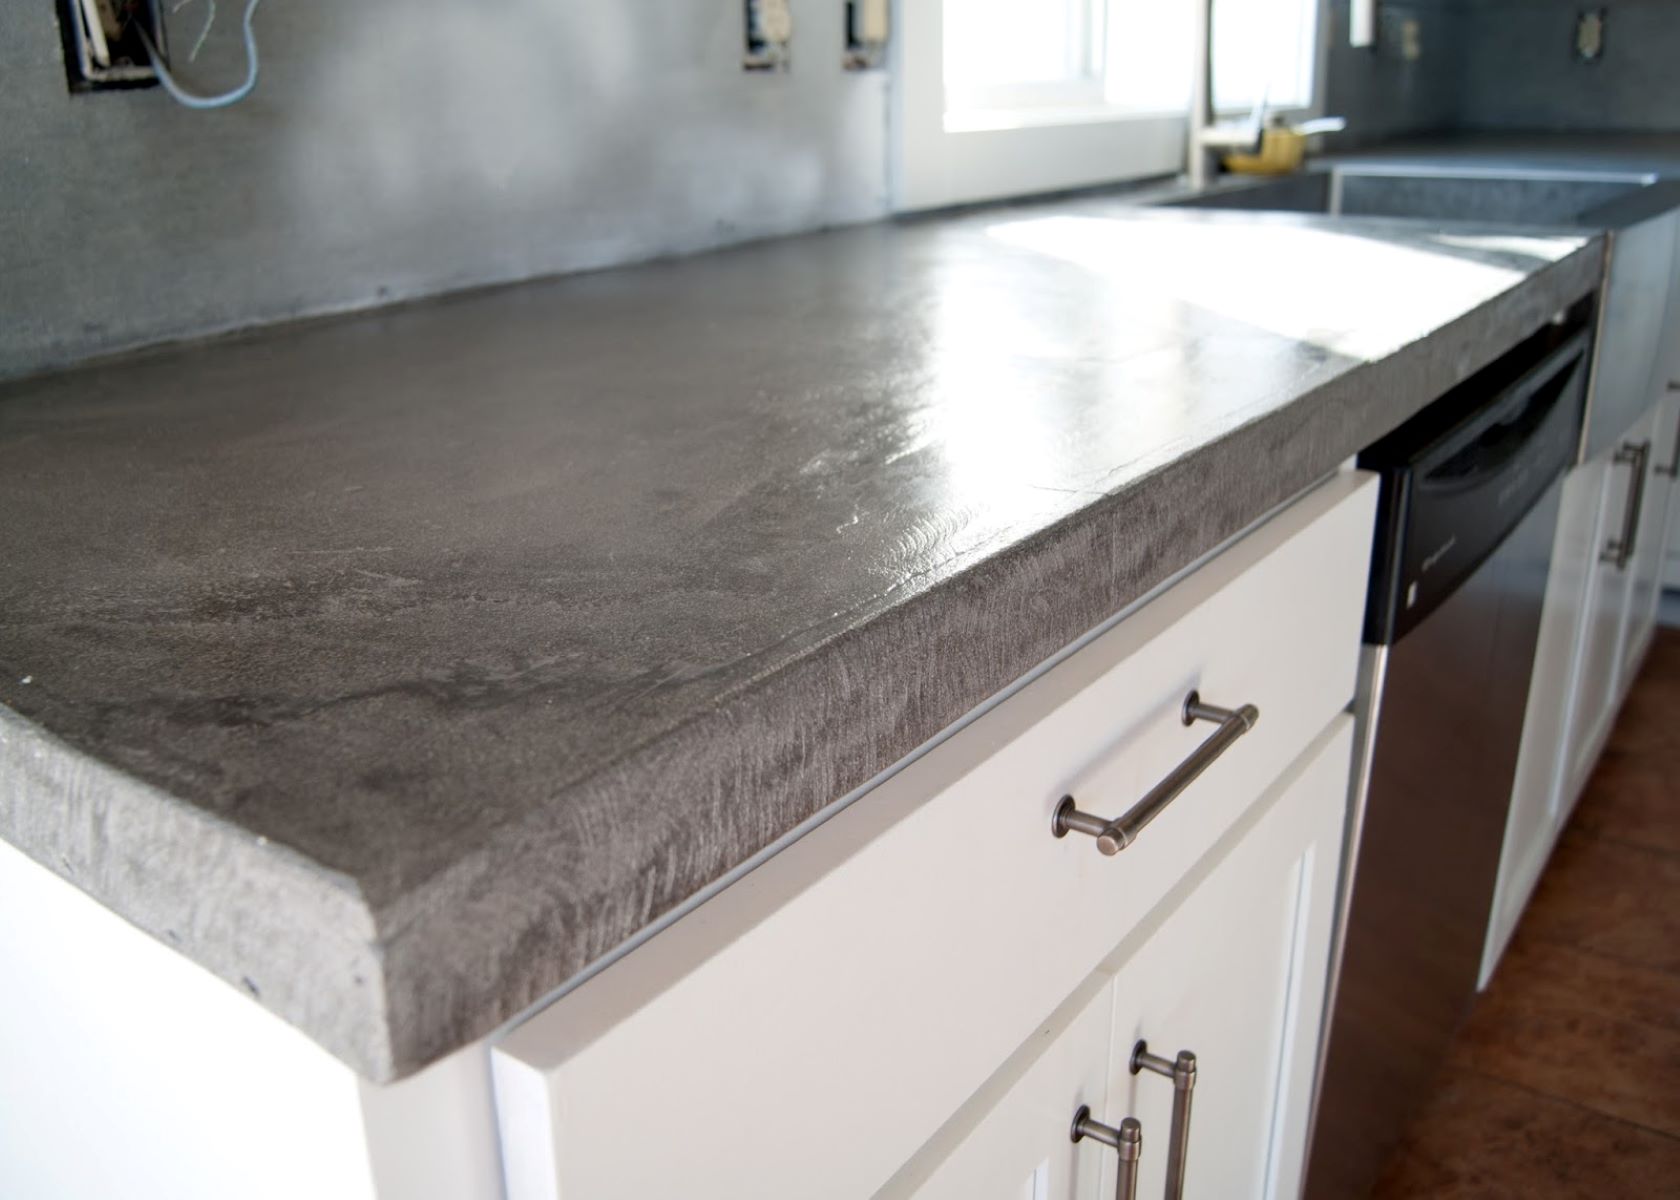
Welcome to the world of concrete countertops—where creativity meets functionality. Whether you’re a DIY enthusiast or a seasoned home improvement expert, pouring concrete countertops in place can be a rewarding and cost-effective project. Not only do concrete countertops offer a sleek and modern look, but they also provide durability and endless design possibilities.
In this comprehensive guide, we will walk you through the step-by-step process of pouring concrete countertops in place. From preparing the area to finishing and maintenance, we’ll cover all the essential aspects to help you achieve a professional and stunning result.
Before we dive into the details, it’s important to note that pouring concrete countertops requires careful planning and precision. While the process may seem daunting at first, with the right tools, supplies, and techniques, you can create beautiful countertops that will last for years to come.
So, let’s gather our materials and get ready to transform your space with custom-made concrete countertops!
Key Takeaways:
- Pouring concrete countertops in place requires careful preparation, precise formwork construction, and meticulous finishing. With the right supplies and techniques, you can create durable, custom countertops that enhance any space.
- Maintaining concrete countertops involves regular cleaning, protective measures, and periodic re-sealing to ensure long-lasting beauty and functionality. By following these steps, you can enjoy your custom-made countertops for years to come.
Read more: How To Pour A Concrete Slab For A Shed
Supplies Needed
Before you start pouring concrete countertops in place, it’s essential to gather the necessary supplies. Here are the items you’ll need:
- Concrete Mix: Choose a high-quality concrete mix that is specifically designed for countertops. Look for a mix with a high concentration of fine aggregates to achieve a smooth finish.
- Reinforcement Materials: Reinforcing the countertops with materials like metal mesh or fiberglass will add strength and prevent cracking.
- Formwork Materials: You’ll need melamine boards or other appropriate materials to build the formwork that will hold the concrete in place.
- Tools: Essential tools include a circular saw, drill, sander, trowels, mixing paddles, and measuring tools for accurate preparations and application.
- Release Agent: A release agent will prevent the concrete from sticking to the formwork, allowing for easy removal later on.
- Diamond Polishing Pads: For a smooth and polished finish, you’ll need a set of diamond polishing pads in various grits.
- Sealer: A countertop sealer will protect the surface and enhance its appearance. Choose a sealer specifically formulated for concrete countertops.
- Safety Equipment: Don’t forget safety glasses, gloves, and a dust mask to protect yourself during the mixing, pouring, and finishing processes.
These are the basic supplies you’ll need to complete your project successfully. Depending on your design and personal preferences, you may also require additional materials such as pigments or decorative elements to customize your countertops.
Now that you have all the necessary supplies, it’s time to move on to the preparation stage and get started on building your concrete countertops.
Preparing the Area
Before you can start pouring concrete countertops in place, you need to prepare the area where they will be installed. Follow these steps to ensure a smooth and successful installation:
- Clean and Clear: Start by clearing the workspace and removing any existing countertops or debris. Ensure that the area is clean and free from dust, dirt, and other particles that may interfere with the adhesion of the concrete.
- Measure and Mark: Take accurate measurements of the countertop area and transfer these measurements onto the surface using a pencil or masking tape. This will serve as a guide during the construction process.
- Level the Surface: Use a level to check the flatness of the existing surface. If any unevenness is detected, you may need to level it out using a self-leveling compound or by adding shims as necessary.
- Protect Surrounding Surfaces: If you have cabinets or other adjacent surfaces that you want to protect from the concrete, cover them with plastic sheets or painter’s tape.
- Create a Sketch: It’s helpful to create a detailed sketch or blueprint of the countertop design. This will guide you during the formwork construction and reinforcement placement.
By carefully preparing the area, you’ll create a solid foundation for your concrete countertops and ensure accurate measurements and a seamless installation process. Now that the workspace is ready, it’s time to move on to building the formwork.
Building the Formwork
The formwork is a crucial component of pouring concrete countertops in place, as it creates the shape and structure for the countertops. Follow these steps to build the formwork:
- Measure and Cut: Using the measurements from your sketch, cut melamine boards or other appropriate materials to create the sides, front, and back of the formwork. Make sure the pieces are straight and square.
- Assemble the Formwork: Attach the sides, front, and back pieces together using screws or clamps. Ensure the corners are tightly aligned to prevent any concrete leakage.
- Add Support: To strengthen the formwork, add support beams or bracing inside the formwork. This will prevent any sagging or bowing during the pouring process.
- Install Reinforcement: Place metal mesh or fiberglass reinforcement inside the formwork according to your design. Make sure the reinforcement is positioned evenly and elevated from the bottom of the formwork to provide sufficient coverage throughout the countertop.
- Apply Release Agent: Before pouring the concrete, apply a release agent to the inside of the formwork. This will help to prevent the concrete from sticking to the formwork, making it easier to remove later on.
- Double Check Measurements and Level: Ensure that the formwork is accurately placed on the marked area and leveled. Any inaccuracies at this stage will be reflected in the final countertop.
Take your time to build the formwork correctly, as it will determine the shape, dimensions, and smoothness of your concrete countertops. Double-check all measurements and ensure the formwork is sturdy and secure before proceeding to the next step.
With the formwork in place, you’re now ready to reinforce the countertops for added strength and durability. Keep reading to learn about the reinforcement process.
Reinforcing the Countertop
Reinforcing the countertops is a crucial step to ensure their strength and prevent cracking over time. There are various methods you can use to reinforce the concrete. Here’s a step-by-step guide on how to reinforce your countertops:
- Choose the Reinforcement: Decide on the type of reinforcement you want to use. This can include metal mesh or fiberglass. Metal mesh is commonly used and provides excellent strength and support.
- Cut and Position the Reinforcement: Using wire cutters or tin snips, cut the reinforcement to fit the dimensions of your countertops. Place the reinforcement evenly inside the formwork, ensuring it’s elevated from the bottom and covers the entire countertop surface.
- Secure the Reinforcement: Attach the reinforcement to the formwork using tie wire or zip ties, making sure it is held securely in place. This will prevent the reinforcement from shifting or falling out during the pouring process.
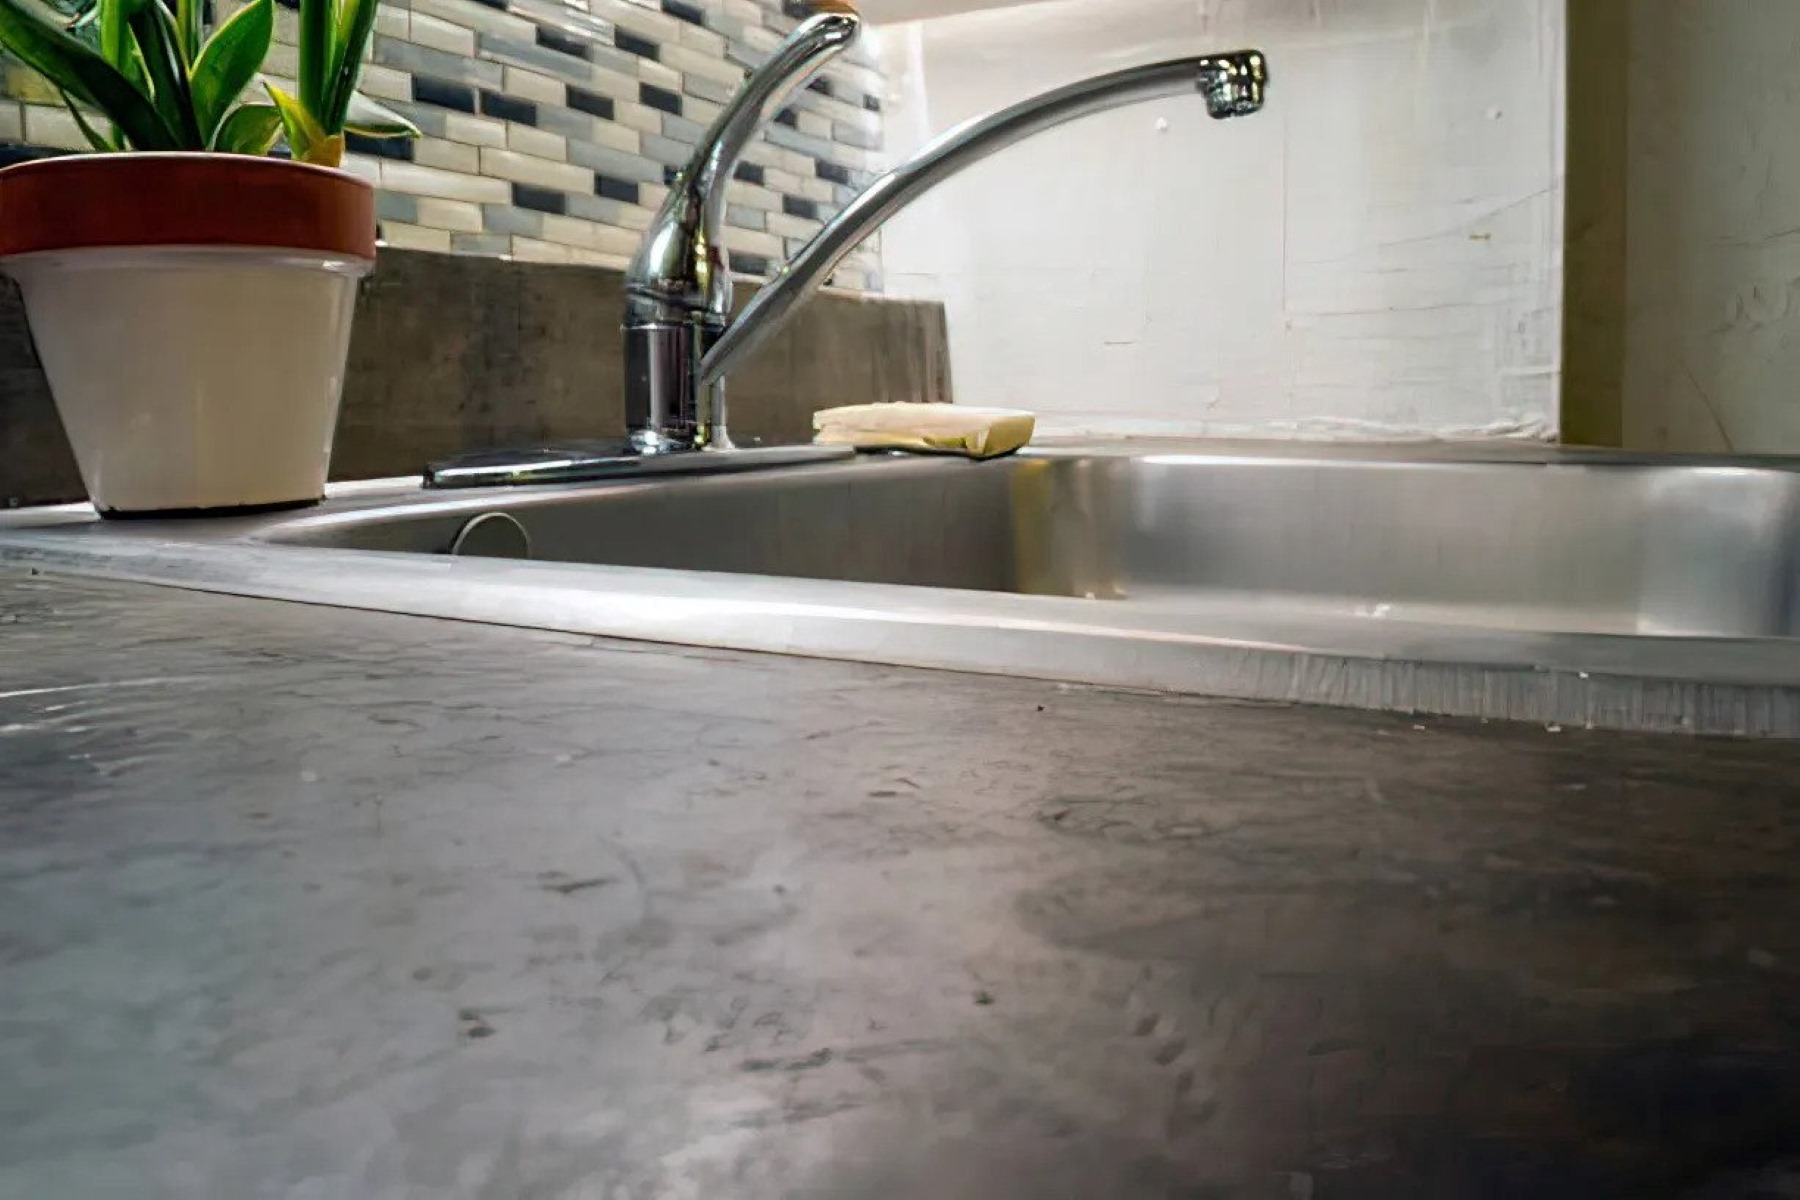
- Consider Additional Reinforcement: Depending on the size and design of your countertops, you may need to add additional reinforcement in areas of high stress, such as around sink cutouts or corners. Consult with a professional if you’re unsure about the reinforcement requirements.
Reinforcing the countertops will provide the necessary support to withstand the weight and daily use. It’s important to ensure that the reinforcement is evenly distributed and secured properly before moving on to the next step.
Now that the countertops are ready to be poured, let’s proceed to the exciting part—mixing and pouring the concrete!
When pouring concrete countertops in place, make sure to use a high-quality concrete mix specifically designed for countertops to ensure a smooth and durable finish.
Read more: How To DIY Concrete Countertops
Mixing and Pouring the Concrete
The mixing and pouring process is where your concrete countertops really start to take shape. Follow these steps to ensure a successful and smooth process:
- Prepare the Concrete Mix: Follow the instructions on the concrete mix packaging to prepare the concrete. Use a mixing paddle and a drill to blend the concrete until it reaches a smooth and workable consistency.
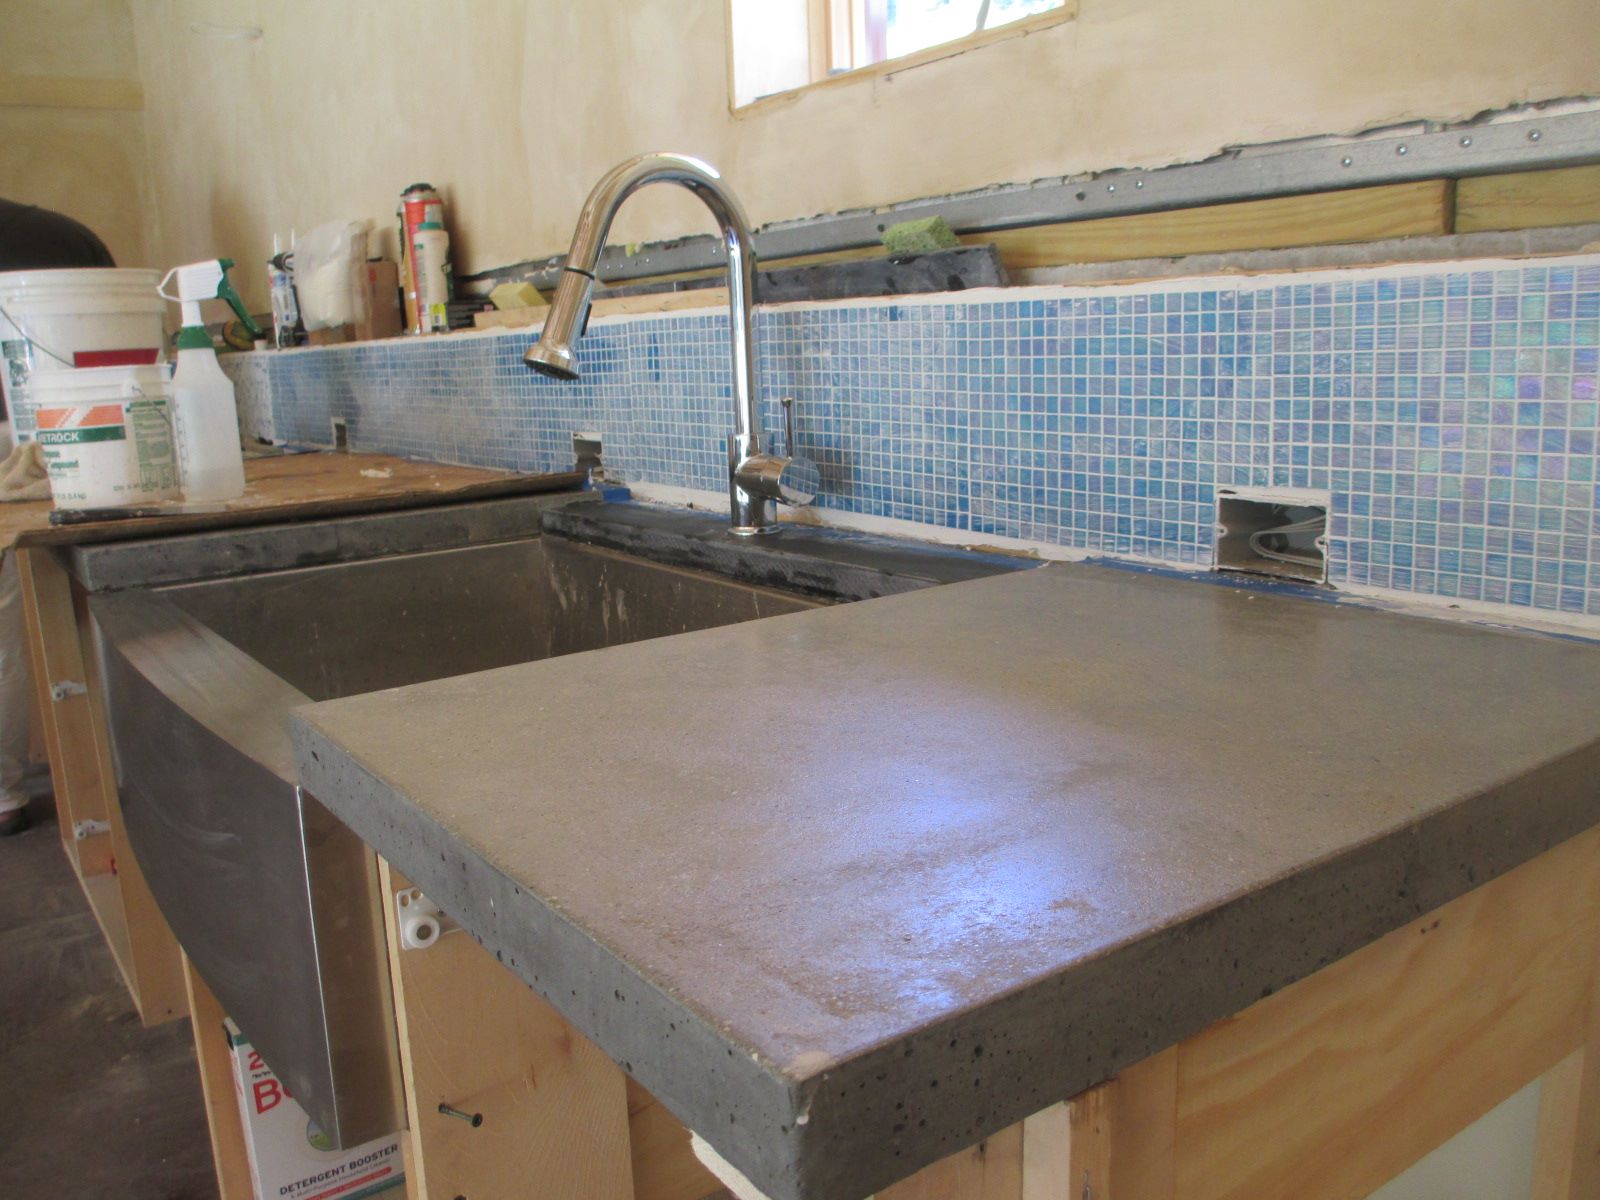
- Start Pouring: Begin pouring the concrete into the formwork, starting from one end and working your way to the other. Pour the concrete in layers, filling the formwork in batches to avoid excessive air pockets or uneven distribution of the mix.
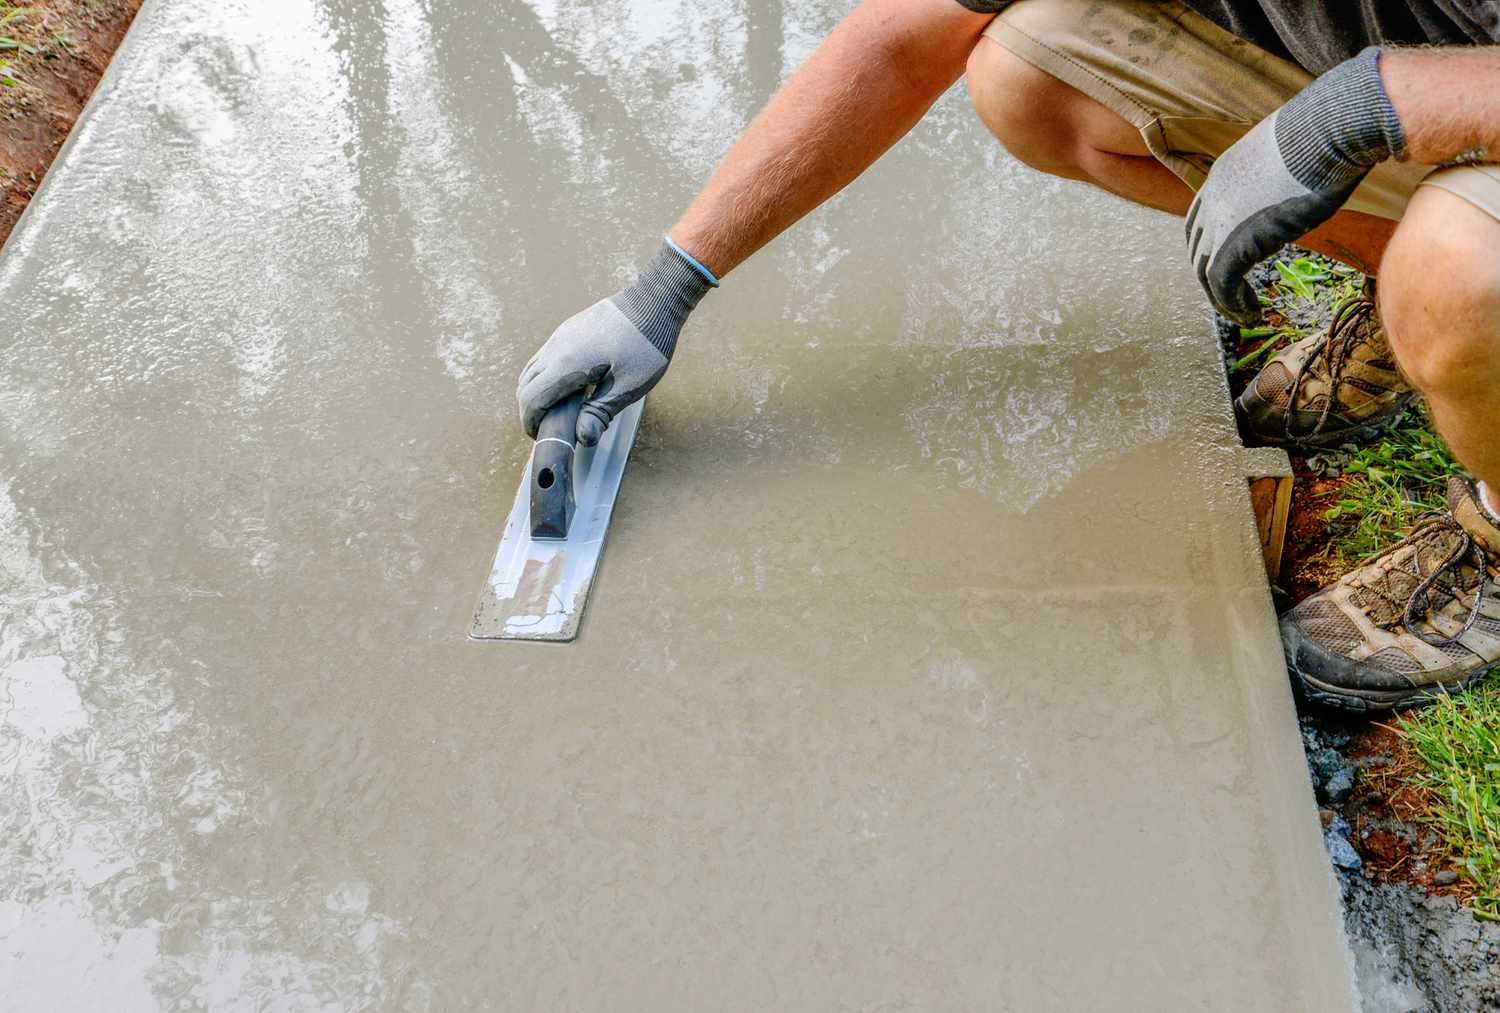
- Distribute and Consolidate the Concrete: Use a trowel or a vibrating tool to distribute and consolidate the concrete evenly within the formwork. This will help remove any air bubbles and ensure a solid and uniform surface.
- Smooth and Level the Surface: Use a straight edge or a screed board to level the concrete surface. Move it back and forth across the formwork to create a flat and even layer of concrete.
- Tap and Vibrate: Tap the sides of the formwork gently with a mallet to help release any additional air bubbles. You can also use a vibrating tool to further consolidate the concrete and eliminate any trapped air.
- Finishing Touches: Once the concrete is poured and leveled, you have the opportunity to add decorative elements or create custom textures using tools such as stamps or texturing rollers. This will give your countertops a unique and personalized touch.
After pouring the concrete, it’s crucial to allow it to cure properly before moving on to the next steps. This ensures that the concrete reaches its full strength and durability. The curing process typically takes around 3 to 7 days, depending on the specific concrete mix you’re using.
Now that the concrete is poured and the exciting part is complete, it’s time to move on to the next phase—finishing the surface of the countertops. Keep reading to learn how to achieve a smooth and polished finish.
Finishing the Surface
Finishing the surface of your concrete countertops is essential to achieve a smooth and polished look. Follow these steps to give your countertops a professional finish:
- Wait for Initial Set: Before you begin the finishing process, allow the concrete to reach its initial set. This usually occurs within a few hours after pouring, when the concrete starts to harden but is still workable.
- Remove Excess Concrete: Use a trowel or putty knife to remove any excess concrete that may have spilled over the edges of the formwork. Take care not to disturb the concrete surface.
- Sand the Surface: Once the concrete has fully cured, start sanding the surface using progressively finer grits of sandpaper or diamond polishing pads. This will help smooth out any imperfections and create a refined finish.
- Seal any Void Holes: If you notice any voids or pinholes on the surface, use a concrete repair product or a mixture of finely ground concrete and water to fill them in. Smooth the filler with a putty knife and allow it to dry.
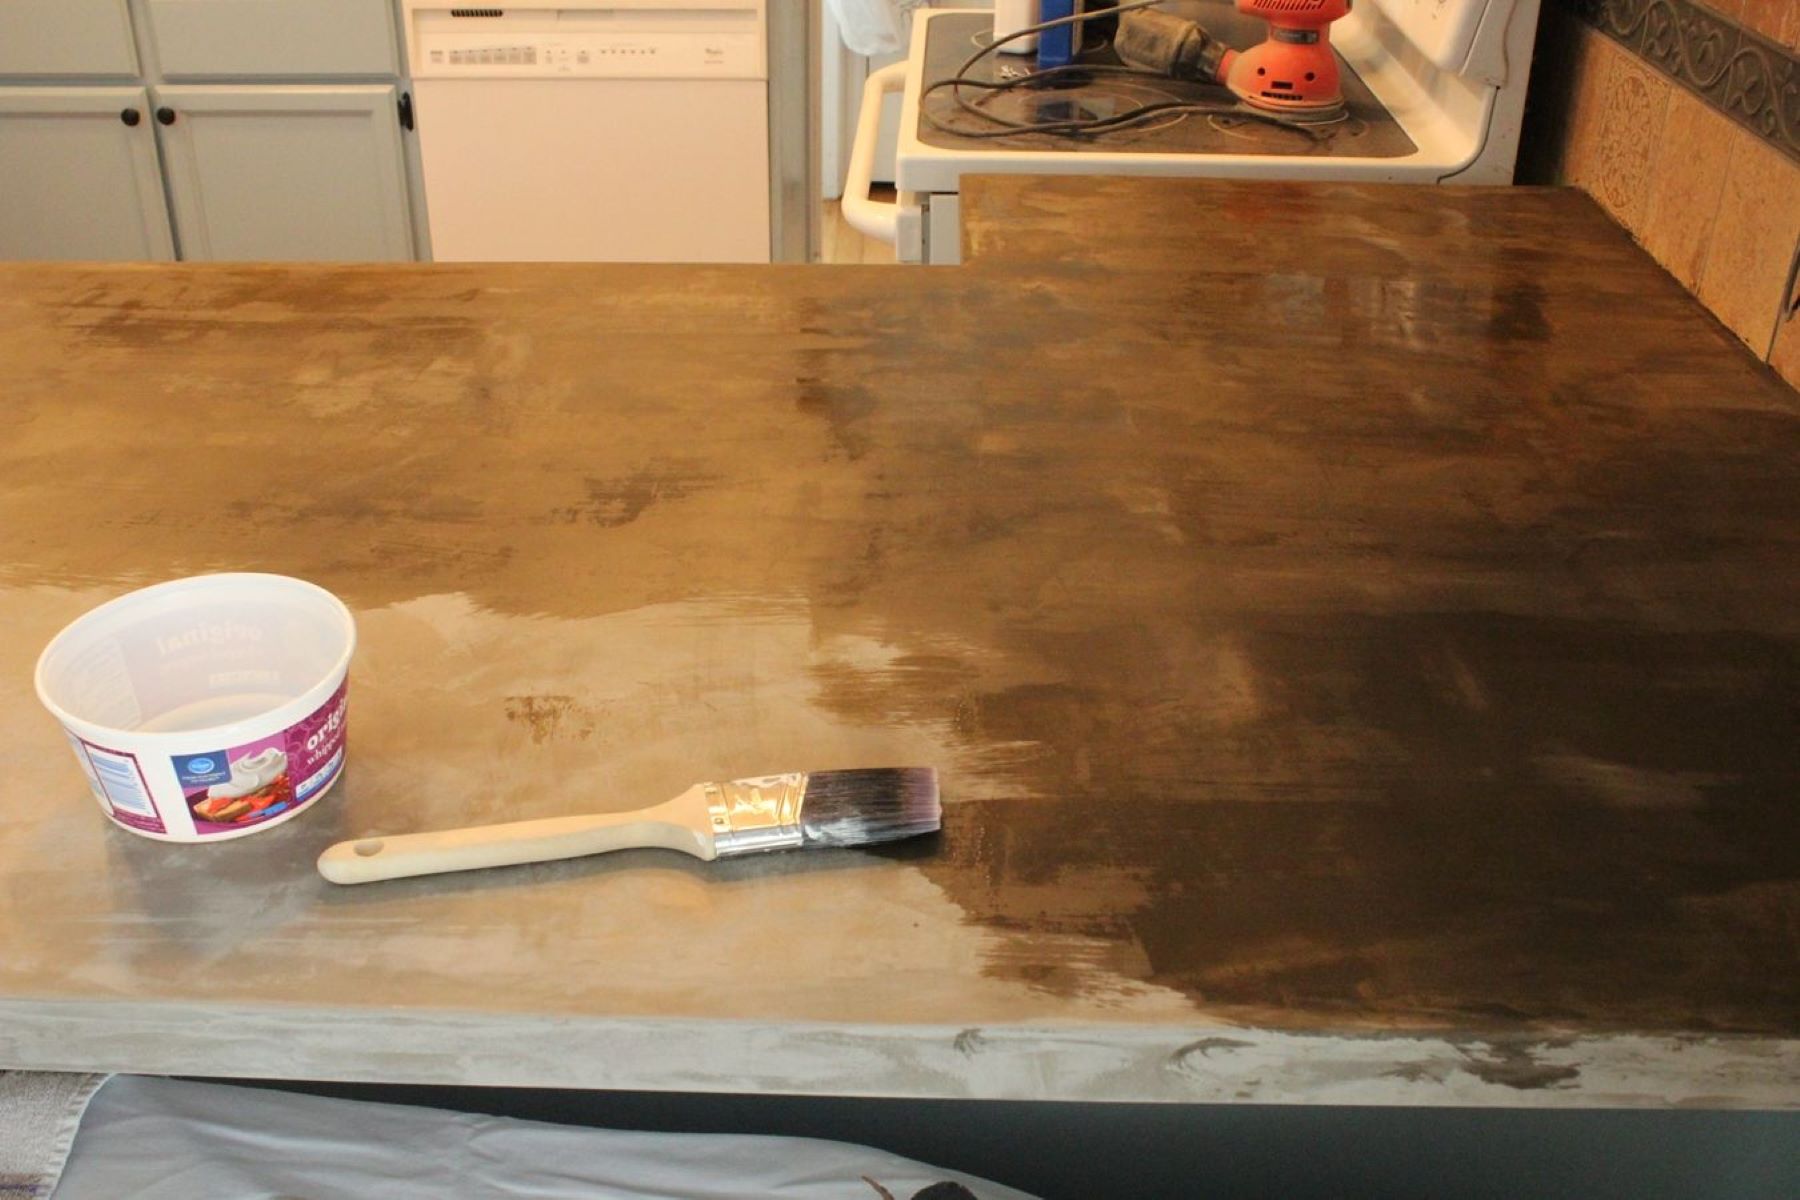
- Apply a Sealer: Once the surface is smooth and any imperfections are addressed, apply a high-quality sealer specifically designed for concrete countertops. Follow the manufacturer’s instructions regarding the application method and drying time.
- Buff and Polish: After the sealer has dried, you can further enhance the appearance by buffing and polishing the surface. Use a polishing pad or a buffing machine to achieve the desired level of shine.
Finishing the surface of your concrete countertops will not only add beauty but also protect the surface from stains and water damage. The sealer will provide a protective barrier and enhance the natural beauty of the concrete.
With the surface finish complete, your concrete countertops are almost ready to be unveiled. However, before removing the formwork, you need to ensure that the countertops have fully cured and hardened. Keep reading to learn about the curing and sealing process.
Curing and Sealing the Countertop
Properly curing and sealing your concrete countertops is crucial for their long-term durability and performance. Follow these steps to ensure your countertops are properly cured and sealed:
- Allow Sufficient Curing Time: After the concrete has been poured and finished, it’s important to allow it to cure fully. Curing typically takes around 3 to 7 days, depending on the specific concrete mix and ambient conditions. During this time, it’s essential to keep the concrete moist by periodically spraying it with water or covering it with a plastic sheet to prevent rapid moisture loss.
- Test for Full Cure: To confirm that the concrete has fully cured, perform a moisture test. Tape a plastic sheet tightly onto the surface of the countertop and leave it overnight. If no condensation forms on the underside of the plastic the next day, the concrete is likely fully cured.
- Prepare for Sealing: Before applying the sealer, ensure the countertop surface is clean, dry, and free from any dust or debris. Use a mild detergent and water solution to clean the surface, and allow it to dry completely.
- Apply the Sealer: Follow the manufacturer’s instructions carefully to apply the sealer on the countertop surface. Use a brush, roller, or sprayer, depending on the sealer type. Apply multiple thin coats for optimal coverage and protection, allowing each coat to dry before applying the next. Make sure to cover all areas, including the edges and undersides.
- Allow the Sealer to Cure: Once the sealer has been applied, it’s important to allow it to fully cure before using the countertops. The curing time will vary depending on the specific sealer product, so follow the manufacturer’s instructions for the recommended curing period.
Curing the concrete ensures that it reaches its maximum strength and minimizes the risk of cracking or other damage. Sealing the countertops provides an additional layer of protection against stains, moisture, and daily wear and tear.
With the countertops fully cured and sealed, you’re now ready to remove the formwork and reveal the beautiful concrete surface. Keep reading to learn how to remove the formwork properly.
Removing the Formwork
Removing the formwork is an exciting step in the process of pouring concrete countertops. Follow these steps to carefully remove the formwork and reveal your finished countertops:
- Check for Full Cure: Before removing the formwork, ensure that the concrete has fully cured as per the manufacturer’s recommendations. This ensures that the countertops are strong enough to withstand the formwork removal.
- Start at the Edges: Begin by removing the screws or clamps that hold the formwork in place along the edges of the countertop. Use a screwdriver or drill to carefully unscrew them. Be cautious not to damage the concrete surface.
- Tap and Release: Gently tap the sides of the formwork with a rubber mallet or hammer to loosen it. Gradually work your way around the countertop, tapping and releasing the formwork until it is free from the concrete.
- Remove the Formwork: Once the formwork is loose, lift it away from the countertop. Take your time and be careful not to disrupt the concrete surface or cause any damage.
- Clean the Countertop: After removing the formwork, inspect the countertop surface for any debris or residue. Use a soft brush or cloth to gently clean the surface and remove any loose particles.
With the formwork removed, you can now fully appreciate the beauty and craftsmanship of your concrete countertops. However, there are a few final touches and maintenance steps to consider before your project is complete. Keep reading to learn about the final touches and how to maintain your concrete countertops.
Read more: How To Refinish Concrete Countertops
Final Touches and Maintenance
Now that your concrete countertops are poured, cured, sealed, and the formwork has been removed, there are a few final touches and essential maintenance tips to keep in mind:
- Inspect and Touch Up: Take a close look at your countertops and inspect the surface for any imperfections or areas that may require touch-ups. Use a concrete repair product to fill in any small cracks or voids, then sand and polish those areas to blend them with the rest of the countertop.
- Apply a Wax or Polish: For added protection and an enhanced shine, consider applying a wax or polish specifically designed for concrete countertops. Follow the manufacturer’s instructions for application and maintenance.
- Protective Measures: To maintain the beauty and longevity of your concrete countertops, practice a few preventive measures. Use cutting boards and trivets to avoid direct contact with hot pots, pans, and utensils. Wipe up spills promptly to prevent staining, and avoid using harsh chemicals or abrasive cleaners that can damage the sealer or the concrete surface.
- Regular Cleaning: To keep your countertops looking their best, clean them regularly with a mild soap and water solution or a pH-neutral cleaner. Avoid abrasive scrub brushes or harsh cleaning agents that can scratch or damage the surface.
- Periodic Re-Sealing: Over time, the sealer on your countertops may wear off. Monitor the performance of the sealer and reapply it as needed to ensure continued protection against moisture, stains, and daily use.
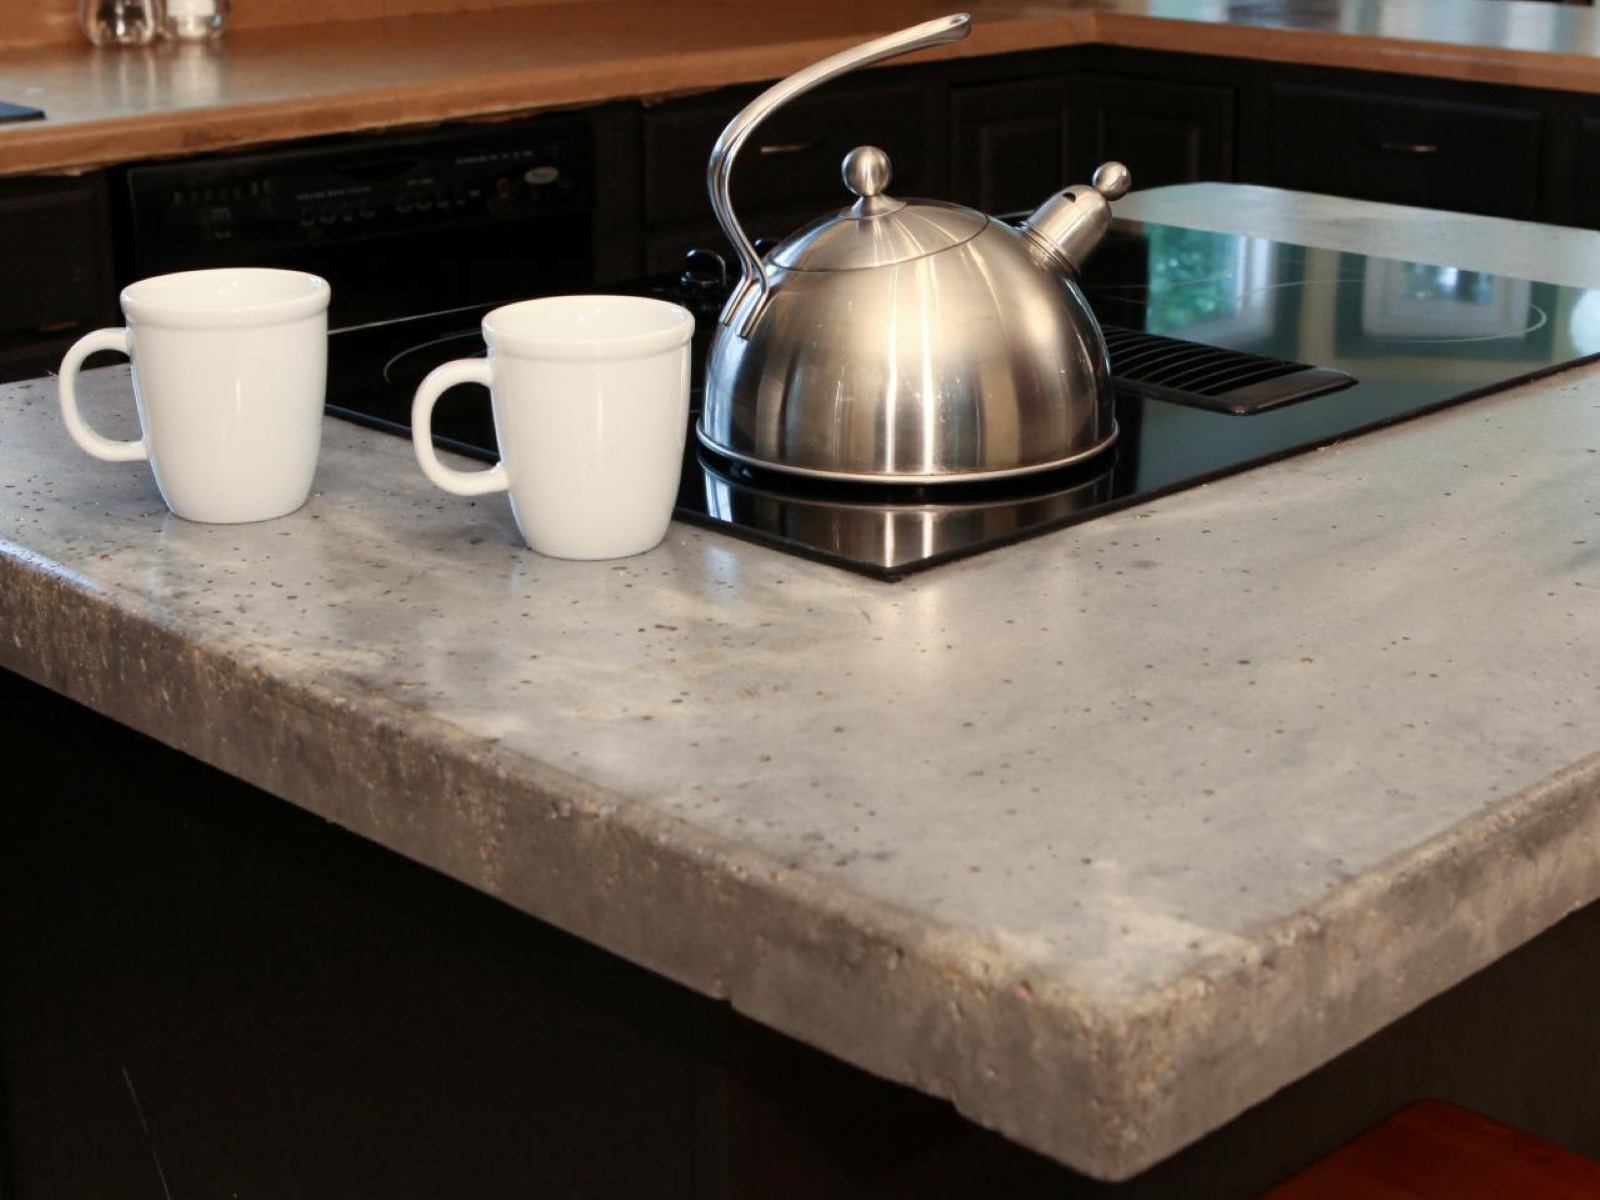
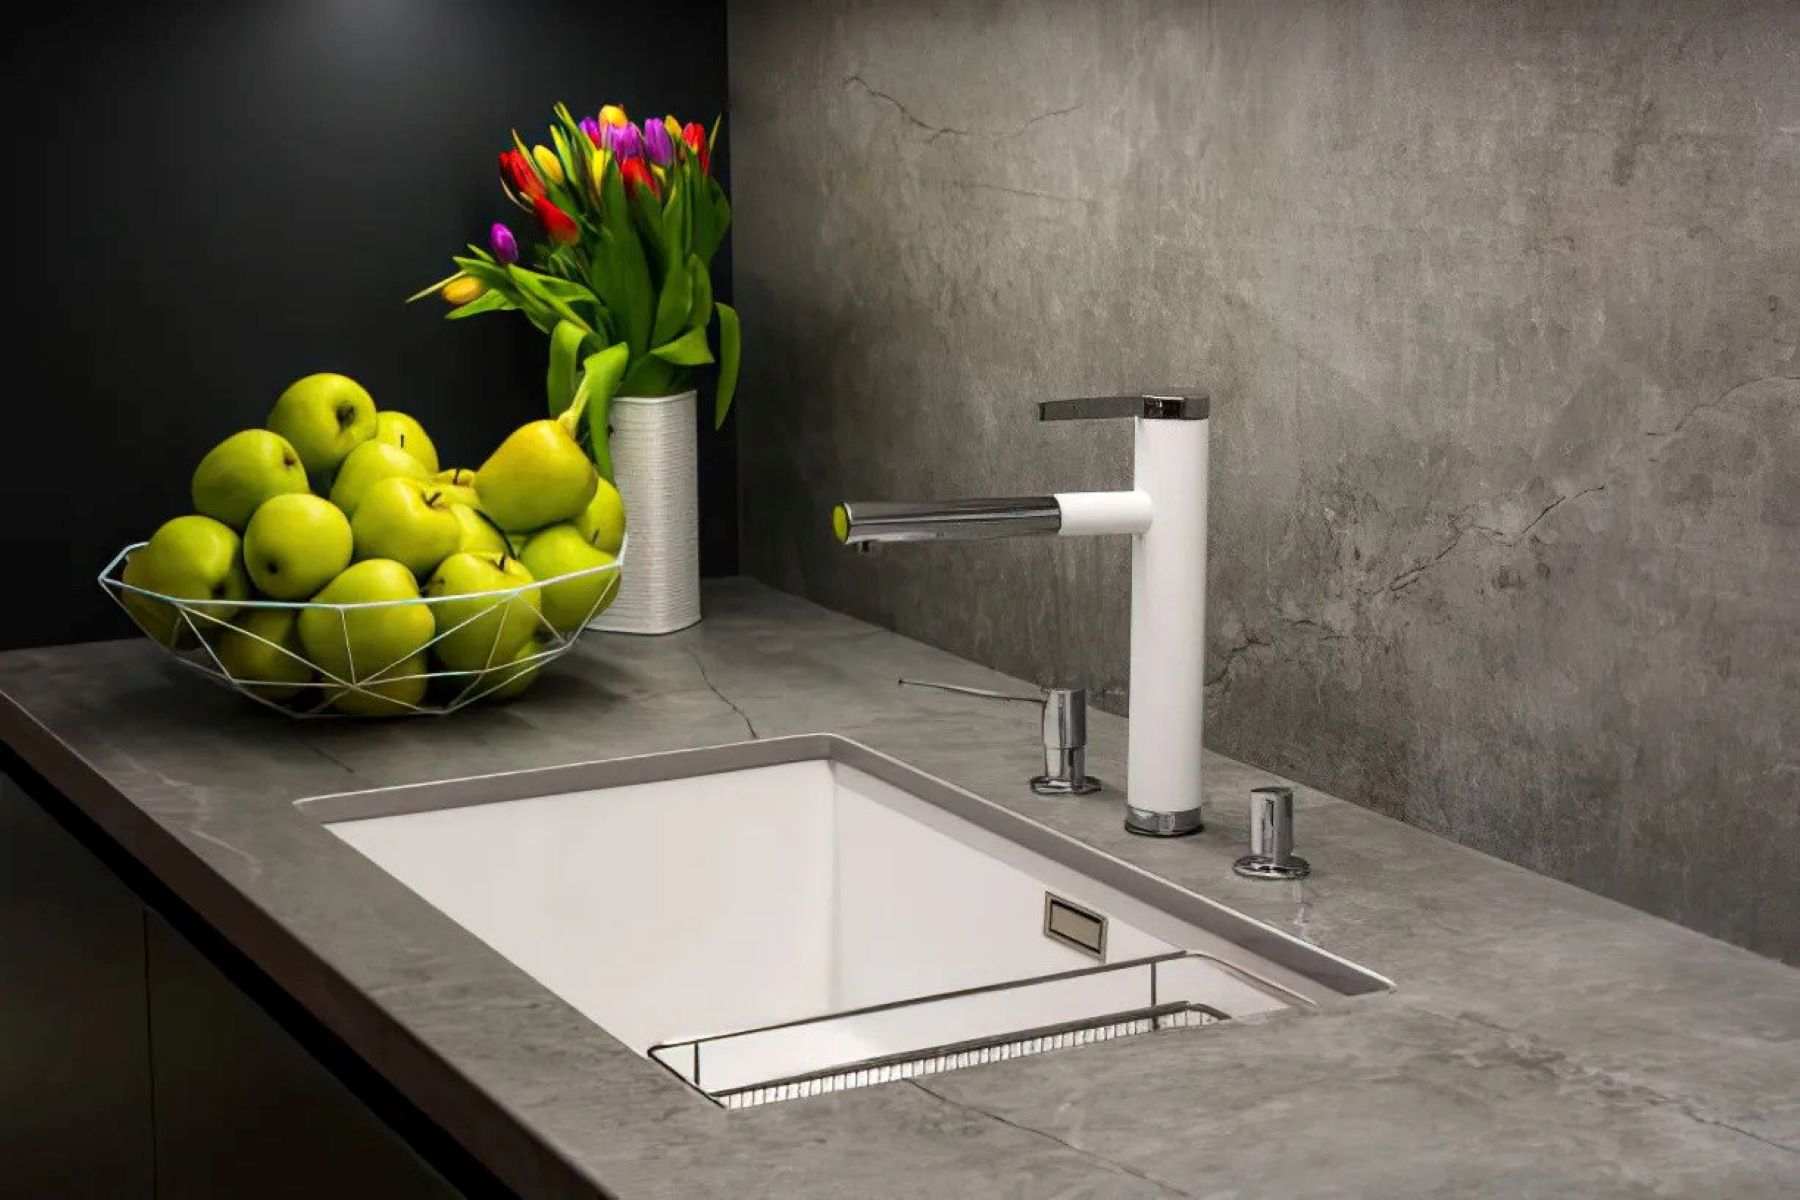
By following these final touches and maintenance tips, you can ensure that your concrete countertops remain beautiful and durable for many years to come.
Congratulations! You have successfully poured concrete countertops in place and transformed your space with a stunning and functional feature. Enjoy the unique beauty and versatility of your custom-made countertops!
Frequently Asked Questions about How To Pour Concrete Countertops In Place
Was this page helpful?
At Storables.com, we guarantee accurate and reliable information. Our content, validated by Expert Board Contributors, is crafted following stringent Editorial Policies. We're committed to providing you with well-researched, expert-backed insights for all your informational needs.


0 thoughts on “How To Pour Concrete Countertops In Place”