Articles
How To DIY Concrete Countertops
Modified: March 1, 2024
Learn how to create stunning concrete countertops with our informative articles. Step-by-step instructions and expert tips for a successful DIY project.
(Many of the links in this article redirect to a specific reviewed product. Your purchase of these products through affiliate links helps to generate commission for Storables.com, at no extra cost. Learn more)
Introduction
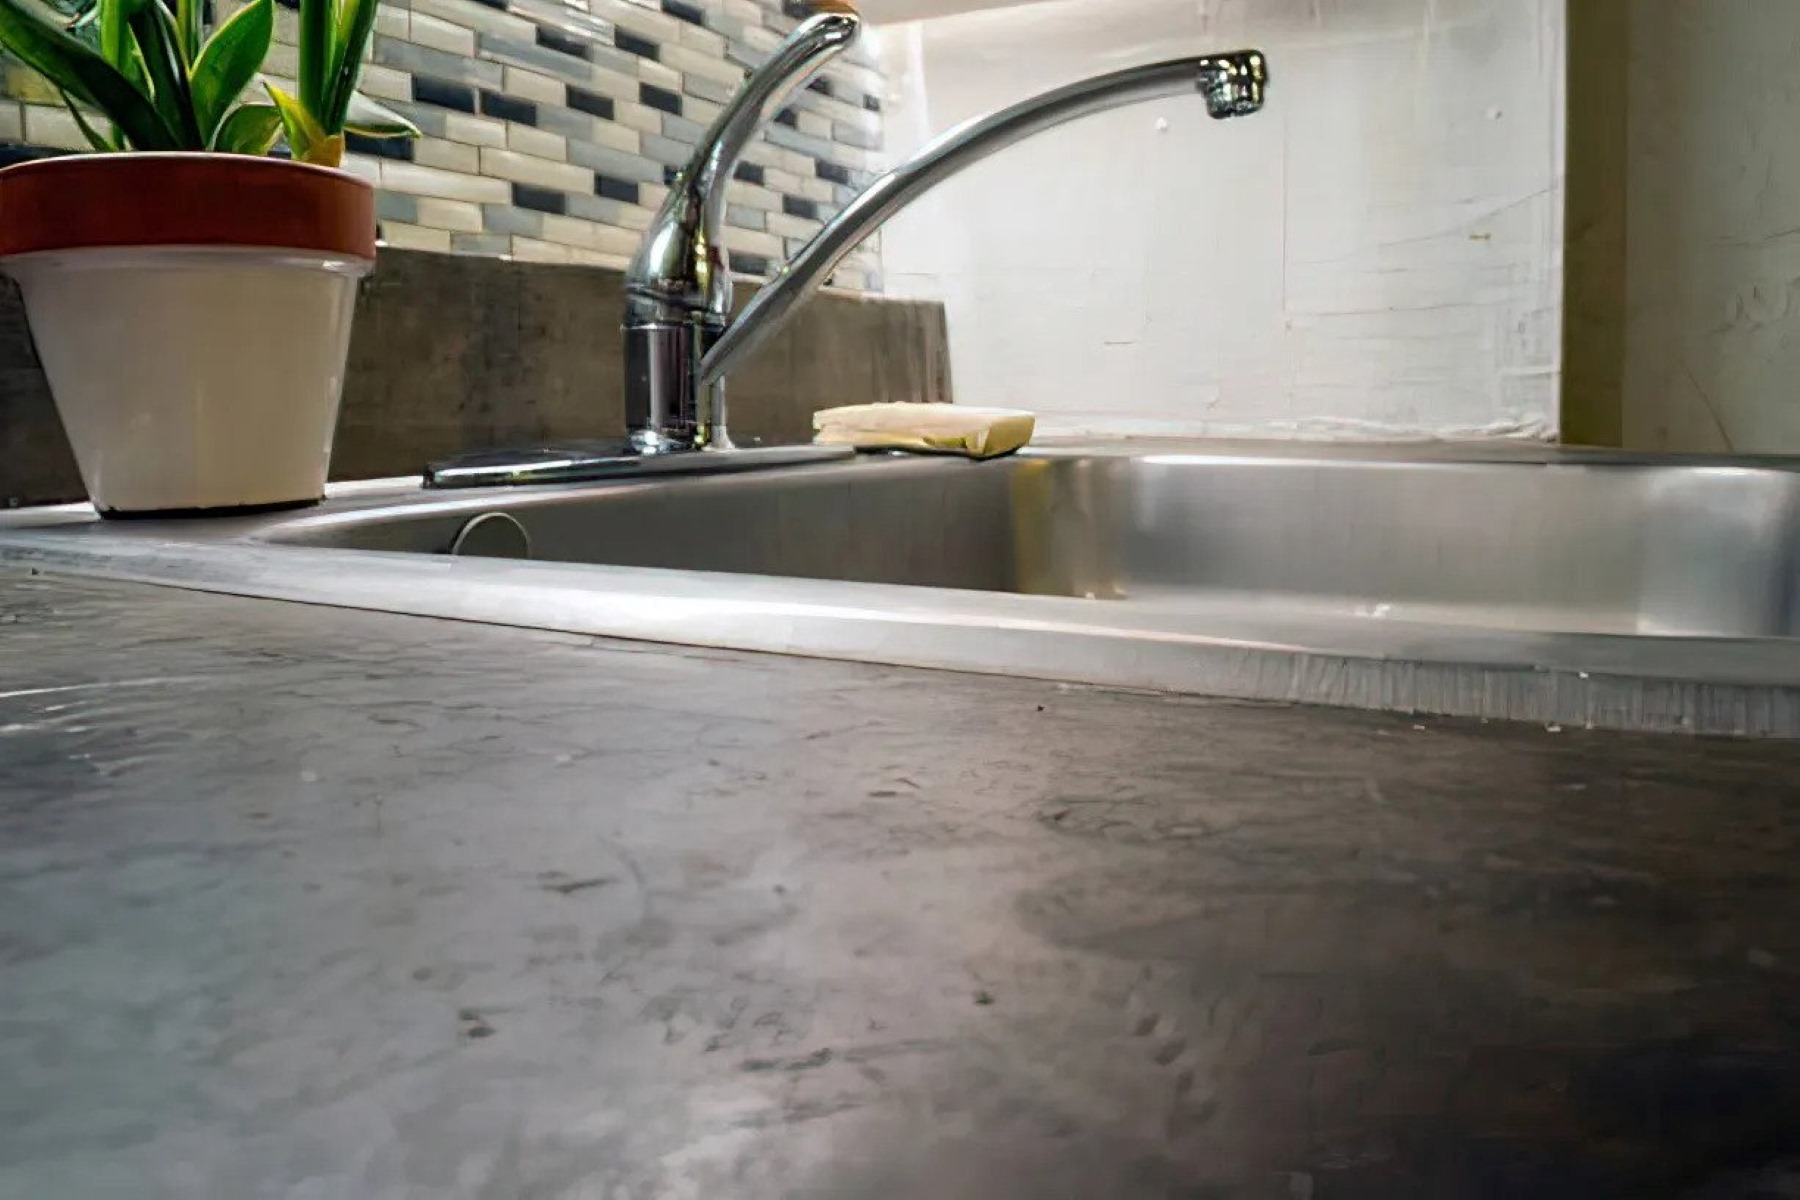
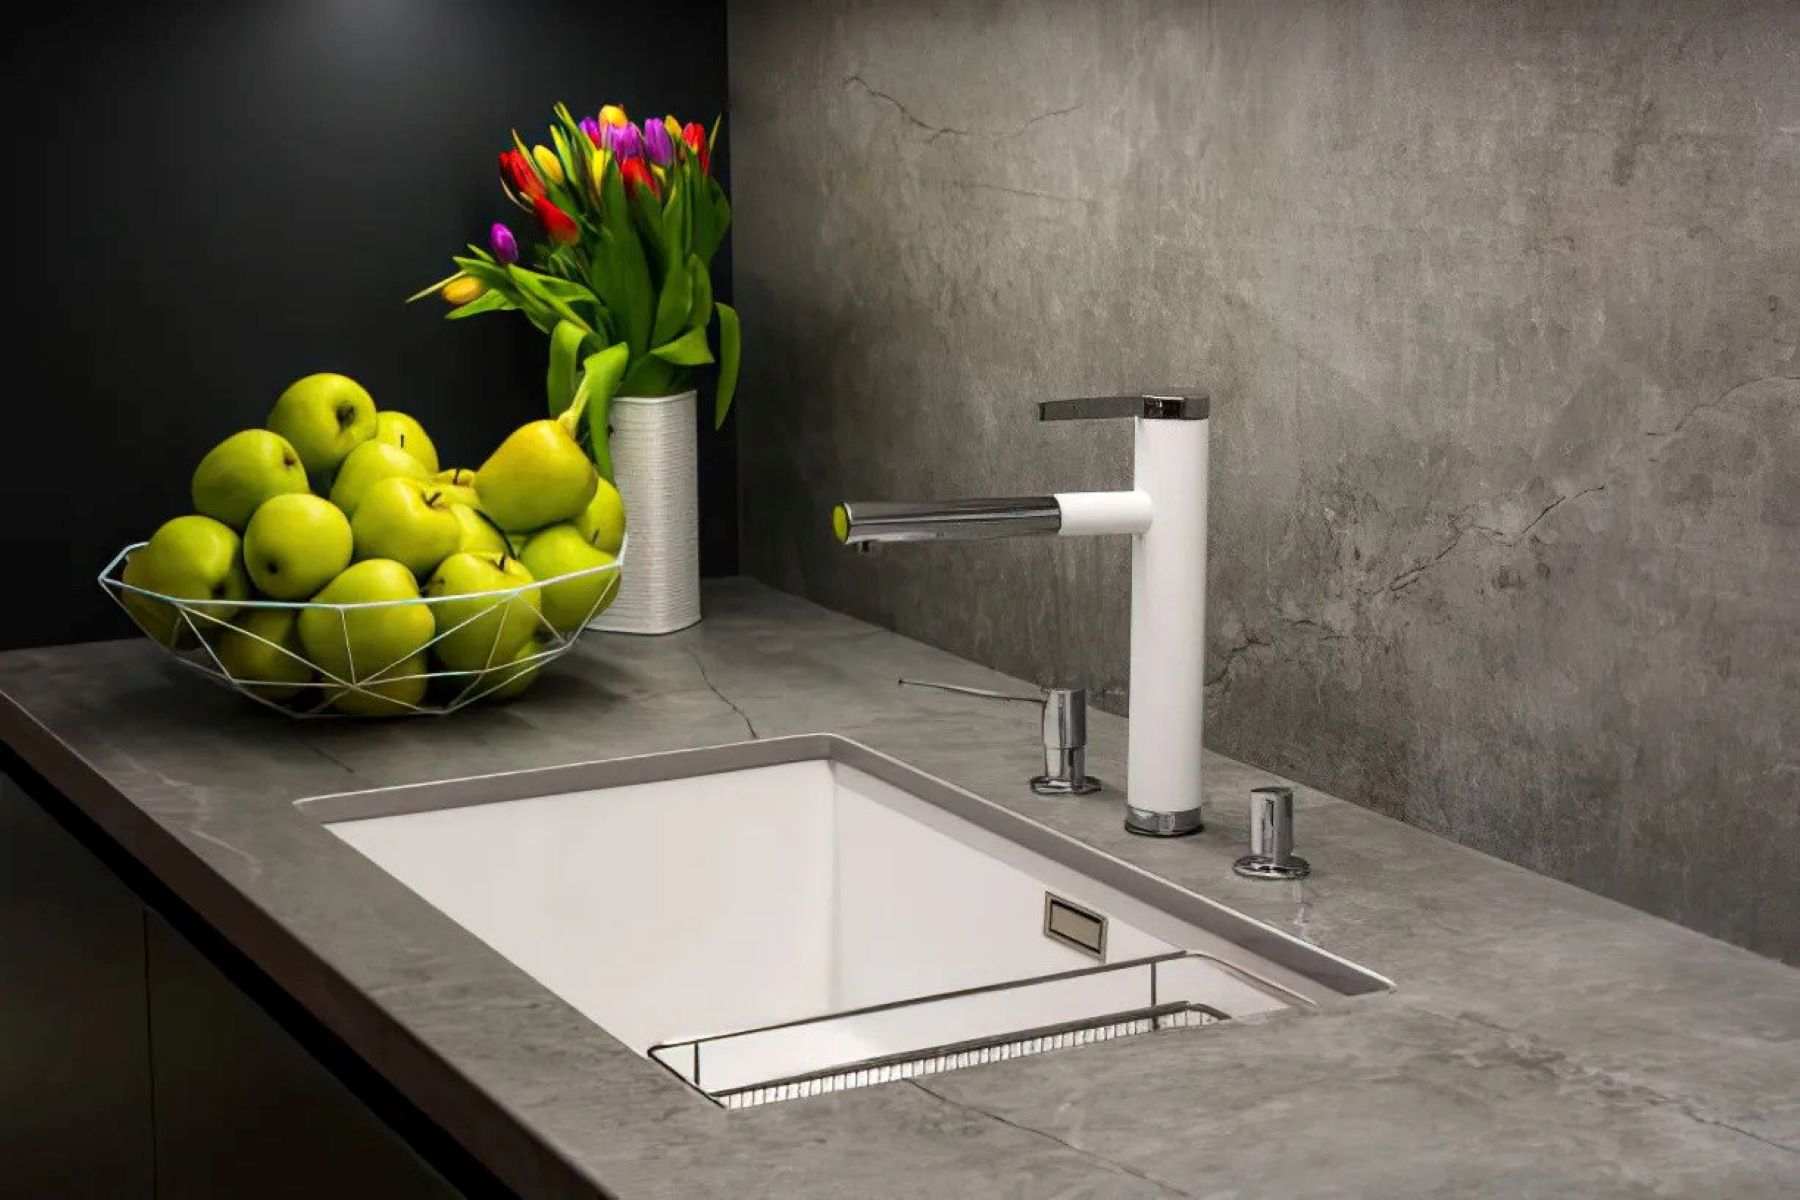
Welcome to the world of do-it-yourself concrete countertops! With their sleek and modern appearance, concrete countertops have become a popular choice for homeowners looking to add a touch of elegance to their kitchens or bathrooms. Not only do they offer durability and versatility, but they can also be customized to fit any design aesthetic.
While the idea of making your own concrete countertops may seem daunting, it’s actually a relatively straightforward process that can be accomplished with the right tools and materials. In this article, we will guide you through the step-by-step process of creating your own concrete countertops.
Before we dive into the details, it’s important to note that working with concrete does require some basic knowledge and skills. It’s essential to follow proper safety precautions, such as wearing protective gear and working in a well-ventilated area. Additionally, make sure to carefully read and follow the instructions provided by the manufacturers of the concrete products you will be using.
Now, let’s get started on your journey to creating stunning DIY concrete countertops!
Key Takeaways:
- DIY concrete countertops offer a sleek, customizable, and durable option for homeowners. Proper preparation, mixing, pouring, and finishing are essential for creating stunning and long-lasting countertops.
- Curing and sealing the countertop is crucial for enhancing its longevity and protecting it from stains, moisture, and damage. With patience and attention to detail, DIY concrete countertops can be a stylish and functional addition to any home.
Read more: How To Refinish Concrete Countertops
Materials Needed
Before you begin the process of making your own concrete countertops, it’s important to gather all the necessary materials. Here’s a list of what you’ll need:
- Concrete mix: Choose a high-quality concrete mix that is specifically designed for countertops. Opt for a mix that offers a good balance between workability and strength.
- Reinforcement materials: Depending on the size and thickness of your countertops, you may need to use reinforcement materials such as steel mesh or rebar to add strength and prevent cracking.
- Form material: You’ll need a material to create the form for your countertops. Common options include melamine, plywood, or foam board. Ensure that the form material is strong enough to withstand the weight of the concrete.
- Release agent: A release agent is applied to the form to prevent the concrete from sticking to it. You can use a commercially available release agent or opt for an alternative such as wax or cooking oil.
- Tools: You’ll need a variety of tools for the process, including a mixing container, trowels, a concrete mixer (or a drill with a mixing attachment), a level, a rubber mallet, sandpaper or a power sander, and protective gear such as gloves and safety glasses.
- Sealer: To protect and enhance the appearance of your countertops, you’ll need a high-quality concrete sealer that is specifically designed for countertops. Choose a sealer that suits the desired finish (such as matte or glossy) and meets your durability requirements.
It’s important to make sure you have all the necessary materials and tools before you begin the project to ensure a smooth and efficient process.
Preparing the Workspace
Before diving into the concrete countertop creation process, it’s essential to properly prepare your workspace. Here are some steps to follow:
- Clean and clear the area: Remove any items or appliances from the countertops and clear the workspace. This will provide you with ample space to work and prevent any potential damage to nearby objects.
- Protect surrounding surfaces: Use drop cloths or plastic sheets to cover and protect any nearby surfaces, such as cabinets or floors. This will help prevent any accidental spills or splatters from staining or damaging surrounding areas.
- Set up your form: Determine the size and shape of your countertops and assemble your form accordingly. Make sure the form is securely in place and level. This will ensure that your countertops have a consistent thickness and a straight, even edge.
- Apply a release agent: Before adding the concrete, apply a release agent to the inside of the form. This will help ensure that the concrete easily separates from the form once it has cured. Follow the instructions provided with the release agent to apply it evenly and thoroughly.
By properly preparing your workspace, you’ll create an environment that is conducive to a successful concrete countertop project. Taking the time to clean, protect, and set up your form will ensure a smooth and efficient process, allowing you to focus on creating beautiful countertops.
Mixing the Concrete
Once your workspace is prepared, it’s time to start mixing the concrete for your countertops. Follow these steps to ensure a proper mix:
- Measure the concrete mix: Follow the instructions provided by the manufacturer to determine the correct ratio of water to concrete mix. Measure the amounts accurately to ensure the proper strength and consistency of the concrete.
- Prepare the mixing container: Use a clean and sturdy mixing container, such as a wheelbarrow or a large bucket. Make sure it is free from any dirt or debris that could affect the quality of the concrete.
- Create a crater: Make a well in the center of the concrete mix in the mixing container. This will serve as a reservoir for the water, making it easier to gradually incorporate it into the mix.
- Gradually add water: Slowly pour the water into the crater while simultaneously mixing it with the dry concrete mix. Use a shovel or a mixing attachment on a drill to thoroughly combine the ingredients.
- Continue mixing: Mix the concrete until it reaches a thick and pourable consistency, similar to pancake batter. Avoid overmixing, as it can introduce air bubbles into the mixture, which may weaken the final product.
It’s important to mix the concrete thoroughly and consistently to ensure a strong and durable countertop. Take your time during this step, focusing on achieving a homogeneous mix without any lumps or dry pockets.
With the concrete now properly mixed, you’re ready to move on to the next step: pouring and leveling the concrete onto the prepared form.
Pouring and Leveling the Concrete
With the concrete mix ready, it’s time to pour and level it onto the prepared form for your countertops. Follow these steps for a successful pour:
- Start pouring: Begin pouring the mixed concrete onto the form. Start at one end and work your way towards the other end to ensure a consistent pour.
- Distribute the concrete evenly: Use a trowel or a screed board to spread the concrete evenly across the form. Work in a back-and-forth motion, using gentle pressure to smooth out the surface.
- Avoid air pockets: As you pour and spread the concrete, be mindful of any potential air pockets. Use a vibrating tool or gently tap the sides of the form with a rubber mallet to dislodge any trapped air bubbles.
- Level the surface: Use a level to ensure that the concrete surface is flat and even. Adjust the height of the concrete as needed by adding or removing material.
- Smooth the edges: Use a trowel to smooth the edges of the concrete, making them clean and precise. This will give your countertops a professional and finished look.
During this step, it’s crucial to work efficiently to prevent the concrete from drying too quickly. It’s recommended to have a helper to assist with pouring and spreading the concrete to ensure a smooth and consistent application.
Once the concrete is poured and leveled, you can move on to the next step: adding reinforcement to enhance the strength of your countertops.
When mixing concrete for countertops, use a high-strength concrete mix and add a concrete admixture to improve workability and reduce the risk of cracking.
Read more: How To Seal Concrete Countertops
Adding Reinforcement
Adding reinforcement to your concrete countertops is an important step to enhance their strength and prevent cracking. Here’s how you can reinforce your countertops:
- Assess the need for reinforcement: Depending on the size and thickness of your countertops, you may need to add reinforcement. This is especially important for longer or unsupported sections of the countertop.
- Choose the reinforcement material: Common options for reinforcement include steel mesh or rebar. Steel mesh is typically used for thinner countertops, while rebar is preferred for thicker or longer sections.
- Place the reinforcement: Lay the chosen reinforcement material onto the poured concrete, ensuring it is positioned evenly throughout the countertop. Use wire ties or zip ties to secure the reinforcement to the form or to each other.
- Elevate the reinforcement: To ensure that the reinforcement material is positioned in the middle of the concrete, use small blocks or spacers to raise it slightly above the form. This will help prevent the reinforcement from settling at the bottom of the countertop.
- Add additional concrete: If necessary, pour a small amount of additional concrete to cover and encapsulate the reinforcement material. Use a trowel to level and smooth the surface.
Remember to work carefully when adding reinforcement, as any misplacement or lack of reinforcement in critical areas may compromise the strength and integrity of your countertops. The reinforcement will provide added support and minimize the risk of cracking, ensuring that your countertops withstand daily use and wear over time.
Once you have added the necessary reinforcement, it’s time to move on to the next step: finishing the surface of your concrete countertops.
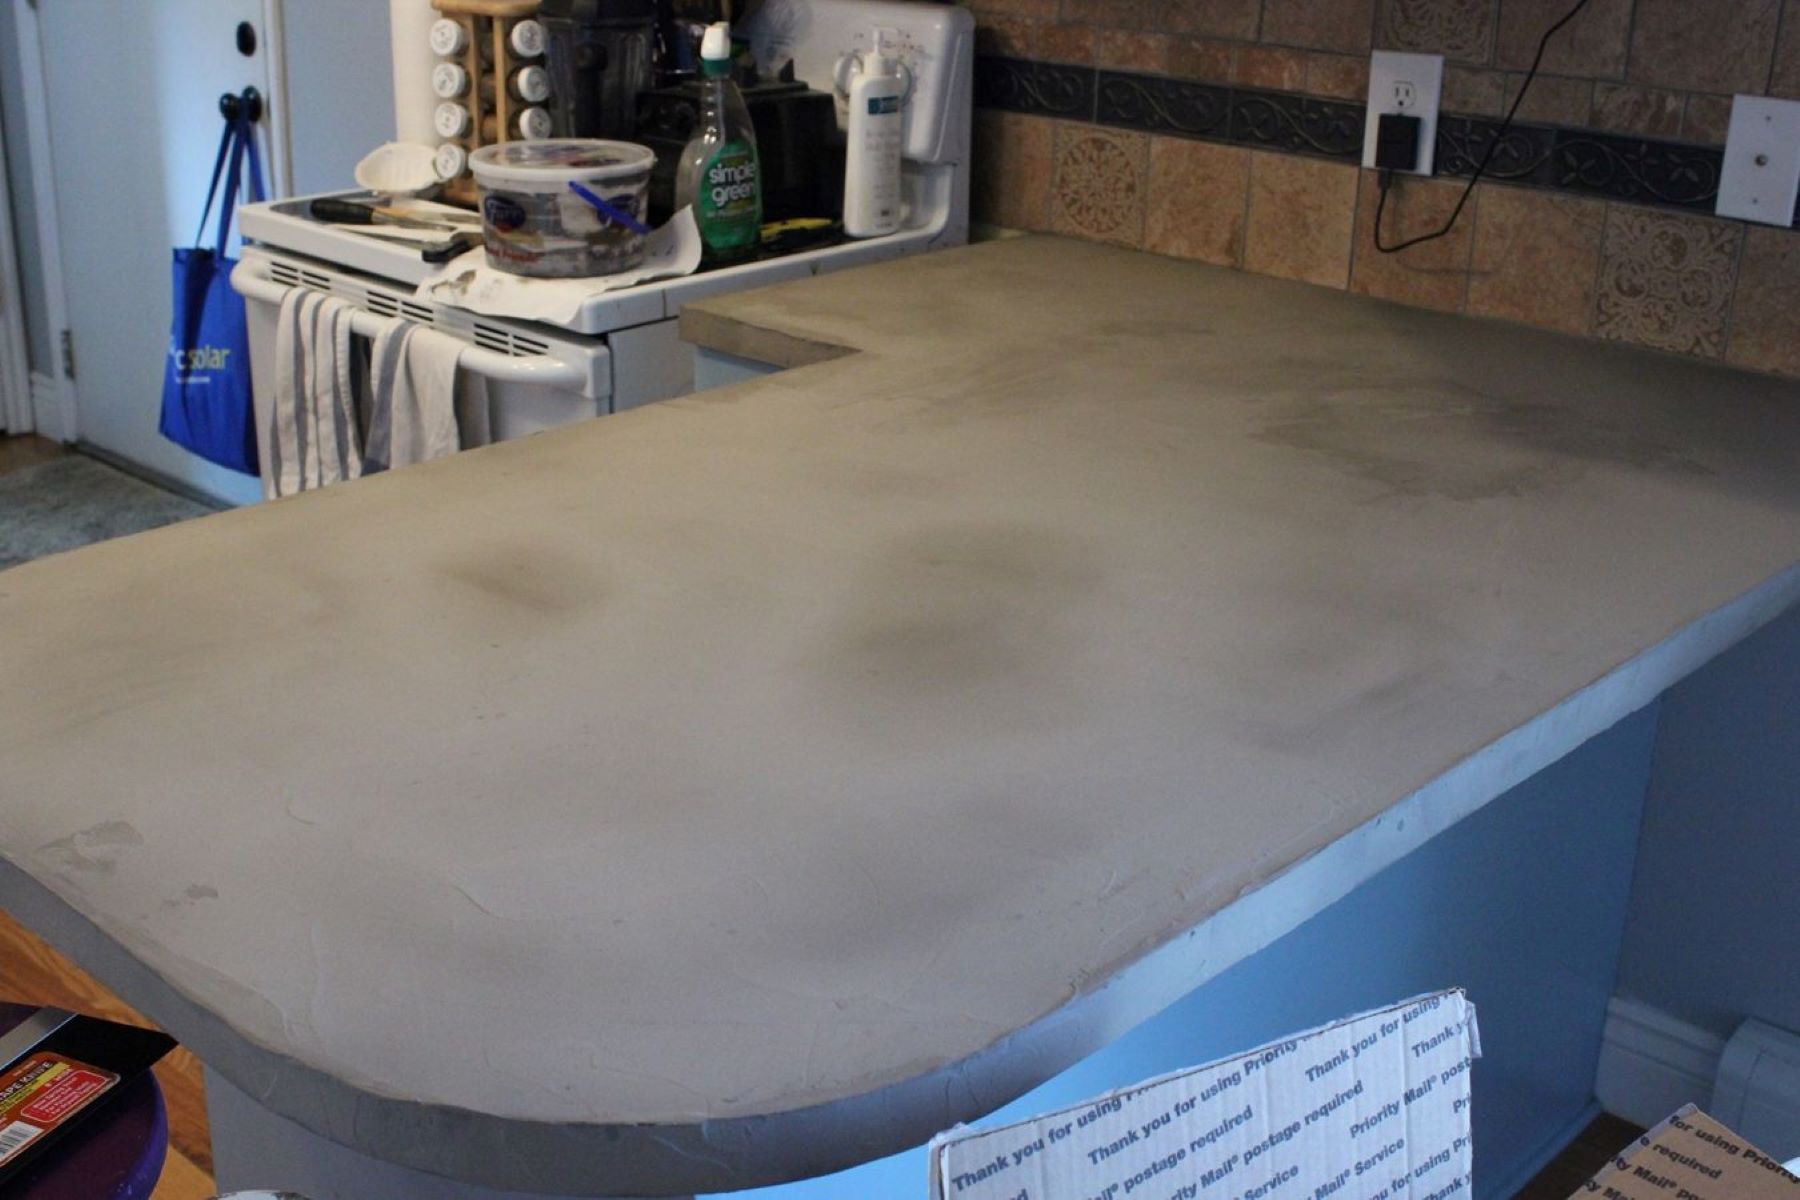
Finishing the Surface
Finishing the surface of your concrete countertops is an important step that adds both functionality and aesthetic appeal. Follow these steps to achieve a smooth and polished finish:
- Allow the concrete to set: Let the concrete cure for a sufficient amount of time according to the manufacturer’s instructions. This usually takes about 24 to 48 hours.
- Sand the surface: Once the concrete has cured, use sandpaper or a power sander with a fine grit to smooth out any imperfections or rough areas on the surface. Start with a lower grit and gradually move to a higher grit for a smoother finish.
- Apply a concrete sealer: Before applying the sealer, make sure the countertop is thoroughly clean and free of any dust or debris. Apply the concrete sealer according to the manufacturer’s instructions, using a brush or a roller. Apply multiple thin coats for better protection and durability.
- Consider decorative options: If desired, you can incorporate decorative elements into your countertops. This could include adding colored pigments to the concrete mix, creating patterns or textures, or embedding decorative items such as glass chips or shells.
- Final polishing: For an extra polished and smooth finish, use a concrete polisher with a series of diamond-impregnated pads in progressively finer grits. This will help bring out the natural beauty of the concrete and enhance its shine.
Finishing the surface of your concrete countertops not only improves their durability but also allows you to customize their appearance to suit your style and preferences. The process may require patience and attention to detail, but the end result will be a stunning and functional countertop that you can be proud of.
Once you have finished the surface, it’s time to move on to the final steps: curing and sealing the countertop to ensure its long-term durability.
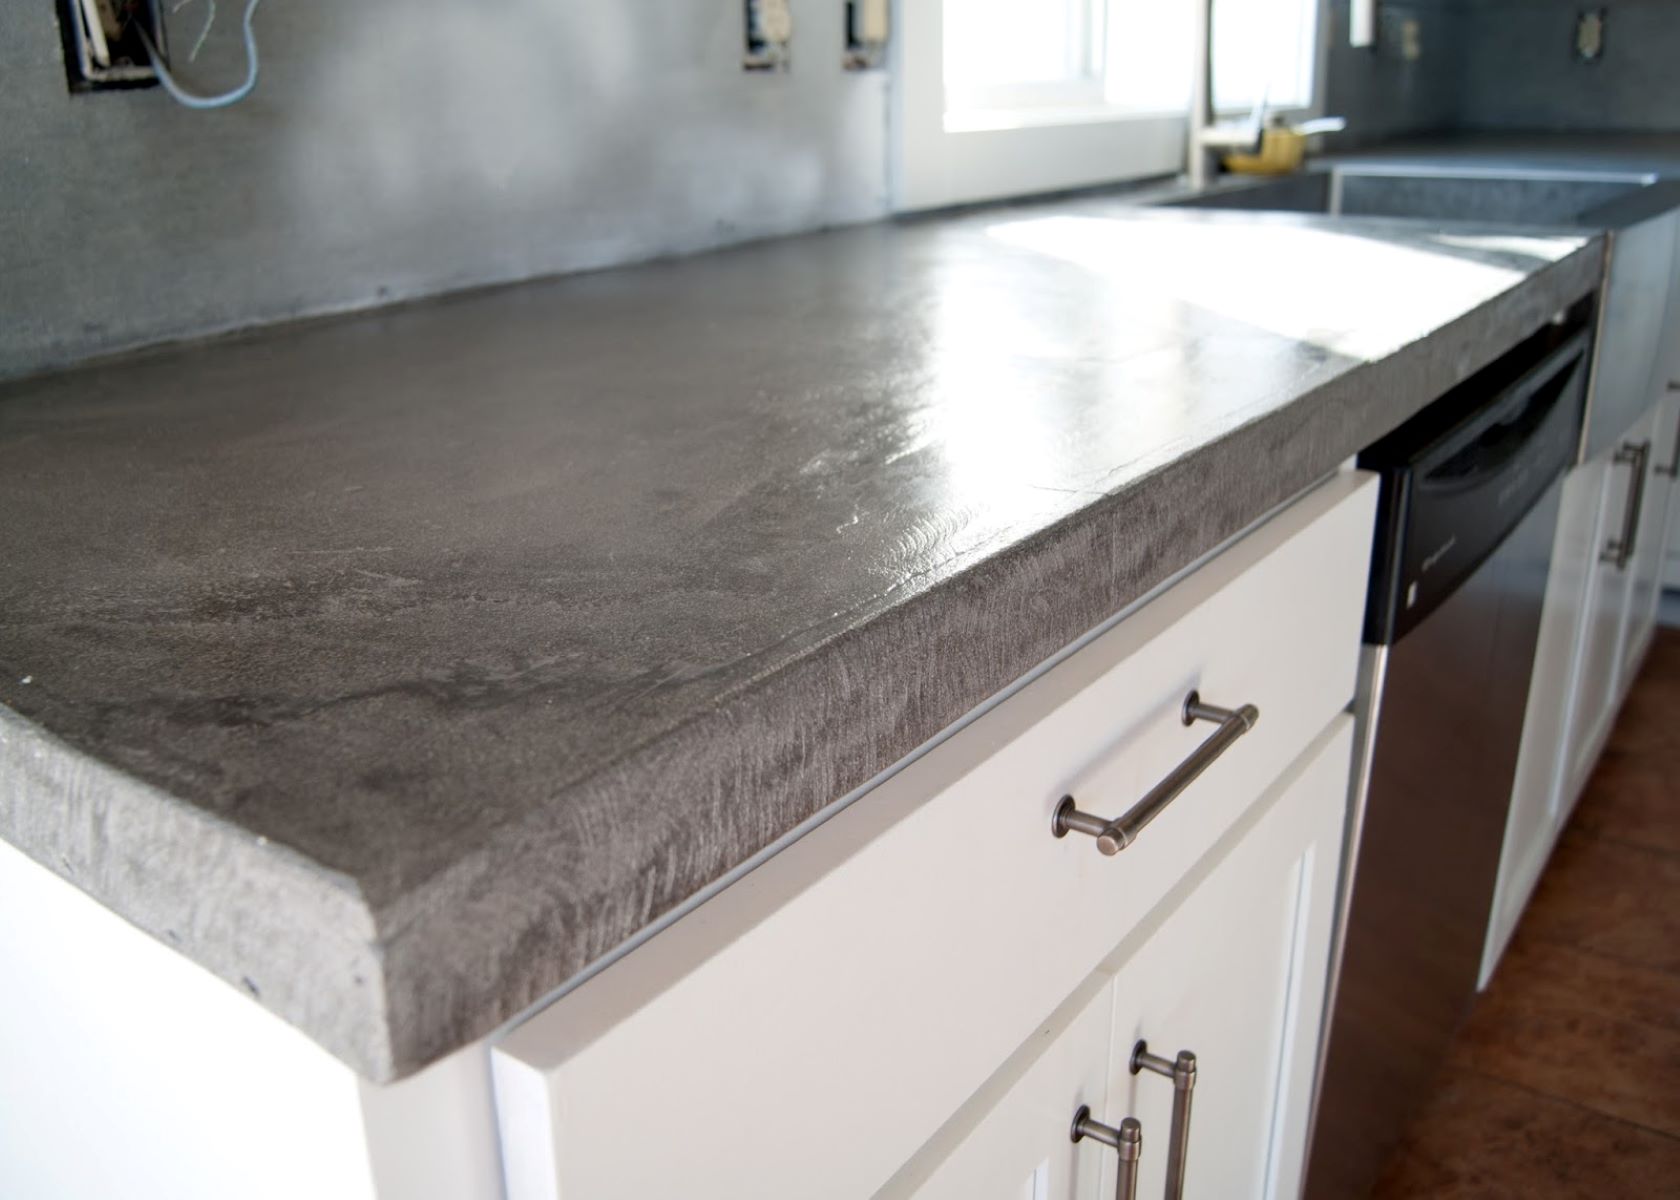
Curing and Sealing the Countertop
Curing and sealing are essential steps in the process of creating concrete countertops to ensure their long-term durability and resistance to stains and damage. Follow these steps to properly cure and seal your countertops:
- Curing the countertop: After the concrete has been finished, it’s important to allow it to cure fully. This typically involves covering the countertop with plastic wrap or a curing compound to keep the moisture in. Let the countertop cure for at least 7 to 14 days, or as recommended by the manufacturer.
- Remove the form: Carefully remove the form from the cured concrete countertop. Be gentle to avoid any accidental damage to the edges or surface.
- Clean the countertop: Thoroughly clean the countertop to remove any dust, debris, or residue from the curing process. Use a mild soap and water solution and a non-abrasive cloth or sponge to gently clean the surface.
- Sealing the countertop: Apply a high-quality concrete sealer specifically designed for countertops. Follow the manufacturer’s instructions for application methods and drying times. Apply multiple thin coats to ensure proper coverage and protection.
- Allow for drying and curing: After sealing, allow the countertop to dry and cure according to the manufacturer’s instructions. This typically involves avoiding heavy use or placing objects on the countertop for a few days. It’s important to let the sealer fully penetrate and cure to achieve its full protective properties.
Curing and sealing the countertop is crucial to enhance its longevity and protect it from stains, moisture, and damage. Properly following these steps will ensure that your concrete countertops remain beautiful and functional for years to come.
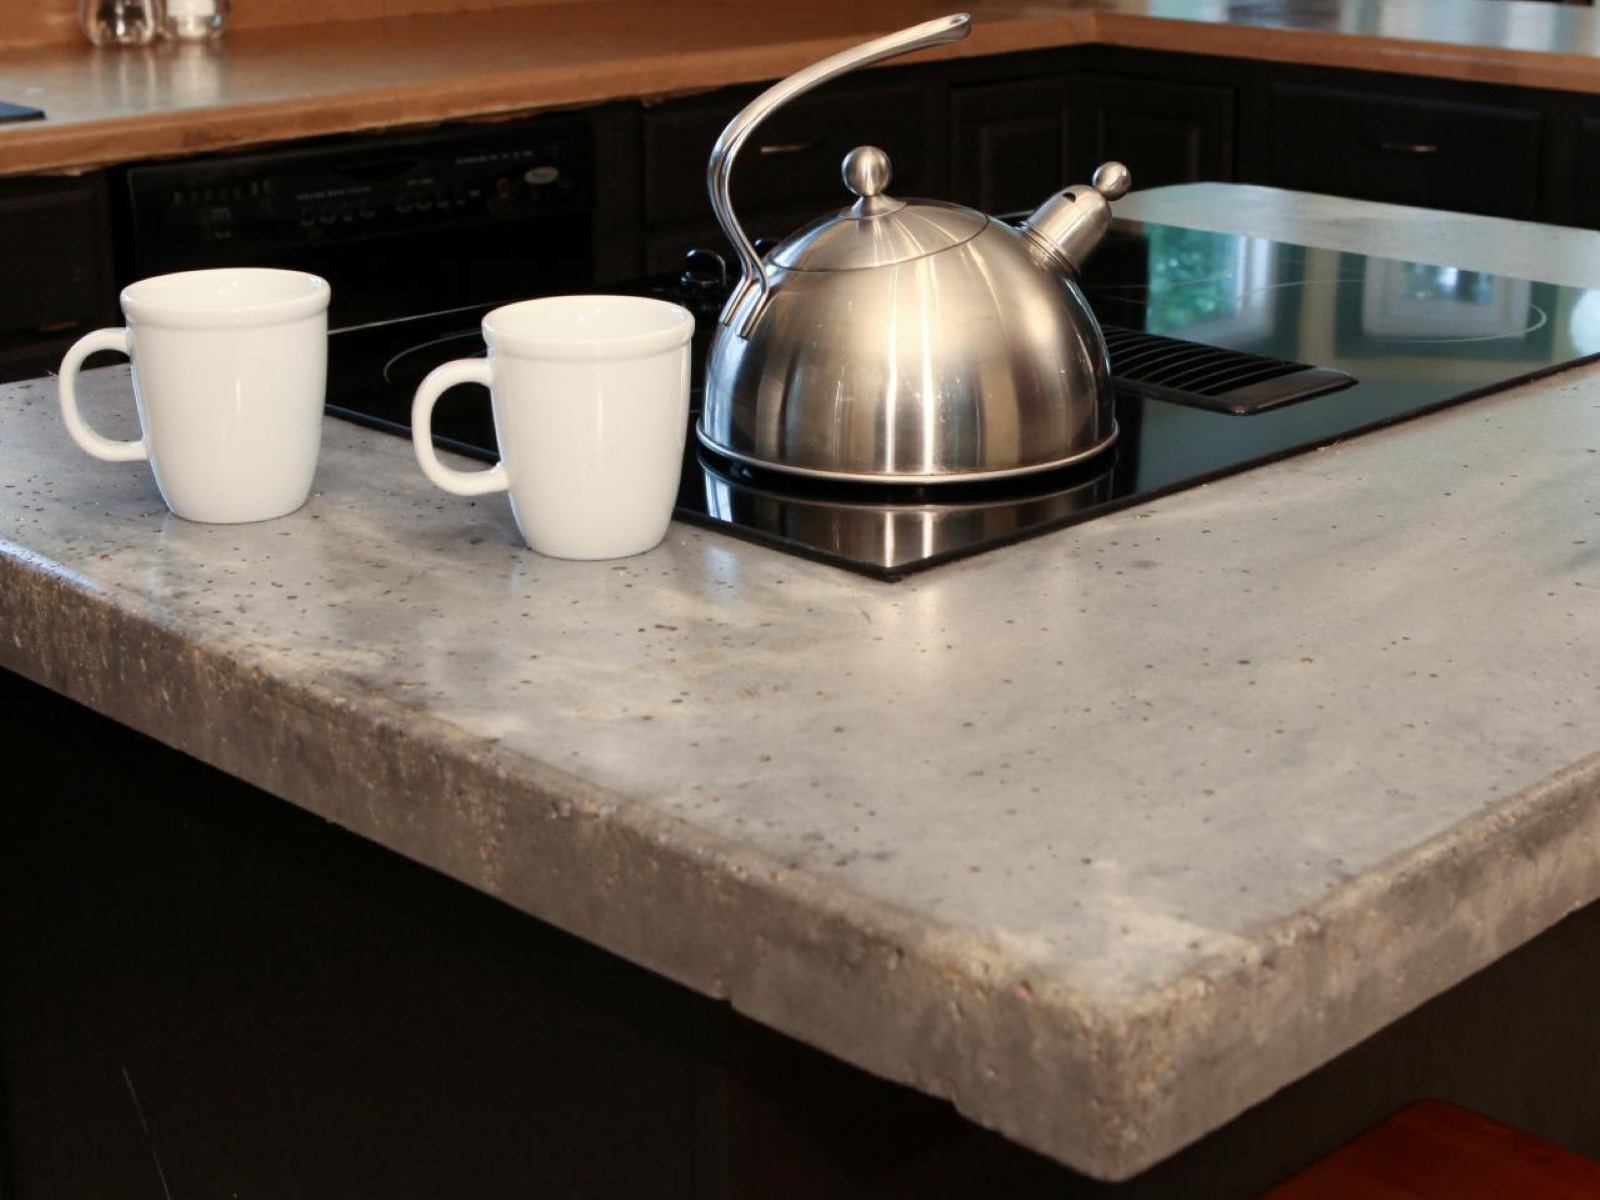
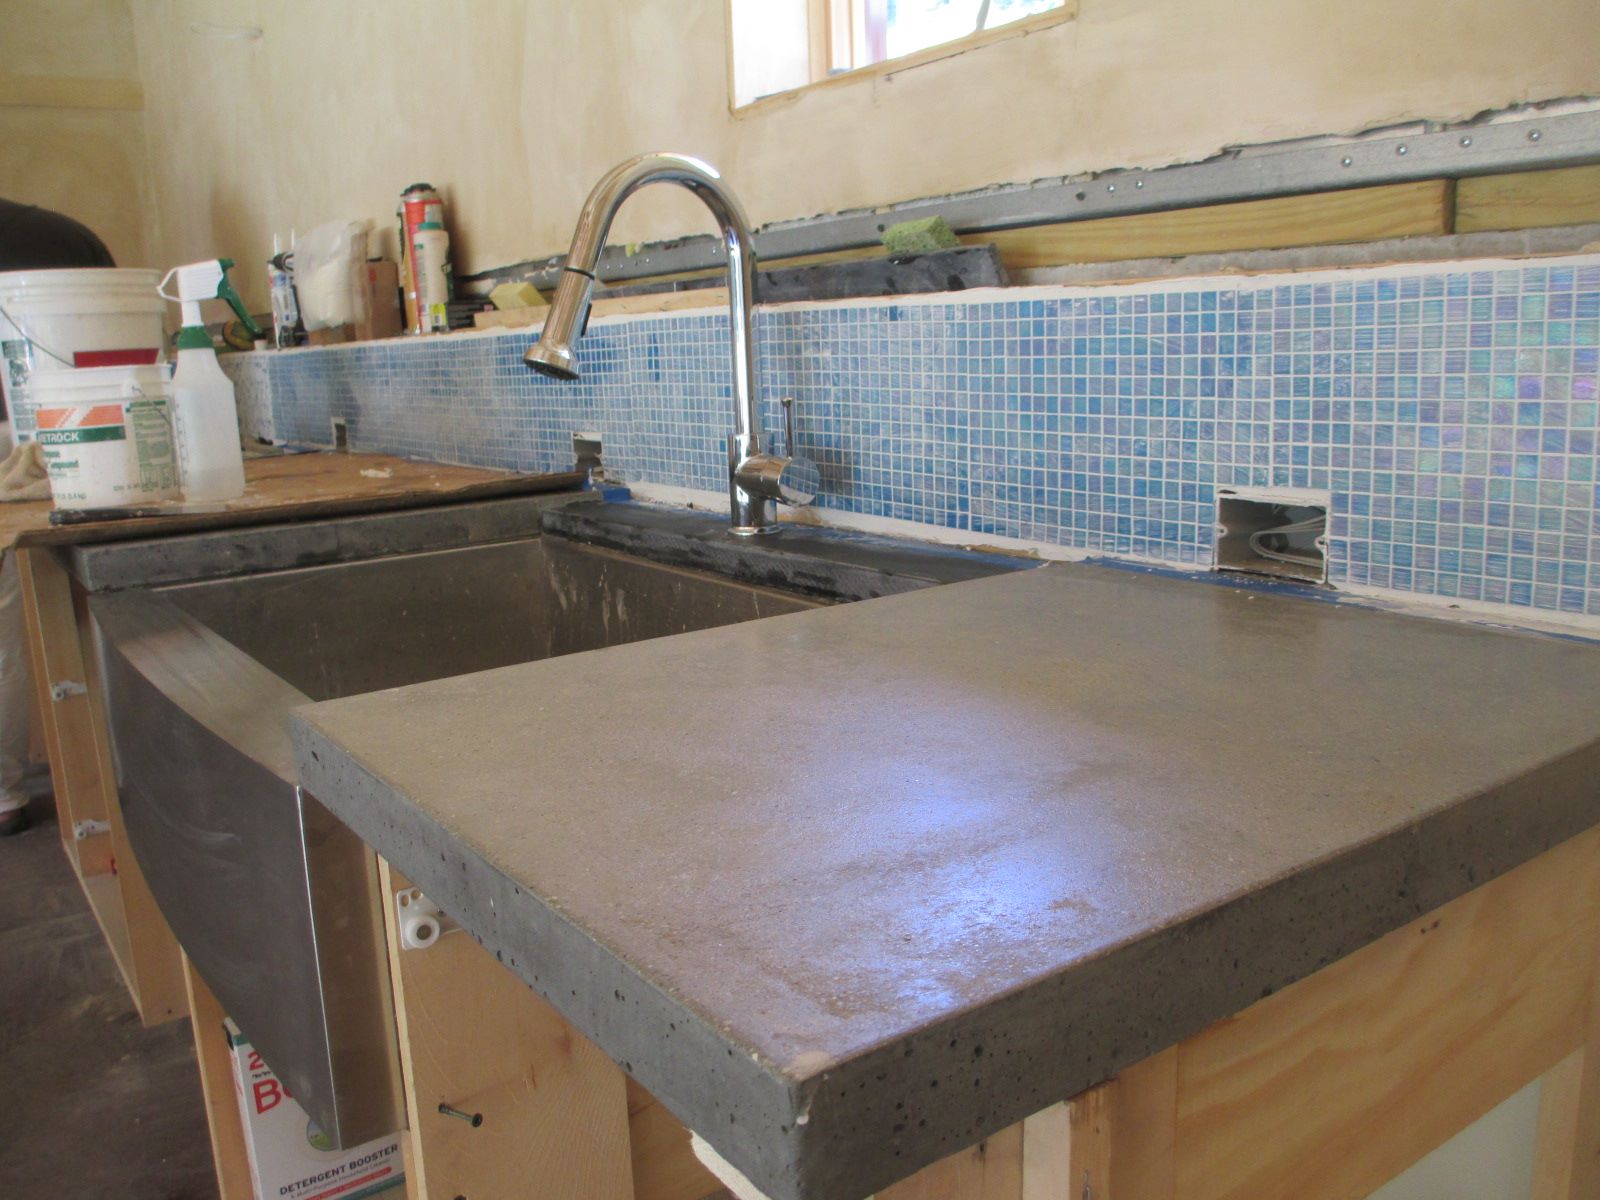
Once the countertop has been fully cured and sealed, your DIY concrete countertops are ready to be installed and enjoyed in your kitchen or bathroom. Sit back and admire your handiwork, knowing that you have created a unique and stylish addition to your home.
Conclusion
Congratulations! You have successfully journeyed through the process of creating your own DIY concrete countertops. By following the steps outlined in this article, you have transformed raw materials into stunning and durable surfaces that will enhance the aesthetics and functionality of your kitchen or bathroom.
Throughout the process, you have learned how to properly prepare your workspace, mix the concrete, pour and level it onto the form, add reinforcement for added strength, finish the surface, and finally, cure and seal the countertop. Each step plays a crucial role in creating a countertop that will withstand the test of time.
Remember, working with concrete requires patience, attention to detail, and knowledge of safety precautions. Always wear the appropriate protective gear and follow the manufacturer’s instructions for the materials and tools used. Taking these precautions will ensure a successful DIY project and protect your well-being.
As you admire your finished concrete countertops, take pride in the fact that you have created a unique and personalized piece. Concrete countertops offer a modern and versatile option, allowing you to customize the appearance to suit your style and preferences.
Keep in mind that, like any surface, your concrete countertops will require regular care and maintenance. Be sure to follow the manufacturer’s guidelines for cleaning and avoid using harsh chemicals or abrasive cleaners that could damage the sealer. With proper care, your countertops will continue to impress for years to come.
Thank you for joining us on this concrete countertop journey. We hope this article has provided you with the knowledge and confidence to tackle your DIY project. Happy countertop making!
Frequently Asked Questions about How To DIY Concrete Countertops
Was this page helpful?
At Storables.com, we guarantee accurate and reliable information. Our content, validated by Expert Board Contributors, is crafted following stringent Editorial Policies. We're committed to providing you with well-researched, expert-backed insights for all your informational needs.


0 thoughts on “How To DIY Concrete Countertops”