Home>Articles>How To Program A Liftmaster Garage Door Opener Keypad

Articles
How To Program A Liftmaster Garage Door Opener Keypad
Modified: May 6, 2024
Learn how to program a Liftmaster garage door opener keypad with our informative articles. Get step-by-step instructions and troubleshoot common issues.
(Many of the links in this article redirect to a specific reviewed product. Your purchase of these products through affiliate links helps to generate commission for Storables.com, at no extra cost. Learn more)
Introduction
Having a garage door opener keypad can be a convenient and secure way to access your garage. It allows you to enter a PIN code instead of using a traditional key or a remote control. If you own a Liftmaster garage door opener and want to program a new code on your keypad, you’ve come to the right place. In this article, we will guide you through the step-by-step process of programming a Liftmaster garage door opener keypad.
Before we begin, it’s important to gather the necessary materials. You will need a ladder, a Phillips screwdriver, and, of course, your Liftmaster garage door opener keypad and corresponding opener. Make sure you have all these items nearby before you start the programming process.
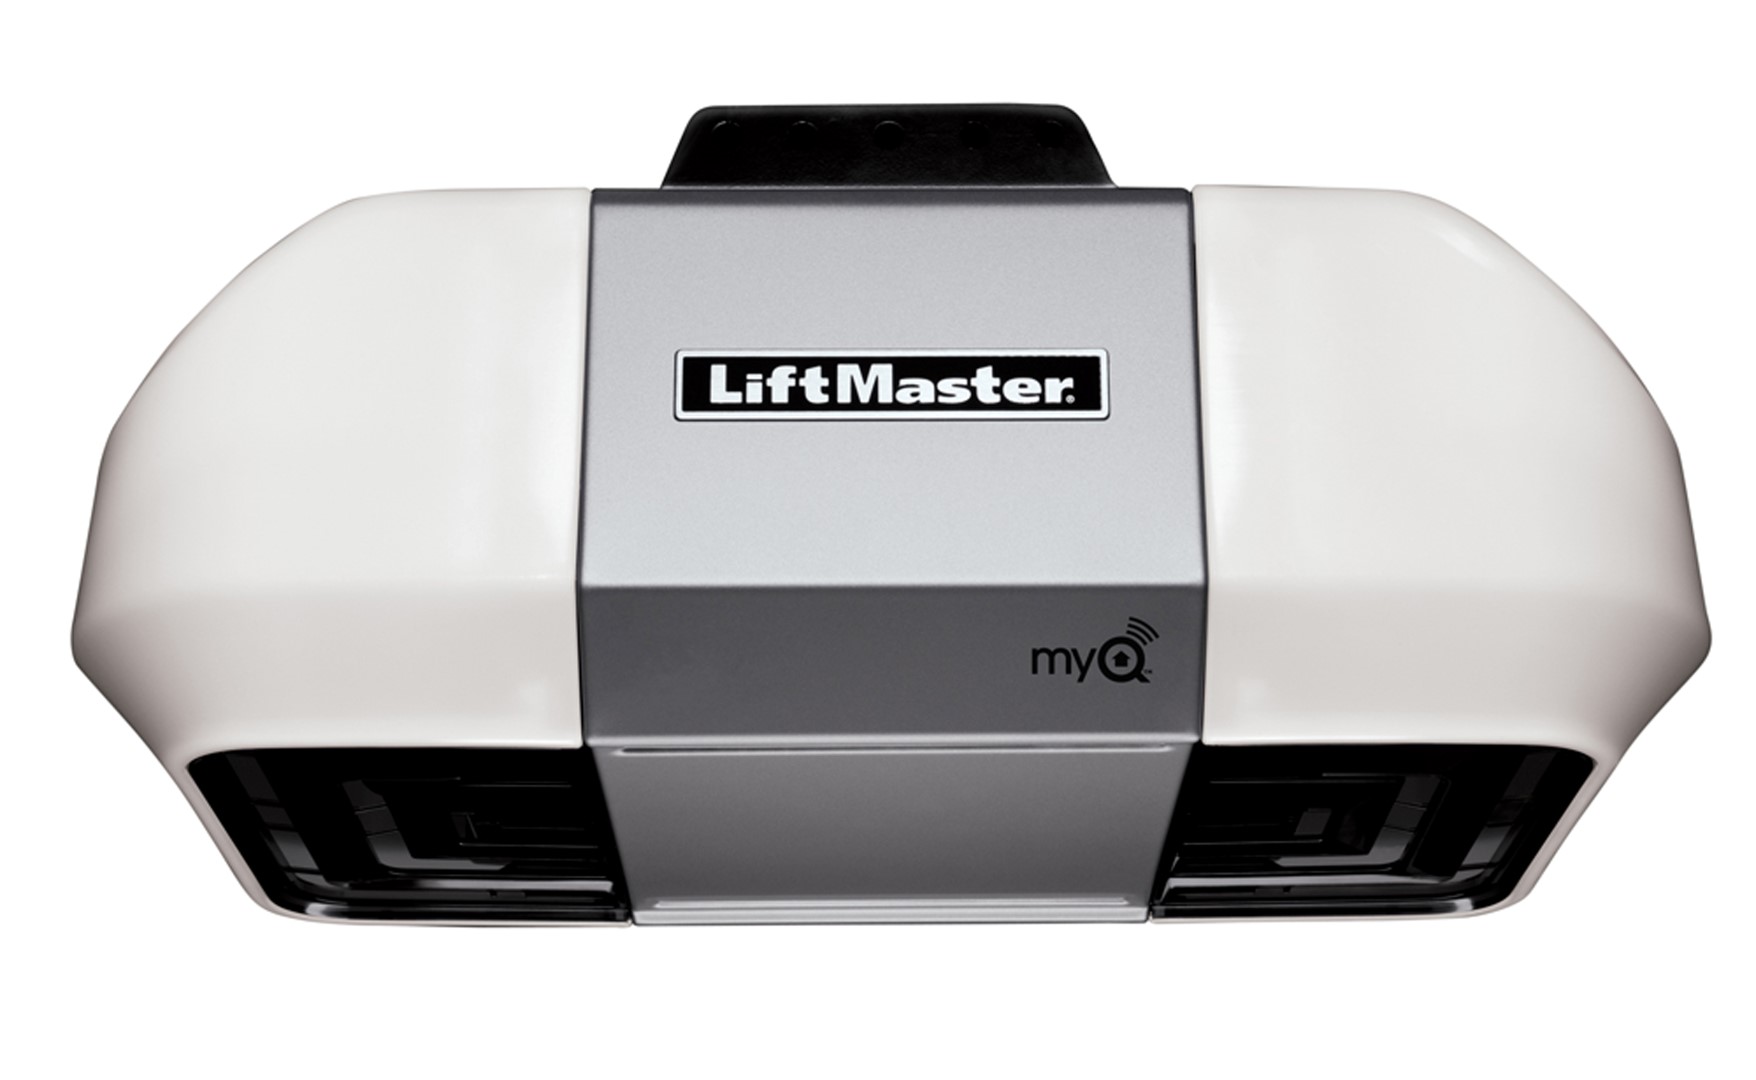
Now that you have everything you need, let’s move on to the next step: locating the programming buttons on your Liftmaster garage door opener. The exact location of these buttons may vary depending on the model of your opener, so consult your manual or refer to the manufacturer’s website for specific instructions.
Key Takeaways:
- Easily program your Liftmaster garage door opener keypad by following simple steps, ensuring convenient and secure access to your garage without the need for keys or remote controls.
- Regularly test and update your keypad code to enhance security and restrict access to authorized individuals, providing peace of mind and hassle-free garage access.
Read more: How To Program A Keypad Garage Door Opener
Step 1: Gather the necessary materials
Before you begin programming your Liftmaster garage door opener keypad, it’s essential to gather all the required materials. Here’s what you’ll need:
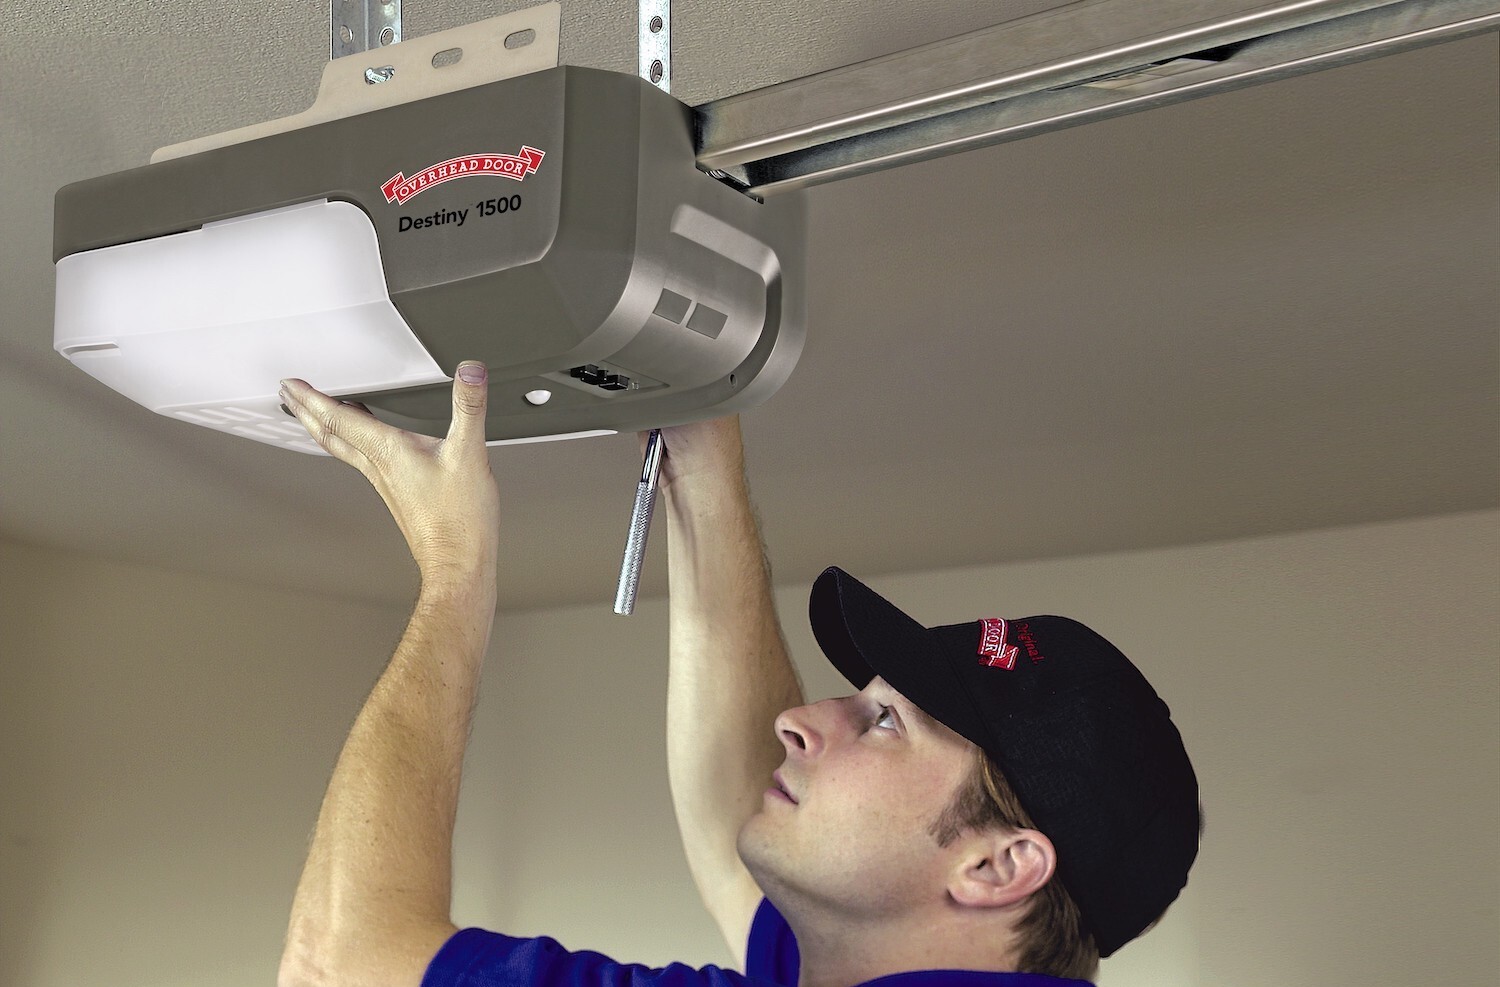
- Ladder: You may need to access the control panel of your garage door opener, which is usually located near the ceiling. Having a ladder will make it easier for you to reach and work on the opener.
- Phillips screwdriver: Most Liftmaster garage door openers use screws to secure the control panel. A Phillips screwdriver is the most common tool to loosen and remove these screws.
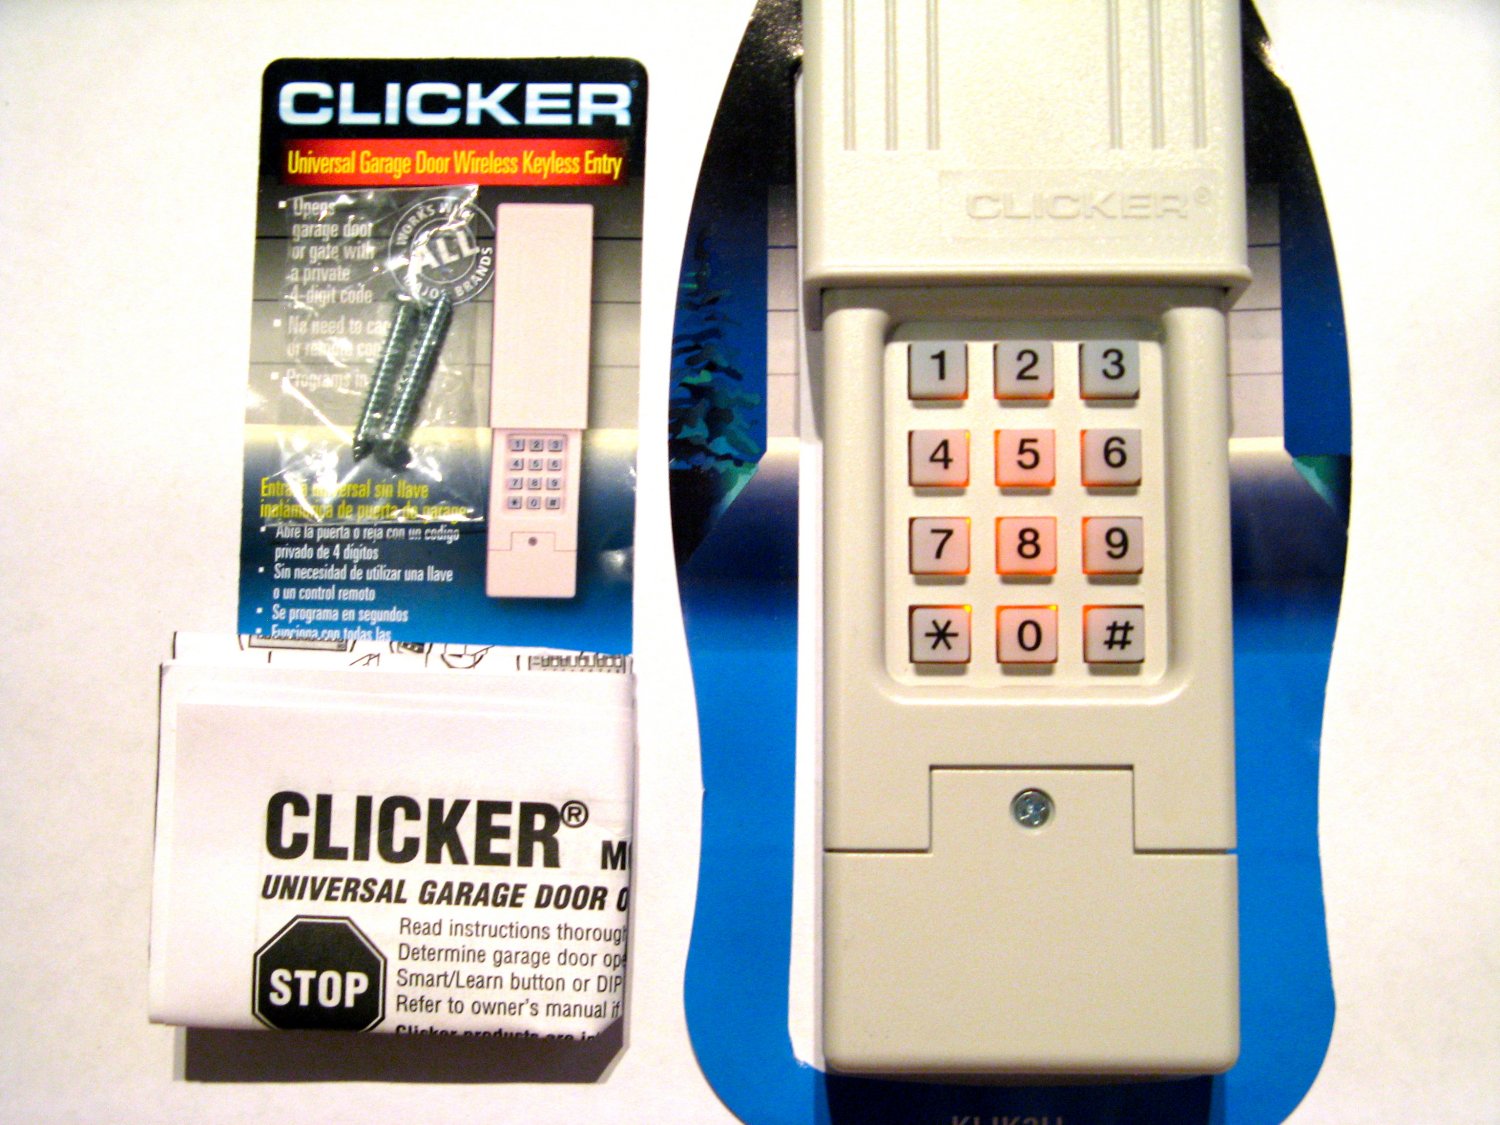
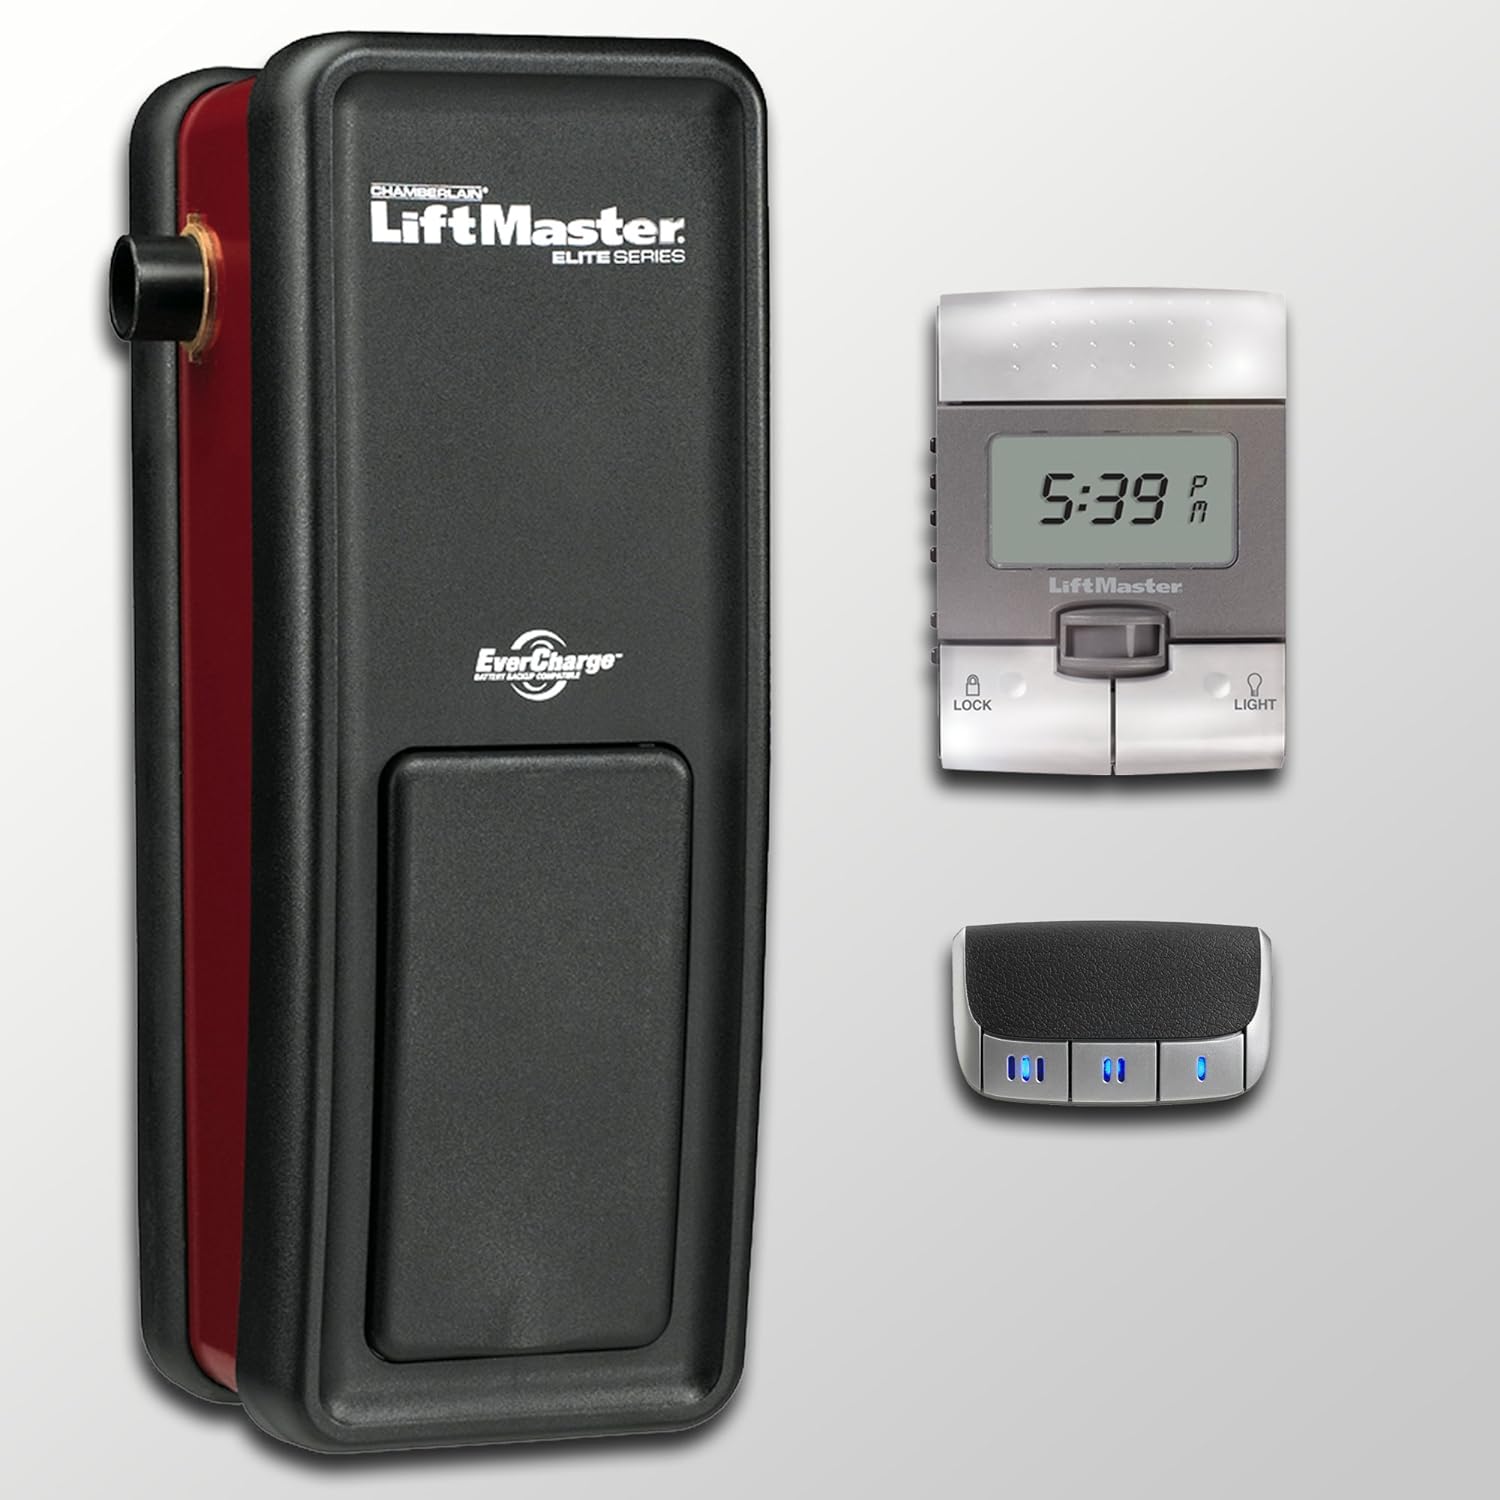
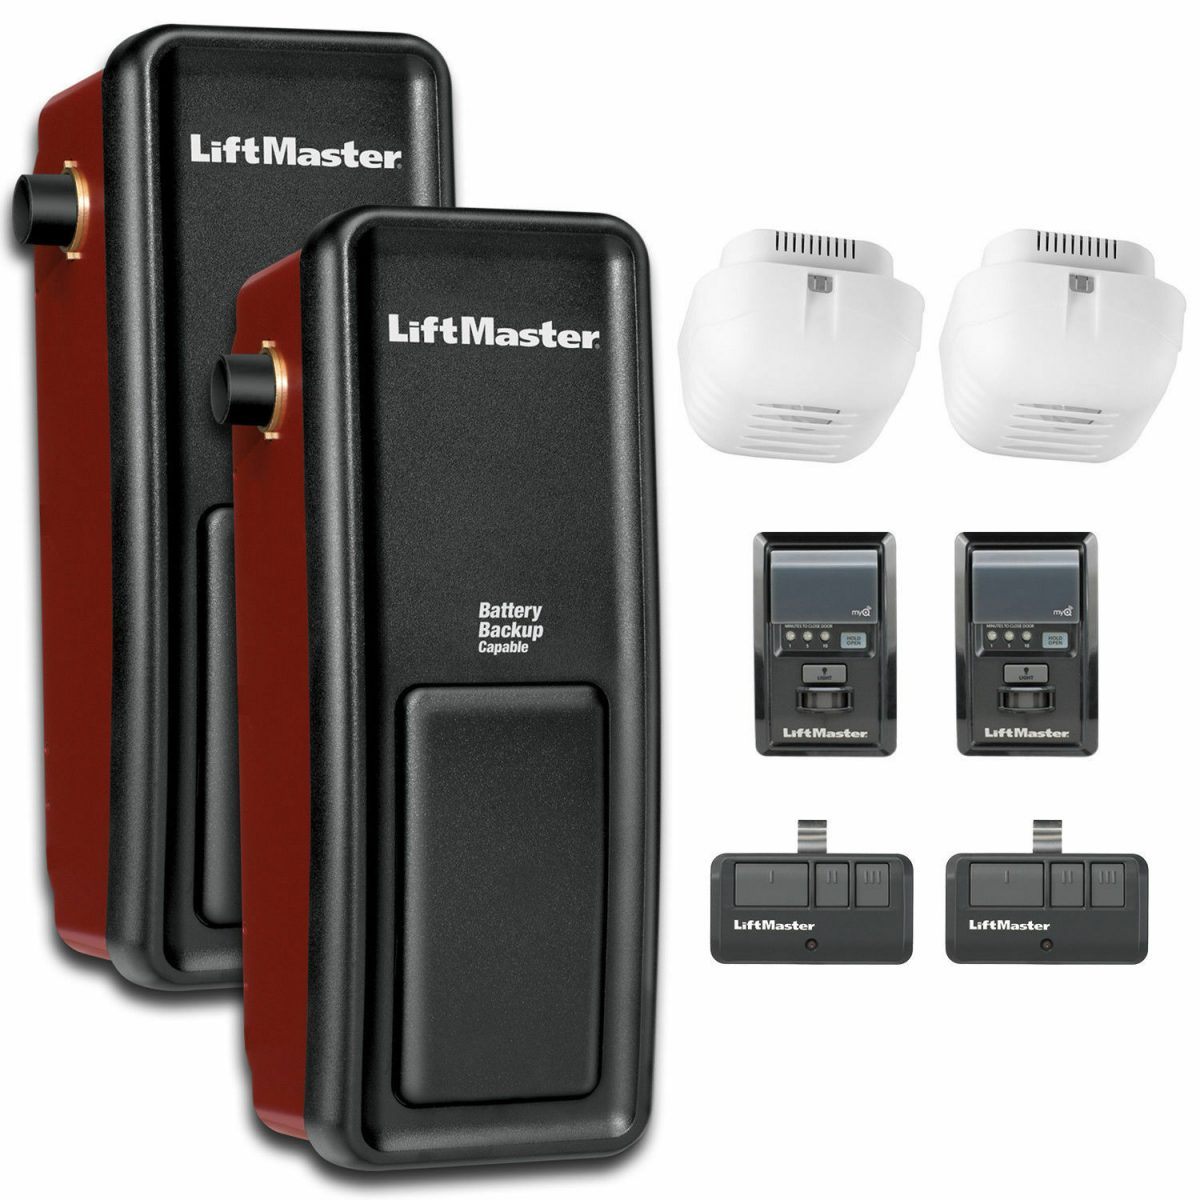
- Liftmaster garage door opener keypad and corresponding opener: These are the main components you’ll be working with during the programming process.
It’s important to make sure you have these materials ready before you start programming your Liftmaster garage door opener keypad. Having everything on hand will save you time and ensure a smooth programming experience.
Once you’ve gathered all the necessary materials, you can move on to the next step: locating the programming buttons on your Liftmaster garage door opener.
Step 2: Locate the programming buttons on your Liftmaster garage door opener
Locating the programming buttons on your Liftmaster garage door opener is an important step in programming your keypad. These buttons may be located on the back panel or inside the control panel of the opener, depending on the model. Here’s how to find them:
- Consult your manual: The first place to look for guidance on locating the programming buttons is your Liftmaster garage door opener’s manual. The manual will provide detailed instructions on where to find the buttons and how to access them.
- Check the back panel: Some models have the programming buttons conveniently positioned on the back panel of the opener. Look for a small panel or cover that can be opened to reveal the buttons.
- Open the control panel: In many cases, the programming buttons are located inside the control panel of the garage door opener. To access the control panel, you may need to remove a few screws using a Phillips screwdriver. Once the panel is open, you should be able to see the buttons.
Remember to exercise caution when working with your garage door opener’s control panel. Ensure the opener is disconnected from power before attempting to open the panel, and follow any safety guidelines provided by Liftmaster.
Once you have located the programming buttons, you are ready to proceed to the next step: clearing the keypad’s existing code.
Step 3: Clear the keypad’s existing code
Before programming a new code on your Liftmaster garage door opener keypad, it’s essential to clear the existing code. This ensures that there are no conflicting codes and allows you to start fresh. Follow the steps below to clear the keypad’s existing code:
- Locate the “Learn” button: On your Liftmaster garage door opener, there is a button called “Learn” or “Smart” button. This button is typically located on the same panel as the programming buttons.
- Press and hold the “Learn” button: With the keypad in close proximity to the opener, press and hold the “Learn” button for about 10 seconds, or until the indicator light on the opener begins to blink.
- Release the “Learn” button: Once the indicator light starts blinking, release the “Learn” button. This action clears the existing code from the opener’s memory and prepares it for programming a new one.
Once you have successfully cleared the keypad’s existing code, you’re ready for the next step: entering the programming mode on your Liftmaster garage door opener.
Make sure to change the access code on your Liftmaster garage door opener keypad regularly to enhance security and prevent unauthorized access.
Step 4: Enter the programming mode on your Liftmaster garage door opener
Entering the programming mode on your Liftmaster garage door opener is crucial to ensure that it is ready to receive the new code from the keypad. Here’s how you can enter the programming mode:
- Press the “Program” or “Set” button: Locate the “Program” or “Set” button on your Liftmaster garage door opener control panel. This button is typically near the programming buttons or the “Learn” button.
- Press the “Program” button twice: Press the “Program” button on the opener control panel twice within 30 seconds. The indicator light on the opener should start flashing, indicating that it is now in programming mode.
Entering the programming mode allows the Liftmaster garage door opener to receive signals from the keypad and store the new code. It’s important to note that the specific sequence or timing of button presses may vary depending on the model of your Liftmaster opener. Refer to your manual or the manufacturer’s instructions for your particular model for precise instructions.
Now that you have successfully entered the programming mode, you are ready to move on to the next step: programming a new code on the keypad.
Step 5: Program a new code on the keypad
Now that you have entered the programming mode on your Liftmaster garage door opener, it’s time to program a new code on your keypad. Follow the steps below to successfully program a new code:
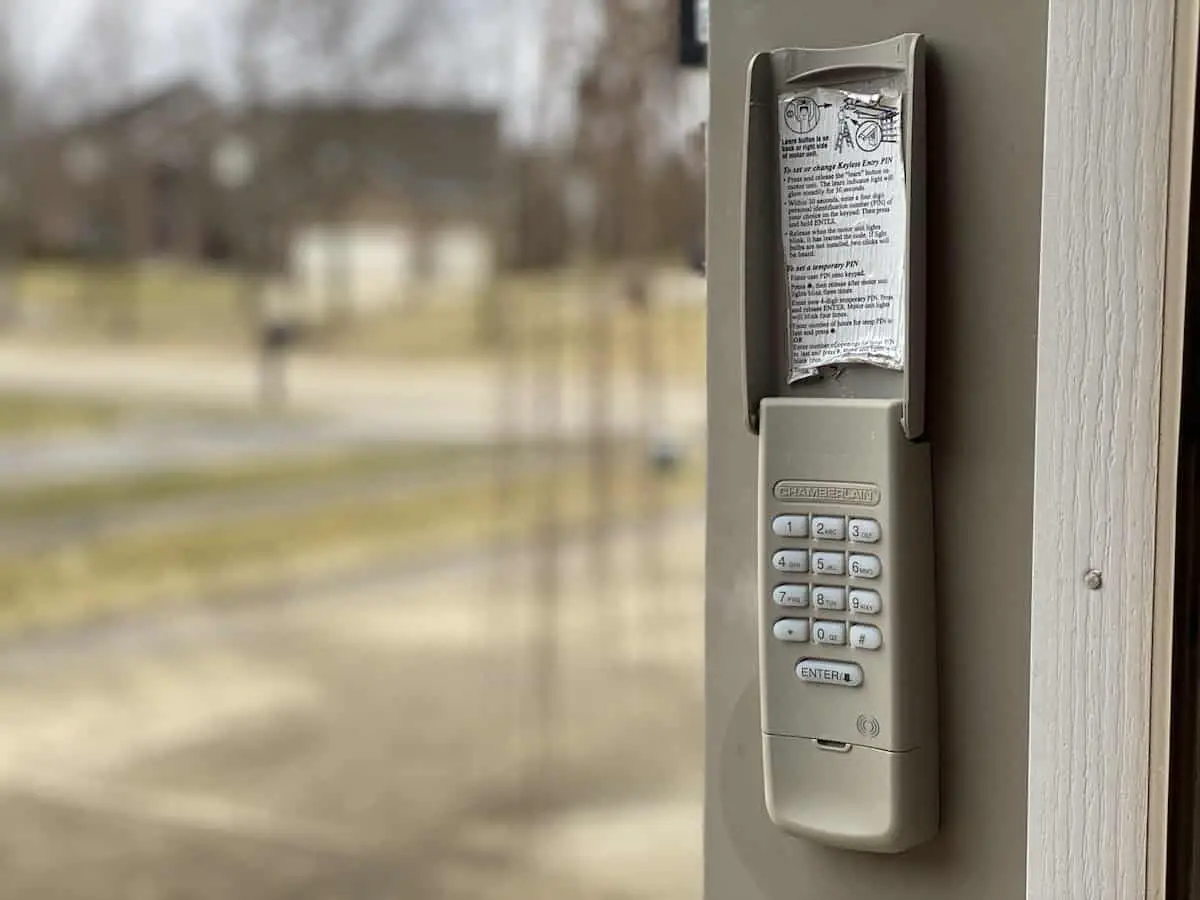
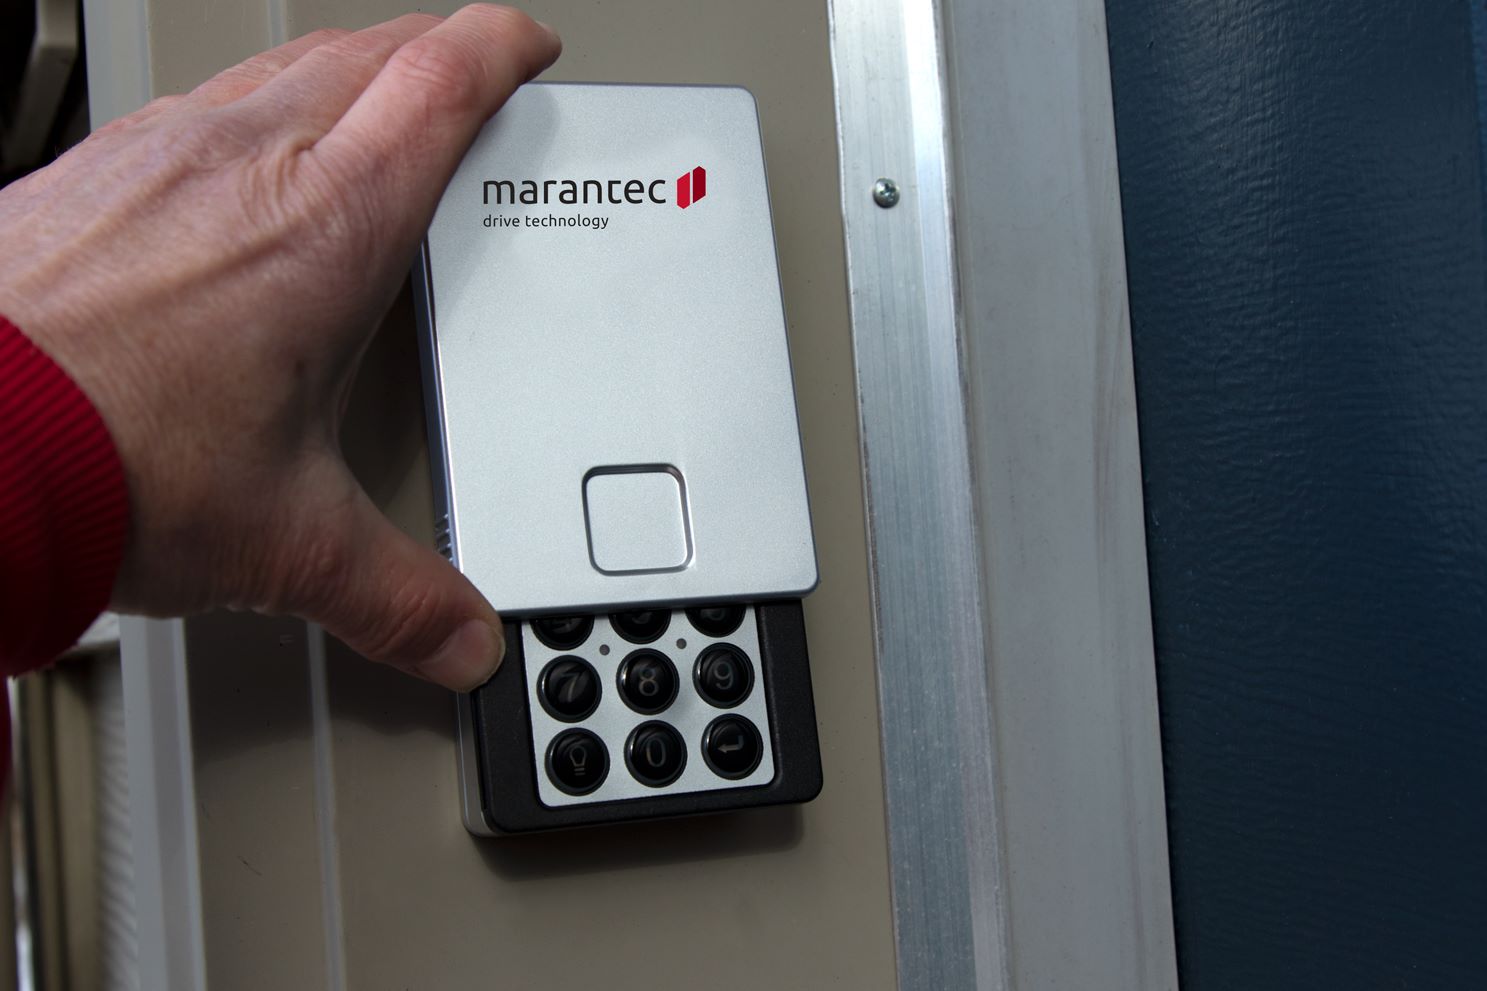
- On the keypad, locate the “Learn” or “Program” button: The location of this button may vary depending on the keypad model. It is usually a small button located on the back or inside the keypad.
- Press and release the “Learn” or “Program” button: Press the button briefly and release it. This action prepares the keypad to receive the new code.
- Enter your desired PIN code: Using the keypad, enter your desired PIN code. The code can typically be four to six digits long. It is recommended to choose a code that is easy for you to remember but difficult for others to guess.
- Press the “Learn” or “Program” button again: After entering your desired PIN code, press the “Learn” or “Program” button again to confirm and save the new code.
Once you have followed these steps, the Liftmaster garage door opener will receive and store the new code from the keypad. This ensures that the keypad is now programmed with the desired PIN code.
With the new code programmed, you can proceed to the final step: testing the keypad to ensure it is working correctly.
Step 6: Test the keypad to ensure it is working correctly
After programming a new code on your Liftmaster garage door opener keypad, it’s crucial to test the keypad to ensure it is functioning correctly. Follow the steps below to test the keypad:
- Close the garage door: Ensure that the garage door is fully closed before testing the keypad.
- Enter the new code: Using the keypad, enter the newly programmed PIN code.
- Press the “Enter” or “OK” button: After entering the PIN code, press the “Enter” or “OK” button on the keypad.
- Observe the opener’s response: Pay attention to the behavior of the Liftmaster garage door opener. It should respond by activating the motor and opening the garage door.
- Confirm the functionality: Check if the garage door opens smoothly and closes securely. Ensure that the keypad is working reliably and consistently.
If the door opens and closes correctly, and the keypad functions as expected, congratulations! You have successfully programmed and tested your Liftmaster garage door opener keypad. You can now enjoy the convenience and security of accessing your garage with the new PIN code.
However, if you encounter any issues during the testing process, it may be necessary to repeat the programming steps or consult the Liftmaster manual for troubleshooting tips. They can provide specific guidance based on your model and address any potential problems.
Remember to keep your new PIN code secure and share it only with trusted individuals. Regularly test the keypad to ensure it continues to operate reliably and consider changing the code periodically to enhance security.
By following these steps and testing your keypad, you can confidently use your Liftmaster garage door opener keypad for convenient and secure access to your garage.
Congratulations on successfully programming and testing your Liftmaster garage door opener keypad! Enjoy the ease and convenience of accessing your garage with just a few taps on the keypad.
Conclusion
Programming a Liftmaster garage door opener keypad is a straightforward process that allows you to enhance the convenience and security of accessing your garage. By following the step-by-step instructions outlined in this article, you can successfully program a new code on your keypad.
Remember to gather all the necessary materials, locate the programming buttons on your Liftmaster garage door opener, clear the keypad’s existing code, enter the programming mode, and program a new code on the keypad. Finally, test the keypad to ensure it is working correctly.
Having a keypad entry for your garage door eliminates the need for keys or remote controls, providing you with a hassle-free way to access your garage. Whether you prefer the convenience of entering a PIN code or the added security of not carrying physical keys, the Liftmaster garage door opener keypad offers a reliable solution.
Regularly test the functionality of your keypad to ensure it continues to work effectively. Consider changing the code periodically to enhance security and restrict access to authorized individuals only.
With the knowledge and guidance provided in this article, you are now equipped to program your Liftmaster garage door opener keypad with ease. Enjoy the convenience and peace of mind that comes with effortlessly entering your garage using your customized keypad code.
Remember to consult your Liftmaster garage door opener manual or the manufacturer’s website for specific instructions tailored to your model. Following their guidelines will ensure a successful programming experience.
Now, go ahead and program your Liftmaster garage door opener keypad, and enjoy seamless and secure access to your garage!
Now that you've mastered programming your Liftmaster garage door opener, why not tackle more projects around your house? If you're itching to revamp your space, our guide on DIY home improvement offers practical tips and creative ideas. Ready for a smarter home? Don't miss our rundown on the best home automation systems set to transform living spaces in 2024. Both articles are packed with useful insights to help you upgrade your home efficiently and with style.
Frequently Asked Questions about How To Program A Liftmaster Garage Door Opener Keypad
Was this page helpful?
At Storables.com, we guarantee accurate and reliable information. Our content, validated by Expert Board Contributors, is crafted following stringent Editorial Policies. We're committed to providing you with well-researched, expert-backed insights for all your informational needs.

0 thoughts on “How To Program A Liftmaster Garage Door Opener Keypad”